How to Install EVA Foam Decking (SeaDek-Style Pads) on Your Boat
Closed-cell foam decking makes a hard fiberglass deck grippy and comfortable underfoot. Learn when a peel-and-stick DIY job makes sense, how to template, cut and prep, the temperature and gap rules, how to lay pads without trapped air, and how to clean, repair and eventually remove them.
Time
4 h
Shop would charge
$500-5000
Applies to
All engines
Safety first: Acetone, alcohol and mineral spirits are flammable: keep flames and cigarettes away and work in open air. Utility knives cause most of the injuries on this job, so cut on plywood, away from your hands, and change blades often. Never cover cockpit drains, scuppers, fuel fills, deck vents or hatch gaps; blocked drains can let water build up in the cockpit, and the deck has to shed water fast.
Owners often ask
- Can I install SeaDek or EVA foam decking myself?
- My foam deck pads are peeling at the edges. What went wrong?
This guide walks you through it. Still stuck? Ask the AI Mechanic about your engine.
Tools
- Clear Mylar or plastic sheeting for templates (or the maker's template service)
- Permanent marker, straightedge and tape measure
- Masking tape
- Sharp utility or carpet knife with plenty of new blades
- A sheet of plywood to cut on
- Plastic putty knife and a small hand roller (optional)
- Scrub brush, bucket and hose
- Lint-free rags or microfiber towels
- Nitrile gloves and safety glasses
Parts & supplies
- Peel-and-stick foam decking (custom-cut kit or sheet stock)
- Dish soap for degreasing
- Isopropyl alcohol (99 percent) or the solvent the decking maker specifies
- Mineral spirits and acetone, only if you are removing old pads and glue
Before you start
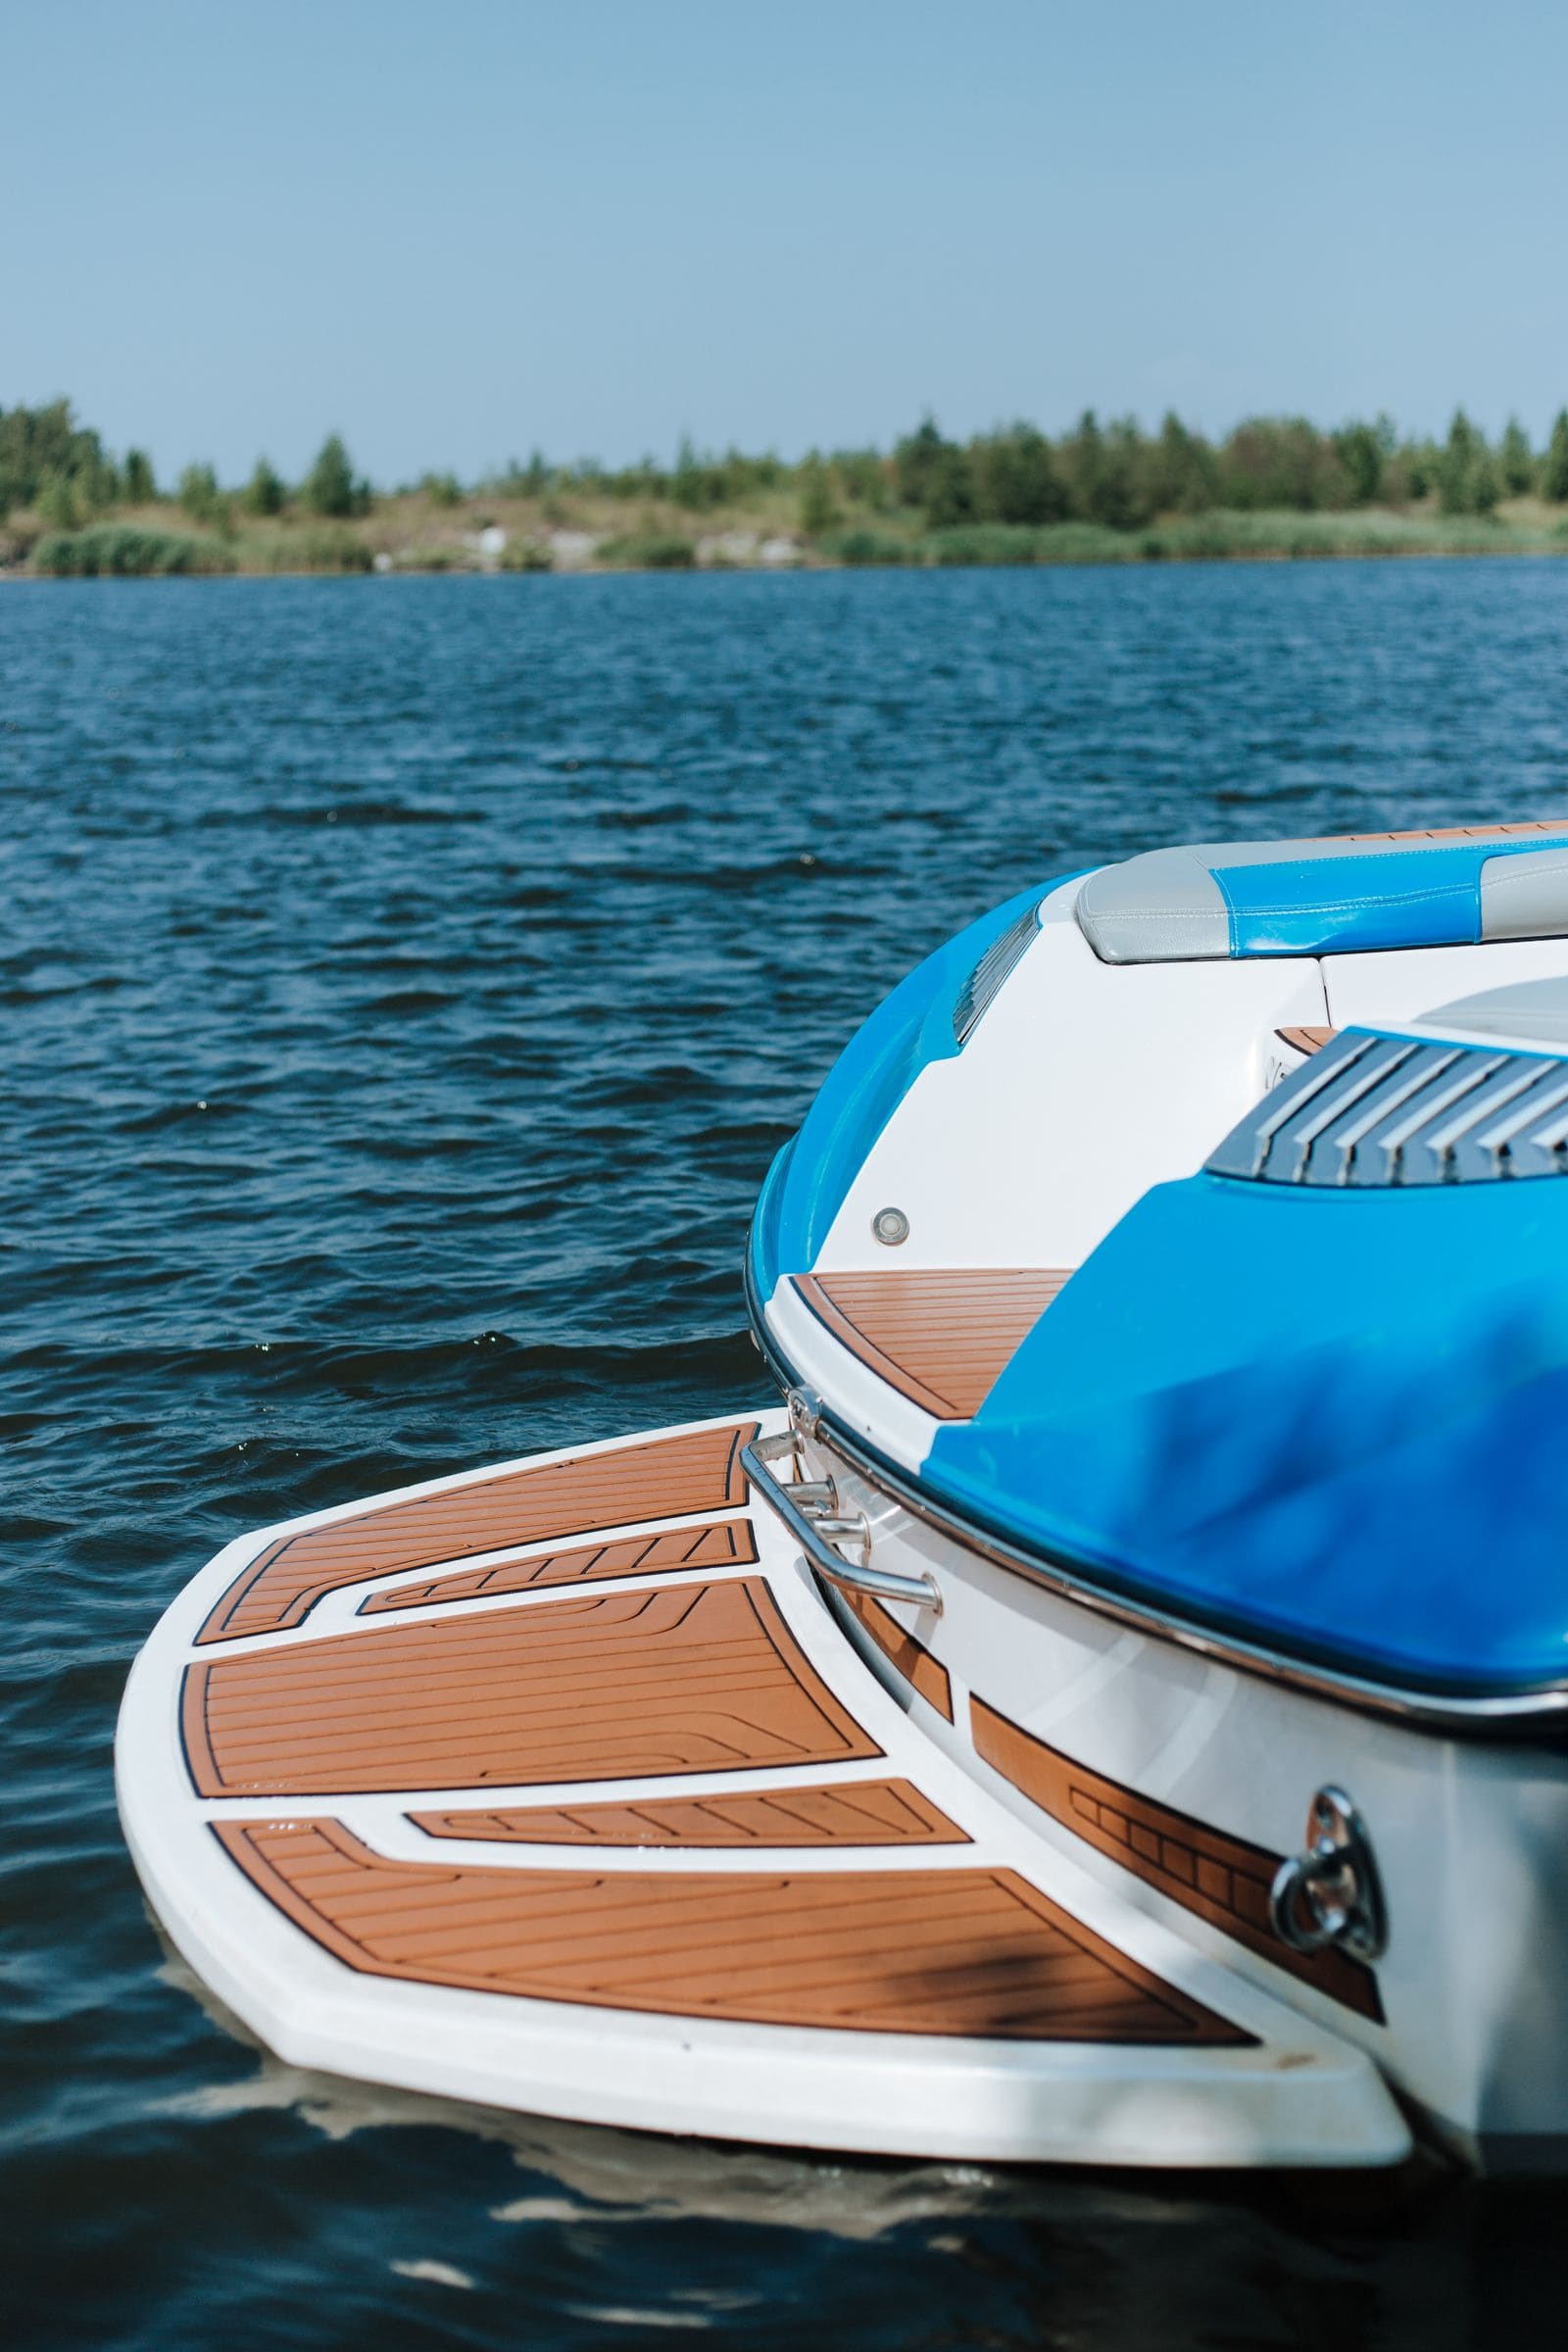
What it is: BoatUS describes foam decking as closed-cell ethylene-vinyl acetate (EVA), polyethylene (PE) or a blend, sold by brands such as SeaDek, ShipsDek and reFLEX. It is stain resistant, absorbs shock, grips better than molded nonskid, and is far kinder to knees and backs.
DIY or pro: Stock material comes in rolls or sheets with peel-and-stick adhesive. BoatUS says a DIY job is fast and cheap on a small boat or a simple rectangular cockpit. The more curves, angles and round hatches you have, the harder it gets; for compound curves, pro templating (often by digital scanning) and machine-cut pads give a much better result. Some brands only sell through certified installers, and for popular boat models a maker may already have a ready-made template. A middle option is ordering custom-cut pads from your measurements and installing them yourself, as Boating Magazine did: it measured its three worn pads, sent the sizes through the maker's quote form, chose color, texture and thickness, and had new pads in about two weeks. SeaDek's own site advertises a limited five-year warranty; before you buy, ask the seller what it covers and whether a do-it-yourself install changes it.
How long it lasts, and how it comes off: BoatUS's look at deck alternatives puts EVA foam's life at about five to seven years, longer with good care. Unlike glued-down PVC "teak," EVA pads use a pressure-sensitive adhesive that stays tacky, so they can be peeled or scraped up with a plastic tool and the glue removed with solvent, leaving the fiberglass underneath. That makes foam a less permanent choice than PVC decking.
Time: BoatUS reports a couple of hours for a simple skiff and about a day and a half for a 22-foot center console decked from bow to stern.
Steps
Walk the boat and mark the areas to cover. Keep pads off drains, scuppers, fuel fills and vents, and cut separate pieces for hatch lids so the hatches still open and close. Plan a gap of at least 1/4 inch between pads; SeaDek says the foam expands and contracts, and the gap also lets water drain. On decks with raised nonskid surrounded by smooth gelcoat, BoatUS recommends making each pad reach at least 1/4 inch past the raised pattern onto the smooth border, because the adhesive grips smooth gelcoat far better than textured nonskid.
BoatUS uses clear Mylar sheeting. Cut it at least half an inch bigger than the area on all sides, tape it down tight with no ripples, and trace the outline with a permanent marker, using a straightedge for straight lines. Make separate templates for hatches and around obstacles. Write "top" and the location on each one.
If the decking came on a roll, unroll it and let it lie flat for several hours before cutting. BoatUS notes it relaxes faster on a clean, warm surface in the sun.
Lay the material on plywood, tape its edges down, then tape the template on top. Cut along the lines with a sharp knife, using the straightedge on straight runs. Change blades as soon as they drag; a dull blade tears the foam. Round any sharp corners slightly; they are less likely to catch and peel.
SeaDek says to install only between 50 and 100°F. Cold adhesive does not grab well, and very hot weather makes the foam soft and stretchy. Work on a dry day with the deck dry to the touch.
Boating Magazine pried up each old pad's edge with a plastic putty knife and pulled slowly, without gripping so hard that the foam tore. SeaDek suggests a little acetone under a pad that tears instead of lifting. The leftover adhesive is the slowest part: Boating Magazine wiped on mineral spirits, let it soak a few minutes, scraped carefully, and repeated three times before wiping with acetone. Work outdoors with eye protection, gloves and a respirator, and use a plastic or gentle scraper so you do not gouge the gelcoat.
Prep decides how long the pads stay down. SeaDek's current instructions: scrub with Dawn dish soap and a clean, lint-free rag to remove grease, adhesive, wax, mold release and dirt, then wipe with 99 percent isopropyl alcohol on a fresh rag. BoatUS adds that some makers want an ammonia-based cleaner first, and that acetone or alcohol is the final wipe; follow your decking maker. Brand-new boats can carry mold release that takes more than one pass. Let the surface dry completely.
Before peeling any backing, lay all the pads in place and check the fit and the gaps. SeaDek is clear that once you start sticking a pad down you cannot adjust it, and BoatUS warns the adhesive is aggressive and fast. Fix any fit problems now.
Flip the first pad over. With a sharp knife, cut only through the paper backing (not the foam) from the center out toward the edges. Peel back a couple of inches on each side of the cut and crease it so it stays folded. Flip the pad back and set it exactly in position.
Tape one half of the pad to the deck with masking tape so it cannot move. Lift the free half, peel the backing back, and lower it onto the deck, pressing from the center outward so no air is trapped. SeaDek has you peel and press a few inches at a time. Then remove the tape, lift the other half, peel, and press the same way. Do not pull, stretch or squeeze the foam while you lay it, or it will distort.
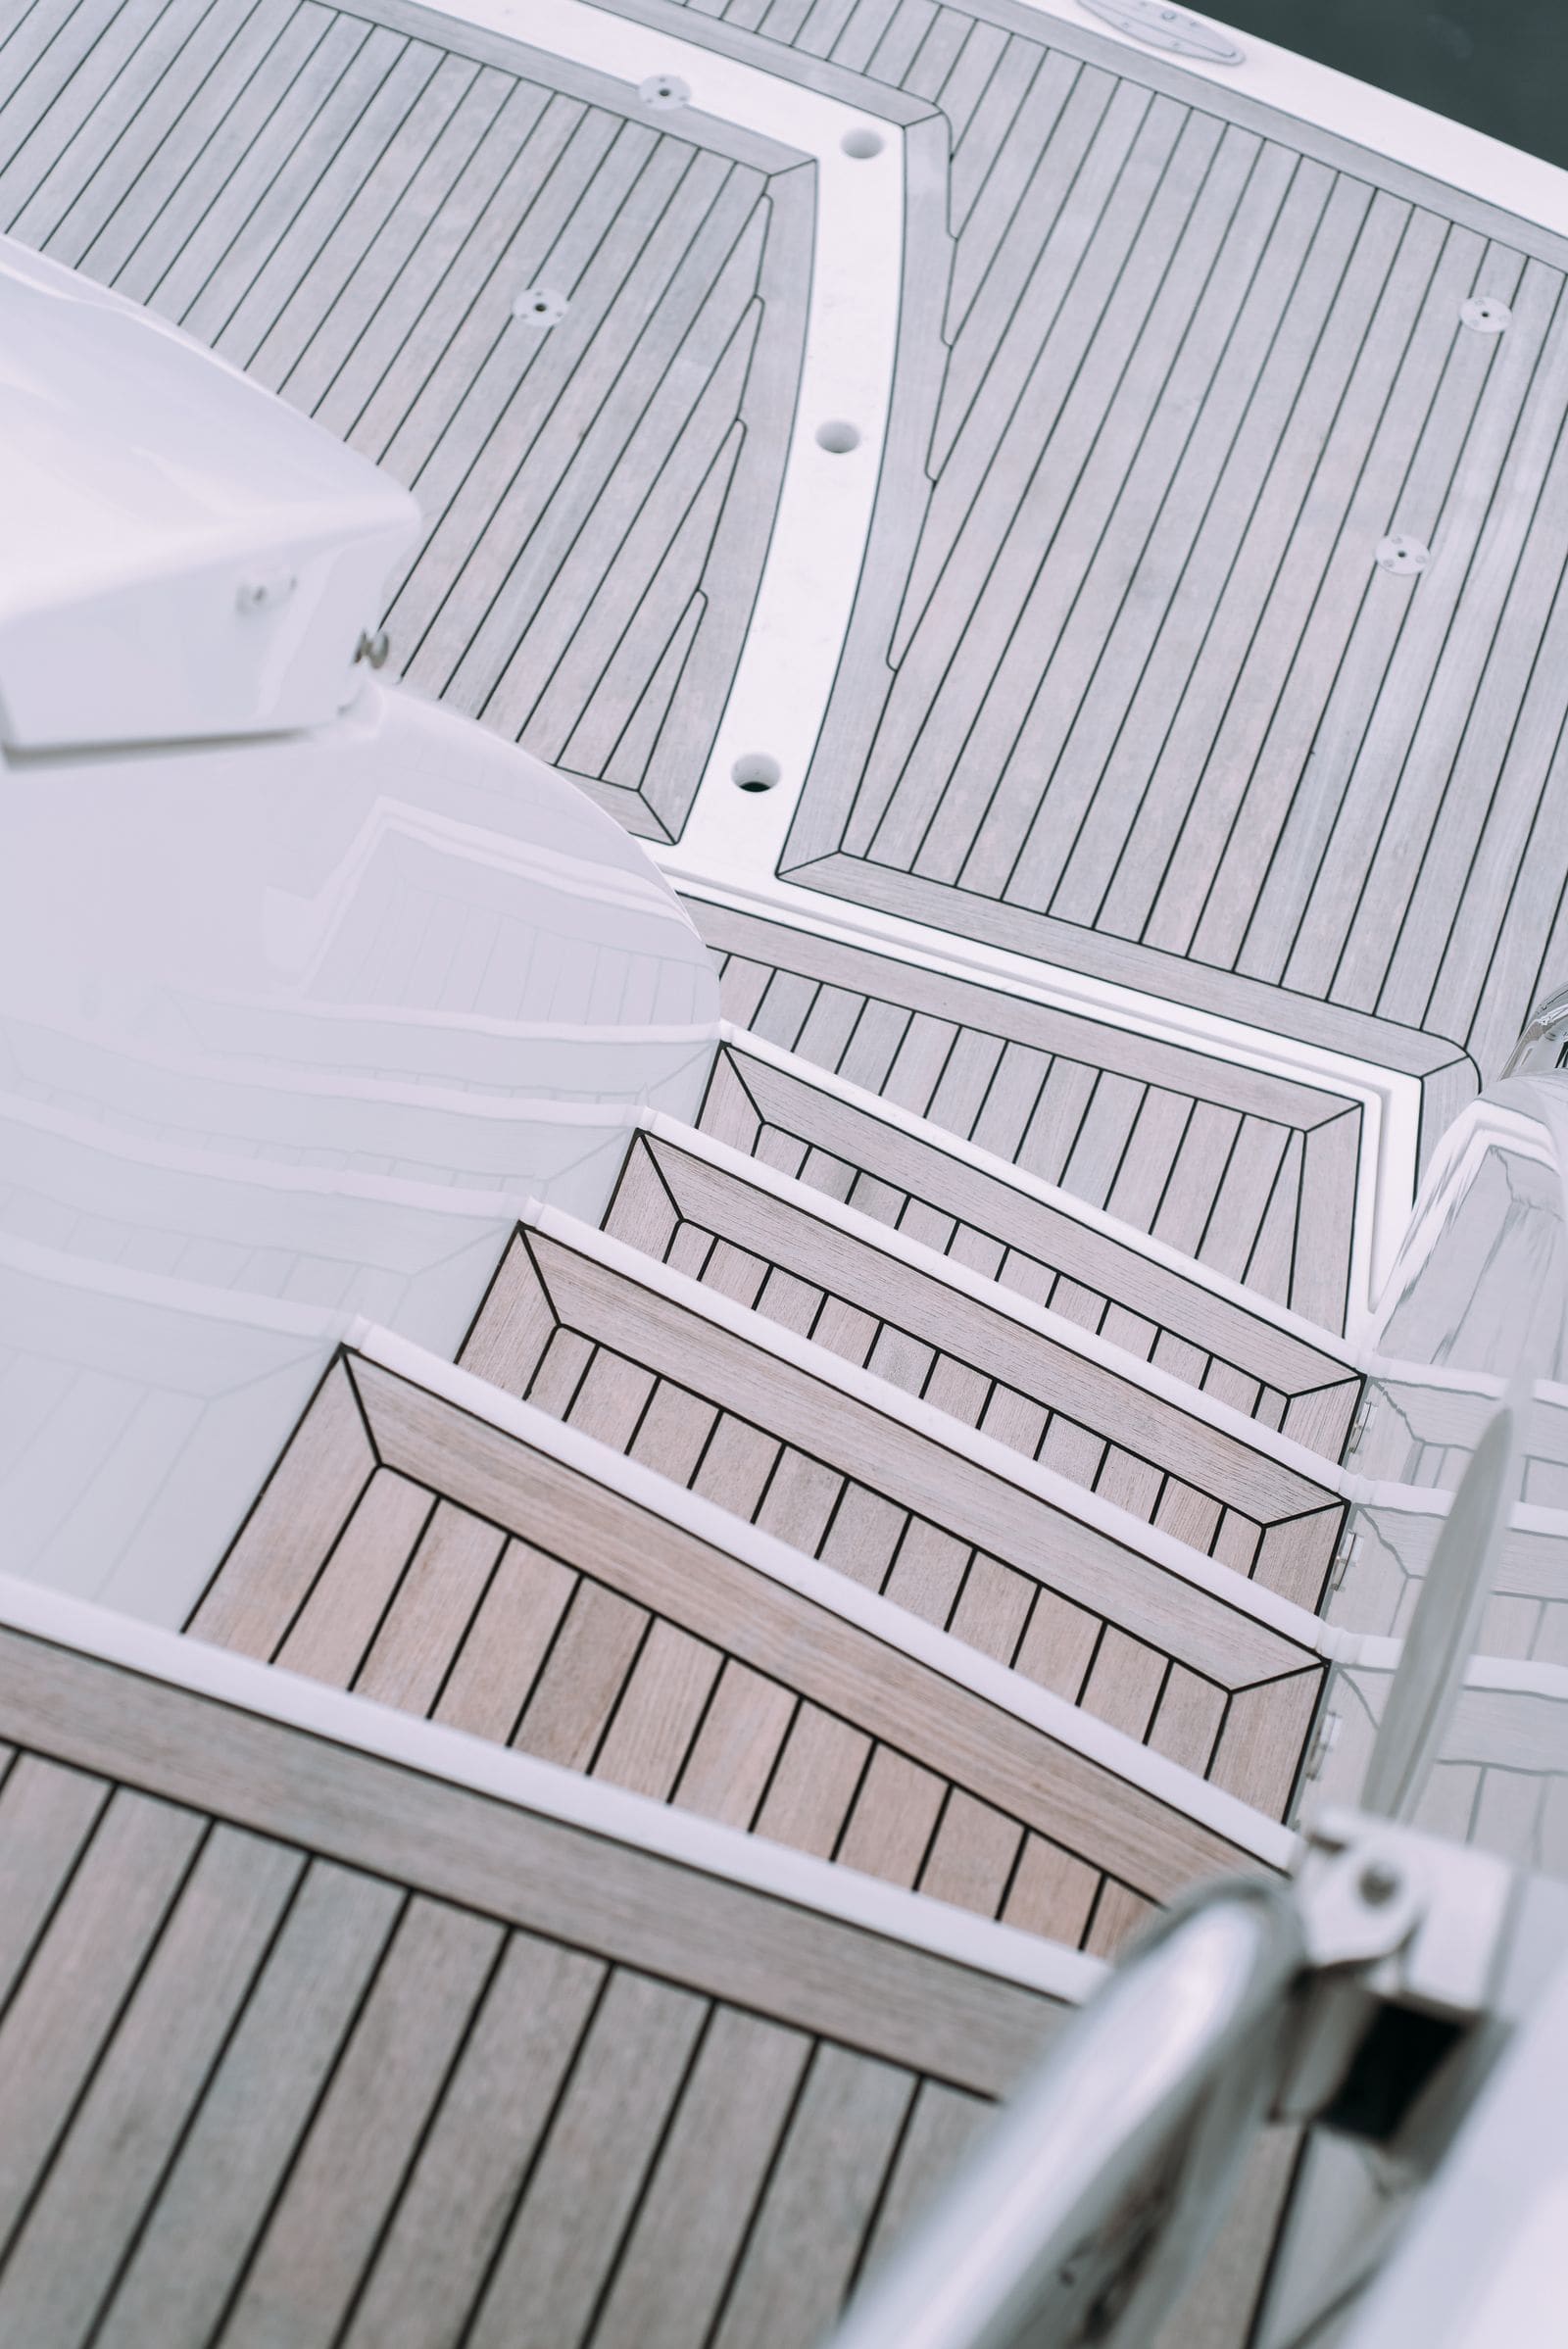
Each piece cut to its own area with a border and a small gap: neat, and the gaps let the deck drain. Photo: Roman Odintsov / Pexels When the pad is down, press firmly over the entire surface; BoatUS stresses the edges, where lifting starts. A small hand roller helps. Boating Magazine simply walked over the new pads. BoatUS says the decking can usually be walked on in about an hour, but check your maker's instructions for any cure time.
SeaDek recommends its own foam cleaner, or dish soap, an all-purpose cleaner or degreaser in warm water with a medium-bristle brush, then a rinse. For stubborn stains it suggests a diluted bleach solution scrubbed gently with a soft brush and rinsed well, and vinegar or oxalic acid for rust spots, kept away from pad edges where it can attack the adhesive. A light-duty, low-pressure washer with a wide tip is OK if you keep your distance. SeaDek lists several common boat soaps and protectants to avoid, so check its list before using a product. Clean spills, fish blood and sunscreen soon, before they set.
BoatUS describes a rare problem called sunburn: a shiny metal fitting or white gelcoat surface at just the right angle can focus sunlight onto the foam and melt a spot. It usually is not covered by warranty, and the fix is to change how the boat sits relative to the sun or shade the area. Check edges every few trips. BoatUS found that pads with poor prep, or ones that do not reach smooth gelcoat, start to lift after about three years and need resticking with spray adhesive, while well-installed pads were still solid in their fifth season.
Common mistakes
- Skipping the degrease. Wax, mold release and sunscreen film are the main reason edges peel.
- Stopping the pad on textured nonskid. The adhesive needs the smooth border to hold the edges.
- Butting pads tight together. Without a gap, they buckle as the foam expands, and water cannot drain.
- Peeling all the backing at once. The pad grabs crooked and cannot be moved. Use the tape hinge.
- Covering drains, hatch gaps or fuel fills. Cut around them.
- Installing in the cold. Below the maker's minimum temperature the adhesive does not bond properly.
- Harsh chemicals and pressure washing up close. They damage the surface and the adhesive.
- Gouging the gelcoat removing old pads. Use plastic scrapers and solvent, and be patient.
When to call a pro
- The deck has compound curves, many round hatches or complex shapes you cannot template neatly
- You want a precision, machine-cut look or a two-color design
- The brand you want is only sold through certified installers, or you want warranty coverage that requires one
- Removing old pads exposes cracked gelcoat, soft spots or leaking fittings (fix those before covering them; see the gelcoat repair guide)
Tips
- Start with the smallest, simplest pad to get a feel for the adhesive before the big ones.
- Keep your Mylar templates. If a pad is ever damaged, you can cut or order an exact replacement.
- Light colors stay cooler in summer sun than dark ones.
- Thinking of foam on the side walls of a cockpit or console instead of vinyl and padding? Closed-cell foam doesn't soak up water the way upholstery foam does, it can be wiped down, and BoatUS notes it also deadens sound. The same prep rules apply: the wall must be clean, dry and smooth for the adhesive to hold, and keep in mind areas you can't reach for cleaning.
- Order a little extra material for mistakes and future repairs, from the same batch so the color matches.
Official references
We read these to write this guide. Your engine's own manual always wins.
Safety: BoatMend is for information only and does not replace a certified marine technician. You are responsible for your safety and your boat. Read the full disclaimer.
Last updated 2026-10-25
Related guides
How to Clean, Protect and Restore Non-Skid Decks
Get dirt, fish blood, rust and mildew out of textured non-skid without wearing it away, learn why ordinary wax makes it dangerously slick, and decide when worn non-skid needs a deck paint with grip additive or traction pads instead.

How to Repair or Replace Vinyl Flooring on a Pontoon or Bowrider
Fix small tears, lifted seams and bubbles in marine vinyl or woven vinyl flooring with the right adhesive, tell when a soft spot means the plywood underneath is rotting, and understand what a full floor replacement involves. Structural deck and stringer repairs are pro work.

How to Replace the Carpet on a Pontoon Boat
Strip worn pontoon carpet and old glue, check the plywood underneath for rot before it gets covered again, choose between marine carpet, snap-in carpet and vinyl, then glue, trim and finish the new floor so it lasts. Most owners need a few dry weekends; soft or rotten decking is a bigger job.
How to Detail Your Boat's Interior (Vinyl Seats, Carpet, Storage and Drains)
Give your cockpit and cabin a proper detail. Clean marine vinyl without stripping its UV protection, wash snap-in and glued-down carpet, clear out cup holders, storage boxes and their drains, beat mildew and pink stains, and know which household cleaners to keep off your boat.

How to Clean, Remove Oxidation and Wax Your Boat's Gelcoat (Plus Pontoon Tubes)
Wash your hull the right way, bring back chalky, faded gelcoat with compound, and seal it with wax so it stays glossy and protected from the sun. Includes how to clean and protect the aluminum tubes on a pontoon boat.
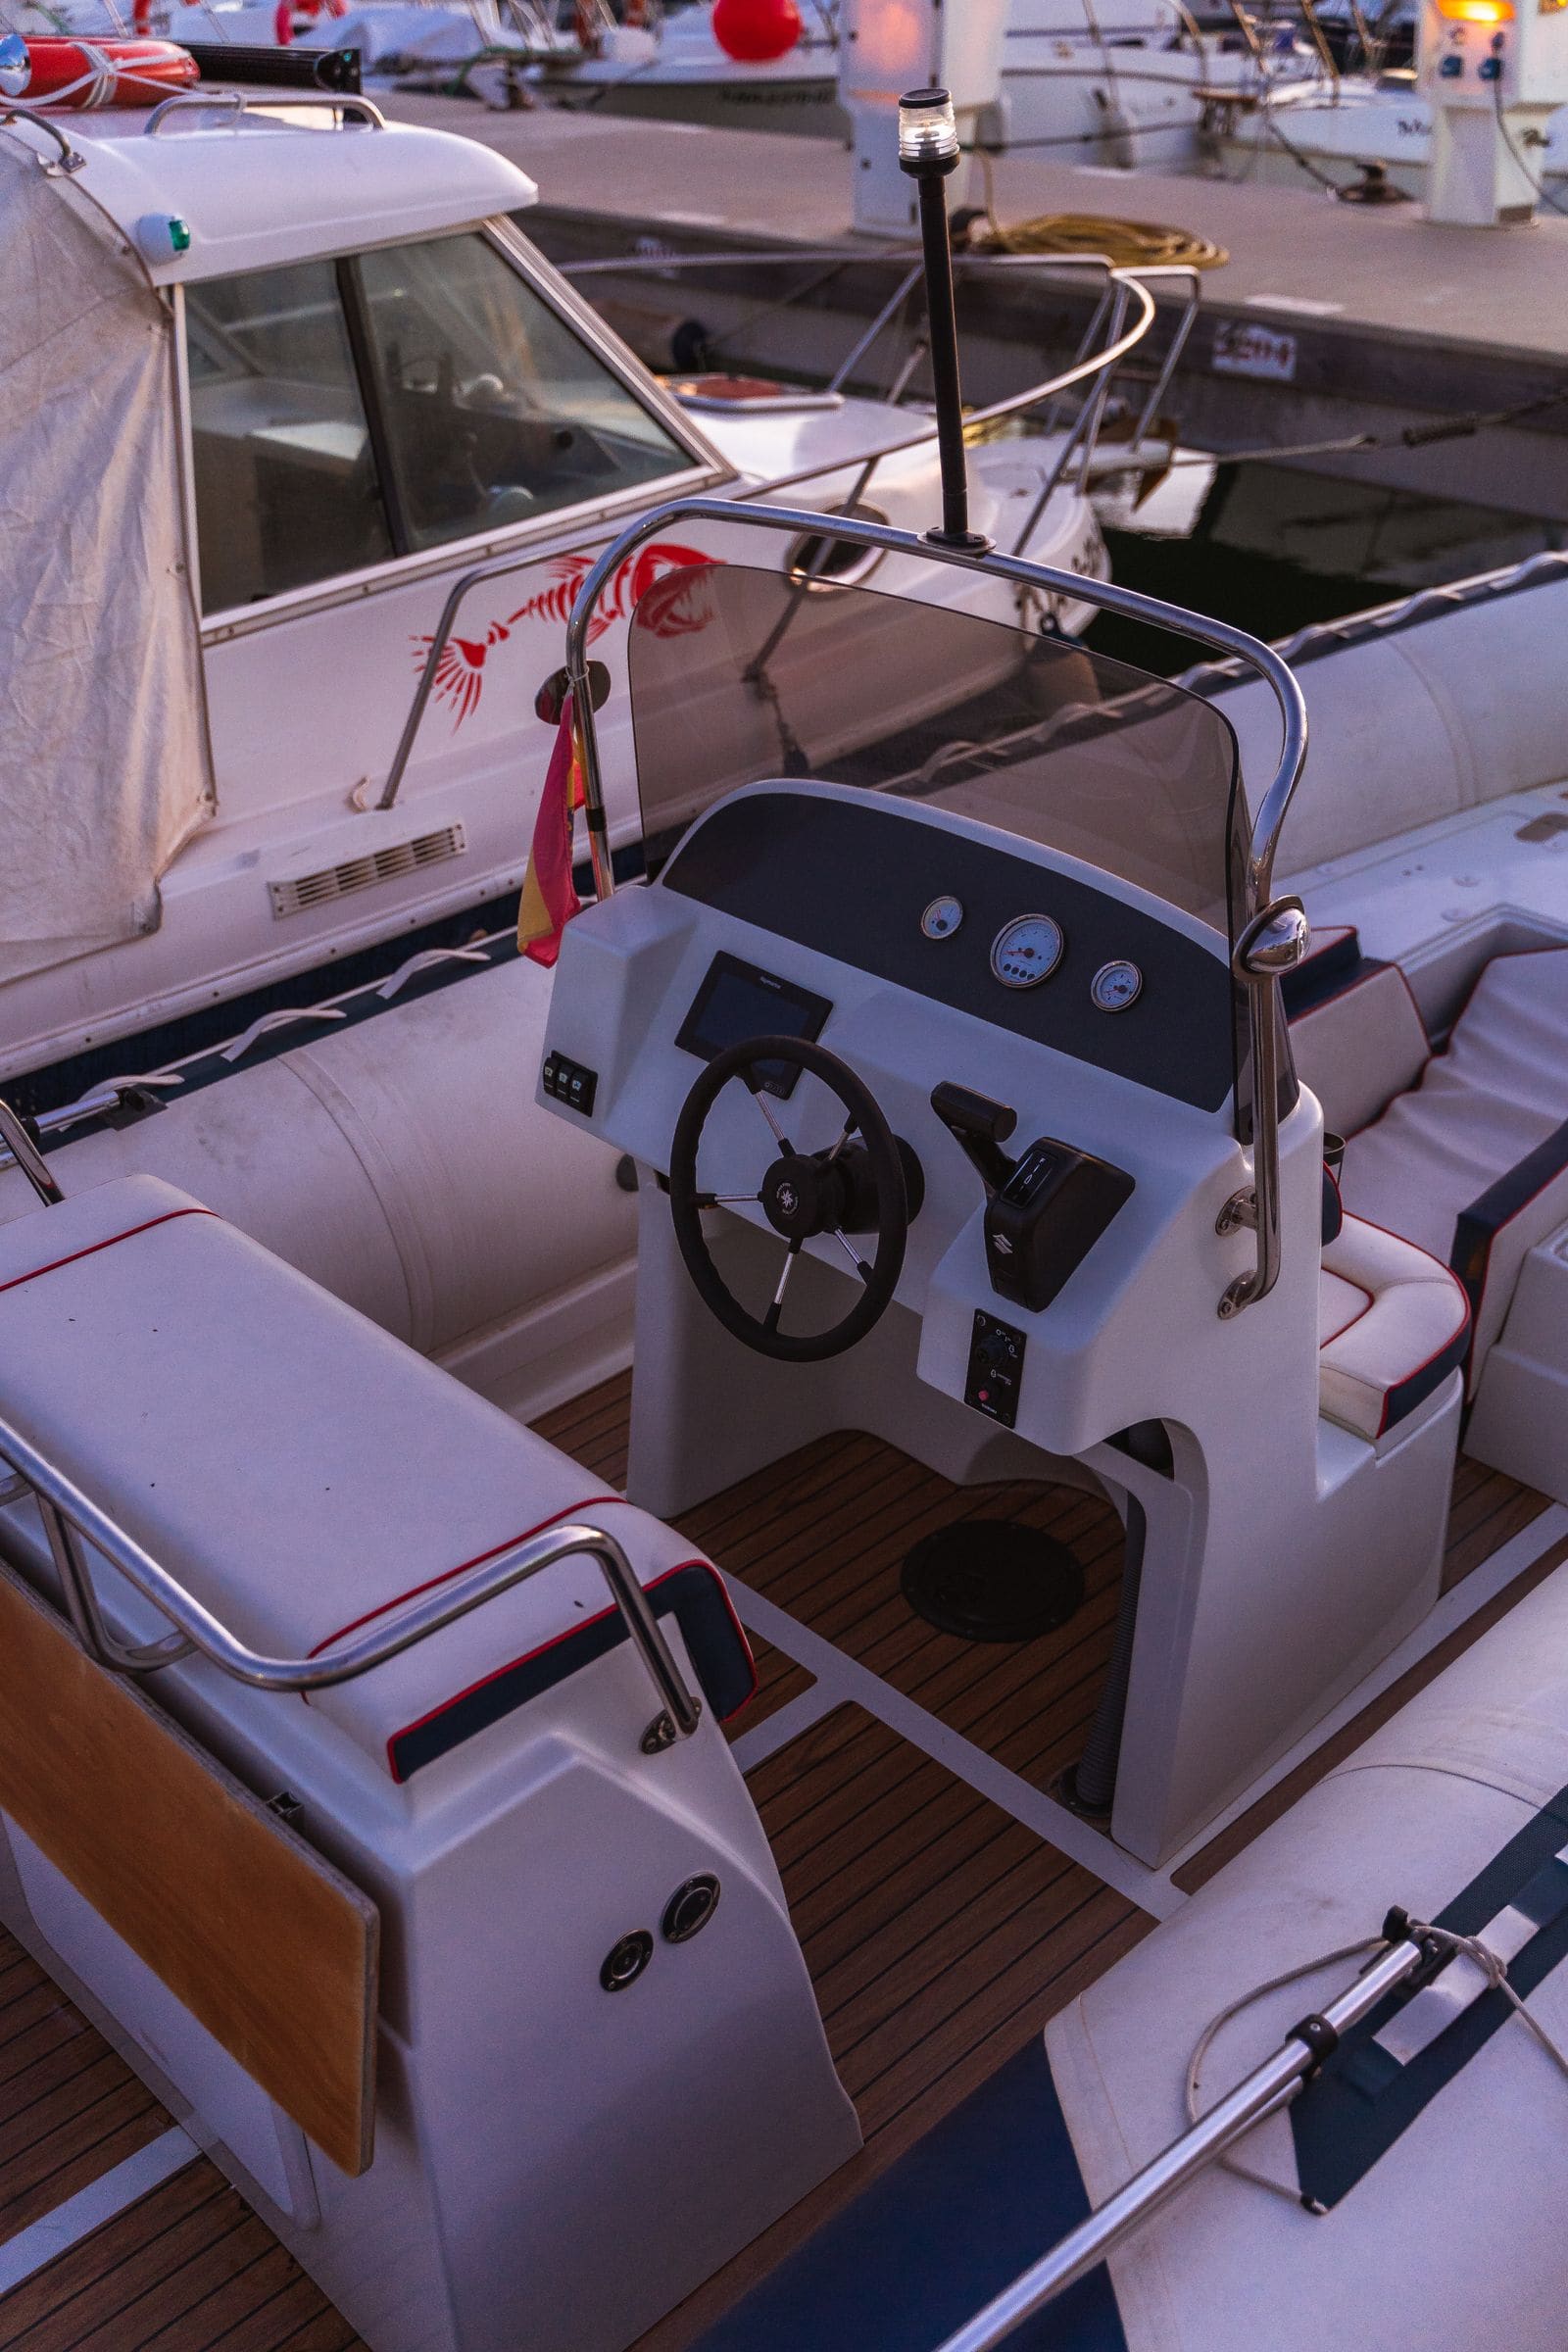
How to Install an Inspection Port (Deck Plate) in a Deck or Bulkhead
Add a screw-out or pry-out deck plate so you can reach hidden nuts, wiring, hoses and through-hulls, or check a deck core for rot. Learn where it is safe to cut, how to pick and size the port, how to seal a cored deck with epoxy, and how to bed the ring so it never leaks.
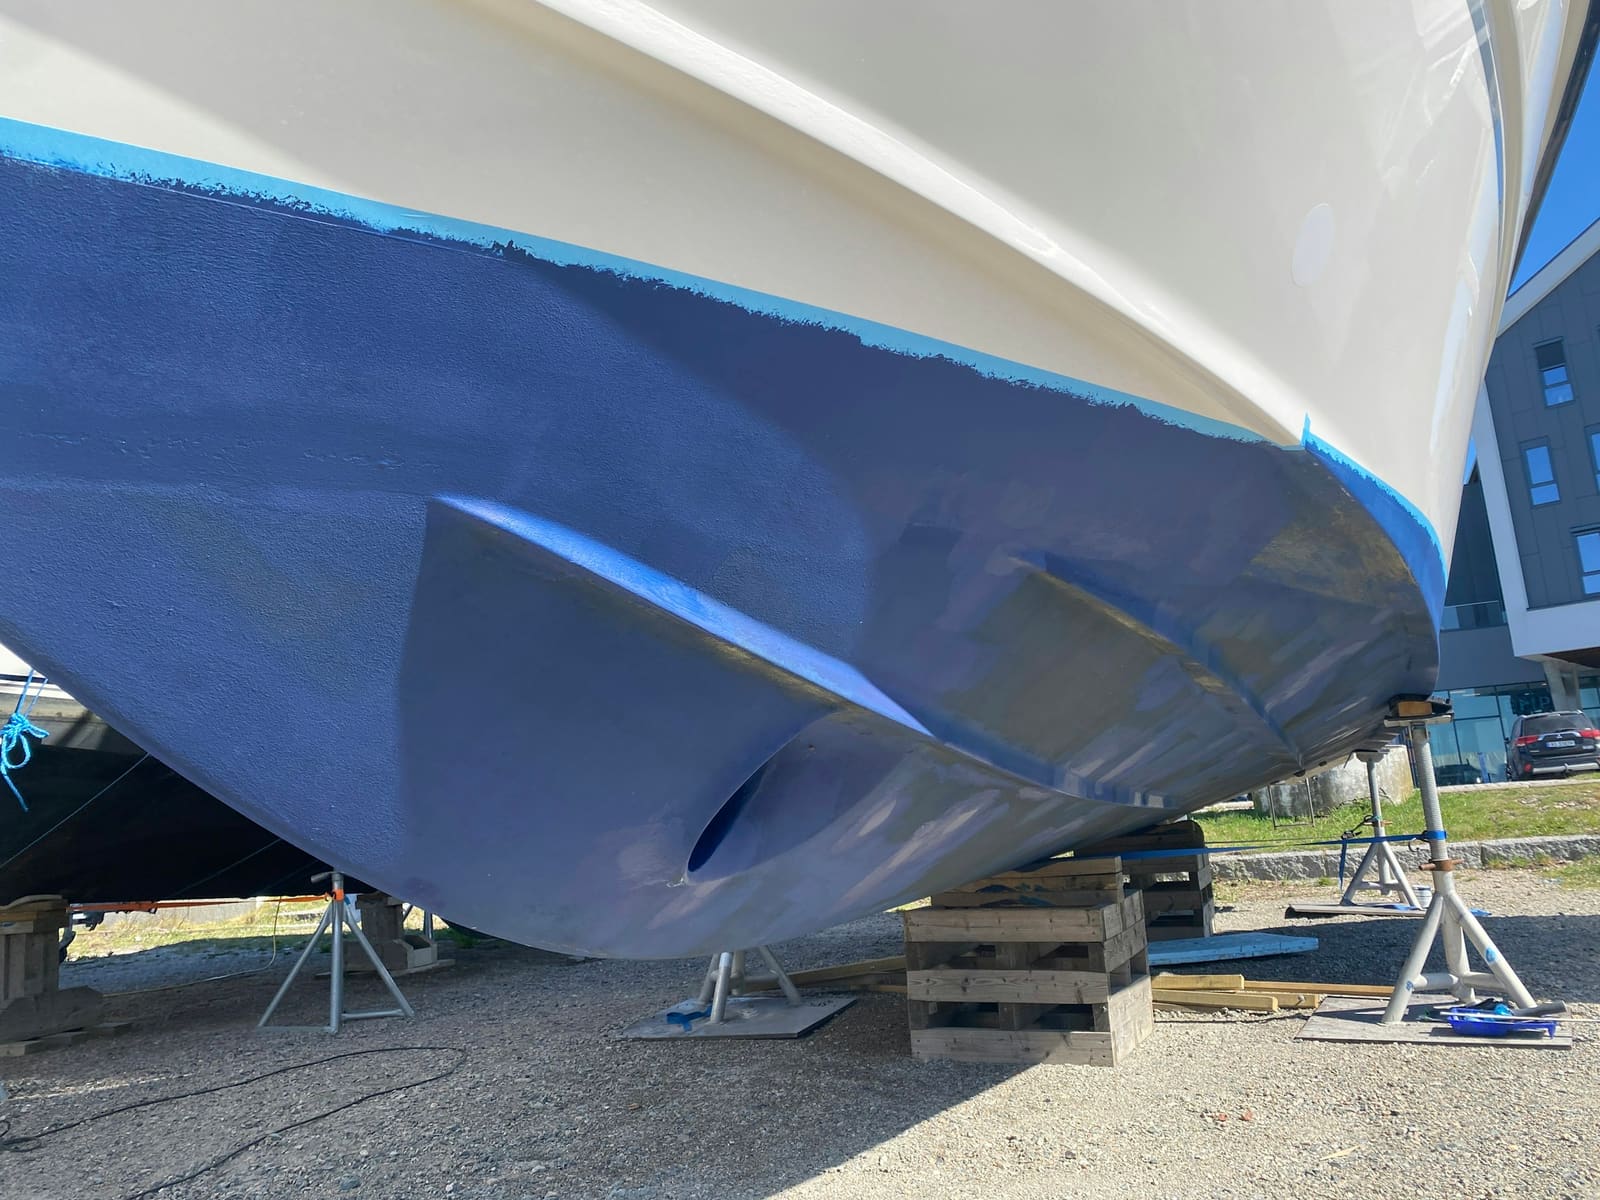
How to Repair Small Gelcoat Chips and Scratches
Fill and blend small chips, dings and scratches in your boat's gelcoat with a repair kit so they stop letting water into the fiberglass and look close to new. Also learn to spot damage that is structural and needs a pro.