How to Install (and Remove) a Keel Guard on a Trailer Boat
An adhesive keel guard protects the bow and keel line of a trailer or beaching boat from sand, rocks and ramps. Learn when it's worth it, how to prep and apply one the way the maker intends, and how to take it off later.
Time
1 h 30 min
Shop would charge
$200-500
Applies to
Outboard, Sterndrive (I/O), Jet boat · Fishing boat, Bowrider / runabout, Center console, Jet boat
Safety first: Work with the boat securely on its trailer or on proper stands, wheels chocked and the tongue supported, never with someone under a boat held only by a jack (see /guides/boat-stands-blocking). Solvents and primers are flammable and give off fumes: work outdoors or with good airflow, no smoking or heat sources nearby, and wear gloves and eye protection. A keel guard only protects against scrapes; it won't stop a hard hit from cracking the hull. If you hit something and see a crack or water coming in, get to shore and call TowBoatUS / Sea Tow, or USCG on VHF 16 or 911.
Owners often ask
- Is a keel guard worth it if I beach my boat a lot, and will it work with my roller trailer?
- How do I get an old keel guard off without wrecking the gelcoat?
- Can a keel guard interfere with my depth finder transducer?
This guide walks you through it. Still stuck? Ask the AI Mechanic about your engine.
Tools
- Tape measure and masking tape or a grease pencil
- The scuff pad, primer and burnishing tool supplied with the kit
- Isopropyl alcohol or acetone, clean rags or paper towels
- Nitrile gloves and safety glasses
- Rubber mallet
- Surface thermometer (helpful)
- For removal - plastic putty knife and a rubber decal-eraser wheel for a drill
Parts & supplies
- Keel guard kit sized for your boat length
- Marine adhesive sealant for small gaps over strakes (if the maker calls for it)
- Gelcoat repair materials if the keel is already damaged
Before you start
What a keel guard is: a thick, flexible strip, usually urethane or a polymer blend, with a pressure-sensitive adhesive on the back. It goes on the forward keel of a V-hull, from just above the waterline at the bow back past the deepest point of the hull, where ramps, sand and rocks grind through the gelcoat. Megaware, a common maker, describes it as protection against abrasion and wear, not structural impacts.
Is it worth it? It usually is if you:
- Beach the boat on sand, gravel or oyster bars
- Launch and load at shallow or rough ramps, or power-load where the keel touches
- Already see the gelcoat wearing through to fiberglass along the keel
It's usually not worth it if the boat lives on a lift or in a slip and never touches bottom. Megaware's stock sizes run for boats up to about 30 feet, with longer guards by special order; on bigger, heavier boats, ask the maker whether a guard suits the way you use the boat.
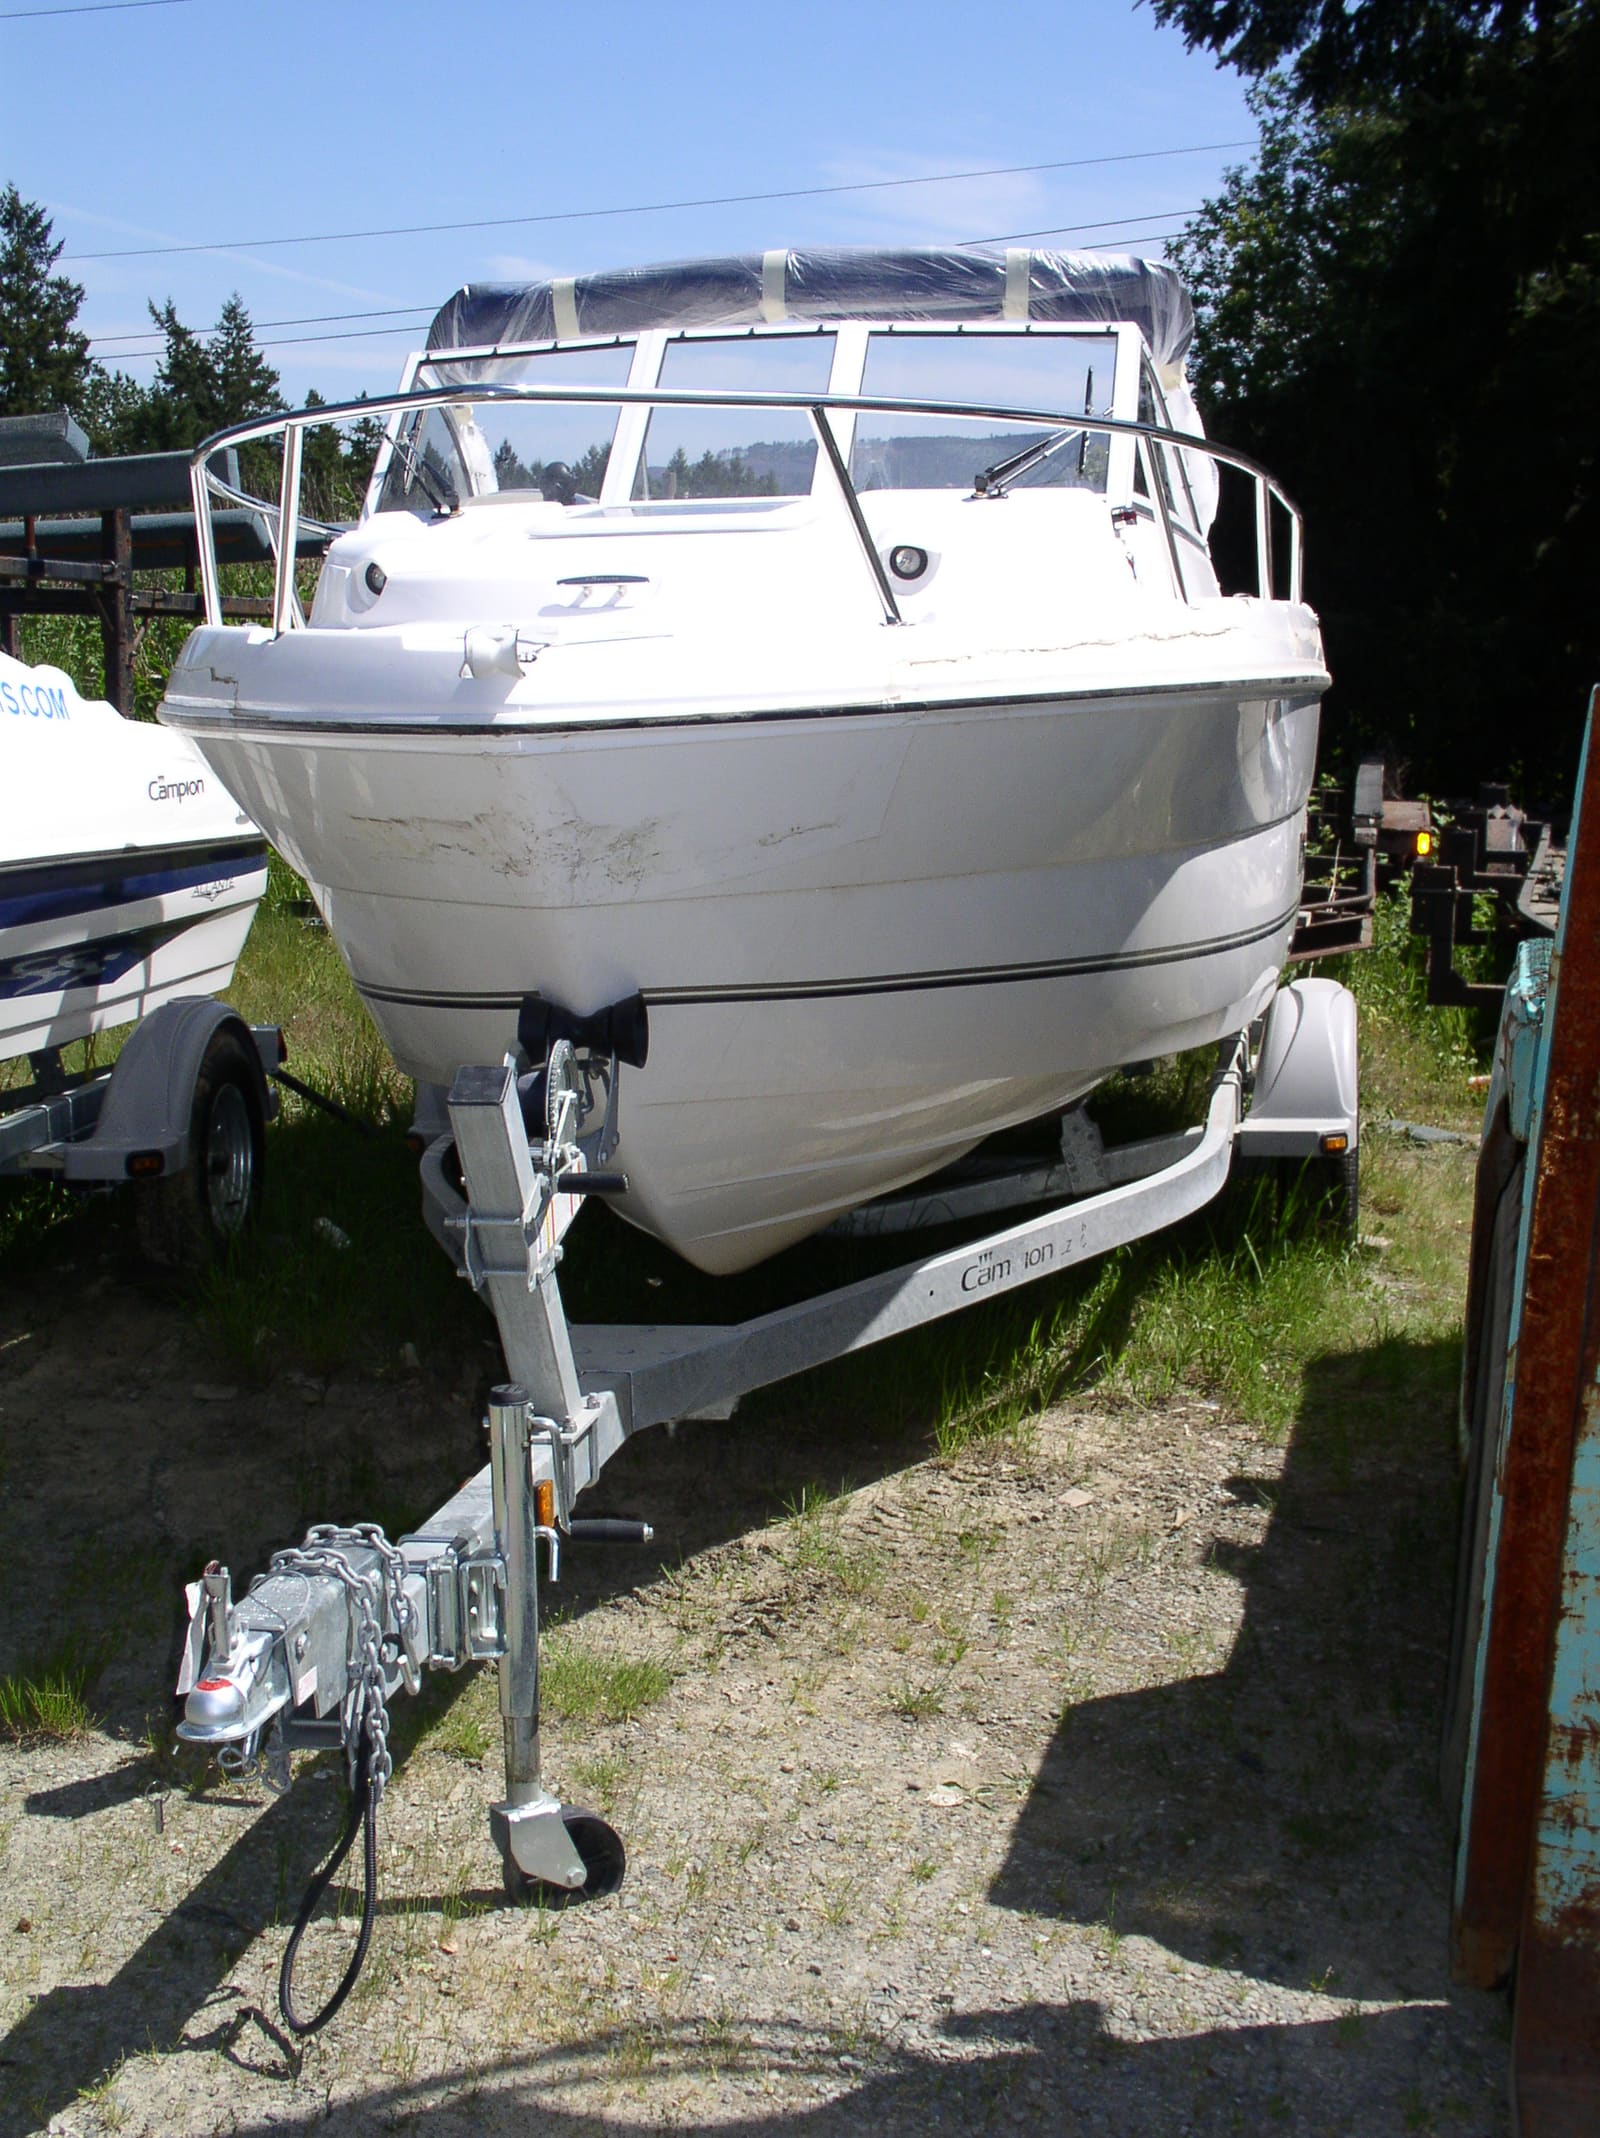
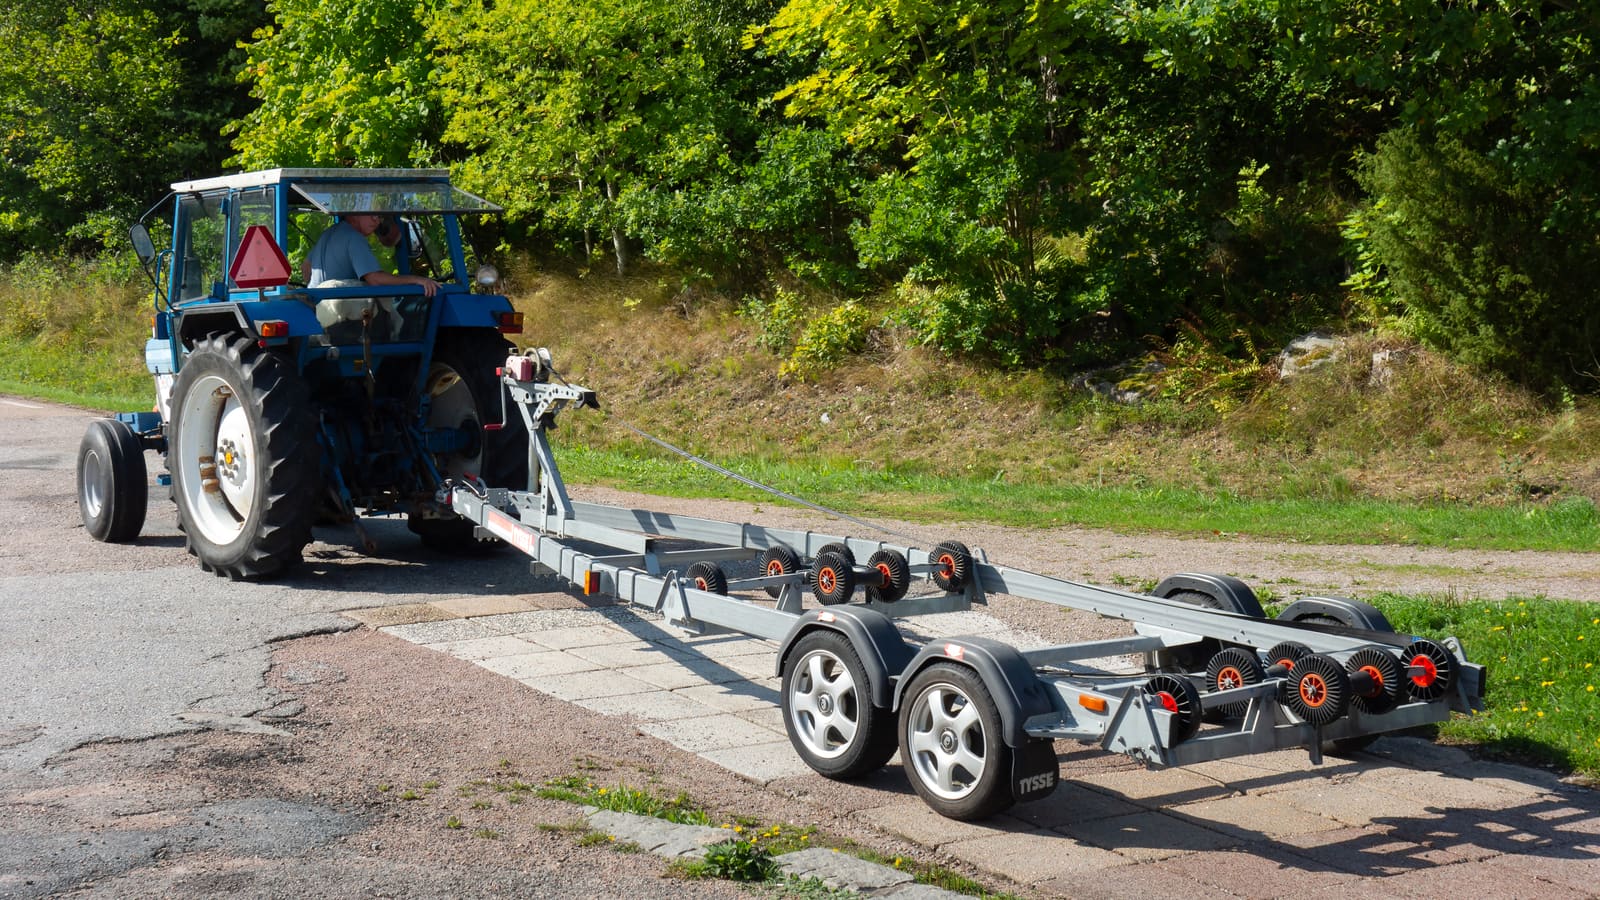
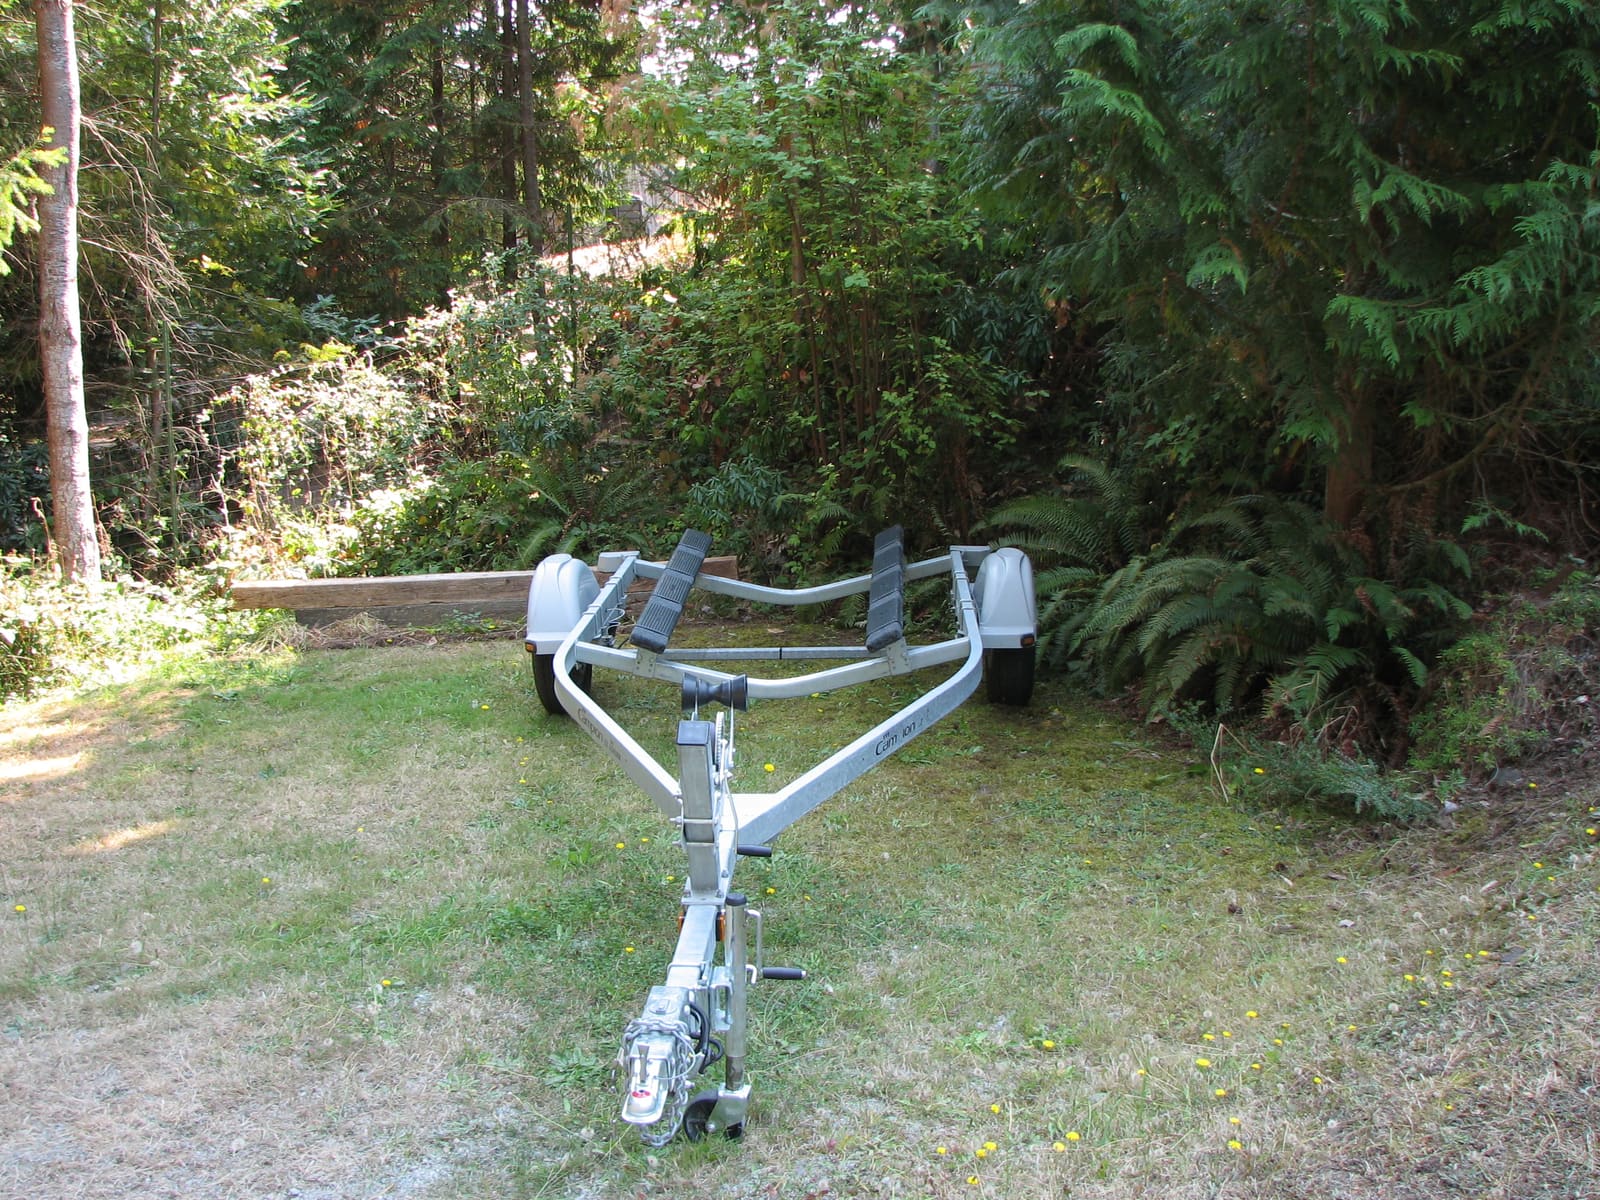
Check your trailer first. This is the most common problem. Megaware's FAQ says its guard must not touch, rest on or be pressed against any part of a trailer, lift or floating dock: bunks, keel rollers, V-blocks, cross braces or the bow stop. Pressure points tear the adhesive, and edges snag during launching. If your boat sits on keel rollers or a center beam, you'll need to lower them or raise the side bunks before fitting a guard (see /guides/trailer-bunks-rollers), or choose a different solution.
Other limits:
- Not over bottom paint, a vinyl wrap or a bad repair. Antifouling has to come off where the guard goes; you can paint over the guard afterward. Megaware doesn't recommend installing over a wrap, and loose paint or poor old repairs will let go with the guard.
- Not on kayaks and canoes: Megaware says the adhesive doesn't bond well to the polyethylene and polypropylene most of them are made of.
- Usually not on personal watercraft: Megaware notes that modern PWC hulls have so many contours, strakes and chines that the guard can't get the smooth surface it needs.
- Not for sailboat fin keels. These products are sold for the keel line of powerboat V-hulls; ask the maker before fitting one to a sailboat.
- Depth finder nearby? If your transducer is mounted inside the hull or on the keel area aft of where the guard will end, ask the guard maker and your electronics installer first. Some owners report a guard that ran too far aft stirred up bubbles that upset the depth reading at speed.
Weather window: adhesive needs warmth. Megaware passes on 3M's ideal range of 70°F to 100°F for both air and hull, with 25% to 75% relative humidity, and says not to apply below 65°F; Discover Boating's older guide says no lower than 60°F. Follow the numbers in your kit's instructions. The hull and the guard should be the same temperature, and the hull must be completely dry.
Steps
Megaware sizes its guards by boat length and says the recommended length is the minimum: the guard should run past the lowest point of the hull so its tail end doesn't catch and peel when you beach or load. Don't cut a guard shorter than the maker says. Measure your keel line with a tape before ordering if you're between sizes.
The adhesive is only as good as the surface under it. If the gelcoat is gouged, cracked or worn through to fiberglass, fix that first (see /guides/gelcoat-repair). For deep gouges, Practical Sailor describes washing, drying, roughening the edges, then filling with epoxy and an epoxy filler and fairing it smooth. Let any repair cure fully as the product says before going on.
If the boat has antifouling, strip it from the keel area down to sound gelcoat (see /guides/bottom-paint-stripping), and follow the paint maker's rules for sanding dust.
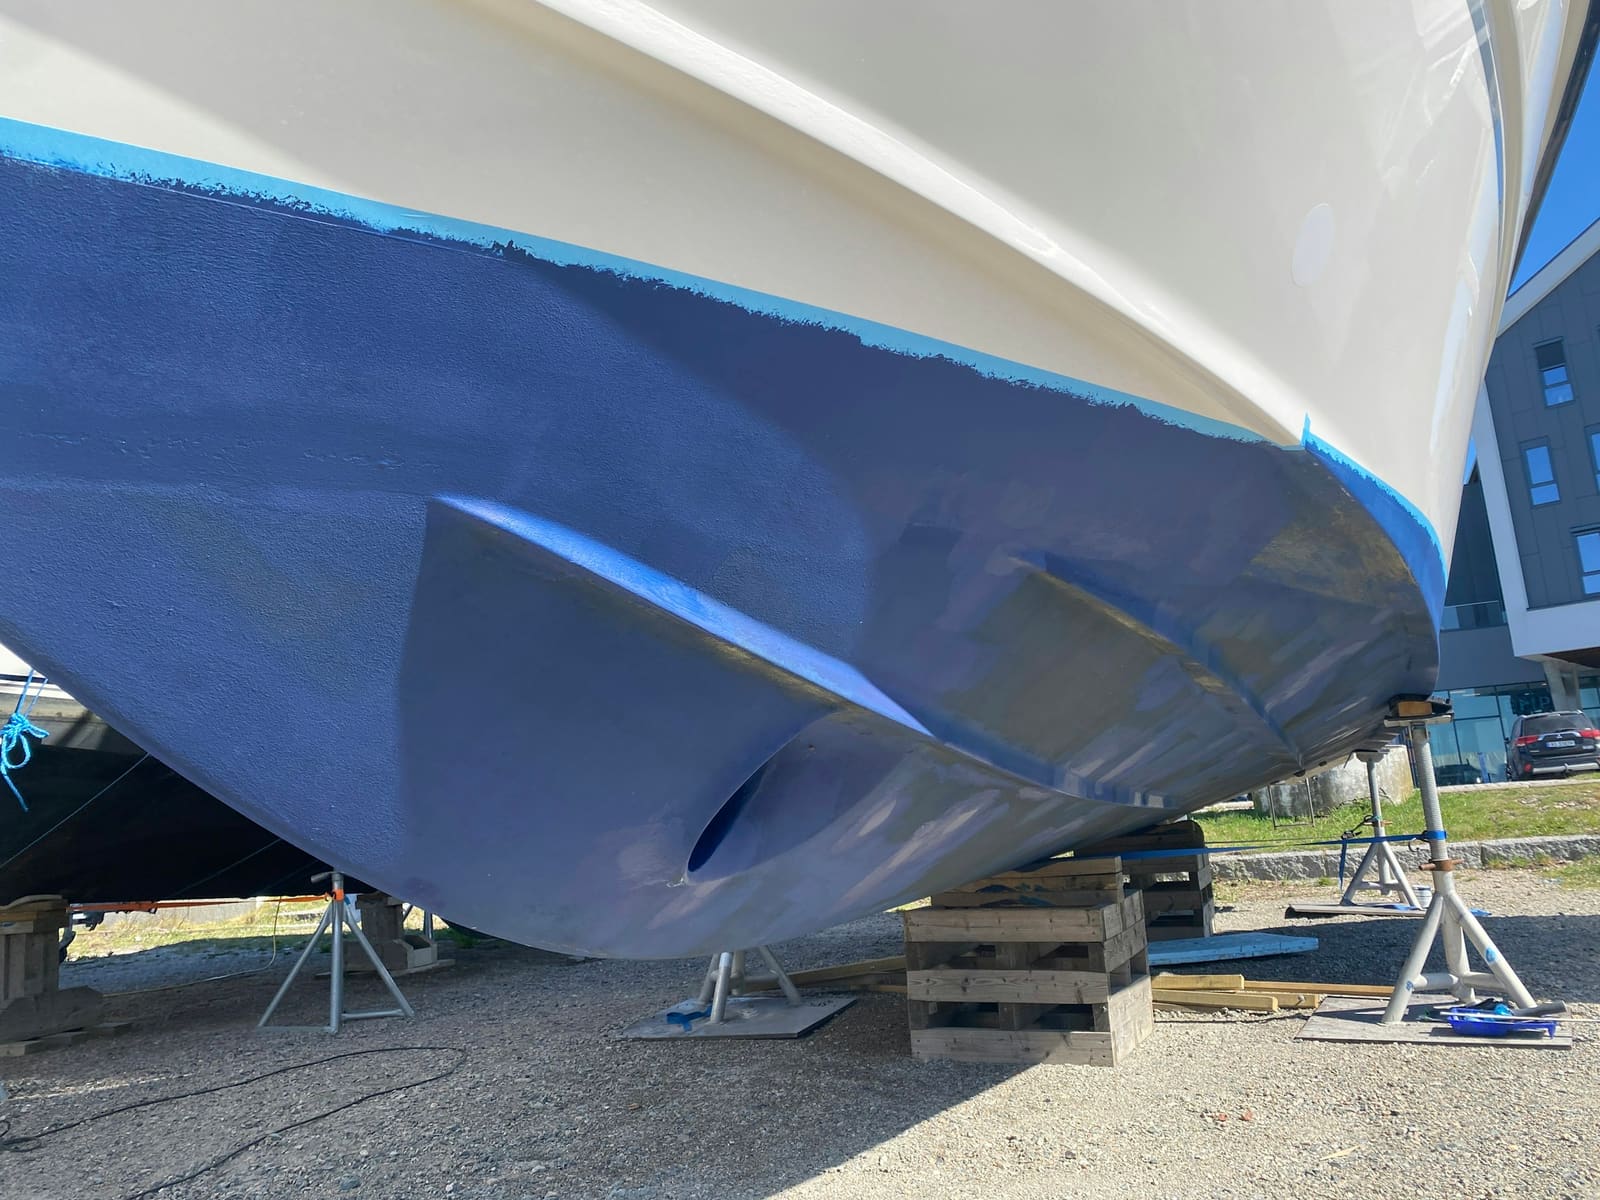
Megaware says to start the guard 4 to 6 inches above the resting waterline at the bow, measured with the boat loaded normally (people, fuel and gear). Mark that point. Don't start it lower even if you only care about beaching: Megaware explains that when the boat comes up on plane, water pressure on a front edge set too low can tear the adhesive and peel the guard off, and it doesn't recommend any part of the start sitting below the waterline. Then mark the keel centerline back along the hull with masking tape or a grease pencil so you can keep the guard straight.
Factory mold release and wax stop adhesive from sticking. Discover Boating and Megaware both say to etch the keel area with the scuff pad supplied (a fine pad that won't hurt the gelcoat) until all the gloss is gone. BoatTEST describes the supplied pad as a mild 320-grit equivalent; if you use sandpaper instead, go no coarser than 180 grit. Megaware's FAQ is blunt: most failures they see come from poor surface prep, and the surface should be dull, not shiny.
Wipe the area with isopropyl alcohol or acetone on a clean rag, then wipe again with a fresh rag. Discover Boating warns not to use paint thinner or other petroleum-based cleaners, which leave a film that hurts the bond. Let it flash off and dry completely.
Apply a thin, even coat of the adhesive primer supplied with the kit over the whole area the guard will cover, especially the edges. Discover Boating points out the primer is not a cleaner; it reacts with the adhesive and the bond gets stronger over time. Let it dry as the kit says.
Unroll the guard and let it relax and reach the same temperature as the hull; Discover Boating suggests a few minutes in the sun if it's cool. Hold it against the keel without removing the liner to check the start point, centerline and length. Many guards have a liner scored down the middle to help with centering.
Once the adhesive touches the primed surface, it is permanent, so line it up carefully before you let it touch. Peel back the center strip of liner for the first couple of feet, align the guard on your centerline at the start mark, and press it down along the center. Then peel one side's liner and press that side down, working from the center outward so no air is trapped. Do the other side the same way.
Continue toward the stern in sections of a few feet at a time: center, then one side, then the other. Keep checking that it stays on the centerline. Don't touch the adhesive with your fingers.
Go over the whole guard with the burnishing tool using strong pressure, paying attention to the edges. A rubber mallet adds pressure on stubborn spots. If your guard crosses raised strakes or a chine, Megaware says to seal any small gaps between the hull and the guard with a marine adhesive sealant so water can't creep under the adhesive.
If you use bottom paint, you can paint over the guard once it's installed. Check your kit's instructions for any wait before launching. Discover Boating notes the primer bond keeps getting stronger over time, so go easy on beaching for the first few outings.
Rinse and wipe the guard when you pull the boat. Look at the edges, especially the front end and over strakes. Seal small lifted spots with marine adhesive sealant before water gets under them. If a section tears or peels, contact the maker; warranties usually need registration and proof of purchase.
To replace or remove a guard, peel it back slowly from one end; Megaware says the foam core of the adhesive is designed to split in the middle. Take off the leftover adhesive with a plastic putty knife and a rubber decal-eraser wheel on a drill, kept moving so it doesn't heat the gelcoat. Clean the remaining residue with isopropyl alcohol or acetone, then inspect the gelcoat, repair any damage and wax the area if you're not fitting a new guard.
Common mistakes
- Fitting a guard to a boat that sits on keel rollers or a center beam without changing the trailer. The guard tears and the edge catches on launch.
- Skipping or rushing the scuffing step, so the adhesive sticks to wax and mold release instead of the hull.
- Cleaning with paint thinner or a household cleaner that leaves a film.
- Installing in cold weather or on a damp hull straight out of the water.
- Cutting the guard short so the tail end ends at the deepest point and peels off on the first beach landing.
- Covering damaged gelcoat instead of repairing it first; water gets into the laminate under the guard.
When to call a pro
- The keel is worn through to fiberglass, cracked, soft, or has been ground on hard over many seasons
- You see cracks in the hull bottom or water in the bilge after a grounding: have the hull inspected
- Your trailer setup needs bunks or rollers moved and you're not comfortable adjusting it
- Large or heavy boats where you can't safely work under the bow on the trailer
- You'd rather have a yard rebuild the keel with epoxy and barrier coat instead of covering it
Tips
- Buy from the maker or a trusted dealer; Megaware warns that counterfeit guards are being sold.
- Do the install on a warm, dry afternoon with the boat in the shade, so the hull is warm but not hot.
- Take before-and-after photos and log the install date and kit size in BoatMend for warranty claims.
- If you don't want a guard, a fresh keel gelcoat repair plus careful beaching (trim up, slow approach, sandy spots) is the other route.
Official references
We read these to write this guide. Your engine's own manual always wins.
Safety: BoatMend is for information only and does not replace a certified marine technician. You are responsible for your safety and your boat. Read the full disclaimer.
Last updated 2026-10-26
Related guides
How to Repair Small Gelcoat Chips and Scratches
Fill and blend small chips, dings and scratches in your boat's gelcoat with a repair kit so they stop letting water into the fiberglass and look close to new. Also learn to spot damage that is structural and needs a pro.
How to Adjust and Replace Trailer Bunks and Rollers So Your Boat Sits Right
Set up your boat trailer so the hull is supported in the right places: bunks and rollers clear of the strakes, the transom fully supported, the bow snug against the winch stop and the weight balanced on the tongue. Also covers replacing rotten bunk boards and worn carpet or rollers.
How to Choose, Install and Adjust Trailer Guide-Ons (Posts or Bunks)
Add or tune the side guides on your boat trailer so the hull lines up in wind and current, the posts stay visible at the ramp and nothing rubs the gelcoat on the road. Covers post vs. bunk guide-ons, lighted posts, mounting height, side clearance and yearly care.
Stripping Old Bottom Paint: Chemical Strippers, Blasting and Sanding
Learn when old bottom paint has to come off, how chemical strippers, soda or media blasting and sanding compare, how to protect yourself and the water from toxic dust, and why a bare hull needs primer or a barrier coat before new antifouling.
How to Clean, Remove Oxidation and Wax Your Boat's Gelcoat (Plus Pontoon Tubes)
Wash your hull the right way, bring back chalky, faded gelcoat with compound, and seal it with wax so it stays glossy and protected from the sun. Includes how to clean and protect the aluminum tubes on a pontoon boat.
How to Launch and Retrieve Your Boat Alone
A repeatable routine for putting a trailer boat in and taking it out by yourself: what to do in the staging area, how to rig one long line so you can control the boat from the dock, when power loading is off-limits, and the safety habits that keep you, your boat and the next boater out of trouble.