How to Service Sailboat Winches (Clean, Oil the Pawls, Grease the Gears)
Take your sheet and halyard winches apart, clean out old grease and salt, oil the pawls, lightly grease the gears and bearings, and put them back together. A serviced winch turns easily and, more importantly, its pawls catch every time so the drum can't spin backward under load.
Time
1 h
Shop would charge
$75-150
Applies to
All engines · Sailboat
Safety first: Service winches at the dock or on the hard with no load on them, never at sea. Before you start, take every sheet and halyard off the winch you are working on and make sure nothing is under tension. Pawls that stick can let a loaded drum spin backward and whip the handle around, which is why this job matters.
Owners often ask
- Should I grease or oil the pawls when I service my sailboat winches?
- How often do winches really need to be taken apart and serviced?
This guide walks you through it. Still stuck? Ask the AI Mechanic about your engine.
Tools
- Your winch's service manual or exploded parts drawing (from the maker's website)
- Flat screwdriver and a set of Allen keys (or whatever your model needs)
- Cardboard box and tape, or a towel to block cockpit drains
- Cafeteria tray or plastic tub for parts
- Mineral spirits or another solvent that is safe on plastic parts
- Old toothbrush, small paintbrush and plenty of rags
- Phone camera
Parts & supplies
- Winch service kit for your exact winch model (pawls and springs)
- Winch grease recommended by the winch maker
- Winch pawl oil (or a light oil the maker allows)
Before you start
How often: winch makers recommend servicing once a year. Practical Sailor says weekend sailors sometimes stretch it, but treats about three years as the most you should go; past that, wear and damage go up. Boats kept in salt water benefit from an extra quick check mid-season. Typical; confirm in your winch manual.
Signs a winch needs service now:
- Squeaks, groans or grinding as you crank
- The drum slips back a little before the pawls catch
- The ratchet clicks sound dull or uneven instead of crisp
- A Harken specialist's quick test: put your thumb in the handle socket and turn the top. If it does not turn easily in both directions, it needs cleaning.
Get the right kit first. Seemingly identical winches made a few years apart can use different parts. Look up your exact model (it is usually stamped on the top or on the drum) and download its service manual and exploded drawing from the maker's website before you open it. Harken, for example, keeps winch manuals and a service guide on its support and manuals page and sells service kits matched to each winch family. For an old winch from a brand that no longer exists, a rigger or a specialist winch-parts supplier can often still identify the parts.
Steps
Cover cockpit drains and any gap where a small part could roll overboard. Pawl springs are tiny and love to jump. Practical Sailor suggests taping a cardboard box around the winch while you lift the drum, since loose bearings can stick to the drum and drop out. Have a tray ready for parts.
Finish one winch before starting the next, so parts never get mixed up. Photograph each stage with your phone as you go.
Before removing anything, photograph the self-tailing arm (the line stripper) and note which way it points. It has to go back in the same spot so the tail drops cleanly into the cockpit.
Most winches come apart from the top by removing one central screw or a retaining clip, then the self-tailing top, then lifting the drum straight up. Follow your manual's order. Lift slowly and watch for roller bearings and spacers that may come with it.
Take out the pawls, springs, gears and shafts in the order shown in your manual and lay them out in that order in the tray. Note which way each pawl faces. Count the pawls so you know you have them all back at the end.
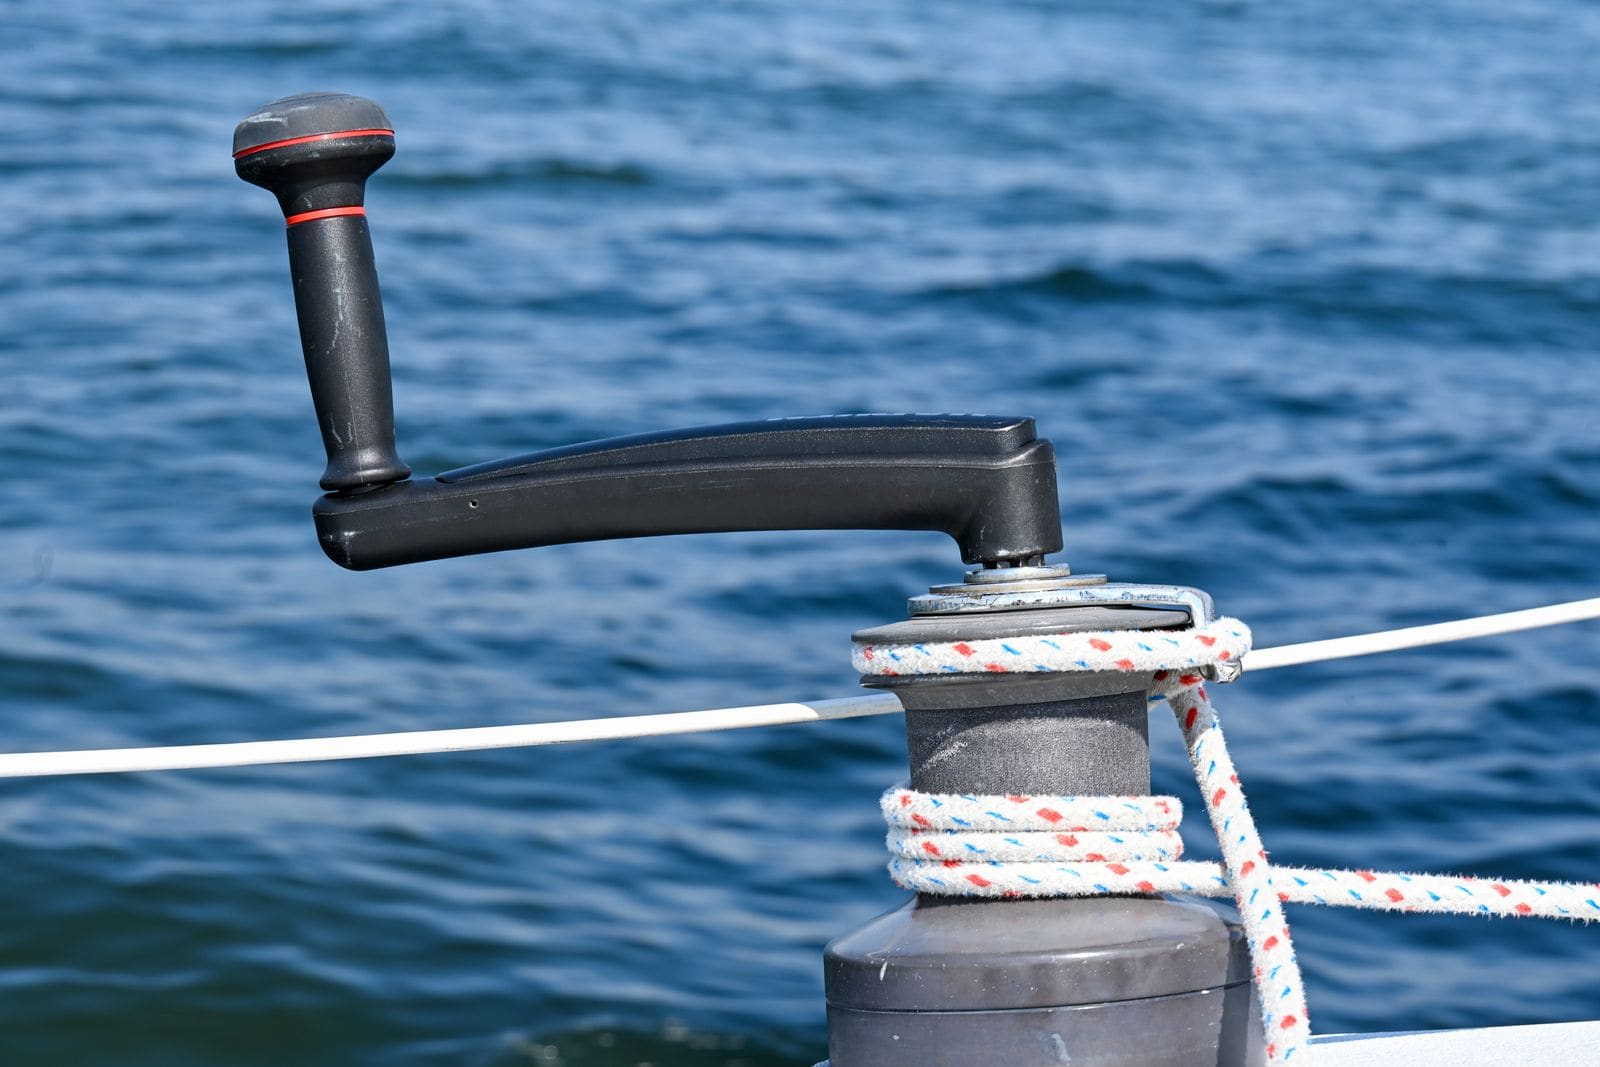
A self-tailing winch. Note where the line stripper points before you take the top off. Photo: Beth Fitzpatrick / Pexels Degrease every part with mineral spirits (or the maker's recommended solvent) and a toothbrush. Use a solvent that will not attack the plastic parts. Get the old grease out completely; old winch grease dries into a gummy paste. Clean the inside of the drum and the base too. Let everything dry fully.
Look for cracked or chipped gear teeth, worn bearings, rough spots on shafts and pawls with rounded tips. Replace pawls and springs if they look worn, if they don't snap back crisply, or if they have been reused through a few services already. Practical Sailor notes it is hard to judge pawl wear without new ones to compare, which is another reason to have the kit on hand.
Put a drop of pawl oil on each pawl and spring. Never pack grease on them: grease thickens and can make pawls hang up, which is exactly when a loaded drum can spin backward. Fit each pawl and spring and check that it flicks back out on its own.
Wipe a thin, even coat of winch grease on the gears, gear shafts, roller bearings and the center stem. Practical Sailor stresses these don't need to be packed like car wheel bearings: extra grease runs down into the pawls. A very thin film on other internal metal parts helps stop corrosion.
Rebuild using your photos and the manual's drawing. Make sure every pawl sits square in its pocket and every spacer goes back where it came from. Reinstall the line stripper pointing the same way as before, then the top and central screw or clip.
Spin the drum by hand: it should turn freely one way and lock solidly the other, with crisp clicks. With the handle, check both speeds (on a two-speed winch) and both directions of cranking. If anything binds, clicks oddly or slips, open it back up and recheck the pawls.
Fit winch covers if you have them. Practical Sailor notes self-tailing winches have plastic parts that sun damage, and covers also keep rain from washing out lubricant. Record the date and which winches you serviced in your BoatMend log.
Common mistakes
- Greasing the pawls. It is the classic error. Pawls get oil; gears and bearings get a light coat of grease.
- Packing in too much grease. The excess migrates into the pawls and gums them up.
- Starting without the right service kit and losing a spring overboard.
- Not noting the line stripper orientation, so the tail feeds the wrong way.
- Using a solvent that attacks the plastic parts, or regular axle grease that is not made for winches.
- Taking a winch apart at sea. Do it at the dock.
When to call a pro
- A gear tooth is cracked or broken, or a shaft or bearing is scored
- The winch base is loose on deck, or water leaks into the cabin around its bolts
- Parts are seized and won't come apart without force
- An electric winch is slow, noisy or dead (the motor and gearbox under deck need a rigger or electrician)
- You are not sure every pawl went back correctly; a rigger can check it before you load it
Tips
- Download the exploded drawing for each winch and save it to your BoatMend boat profile.
- Do the small halyard winches and the big primaries on different days so you never mix parts.
- Buy a couple of spare pawls and springs to keep aboard.
- Mid-season, a fresh-water rinse and a drop of pawl oil keep things crisp until the full service.
- Going cruising? Cruising World suggests carrying a service kit for each winch, since pawls, springs, bearings and ratchet gears are the parts that wear out.
- Don't attack an aluminum or anodized drum with metal polish or an abrasive pad. Check your winch maker's cleaning advice first; fresh water and mild soap are usually all it needs.
- Racing or sailing hard in salt water? Many owners service the most-used winches more than once a season.
Official references
We read these to write this guide. Your engine's own manual always wins.
Safety: BoatMend is for information only and does not replace a certified marine technician. You are responsible for your safety and your boat. Read the full disclaimer.
Last updated 2026-10-24