How to Replace the Water Pump Impeller
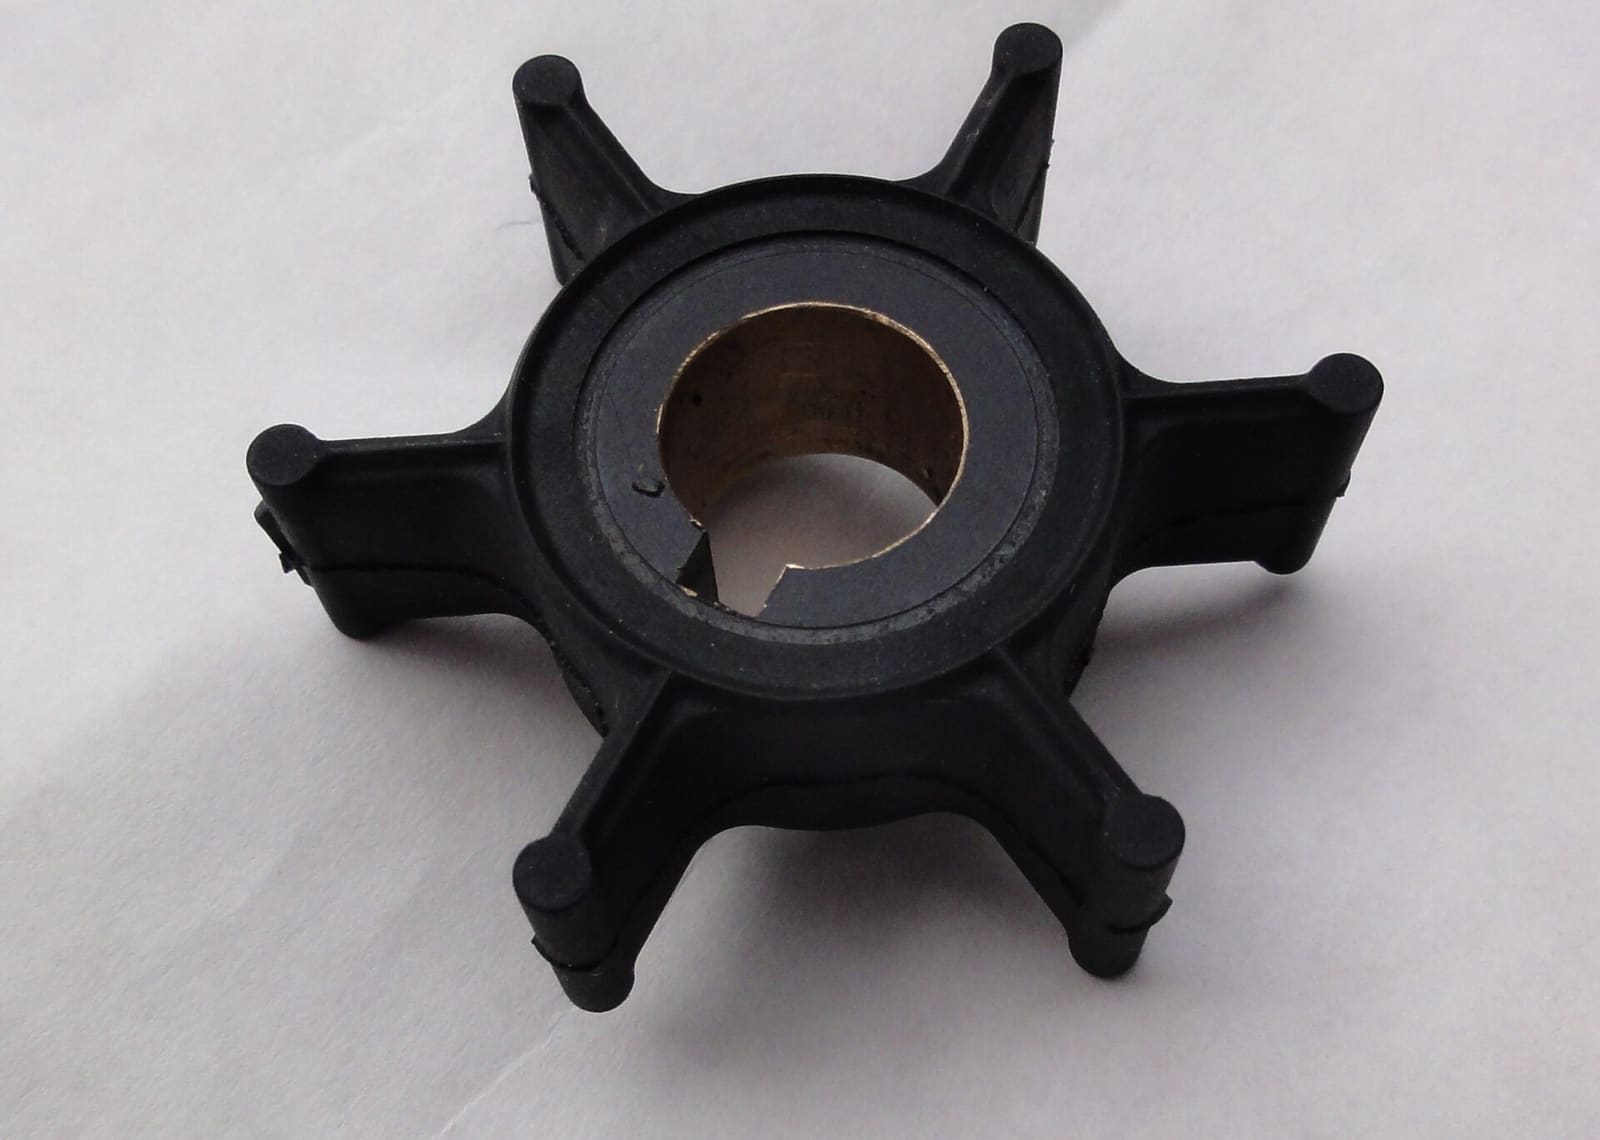
Replace the rubber impeller that pumps cooling water through your engine, the part most often behind overheating. On many outboards it is a two-hour driveway job that saves a shop bill of several hundred dollars and prevents far costlier heat damage.
Time
2 h 30 min
Shop would charge
$250-650
Applies to
Outboard, Sterndrive (I/O), Gas inboard
Safety first: Disconnect the battery (negative cable first) and remove the kill switch lanyard before you drop a lower unit or touch the prop. A heavy gearcase can fall when it breaks free, so support it and keep your feet clear.
Owners often ask
- How often should I replace the water pump impeller?
- I found a broken impeller with missing vanes. Where do the pieces go and do I need to find them?
This guide walks you through it. Still stuck? Ask the AI Mechanic about your engine.
Tools
- Socket and wrench set (box-end wrenches, not open-end, for stubborn bolts)
- Large flat screwdriver for gearcase drain and vent screws
- Gear lube pump
- Soft-face mallet
- Prop wrench or socket, plus a block of wood
- Plastic scraper or razor blade and fine emery cloth
- Impeller puller or two flat screwdrivers (inboard/engine-mounted pumps)
- Torque wrench
- Marker or phone camera for marking shift and trim tab positions
- Clean rags, drain pan, gloves and safety glasses
Parts & supplies
- Water pump kit for your exact model and serial number (impeller, key, gaskets, seals, often a wear plate and housing)
- Marine gear lube and new drain/vent gaskets (outboard and Alpha-style drives)
- Marine grease or the spline lube your manual specifies
- Gasket sealant only if your manual calls for it
- Glycerin or mild dish soap (for lubricating the new impeller)
Before you start
Why it matters: the impeller is a small rubber wheel that pumps lake or sea water through the engine. Over time its vanes take a set, crack or break off, and the engine starts running hot. If it runs dry even briefly, it can be destroyed in seconds.
How often: typical intervals range from every year to every 3 years (Mercury lists 300 hours or 3 years for MerCruiser seawater pumps; Yamaha says to inspect yearly; many mechanics replace it every 1–2 years). Replace it sooner if you run in sandy, muddy or salty water, or if the telltale stream gets weaker. For salt or polluted water, Honda Marine recommends servicing the water pump and thermostats every year or 200 hours. Typical; confirm in your manual.
Where is your pump?
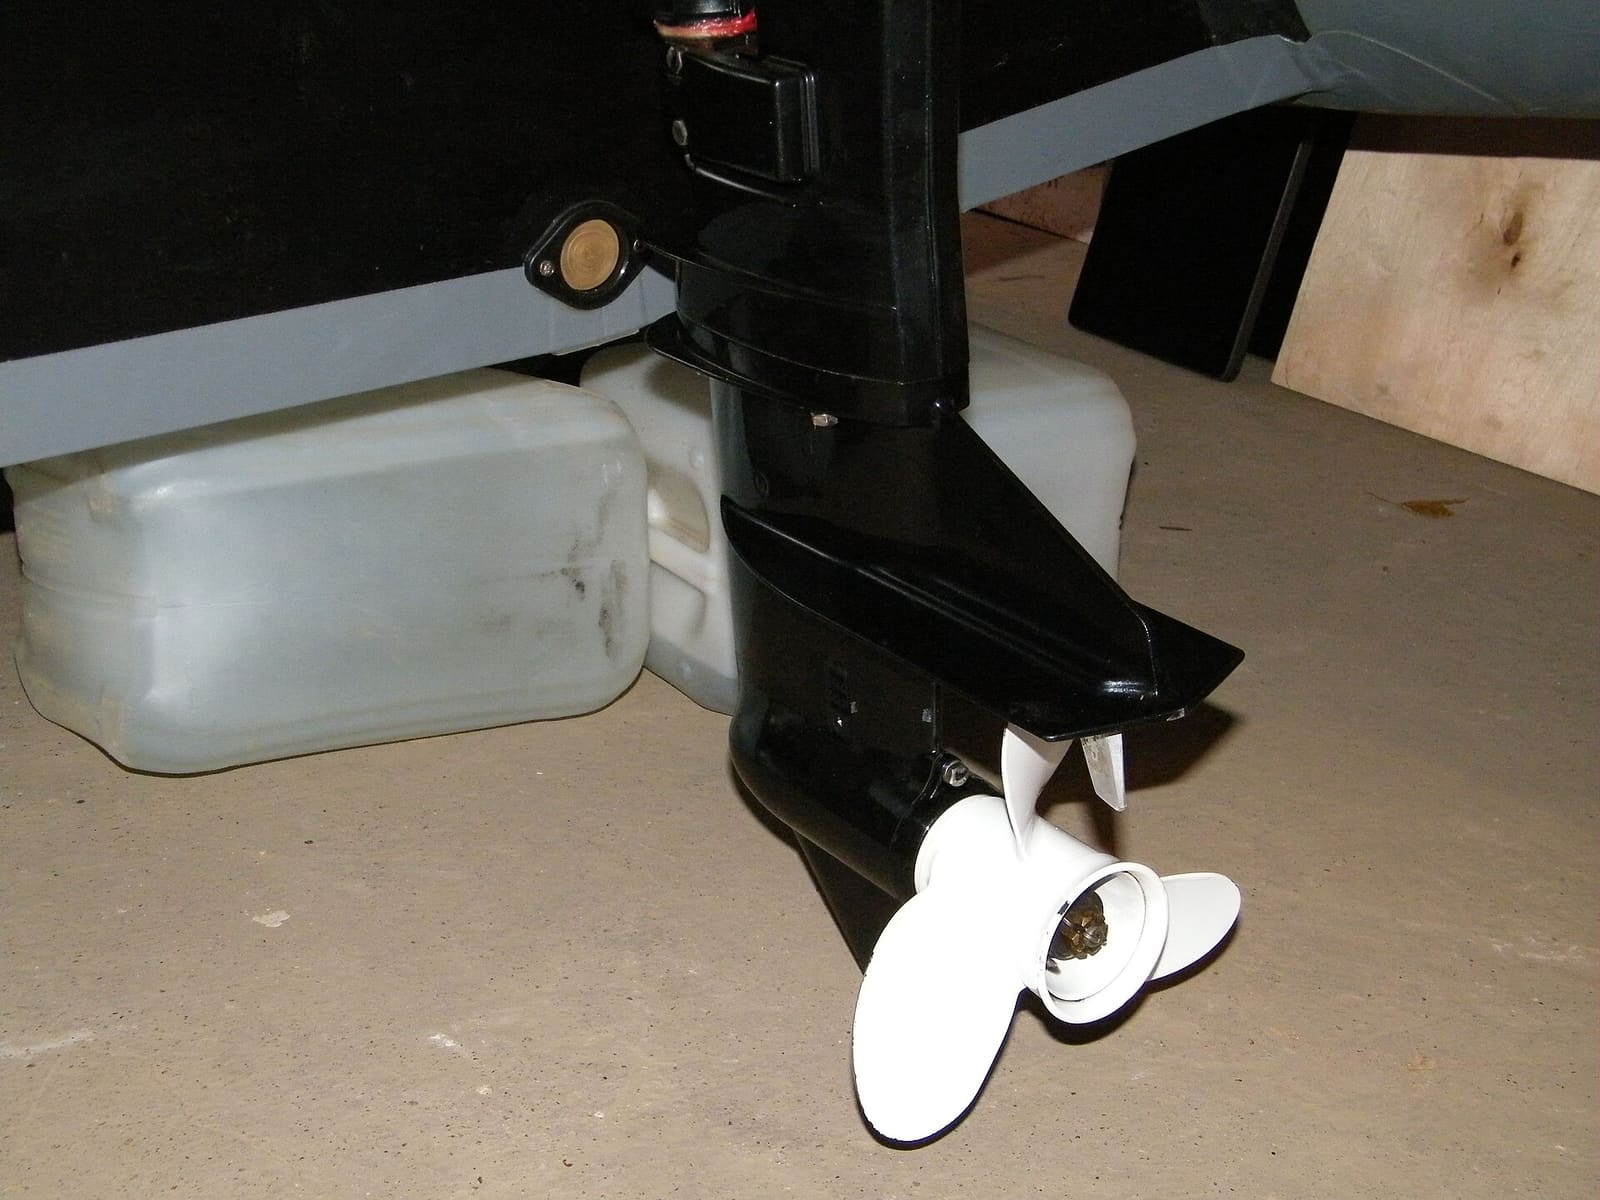
- Outboards: the pump sits on top of the gearcase, under the midsection. You have to drop the lower unit to reach it. This guide covers that job.
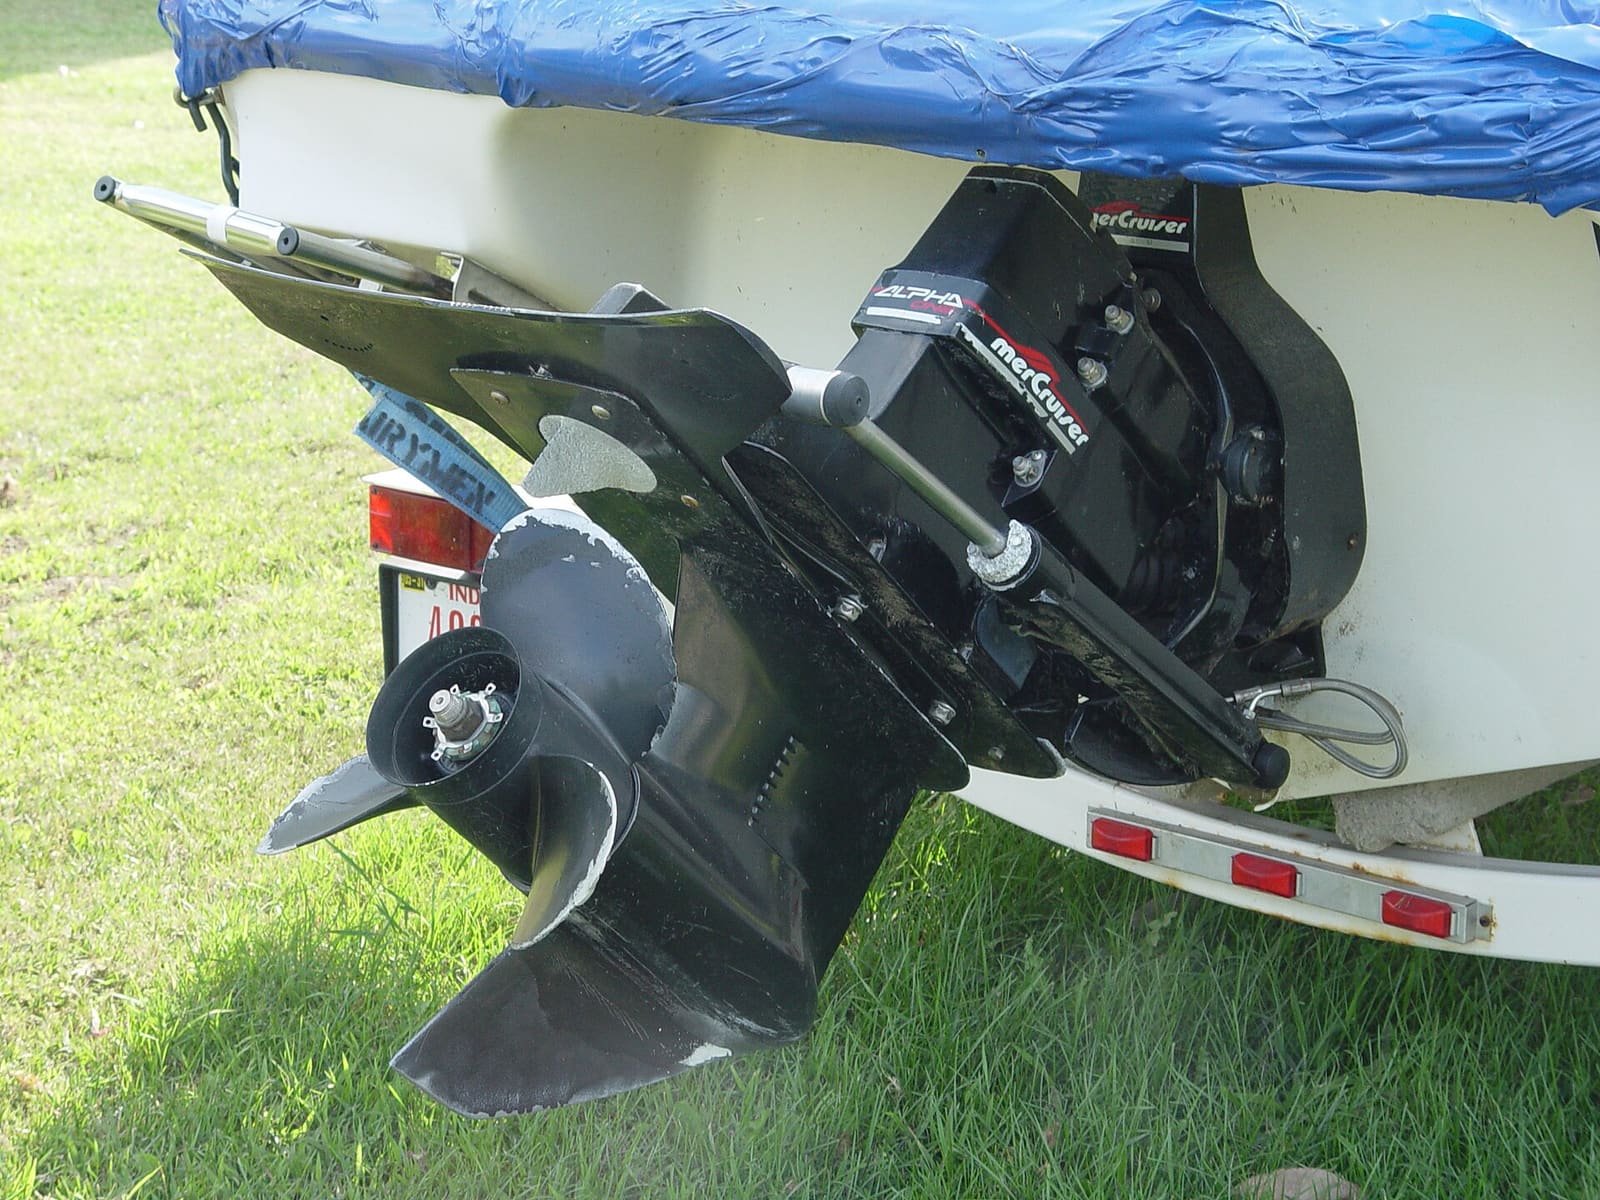
- Sterndrives with the pump in the drive (for example MerCruiser Alpha One): the pump is in the upper drive unit, and the drive usually has to come off the boat. That requires alignment tools and care with the engine coupler and gimbal bearing. Most owners should have a shop do it.
- Sterndrives and inboards with an engine-mounted seawater pump (for example MerCruiser Bravo, most Volvo Penta gas engines and inboards): the pump is on the front of the engine, belt- or gear-driven, with a removable cover plate. This is often the easier job; see step 13.
Get the right kit: impeller kits are specific to model and serial number. Have your engine's serial number ready when you buy. Take photos at every step so you can put things back the same way.
Steps
Tilt the outboard down to vertical and support the boat on a trailer or stands. Shift into neutral. Note or photograph the shift position and the position of the trim tab (mark it with a marker before removing it).
Wedge a block of wood between a prop blade and the anti-ventilation plate, remove the prop nut and hardware, and slide the prop off. Note the order of the thrust washer and spacer.
Remove the bottom drain screw and top vent screw and drain the gear lube into a clean pan. Check it for water or metal while you are here (see the lower unit oil guide).
Some outboards need the shift rod disconnected before the gearcase can come off; others just pull apart in neutral. Follow your manual. On some models you also disconnect a speedometer hose.
Remove the bolts or nuts holding the gearcase to the midsection (often four to six, some hidden behind the trim tab). Use a box-end wrench so you do not round them off. The gearcase usually sticks; tap the rear of it gently with a soft mallet. Never hit the anti-ventilation plate edges, which break easily.
Pull the gearcase straight down, keeping the drive shaft vertical, and set it upright in a safe place.
Slide off any seal or grommet on top of the pump. Remove the pump housing bolts and lift the housing up the drive shaft. The impeller usually comes with it. Remove the impeller, the drive key (a small pin or flat key on the shaft) and the wear plate and gaskets underneath.
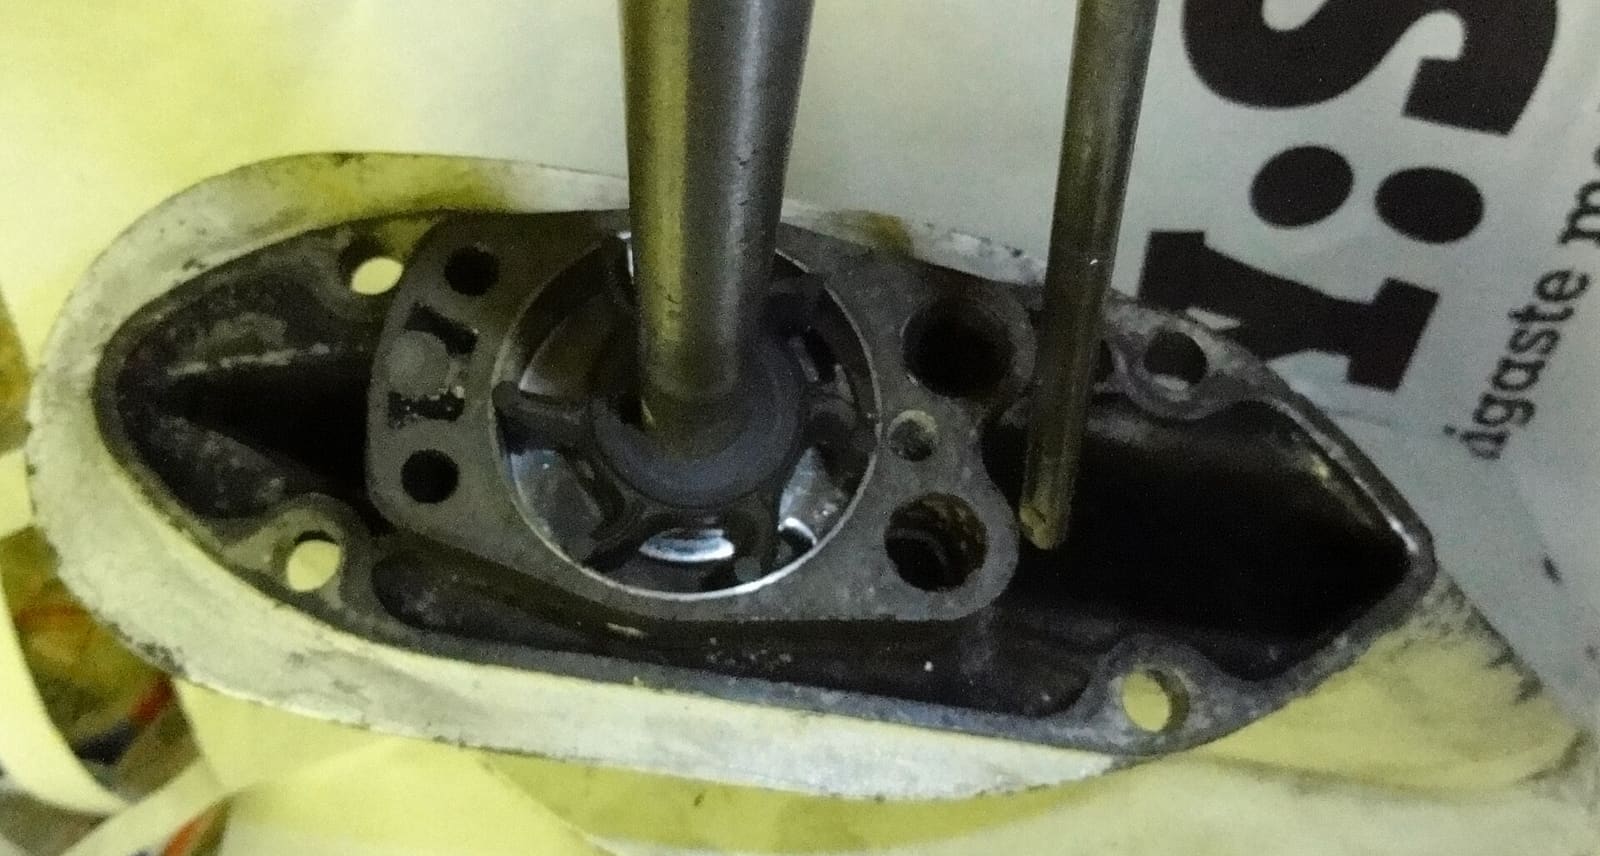
The water pump sits on top of the lower unit, around the drive shaft. Photo: LittleGun / Wikimedia Commons · CC BY-SA 3.0 - Impeller: missing or cracked vanes? Find every missing piece. Broken bits can lodge in cooling passages and cause overheating later.
- Housing: deep grooves, burned plastic or a warped cup mean replace the housing (most kits include it).
- Wear plate: a deep groove means replace it.
Where do missing vane pieces go? Water carries them downstream, so search in the direction of flow: the pump housing outlet, the water tube or its grommet, and then the first hose or fitting after the pump. On engine-mounted pumps, check the outlet hose and whatever it feeds first (often a heat exchanger, oil cooler or thermostat housing). Count the vanes on the old impeller so you know how much you are looking for. If pieces are still missing and you cannot reach them, have a shop find them before they block a passage.
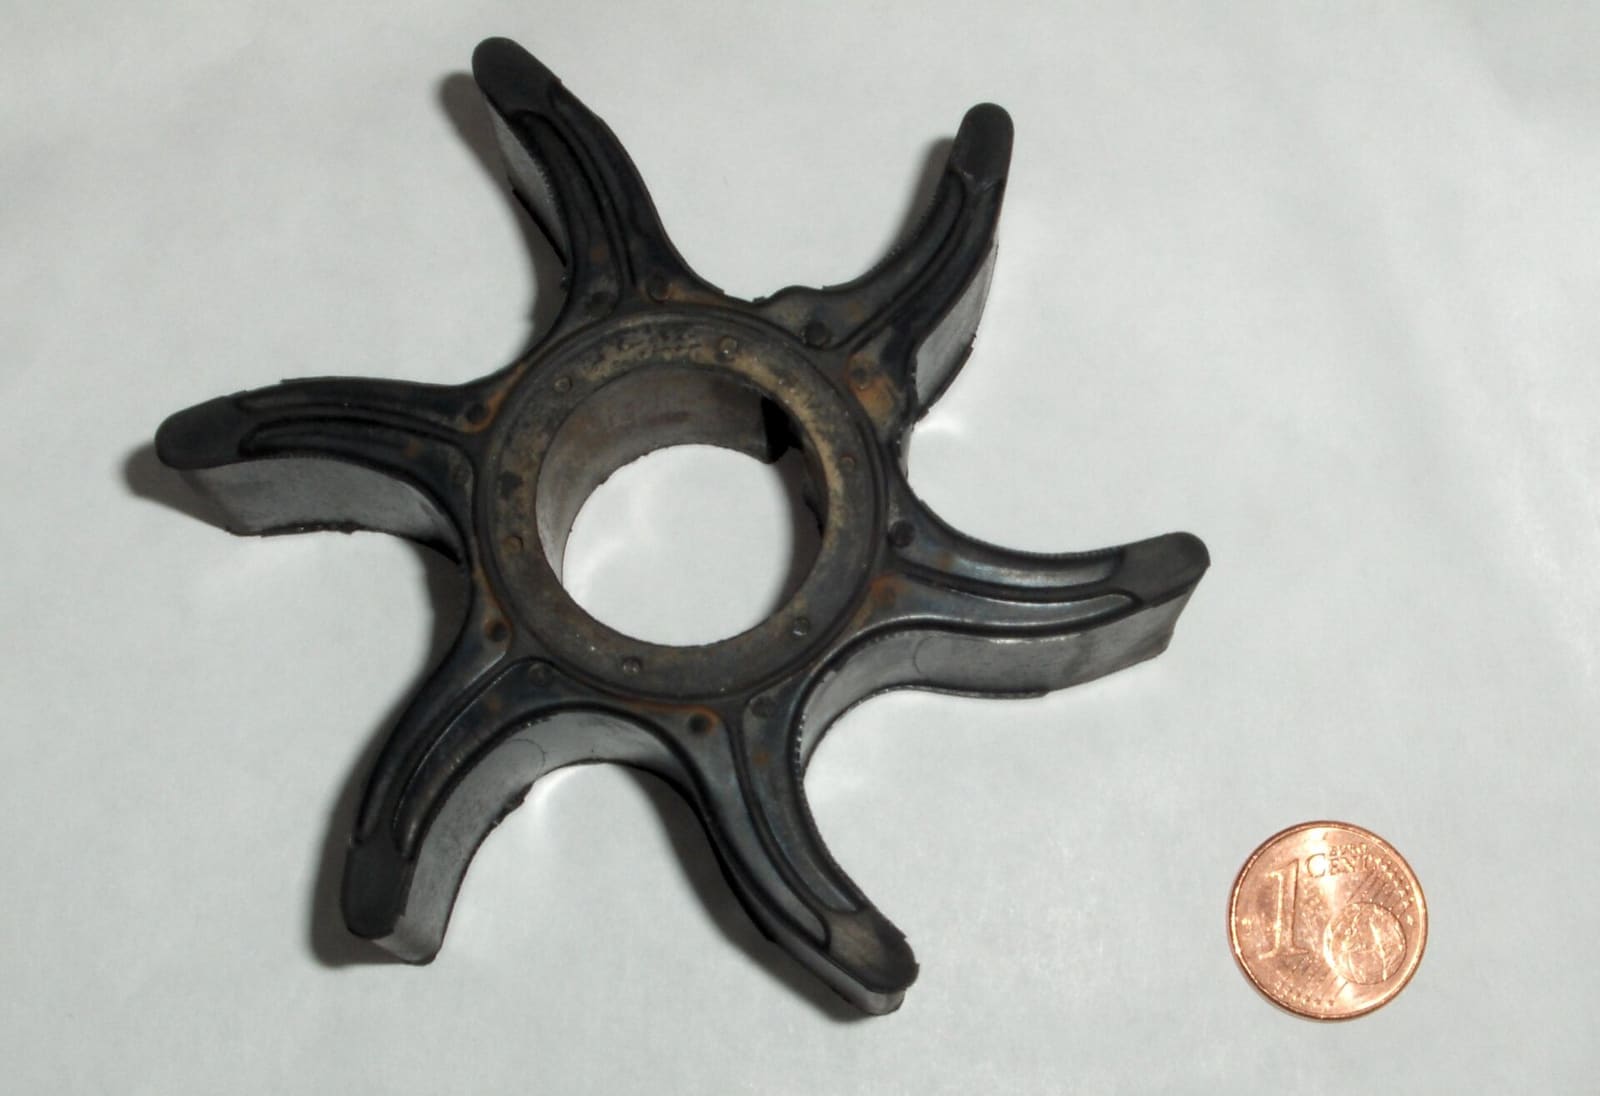
A used impeller whose vanes have taken a permanent set. Replace an impeller like this even if no vane is missing. Photo: Wualex / Wikimedia Commons · Public domain Scrape off all old gasket material and sealant with a plastic scraper or razor blade, then clean with fine emery cloth and a rag. Leaks here let air into the pump and reduce flow.
Fit the new gaskets and wear plate from the kit in the same orientation as the old ones. Gaskets are often not symmetrical; if holes do not line up, flip it. Use sealant only where your manual says.
Place the new drive key on the flat of the shaft (a dab of grease holds it). Coat the impeller vanes with glycerin or mild dish soap, not oil-based products, which can attack the rubber. Slide the impeller down so its slot lines up with the key.
Lower the housing over the impeller while turning the drive shaft clockwise (the normal direction of rotation) so the vanes fold the right way. Never turn the shaft backward. Install the housing bolts and tighten evenly to spec. Fit the top seal or grommet.
Lightly grease the drive shaft splines with the lube your manual specifies. Lift the gearcase into place, aligning the water tube with the pump grommet and the drive shaft with the crankshaft splines (turning the flywheel slightly by hand, clockwise only, helps them mesh). Reconnect the shift linkage, install the bolts to the torque in your manual, reset the trim tab to your mark, and refill the gear lube from the bottom. Reinstall the prop.
Before starting, check shifting: with the engine off, confirm it shifts into forward, neutral and reverse correctly.
Close the seacock if equipped. Remove the cover plate screws (keep them in a cup) and pull the cover. Pull the impeller out with an impeller puller or two screwdrivers placed opposite each other, being careful not to gouge the housing. Check for missing vanes. Clean the housing and plate, lubricate the new impeller with glycerin, push it in while turning it in the pump's direction of rotation, and install a new gasket or O-ring and the cover. Tighten the screws evenly. Some pumps are easier to service off the engine. Reopen the seacock before starting.
Run the engine on flush muffs or in a test tank (a test tank shows the pump's true suction best). Do not use the built-in flush port for a running test; on most outboards it is for engine-off flushing only, and even on models allowed to idle on it, the port usually feeds water in past the pump, so it can't show whether the new impeller pulls water. Within a few seconds you should see a strong, steady telltale stream (outboard) or water from the exhaust (sterndrive/inboard). Watch the temperature, check for leaks, and log the date and hours.
Common mistakes
- Putting a new impeller into a grooved housing or wear plate. The pump loses suction and the engine still runs warm.
- Turning the drive shaft or flywheel backward during assembly, or forcing the impeller in so the vanes fold the wrong way.
- Throwing the old impeller away without counting its vanes. Missing pieces left in the cooling system cause overheating weeks later.
- Reinstalling the gearcase with the shift shaft out of position, then finding the engine will not go into gear. Match the shift position you noted before removal.
- Lubricating the new impeller with oil or grease that attacks rubber. Use glycerin or mild soap.
- Cranking the engine "just to check" with no water, which can ruin a new impeller in seconds.
- Forgetting to reopen the seacock after servicing an engine-mounted pump.
- Missing the water tube grommet when the gearcase goes back on. If the tube from the midsection does not slide into the pump's grommet (or the grommet folds over or is left out), the new pump pushes water into the midsection instead of the engine, and the telltale stays weak.
When to call a pro
- Your sterndrive has the pump in the drive (Alpha-style) and you have never removed a drive
- The lower unit will not come off or the bolts are seized or rounded
- Impeller pieces are missing and you cannot find them
- The engine still runs hot or the telltale is weak after replacement
- Shifting does not work correctly after reassembly
Tips
- Keep a spare impeller on board, especially for engine-mounted pumps you can change on the water.
- Write the date and engine hours on a tag zip-tied near the pump or in your BoatMend log.
- If the telltale stream gets weak, first clean the telltale outlet with a piece of wire; insects and debris often block it.
- Never run the engine "just for a second" out of water to check something. The impeller needs water from the first revolution.
Official references
We read these to write this guide. Your engine's own manual always wins.
- BoatUS – Outboard Water-Pump Impeller Service
- BoatUS – Water Pump Impeller Service (inboard and engine-mounted pumps)
- BoatUS – Impellers
- Yamaha Outboards – Maintenance Matters, Additional Tasks
- Mercury Marine – Service and Support FAQs (seawater pump impeller interval)
- Mercury Marine – Maintenance Made Easy, Preventing Corrosion (never start without water)
- Honda Marine – Salt Water Operation
- Yamaha Outboards – Owner FAQs (starting out of the water)
Safety: BoatMend is for information only and does not replace a certified marine technician. You are responsible for your safety and your boat. Read the full disclaimer.
Last updated 2026-10-23
Related guides
Engine Overheating - Troubleshooting Guide
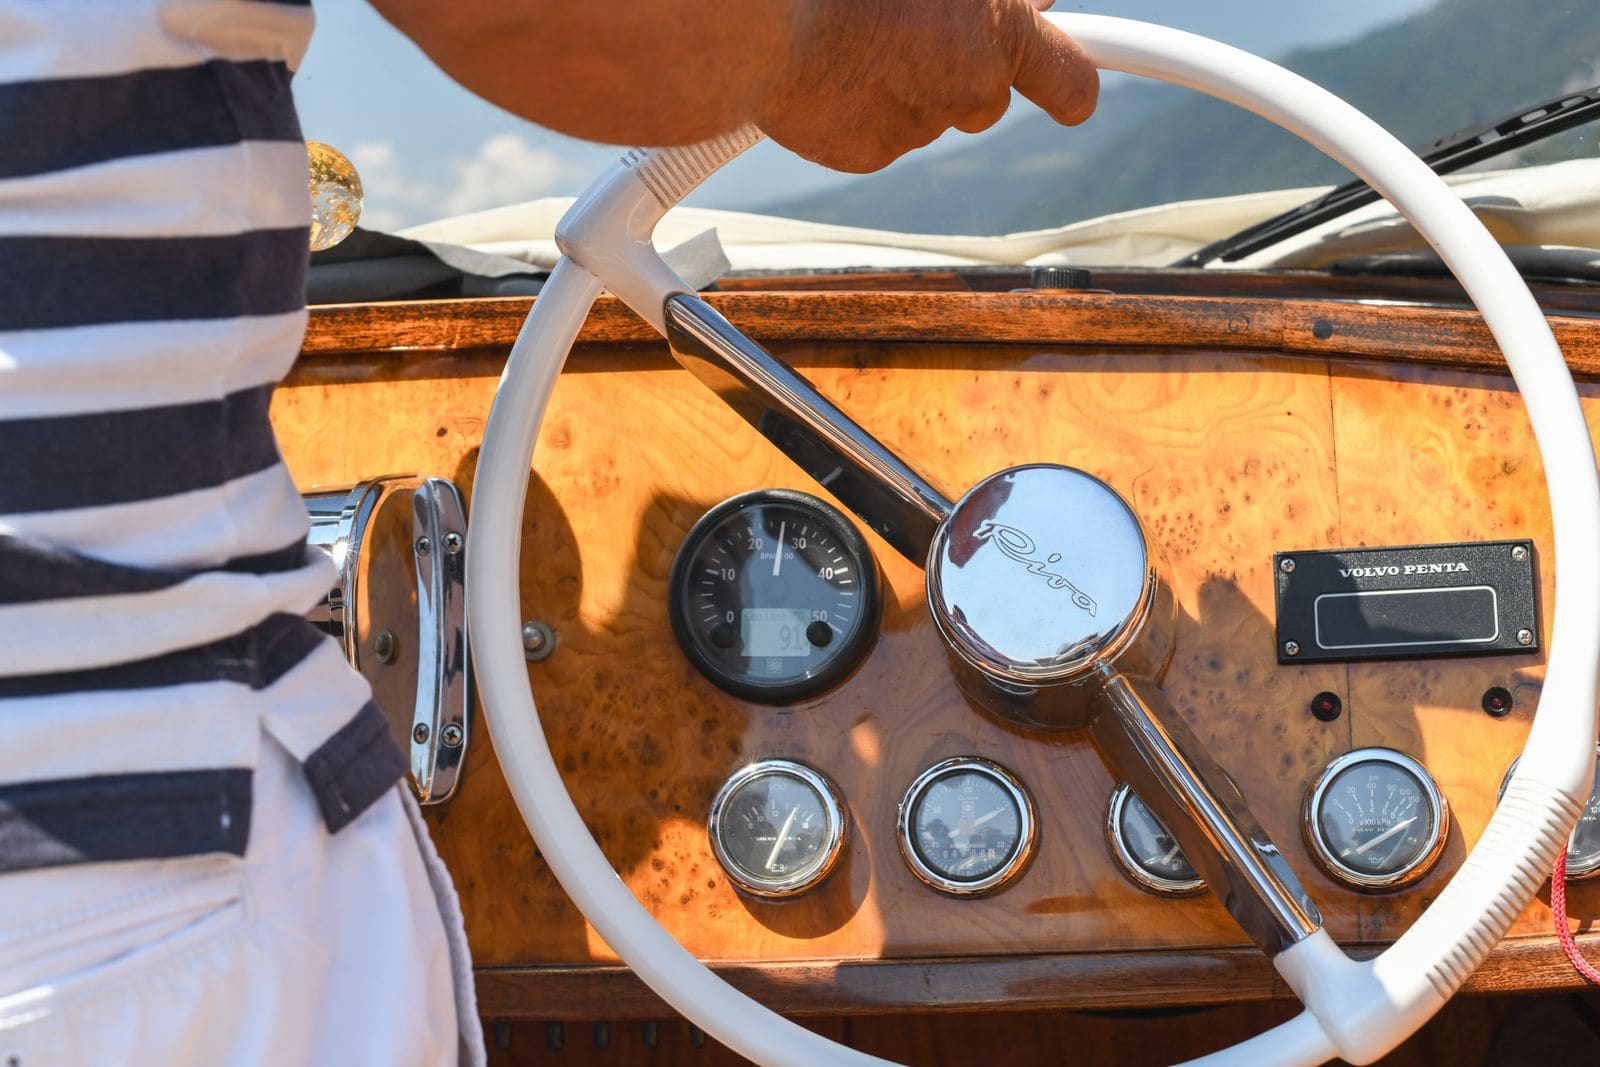
Work through the most likely causes of a hot engine or overheat alarm, from a blocked water intake to a worn impeller or stuck thermostat. Acting fast and in the right order can save your engine and often gets you home without a tow.
How to Change Lower Unit (Gearcase) and Sterndrive Oil
Drain and refill the gear oil in your outboard lower unit or sterndrive, and learn to spot water intrusion before it destroys the gears. It is a 30-minute job that protects a gearcase costing thousands to replace.
How to Winterize an Outboard Engine
Protect your outboard from freeze damage, stale fuel and internal corrosion over the off-season. Most owners can do it in an afternoon with basic tools, compared with a shop bill that often runs several hundred dollars.
How to Winterize a Sterndrive (MerCruiser, Volvo Penta and Similar)
Get the water out of your sterndrive engine, protect it with antifreeze, and service the drive before storage. A cracked block or manifold from one missed drain plug can cost thousands, and doing it yourself saves a shop bill of several hundred dollars.