12-Volt Boat Wiring Basics: Circuits, Color Codes, Fuses and Wire Size
Learn how your boat's 12-volt system is laid out, what the ABYC wire colors mean, how fuses and breakers protect the wiring, why voltage drop and tinned wire matter, and how to read a wiring diagram, so you can troubleshoot smarter and know which jobs belong to a marine electrician.
Time
1 h 30 min
Applies to
All engines
Safety first: 12 volts won't usually shock you, but a boat battery can deliver hundreds or thousands of amps into a short circuit. That is enough to melt a wrench, weld a ring to a terminal and start a fire. Turn the battery switch OFF before you unplug or move anything, take off rings and watches, and never work on the 120/240-volt AC side (shore power, generator, AC panel, outlets): that can kill you. If you smell burning insulation or see melted wires, shut the battery switch off and call a marine electrician. If there is smoke or fire underway, call USCG on VHF 16 or 911.
Owners often ask
- What do the different wire colors on my boat mean, and is a black wire always negative?
- Can I use automotive or household wire to add a light or accessory to my boat?
This guide walks you through it. Still stuck? Ask the AI Mechanic about your engine.
Tools
- Digital multimeter
- Flashlight or headlamp
- Notebook, phone camera and masking tape or wire labels
- Insulated screwdrivers
- Safety glasses
Parts & supplies
- Wire labels or a label maker (optional)
- Spare fuses of every rating used aboard
Before you start
This guide is about understanding, not rewiring. Once you know how the system is put together, a dead light or a blown fuse stops being a mystery, you can talk clearly with a technician, and you will spot unsafe work left by a previous owner.
Nearly every boat's 12-volt system has the same building blocks:
- Battery or batteries: the power source.
- Battery switch: turns the whole system on or off, and on two-battery boats chooses or isolates banks (see our battery switch guide).
- Main overcurrent protection: a large fuse or breaker near the battery protecting the main feed.
- Distribution panel or fuse block: splits power into branch circuits, each with its own breaker or fuse, and often a switch.
- Loads: the things that use power, such as lights, pumps, electronics and the horn.
- Negative (return) path: wires from each load back to a negative bus bar and then to the battery negative.
Small runabouts may have only a fuse block and a row of rocker switches at the helm. Cruisers may have a full DC panel with meters, plus a separate AC panel. The principles are the same.
Steps
Turn the battery switch OFF for any hands-on look behind panels. Open the helm or panel access, the battery compartment and the bilge, and take photos of everything before you touch it. Photos are your "undo" button.
Electricity needs a complete loop. Current leaves the battery's positive terminal, goes through the battery switch, a fuse or breaker, a switch and the device, then returns through the negative wire to the battery. Break the loop anywhere (a blown fuse, a corroded terminal, a broken negative) and the device stops.
Three words you will see everywhere:
- Volts: electrical "pressure." A healthy 12-volt battery reads a little above 12 volts at rest.
- Amps: how much current flows. Devices list their draw on a label.
- Watts: volts times amps. A 12-volt device rated 60 watts draws about 5 amps.
Every connection and every foot of wire adds a little resistance. Too much resistance means lost voltage and heat, and heat is how boat fires start.
Most US boatbuilders follow the American Boat & Yacht Council (ABYC) color code for DC wiring. Knowing it makes tracing a circuit much faster. Common colors (always confirm on your own boat, since previous owners don't always follow the code):
Color Typical use Red Positive main power feeds Black or yellow Negative (return) Yellow with red stripe Starting circuit (switch to starter solenoid) Purple Ignition, and power feeds to instruments Orange Accessory feeds Dark blue Cabin and instrument lights Gray Navigation lights; also tachometer signal Brown Pumps (and alternator/generator circuits) Brown with yellow stripe Bilge blowers Green, or green with yellow stripe Bonding/grounding wires Tan, pink, light blue Engine temperature, fuel gauge and oil pressure senders Blue or green stripe Trim and tilt circuits Two important notes:
- Black is risky. On the AC side, black is the "hot" wire and white is neutral. Practical Sailor warns that people working near AC wiring have grabbed a black AC conductor thinking it was a DC negative, with potentially lethal results. That is why newer boats often use yellow for DC negative.
- Devices come with red and black leads. A new light fixture usually has a red and a black pigtail. Red connects to the boat's colored positive wire for that circuit (for example dark blue for a cabin light) through its fuse or breaker, and black connects to the boat's negative.
Both do the same job: they open the circuit when too much current flows, so the wire doesn't overheat. Practical Sailor stresses that breakers protect the circuit wiring (and so the boat), not the device on the end of it.
- Fuses are cheap and simple but must be replaced once they blow. Small boats mostly use blade fuses; big feeds use larger types.
- Breakers can be reset and double as switches on many panels. Marine breakers are "trip-free": they open on overload even if someone holds the toggle on.
Rules that apply to both:
- Federal rules for gasoline-engine boats and ABYC both require protection on every ungrounded (positive) conductor, except the engine starting circuit. The fuse or breaker belongs at the power source, or within 7 inches of it (up to 40 inches if the wire runs inside a protective sheath or enclosure). Blue Sea's summary of the ABYC rule adds that a sheathed wire running straight from a battery terminal may go up to 72 inches, and that heavy loads wired directly to the battery, such as a windlass or bow thruster, need their own protection placed the same way.
- The protection goes in the positive wire, never the negative.
- Blue Sea Systems sizes the fuse to protect the wire. If a device's maker specifies a smaller fuse, use the smaller one. Motors such as bilge pumps, blowers and macerators have a maximum fuse rating on the label; BoatUS's Ed Sherman says over-fusing them is one of the most common faults he sees.
- Never fit a bigger fuse because one keeps blowing. Find out why (see our fuse and breaker panel guide).
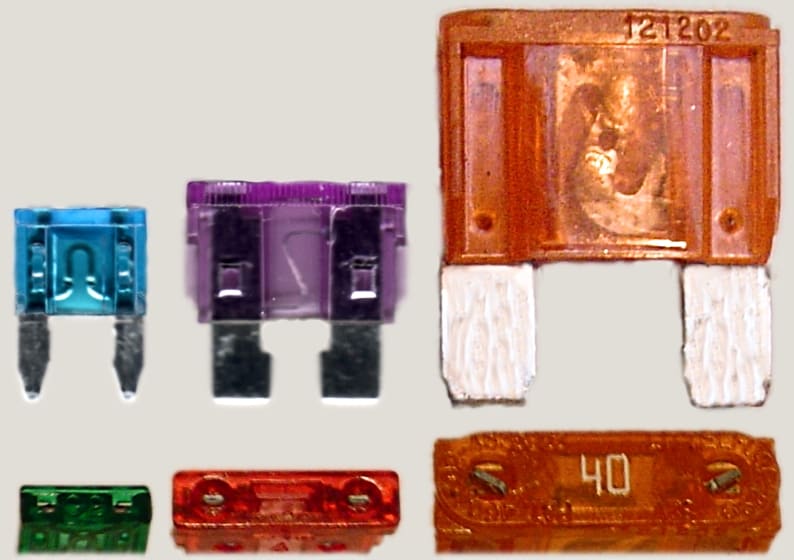
Blade fuses come in mini, standard and maxi sizes. The color and the number on top show the amp rating. Photo: havarhen / Wikimedia Commons · CC BY-SA 3.0 Blue Sea Systems describes quality marine wire, as ABYC specifies it, as stranded (never solid) and tin-plated copper. Stranding survives vibration; tinning resists the corrosion that turns bare copper strands black and crumbly in salt air.
Wire size is given in AWG (American Wire Gauge). The smaller the number, the thicker the wire: 10 AWG is thicker than 16 AWG. Thicker wire carries more current with less voltage loss. Insulation is rated for temperature, and Blue Sea's simplified chart assumes 105°C insulation; lower-rated wire carries less current, which is one more reason to buy real marine wire.
A wire that is too small for its load wastes voltage and heats up. Blue Sea's chart has you:
- Find the device's amp draw on its label.
- Measure the round trip: battery to the device and back. A light 15 feet from the battery is a 30-foot circuit.
- Decide how much voltage loss is acceptable: 3% for critical circuits (panel main feeds, bilge blowers, electronics, navigation lights) and 10% for non-critical ones (general lighting and similar loads).
- Read the wire size off the chart, or use Blue Sea's online Circuit Wizard.
Ed Sherman, former ABYC education director, adds two points in BoatUS: the 3% list comes from Coast Guard rules mirrored in ABYC's E-11 standard, and bilge pumps are not on it because ABYC sees them as handling incidental water, not saving a holed boat (we still suggest generous wire for them). He also reminds owners that those rules set a minimum wire size for boat circuits, so a chart or app answer smaller than that doesn't count, and that you always round up when a table falls between sizes.
The most common owner mistake is sizing wire by the one-way distance. On a long run that can mean dim nav lights, electronics that reboot when the engine cranks, or a warm wire.
Most boat electrical failures happen at connections, not in the middle of a wire. Marine practice is a proper crimp with adhesive-lined heat shrink, no wire nuts, no twisted-and-taped splices (see our corroded connections guide for the full method).
Also look at how wire is routed:
- Supported at regular intervals so it can't chafe or flop around.
- Above bilge water. BoatUS notes that DC wires or splices sitting in bilge water can leak current into the water and eat underwater metal quickly. If a junction must sit low, it belongs in a sealed box.
- Protected where it passes bulkheads, sharp edges or hatches.
- Not stacked on one battery stud: ABYC allows no more than four terminals per stud; use a bus bar or terminal block instead.
- Every positive terminal at the battery and starter covered with a rubber boot.
Inspect the high-current connections often. BoatUS's analysis of five years of insurance fire claims found that more than half of DC electrical fires started at the engine or the batteries, where big loads, vibration and fuel sit together. Its advice: during the season, check monthly that the connections from the batteries to the starter and alternator are tight and clean, that wiring is supported against vibration and not chafing, and that battery terminals are clean. On a used boat, look hard for twist-on wire nuts and household wire; BoatUS suggests replacing battery switches older than about 15 years, and considering a new harness and starter on boats over about 25 years old that still have the originals.
A diagram is just a map of loops. To read one:
- Find the battery symbol (long and short parallel lines) and the battery switch.
- Follow the positive line to the main fuse or breaker, then to the panel.
- Pick one branch: breaker or fuse, then switch, then the device symbol (a circle with an X is often a lamp, a circle with an M a motor).
- Follow the return from the device to the negative bus and back to the battery.
- Check the legend for wire colors and sizes; many diagrams write them on each line, such as "16 GY" for 16 AWG gray.
Builders' diagrams are often simplified or out of date, and owners add circuits over the years, so treat the diagram as a starting point and confirm on the boat.
If you have no diagram, make one. BoatUS's backup-pump how-to recommends sketching every wire run, circuit protection device and component before you start any project, partly because it makes later troubleshooting much easier.
- Start at the battery and list what connects there.
- For each breaker or fuse, write the rating and what it feeds. Turn circuits on one at a time to confirm.
- Label both ends of wires you identify.
- Note where the wiring passes through bulkheads and where splices or junction blocks are.
Keep the sketch and photos in your BoatMend boat profile, and a laminated copy aboard. Boating Magazine suggests also keeping a written list of every fuse size and location and a spare of each rating.
With the battery switch ON and the circuit working:
- Battery voltage: red lead on positive, black on negative. Write it down.
- Voltage at the device: probe the device's own positive and negative terminals with it switched on. Compare with the battery reading. A difference of more than a few tenths of a volt on a small circuit points to undersized wire or a bad connection somewhere in the loop.
- Continuity: with power off, the ohms or continuity setting tells you whether a wire is unbroken end to end, and whether a positive wire is touching ground when it shouldn't (a short).
Boating Magazine calls an inexpensive volt-ohm meter the handiest problem-solving tool you can carry aboard.
Practical Sailor's panel makers felt most owners can handle simple DC work with planning, while AC belongs with professionals. A good line for most owners:
- OK to DIY: replacing a bulb, fixture or switch on an existing circuit with the same rating; cleaning and remaking small connections; labeling and mapping; replacing a blown fuse with the same rating.
- Get help: new circuits, a new panel, extra batteries, anything with large cables, and any change to bonding, grounding or charging.
Common mistakes
- Using automotive or household wire because it's cheaper. Solid household wire cracks with vibration and untinned copper corrodes.
- Sizing wire by one-way distance instead of the round trip.
- Putting a fuse in the negative wire, or no fuse at all on an added accessory.
- Wiring a new accessory straight to the battery with no fuse "because it's only a small light."
- Upsizing a fuse that keeps blowing.
- Assuming a black wire is always a DC negative.
- Stacking a pile of ring terminals on one battery post.
- Leaving splices lying in the bilge.
- Trusting the builder's diagram without confirming it.
When to call a pro
- Any burning smell, melted insulation, hot wires or a breaker that trips repeatedly
- Anything on the AC side: shore power, generator, inverter output, AC panel and outlets
- Battery banks, battery cables, starter, windlass, thruster, inverter and other high-current circuits
- Adding a new panel, a second battery or a charging source (alternator upgrade, charger, solar, lithium)
- Bonding, grounding or corrosion problems (look for an ABYC-certified marine electrician)
- Boats where previous owners left a "rat's nest" of unlabeled wiring
Tips
- BoatUS reports that 12-volt DC circuits cause nearly a third of boat fires in its claims files. Basic housekeeping (boots on terminals, proper fuses, supported wire) prevents most of them.
- Buy one good ratchet crimper and a box of heat-shrink terminals before you need them.
- When you add anything, leave room: a fuse block or panel with spare positions saves you from stacking wires later.
- Read our corroded connections guide next; it shows the voltage-drop test and crimping in detail.
- Running a new wire? BoatUS's 2026 how-to suggests using the boat's existing chase tube where there is one, pulling with a smooth fish tape or a pull string, taping the wire-to-tape joint into a smooth bullet shape, and adding terminals only after the pull. Use silicone spray or a wire-pulling lubricant, not soap or petroleum products, which can degrade insulation. Leave a fresh pull string in the tube for next time, and keep new runs away from moving parts, heat, fuel tanks and sharp fiberglass edges.
Official references
We read these to write this guide. Your engine's own manual always wins.
- Blue Sea Systems – Part 1, Choosing the Correct Wire Size for a DC Circuit
- Blue Sea Systems – Part 2, Select a Fuse and Fuse Holder for Your DC Product Installation
- Blue Sea Systems – DC Main Overcurrent Protection Requirements (7, 40 and 72 inch rules)
- Boating Magazine – ABYC Color Codes for Boat Wiring
- Practical Sailor – Breaker Panels (DC color coding, polarity, voltage drop)
- BoatUS – Avoiding Boat Electrical Mistakes
- BoatUS – Understanding The Green Ground Wire
- BoatUS – The Current Scoop on Galvanic Corrosion (keeping DC wiring out of bilge water)
- eCFR – 33 CFR 183.455, Overcurrent protection
- Boating Magazine – Electrical Repairs Checklist
- BoatUS – Choose the Correct Wire Size (Ed Sherman, 2020)
- BoatUS – Analyzing Electrical Fires on Boats (2018)
- BoatUS – How To Pull Wire (2026)
- Boating Magazine – Adding a Distribution Panel
Safety: BoatMend is for information only and does not replace a certified marine technician. You are responsible for your safety and your boat. Read the full disclaimer.
Last updated 2026-10-24
Related guides
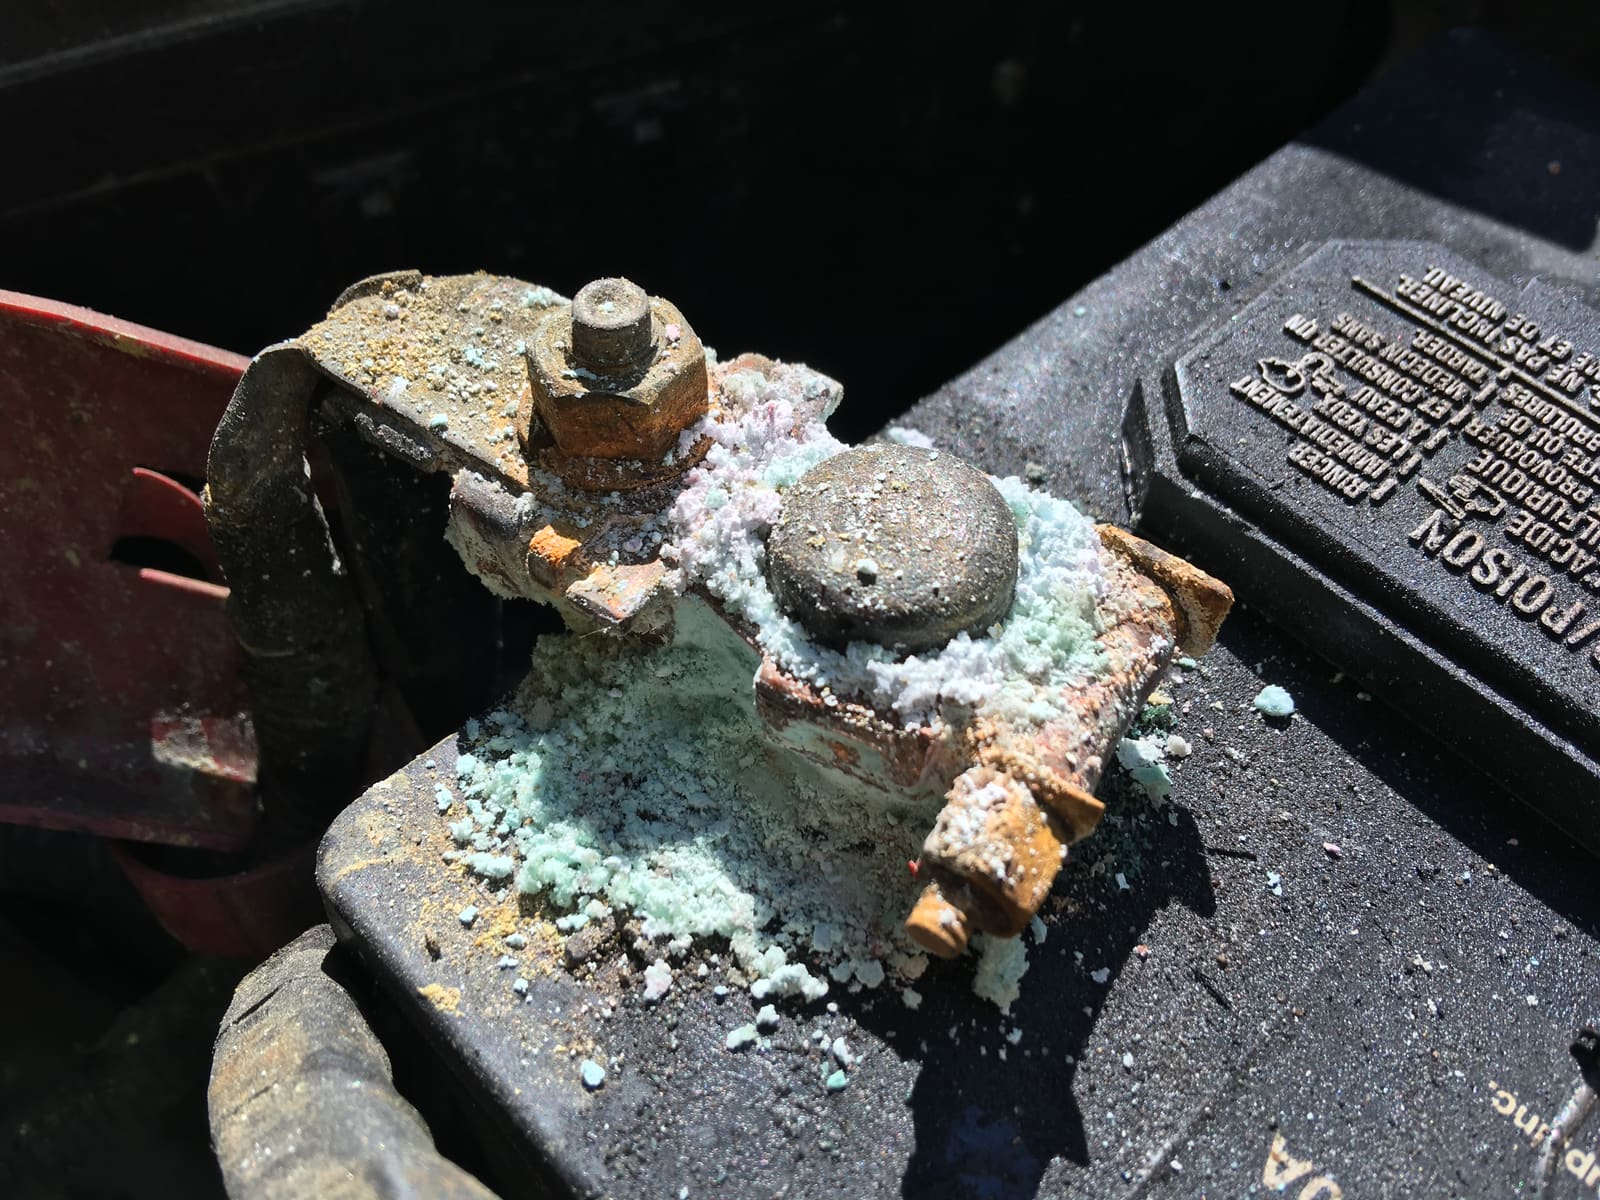
How to Find and Fix Corroded Electrical Connections on a Boat
Track down the green crust and loose terminals behind flickering lights, dead gauges and slow cranking with a simple voltage-drop test, then remake the connection the marine way: tinned wire, a proper crimp, adhesive-lined heat shrink and a protective coating.

Fuse Keeps Blowing? How to Troubleshoot a Boat Fuse Block or Breaker Panel
Work through a blown fuse or tripping breaker the safe way: confirm it, tell a short from an overload, isolate the device or wire at fault, replace a worn breaker or panel switch with the same rating, and label every circuit, without ever fitting a bigger fuse.
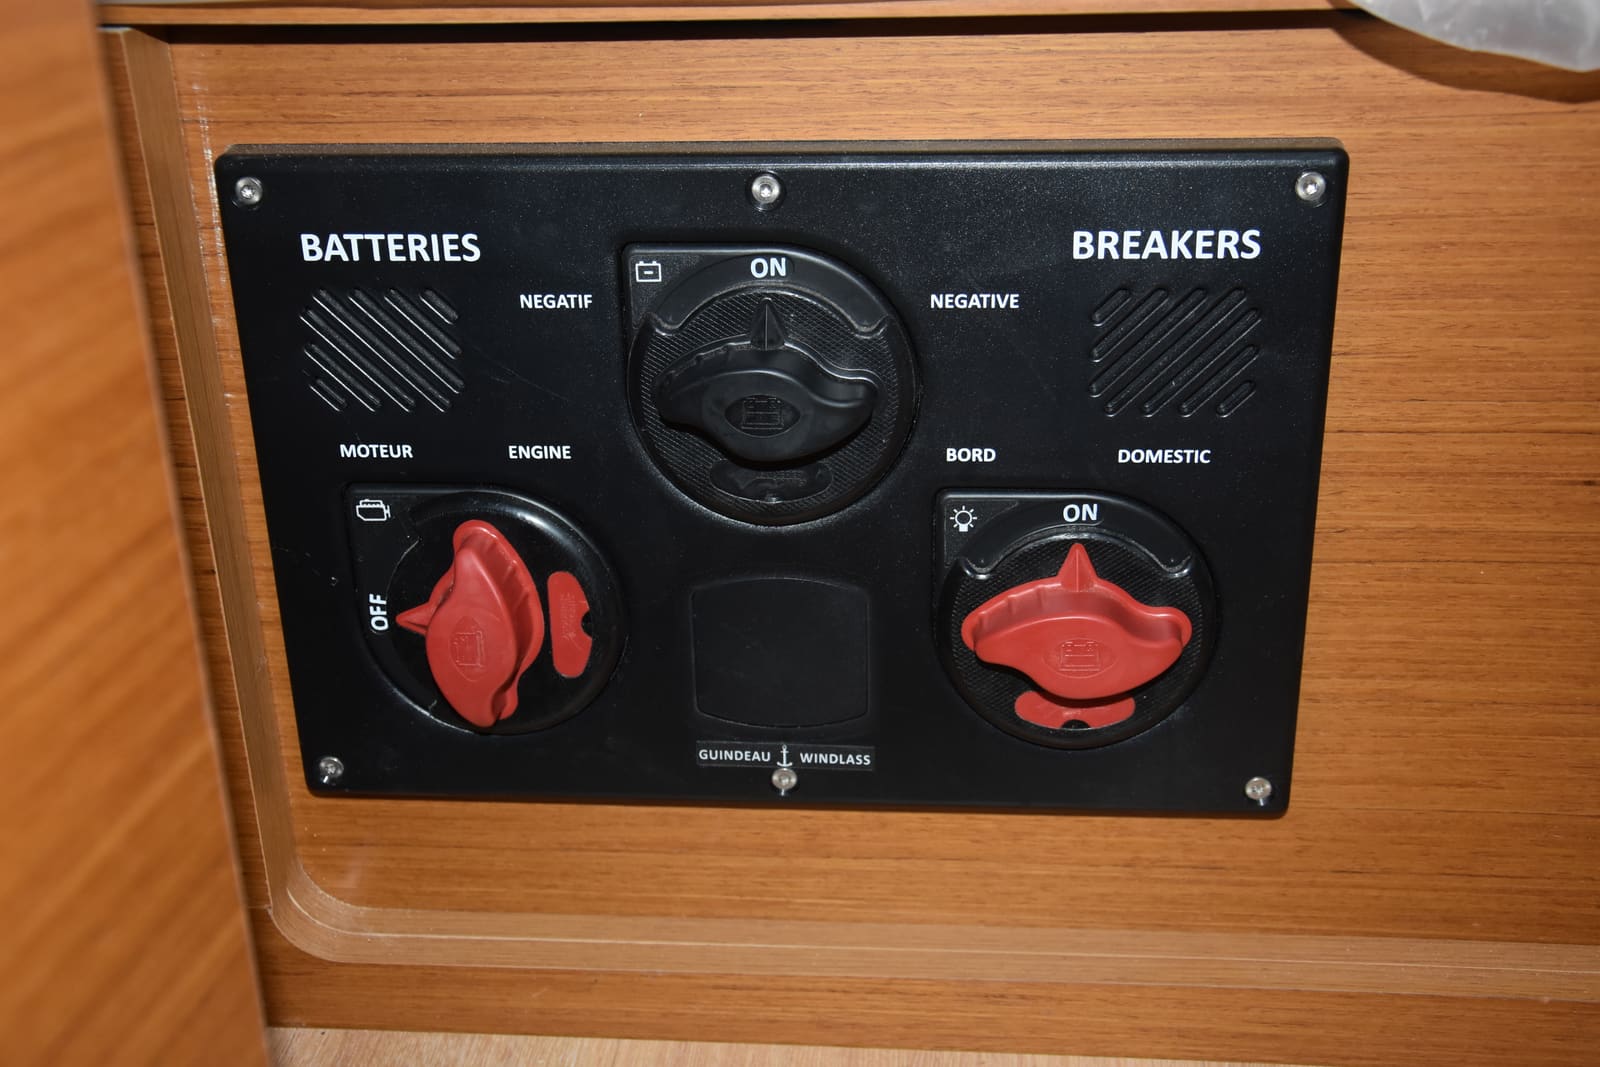
How to Use a 1-2-Both Battery Switch and Run Two Batteries
Learn what the 1, 2, Both and Off positions really do, a simple routine that keeps one battery ready to start the engine, how to check that both batteries are charging, and when an automatic charging relay makes life easier. Rewiring high-current cables is a job for a marine electrician.
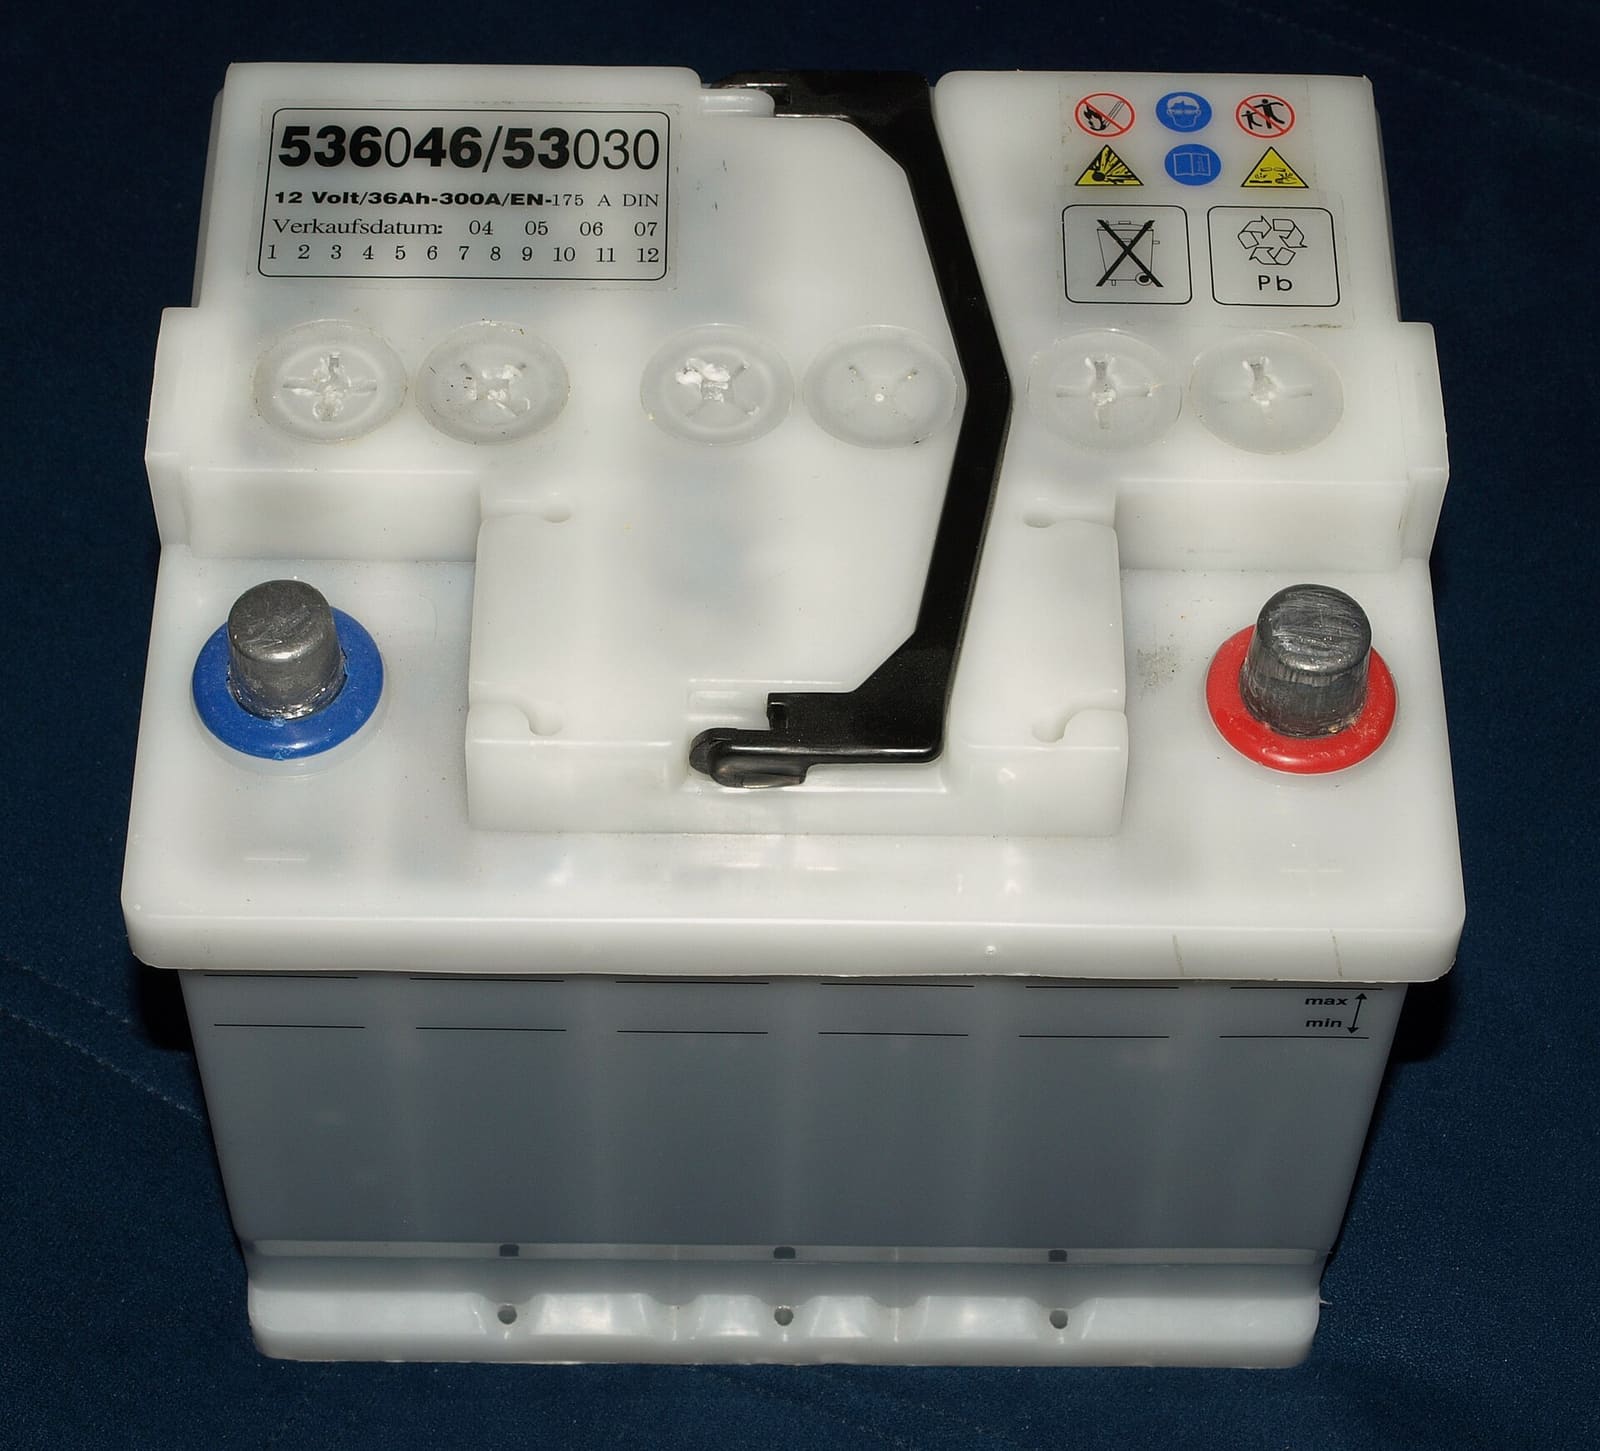
Marine Battery Care: Test, Charge and Store for Winter
Check your boat battery's health, charge it the right way for its type (flooded, AGM or lithium), and store it so it is ready in spring. Most "boat won't start" calls start with a neglected battery.

How to Wire a Bilge Pump Correctly (Automatic Float, Panel Switch and Fuse)
Wire your bilge pump so the automatic float works even with the battery switch off, the helm switch gives you a manual override, and every circuit has the right fuse, wire size and connections kept above the bilge water. A pump that is wired wrong can leave the boat unprotected exactly when nobody is aboard.

How to Test and Fix Your Boat's Navigation Lights
Learn which navigation lights your boat must show and when, then test them and fix the usual culprits such as corroded sockets, loose pole-light plugs and blown bulbs. Working lights are legally required at night and in poor visibility and are how other boats see which way you are heading.
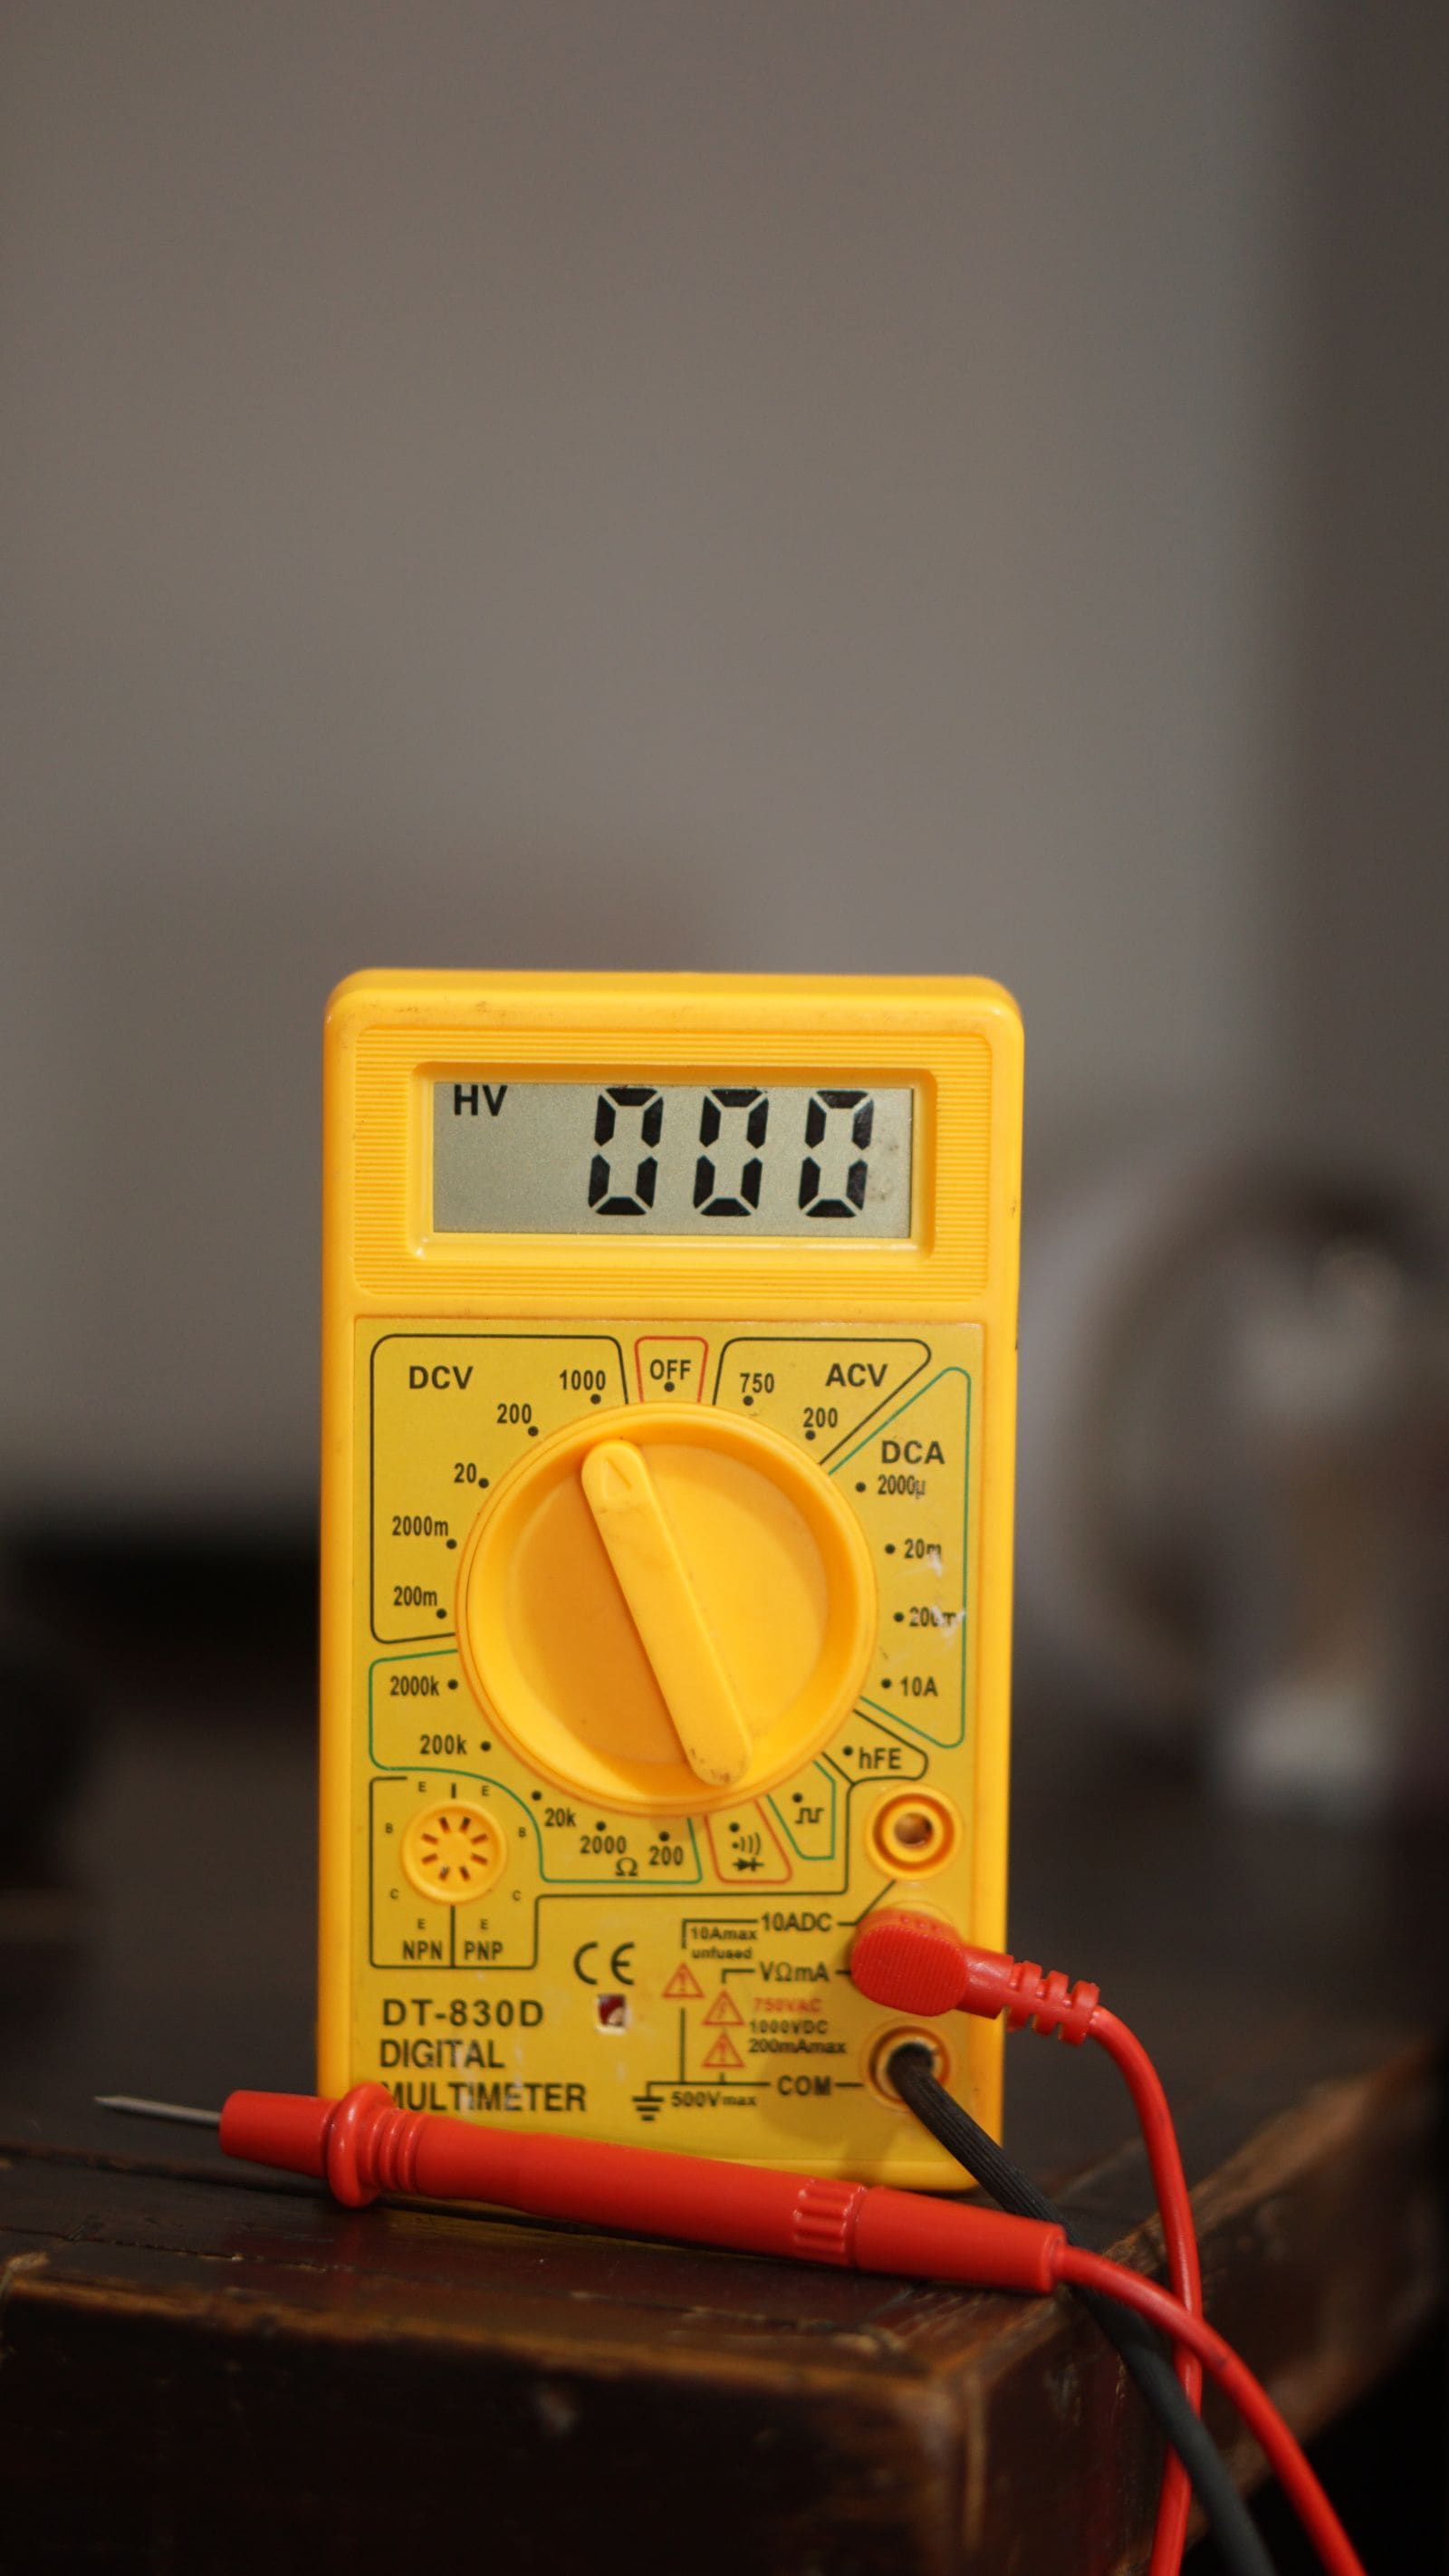
Battery Goes Dead While the Boat Sits - How to Find a Parasitic Drain
If your boat battery is flat every time you come back, something may be quietly drawing power while you are away. Learn how to tell a bad battery from a drain, find the circuit with a multimeter and the fuse panel, and fix the usual culprits without disabling your bilge pump.
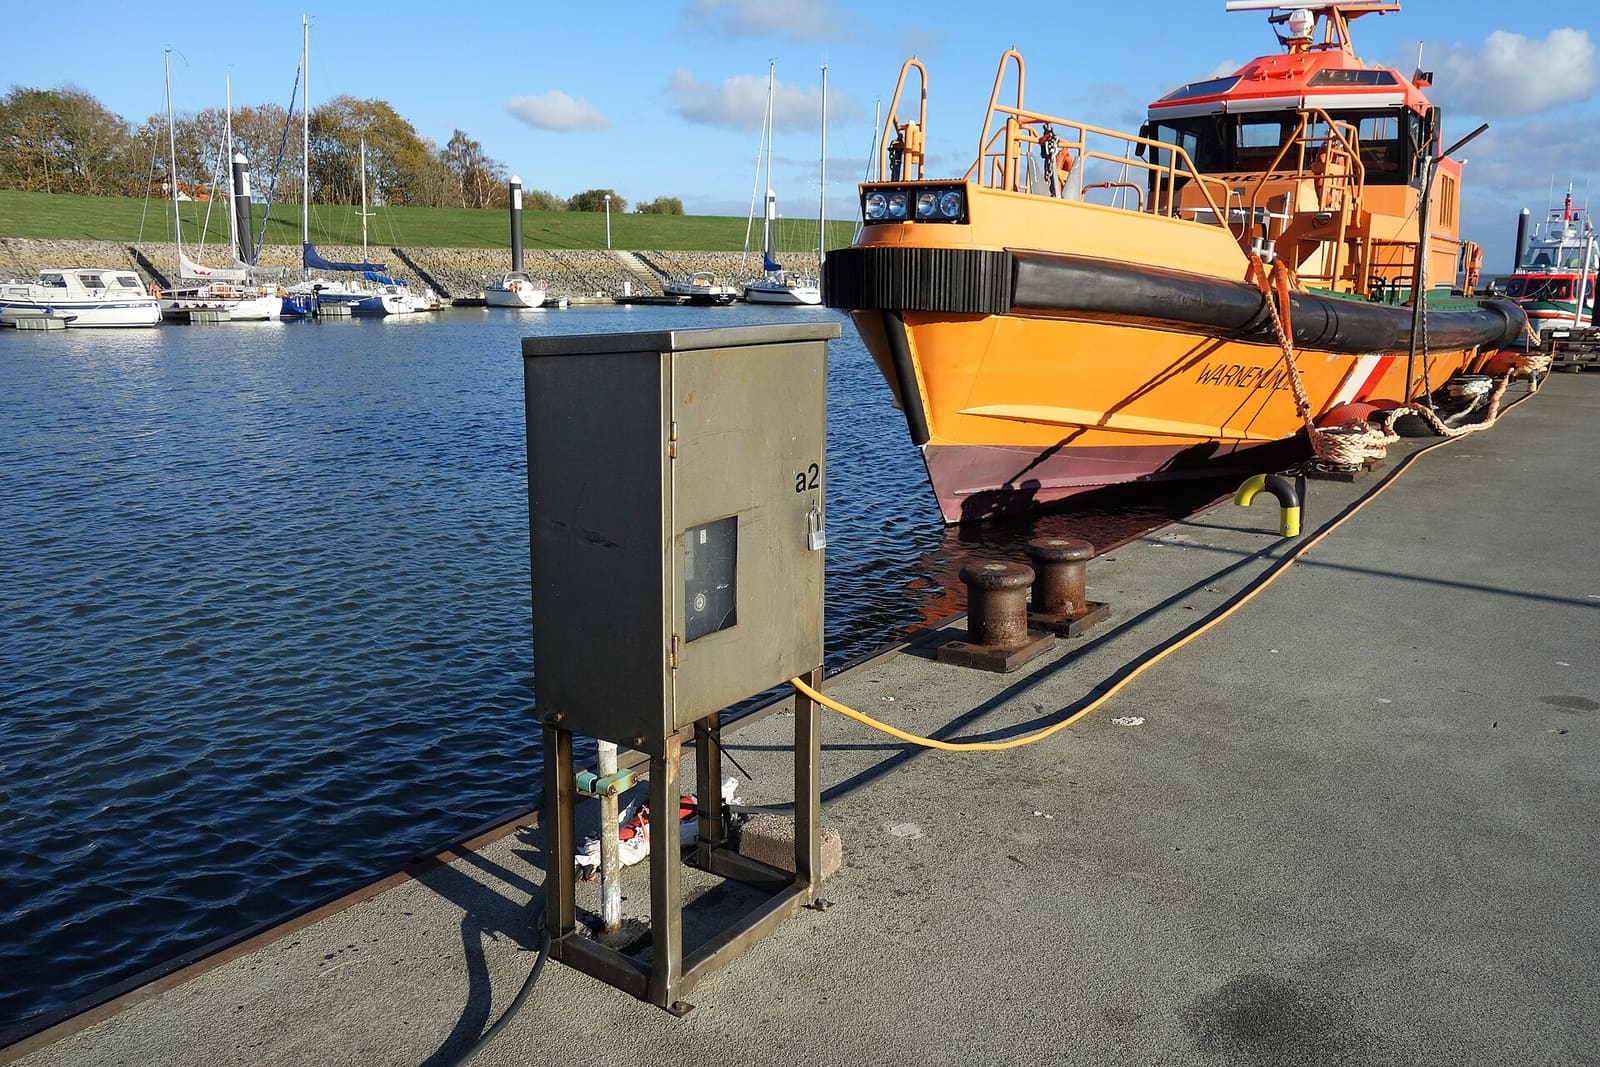
Shore Power Safety: Cords, Inlets, Burned Plugs and Electric Shock Drowning
An owner's inspection routine for your shore power cord, plugs, boat inlet, galvanic isolator and ground-fault protection, plus the right way to plug in and the facts about Electric Shock Drowning. This guide is for looking and testing only; any electrical repair belongs to an ABYC-certified marine electrician.
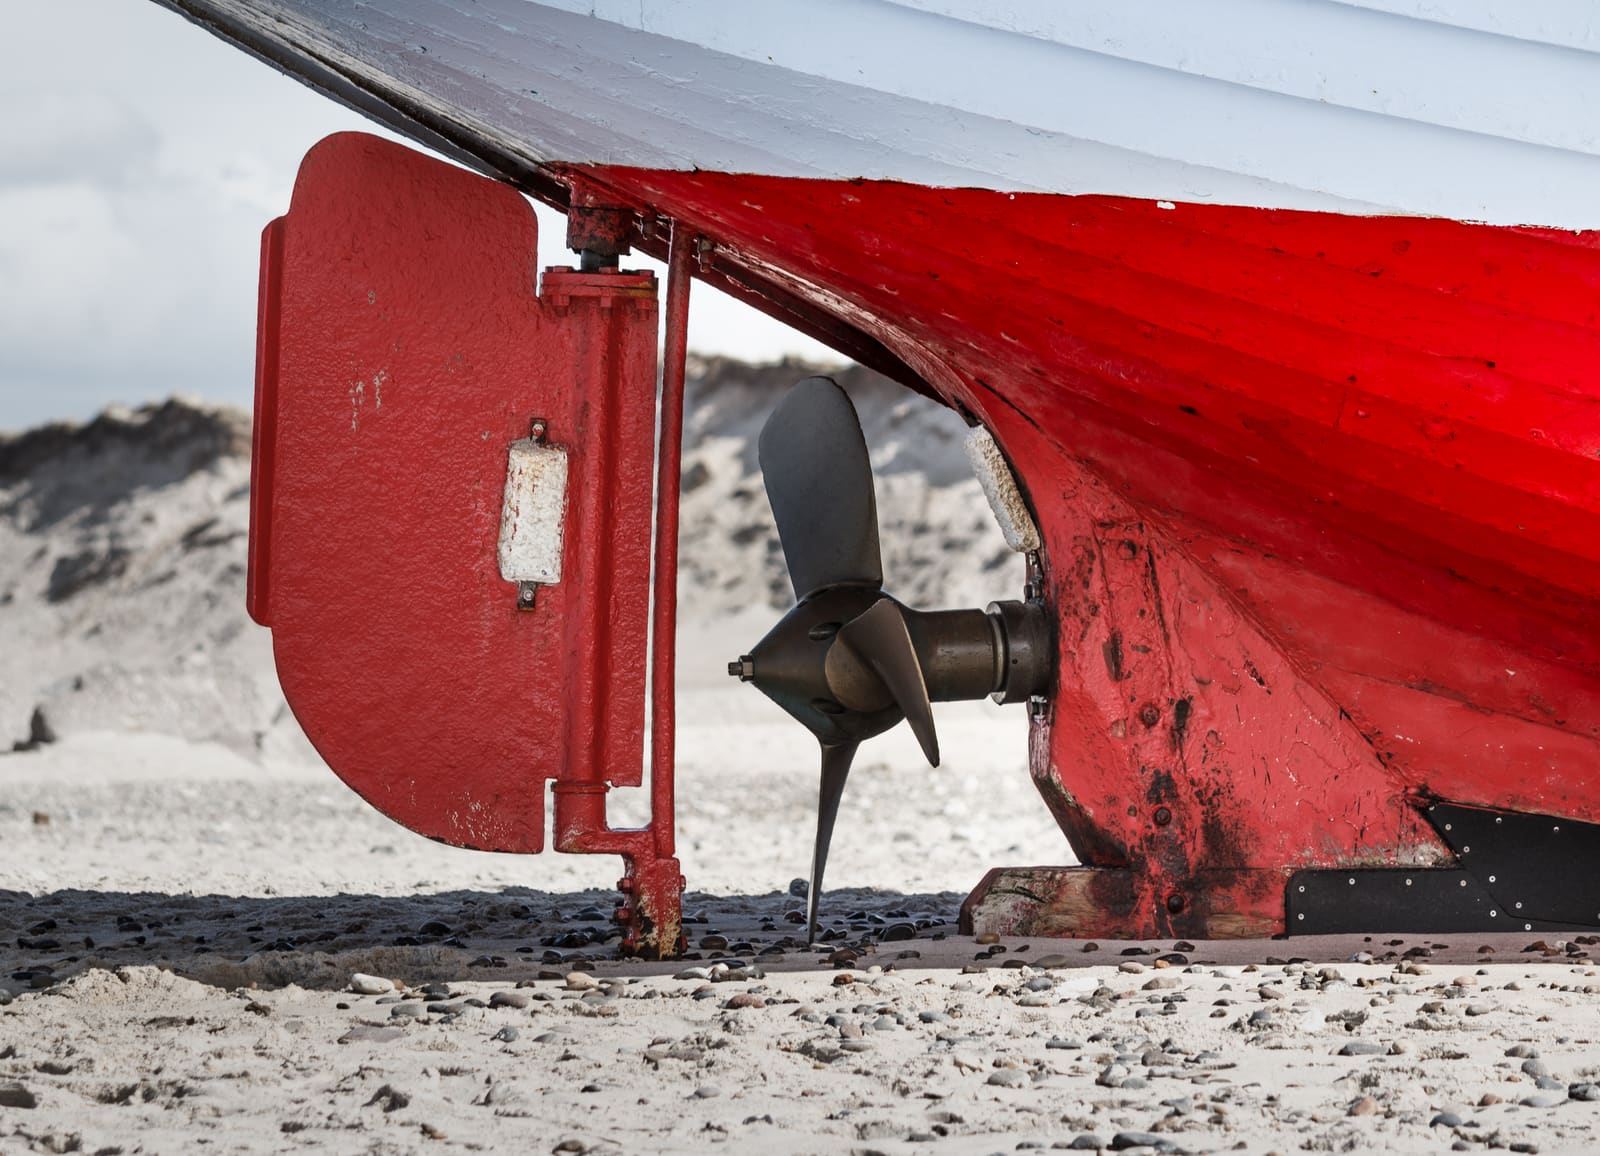
Boat Bonding System Explained: How to Inspect Bonding Wires, Through-Hulls and Anodes
Understand what the green bonding wires on your boat do, how they tie through-hulls, running gear, tanks and engines to your anodes and DC negative, how to inspect and test the connections yourself, and which corrosion warning signs mean it's time for an ABYC-certified technician.