How to Size, Rig and Inspect Dock Lines and Fenders
Pick the right dock line diameter and fender size for your boat, set up bow, stern and spring lines in a slip, add chafe gear, inspect for wear and UV damage, and double everything up before a storm.
Time
1 h
Applies to
All engines
Safety first: Never use your hands, feet or body to fend off a moving boat; let the fenders do it. A loaded nylon line stores a lot of energy and can snap back hard if it parts or a cleat pulls out, so stand clear of the line's path and keep fingers off the cleat while someone is heaving. In a storm, secure the boat early and stay off it.
Owners often ask
- What size dock lines and fenders do I need for my boat?
- How do I tie up in a slip so the boat doesn't bang the dock, and do I need spring lines?
This guide walks you through it. Still stuck? Ask the AI Mechanic about your engine.
Tools
- Tape measure
- Sharp knife and lighter or hot knife (for trimming and sealing synthetic line ends)
- Fender pump or a bike pump with a fender inflation adapter
- Mild boat soap and a bucket
- Notebook or the BoatMend log for purchase dates
Parts & supplies
- Nylon dock lines sized for your boat (three-strand, single-braid or double-braid)
- Chafe guards (leather, rubber, fabric or polyester sleeves)
- Fenders sized for your boat, plus fender lines
- A fender board if you tie up to pilings
Before you start
What you are protecting. Dock lines hold the boat in place; fenders keep the hull off the dock, pilings and other boats. Both wear out quietly, and most "dock rash" and storm losses trace back to lines that were too small, too worn or rubbing on a chock, or to fenders that were too small or in the wrong spot.
Do this check at the start of the season, once a month while the boat lives in a slip, and after every blow. A trailer boat that only ties up at ramps still needs a decent set of lines and fenders, just not permanent ones.
Charts are starting points. The sizes below come from retailer and manufacturer rules of thumb. Heavy boats, exposed slips, big tides and frequent wakes all call for the next size up. Your boat's cleats and chocks also set a limit: a line that will not fit the cleat is no help.
Steps
- Bow and stern lines stop the boat moving forward, aft and away from the dock.
- Spring lines run from a midship or quarter cleat forward or aft along the dock. They stop the boat surging fore and aft, which is what grinds fenders and gelcoat against the dock.
- Breast lines run straight across to the dock. They are handy for short stops but can snatch hard in waves.
Discover Boating suggests three lines (bow, stern and a breast or spring) for a short side tie, and a four-line "box" in a slip: two bow lines and two stern lines, crossed where you can. Add springs on a side tie and on bigger boats or windy, tidal slips.
Nylon is the standard because it stretches and absorbs the jerk of wakes and gusts instead of passing it straight to your cleats. Three-strand nylon is tough and easy to splice; single-braid stays soft in big sizes; double-braid is strongest and nicest to handle but stretches a little less. Polypropylene floats and is cheap, but it breaks down quickly in sunlight and abrades easily, so keep it for light, occasional use, not a permanent slip.
One widely used retailer chart (West Marine) gives these starting points for nylon dock lines:
Boat length Line diameter Up to 27 ft 3/8 in 28–31 ft 7/16 in 32–36 ft 1/2 in 37–45 ft 5/8 in 46–54 ft 3/4 in Go up one size for a heavy boat, an exposed slip or a storm-prone area, as long as the line still fits your cleats and chocks. Bigger lines also last longer because there is more fiber to lose before they get weak.
Permanent lines are cut and spliced to fit your slip; transient lines are longer, with an eye splice at one end, and travel with the boat. As a rough guide, many owners carry spring lines about as long as the boat and bow and stern lines at least two-thirds of the boat's length. In tidal water, lines must be long enough to let the boat rise and fall through the full tide without coming bar-tight at low water. Longer lines led at a shallow angle handle tide much better than short, steep ones.
- Leave lines snug but not tight. They need slack to stretch and absorb shock.
- Cross the stern lines in a slip so each one is longer and gives more stretch.
- Lead each line fairly through its chock with no sharp bends.
- BoatUS warns that a cleat is weakest when the line pulls straight up or out at a right angle to its base, and that two lines per cleat is usually the most a cleat should carry.
- Finish on the dock cleat with a proper cleat hitch (a turn around the base, a figure-eight, then a locking half-hitch). Extra wraps are fine; a pile of random knots is not.
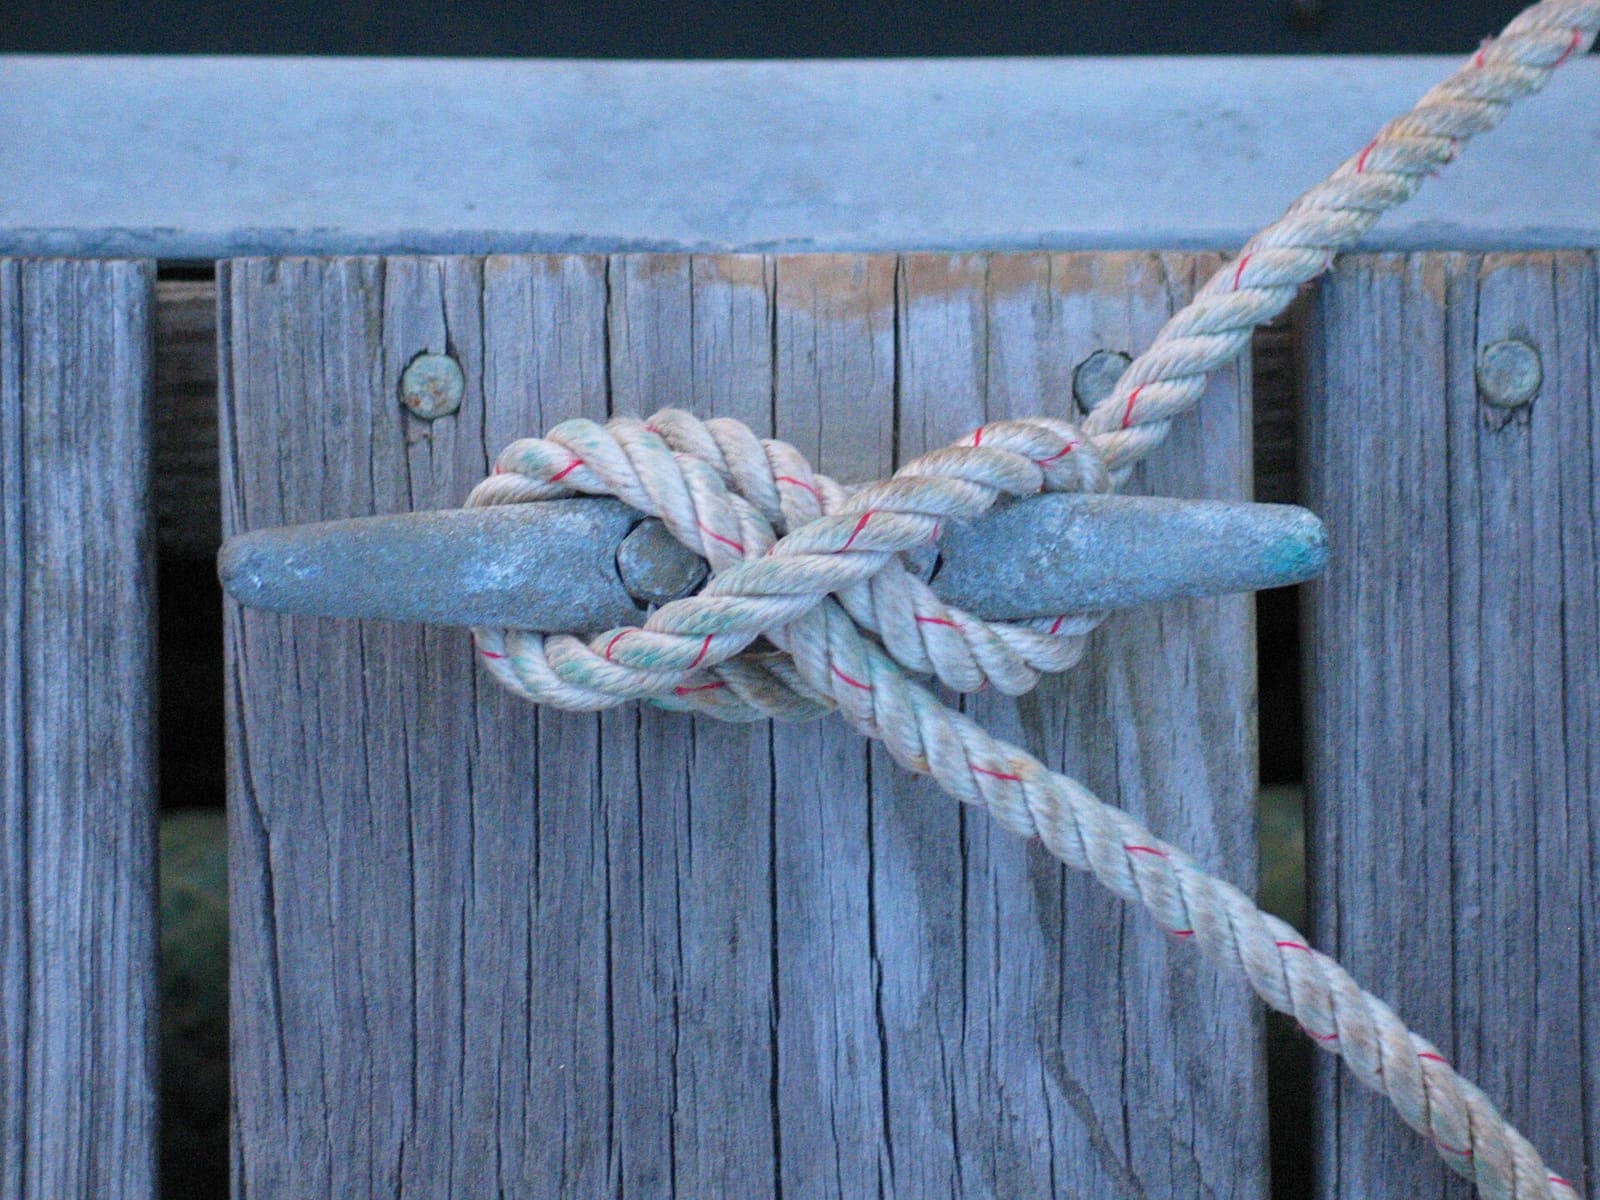
A dock line made fast to a dock cleat. Check the line where it bears on the cleat and at the chock for flattening and fuzz. Photo: BenFrantzDale / Wikimedia Commons · CC BY-SA 3.0 Chafe is a leading cause of dock line failure. Put a chafe guard wherever a line passes through a chock, wraps a piling or crosses the edge of the dock, and where the eye rides on a cleat or post. Leather, rubber, fabric and polyester sleeves all work. BoatUS notes that in storm conditions, plastic hose used as chafe gear can trap heat in a nylon line that is stretching against a chock and help it fail from the inside; a sleeve that lets water reach the line is a better choice for a storm. Tie or tape the guard so it cannot slide off the wear point.
Run each line through your hands from end to end and look for:
- Fuzzy, flattened or cut spots, especially at chocks and cleats
- Stiff, hard or crunchy line and faded color, which point to UV and salt damage
- Glazed or melted-looking fibers, a sign of heat from chafe under load
- Broken strands or pulled yarns and loose, slipping eye splices
- Heavy mold or grit packed into the fibers
Replace a line that shows real wear or stiffness; do not just turn it end for end and hope. Looks can fool you: when Practical Sailor and New England Ropes pulled 10- to 12-year-old nylon dock lines to destruction, the best one kept only about half of its original breaking strength, and most kept far less, even away from chafe spots. The same tests found a splice costs roughly 10 percent of a line's strength and a bowline about 30 percent, and wet nylon is weaker still. Old lines are cheap to replace compared with the boat. West Marine suggests inspecting eye splices and attachment points at least once a season. Rinse salty or gritty lines in fresh water with a mild soap now and then and let them dry before storing.
A great line on a weak cleat still lets go. Look for loose fasteners, cracks or crazed gelcoat around the base, and green or rust stains that mean water is getting in. BoatUS stresses that cleats which take real loads should have proper backing plates under the deck. If a cleat moves, have it rebedded and backed before the next storm season.
Match the cleat to the line. The BoatUS Foundation's cleat tests quote a common maker's rule of thumb of roughly an inch of cleat length for every 1/16 inch of line diameter (about a 6-inch cleat for 3/8-inch line, 8-inch for 1/2-inch). If you move up a line size, check that the line still fits and the cleat is big enough. In the Foundation's rope tests, lines bent around a pulley broke at roughly half their rated strength, and knotted lines failed right at the knot. Treat a line's rated strength as a best case, and give it a generous size, smooth chocks and good chafe gear.
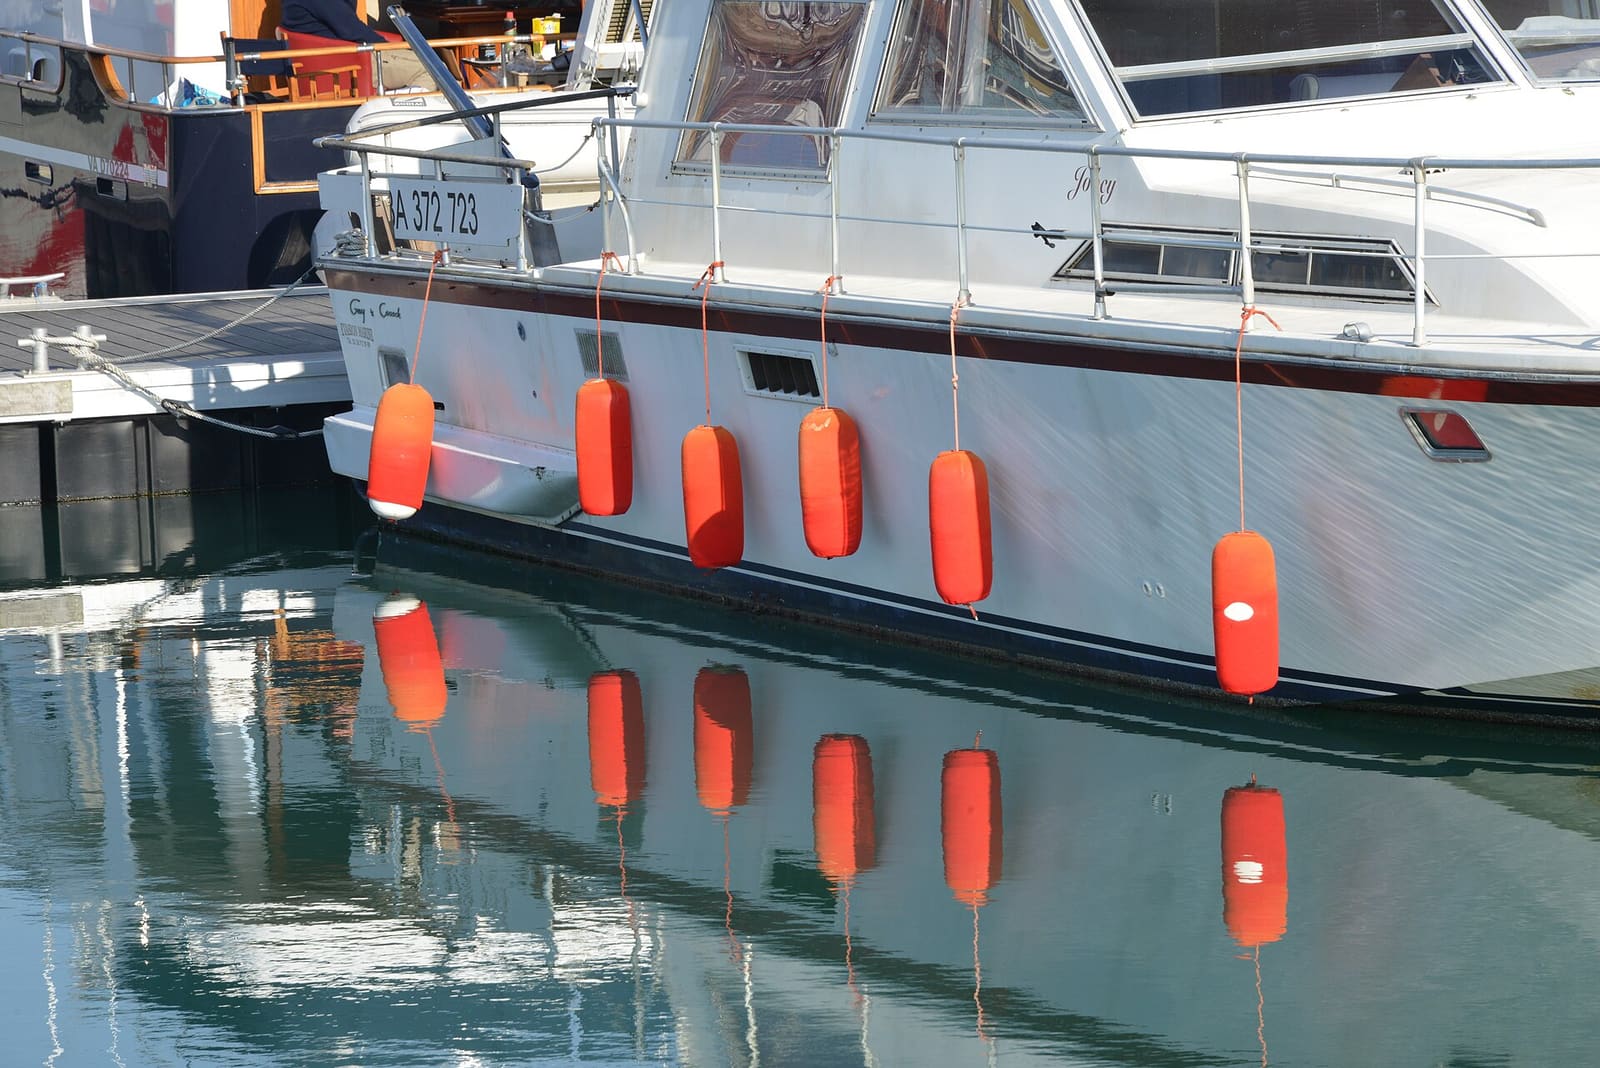
West Marine's rule of thumb is about 1 inch of diameter for a cylindrical fender (or 2 inches for a round one) for every 4 to 5 feet of boat length, with these typical cylindrical sizes:
- 15–20 ft boat: 5 to 5.5 in diameter
- 20–25 ft: 6 to 6.5 in
- 25–35 ft: 8 to 8.5 in
- 35–50 ft: 10.5 to 12 in
For quantity, the same guide suggests one fender for every 10 feet of boat length, plus one, and more at an exposed dock. When in doubt, go a size up: a fender that is too small squashes flat and lets the hull touch.
- On a floating dock, set fenders just above the waterline so they stay between the hull and the dock edge.
- At a fixed dock or with tides, recheck height as the water changes.
- Cover the bow, the widest part of the beam and the stern on the dock side.
- At pilings, fenders get pushed aside as the boat moves. Use a fender board: a plank across two or more pilings with fenders between the board and the hull.
- Tie fender lines to a solid fitting with a knot you can adjust quickly, and pull the fenders aboard once you are under way.
Most inflatable vinyl fenders should feel firm but not rock-hard. Polyform, for example, says its fenders take about 2 psi (2.1 lb): fill until the walls are fully expanded, but you should still be able to press the wall in about 1/4 inch with your thumb. Over-inflating shortens fender life and can void the warranty. Tighten plastic valve screws by hand only, never with a power driver. Wash fenders with a mild cleaner, check for splits near the rope eye, and replace any that will not hold air. Check your own fender maker's recommendation.
Ahead of a named storm or a forecast gale:
- Put on more and bigger lines, doubled where your cleats allow, each with its own chafe gear.
- Run long spring lines and lines to the far side of the slip so the boat can rise with surge without hitting the dock.
- Strip off canvas, cushions and anything that adds windage.
- Use a heavy fender board with several large fenders at pilings. BoatUS reports that boards with only two fenders tended to break or bounce out.
- Follow your marina's storm plan and see our hurricane prep guide for the rest of the boat. Never stay aboard in a storm.
Write down when each line and fender was bought and what you found at each check. Add a photo of how the lines are rigged in your slip, so you or a friend can reset them exactly the same way after a storm or a haul-out.
Common mistakes
- Using one size of line for everything, often too thin for the boat or too fat for the cleats.
- Tying lines bar-tight, so the first big wake or a falling tide jerks the cleats.
- No chafe gear at the chocks, or chafe gear that slid away from the wear point.
- Leaving permanent lines on for years until they are stiff and sun-rotted.
- Fenders that are too small, too few or hanging too high on a floating dock.
- Hanging fenders against pilings without a fender board.
- Leading three or four lines to one cleat.
- Pumping fenders rock-hard with a compressor and splitting them.
When to call a pro
- A cleat, chock or bow eye is loose, cracked or leaking at the base
- You need new backing plates or bigger cleats installed
- You want permanent dock lines spliced to fit your slip
- Hull or gelcoat damage from rubbing against the dock
- A storm is coming and you are not sure how to secure the boat: ask the marina or a licensed captain, and follow the marina's plan
Tips
- Use one color of line for permanent slip lines and another for transient lines so they never get mixed up.
- Mark each line's position in the slip (for example, with a whipping or tape at the cleat) so you can reset it quickly.
- Keep two spare lines and one spare fender aboard for strange docks and raft-ups.
- A dock wheel or dock bumpers on a tricky corner of your own slip save a lot of gelcoat.
Official references
We read these to write this guide. Your engine's own manual always wins.
- West Marine – What Are the Best Dock Lines for You?
- West Marine – Choosing the Right Boat Fenders
- BoatUS Magazine – How To Find And Fix Potential Breaking Points On Your Boat
- BoatUS Foundation – Cleat Tests
- BoatUS Foundation – Mooring and Docking Line Tests
- Discover Boating – How to Tie Up a Boat, Mooring Guide
- Polyform US – How to Inflate Polyform US Boat Fenders and Buoys
- Practical Sailor – Used Nylon Three-Strand Rope Faces the Ultimate Endurance Test
Safety: BoatMend is for information only and does not replace a certified marine technician. You are responsible for your safety and your boat. Read the full disclaimer.
Last updated 2026-10-24
Related guides

How to Prepare Your Boat for a Hurricane or Tropical Storm
Make a written storm plan before the season, then haul out or secure the boat with doubled lines and chafe gear, strip off everything that catches wind, and check it safely after the storm. Never ride out a hurricane aboard.
Launch Day and Haul-Out Checklist for Trailer Boats
A step-by-step checklist for getting your boat off the trailer and back on again safely and quickly, from the drain plug and tie-downs to the blower and ramp etiquette. Following it in order prevents the classic mistakes that sink boats and back up the ramp.
How to Repair Small Gelcoat Chips and Scratches
Fill and blend small chips, dings and scratches in your boat's gelcoat with a repair kit so they stop letting water into the fiberglass and look close to new. Also learn to spot damage that is structural and needs a pro.
How to Clean, Remove Oxidation and Wax Your Boat's Gelcoat (Plus Pontoon Tubes)
Wash your hull the right way, bring back chalky, faded gelcoat with compound, and seal it with wax so it stays glossy and protected from the sun. Includes how to clean and protect the aluminum tubes on a pontoon boat.
Running Rigging Care: Inspecting Halyards, Sheets and Dyneema Lines
Check your halyards, sheets and control lines for chafe, sun damage, glazing and cover slip, wash them the right way, end-for-end them to spread the wear, and know when a line has to go. A halyard that parts drops a sail; a sheet that parts in a gust can be worse.
How to Keep Your Boat in the Water Over Winter (De-Icers, Covers and Checks)
Wintering afloat can be safe if you still winterize every water system, keep the bilge pump and batteries working, use a de-icer correctly on a GFCI-protected circuit, respect the shock and thin-ice risks, and visit the boat regularly.