Electric and Hydraulic Headsail Furlers: Care, Manual Override and Safety
Keep a powered headsail furler working with simple care: furl the right way, rinse the swivels, check the wiring, breaker and switches, and practice the manual override before you need it.

Time
1 h 30 min
Shop would charge
$150-600
Applies to
All engines · Sailboat, Yacht
Safety first: A powered furler has a lot of torque and does not stop for fingers, hair, loose clothing or a tangled line. Keep everyone's hands clear of the drum, sheets and furling line whenever the switch can be pressed, and teach the crew where the switch is and what it does. Before you touch the drive unit, wiring or manual override, switch off the furler's breaker or isolator so it cannot start. The furler circuit carries high current: if wiring is hot, melted or smoking, shut the power off and get a marine electrician.
Owners often ask
- My electric furler lost power. How do I roll the jib in by hand?
- Why does my electric furler keep tripping its breaker?
This guide walks you through it. Still stuck? Ask the AI Mechanic about your engine.
Tools
- Hose with fresh water and a soft brush
- Mild boat soap or detergent
- The furler's manual-override tool (drill adapter, crank handle, line driver or winch handle)
- Cordless drill, if your maker's override uses one
- Multimeter
- Flashlight and a small mirror
Parts & supplies
- Dielectric grease or terminal protectant (if your maker allows it)
- Replacement switch covers or remote batteries, as needed
- Hydraulic fluid specified by the maker (hydraulic systems only)
Before you start
Know what you have. Powered furlers come in a few styles:
- Electric, on deck: a motor and gearbox replace the furling-line drum at the bottom of the forestay. Harken mounts the motor vertically in the pulpit; Seldén's Furlex Electric uses a compact drive unit and a power supply that converts the boat's 12 or 24 volts to 42 volts for the motor.
- Electric, through deck: the motor sits below deck in the anchor locker, with the drum at deck level.
- Hydraulic: a hydraulic motor in the furler driven by a pump and valves elsewhere in the boat, often shared with a furling mast and other hydraulic gear.
Find the maker, model and serial number and get the right manual. Locate the breaker (often a dedicated breaker supplied with the furler), any control box or relay, the switches (cockpit buttons or a wireless remote), and the manual override point and tool.
What maintenance is (and isn't) needed. Harken says its sealed motor and gearbox need no maintenance and its halyard and tack swivels only need flushing with detergent and fresh water. Facnor also describes its drive units as needing no specific maintenance. Your jobs are the parts around them: swivels, foil, wiring, switches, breaker and override.
Steps
Most damage comes from operating errors.
- Ease the sheet before you furl and keep a little tension on it so the sail rolls tightly. Seldén's built-in current limiter cuts torque if you try to furl with the sheet still made fast, then resets a few seconds after you let go of the button.
- Release the furling brake or lock first, if your system has one.
- Watch the sail while the motor runs. If it stops or slows, let go of the button and find out why (a riding turn, a jammed sheet or a halyard wrap) instead of holding the button down.
- Don't keep cycling after a stall. Repeated stalls heat the motor and trip the breaker.
- Reef early. A button makes reefing so easy that it's tempting to wait. BoatUS's roller-furling article reminds sailors that a furler doesn't change the old rule of reefing too soon rather than too late, and that it stays a simple one-person job only if you don't let the wind get too strong first. Harken adds that after reefing, moving the genoa lead car forward keeps the reefed sail's shape, and that a sail built for reefing on your furler works best.
Do this on a calm day, before you ever need it.
- Turn off the furler's breaker first. Harken warns that if the power is on, the motor could start and spin the drill.
- Harken: remove the cover on the manual-drive socket, then use the supplied crank handle, or a cordless drill with the supplied adapter. A winch handle also fits but is slower and harder. Harken says not to rely on the drill alone as your emergency drive.
- Seldén Furlex Electric: an emergency line-driver comes as standard, and an emergency handle is an option.
- Furlex Hydraulic: can be furled by hand with an ordinary winch handle.
Write the steps on a card, keep the tool in a known place, and practice a full furl by hand at least once a season.
Salt crystals and grit wear swivel bearings and attack aluminum. After salty sailing and before layup, gently rinse the drive housing, drum or tack area, foil and halyard swivel with fresh water and mild soap, then rinse well. Use a low-pressure hose; don't blast water into seals, electrical connectors or switch housings.
With the sail down (or the halyard eased), turn the tack swivel and halyard swivel by hand. They should spin smoothly without grinding. Gritty or stiff swivels make the motor work harder; flush them as the maker describes and lubricate only where the manual says to. Check the halyard leads at a proper angle from the swivel to the mast, since a halyard wrap can jam the furler and damage the forestay. See the roller furler guide for more.
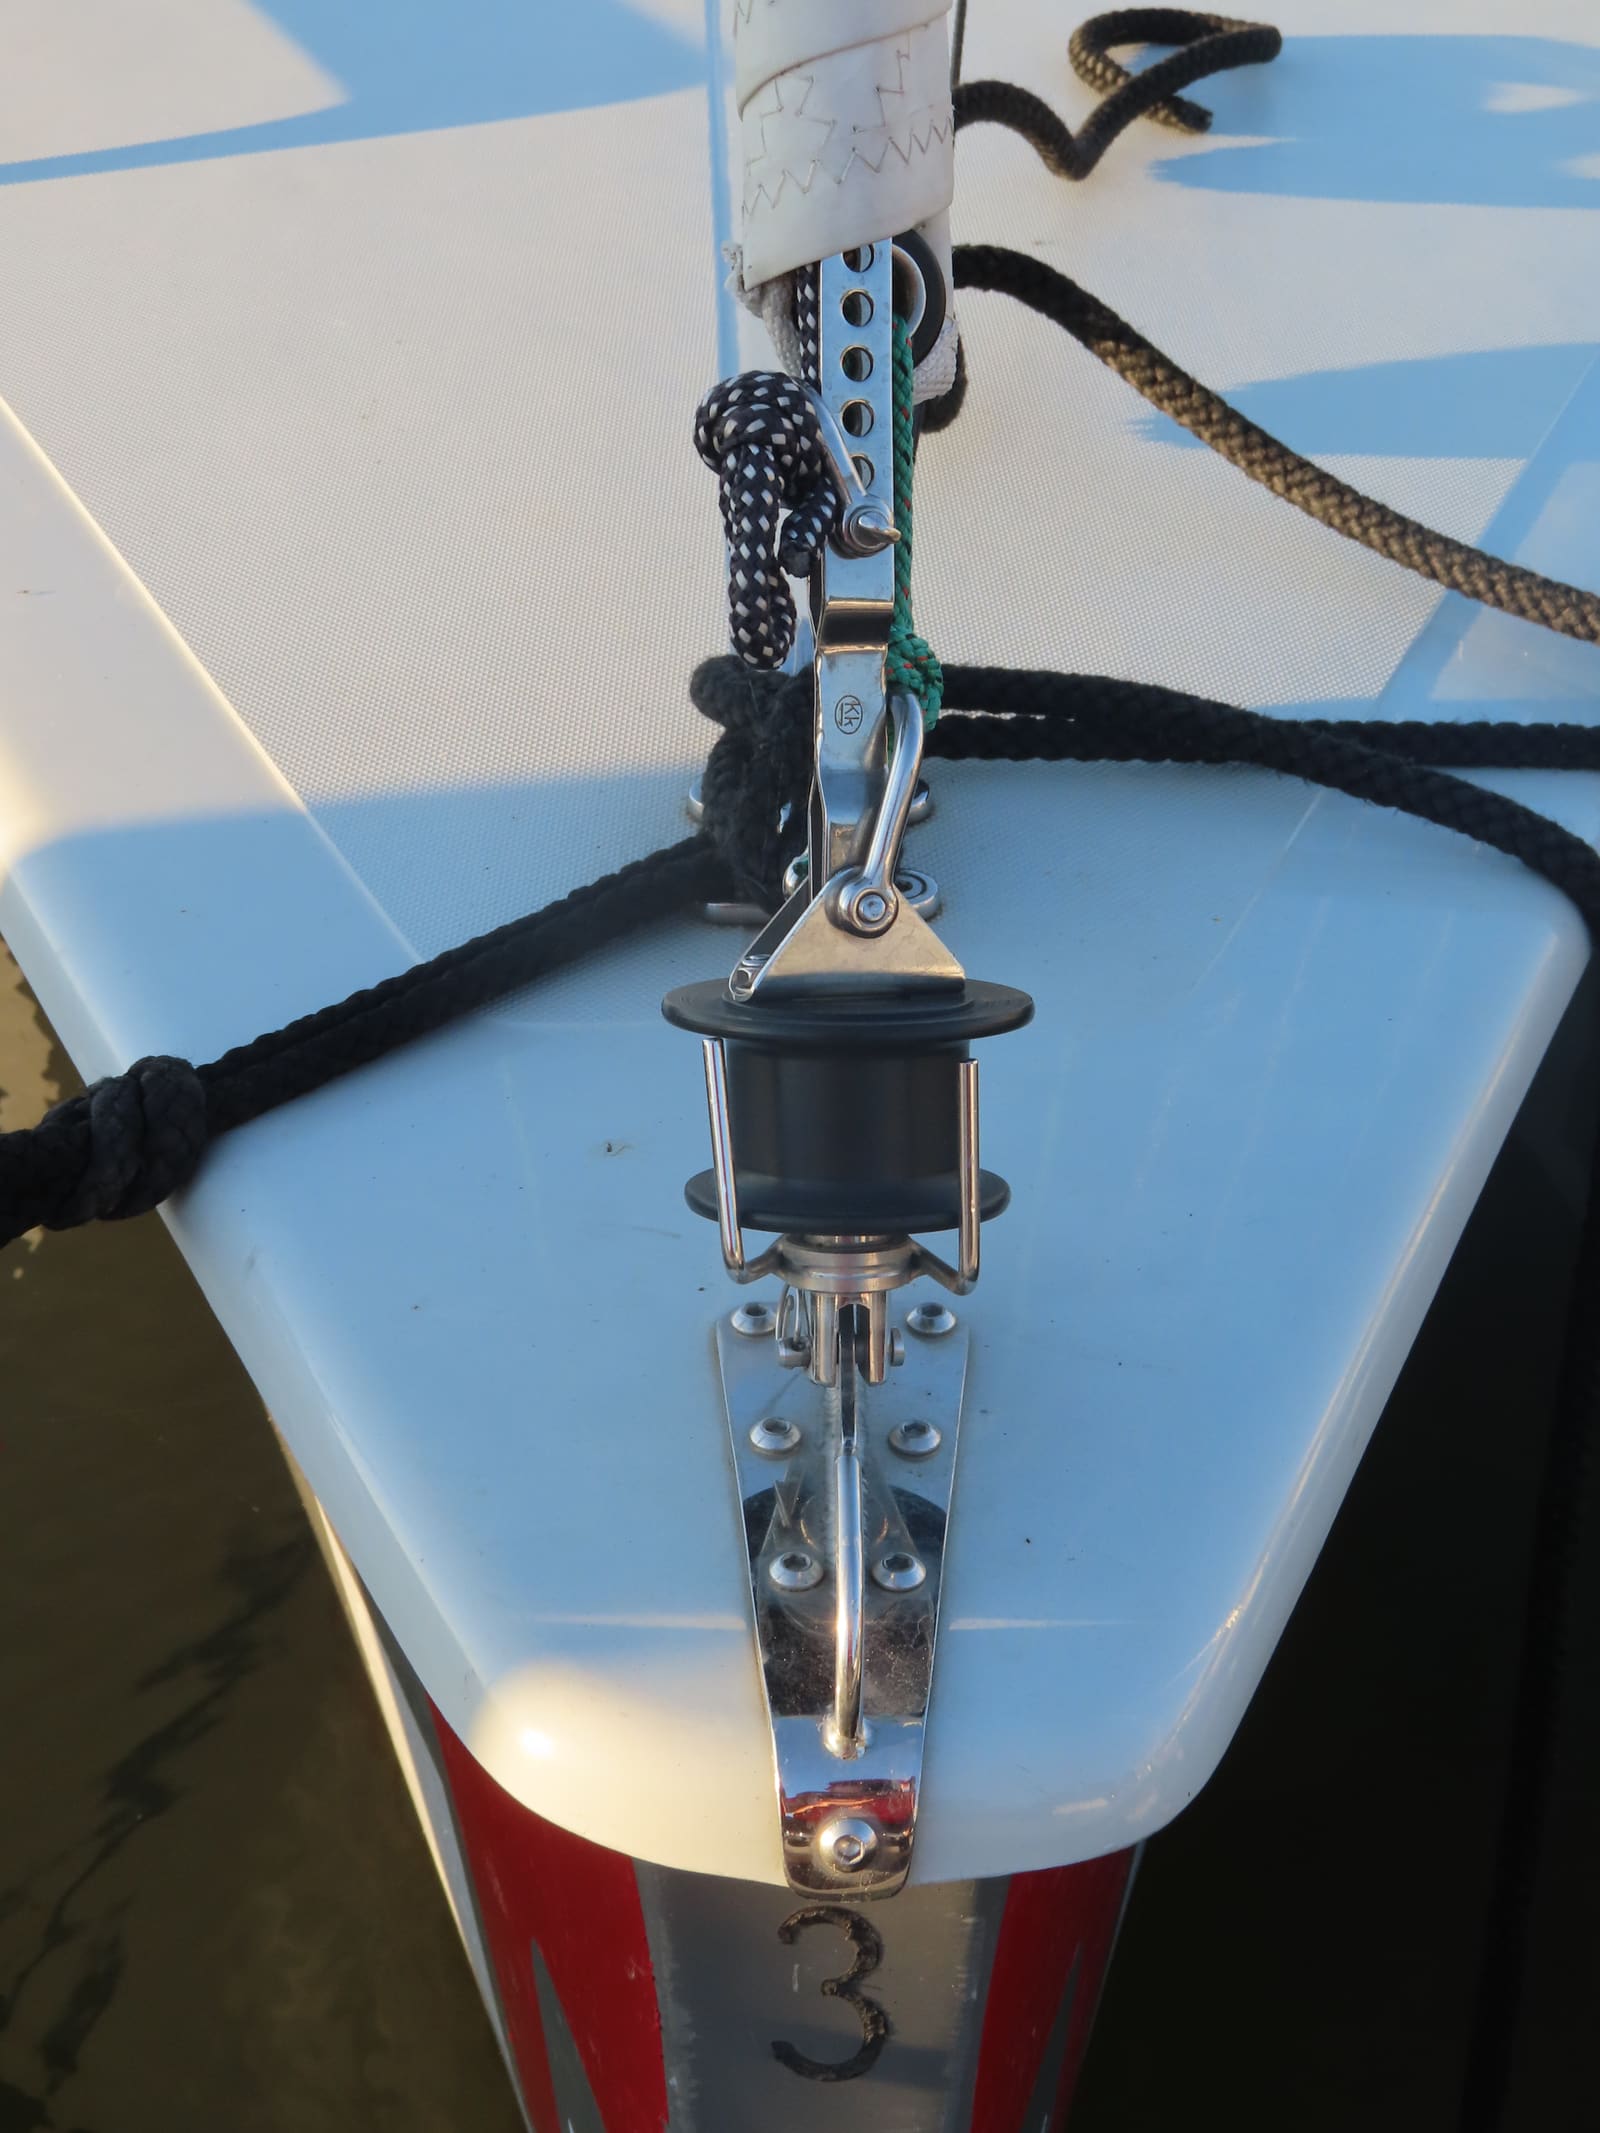
Photo: Fallaner / Wikimedia Commons · CC BY-SA 4.0 With the power off, look over the motor and gear housing:
- Paint blistering, white powdery corrosion or bubbling at screws or seams
- Loose or missing cover screws and a damaged manual-drive cover
- Cracks or wear at toggles and link plates
- Signs of water inside if there is an inspection point
Harken says its gears are permanently lubricated and sealed with double-lip seals; don't open a sealed gearbox yourself. Report leaks or noises to a rigger.
Most electric furler faults are wiring faults.
- Check the cable where it passes through the deck or into the anchor locker. Gland seals should be tight, and the cable should not chafe on chain, the windlass or the locker edge.
- Look for green corrosion at connectors and terminals. Clean and protect them as the maker allows.
- Make sure the cable is secured, not hanging where the anchor chain can snag it.
- Feel the cable after a long furl; it should not be more than slightly warm.
Many installs share the windlass cable run to the bow (Harken notes this is common). That's fine if the wiring was sized for it, but check both circuits.
- The breaker protects the motor and wiring. Facnor supplies a specific marine breaker that trips if the motor overheats.
- Make sure someone can cut the power fast. The breaker or isolator should be reachable from the cockpit or close to it, and everyone aboard should know where it is. In a fatal 2025 accident investigated by the UK's MAIB, an electric winch had a known fault that let the motor keep running after the switch was released, and the only way to stop it was an isolator in the forward cabin. If your furler ever keeps turning after you let go of the button, or starts on its own, kill the power and don't use it until a marine electrician has found the fault.
- Never replace it with a bigger breaker to stop nuisance trips. Find the cause: stalls, a dragging swivel, a halyard wrap, low battery voltage or a wiring fault.
- Open the control box or relay box only with the power off and only if the maker allows. Look for corrosion, loose terminals and water.
- If the breaker trips under light load, have a marine electrician check the wiring and motor current draw. Seldén quotes a normal draw of roughly 10 to 25 amps for Furlex Electric.
Press each switch in both directions. Cockpit buttons should have intact rubber covers; cracked covers let water in and cause stuck or dead buttons. Replace wireless remote batteries every season and keep a wired switch as backup if your system has one. On Furlex Electric, one button runs slowly and pressing both doubles the speed, so make sure everyone knows how yours works.
Have a helper run the furler while you measure voltage at the battery and, if accessible, at the control box. A big drop points to undersized wiring, a bad connection or a weak battery. Run the engine or charger during long furling sessions if your maker recommends it.
With the system shut down, check the fluid level at the power pack and top up only with the fluid the maker specifies. Look for weeping fittings, chafed hoses and oil stains below the furler or in the locker. Leaks, a sinking sail under load, or slow, jerky furling need a hydraulic technician.
At the dock in light wind, unfurl and furl the whole sail. Listen for grinding, clicking or uneven speed, and watch for the foil twisting unevenly (top lagging behind the bottom). Try a partial reef and check it holds. Seldén and Harken use self-locking worm gears so a reefed sail doesn't unfurl under load.
Remove the sail if you can (it reduces strain and UV damage), rinse the unit, turn off the breaker, and cover the switch if it is exposed. In spring, check the wiring and switches again, practice the override, and run a full test before your first sail.
Common mistakes
- Pressing the furl button with the sheet still cleated or wrapped on a winch.
- Holding the button down through a stall until the breaker trips or the motor overheats.
- Upsizing the breaker or bypassing the current limiter.
- Never trying the manual override until the power fails in rising wind.
- Letting the anchor chain chafe the furler cable in the anchor locker.
- Spraying a pressure washer into the switch or the drive unit.
When to call a pro
- The motor hums but won't turn, runs only one way, or keeps tripping the breaker after the simple checks
- Melted insulation, burning smells or hot wiring
- A noisy or leaking gearbox or a damaged manual-drive socket
- Hydraulic leaks, sinking reefs or slow, jerky operation
- Forestay, toggle or link plate damage, or any rigging tension change (the furler often rides over the turnbuckle)
- Converting a manual furler to electric (Seldén and Facnor sell conversion kits, but the wiring and rigging need a pro)
Tips
- Keep the manual-override tool and a printed instruction card in the same cockpit locker.
- A sail cut for reefing furls more easily and with less load on the motor.
- After reefing, move the jib lead car forward to keep a good sail shape.
- Carry a smaller heavy-air jib for strong winds; even the best reefing system can fail.
- Lock out or cover the furler switch when children or guests are aboard.
Official references
We read these to write this guide. Your engine's own manual always wins.
- Harken – Electric Furling Q&A
- Seldén – Furlex jib furling systems (Furlex Electric and Hydraulic)
- Facnor – EC and EF electric furler ranges
- Facnor – EC multi-motor electric furlers
- Seldén – Manuals for assembly
- Practical Sailor – Improving Roller Furling Efficiency
- BoatUS – Roller Furling And Reefing
- Boat News – MAIB report, electric winch failure leads to skipper's death
Safety: BoatMend is for information only and does not replace a certified marine technician. You are responsible for your safety and your boat. Read the full disclaimer.
Last updated 2026-10-25
Related guides

Roller Furler Care: Inspection, Drum and Swivel Service, and Halyard Wrap
Keep your headsail roller furler turning easily with a yearly unroll-and-inspect, fresh-water rinses of the drum and swivel, a correct halyard angle and a clean furling line lead. A neglected furler can jam with the sail half out, and a halyard wrap can damage the forestay.

How to Inspect Your Sailboat's Standing Rigging
A step-by-step owner's inspection of the wires, fittings, turnbuckles, pins, chainplates and mast that hold your rig up, plus how to decide when it is time for a rigger and new rigging. Includes what insurers commonly expect for older rigs.
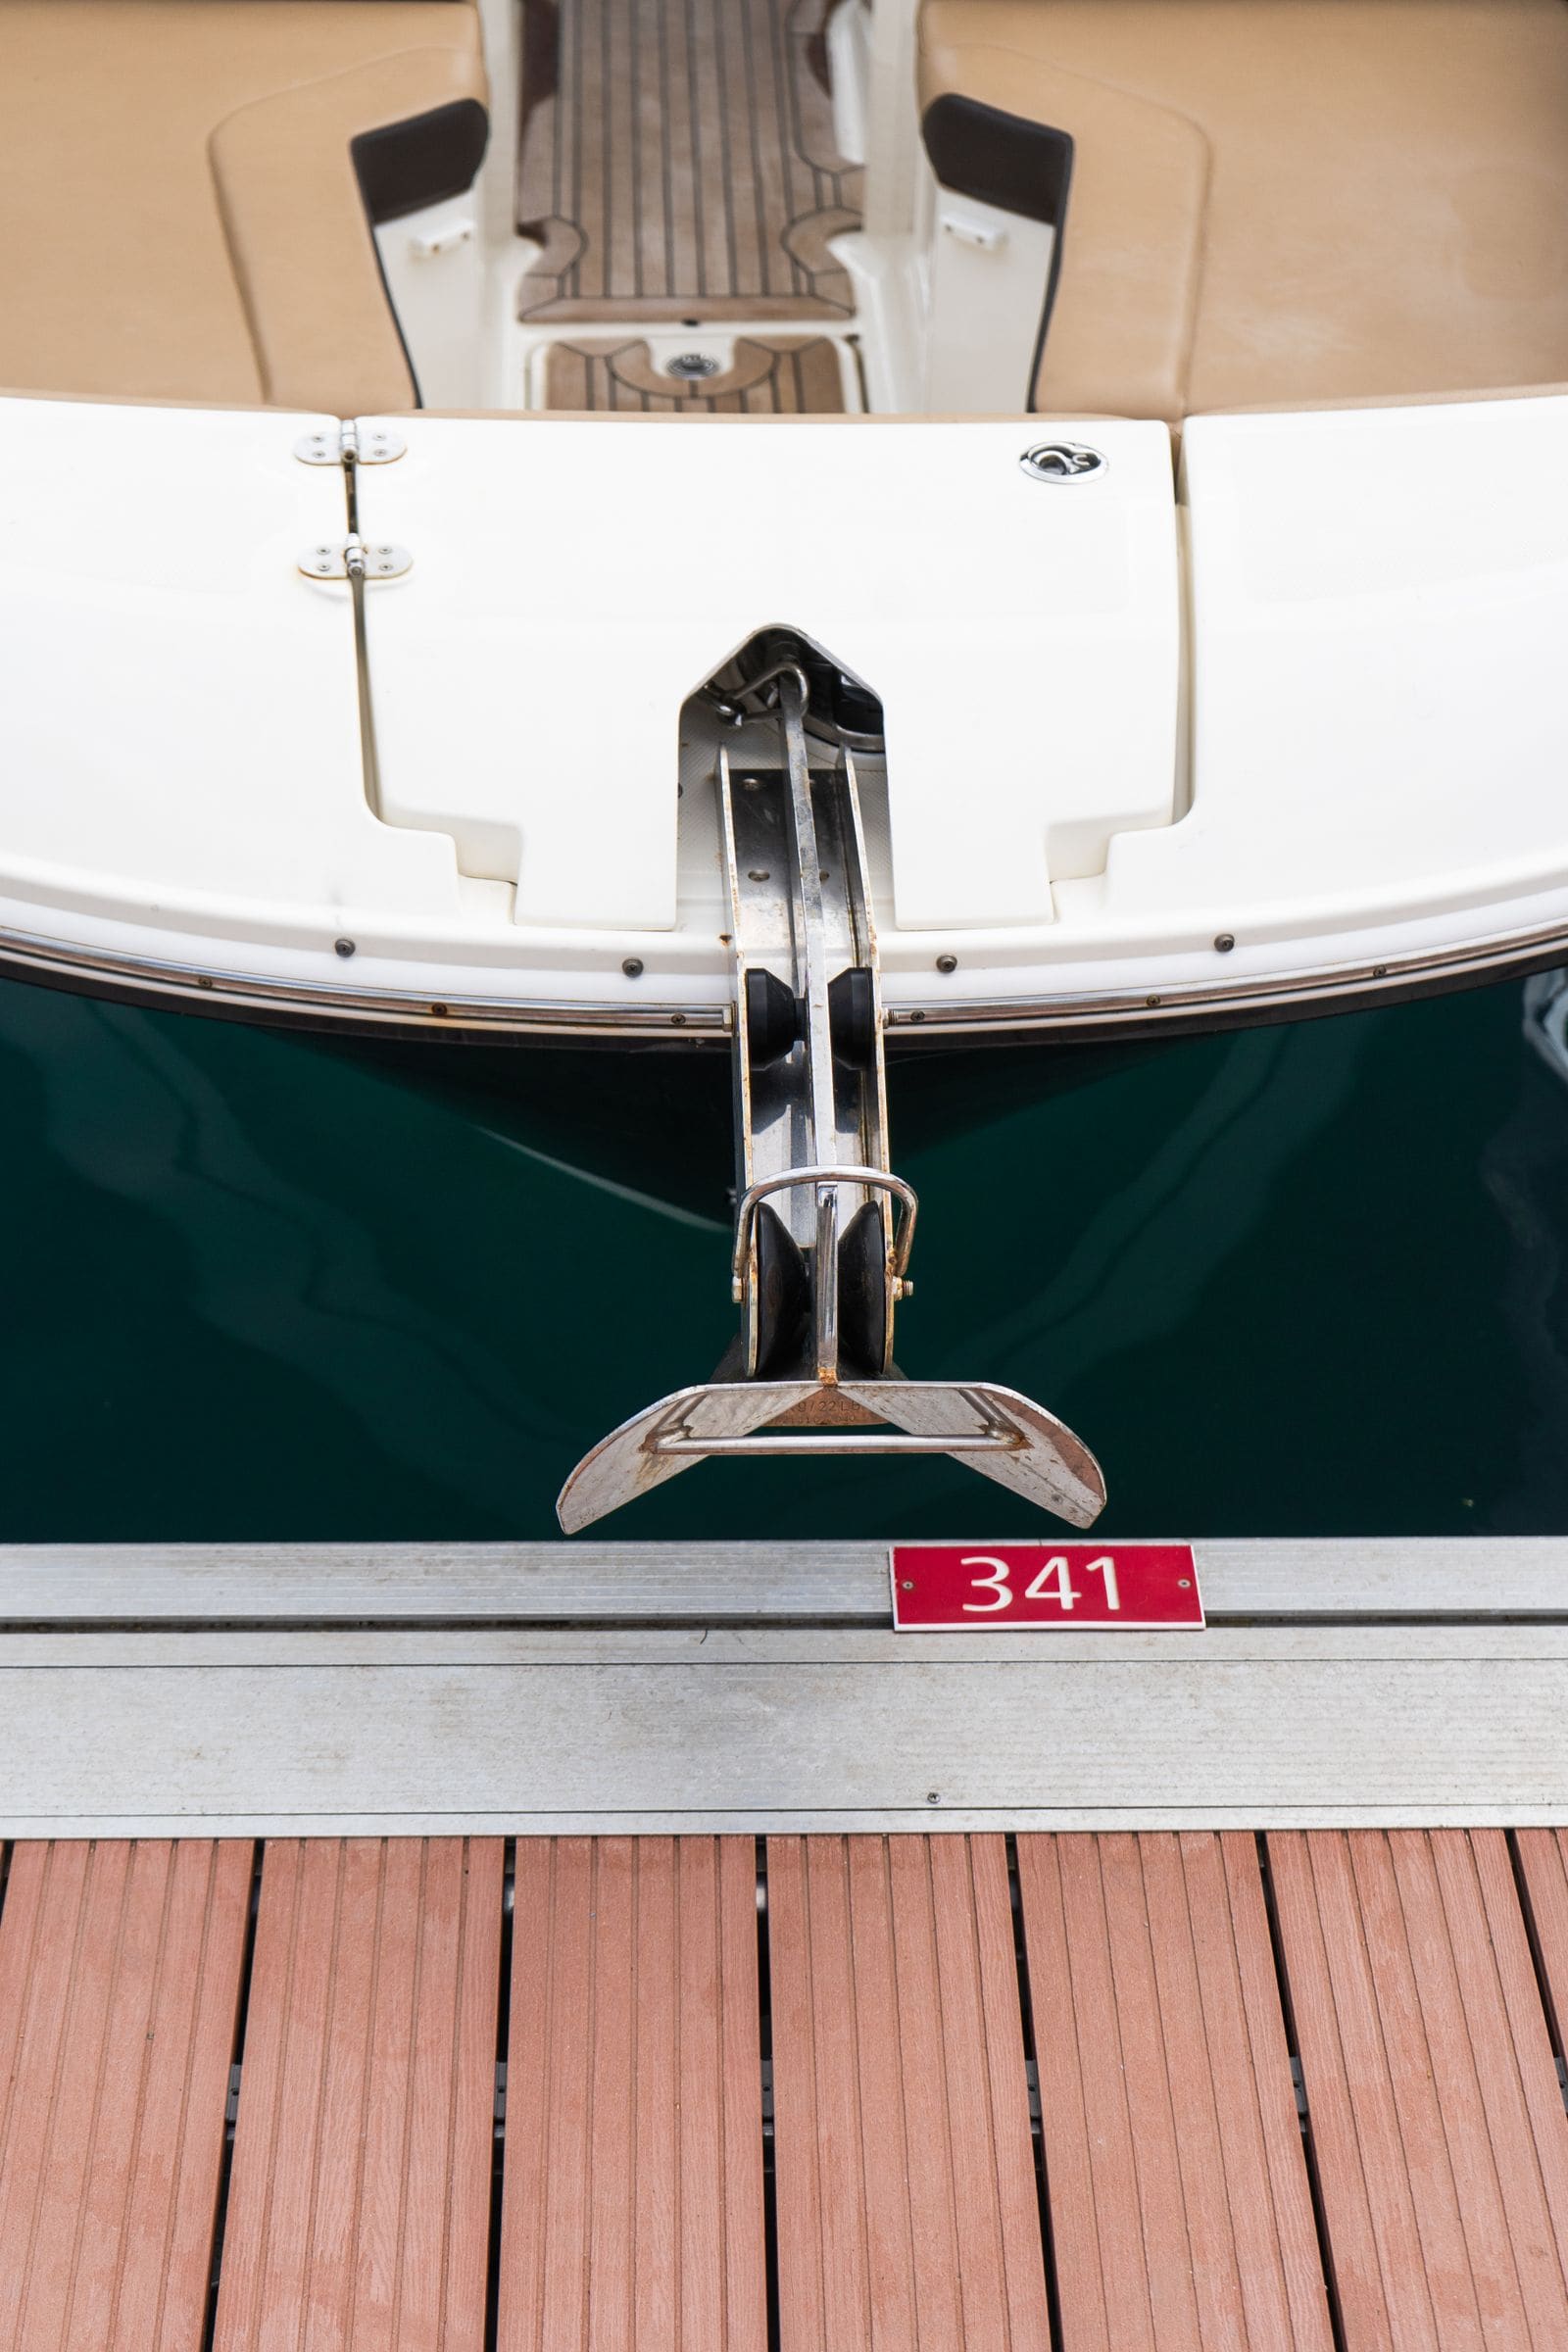
How to Maintain an Anchor Windlass and Inspect and Mark Your Anchor Rode
Keep your electric windlass working with a seasonal clean-and-grease, sort out a dead or slow windlass from the breaker and solenoid to the motor, and inspect, mark and splice your chain and rope rode. Your anchor is a safety system; this guide keeps every link of it ready.

Fuse Keeps Blowing? How to Troubleshoot a Boat Fuse Block or Breaker Panel
Work through a blown fuse or tripping breaker the safe way: confirm it, tell a short from an overload, isolate the device or wire at fault, replace a worn breaker or panel switch with the same rating, and label every circuit, without ever fitting a bigger fuse.
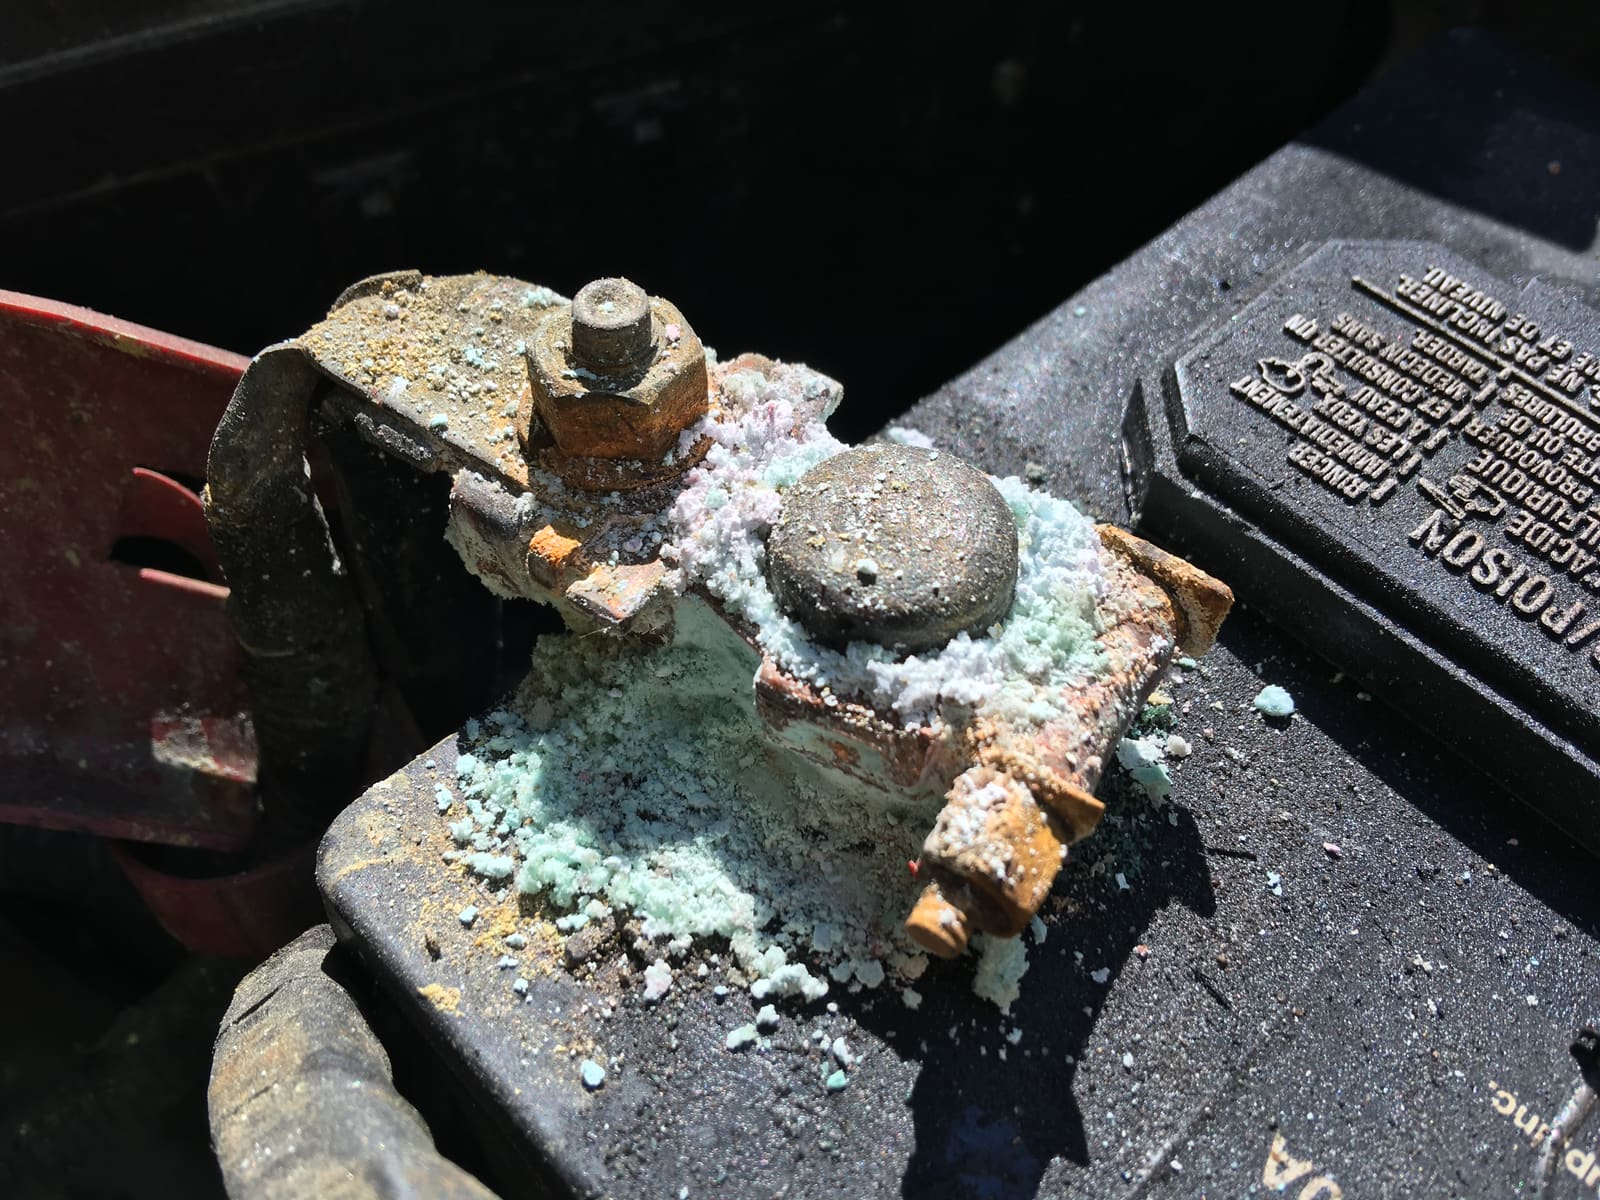
How to Find and Fix Corroded Electrical Connections on a Boat
Track down the green crust and loose terminals behind flickering lights, dead gauges and slow cranking with a simple voltage-drop test, then remake the connection the marine way: tinned wire, a proper crimp, adhesive-lined heat shrink and a protective coating.

12-Volt Boat Wiring Basics: Circuits, Color Codes, Fuses and Wire Size
Learn how your boat's 12-volt system is laid out, what the ABYC wire colors mean, how fuses and breakers protect the wiring, why voltage drop and tinned wire matter, and how to read a wiring diagram, so you can troubleshoot smarter and know which jobs belong to a marine electrician.