How to Flush Your Engine With Fresh Water
Rinse salt, silt and sand out of your outboard or sterndrive cooling system using the built-in flush port, flush muffs or a flush bag. Flushing after every saltwater trip is one of the easiest ways to prevent corrosion and overheating.
Time
20 min
Applies to
Outboard, Sterndrive (I/O)
Safety first: Never run an engine without cooling water, not even for a few seconds; the water pump impeller can be ruined almost instantly. When the engine runs on muffs or a flush bag, stay with it, keep people clear of the prop (many owners remove it), keep it in neutral at idle only, and run it outdoors only because exhaust contains deadly carbon monoxide. If you smell fuel while flushing, shut down and find the leak before running again.
Owners often ask
- How long can I run my engine on flush muffs, and how fast?
This guide walks you through it. Still stuck? Ask the AI Mechanic about your engine.
Tools
- Garden hose with good water pressure
- Flush adapter for your engine's built-in flush port (if equipped)
- Flush muffs (ear muffs) sized for your gearcase, or a flush bag
- Dual water pickup flush kit (some sterndrives and larger outboards)
- Prop wrench and wood block (if removing the prop)
Parts & supplies
- Corrosion inhibitor spray (optional, after rinsing)
Before you start
Why flush: salt and silt left in the cooling passages dry into crusty deposits. Over time they restrict water flow, cause overheating and corrode the engine from the inside. Mercury recommends flushing after every saltwater trip and also after brackish, polluted or very silty fresh water. Yamaha suggests flushing even freshwater engines regularly.
Three common methods (check your manual for which ones your engine allows):
- Built-in flush port (many newer outboards): a hose fitting near the bottom of the cowl. On most current engines (Yamaha, Verado, larger Honda models and others) do not run the engine: water pressure alone pushes fresh water through. Works on a trailer, lift or in the water (tilted up). A few models are the exception: BoatUS reports that some smaller and midsize Mercury four-strokes, OptiMax two-strokes and Honda 25–50 hp outboards are flushed through their port with the engine idling. Run an engine on its flush port only if your owner's manual for that exact model says to; if you're not sure, keep it off.
- Flush muffs (ear muffs): two rubber cups that clamp over the water intakes on the gearcase. The engine must run, at idle only. Best on a trailer. Only works on gearcases where the muffs can cover all the intakes.
- Flush bag: a bag around the lower unit filled with water. The engine runs at idle. Good for gearcases with more than one intake per side.
Sterndrives: MerCruiser and similar drives are flushed with muffs over the drive's water intakes (some drives with intakes in the nose of the gearcase need a dual-pickup seal kit, and the prop must come off), or with an accessory engine flush kit. On sterndrives the engine runs during flushing. Mercury notes its MerCruiser flush kits differ by drive: the Bravo, inboard and towsport kits can be used with the boat in or out of the water, while the Alpha attachment works only with the boat out of the water. If your sterndrive has a closed (freshwater) cooling system with a heat exchanger, flushing still clears the raw-water side and exhaust; follow your manual.
Fogging note: Yamaha says only the muff or bag methods (engine running) work for fogging an engine for storage. See the fogging guide.
Steps
Boat on a trailer or lift (or in the water for a flush port). Remove the key while you hook things up. Check the gearcase water intake screens and clear any weeds or mud.
If the engine will run, many manuals recommend taking the prop off so nobody can be hurt if the engine is bumped into gear. See the propeller guide.
Skip to Step 4 if you are using muffs or a bag.
Lower the outboard to vertical, or trim it so the gearcase is out of the water if the boat is afloat. Screw the hose adapter onto the flush fitting and turn the water on (full, unless your manual limits the pressure). Do not start the engine unless your manual specifically calls for an engine-running port flush (see "Before you start"). Let the water run about 15 minutes (Yamaha's guidance; check your manual). Yamaha also notes there is no clear evidence that flushing with the engine running cleans better, so the engine-off port is not a second-best method. Turn the water off, remove the adapter, reinstall the cap if your engine has one, and go to Step 10.
Muffs: slide them over the intakes so the cups seal on both sides. If your gearcase has extra intakes the muffs cannot cover, use a bag or the correct kit instead.
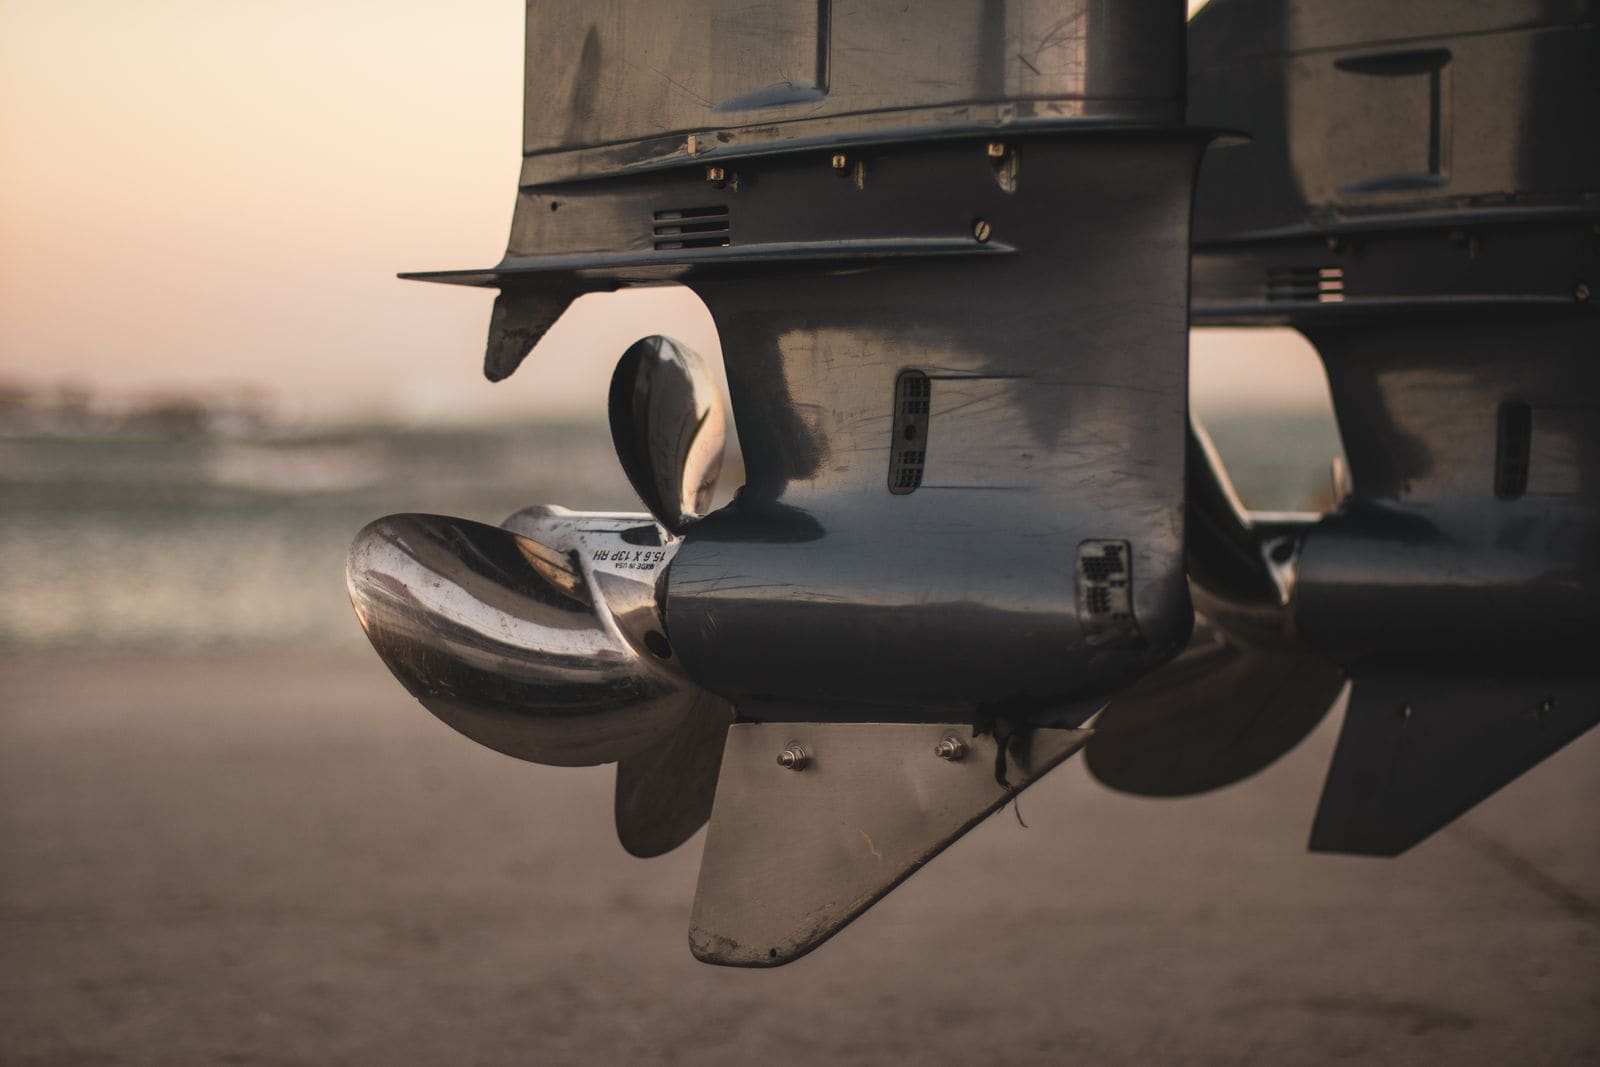
The slotted grate on the side of the gearcase is the water intake. The muff cups must sit squarely over it on both sides. Photo: Stuart Reece / Pexels · Pexels License Bag: fit the bag around the lower unit and fill it with the hose until the intakes are well covered. Yamaha says the water should reach the height of the water pump, which is roughly an inch above the seam where the lower unit joins the midsection. Keep the hose running into the bag the whole time. When done: stop the engine, then the hose, then drain the bag.
Turn the water on before starting. A little water leaking around muff cups is normal, and it is actually the sign you want: Yamaha advises keeping the hose pressure high enough that some water always squirts out from under the cups, which shows the pump has more water than it needs. Start the engine in neutral and let it idle. Do not rev it; a garden hose cannot supply enough water for higher RPM.
Outboards: within a few seconds a steady stream should come out of the telltale (the small "pee" outlet). Sterndrives: watch for water coming out with the exhaust and keep an eye on the temperature gauge.
If the stream is weak or missing, or the temperature climbs, shut down right away and check the hose pressure, the muff seal and the telltale opening. "It doesn't seem to pull water from the muffs" is a common owner complaint: usually the cups are sitting above or beside the intake grates instead of over them, the gearcase has a second intake (often low in the front) that is sucking air, or the hose is too thin or long. If all of that checks out, the impeller is the next suspect. See the overheating guide if the problem continues.
Watch the temperature gauge or warning lights the whole time. If the muffs slip off, stop the engine immediately.
Most owners flush 10 to 15 minutes at idle; your manual may give a specific time. Brands differ: Yamaha calls for about 15 minutes, while Suzuki's FAQ says at least 5 minutes at idle in neutral on muffs. Engines that ran in saltwater benefit from the full time.
Stop the engine first, then turn off the water. Turning off the water while the engine runs means it runs dry. Remove the muffs or bag.
Trim the outboard or drive all the way down so water drains out of the powerhead and gearcase. This matters before freezing weather.
With the outboard vertical (Mercury warns that rinsing a tilted engine can push water into the air intake), gently hose off the cowl, bracket and trim rams. On a sterndrive, rinse the drive and trim area. Use low pressure; do not blast water into electrical connections. Pull the boat's drain plug so rinse water can leave the bilge.
In saltwater areas, once dry, you can open the cowl and lightly rinse salt from the powerhead with low pressure, let it dry, and apply a corrosion inhibitor spray, keeping it off the air intake, belts and alternator. Never spray anodes.
Put the prop back if you removed it. Log the flush in BoatMend; saltwater boaters can set it as a recurring after-trip task.
Common mistakes
- Revving the engine on muffs "to flush it better". A garden hose cannot keep up, and the engine can overheat in moments.
- Turning the water off before stopping the engine, so it runs dry.
- Starting the engine while using the built-in flush port. On most engines that method is engine off; run it on the port only if your manual says so for your model.
- Using muffs on a gearcase with extra intakes the cups cannot cover, so the pump pulls air.
- Running the flush on a weak, long or kinked hose with low pressure. Turn the tap fully open.
- Rinsing the cowl with the engine tilted up, or blasting it with a pressure washer, which pushes water into the intake and connectors.
- Leaving the engine tilted up afterward instead of lowering it so the water drains out.
When to call a pro
- The telltale stream is weak or missing even with good hose pressure
- The engine overheats or the warning horn sounds during flushing
- Water comes out of places it should not (cracks, around the powerhead, under the cowl)
- You see fuel in the flush water or smell fuel
- You are unsure which flush method or kit your sterndrive needs
Tips
- Never leave a running engine on muffs unattended, even for a minute.
- A partially plugged telltale is common; a piece of thin wire can clear it, but if the stream is still weak, check the water pump.
- Keep a hose adapter in your tow vehicle so you can flush at the ramp wash-down station.
- Flushing does not replace replacing the water pump impeller on schedule; see the impeller guide.
- Keep the boat in salt water? Honda suggests tilting the outboard up when moored so the gearcase is out of the water and marine growth cannot settle on it, washing the outside with fresh water after each trip (never into the air intake), and a coat of wax on the cowl.
- Not every outboard has a flush port, and some have two (Suzuki lists both cases). Your manual shows where yours is, if you have one.
Official references
We read these to write this guide. Your engine's own manual always wins.
- Yamaha Outboards – Freshwater Flushing Adds Years to the Life of an Outboard
- Yamaha Outboards – Maintenance FAQs
- Mercury Marine – Maintenance Made Easy, Preventing Corrosion
- Honda Marine – Maintenance (salt water and flushing)
- Suzuki Marine – DIY Maintenance videos (flushing)
- Yamaha Outboards – Maintenance Matters, Corrosion Prevention (flushing methods)
- Honda Marine – Salt Water Operation
- Suzuki Marine – FAQs (saltwater care and flush ports)
- Mercury Marine – Owner FAQs (MerCruiser flush kits)
- BoatUS – Outboard Flushing The Right Way (brand-by-brand flush methods)
Safety: BoatMend is for information only and does not replace a certified marine technician. You are responsible for your safety and your boat. Read the full disclaimer.
Last updated 2026-10-23
Related guides
Engine Overheating - Troubleshooting Guide
Work through the most likely causes of a hot engine or overheat alarm, from a blocked water intake to a worn impeller or stuck thermostat. Acting fast and in the right order can save your engine and often gets you home without a tow.
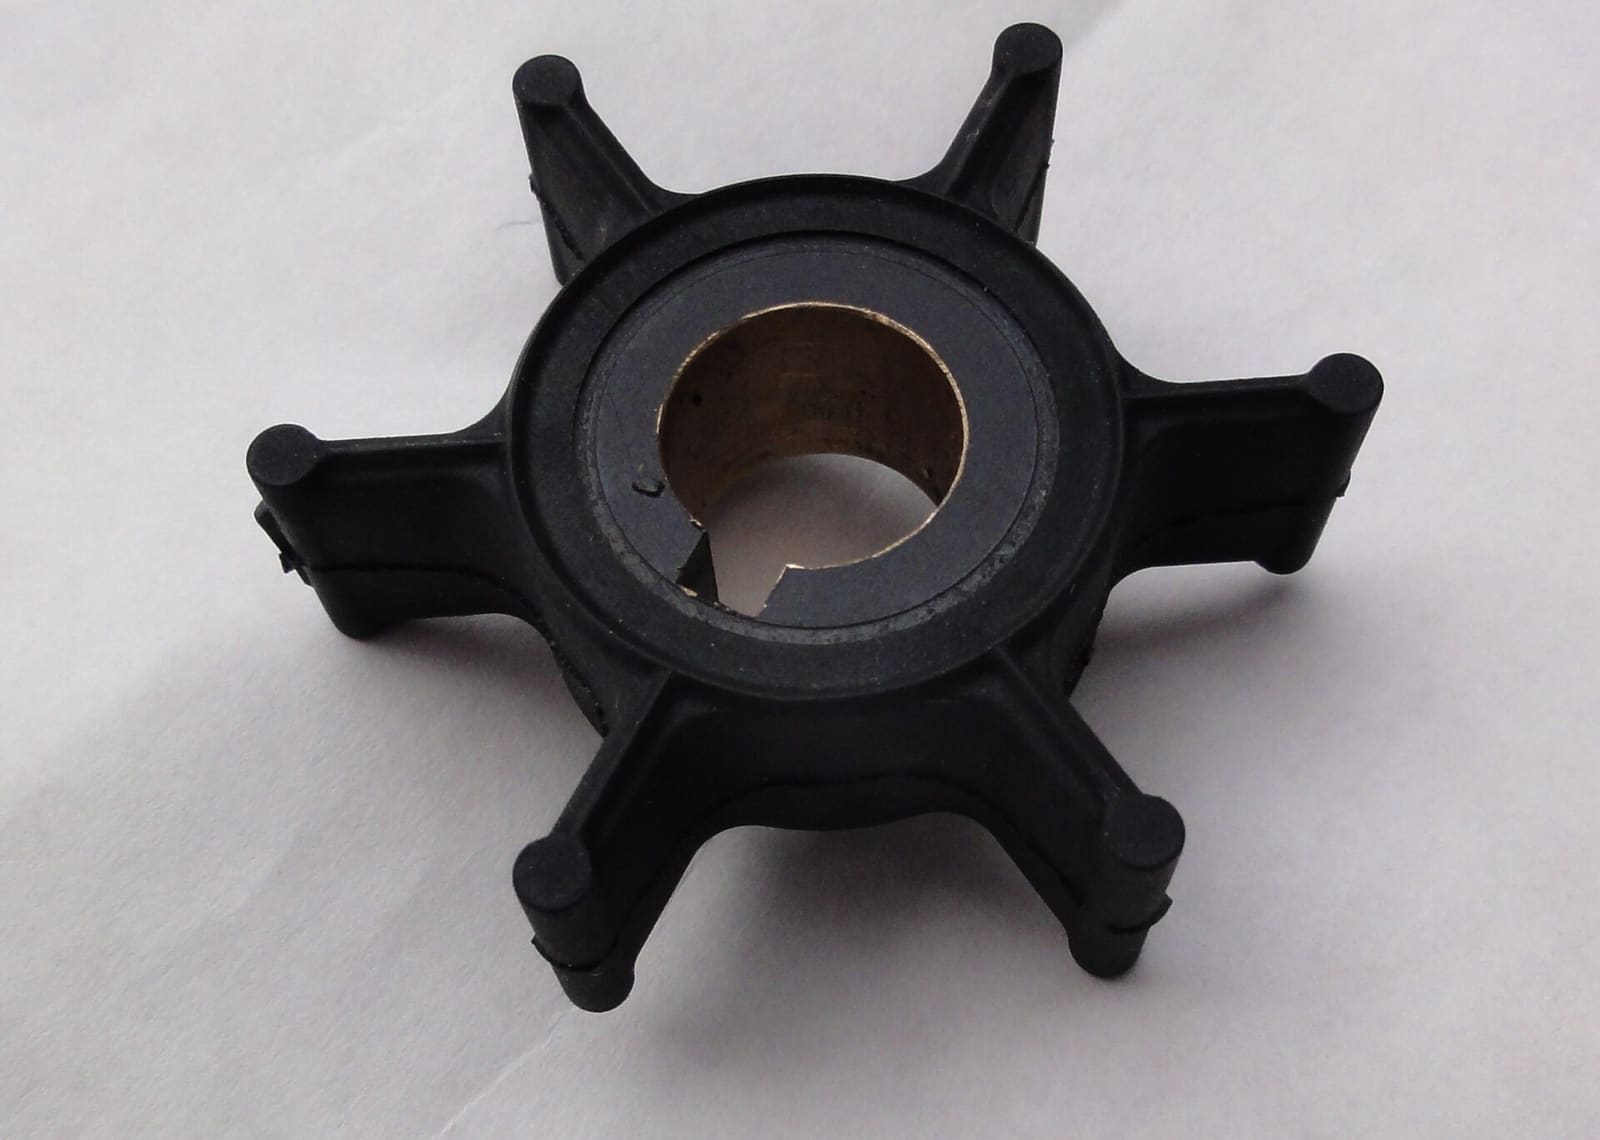
How to Replace the Water Pump Impeller
Replace the rubber impeller that pumps cooling water through your engine, the part most often behind overheating. On many outboards it is a two-hour driveway job that saves a shop bill of several hundred dollars and prevents far costlier heat damage.
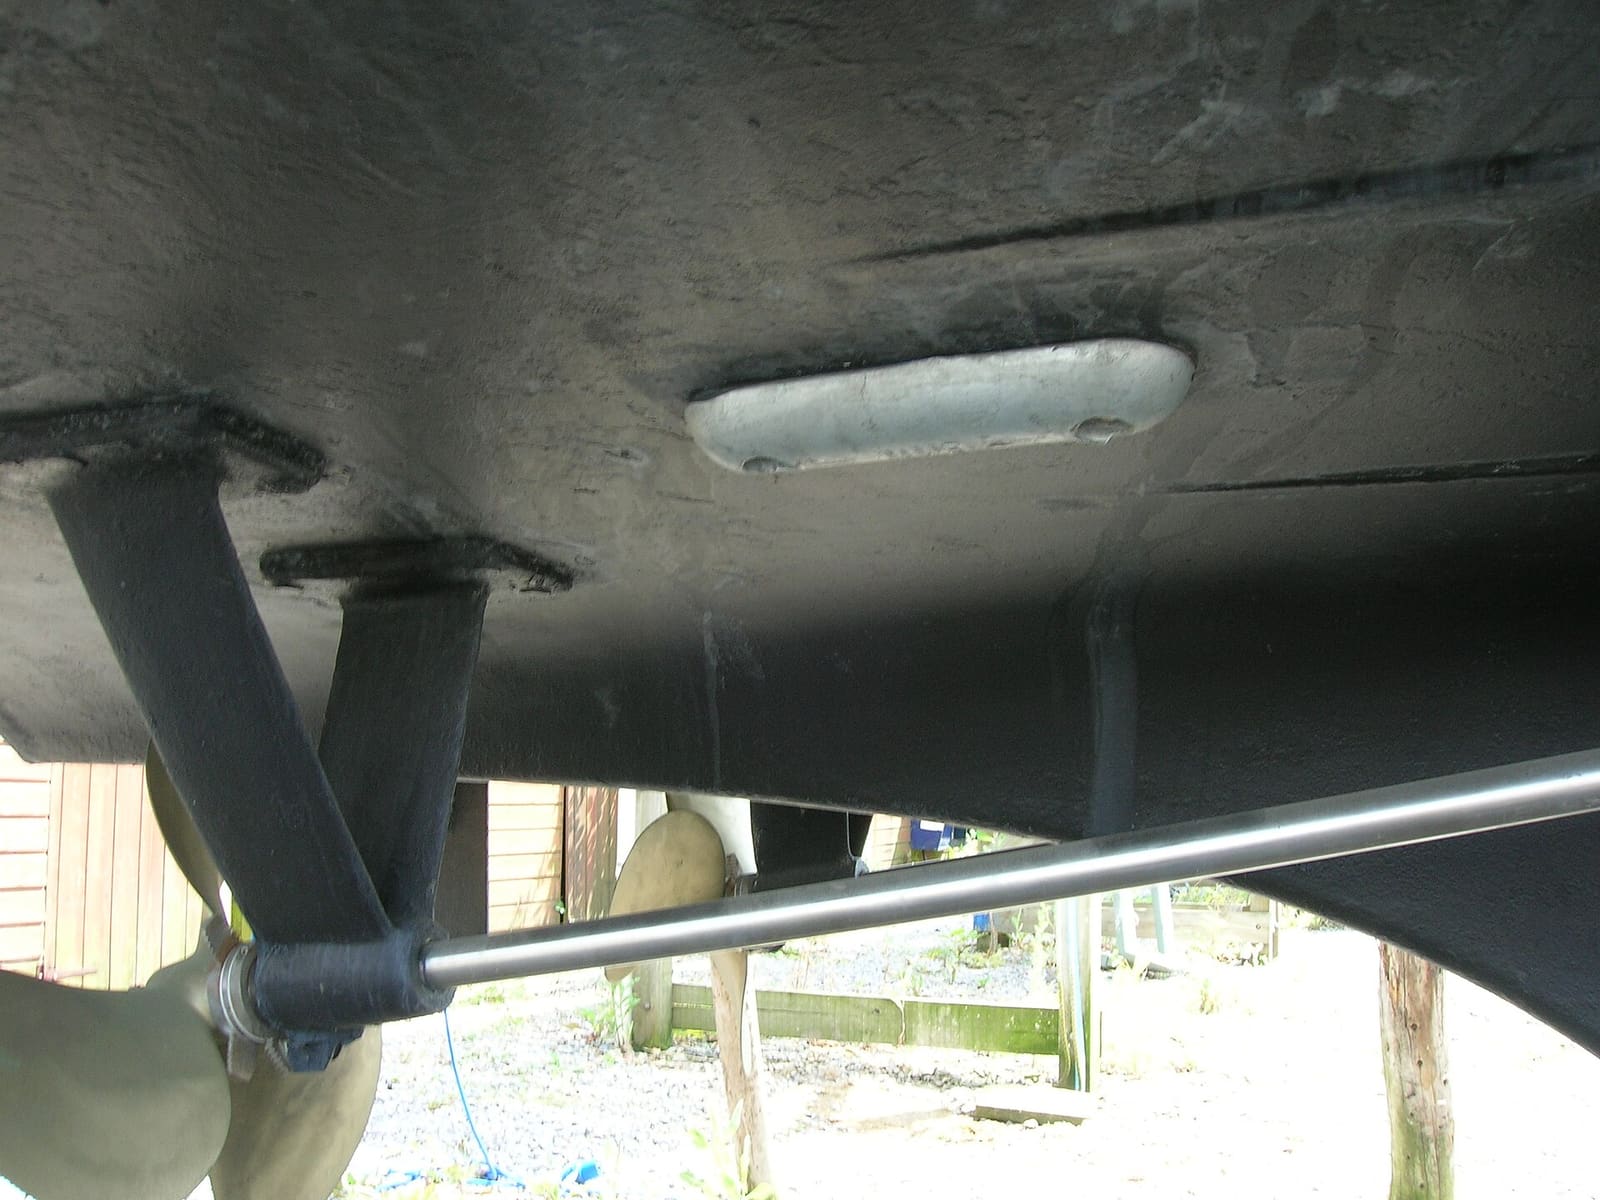
How to Inspect and Replace Sacrificial Anodes (Zincs)
Check the anodes on your outboard, sterndrive or inboard running gear, replace them when they are half gone, and choose the right metal for the water you boat in. Fresh anodes are cheap insurance against expensive corrosion damage to your lower unit, drive and prop.
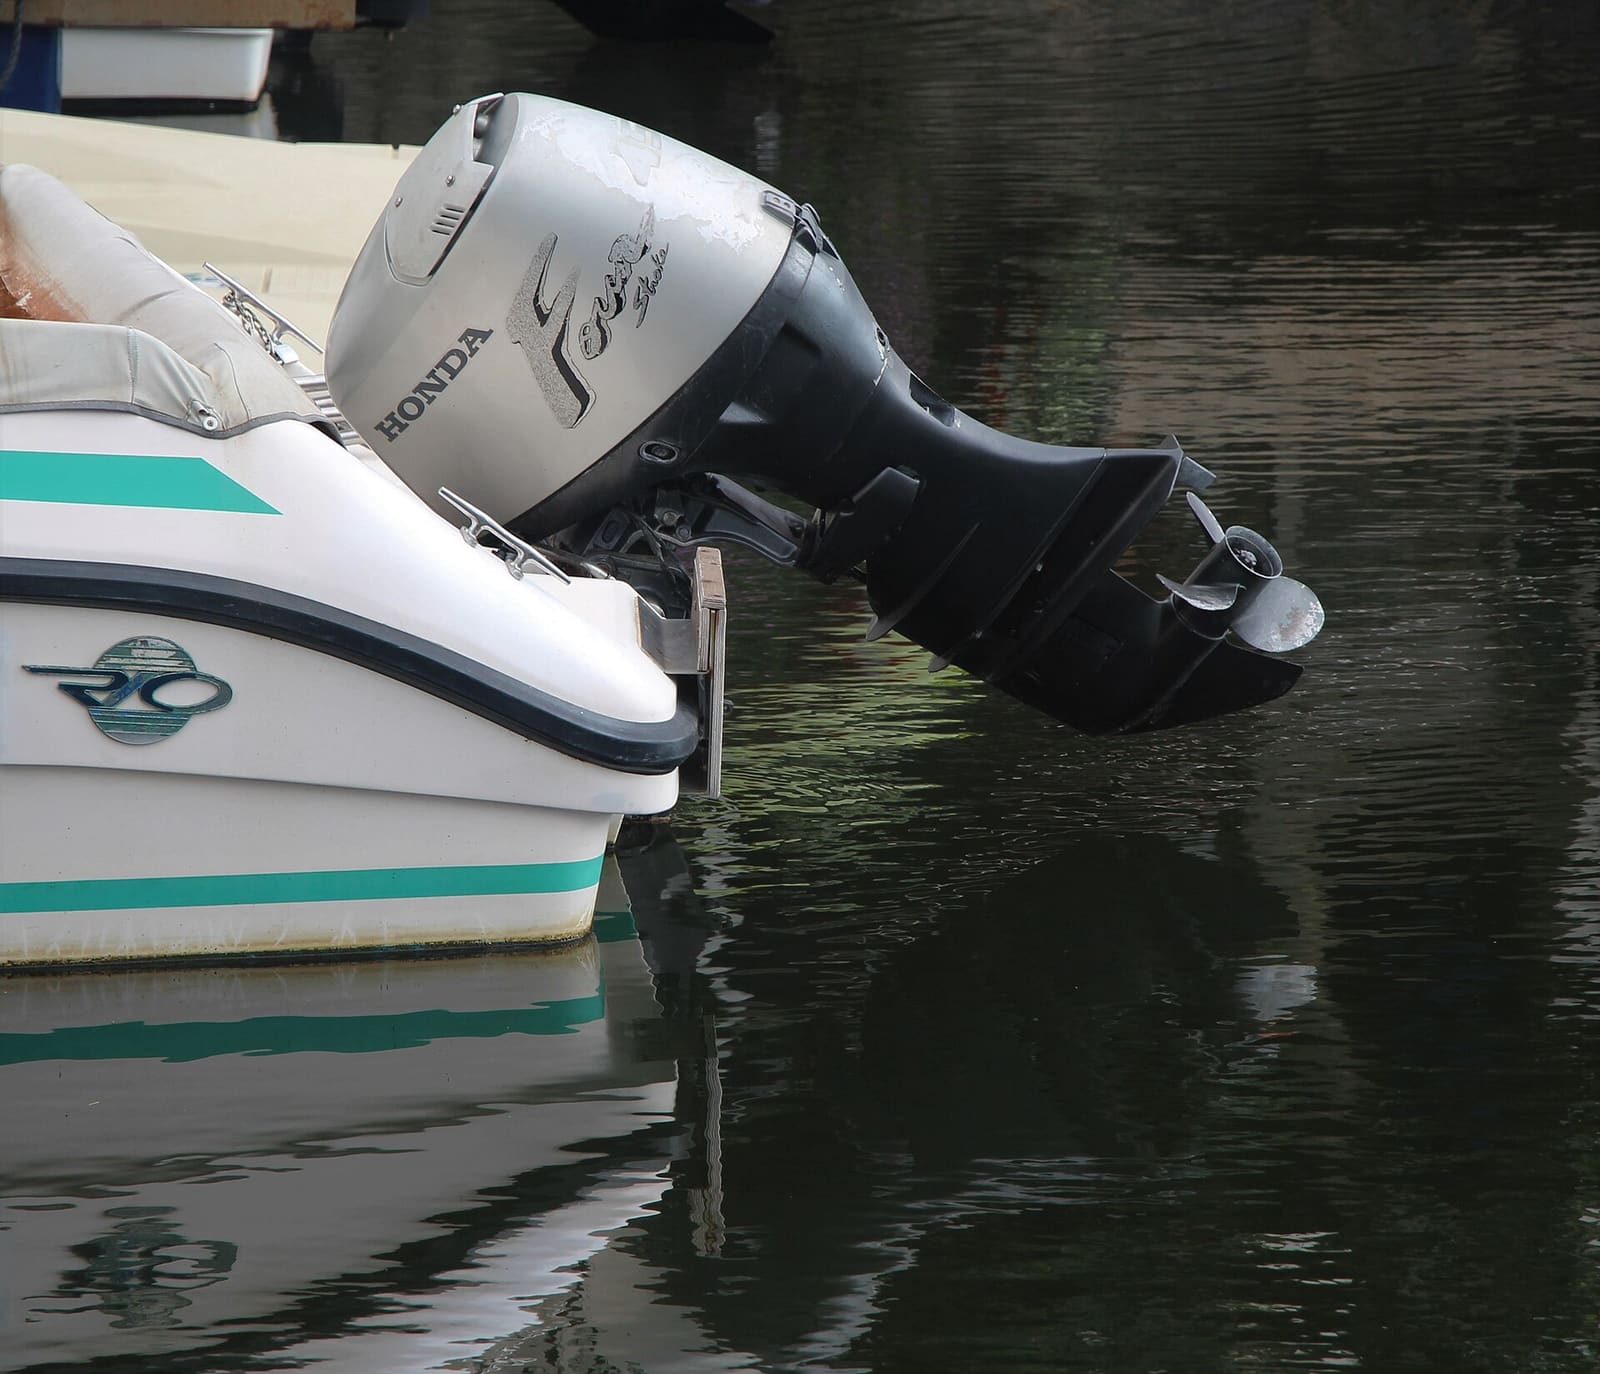
How to Winterize an Outboard Engine
Protect your outboard from freeze damage, stale fuel and internal corrosion over the off-season. Most owners can do it in an afternoon with basic tools, compared with a shop bill that often runs several hundred dollars.
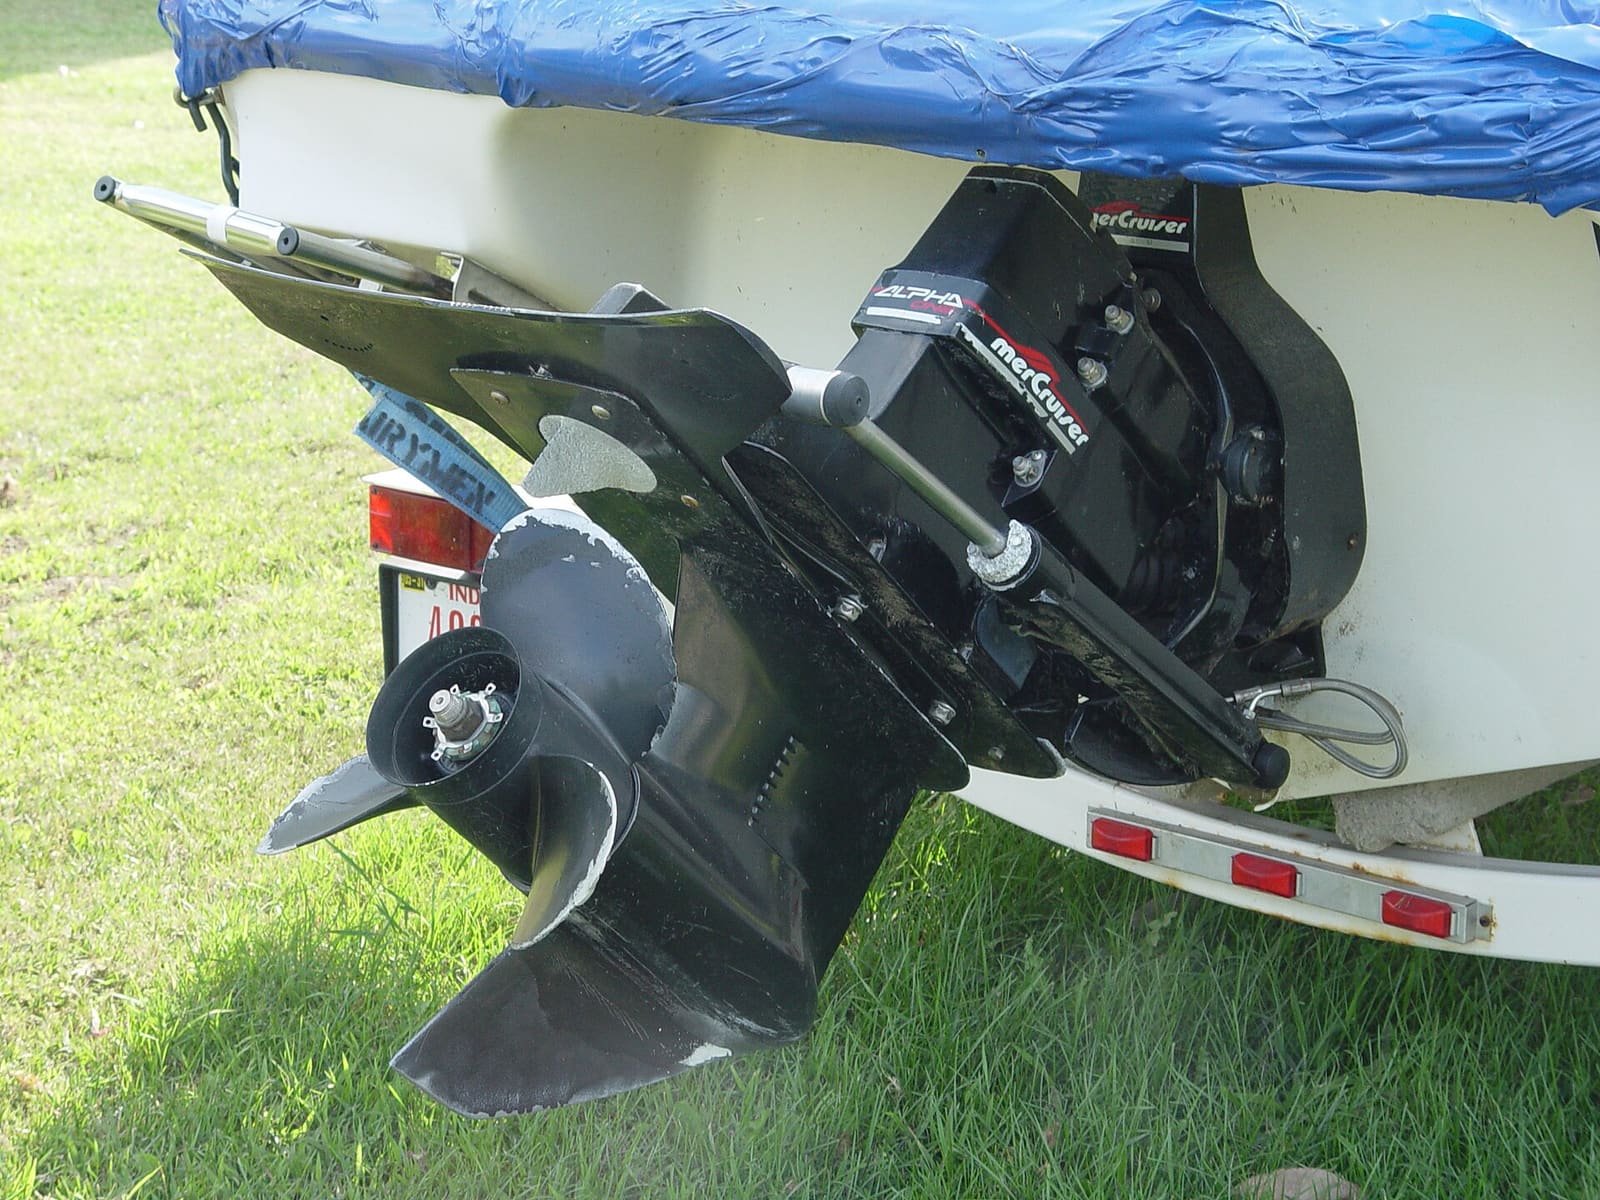
How to Winterize a Sterndrive (MerCruiser, Volvo Penta and Similar)
Get the water out of your sterndrive engine, protect it with antifreeze, and service the drive before storage. A cracked block or manifold from one missed drain plug can cost thousands, and doing it yourself saves a shop bill of several hundred dollars.
How to Fog an Engine for Storage
Coat the inside of your engine's cylinders with fogging oil before a long layup so rust does not form over the winter. Learn when fogging applies, how it differs for carbureted, fuel-injected and direct-injection engines, and why your maker's instructions come first.