Hull Blisters (Osmosis): How to Tell Cosmetic Pimples From Serious Pox
Learn what osmotic blisters are, how to inspect a fiberglass bottom at haul-out, which blisters you can fix yourself with epoxy, what moisture meter readings can and can't tell you, and when to hire an independent surveyor.

Time
4 h
Shop would charge
$400-2000
Applies to
All engines
Safety first: Blisters can be under real pressure, and the liquid inside is acidic. Wear safety glasses when you open one and keep your face to the side. Sanding a painted bottom releases toxic antifouling dust: use a vacuum-equipped sander, a proper respirator and tarps, and follow your yard's rules. Never work under a boat that is not properly supported by yard stands or a cradle.
Owners often ask
- I found a bunch of small blisters on my hull at haulout. Is it osmosis and how worried should I be?
- The surveyor's moisture meter showed high readings on the bottom. Does that mean the hull is bad?
This guide walks you through it. Still stuck? Ask the AI Mechanic about your engine.
Tools
- Good flashlight or work light
- Marker or painter's tape to map blisters
- Sharp chisel or old screwdriver to open blisters
- Plastic mallet or screwdriver handle for tap testing
- Drill or rotary tool with small sanding discs, or a disc sander with 36- to 60-grit discs
- Stiff scrub brush, hose and spray bottle
- Plastic squeegee and disposable brushes
- Clear zipper freezer bags and duct tape (for a moisture check)
- PPE: safety glasses or goggles, gloves, respirator for sanding
Parts & supplies
- Marine epoxy resin and hardener
- Colloidal silica thickener
- Fiberglass cloth (only if a blister went into the laminate)
- Isopropyl alcohol and clean paper towels
- Epoxy barrier coat and bottom paint compatible with your existing paint
Before you start
What a blister is: gelcoat is not completely waterproof. Over time, water molecules pass through it and react with water-soluble leftovers in the laminate behind it. That forms a liquid that can't get back out, pressure builds, and the gelcoat pushes out into a dome. That dome is an osmotic blister.
How common is it? BoatUS estimates that roughly one fiberglass boat in four develops some blisters. Most stay a cosmetic issue, especially when they are treated instead of ignored. Blisters grow slowly, and damage to the laminate grows more slowly still, so you usually have time to look carefully and make a calm decision.
Three kinds of "blisters" you might see:
- Paint blisters: bubbles between layers of bottom paint, often from trapped solvent or poor adhesion. When opened they are dry and you see paint or gelcoat underneath. Cosmetic.
- Gelcoat blisters: under the gelcoat, often the size of a pea to a coin. They usually contain liquid with a vinegar-like smell. Usually fixable one by one.
- Laminate blisters and "boat pox": deep blisters into the fiberglass, or a bottom covered stem to stern. That points to a saturated hull and is a job for a professional.
Best time to look: right when the boat comes out of the water. Blisters can shrink noticeably within about an hour of haul-out, so be there if you can.
Steps
Walk around the whole hull with a light held low and at an angle so bumps cast shadows. Look along the waterline, around the keel and near through-hulls. Run your hand over the surface; small blisters are often easier to feel than to see.
Mark each blister with tape or a marker and take photos with something for scale. Count them and note where they are. A few scattered or in one patch is very different from hundreds everywhere. Save the photos in BoatMend so you can compare next haul-out.
If the boat has been out for a while, lightly scuff the bottom with a coarse sanding block (with dust control and PPE). Raised spots show up as shiny or untouched patches you can mark.
With safety glasses on, pop a typical blister with the corner of a sharp chisel, held at arm's length. Note what you find:
- Dry, with paint underneath: a paint blister. Sand, prime if needed, and repaint.
- Liquid, often with a sharp vinegar smell, gelcoat dome over sound laminate: a typical osmotic gelcoat blister.
- Wet, white or stringy fibers under the gelcoat: the blister reached the laminate. Plan for a deeper repair or a pro.
Tap around each one with a plastic mallet or a screwdriver handle. Solid laminate gives a sharp click. A dull thud means a void or delamination, and the damaged area is bigger than the dome. Mark the edge of the dull area.
Surveyors use meters to compare wetness from place to place, for example the bottom against the topsides. But most handheld meters were designed for wood or building materials, copper bottom paint and other additives can throw readings off, and older hulls often read "wet" without ever blistering. A high reading alone is not a diagnosis, and a meter can't predict blistering on a hull that has none. Treat readings as one clue alongside what you see and hear.
- A few blisters, in one area or scattered, laminate solid around them: repair them one by one (next steps). Repairing each blister also cures it.
- Many blisters across the bottom, blisters into the laminate, or large dull-sounding areas: stop and get an independent survey before spending money (see "When to call a pro").

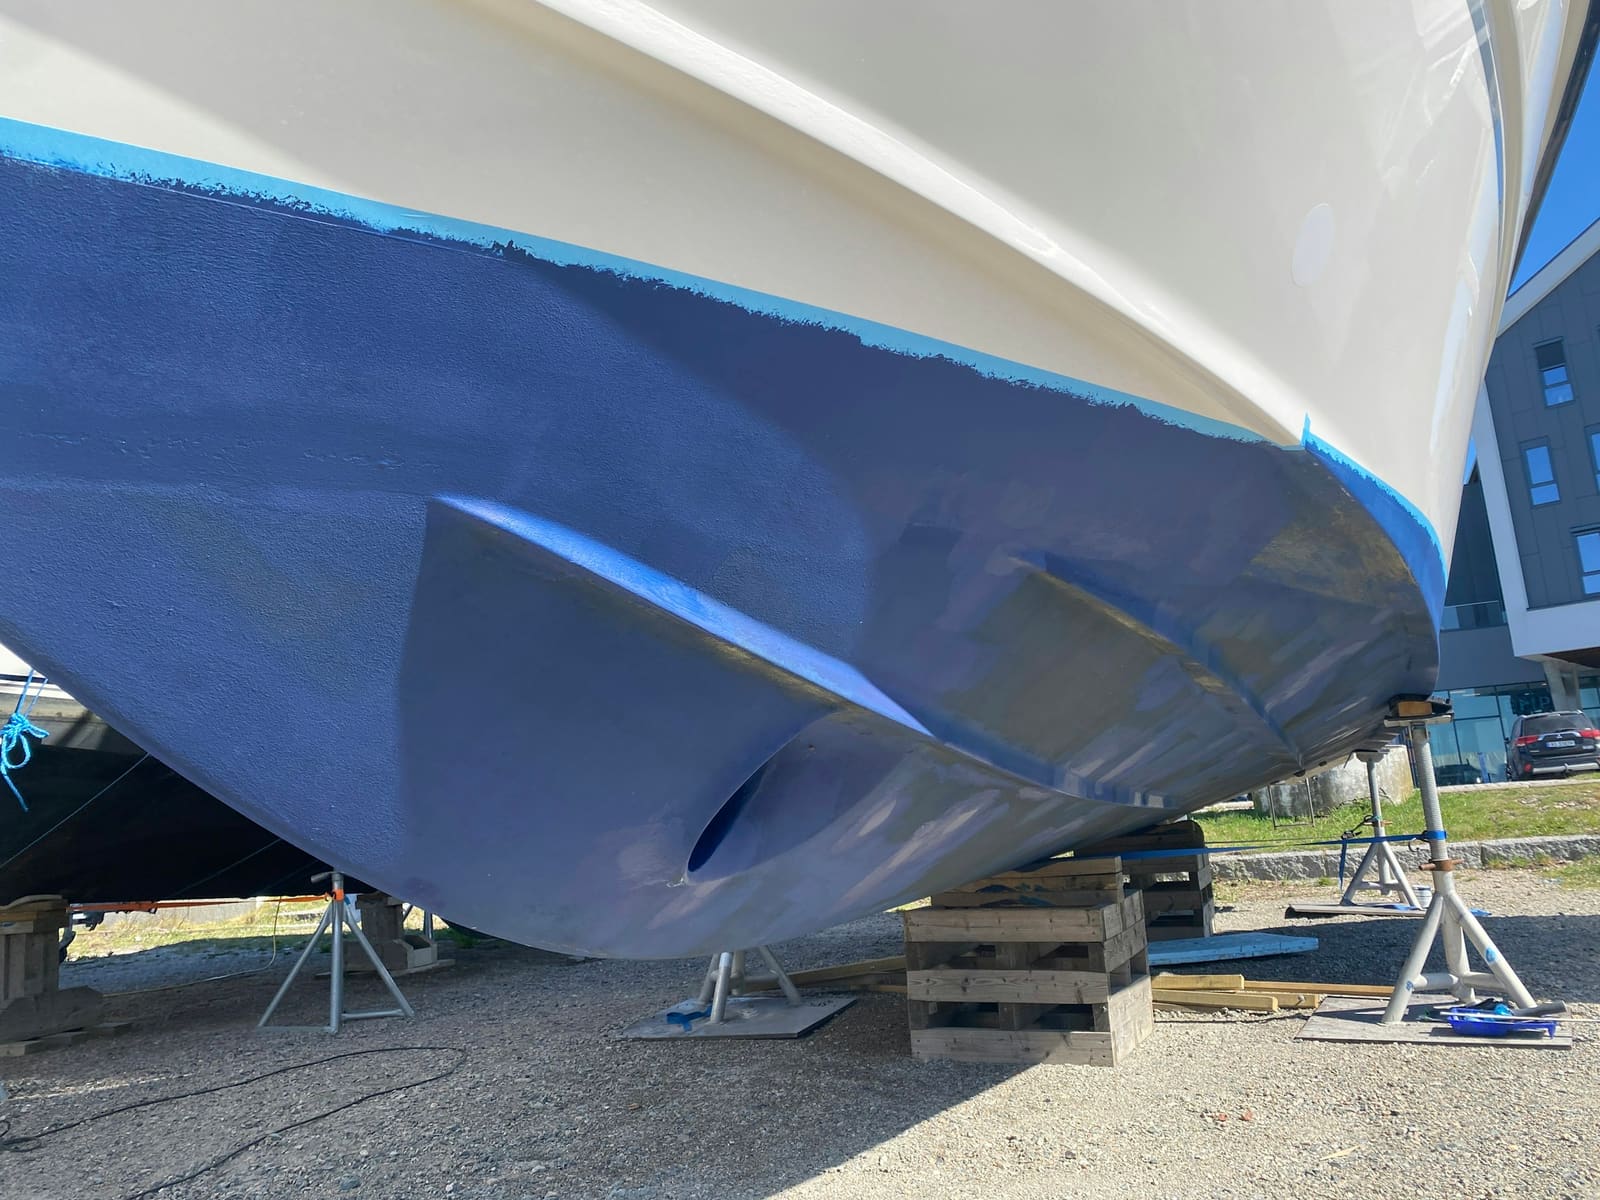
Haul-out season is the time to inspect: once the bottom dries, blisters can shrink and hide. Photo: Theologos Christodoulou / Pexels Open every marked blister and wash away the liquid. With a small sanding disc, grind away the broken dome and bevel the edges into a shallow saucer. A common rule of thumb is a dish about 20 times wider than it is deep. Keep widening (not deepening) until the gelcoat edge is firmly bonded all the way around. Healthy laminate looks dark and translucent when wet; damaged laminate looks white and fibrous.
Scrub every dish clean with fresh water and a stiff brush. Then let the laminate dry as long as you can. If the boat is coming out for the winter, the easiest plan is to open and scrub the blisters at haul-out and fill them in spring. If you can't wait, blot each dish repeatedly with isopropyl alcohol on paper towels until the towel comes away clean.
Tape a square cut from a clear freezer bag over a few blisters, seal all edges with duct tape, and wait about three days in warm weather. Fog or droplets on the inside of the plastic mean the laminate is still wet: give it more dry time. Dry plastic means you can fill.
Wipe each dish with alcohol just before filling. Brush a thin coat of plain mixed epoxy into the dish, let it get tacky, then fill with epoxy thickened with colloidal silica to a peanut-butter consistency. Squeegee it smooth and slightly proud. Do not use polyester resin, body filler, or hollow fillers like microballoons or talc below the waterline. Deep blisters that went into the laminate get layers of fiberglass cloth wetted with epoxy; if that sounds like more than you want to take on, have a pro do it.
Coat each repair and a little beyond with a couple of coats of unthickened epoxy or the barrier coat your paint maker recommends. After it cures, wash off the waxy film (amine blush) with water and an abrasive pad, sand it fair, and apply bottom paint (see our bottom paint guide). Don't put gelcoat over epoxy repairs.
Compare against your photos. A few new blisters can be treated the same way. A fast-growing number is a reason to get a survey.
Common mistakes
- Panicking and paying for a full "peel" right away. If 99 percent of the bottom is fine, replacing all the gelcoat may be money spent on healthy hull. Start with individual repairs unless the hull is truly covered.
- Taking a moisture meter reading as a verdict. It is one clue, not a diagnosis.
- Filling wet blisters. Moisture trapped under new epoxy can blister again.
- Using polyester resin, body filler or hollow fillers below the waterline. Use marine epoxy with colloidal silica.
- Opening blisters without eye protection. The fluid can spray and it is acidic.
- Sanding antifouling without dust control. That dust is toxic to you and the water.
- Ignoring blisters for years. The acidic fluid is not doing the laminate any favors.
When to call a pro
- The bottom is covered in blisters ("pox"), or blisters keep spreading every season
- Blisters go into the laminate, or tap testing finds large dull or soft areas
- You see cracks, delamination, soft spots or water weeping from the hull, or the boat takes on water; if it is in the water and taking on water, call TowBoatUS, Sea Tow or the USCG on VHF 16
- You are buying a boat: hire an independent accredited marine surveyor (for example a SAMS or NAMS member), not the yard that would do the repair
- Someone recommends a gelcoat peel and barrier coat: get a second opinion from an independent surveyor first
Tips
- Boats that come out of the water for a few months each year get a chance to dry, which helps.
- Preventing blisters on a hull that has none: Interlux recommends an epoxy barrier coat over sound gelcoat, ideally before a new boat is ever launched. It also stresses that a barrier coat cannot stop blistering that has already started, so a hull with blisters needs repairing and drying first.
- Moisture can also reach the laminate from inside. Interlux suggests keeping the bilge dry (or sealed with paint) and the interior well ventilated.
- Note the hull number and builder; some models are known for blistering, and owner groups can tell you what worked.
- Keep your repair epoxy warm enough to cure properly; check the temperature range on the product.
- Blister repair and a bottom job go well together; plan them for the same haul-out.
Official references
We read these to write this guide. Your engine's own manual always wins.
Safety: BoatMend is for information only and does not replace a certified marine technician. You are responsible for your safety and your boat. Read the full disclaimer.
Last updated 2026-10-23
Related guides

Bottom Paint (Antifouling): Do You Need It, Which Type, and How to Repaint
Learn whether your boat needs antifouling bottom paint, how ablative and hard paints differ, and how to prep and roll on a fresh coat safely, without poisoning yourself or the water and without ruining an aluminum hull.
How to Repair Small Gelcoat Chips and Scratches
Fill and blend small chips, dings and scratches in your boat's gelcoat with a repair kit so they stop letting water into the fiberglass and look close to new. Also learn to spot damage that is structural and needs a pro.
How to Inspect a Used Boat Before You Buy
A step-by-step checklist for looking over a used boat, from paperwork and the hull ID number to the transom, engine, compression test, sea trial and trailer. Know what to check yourself, what the red flags mean, and when to pay a marine surveyor.
How to Check a Boat for Transom and Stringer Rot
Many older fiberglass boats have wood inside the transom, stringers and deck, and water that gets in slowly rots it. Learn the tap test, the flex test, how to read a moisture meter and the other warning signs, and why a rotten transom or stringer is a structural job for a pro, not a weekend patch.
Launch Day and Haul-Out Checklist for Trailer Boats
A step-by-step checklist for getting your boat off the trailer and back on again safely and quickly, from the drain plug and tie-downs to the blower and ramp etiquette. Following it in order prevents the classic mistakes that sink boats and back up the ramp.