Vinyl Hull Wraps: Pros, Cons, Prep, Care and Removal
Find out whether a vinyl wrap makes sense instead of paint for your hull, how to prep for it, when to hire an installer, how to wash it without ruining it, and why wraps stop at the waterline.
Time
8 h
Shop would charge
$2000-8000
Applies to
All engines
Safety first: Work on a boat only when it is properly blocked on stands or a trailer, and use a stable work platform, not a ladder leaned against the hull. Heat guns can scorch gelcoat and start fires in dust, rags and solvent fumes. Use wax and grease removers outdoors or with lots of ventilation, away from sparks. Never cover your state registration numbers or hull identification number in a way that makes them hard to read.
Owners often ask
- Can I wrap my boat hull in vinyl instead of painting it, and does it work below the waterline?
- How do I wash a vinyl-wrapped boat without damaging the wrap?
This guide walks you through it. Still stuck? Ask the AI Mechanic about your engine.
Tools
- Mild pH-neutral boat soap, soft brush and microfiber towels
- Solvent-based wax and grease remover (not an alcohol-only cleaner) for prep
- Fairing compound and gelcoat repair supplies for dings and cracks
- Plastic razor blades and adhesive remover (for old decals)
- Screwdrivers and wrenches to remove hardware and rub rail inserts
- For DIY only: wrap squeegees with felt edges, heat gun, infrared thermometer, wrap knife or knifeless tape, gloves
Parts & supplies
- Marine-rated cast wrap film from a major film maker, rated for above-waterline use
- Edge sealer recommended by the film maker
- Spare film from the same roll for patches
- Optional clear protection film for fender and bow-roller areas
Before you start
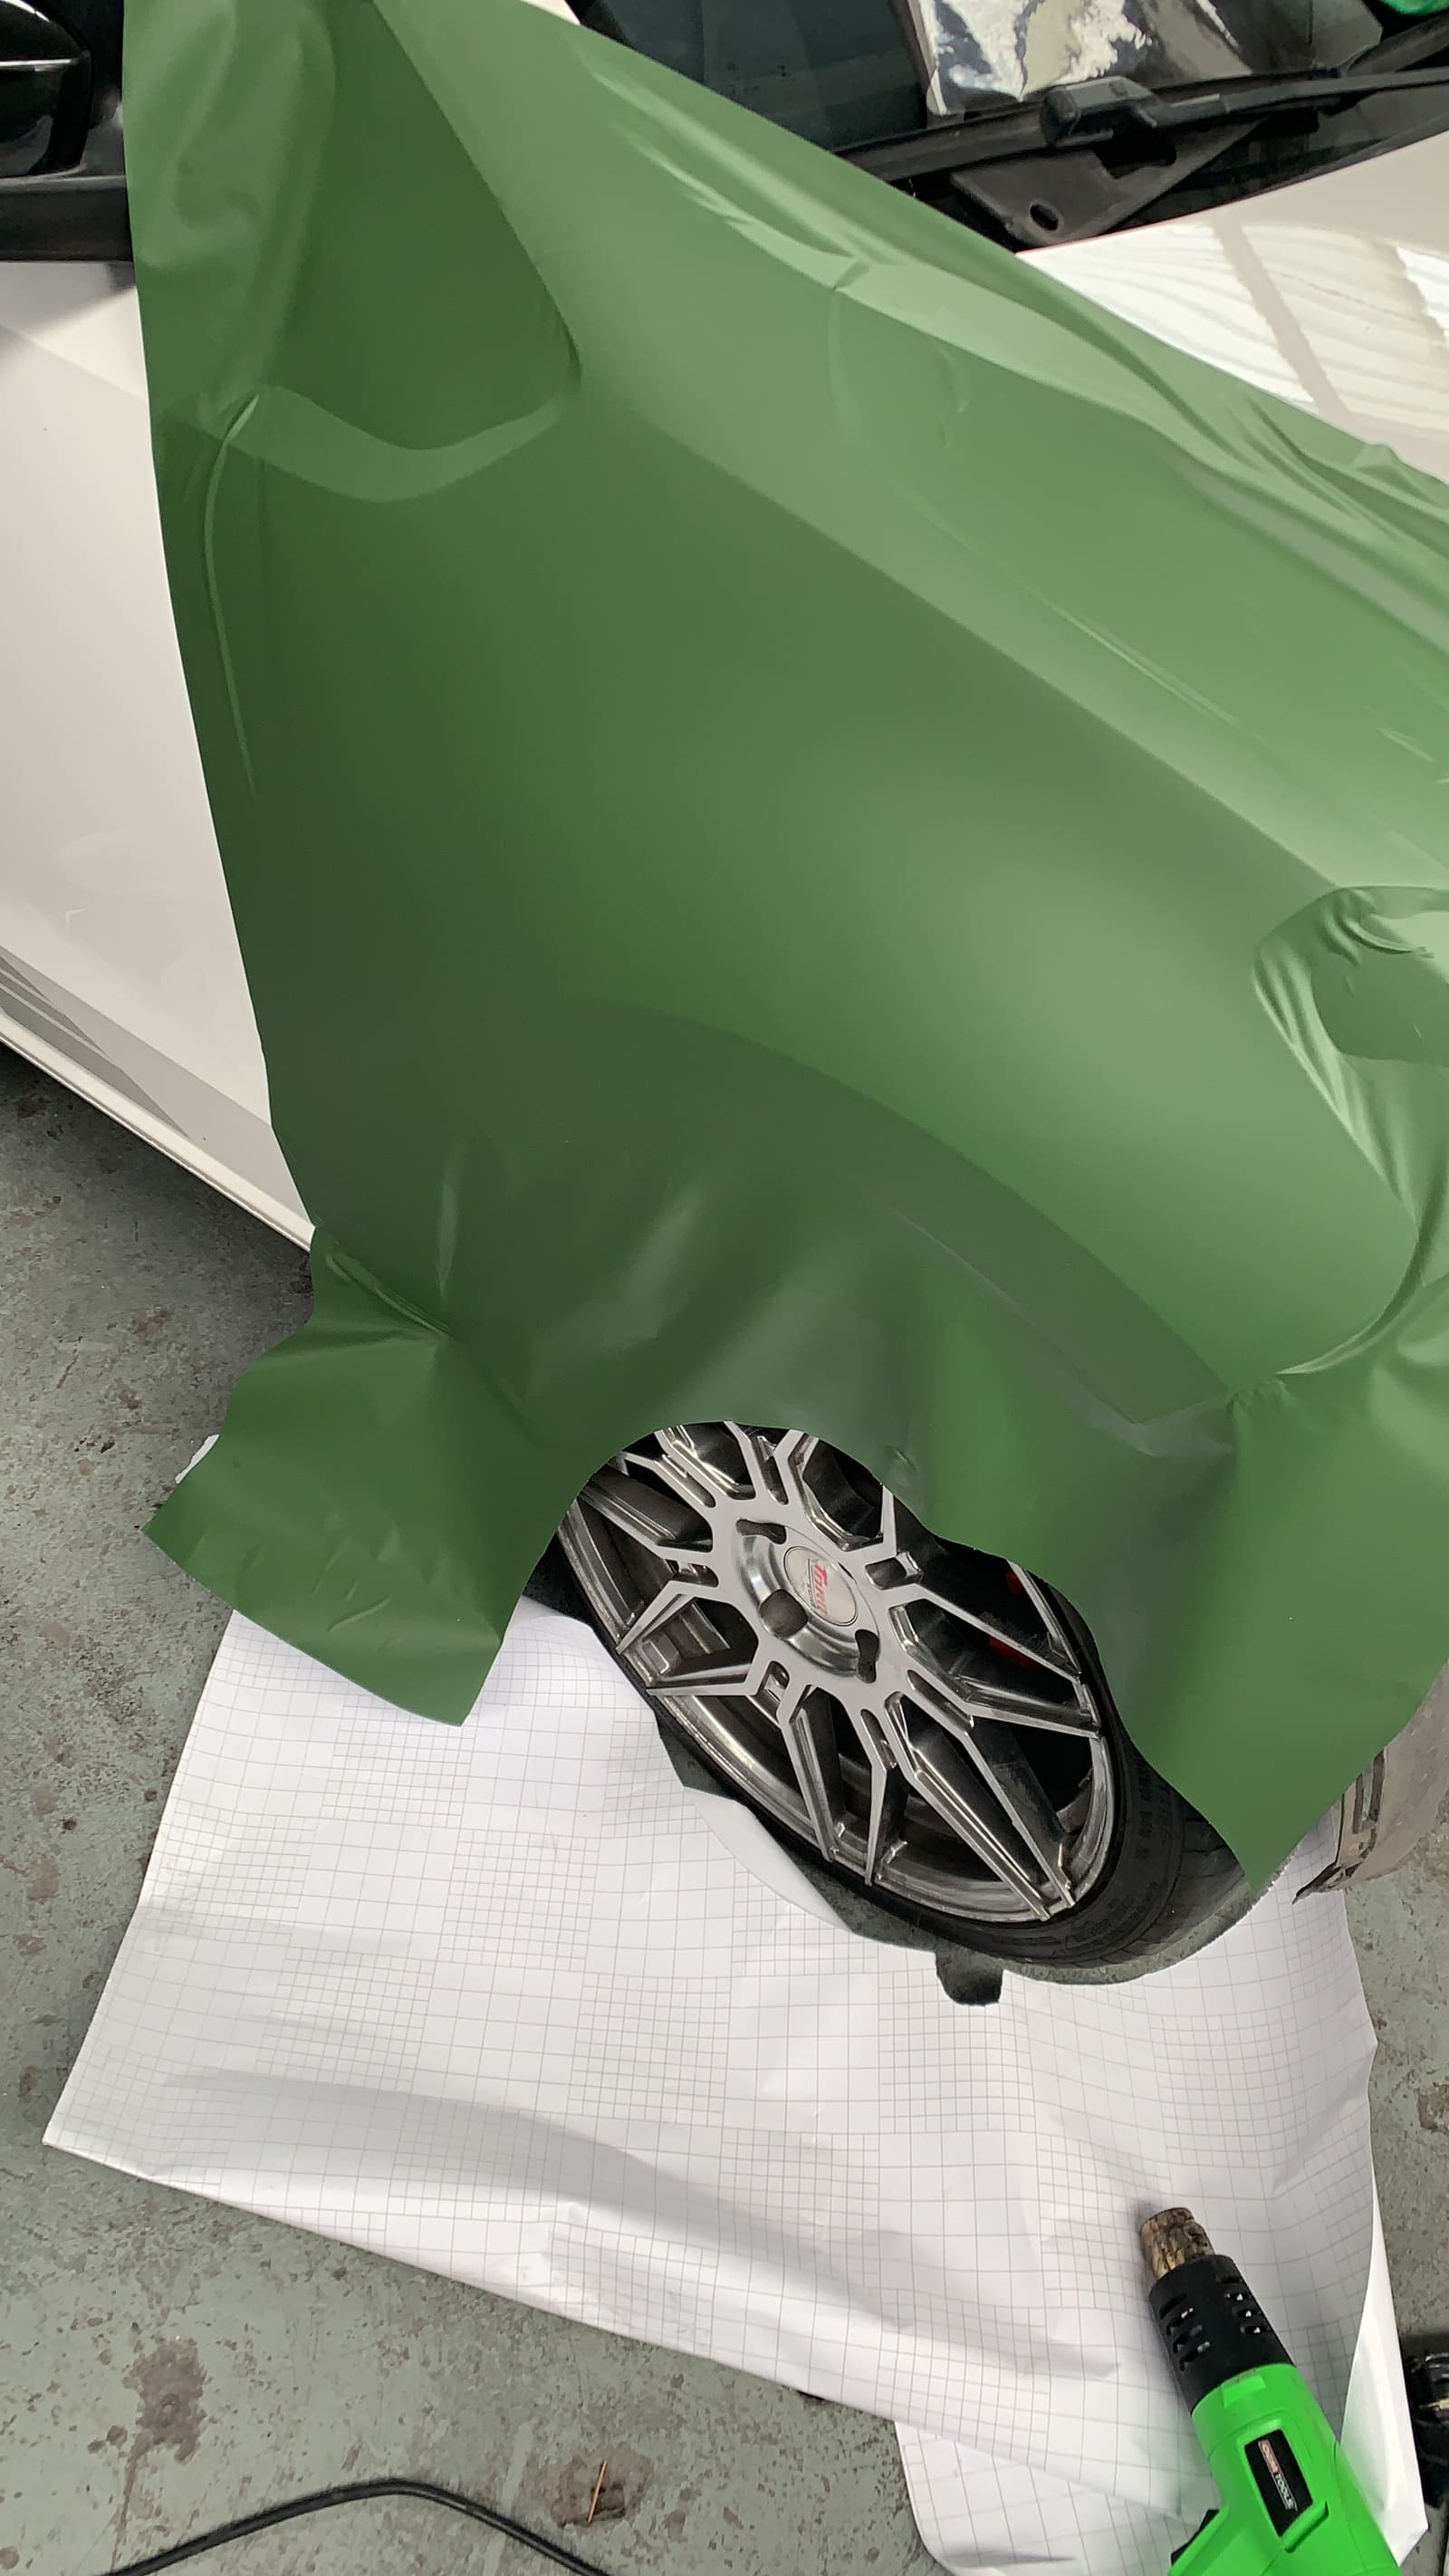
What a wrap is: a thin, colored adhesive vinyl film stretched over the hull sides, a lot like a car wrap. Marine installers usually wrap from the waterline up to the rub rail, and many also do cabins and superstructures. It is a cosmetic and light-protection layer, not a structural repair.
Why owners choose it:
- Speed. A wrap usually takes days, not the weeks a spray paint job can take, so you pay less yard and storage time.
- Reversible. It can be peeled off later. Owners who wrapped a new boat report finding clean, unfaded gelcoat underneath at sale time.
- Custom looks. Solid colors, matte or satin finishes and printed designs that would cost far more as custom paint or gelcoat.
The downsides:
- Cost. It is not automatically cheaper than paint. Salt Water Sportsman put installed prices at roughly $100 to $150 or more per linear foot of boat; get quotes in your area.
- Lifespan. Canadian Boating puts it at about five to seven years, similar to a paint job. Salt Water Sportsman warns that an uncovered boat in the Sunbelt may only get about two years. Treat any number as a claim, not a promise.
- It tears. Docks, pilings, trailer guide-ons, anchors and even a billfish bill can cut it, and water under a tear makes it lift.
- It shows everything underneath. Dings, cracks and old decal edges telegraph through the film.
- Seams and gloss. On a close look, seams are visible and most wraps don't match the deep gloss of fresh gelcoat or paint.
Below the waterline: no. Wrap films sold for boats are marketed for above-waterline use (Avery Dennison's marine film page says so directly). Wrap film is not antifouling. If the boat lives in the water, the bottom still needs bottom paint, and the wrap edge should end at or just above the boot stripe or waterline.
Steps
Faded but sound gelcoat may only need compounding and wax (see our hull cleaning and waxing guide). A wrap makes most sense for a color change, a design, a business boat, or protecting new gelcoat. If the gelcoat is cracked, blistered or soft underneath, fix that first; a wrap will hide it, not cure it.
Ask each shop how many boats they have wrapped (not just cars), to see finished boats in person, which film and laminate they use, whether they use an edge sealer, where seams will fall, how they handle the transom and through-hull fittings, and what the warranty covers. Film makers tie their warranties to approved installers, so a DIY job may give you no film warranty at all.
An experienced wrapper interviewed by Salt Water Sportsman said DIY can save about half the cost but advised practicing on a small project first, because large, curved hulls are much harder. A small, flat-sided skiff or a single accent stripe is a fair first job. A 30-foot flared hull is not. You need a clean, sheltered space: wind, dust and direct sun ruin vinyl jobs.
Fill and fair gouges, chips and spider cracks (see our gelcoat repair guide). Remove old vinyl lettering and decals and their adhesive with a plastic blade and adhesive remover, then sand any ridges smooth. Anything you can feel with your fingertips will likely show through the film.
Take off rub rail inserts, cleats, lights, transducer brackets, trim tab parts and other fittings on the area to be wrapped, if they can be removed and properly rebedded later (see our deck hardware rebedding guide). Film wrapped neatly behind a fitting lasts longer than film trimmed around it.
Wash the hull, then remove every trace of wax, polish and silicone with a solvent-based wax and grease remover. A trade article for wrap installers warns against soaps or cleaners that contain wax, oils or lotions, and notes the bow and stern often carry more oily residue. Wax left behind is the most common reason film lifts early.
Mark a straight, level line for the lower edge at the boot stripe or just above the waterline, and keep in mind the bow wave and stern squat. Bottom paint and the wrap edge should not overlap in a way that traps water. Many installers seal the lower and leading edges with the film maker's edge sealer.
Installers lay the film in panels, using heat to conform it around curves and then post-heating edges and stretched areas to the film maker's temperature so the film doesn't shrink back. Seams should overlap so water and spray run over them, not into them: upper panel over lower, forward panel over aft. Follow the film's technical data sheet for stretch limits and post-heat temperature.
Trim cleanly around through-hulls and fittings and seal the edges as the film maker directs. Reinstall hardware with fresh marine sealant. Make sure registration numbers and the HIN are still visible and legible (see our registration numbers guide).
Fender zones, the bow where the trailer roller or anchor rubs, and areas near guide-ons wear first. Some installers add a clear protective laminate or film there. Use fender covers so bare plastic fenders don't scuff the film.
Use pH-neutral boat soap, a soft brush and plenty of fresh water, then dry with microfiber. No harsh compounds, rubbing compounds, abrasive pads or strong solvents on the film. If you pressure wash, use only the gentlest setting and keep the wand well back from edges and seams. Ask your installer or the film maker which spray sealant or wax, if any, is approved for your film and finish; matte and satin films usually need specific products.
3M's care advice for its wrap films (written for cars, but the film is the same idea) adds a few points boat owners often miss:
- Don't wash a new wrap for the first week, longer in cold weather, so the adhesive reaches full strength.
- If you must pressure wash, hold the nozzle at least a foot away and square to the film; spraying at an angle lifts edges.
- Wipe up fuel spills right away, then wash and rinse. On a boat that means around the fuel fill and vent.
- Soak bird droppings and bug splatter with hot soapy water for a few minutes instead of scrubbing.
- If the film starts to discolor or turn brown, have it removed promptly so it doesn't stain what's underneath.
A cut lets water under the film, and then a section can lift or blow off at speed. Keep leftover film from the install. Clean the area, apply a patch cut slightly bigger than the damage, and seal its edges. Large damage is a job for the installer so seams stay neat.
Removal is usually done with gentle heat to soften the adhesive and peeling slowly at a low angle, then cleaning any adhesive left on the gelcoat with a remover the film maker approves. Old, sun-baked film comes off in small chips and takes much longer, so don't leave a wrap on far past its life. Never use a metal scraper or high heat on gelcoat. Have a pro quote removal on an old or failing wrap.
Common mistakes
- Wrapping over cracks, blisters or old decals and expecting the film to hide them.
- Leaving wax on the hull before the film goes on. The wrap starts lifting within weeks.
- Taking the wrap below the waterline or expecting it to keep growth off.
- Seams that face forward or upward, so spray drives water under them at speed.
- Compounding or scrubbing the wrap like gelcoat, or blasting it with a pressure washer at close range.
- Ignoring a small tear until a whole panel peels off underway.
- Covering registration numbers or making them hard to read.
When to call a pro
- Any hull larger than a small, simple skiff, or one with heavy flare and curves
- The gelcoat underneath has cracks, blisters, soft spots or water damage
- You want a film warranty (usually only with an approved installer)
- Large tears, lifting panels or an old, baked-on wrap that needs removal
- Hardware removal would involve through-hulls, transducers or anything below the waterline
Tips
- Ask to see a boat the shop wrapped two or three years ago, not just a fresh one.
- Store the boat covered or under a roof when you can; UV is what shortens wrap life most.
- Keep a written record of the film brand, color code and install date in BoatMend for patches and warranty claims.
- If you only want to protect new gelcoat, a clear protective film on the high-wear areas may be enough.
Official references
We read these to write this guide. Your engine's own manual always wins.
Safety: BoatMend is for information only and does not replace a certified marine technician. You are responsible for your safety and your boat. Read the full disclaimer.
Last updated 2026-10-25
Related guides
How to Clean, Remove Oxidation and Wax Your Boat's Gelcoat (Plus Pontoon Tubes)
Wash your hull the right way, bring back chalky, faded gelcoat with compound, and seal it with wax so it stays glossy and protected from the sun. Includes how to clean and protect the aluminum tubes on a pontoon boat.
How to Repair Small Gelcoat Chips and Scratches
Fill and blend small chips, dings and scratches in your boat's gelcoat with a repair kit so they stop letting water into the fiberglass and look close to new. Also learn to spot damage that is structural and needs a pro.
How to Remove and Apply Boat Names, Graphics and Registration Decals
Take off old vinyl names and graphics without scratching the gelcoat, clean up the glue and the "ghost" outline, then apply new lettering straight and bubble-free, and display your registration numbers the way federal rules require.
Boat Registration Numbers and Validation Decals: Federal Display Rules, State Placement and Renewals
Display your state registration number and validation decal the way federal rules (33 CFR 173 and 174) and your state require: size, block style, contrast, spacing, placement on the forward half, decal position, what documented boats show instead (name and hailing port), what to carry aboard, and how to never miss a renewal. States add their own details, so check your state boating agency.

Bottom Paint (Antifouling): Do You Need It, Which Type, and How to Repaint
Learn whether your boat needs antifouling bottom paint, how ablative and hard paints differ, and how to prep and roll on a fresh coat safely, without poisoning yourself or the water and without ruining an aluminum hull.
How to Repair or Replace Your Boat's Rub Rail
Replace a torn rub rail insert or the whole rail, reseal the hull-to-deck joint and its fasteners while the rail is off, and stop the deck-joint leaks that often hide behind a worn rail.