How to Repair or Replace Your Boat's Rub Rail
Replace a torn rub rail insert or the whole rail, reseal the hull-to-deck joint and its fasteners while the rail is off, and stop the deck-joint leaks that often hide behind a worn rail.

Time
8 h
Shop would charge
$800-3000
Applies to
All engines
Safety first: The rub rail covers the hull-to-deck joint, and on some boats the rail screws are part of what holds that joint together. Remove and replace fasteners in sections, never the whole boat at once, and never leave the joint open in rain or on the water. A heat gun can scorch vinyl and gelcoat and ignite fumes; keep it moving and keep solvents and fuel vapors away. If water is coming in at the joint while the boat is afloat, pump it out, head in, and call TowBoatUS / Sea Tow, or USCG on VHF 16 or 911 if you can't keep up.
Owners often ask
- Can I just replace the rub rail insert, or do I need a whole new rub rail?
- Water drips inside my boat along the gunwale after rain. Could it be coming from behind the rub rail?
This guide walks you through it. Still stuck? Ask the AI Mechanic about your engine.
Tools
- Screwdrivers and a cordless drill/driver with an adjustable clutch
- Drill bits (including a small pilot-hole bit) and a countersink bit
- Drill or rivet-removal bits if your rail is riveted
- Plastic scraper and plastic putty knife
- Heat gun (or a bucket of warm water and a sunny day)
- Dead-blow or rubber mallet
- Utility knife, fine-tooth hacksaw or pruning shears
- Tape measure, pencil and masking tape
- Caulking gun, nitrile gloves and safety glasses
- A helper (strongly recommended)
Parts & supplies
- Replacement rub rail and insert (or insert only) in your boat's profile and height
- End caps or a transom splice cap to suit your boat
- Stainless steel screws sized for the rail (often supplied in kits)
- Marine sealant suited to the hull-deck joint and fasteners (see marine-sealants guide)
- Epoxy filler or thickened epoxy for old screw holes
- Solvent recommended by the sealant maker for cleanup
Before you start
What a rub rail does: it hides and protects the seam where the deck cap meets the hull, and it takes the bumps from pilings, docks and seawalls. Over time the vinyl cracks, the insert shrinks or falls out, screws rust and the sealant under it dries out. A bad hit can also loosen the joint itself and start a leak you only notice as water in the bilge or stains inside lockers.
Insert-only vs. full rail:
- Insert only: the rail body is solid and tight, but the soft or "chrome look" insert is torn, faded or pulling out. Fast and cheap, and you don't touch the joint.
- Full rail: the rail body is cracked or split, screws are loose or rusting, the joint behind it leaks, or you can't find an insert for your old profile.
- Section repair: Florida Sportfishing describes cutting out just a damaged stretch of a soft one-piece rail with clean square cuts and fitting a new piece of the exact length, with a sealed stainless screw at each end so it doesn't shrink back in cold weather. On a two-piece rail the plastic insert usually has to be replaced in one length, but a stainless insert can often be replaced in sections; keep the insert seams offset from the rail seams. A shallow gouge in a hard rail can sometimes be sanded out with progressively finer paper and buffed instead.
Rail types: flexible vinyl, semi-rigid vinyl, rigid vinyl, aluminum and stainless. Flexible vinyl bends around curves most easily and is the usual DIY choice. Rigid rails and metal inserts take more skill, more bending and often a pro.
Measure and match: note the height and profile of your old rail and photograph the ends, the transom corners and any splice. Boating Magazine passes on the maker's rule of thumb for ordering: add the boat's length and beam and double the total, because the rail follows the curves. Matching the old height covers the old screw holes and any stains; if in doubt, go slightly taller.
Weather: pick a warm, dry stretch with no rain in the forecast. Warm vinyl is easier to stretch and bend, and sealant cures better.
Steps
Walk the boat and look at the rail and the joint behind it. Push on the rail: movement or a "crunch" means loose or failed fasteners. Look inside for water stains, rust trails or wet spots under the gunwale, and check your bilge after rain. Decide if this is an insert job or a full rail, and photograph everything.
Remove the end caps (usually a screw or two at each end). Start at one end and pull the old insert out of the channel. Clean the channel with a soft brush and soapy water and let it dry. Check the rail screws you can now see; snug any loose ones, and replace rusted ones one at a time with a dab of sealant.
Find the center of the new insert by folding it in half, and start at the bow. Warm a short section with a heat gun or by leaving the coil in the sun or warm water until it's flexible. Seat one leg in the channel, then press or tap the other in with a dead-blow mallet, working a few inches at a time down each side. Don't stretch the insert hard as you go: stretched vinyl shrinks back later and leaves gaps at the ends. Trim, secure the ends as your rail maker describes (often a screw through the end of the insert to stop shrinkage), and refit the caps.
Remove the end caps and insert. Then remove the screws or drill out the rivets, working one section at a time. On boats where the rail fasteners also clamp the hull to the deck, keep the rest of the rail in place until you're ready to reseal that section. Peel the rail off; use a plastic scraper to free it from old sealant without gouging the gelcoat.
Scrape away old sealant from the joint and the hull side. Clean with the solvent your new sealant maker recommends. Now look closely at the seam: gaps, cracked filler, loose screws in the joint itself, wet or soft spots. If the deck and hull separate when you press, or you see daylight or a big gap, stop and get a pro to look at the joint before you cover it up.
Fill old screw holes with epoxy filler or thickened epoxy so they don't leak or weaken the new screws' grip. Let it cure as the product says. Mark where the old holes were on masking tape above the rail line, so you don't drill into a filled hole that sits right where a new screw wants to go.
While the rail is off, reseal any open or cracked section of the joint with a marine sealant suited to the job, pressing it fully into the gap. BoatUS (Don Casey) notes that very high-strength polyurethane adhesives such as 5200 are close to permanent and make future removal hard; many owners prefer a medium-strength sealant here so the rail can come off again. Check your boat builder's recommendation if you can get it. Keep sealant out of screw holes you plan to reuse, and let it set as the label says before covering it.
Unroll the rail on grass or a smooth floor, not gravel or asphalt, which scratches the vinyl. Many vinyl kits start at the center of the bow (find the center by folding the rail), with the lip or flange on the side the maker shows. Check that the new rail fully covers the joint and the old holes. Have your helper hold it in place.
Drill pilot holes through the rail's holes (or mark and drill at even spacing if your rail isn't pre-drilled; the semi-rigid install Boating Magazine shows uses screws about every six inches). Dab sealant on each screw and on the back of the rail as the maker recommends, then drive the screw. Set your drill clutch low so screws stop flush; overdriving puckers vinyl and can crack the gelcoat around the hole.
Work aft from the bow, keeping the rail snug and straight with a slight stretch so it doesn't wave between screws. At the bow and the transom corners, warm the rail with a heat gun kept moving until it bends without kinking, then fasten it. Add an extra screw at tight curves and at the ends if needed.
If you need a second coil, butt the ends tightly as your kit describes and put a screw close to each side of the joint. At the transom, trim the rail and insert neatly (a hacksaw, knife or pruning shears) and fit end caps, or a splice cap where the two ends meet across the transom on inboards, sterndrives and bracket-mount boats.
Install the insert as in step 3. Tool squeezed-out sealant with a gloved finger, then pull the masking tape away from the rail before the sealant skins. Florida Sportfishing also suggests a thin bead of UV-resistant marine sealant along the top and bottom edges where the rail meets the hull, so dirt and salt water don't work in behind it; check that your rail maker allows this. After the cure time, hose the joint down hard (or wait for rain) and check inside for drips. Log the job and the sealant you used in BoatMend.
Common mistakes
- Pulling the whole rail off at once on a boat where the screws also hold the hull to the deck. Work in sections.
- Covering a leaking joint with a new rail without cleaning and resealing it first. The new rail looks great while water keeps coming in.
- Reusing old screw holes or drilling into filled ones. Fill them, mark them, and offset the new holes.
- Stretching the insert tight so it shrinks back and leaves gaps at the ends a few weeks later.
- Overdriving screws with a powerful driver, which puckers the vinyl and cracks gelcoat.
- Using silicone on the joint. It doesn't hold well over time and leaves a film that stops later sealants from sticking.
- Ordering too little rail. The curves eat length; measure and add extra.
When to call a pro
- Water comes in at the hull-to-deck joint and you can't find or stop it
- The joint is separating, flexes, or has large gaps after you remove the rail
- The rail is rigid vinyl, aluminum or stainless with tight compound curves
- Fasteners pull out because the laminate or core behind them is soft or wet
- Larger boats where you can't safely reach the rail without staging or a lift
- After a hard collision with a dock or another boat: have the joint inspected
Tips
- Do the job on a warm day; vinyl that has sat in the sun is much easier to stretch and bend.
- Lay out the new rail in the sun for a while before you start so it relaxes from the coil.
- Buy a little extra insert and a couple of spare end caps; they are easy to lose or damage.
- If only a short section is damaged, ask a rail supplier whether a splice repair is possible before replacing the whole rail.
Official references
We read these to write this guide. Your engine's own manual always wins.
Safety: BoatMend is for information only and does not replace a certified marine technician. You are responsible for your safety and your boat. Read the full disclaimer.
Last updated 2026-10-25
Related guides
Marine Sealants Explained: 5200, 4200, 4000UV, Polysulfide, Silicone and Butyl Tape
Pick the right sealant before you bed a cleat, a through-hull, a window or a transducer. The wrong goo either leaks in a year or glues a part on so hard you damage the boat getting it off.
How to Find and Fix Leaking Deck Hardware (Rebedding Cleats, Stanchions and Tracks)
Track down the cleat, stanchion base or track that is dripping into the cabin, then remove it, seal the deck core and bed it again with the right sealant so the leak stops for years instead of weeks. Catching it early protects the deck core from rot.

How to Fix Leaking Hatches and Portlights
Find out whether a leaking deck hatch or portlight is failing at the gasket, the lens or the frame, then fix it with the right seal or sealant. Learn when crazed or cracked acrylic needs a new lens and what never to put on plastic windows.
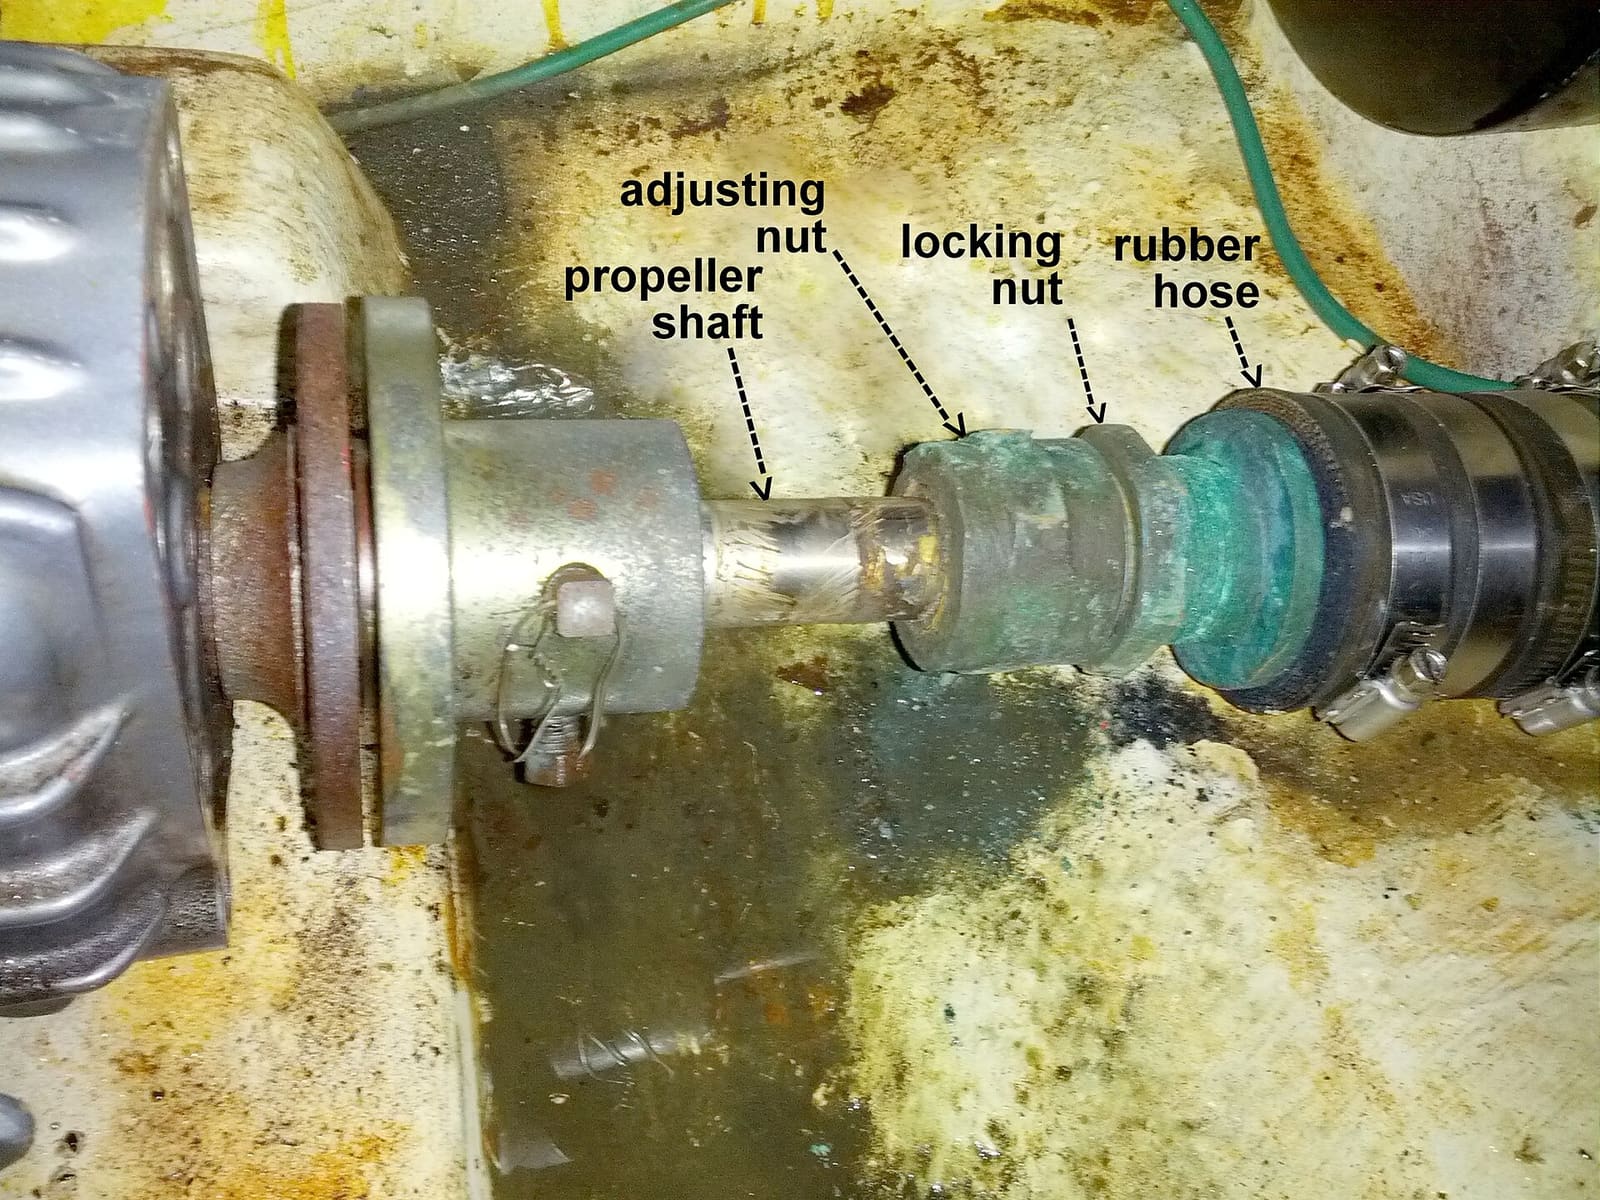
Where Is the Water in My Bilge Coming From? A Step-by-Step Leak Finder
Track down the source of water in your bilge, from the cheapest clues (when it appears, salt or fresh) to the usual suspects: rain and deck drains, the freshwater system, AC condensate, the shaft seal, raw-water hoses and through-hulls. Fix the leak instead of relying on the bilge pump.
How to Repair Small Gelcoat Chips and Scratches
Fill and blend small chips, dings and scratches in your boat's gelcoat with a repair kit so they stop letting water into the fiberglass and look close to new. Also learn to spot damage that is structural and needs a pro.