How to Mount and Maintain a Kicker Motor Bracket
Set up a small auxiliary outboard (a kicker) the right way: choose a manual or spring-assisted bracket, through-bolt it to a sound transom with a backing plate, add a safety cable, sort out steering and fuel, and keep the bracket working season after season.
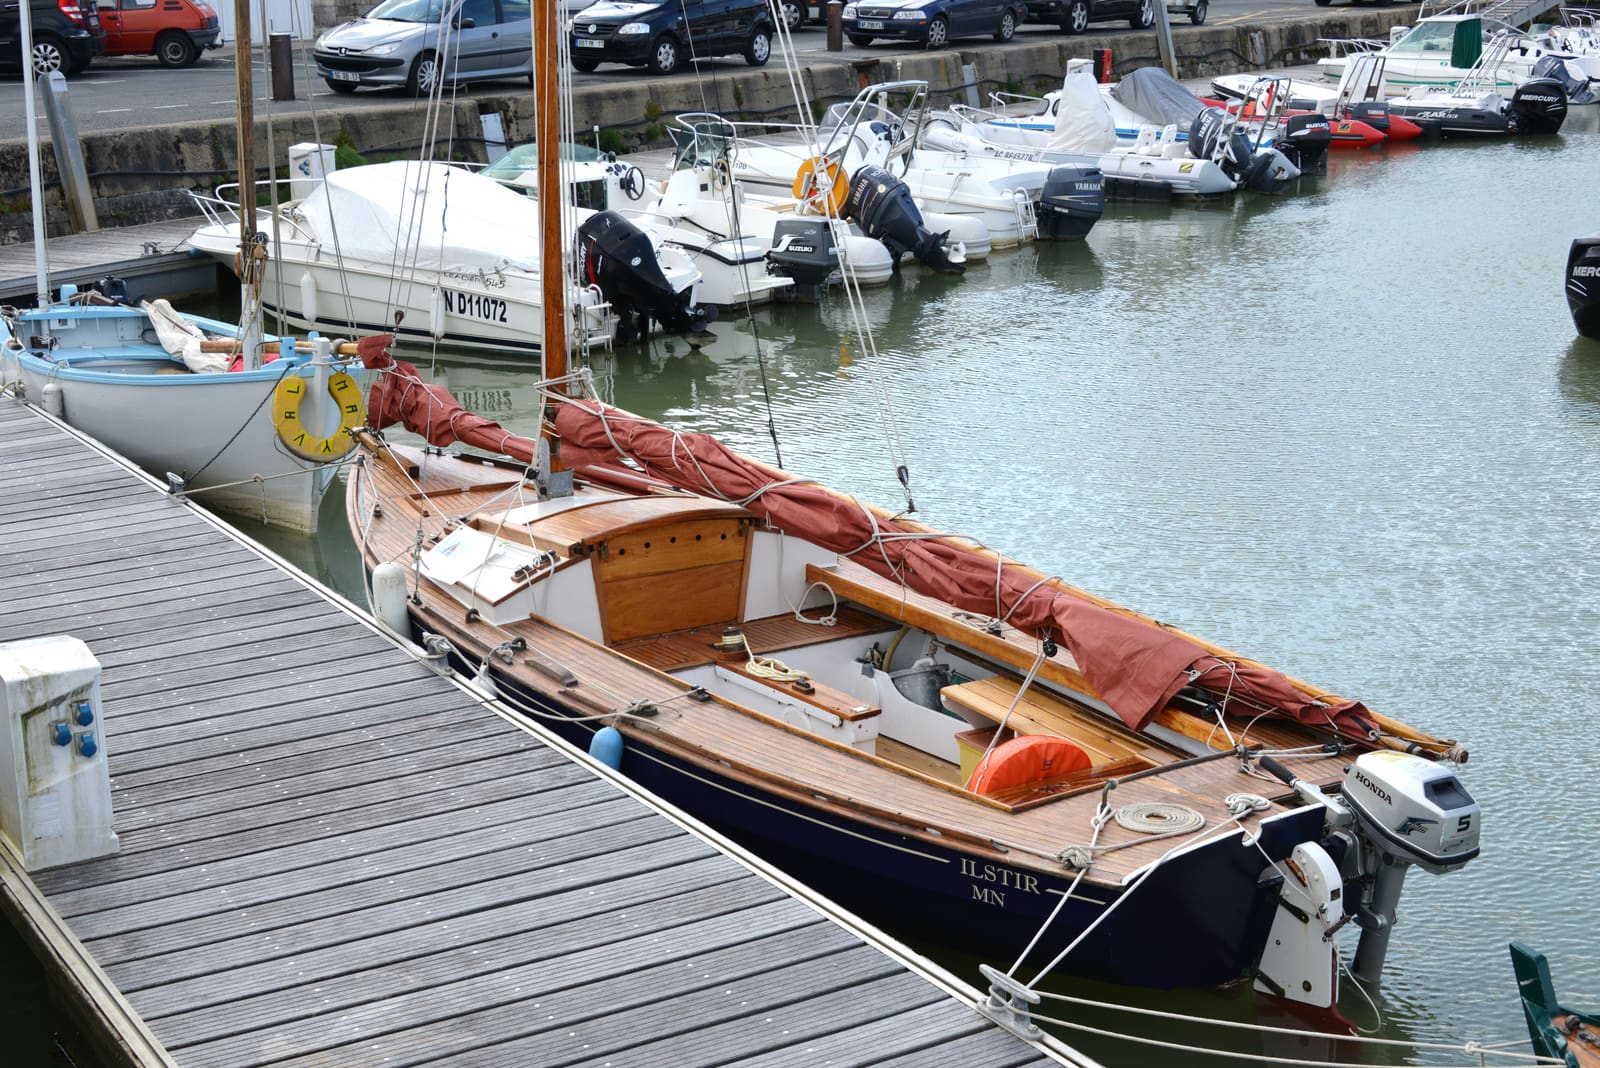
Time
4 h
Shop would charge
$250-700
Applies to
Outboard · Fishing boat, Center console, Sailboat
Safety first: A spring-assisted bracket stores a lot of force. Panther warns that its brackets can't be moved without the engine on them because the springs are too strong. Never release the lock or pull the motor off a spring bracket while it's in the down position or with your hands in the linkage: it can snap upward. Before you drill, make sure nothing is behind the transom (fuel lines, hoses, wiring, the fuel tank). Wear the kill switch lanyard whenever the kicker runs. If you smell fuel after hooking up the kicker's fuel line, stop, shut both engines off and fix the leak before you go on.
Owners often ask
- Can I just clamp my kicker motor on, or does it need to be bolted?
- How do I steer my kicker motor from the main helm?
- Where do I mount a kicker motor if my boat has a swim platform?
This guide walks you through it. Still stuck? Ask the AI Mechanic about your engine.
Tools
- Tape measure, square and marker
- Masking tape
- Drill and sharp bits sized for the bracket bolts (plus a larger bit and epoxy for cored transoms)
- Socket and box-end wrench sets
- Caulking gun
- Flashlight and inspection mirror (to see behind the transom)
- A helper to hold the wrench on the inside
- Safety glasses
Parts & supplies
- Kicker bracket rated for your motor's weight and horsepower
- Stainless steel through-bolts, large washers and locknuts (bracket hardware is not always included)
- Backing plate (aluminum or marine-grade plastic) for the inside of the transom
- Marine sealant/adhesive recommended by the bracket maker
- Stainless bolts, washers and locknuts to bolt the motor clamp to the bracket pad
- Safety cable (some brackets include one)
- Separate portable fuel tank and fuel line, or a separate fuel pickup, as your setup requires
Before you start
A kicker is a small outboard (often 9.9 to 25 hp) mounted next to the main engine. Boating Magazine describes its two jobs: a get-home motor if the main engine quits, and slow trolling when the big engine can't idle slow enough. Mercury adds a few more reasons owners fit one: it saves hours on the big engine, it can save trolling motor batteries, and kickers with an alternator can help recharge a flat cranking battery (run the kicker at higher rpm for a while, then try the main engine again). Check your kicker's specs to see whether it has charging output. Sailboat owners use the same setup as their auxiliary power.
Bracket types:
- Fixed mounting pad. Bolts to the transom with no up/down travel. The motor's own tilt is all you get. Some fishing boats have a transom section built to take a kicker directly.
- Manual adjustable bracket. You lift the motor up and down by hand and lock it in one of several positions. Simple and light, best for small motors.
- Spring-assisted bracket. Boating Magazine says most kicker brackets are spring-loaded: a heavy spring (Panther uses stainless torsion springs) balances the motor's weight, so you can raise and lower it with one hand. This is the norm for heavier four-strokes.
- Powered lift or trim brackets. An electric actuator raises and lowers the motor from the helm.
Match the bracket to the motor. Every bracket has a maximum horsepower and a maximum motor weight. Panther's list, for example, runs from small brackets for 10 to 12 hp motors up to models rated for 35 hp and about 263 lbs, and some of their brackets are not for four-stroke motors at all. Four-strokes are heavier and have more torque than two-strokes of the same horsepower, so check both numbers.
Check the boat's limits. On many boats under 20 feet, a USCG capacity plate shows the maximum horsepower and the maximum weight of persons, motor and gear. The kicker and its fuel add weight. Before you buy, ask the boat maker or your state boating agency how the kicker fits within the plate's numbers. Boating Magazine warns that too heavy a motor can make a small boat unsafe or cause listing and drainage problems on bigger boats. Their trick: put sandbags or buckets of water where the kicker will go and see how the boat sits.
Check the transom first. A kicker hangs a lot of leverage on a small area. If the transom is soft, cracked or wet, fix that before adding any load (see the transom and stringer guide).
Steps
Boating Magazine notes that most kickers go on the starboard side, because the tiller handle is usually on the port side of the motor. That puts the handle toward the middle of the boat where you can reach it. Make sure that at full lock and full tilt, neither engine hits the other, and that the kicker clears the main engine's steering, trim rams and cables. Also check there's room behind the transom to get a wrench and backing plate in. Mercury adds two placement points: the kicker can go on either side as long as you can comfortably reach it to lower, start, steer and stow it, and it shouldn't sit right over your fishfinder transducer (you may have to move the transducer, see the transducer guide).
Boats with a swim platform or molded stern. A common forum question is where a kicker goes when there's no flat, open transom. Most brackets need a flat, vertical mounting surface, so these boats often need a custom adapter plate or a platform-mount bracket, with serious backing behind whatever it bolts to. Ask the boat builder, bracket maker or a rigging shop before you drill a molded platform: many aren't built to carry that load.
Boating Magazine explains that the kicker's anti-ventilation plate (the flat plate above the prop) should end up roughly level with the boat's bottom when the bracket is down. On a V-hull, the bottom is higher off-center than at the keel, so measure the transom height at the actual mounting spot, not at the center. The motor's shaft length (short or long) must suit that height and the bracket's travel. Mercury's ProKicker guidance says to pick the shaft length so the anti-ventilation plate sits no more than about an inch below the bottom of the boat, measured at the kicker's spot (typical; confirm with your motor and bracket instructions). Follow the bracket maker's measuring instructions: they give a formula based on the bracket's travel. Boating Magazine also says that if the transom angle keeps the motor from trimming with the plate parallel to the water, a hardwood or marine-plastic wedge can correct it.
Hold the bracket's mounting flange on the transom at the measured height, square to the top edge of the transom. Use masking tape on the gelcoat so the marks show and the drill doesn't skid. Mark the bolt holes using the bracket as a template (many makers also publish a hole pattern). Check inside again for anything behind each mark before you drill.
Drill each hole straight, at a right angle to the transom. If your transom has a wood or foam core, the bolt holes are a path for water into it. A common way to protect the core is to drill oversize, fill the hole with thickened epoxy, let it cure, then drill the bolt hole through the epoxy (the through-bolting accessories guide shows how). Clean up dust and shavings.
Garelick, as quoted by Boating Magazine, recommends a backing plate inside the transom. It spreads the load so the bolts don't crush the transom or pull through. Cut a plate of aluminum or marine-grade plastic about the size of the bracket flange and drill it to match. Big fender washers alone are not enough for a heavy kicker.
Coat the back of the mounting flange and the backing plate with marine sealant and push some into each hole. Push the stainless bolts through from the outside, add the backing plate, washers and locknuts on the inside, and tighten evenly while a helper holds the bolt heads. Use the tightness or torque in the bracket instructions; don't crank until the gelcoat cracks. Wipe off the squeeze-out. Many brackets don't come with transom bolts, so buy them long enough to go through the transom, backing plate, washer and nut.
With the bracket locked in the up position (and the springs set as the maker describes), lift the motor onto the bracket pad and tighten its clamp screws. Then through-bolt it. Boating Magazine warns that clamp screws can vibrate loose over time and you could lose the motor. Use the motor's bolt holes in its transom clamp and bolt through the bracket's mounting board with stainless bolts, washers and locknuts.
Before the first start on a new motor: Mercury notes that its new ProKickers ship with gear lube in the gearcase but you have to add engine oil yourself, and electric-start, power-tilt models need cables to the cranking battery. Check the oil, prime the fuel and follow the break-in in your manual.
Run a stainless safety cable from the motor to a solid point on the boat. Boating Magazine is blunt about why: auxiliary engines don't float. Panther says not to use its brackets without its safety cable (some models include it, some don't). Leave enough slack for the motor to tilt and swing without the cable getting in the way.
You have a few choices:
- Tiller steering: the simplest. You sit or stand next to the kicker. Boating Magazine notes this puts the skipper in the back corner of the boat.
- Use the main engine as a rudder: leave the big motor down and steer with the helm while the kicker pushes.
- Tie bar or link kit: a rod connects the kicker to the main engine so the helm steers both. Kits are specific to steering type (cable or hydraulic), motor brand and spacing. Panther's FAQ notes the rod often has to be bent to clear the motor, hoses or bracket, and it must never bind at full lock. Check the full range with both engines tilted up and down. Mercury points out that a remote-steered kicker also needs its own remote control for shift and throttle.
- Electric steering units: a servo motor turns the kicker, with a wired or wireless remote.
Whatever you choose, turn the wheel lock to lock with both engines down and look for binding, rubbing and stressed hoses.
A kicker is supposed to get you home when the main engine has a problem, and fuel problems are a common cause. A separate portable tank with its own line and primer bulb keeps the kicker independent of the main tank. If you tie into the main tank instead, that usually means a separate pickup and filter, installed to USCG rules: that's a job for a marine technician. Secure a portable tank so it can't slide, keep it away from heat, and use the fuel the kicker's manual calls for (some older two-strokes need premix).
Run the kicker in the water. A quick start on the trailer is only OK with external flush muffs (or in a test tank) if your motor's manual allows it; the built-in flush port is for engine-off flushing unless the manual says otherwise. Check that:
- The bracket locks positively in each position and doesn't drift down
- The motor's water pump stream (telltale) is strong
- The prop is deep enough not to suck air in a chop when the bracket is down
- Nothing rubs or binds when steering
- The bolts and transom area are dry with no weeping after the run
Recheck the transom bolts and the motor's mounting bolts after the first few outings.
- Rinse it with fresh water after salt water use, especially the springs, pivots and lock pins.
- Lubricate pivot points and pins as the bracket maker recommends.
- Check bolts for tightness and the sealant for cracks every season. Water around the bolts means the seal has failed.
- Look for cracks in the bracket arms and mounting board, and replace a mounting board that has split or gone soft.
- Panther says its brackets must not be used to trailer the motor (it voids the warranty), and Garelick, as quoted by Boating Magazine, recommends against trailering with a motor on the bracket. Remove the kicker or follow your bracket maker's instructions before you tow.
Common mistakes
- Relying only on clamp screws. They loosen. Through-bolt the motor to the bracket pad and add a safety cable.
- Skipping the backing plate, or mounting on a soft, wet transom.
- Leaving cored transom holes unsealed, which lets water rot the core.
- Mounting too high, so the prop ventilates and the kicker struggles to push the boat.
- Buying a bracket rated for the horsepower but not the weight of a heavy four-stroke.
- Trailering with the kicker on the bracket when the maker says not to.
- Sharing a fuel source so that bad fuel stops both motors at once.
- Letting the steering link bind at full lock or when one engine is tilted.
When to call a pro
- It's a first-time kicker install: Mercury says swapping an old kicker for a new one on an existing bracket is a reasonable DIY job, but drilling new transom holes and hooking up fuel on a boat that never had a kicker can be more involved and is best left to a pro
- The transom is soft, cracked or wet around the area you planned to drill
- There's no access behind the transom for nuts and a backing plate
- You want the kicker fed from the main fuel tank, or wired into the helm for remote start and throttle
- Hydraulic steering is involved in the link kit
- The kicker plus fuel pushes the boat near its capacity plate limits
- The bracket or mounting board is cracked or the springs are damaged (don't try to repair a spring bracket)
Tips
- Set up the kicker's controls so you can reach the throttle and shift from where you'll actually stand when trolling.
- A kicker that's only run a few times a season still needs its yearly service: impeller, gear oil, plugs and fresh fuel (see the portable outboard care guide).
- Run the kicker for a few minutes on every trip so you know it starts when you really need it.
- For trolling, Mercury suggests locking a tiller kicker's steering friction so it holds straight, setting it a little below your target speed and fine-tuning speed and direction with a bow-mount trolling motor.
- Keep the kicker's prop and the bracket pin locked when underway on plane, so the motor can't bounce down at speed.
- Photograph the bracket bolt pattern and mounting height in BoatMend; it makes reinstalling or replacing the bracket much easier.
Official references
We read these to write this guide. Your engine's own manual always wins.
- Boating Magazine – How To Install an Auxiliary Outboard Engine
- Boating Magazine – Choosing an Auxiliary Outboard Motor
- Panther Marine Products – Outboard Motor Brackets (ratings, torsion springs, safety cable)
- Panther Marine Products – FAQs (springs need engine weight, no trailering, steering rod interference)
- Mercury Marine – Improve Your Trolling Game, Kicker Motor 101
- Mercury Marine – How to Install a Kicker Motor on Your Boat
- eCFR – 33 CFR 183 Subpart B, Display of Capacity Information
Safety: BoatMend is for information only and does not replace a certified marine technician. You are responsible for your safety and your boat. Read the full disclaimer.
Last updated 2026-10-24
Related guides
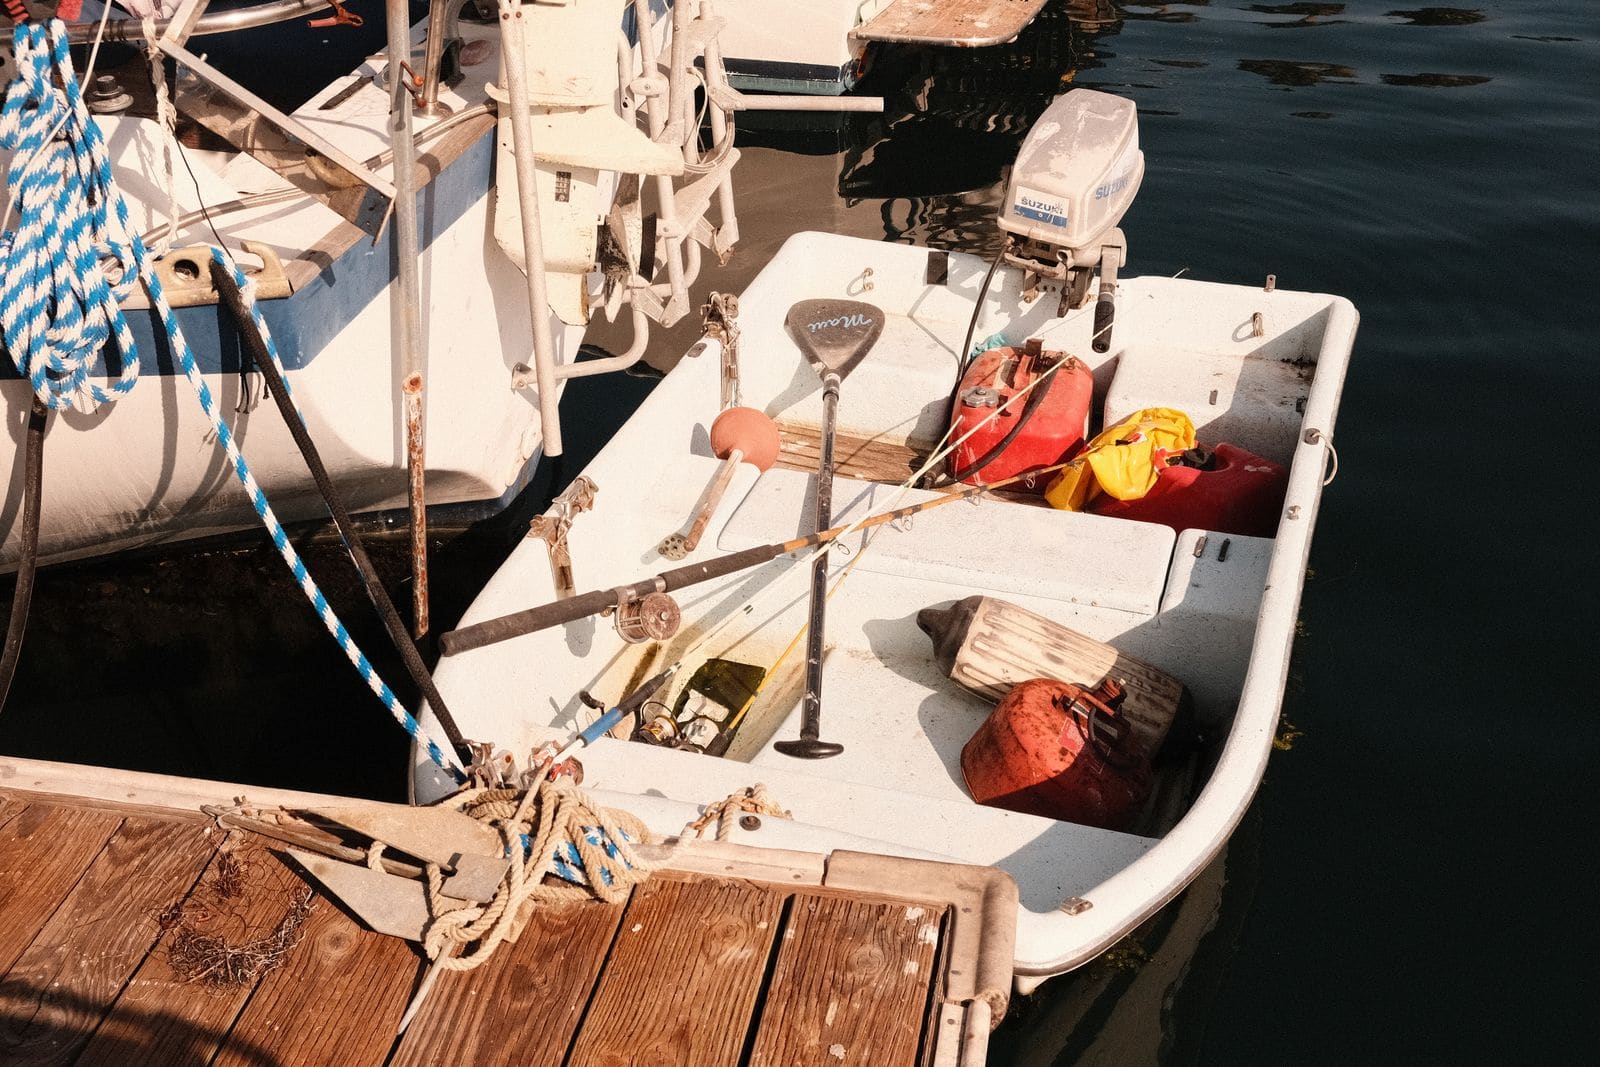
How to Mount or Re-Tighten an Outboard on the Transom
A loose outboard can steer badly, crack the transom or fall off the boat. Learn how to center the motor, check engine height, tighten clamp screws, seal and bolt through the transom with backing plates, add a safety cable on small motors and spot transom flex before it becomes a costly repair.
How to Check a Boat for Transom and Stringer Rot
Many older fiberglass boats have wood inside the transom, stringers and deck, and water that gets in slowly rots it. Learn the tap test, the flex test, how to read a moisture meter and the other warning signs, and why a rotten transom or stringer is a structural job for a pro, not a weekend patch.
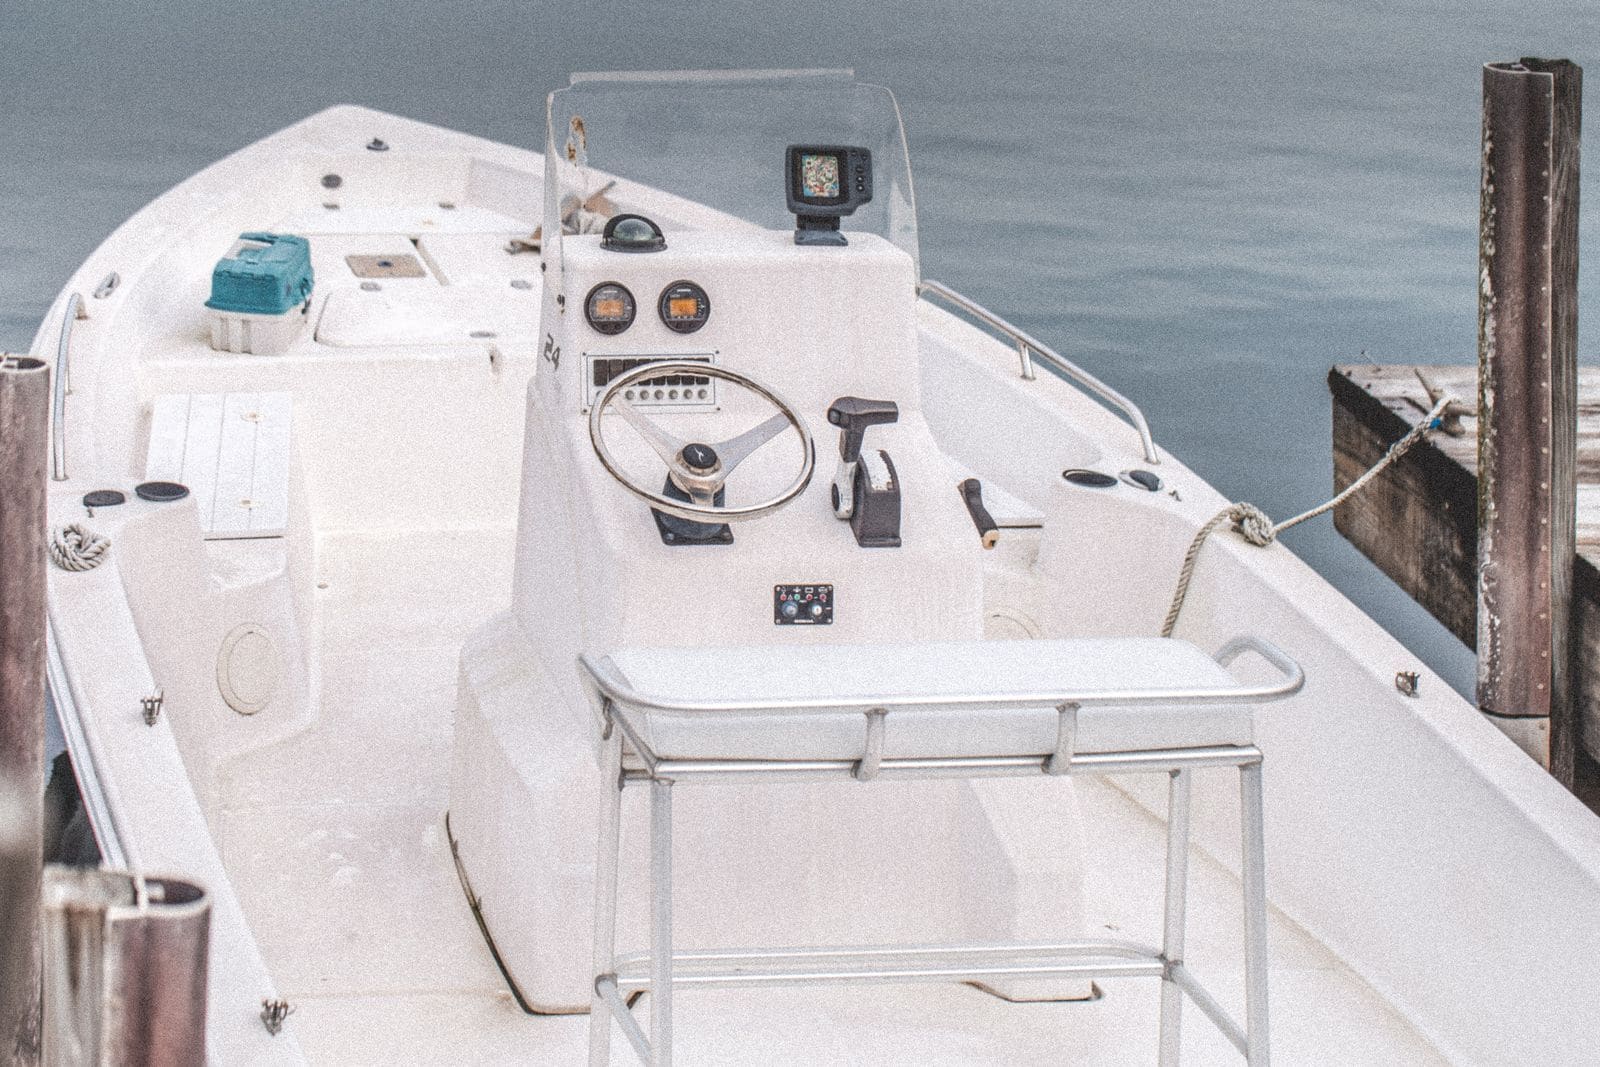
How to Mount Rod Holders, Fish Finders, Cleats and Antennas Without Causing Leaks
Add accessories to your boat the right way, with through-bolts, backing plates, sealed core and proper wire pass-throughs, so every new hole stays dry and strong. Also learn where you should never drill.
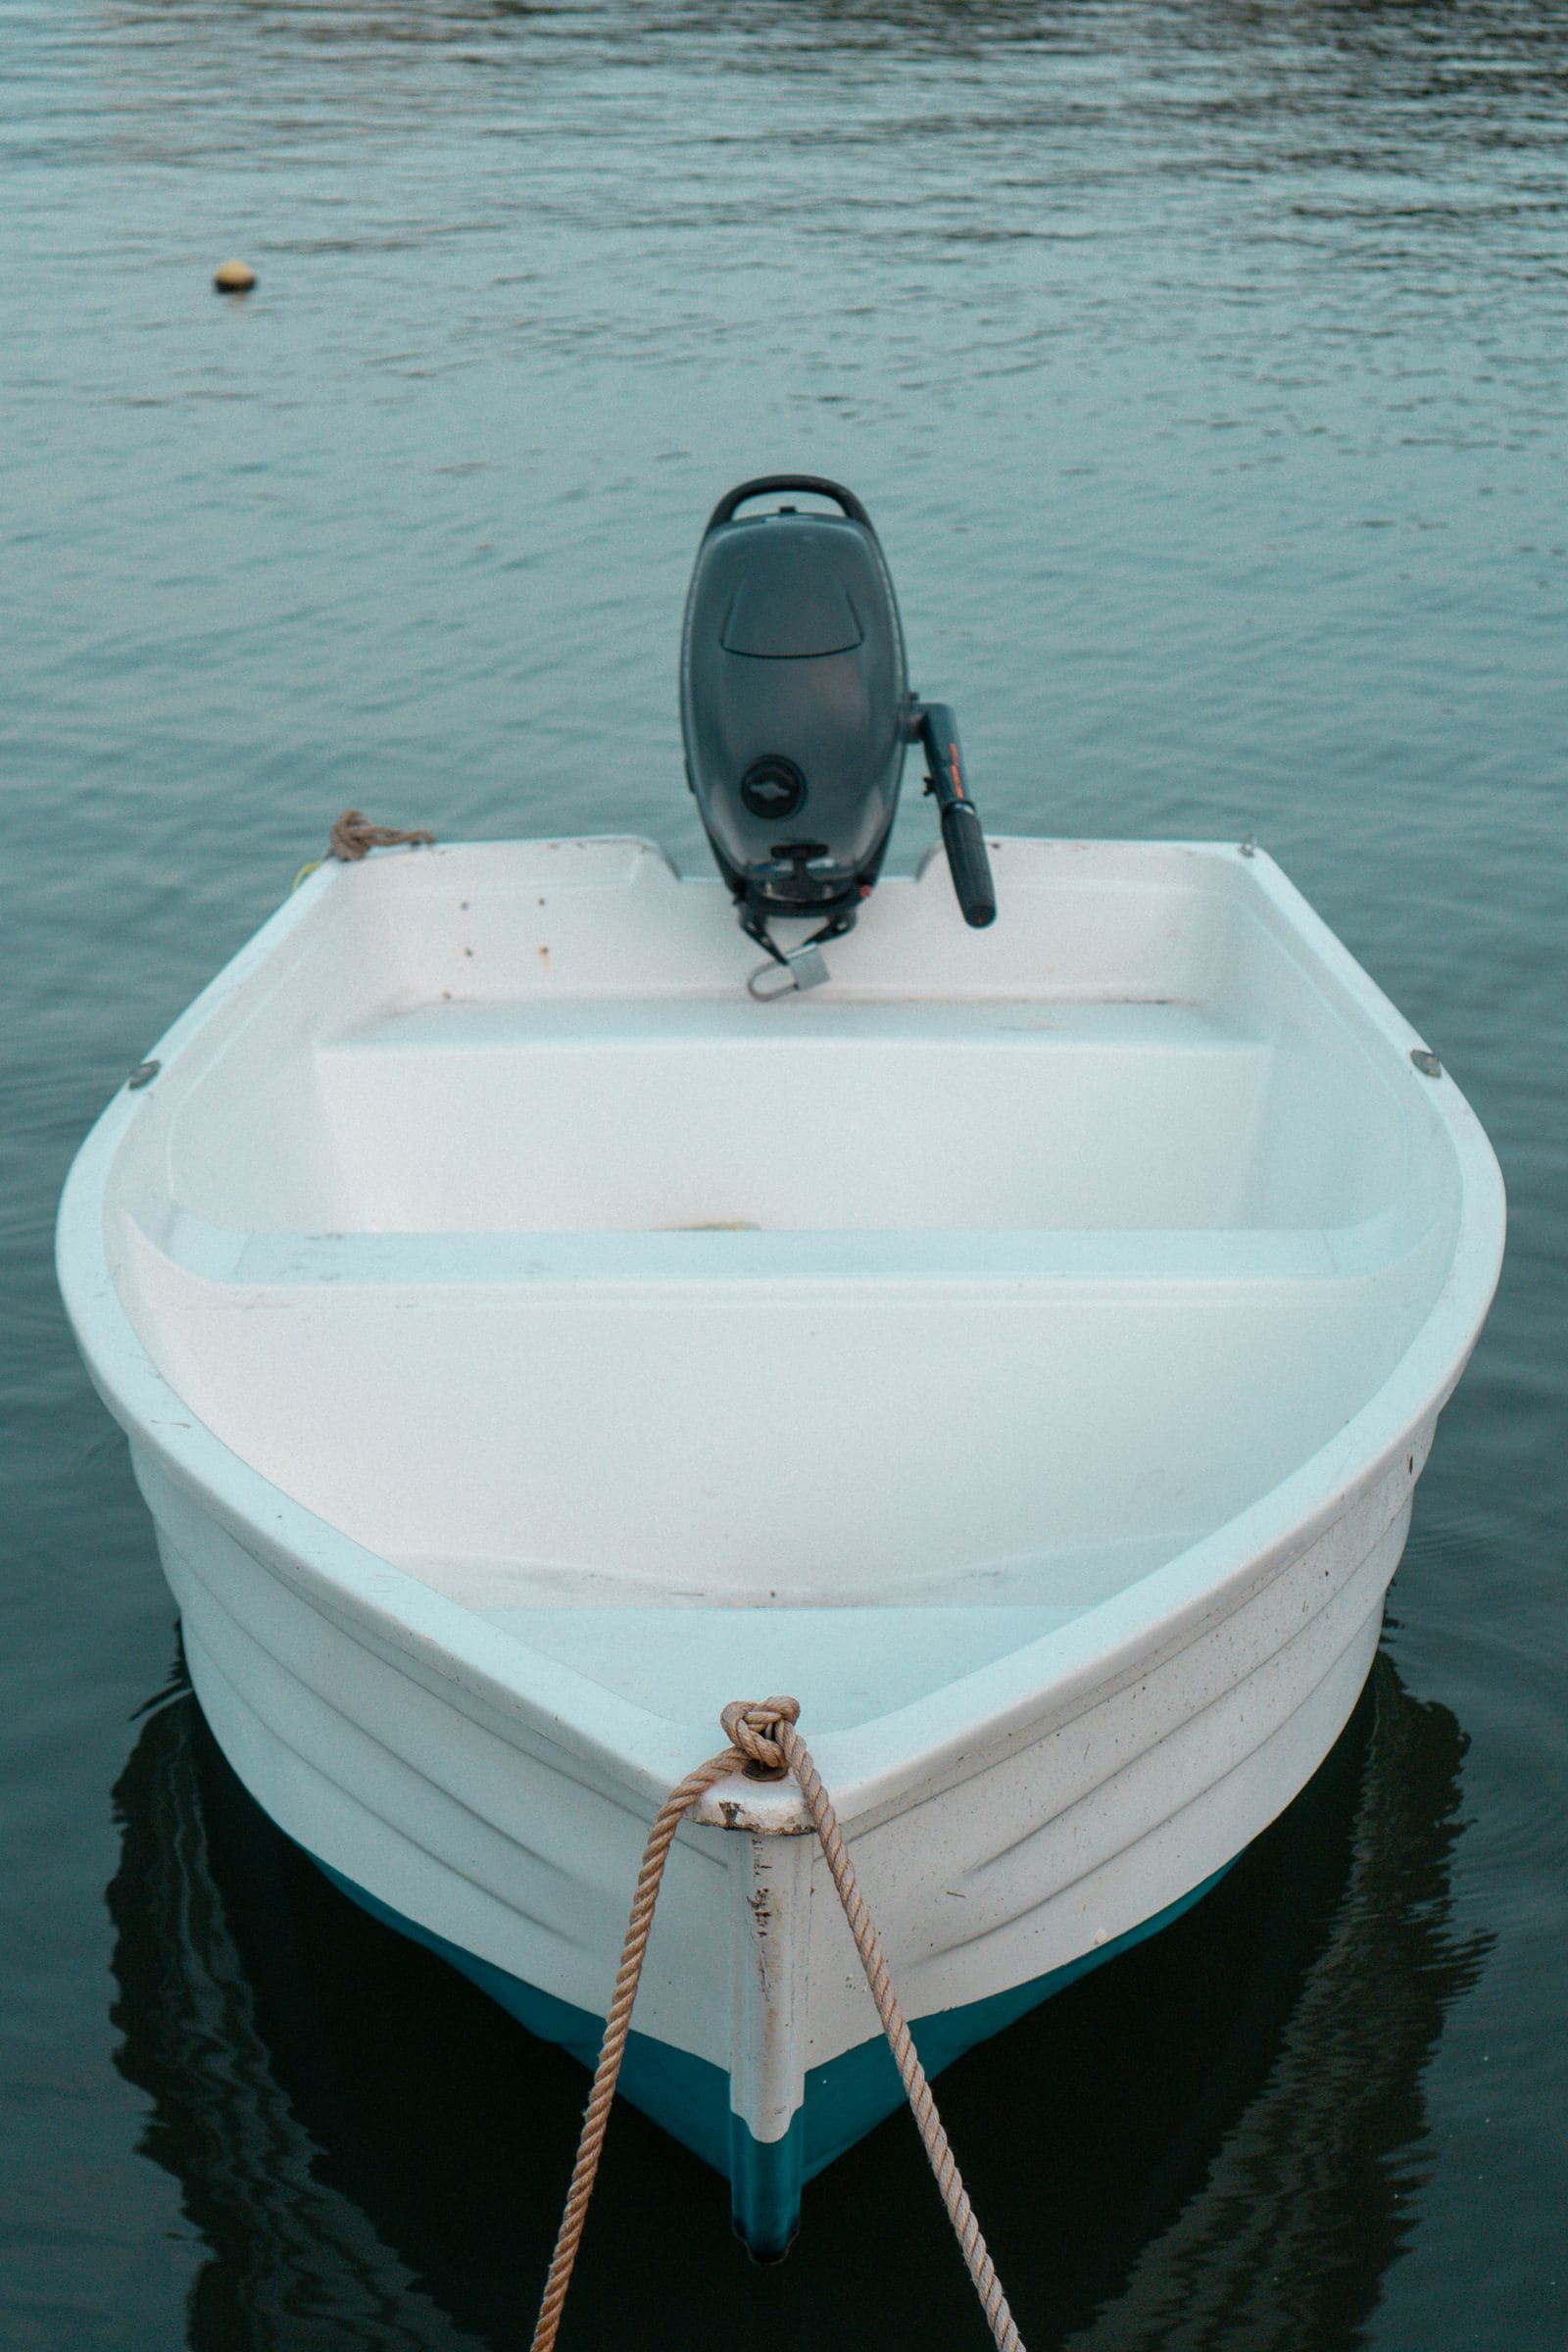
Small Portable Outboard Care (2.5 to 20 hp Kickers and Dinghy Motors)
Keep your dinghy motor or kicker starting on the first few pulls. Use fresh fuel, flush it, run the carburetor dry before you put it away, carry and lay it down on the correct side so oil doesn't flood the cylinders, and check the shear pin or prop, gear oil and engine oil on schedule.
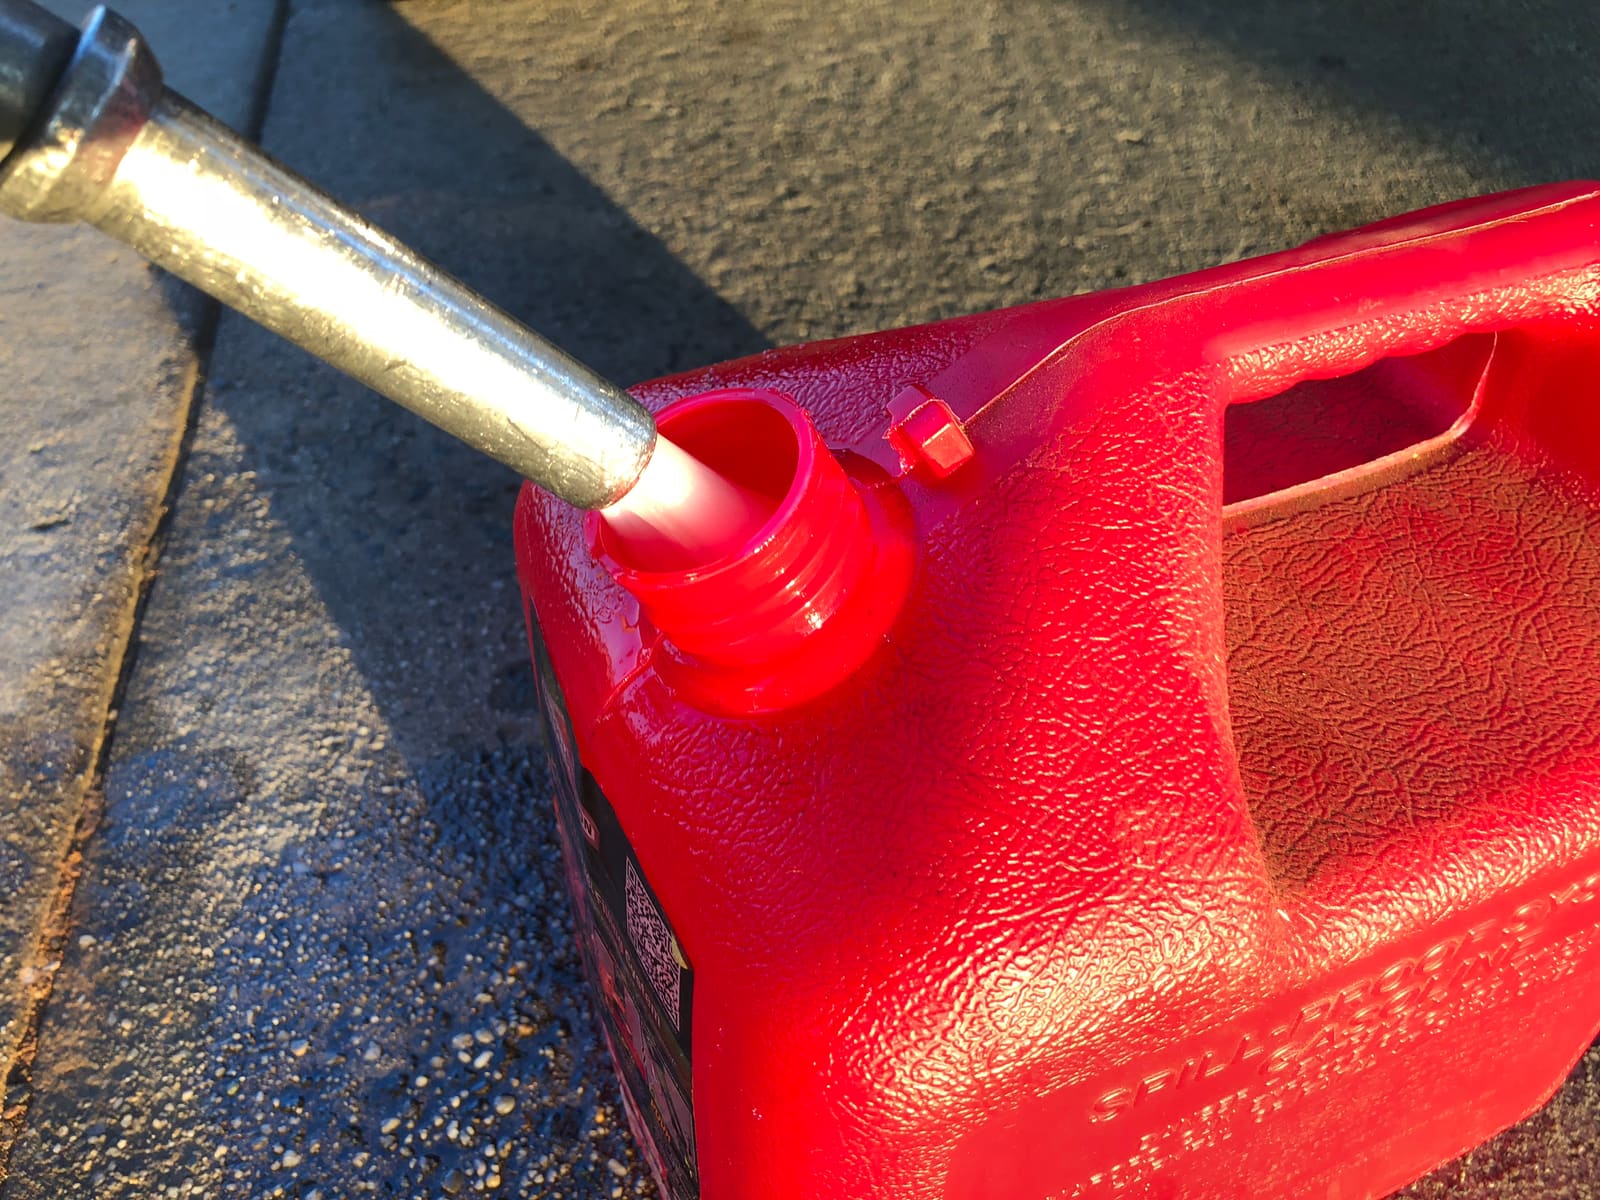
Portable Gas Cans and Fuel Storage: Filling, Storing at Home and Aboard, and Getting Rid of Old Gas
Gas cans and portable boat tanks are handy and dangerous in equal measure. Learn what makes a modern can compliant, why you always fill it on the ground, how to store gasoline at home and on the boat, how long ethanol fuel really lasts, and how to dispose of old gas legally.
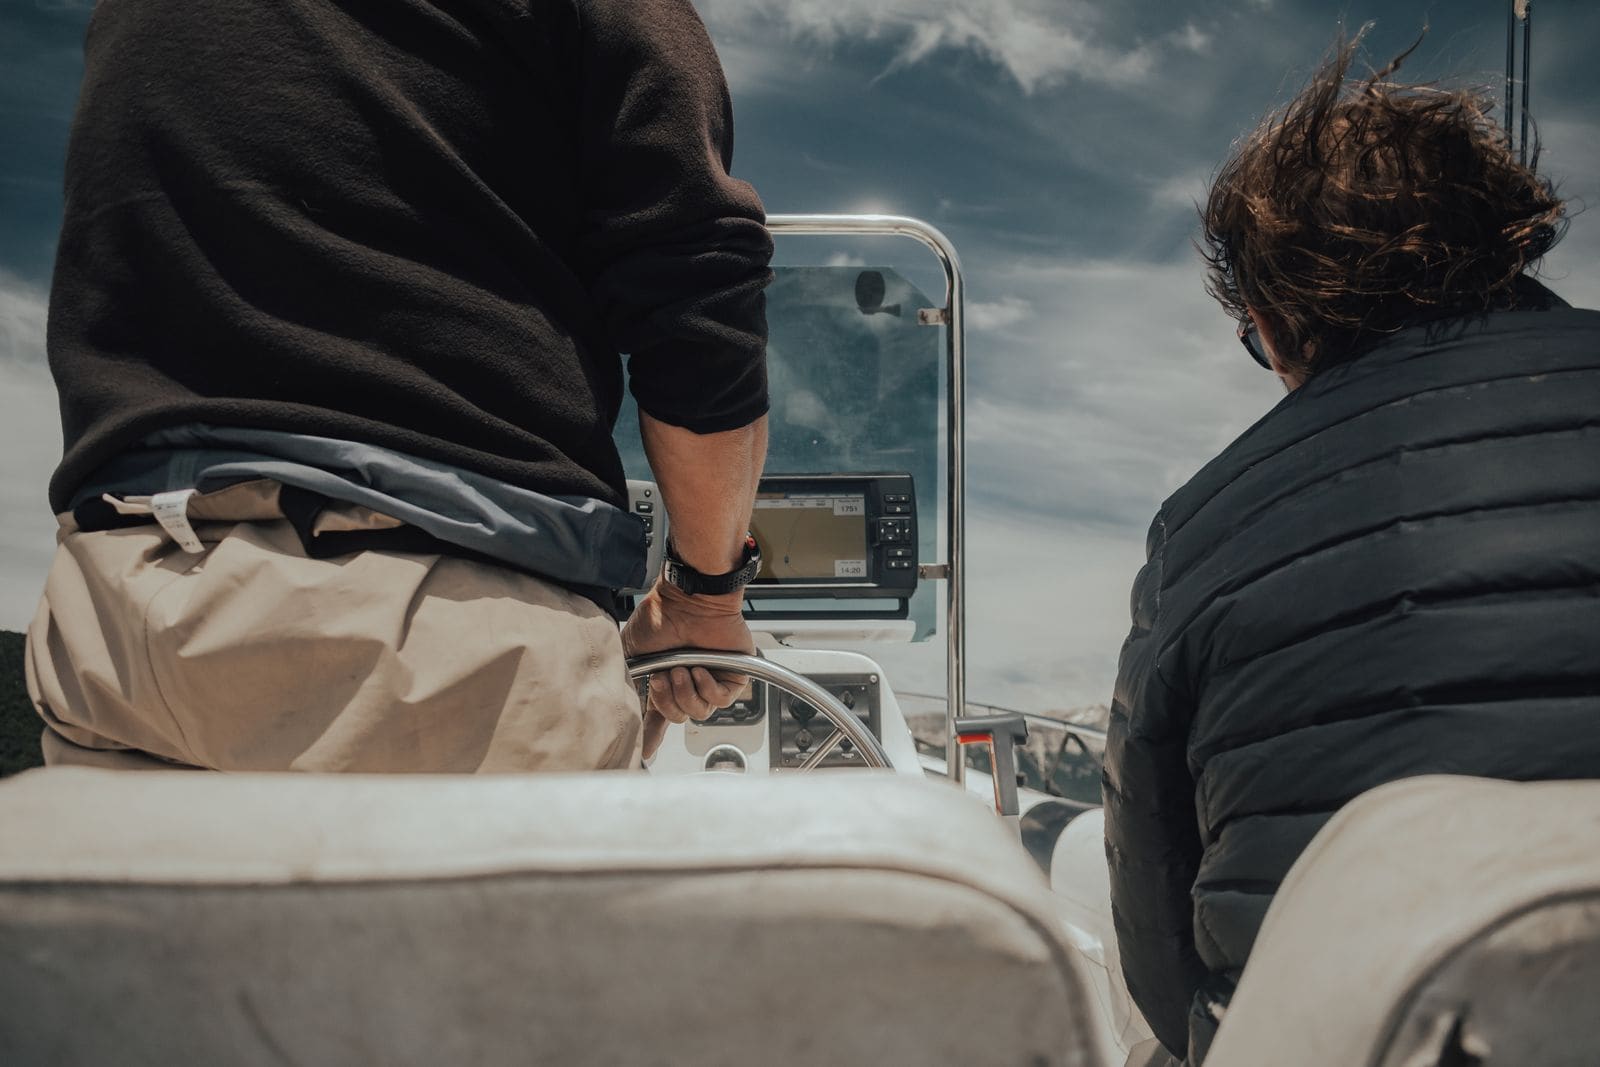
Engine Cut-Off Switch (Kill Switch) and Lanyard: The Law, Testing and Daily Use
How the engine cut-off switch (ECOS) and its lanyard or wireless fob work, when federal law requires you to wear it (boats under 26 feet, 3 hp or more, on plane), how to test it before every trip, and why a spare clip aboard matters.
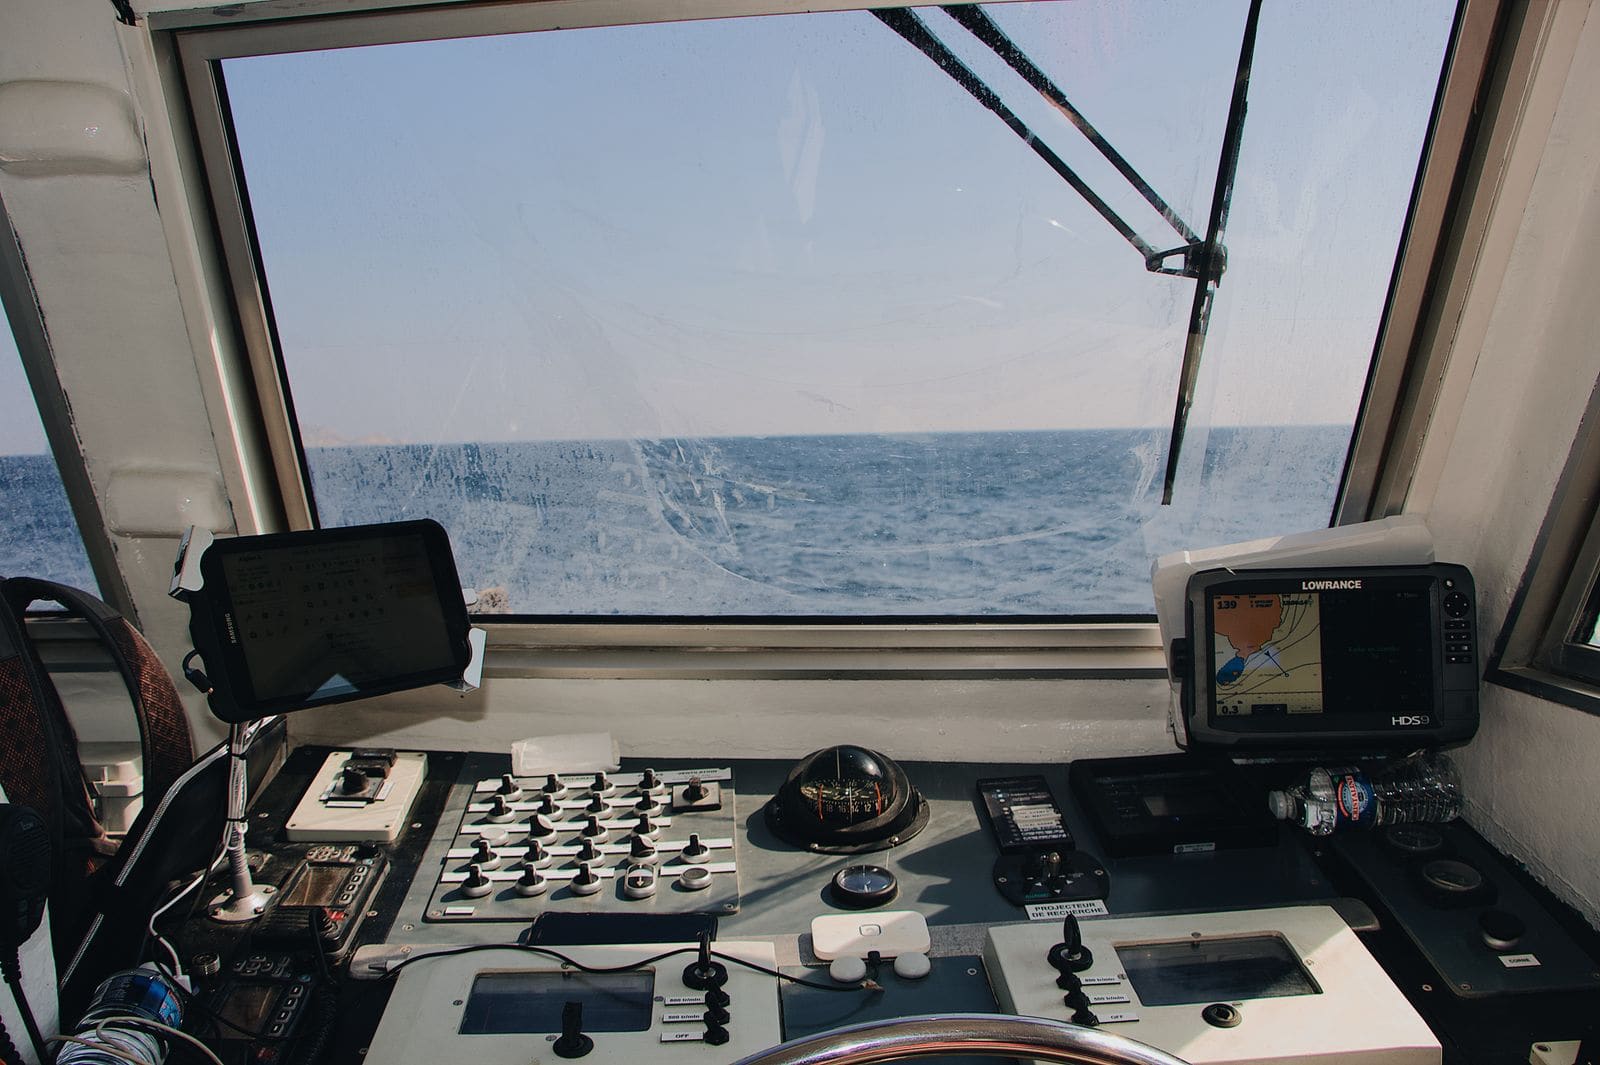
Fish Finder and Depth Sounder Transducers: Mounting, Fixing Bad Readings and Cleaning
Where and how to mount a transom-mount transducer so it reads cleanly at speed, how to track down lost bottom readings and noisy screens, how to clean and paint a transducer without ruining it, and why thru-hull transducers are a haul-out job for a pro.