How to Choose, Install and Maintain an Onboard Battery Charger
Pick the right marine charger for your batteries (how many banks, how many amps, flooded, AGM or lithium), mount and fuse it safely, set the charge profile, and use it to keep batteries healthy all season and through the winter. The AC (shore power) side is a job for a marine electrician.
Time
4 h
Shop would charge
$300-1000
Applies to
All engines
Safety first: A charger connects 120-volt shore power to your boat. AC wiring (inlets, breakers, the AC panel) should be done by an ABYC-certified marine electrician; a mistake can electrocute someone on the boat or in the water. Charging batteries give off explosive hydrogen gas: keep sparks and flames away and make sure the battery area is ventilated. Fuse every charger output close to the battery. If a battery gets hot, swells, hisses or smells like rotten eggs while charging, unplug the shore power (at the dock end first), keep sparks away, ventilate and call a pro. Never use a household extension cord lying in water or on a wet dock.
Owners often ask
- What size onboard charger do I need for my starting and trolling motor batteries?
- Can I leave my onboard battery charger plugged in all winter?
This guide walks you through it. Still stuck? Ask the AI Mechanic about your engine.
Tools
- Digital multimeter
- Drill and bits, screwdrivers and wrenches
- Ratchet crimping tool and wire stripper
- Heat gun
- Cable ties and cushioned clamps
- Safety glasses
Parts & supplies
- Marine onboard battery charger (waterproof, multi-stage, one output per battery or bank)
- Fuse holder and fuse for each charger output, sized per the charger manual
- Tinned marine wire in the gauge the charger manual specifies
- Heat-shrink ring terminals
- Stainless steel mounting bolts or screws
- Marine AC inlet or dedicated AC breaker (installed by a qualified electrician)
Before you start
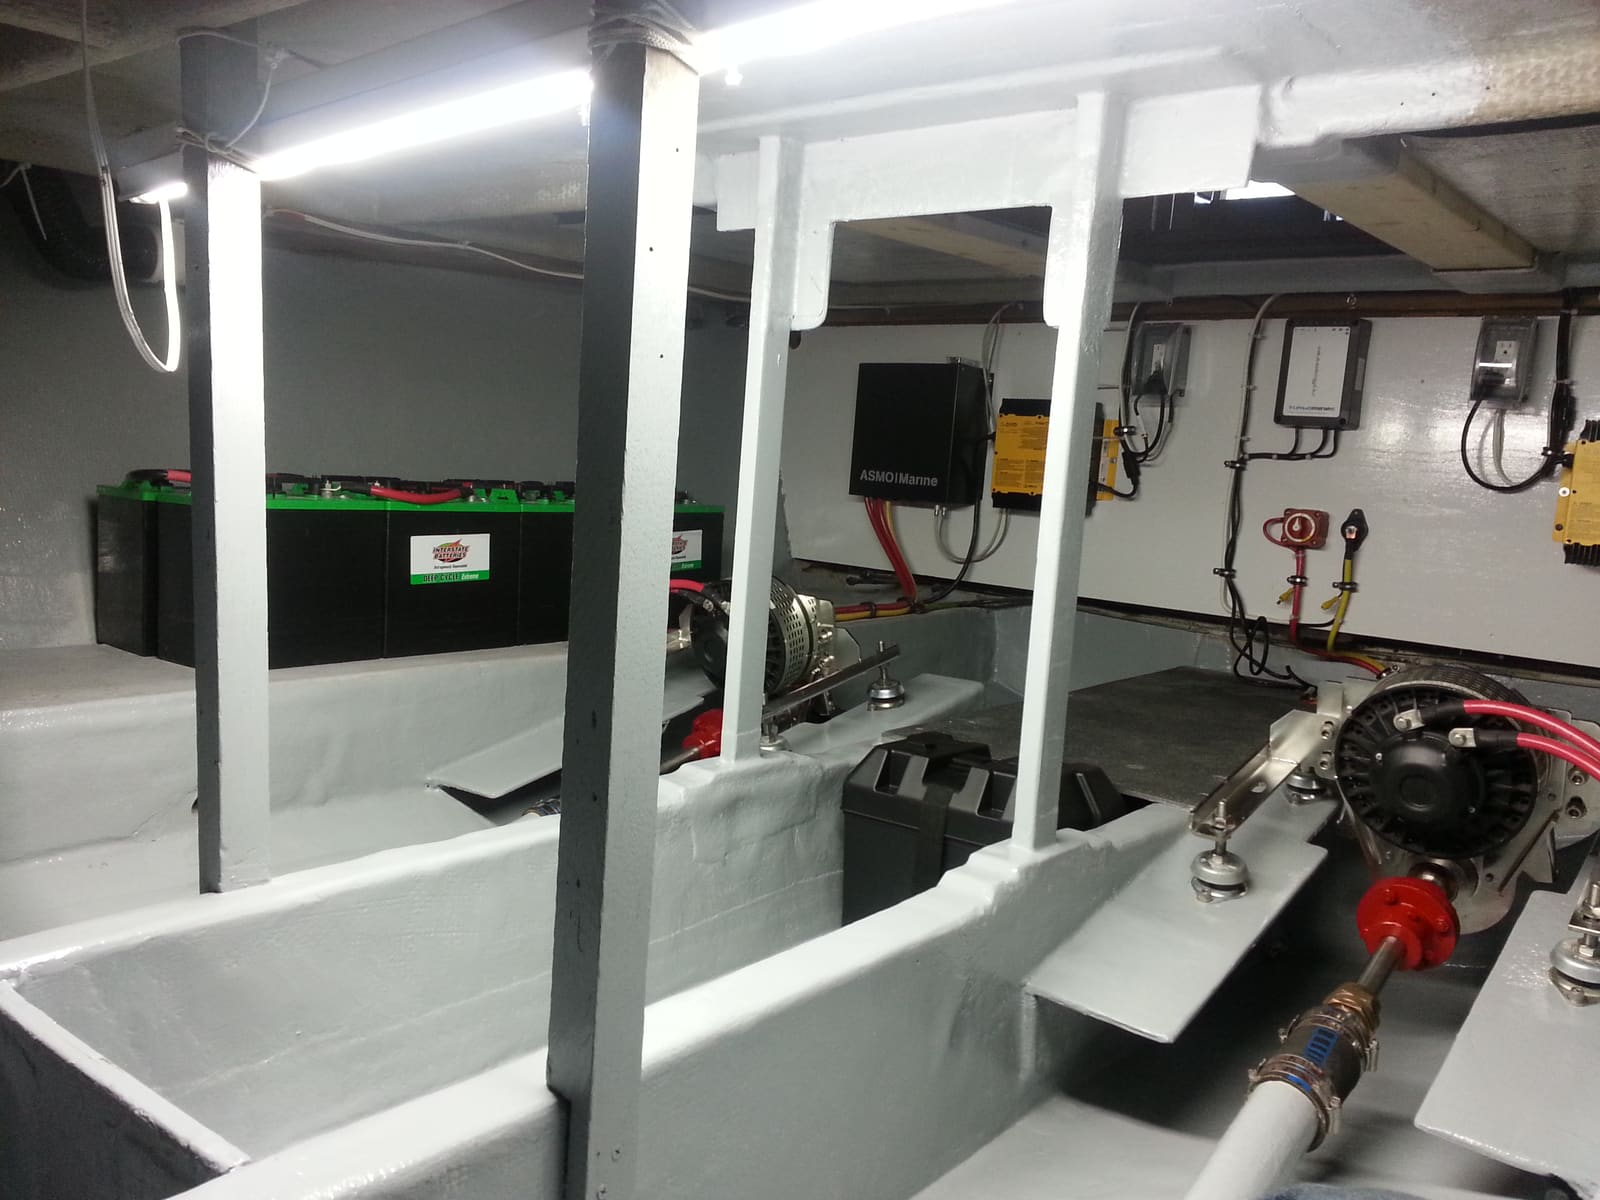
An onboard charger stays wired to your batteries, so you just plug in at the dock or in the garage and every battery gets the right charge. BoatUS describes it as a fairly simple weekend project for a handy owner on a small boat, and Mercury recommends leaving an onboard charger connected through the off-season if you have power available.
Why not a cheap automotive charger? BoatUS warns that low-cost automotive units (the kind with alligator clamps) can keep pushing current and overcharge batteries until they "boil dry." In one BoatUS story, an owner's cheap charger held a battery near 16 volts, cooking the electrolyte away and ruining two batteries. A marine charger is built to stay connected for weeks and drop back to a gentle maintenance charge.
What you need to know first:
- How many separate batteries or banks you have (starting, house, trolling motor)
- The type of each battery: flooded (wet), AGM, gel or lithium (LiFePO4)
- The amp-hour (Ah) rating of each battery or bank
- Where you will plug in (marina pedestal, garage outlet, existing AC panel)
Steps
A "bank" is one battery or several batteries wired together that are charged as one. A multi-bank charger has a separate output for each bank, so a 12-volt starting battery and two trolling motor batteries might need a three-bank charger. Each output charges its own battery independently, which keeps one weak battery from dragging down the others.
For 24- or 36-volt trolling motors, most owners use one charger output per 12-volt battery. Check the trolling motor and charger manuals.
BoatUS gives a simple rule of thumb: pick a charger rated at about 10 to 15 percent of the battery or bank's amp-hour rating. A 100 Ah battery would get a 10 to 15 amp output. An undersized charger may never bring the batteries all the way up, which leads to sulfation and short battery life. On multi-bank chargers, check the amps available per bank, not just the total.
Flooded, gel, AGM and lithium batteries each need different charging voltages. Look for a charger with:
- Multi-stage charging (bulk, absorption, float): fills the battery quickly, finishes gently, then just maintains it.
- Selectable battery types for each bank, so you can set flooded, AGM or gel.
- Temperature sensing if possible; BoatUS notes a hot battery accepts charge differently than a cool one.
Do not charge different chemistries together in one bank, or mix old and new batteries in the same bank. One will be overcharged.
Lithium batteries need a charger with a lithium profile that the battery maker approves, and the battery's own management system (BMS) must work with it. Some chargers only support specific lithium brands. Check both manuals, and get expert help for a lithium conversion.
- Waterproof or splash-proof for small open boats where the charger lives in a console or compartment.
- Ignition protected if it will be in an engine space or any compartment with gasoline engines, tanks or fuel fittings. Federal rules require this on boats with gasoline inboard and sterndrive engines (unless the device is properly isolated from fuel sources). Outboard boats are not covered by that rule, but choosing an ignition-protected charger is still a sensible choice anywhere fuel vapor could reach.
- Built-in protection against reverse polarity, short circuits and overheating.
BoatUS advice for a good location:
- Close to the batteries so the DC wires are short, but not directly above them, where battery gases can attack the charger. Distance matters more than it looks: BoatUS expert Don Casey points out that moving a charger from a few feet to about 15 feet away from the batteries can mean wire several sizes heavier, costlier lugs and a special crimper.
- Dry and well ventilated, since chargers make heat.
- At least a couple of feet from the compass, which the charger can deflect.
- Away from fuel lines, tanks and fuel fittings.
- Above the waterline. Minn Kota, for example, says its waterproof chargers should not be run while immersed or mounted below the waterline, and asks for about six inches of open space on every side for cooling; a charger that runs hot cuts its own output.
Mount it with stainless bolts or screws into solid material, in the orientation the manual allows.
With the battery switch off and shore power unplugged:
- Use the wire gauge the charger manual lists for your wire length. Do not substitute thinner wire because it is on hand.
- Keep runs short and tidy, and support them at least every 18 inches with clips or cable ties, as BoatUS recommends.
- Make each connection with a heat-shrink ring terminal and a proper crimp.
- Most chargers connect straight to the battery posts (positive to positive, negative to negative), not through the battery switch, so they charge with the switch off. Follow your charger's wiring diagram exactly.
- Two batteries in parallel on one output can work, but Minn Kota notes its chargers' safety timers may stop before a large parallel bank is full; unplugging and replugging restarts the cycle. Batteries wired in series always need one output each.
- If the boat has an automatic charging relay (ACR), Blue Sea Systems suggests connecting a multi-stage charger to the battery that carries the boat's loads (or using a second charger output), because in float mode the charger's lower voltage may not trigger the ACR to feed the other battery.
- Tape over or cap the ring terminals of any unused output so they cannot short against something.
The charger's internal protection does not protect the wire between the charger and the battery. Put a fuse in each positive lead as close to the battery as you can. BoatUS notes ABYC calls for this to be within about 7 inches of the battery's positive terminal. Size the fuse per the charger manual; BoatUS used the next standard size above the charger's maximum output in their install.
Connect the fuse last, after all wiring is done.
For a boat without shore power, BoatUS shows adding a weatherproof marine AC inlet on the outside of the console so you can plug in a cord without opening hatches. On a boat that already has an AC panel, the charger goes on its own breaker there. Because this is 120-volt AC, have a qualified marine electrician make these connections, including the green safety ground. Do not just leave the charger's plug dangling in a compartment.
Before plugging in, set each bank's battery type (and voltage, if selectable) per the manual. If your charger lets you set the voltage of each stage, use the numbers your battery maker publishes, not a guess. A BoatUS surveyor warns that a charger set too high slowly boils off electrolyte, even from sealed AGM and gel batteries, which vent gas when overcharged; a battery cooked this way can overheat badly. Then plug in at the boat end first, then the dock or wall outlet.
- Check the charger's indicator lights for each bank.
- Measure each battery with a multimeter: the voltage should climb above resting voltage during bulk charging.
- After a few hours, feel each battery and the cables. Warm can be normal during bulk charge; hot is not.
- When the charger shows full or float, each battery should read near the maintenance voltage your charger lists.
After every trip, plug in. Lead-acid batteries last much longer when they are recharged soon after use instead of sitting partly discharged. If your boat lives on a trailer, a marine-rated cord to a GFCI-protected outlet is the safe way to connect. Unplug at the outlet end first when you leave. Avoid extension cords if you can; if you must use one, Minn Kota's guide calls for a cord in good condition with a matching plug and a wire size big enough for the charger's AC rating (its manual has a chart).
Mercury's off-season advice: fully charge all batteries before storage, and if your boat has an onboard charger and power is available where it is stored, leave it connected to keep the batteries maintained. If there is no power, take the batteries out and keep them on a maintainer somewhere that does not freeze. BoatUS notes a fully charged battery resists freezing far better than a partly discharged one.
Check on the boat every few weeks: indicator lights normal, no heat, no smell, cord in good shape.
- Every few months, check that charger wiring and fuse holders are tight and corrosion-free.
- For flooded batteries, check electrolyte levels and top up with distilled water only, as BoatUS recommends.
- Use the "equalize" mode only on flooded batteries that the battery maker says can be equalized, with loads disconnected. It can ruin AGM, gel and lithium batteries.
- If you replace batteries with a different type, change the charger setting the same day.
Common mistakes
- Using an automotive charger with alligator clips left on for weeks.
- Leaving the charger set to "flooded" after switching to AGM or lithium batteries.
- Mounting the charger right above the batteries or in a closed, hot compartment.
- Skipping the fuse at the battery because "the charger has its own protection."
- Running the charger leads through the battery switch so nothing charges when the switch is off (unless the manual calls for it).
- Undersized wire or a charger too small for the bank.
- Plugging into a household extension cord that lies in water or across a wet dock.
- Mixing old and new batteries, or different chemistries, on one charger output.
- Buying a heavy, non-marine "ferroresonant" garage charger. BoatUS says these shouldn't be used aboard unless specifically rated for marine use.
When to call a pro
- Any AC wiring: inlets, breakers, the AC panel, shore power cords and plugs
- Installing a charger on a boat with a gasoline inboard or sterndrive, where ignition protection rules apply
- Converting to lithium batteries, or mixing lithium and lead-acid on the same boat
- A battery that gets hot, swells, hisses or smells of rotten eggs while charging
- Tripping GFCI outlets or dock pedestal breakers when the charger is plugged in
- Chargers combined with inverters, generators or solar systems
Tips
- Label each charger output and battery ("Bank 1 = Start") so anyone can troubleshoot later.
- A charger with a remote display or app lets you check charge status from the helm or from home.
- Write your charger settings and battery types in your BoatMend boat profile so the next battery purchase matches.
- After a long day on the trolling motor, plug in that same evening rather than waiting for the weekend.
Official references
We read these to write this guide. Your engine's own manual always wins.
- BoatUS – Installing a Marine Battery Charger
- BoatUS – Got Juice? Lessons Learned From Your Battery
- BoatUS – 12 Volt Electrical Systems
- Mercury Marine – Maintenance Made Easy, Battery Basics
- eCFR – 33 CFR Part 183 Subpart I, Electrical Systems (ignition protection and overcurrent protection)
- Minn Kota Help Center – Battery Charger Selection Guide
- Blue Sea Systems – Battery Isolators and Automatic Charging Relays
- BoatUS – Battery Charger Location
- BoatUS – Battery Chargers (multi-stage charging and charger types)
- BoatUS – Avoiding Boat Electrical Mistakes (charger set-up)
Safety: BoatMend is for information only and does not replace a certified marine technician. You are responsible for your safety and your boat. Read the full disclaimer.
Last updated 2026-10-24
Related guides
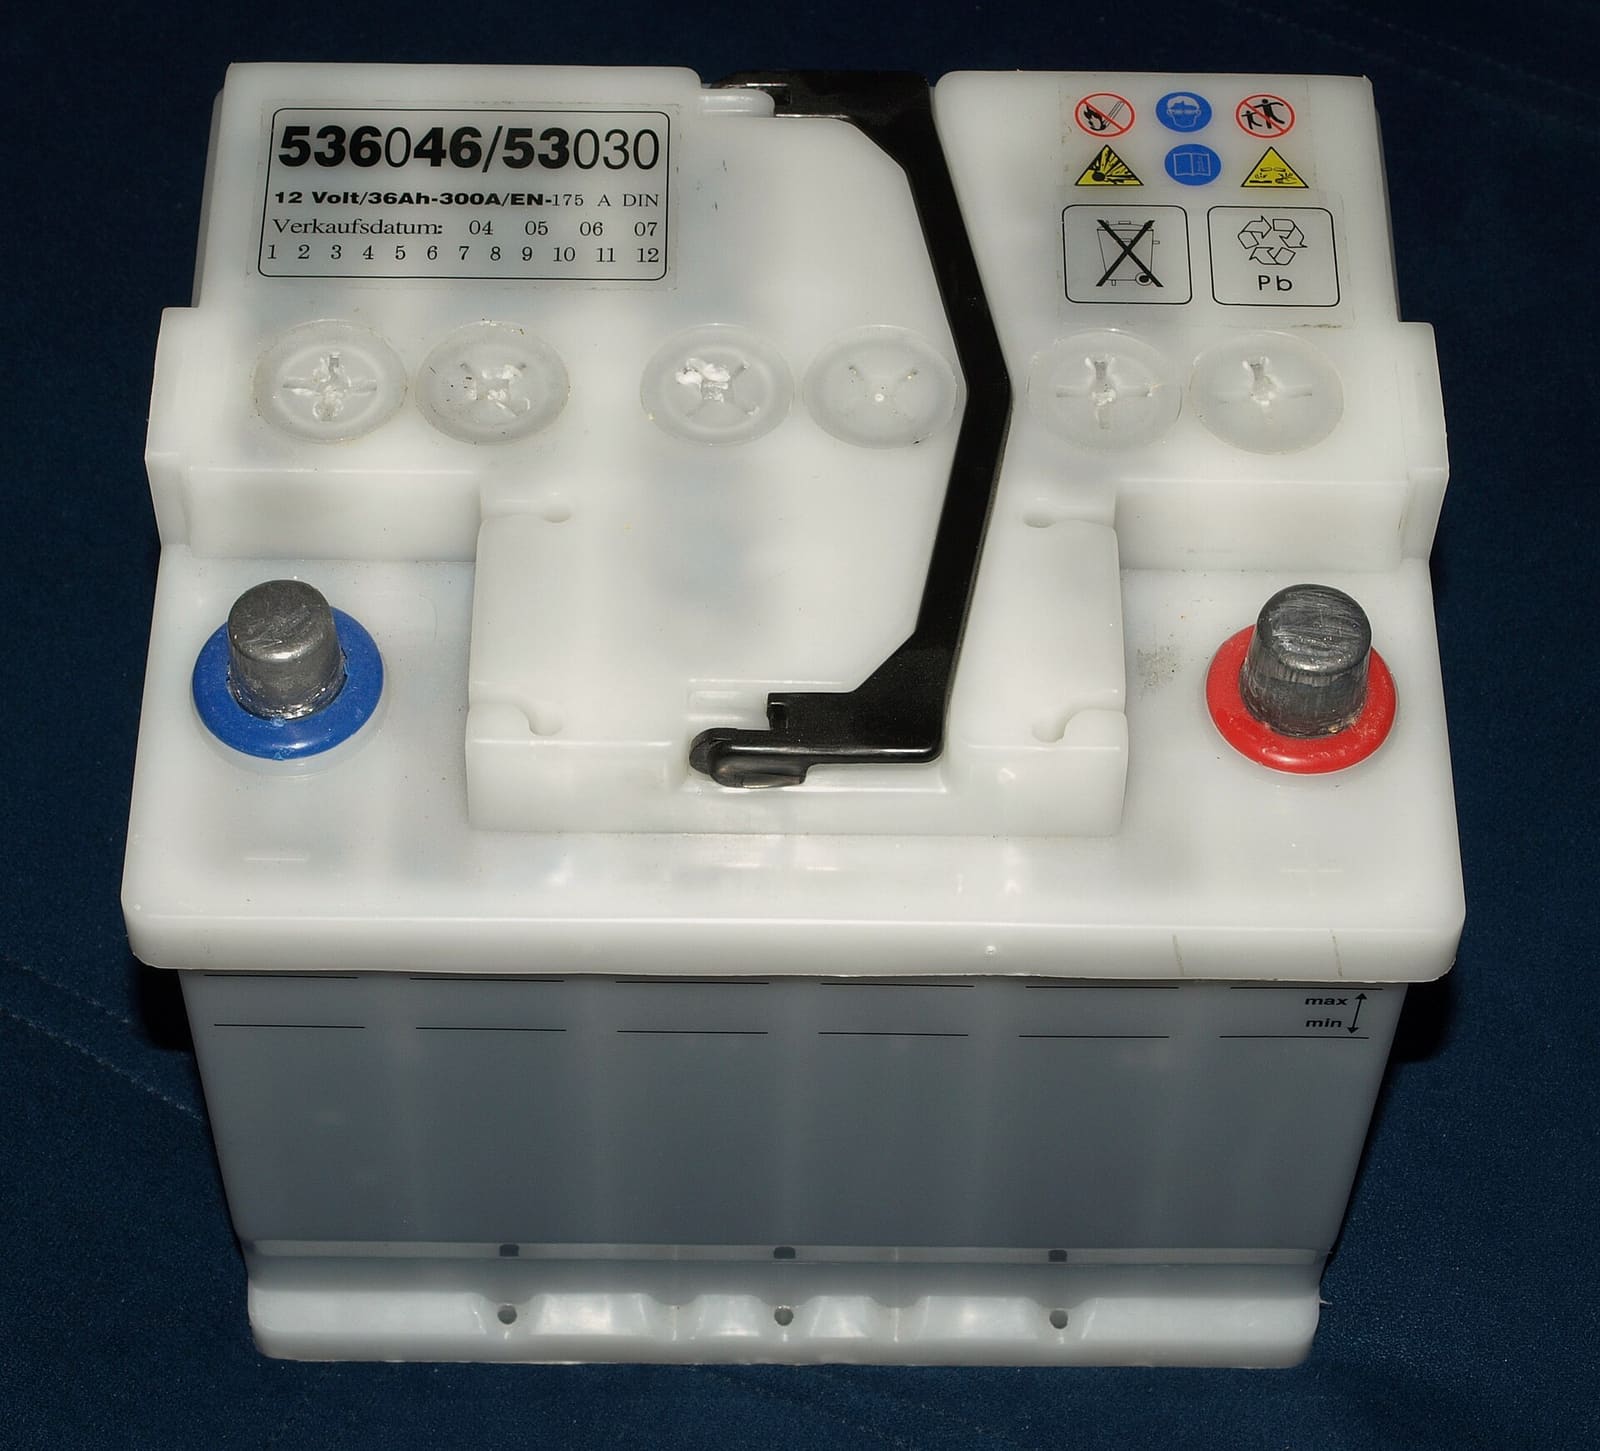
Marine Battery Care: Test, Charge and Store for Winter
Check your boat battery's health, charge it the right way for its type (flooded, AGM or lithium), and store it so it is ready in spring. Most "boat won't start" calls start with a neglected battery.
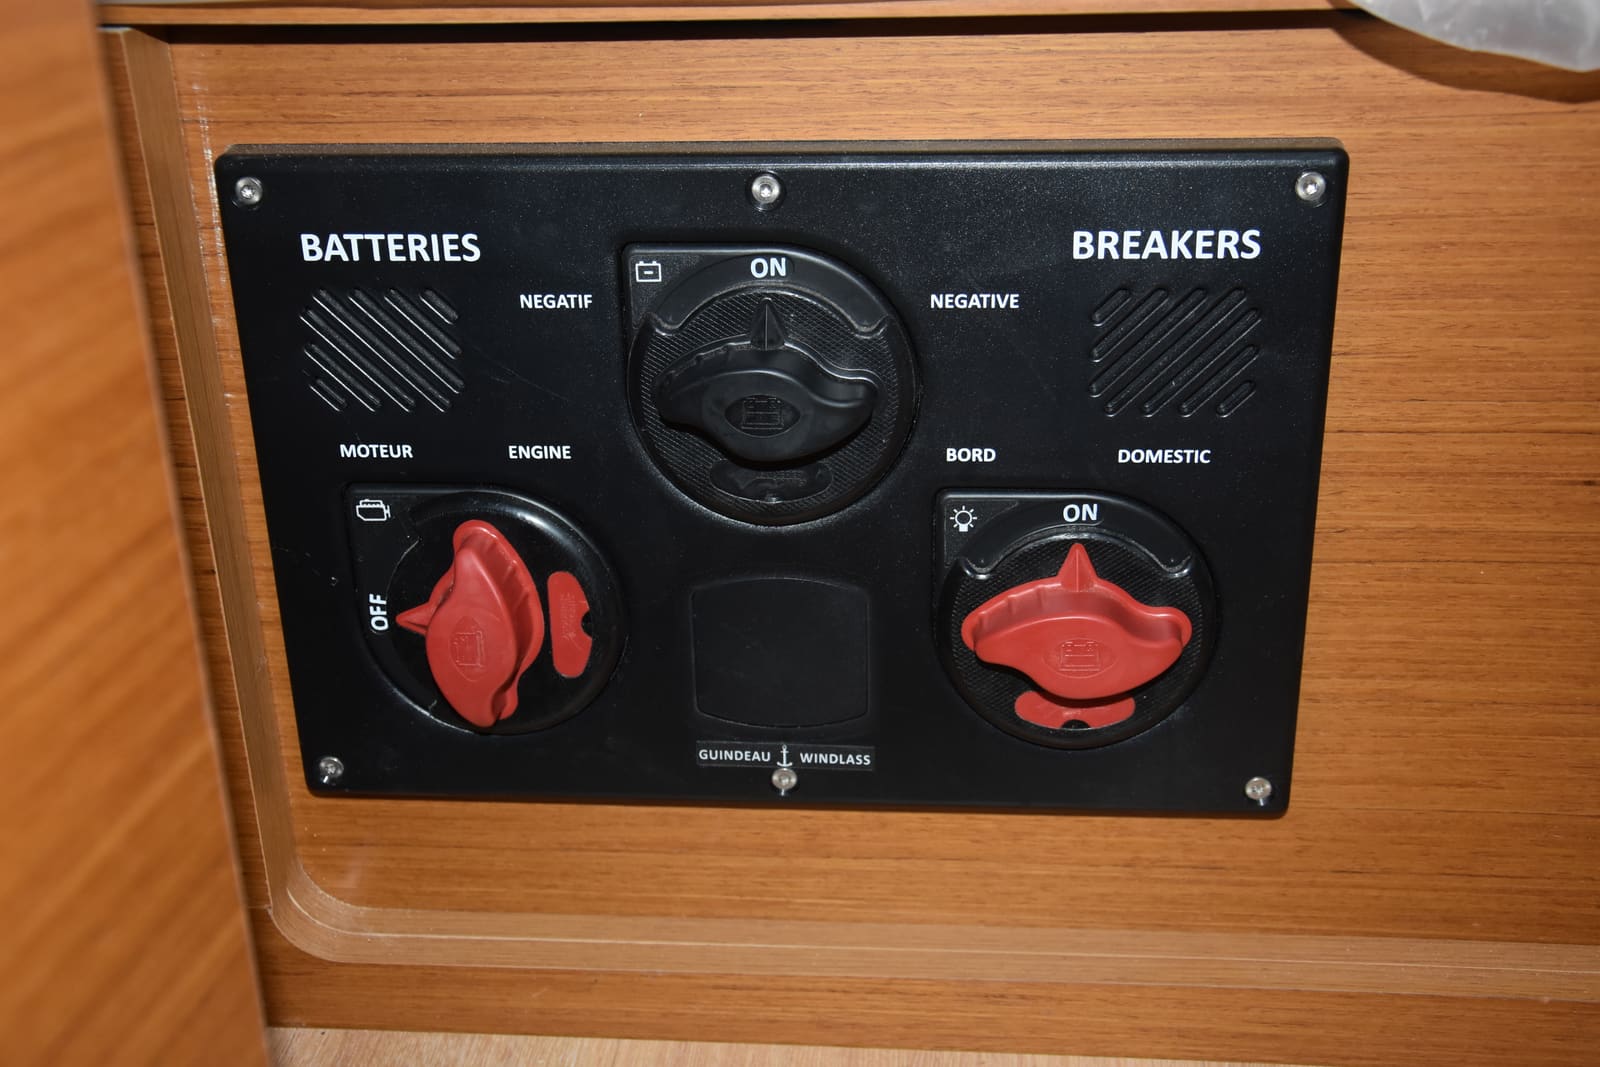
How to Use a 1-2-Both Battery Switch and Run Two Batteries
Learn what the 1, 2, Both and Off positions really do, a simple routine that keeps one battery ready to start the engine, how to check that both batteries are charging, and when an automatic charging relay makes life easier. Rewiring high-current cables is a job for a marine electrician.
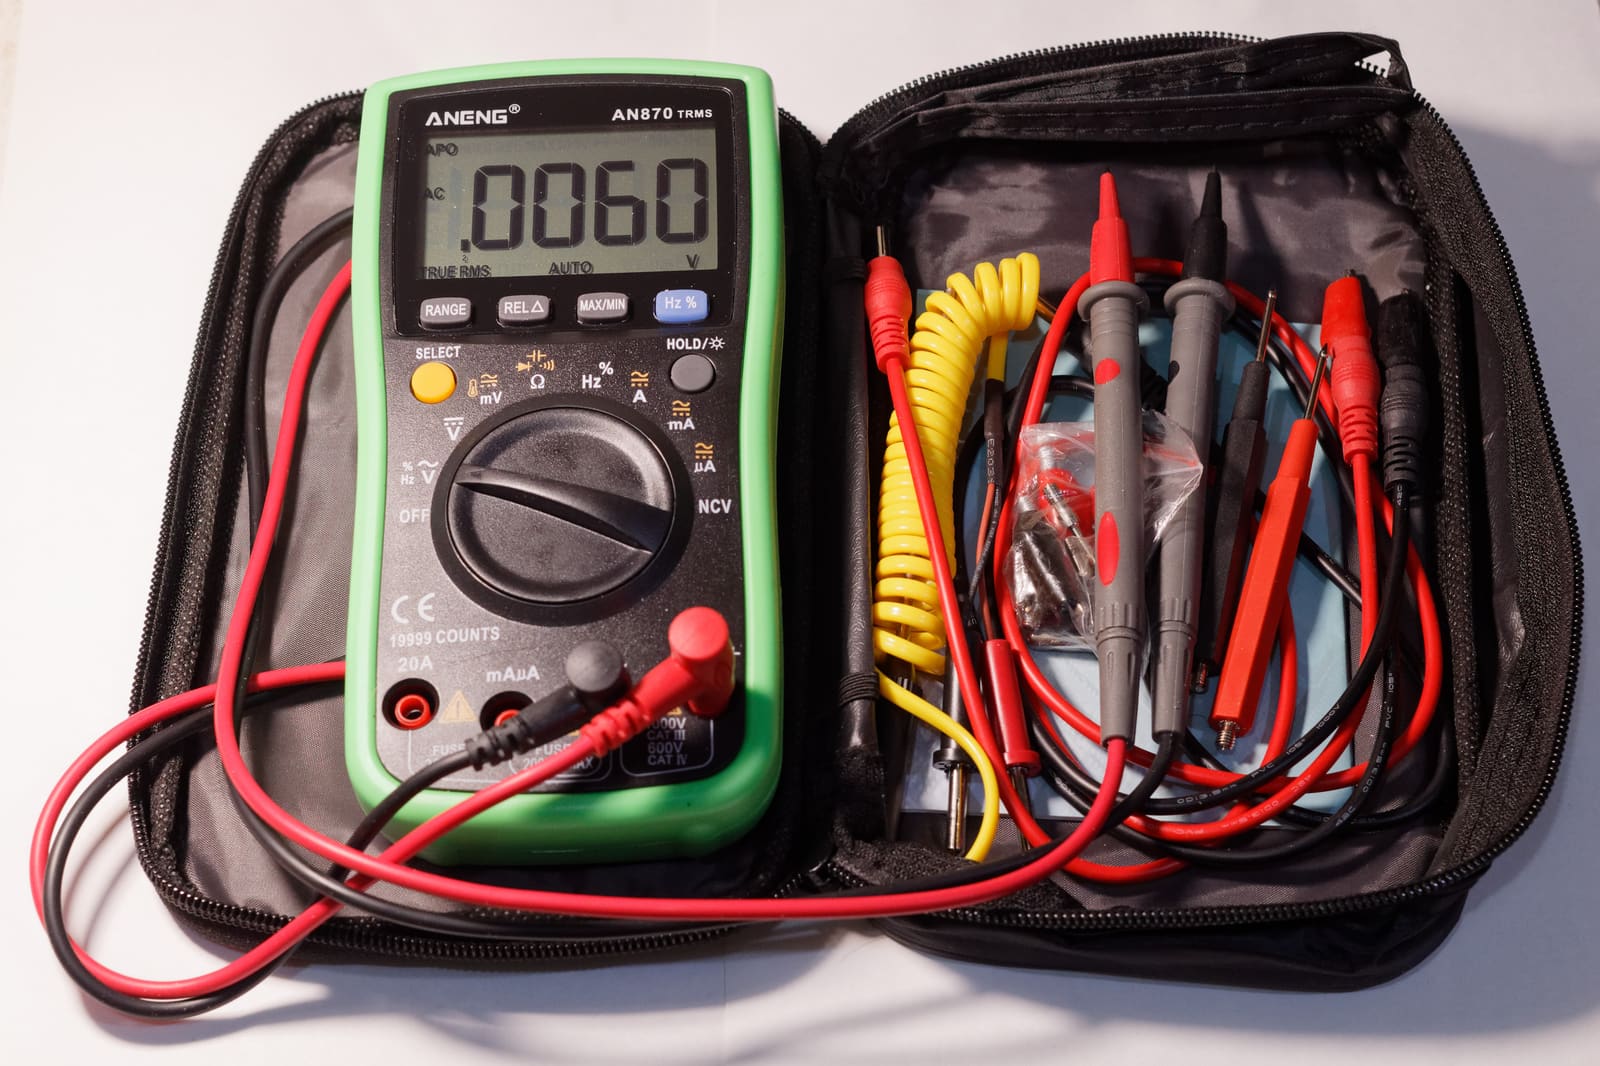
Is My Engine Charging the Battery? Test the Charging System With a Multimeter
A step-by-step way to find out whether your outboard's stator and rectifier/regulator or your inboard's alternator is really charging the battery, what the voltage readings usually mean, and when the problem is just a dirty connection. Exact test specs come from your engine's service manual.
How to Find and Fix Corroded Electrical Connections on a Boat
Track down the green crust and loose terminals behind flickering lights, dead gauges and slow cranking with a simple voltage-drop test, then remake the connection the marine way: tinned wire, a proper crimp, adhesive-lined heat shrink and a protective coating.
Shore Power Safety: Cords, Inlets, Burned Plugs and Electric Shock Drowning
An owner's inspection routine for your shore power cord, plugs, boat inlet, galvanic isolator and ground-fault protection, plus the right way to plug in and the facts about Electric Shock Drowning. This guide is for looking and testing only; any electrical repair belongs to an ABYC-certified marine electrician.
How to Wire a 12, 24 or 36-Volt Trolling Motor and Charge Its Batteries
Set up the battery bank for your electric trolling motor the right way: matched deep-cycle batteries in series or parallel, a circuit breaker sized from the motor maker's chart, a proper plug, and a multi-bank charger that keeps every battery healthy. High-current wiring that runs long distances or ties into other systems is a job for a marine electrician.
How to Winterize an Outboard Engine
Protect your outboard from freeze damage, stale fuel and internal corrosion over the off-season. Most owners can do it in an afternoon with basic tools, compared with a shop bill that often runs several hundred dollars.