How to Wire a 12, 24 or 36-Volt Trolling Motor and Charge Its Batteries
Set up the battery bank for your electric trolling motor the right way: matched deep-cycle batteries in series or parallel, a circuit breaker sized from the motor maker's chart, a proper plug, and a multi-bank charger that keeps every battery healthy. High-current wiring that runs long distances or ties into other systems is a job for a marine electrician.
Time
2 h
Shop would charge
$150-500
Applies to
All engines · Fishing boat, Jet boat, Pontoon, Center console, Bowrider / runabout
Safety first: A trolling motor bank can push dozens of amps, and a short across a battery or a cable can melt wire and start a fire in seconds. Lead-acid batteries also give off explosive hydrogen while charging, so keep the compartment ventilated and keep sparks away. Turn the motor off (speed at zero) and unplug it before touching any connection, take off rings and watches, and never lay a tool across terminals. If a cable or battery gets hot, swells, hisses or smells like rotten eggs, disconnect if you safely can, ventilate and call a marine electrician. On the water with smoke or fire, call VHF 16 or 911.
Owners often ask
- What's the right way to wire a second battery for my trolling motor?
This guide walks you through it. Still stuck? Ask the AI Mechanic about your engine.
Tools
- Digital multimeter
- Insulated wrenches or sockets for battery terminals
- Heavy-duty cable cutter and a ratcheting lug crimper (or pre-made cables)
- Heat gun for heat-shrink
- Drill and bits (for mounting the breaker, plug and battery trays)
- Safety glasses and gloves
Parts & supplies
- Deep-cycle batteries of the same make, type, size and age (one per 12 volts)
- Series jumper cable(s) of the gauge the motor maker specifies
- Manual-reset circuit breaker (or marine fuse) of the size the motor maker specifies
- Marine-grade tinned battery cable in the gauge the maker's chart gives for your run length
- Marine trolling motor plug and receptacle rated for your motor (optional)
- Battery boxes or trays with hold-down straps, and positive terminal covers
- Marine onboard charger with one output per battery (or a charger rated for the bank voltage)
Before you start
Know your motor's voltage. It is printed on the motor's label and in its manual. A 12-volt motor runs on one 12-volt battery; a 24-volt motor needs two batteries wired in series; a 36-volt motor needs three in series. Minn Kota's help center also shows 48-volt (four batteries) setups. Hooking a 12-volt motor to 24 volts can ruin it, so double-check before you connect. As a rough guide, Minn Kota pairs its motors up to 55 lb of thrust with 12 volts, motors above 55 and up to 80 lb with 24 volts, and motors above 80 lb with 36 volts; your motor's label is the final word.
Pick enough battery. Minn Kota's general rule is a battery of about 110 amp-hours (per 12-volt battery in the bank) for roughly 6 to 8 hours of fishing; smaller batteries mean less run time, and adding matched batteries in parallel on a 12-volt motor stretches it.
Know its maximum amp draw. Motor makers publish a chart that lists, for each motor, the maximum amp draw, the circuit breaker size and the wire gauge for each extension length. Minn Kota says it can only give the amp draw at maximum power. Use the chart for your exact model. This guide does not list breaker sizes on purpose.
Use matched deep-cycle batteries. Minn Kota says batteries in a parallel bank must be the same make, type, size and age, and the same rule keeps a series bank healthy. Deep-cycle batteries handle long, slow drains much better than starting batteries. Keep the trolling bank separate from the engine's starting battery, as BoatUS did on its own project boat, so a long day on the trolling motor never leaves you unable to start the engine.
If your boat came pre-rigged (a plug at the bow, cables to the battery area, a breaker), check that it matches your motor before you add anything.
Steps
Write down the motor's voltage, its maximum amp draw and the breaker and wire size from its chart. Measure the cable run from the batteries to the motor plug: the longer the run, the heavier the wire the chart will call for. Minn Kota says its motors ship with 5-foot, 10-gauge leads, recommends a qualified marine technician for extensions over 25 feet, and says not to alter the leads on its 30-pound Endura portable motor.
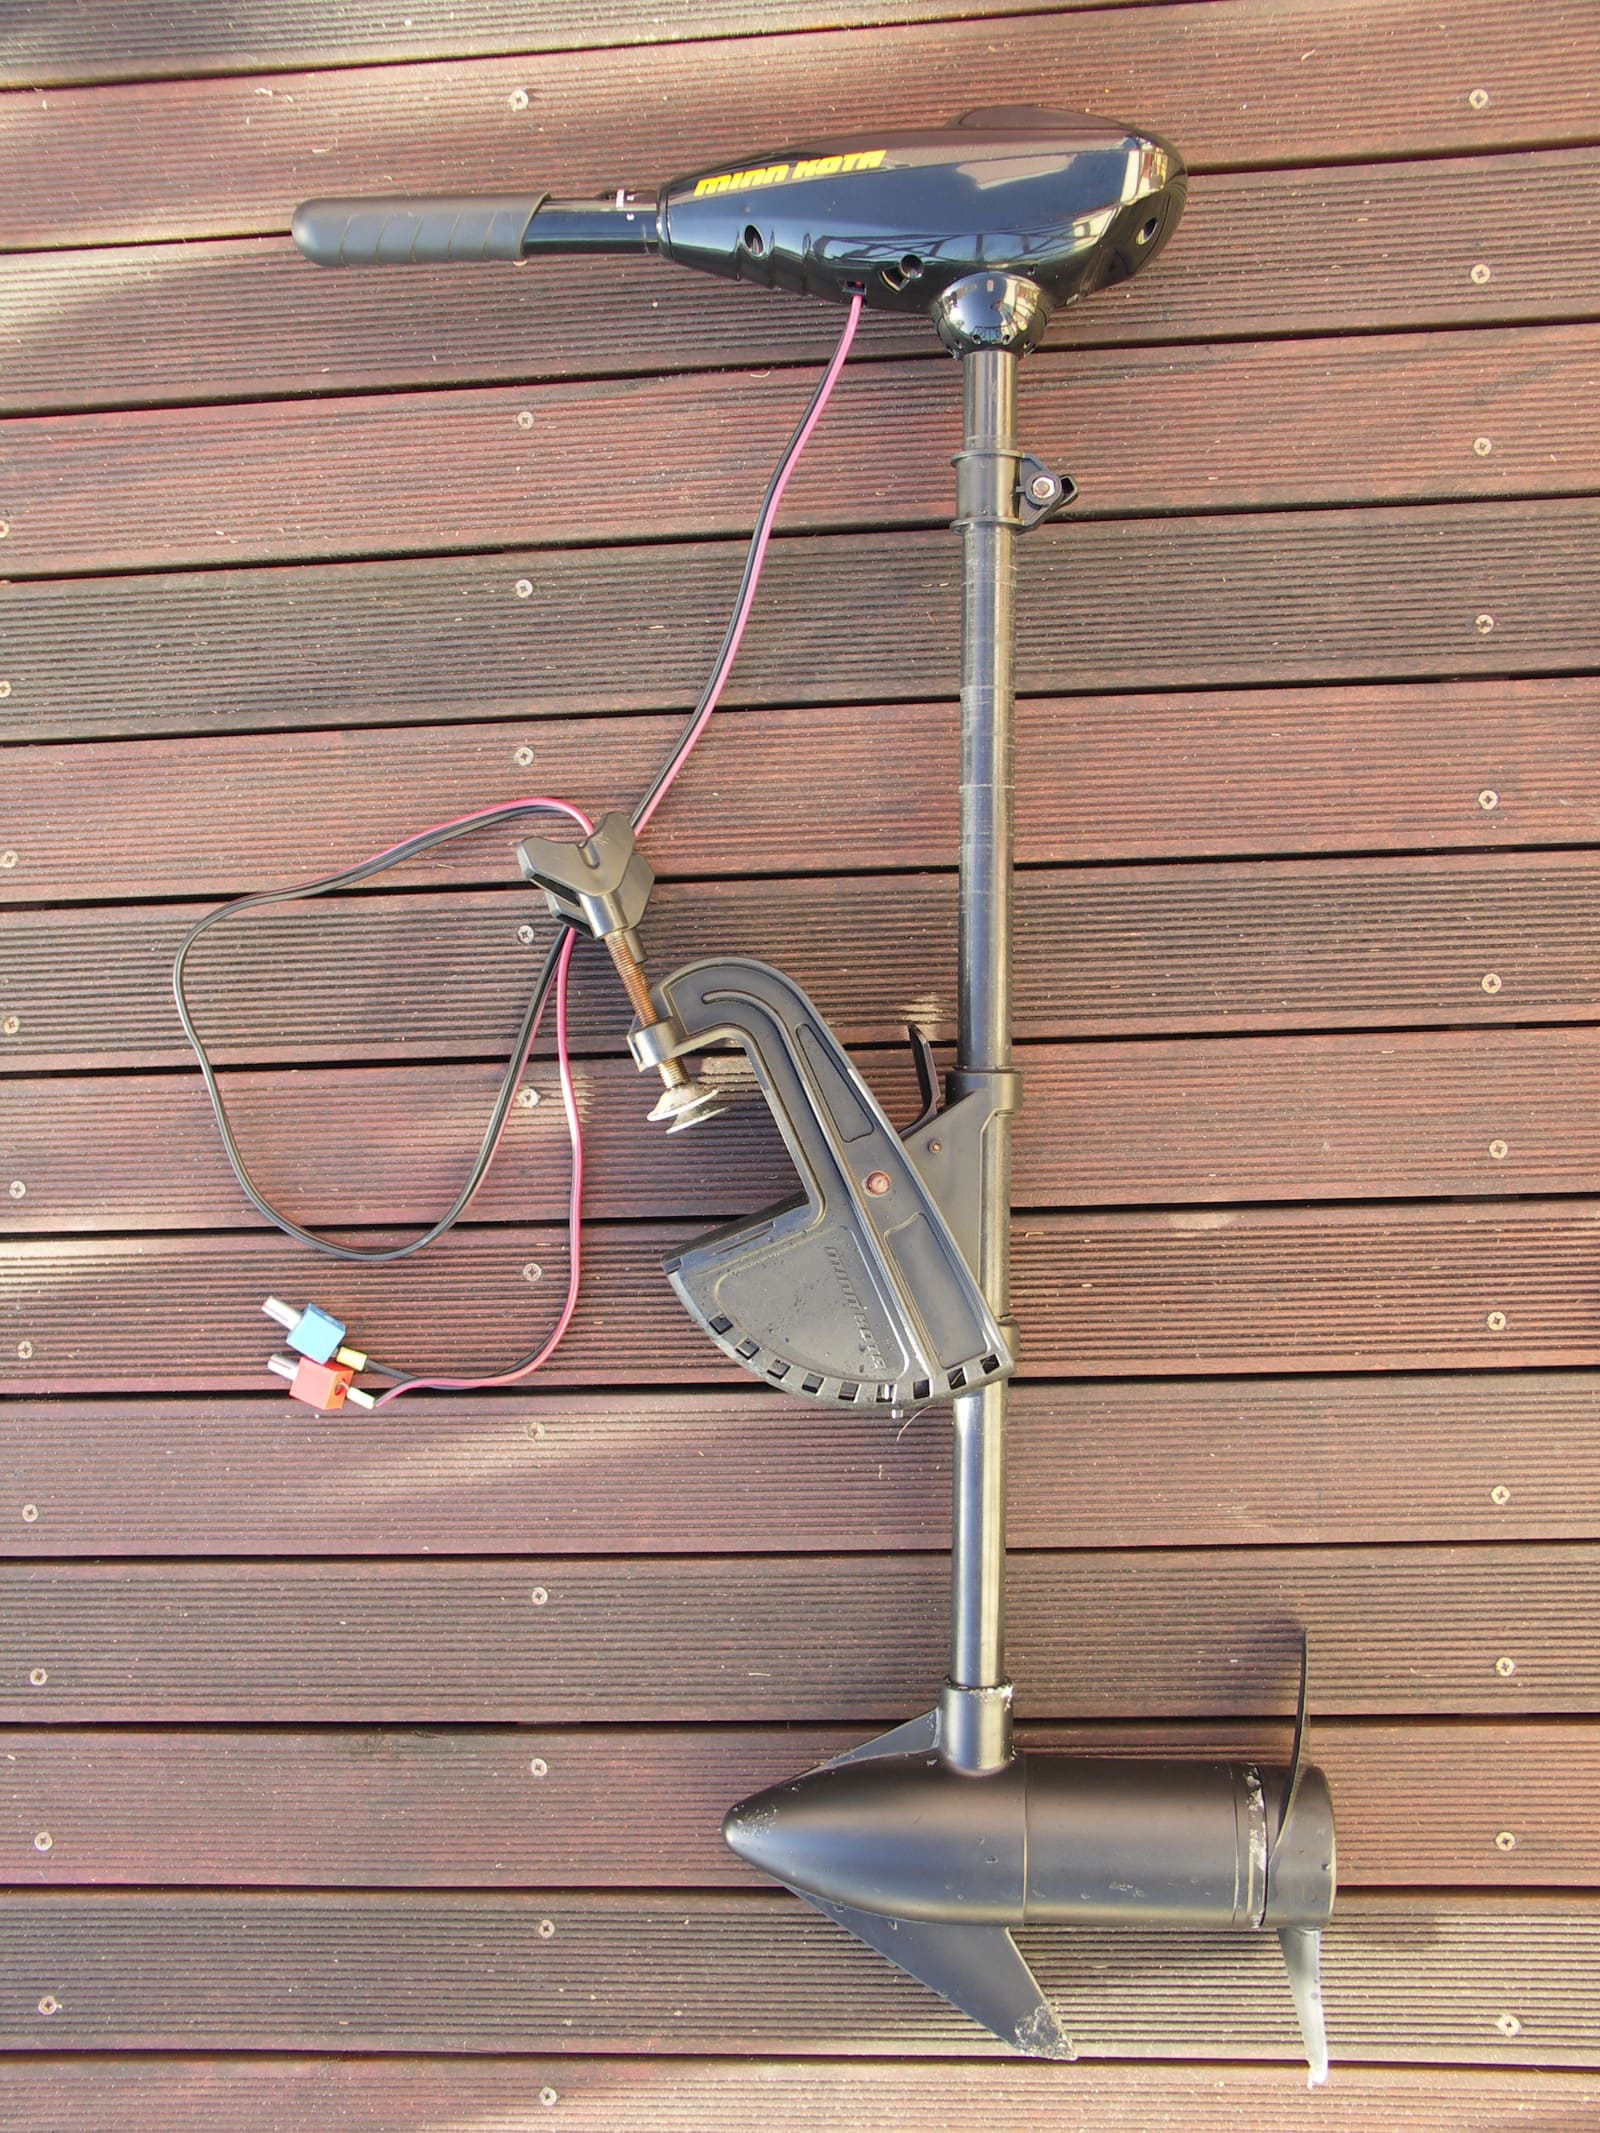
Photo: NJR ZA / Wikimedia Commons · Public domain Choose deep-cycle batteries (flooded, AGM or lithium) that all match. Put them in a dry, ventilated spot close to the motor if you can, to keep the high-current cables short. Secure each one in a box or tray with a strap: a loose battery in rough water can short against metal or tear its cables off. Fit a non-conductive cover on every positive terminal.
Use a manual-reset circuit breaker (or a marine fuse) on the positive lead, sized to the maker's chart. Minn Kota recommends mounting it on the positive side as close as possible to the battery bank, and notes that its QUEST motors must not use a breaker larger than 60 amps. ABYC standards also set a maximum distance from the battery, so mount it close. A manual-reset breaker doubles as an off switch when you trailer or store the boat.
Never skip the breaker. It protects the wire, and an unprotected trolling motor cable is a real fire risk.
Use tinned marine battery cable in the gauge the chart gives for your total run. Keep red for positive and black for negative. Route the cables away from sharp edges, the fuel system and moving parts, use grommets through bulkheads, and support them with clamps so they can't chafe. Crimp lugs with a proper crimper and seal them with adhesive heat-shrink. Do not connect anything to the batteries yet.
Following Minn Kota's series diagram, with the motor off:
- Connect a jumper cable from the positive (+) of battery 1 to the negative (−) of battery 2.
- Connect the motor's negative (black) lead to the negative of battery 1.
- Connect the motor's positive (red) lead, through the breaker, to the positive of battery 2.
The voltage only adds up across the two "outside" terminals: battery 1 negative and battery 2 positive. Use a jumper at least as heavy as the motor's power cables, or the size the maker specifies.
Same idea, one more battery:
- Jumper from battery 1 positive to battery 2 negative.
- Jumper from battery 2 positive to battery 3 negative.
- Motor negative to battery 1 negative; motor positive (through the breaker) to battery 3 positive.
To get more run time on a 12-volt motor, two matched batteries can be wired in parallel: positive to positive and negative to negative. Minn Kota's diagram then takes the motor's positive from one battery and its negative from the other, so both batteries share the load evenly. Parallel adds run time, not voltage. Never wire batteries in series for a 12-volt motor.
Set the multimeter to DC volts and measure across the motor's positive and negative cable ends (or the receptacle). A healthy bank reads a little above 12, 24 or 36 volts, depending on the setup, and the reading must be positive with the red probe on the red cable. If you see about half the voltage you expect, a jumper is missing or on the wrong terminal. If the reading is negative, the leads are swapped. Fix it before connecting the motor.
A marine trolling motor plug and receptacle lets you remove the motor or disconnect it quickly. Use one rated for your motor's current and voltage, wire it to its instructions, and keep the polarity consistent. Connect and disconnect only with the motor turned off, so you don't arc the contacts.
BoatUS used a two-bank onboard charger on its 24-volt project boat. The usual way to charge a series bank is a marine onboard charger with one output per battery, so each 12-volt battery is charged on its own, even while the series jumpers stay in place. Check that your charger's outputs are isolated and that it is approved for series banks. A charger built for the full bank voltage is another option. Do not charge a 24- or 36-volt bank with a 12-volt charger clipped across just one or two of the batteries; the bank ends up unbalanced. Minn Kota states plainly that batteries connected in series cannot be charged from one charger bank, that its chargers are built for 12-volt batteries only, and that the jumpers can stay in place when each battery has its own bank. It also recommends not mounting an onboard charger below the waterline.
Want to top up the trolling bank while you run? Some makers sell an alternator (or "on-the-go") charger that feeds the trolling batteries from the outboard's spare charging output, but only after the starting battery is charged. Check that your engine's output and your battery type are on the charger's supported list.
- Set each charger output for its battery type (flooded, AGM or lithium).
- BoatUS stresses a marine-grade, ignition-protected charger and good ventilation while charging.
- Lithium batteries need a charger and settings made for lithium, and often a different approach. Follow the battery maker's instructions.
Do not tap 12 volts from one battery of a 24- or 36-volt bank to run a fish finder or lights: that battery drains faster than the others and the bank gets out of balance. Power electronics from the boat's house or starting system instead, unless the electronics maker says otherwise.
Run the motor through all speeds and check that no cable, lug or the breaker gets warm. After a few trips, recheck that all terminals are tight. At least once a season, clean terminals, look for chafed cables and load test the batteries; replace them as a matched set.
Common mistakes
- Hooking a 12-volt motor to a 24-volt bank, or the motor leads to the wrong two terminals of a series bank.
- No breaker, or a breaker much bigger than the maker's chart.
- Thin wire on a long run to the bow, which causes voltage drop, weak thrust and hot cables.
- Mixing an old battery with new ones, or AGM with flooded, in the same bank.
- Charging a series bank with one 12-volt charger moved from battery to battery, so some never get fully charged.
- Running the fish finder off one battery of the trolling bank.
- Using the engine's starting battery for the trolling motor and getting stranded.
- Leaving loose batteries unstrapped, or positive terminals uncovered.
- Blaming the motor first. Minn Kota's first troubleshooting step for a weak or quitting trolling motor is the power supply: charge state, battery age and every connection.
When to call a pro
- Any cable, lug or breaker that gets hot, smells or shows melted insulation
- Cable runs longer than about 25 feet, or anything you can't size from the maker's chart
- Tying the trolling motor bank into the boat's main battery switch, a combiner or the engine charging system
- Converting to lithium batteries
- Installing an onboard charger that plugs into shore power, if you're not sure about AC wiring
- A battery that is swollen, cracked, hissing or very hot
- The bank and wiring test good, but the motor still won't run, steer or deploy. Minn Kota's help center has model-specific troubleshooting guides (Terrova, Ulterra, PowerDrive and others) and a locator for its authorized service centers; other brands have similar dealer networks. Motor head and steering electronics are a service-center job
Tips
- Turn the breaker off whenever you trailer or store the boat.
- Label every battery and jumper ("TM 1", "TM 2") so a future battery swap goes back the same way.
- Many onboard chargers have indicator lights per bank: check them after every charge to spot a weak battery early.
- Keep a printed copy of your motor's wiring chart in the battery compartment.
Official references
We read these to write this guide. Your engine's own manual always wins.
- Minn Kota Help Center – Connecting Deep Cycle Batteries in Series or Parallel
- Minn Kota Help Center – Trolling Motor Amp Draw, Circuit Breakers, Fuses, and Extending the Battery Leads
- BoatUS – Rig A Portable Trolling Motor
- BoatUS – 12 Volt Electrical Systems
- Minn Kota Help Center – Trolling Motor Power Considerations
- Minn Kota Help Center – Battery Charger Selection Guide
- Minn Kota Help Center – Using the Alternator Chargers (2008-2024)
- Minn Kota Help Center – Terrova Troubleshooting (2007-2023) and Service Provider Locator
Safety: BoatMend is for information only and does not replace a certified marine technician. You are responsible for your safety and your boat. Read the full disclaimer.
Last updated 2026-10-24
Related guides
Marine Battery Care: Test, Charge and Store for Winter
Check your boat battery's health, charge it the right way for its type (flooded, AGM or lithium), and store it so it is ready in spring. Most "boat won't start" calls start with a neglected battery.
How to Use a 1-2-Both Battery Switch and Run Two Batteries
Learn what the 1, 2, Both and Off positions really do, a simple routine that keeps one battery ready to start the engine, how to check that both batteries are charging, and when an automatic charging relay makes life easier. Rewiring high-current cables is a job for a marine electrician.
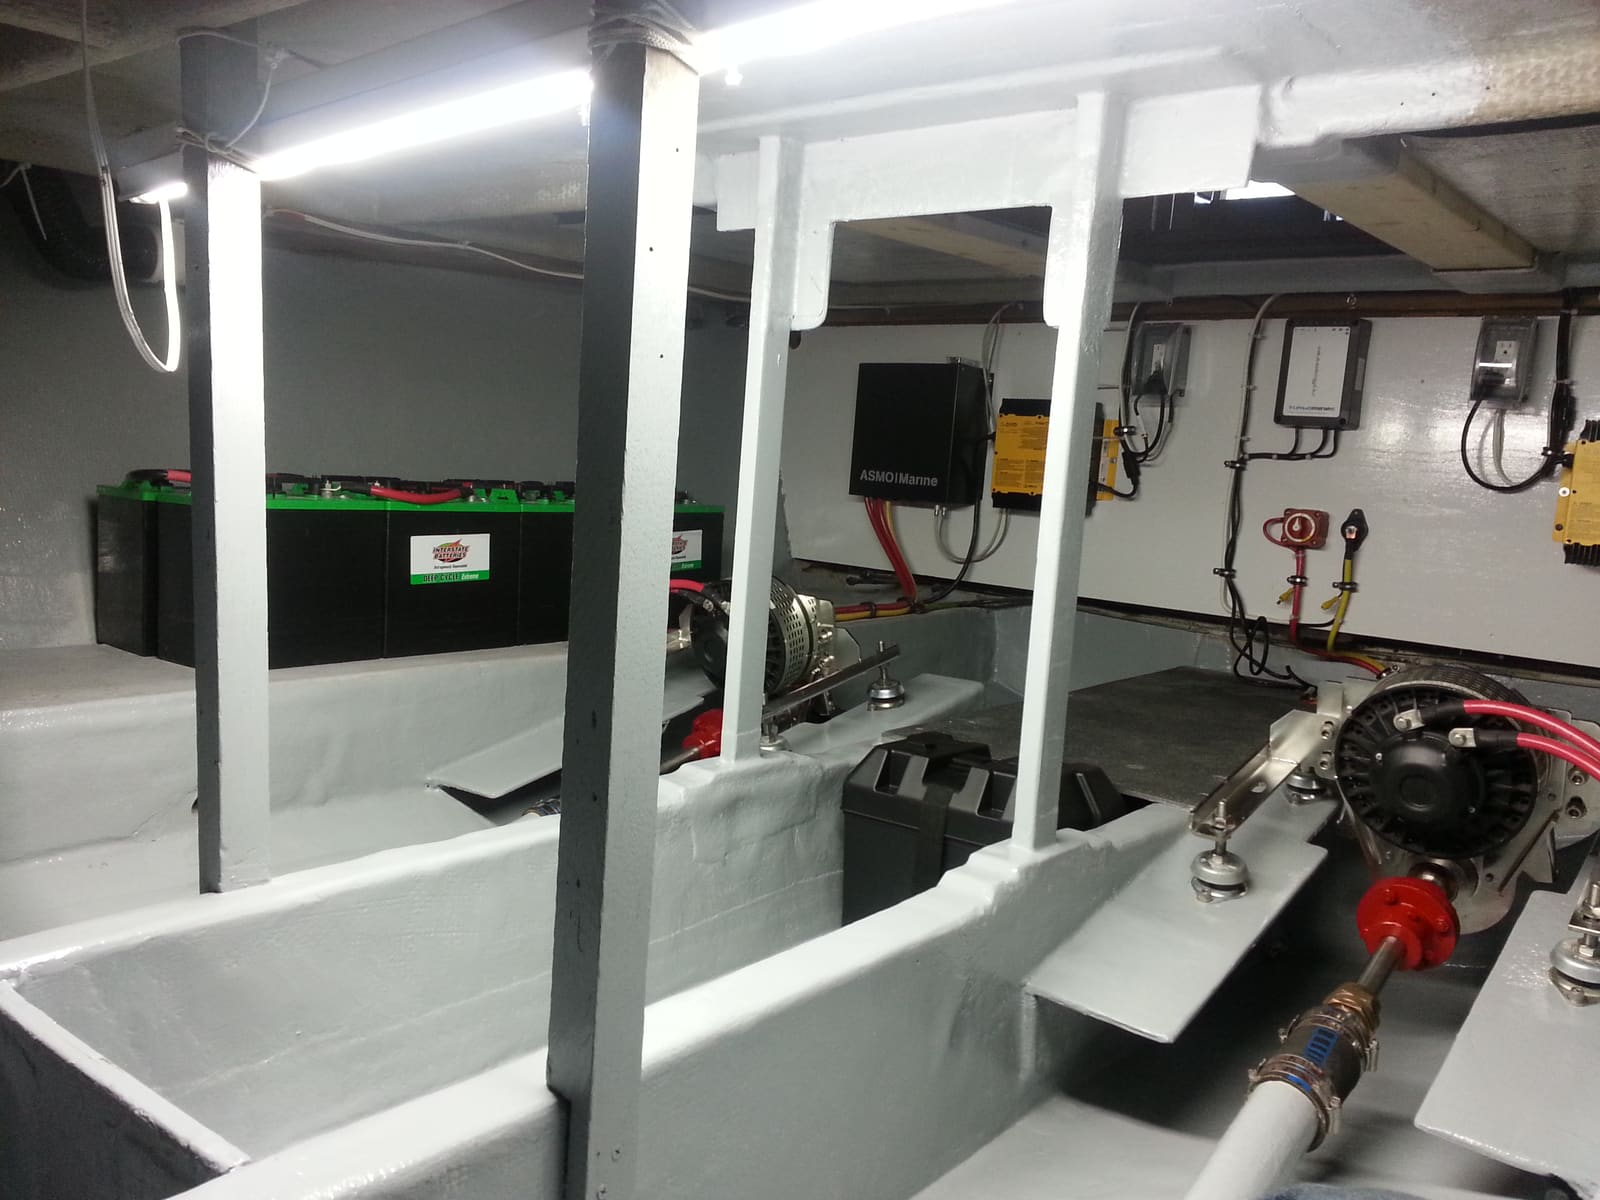
How to Choose, Install and Maintain an Onboard Battery Charger
Pick the right marine charger for your batteries (how many banks, how many amps, flooded, AGM or lithium), mount and fuse it safely, set the charge profile, and use it to keep batteries healthy all season and through the winter. The AC (shore power) side is a job for a marine electrician.
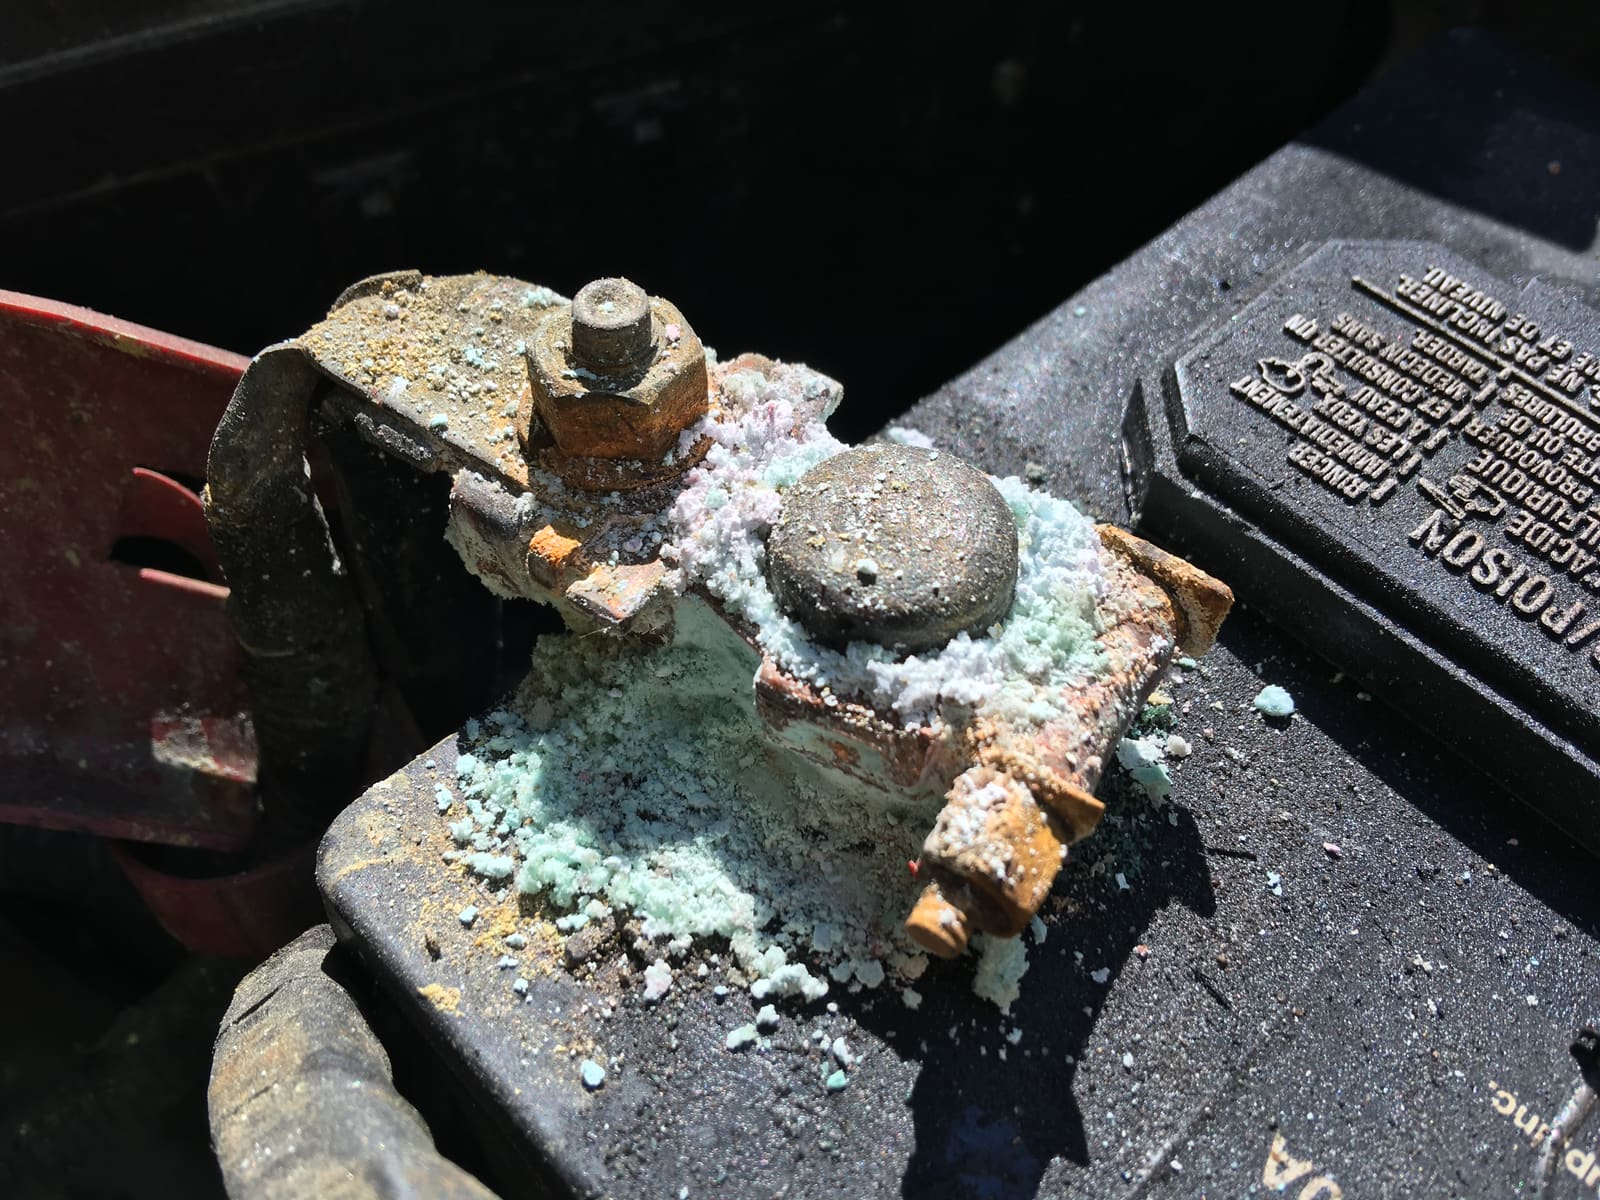
How to Find and Fix Corroded Electrical Connections on a Boat
Track down the green crust and loose terminals behind flickering lights, dead gauges and slow cranking with a simple voltage-drop test, then remake the connection the marine way: tinned wire, a proper crimp, adhesive-lined heat shrink and a protective coating.
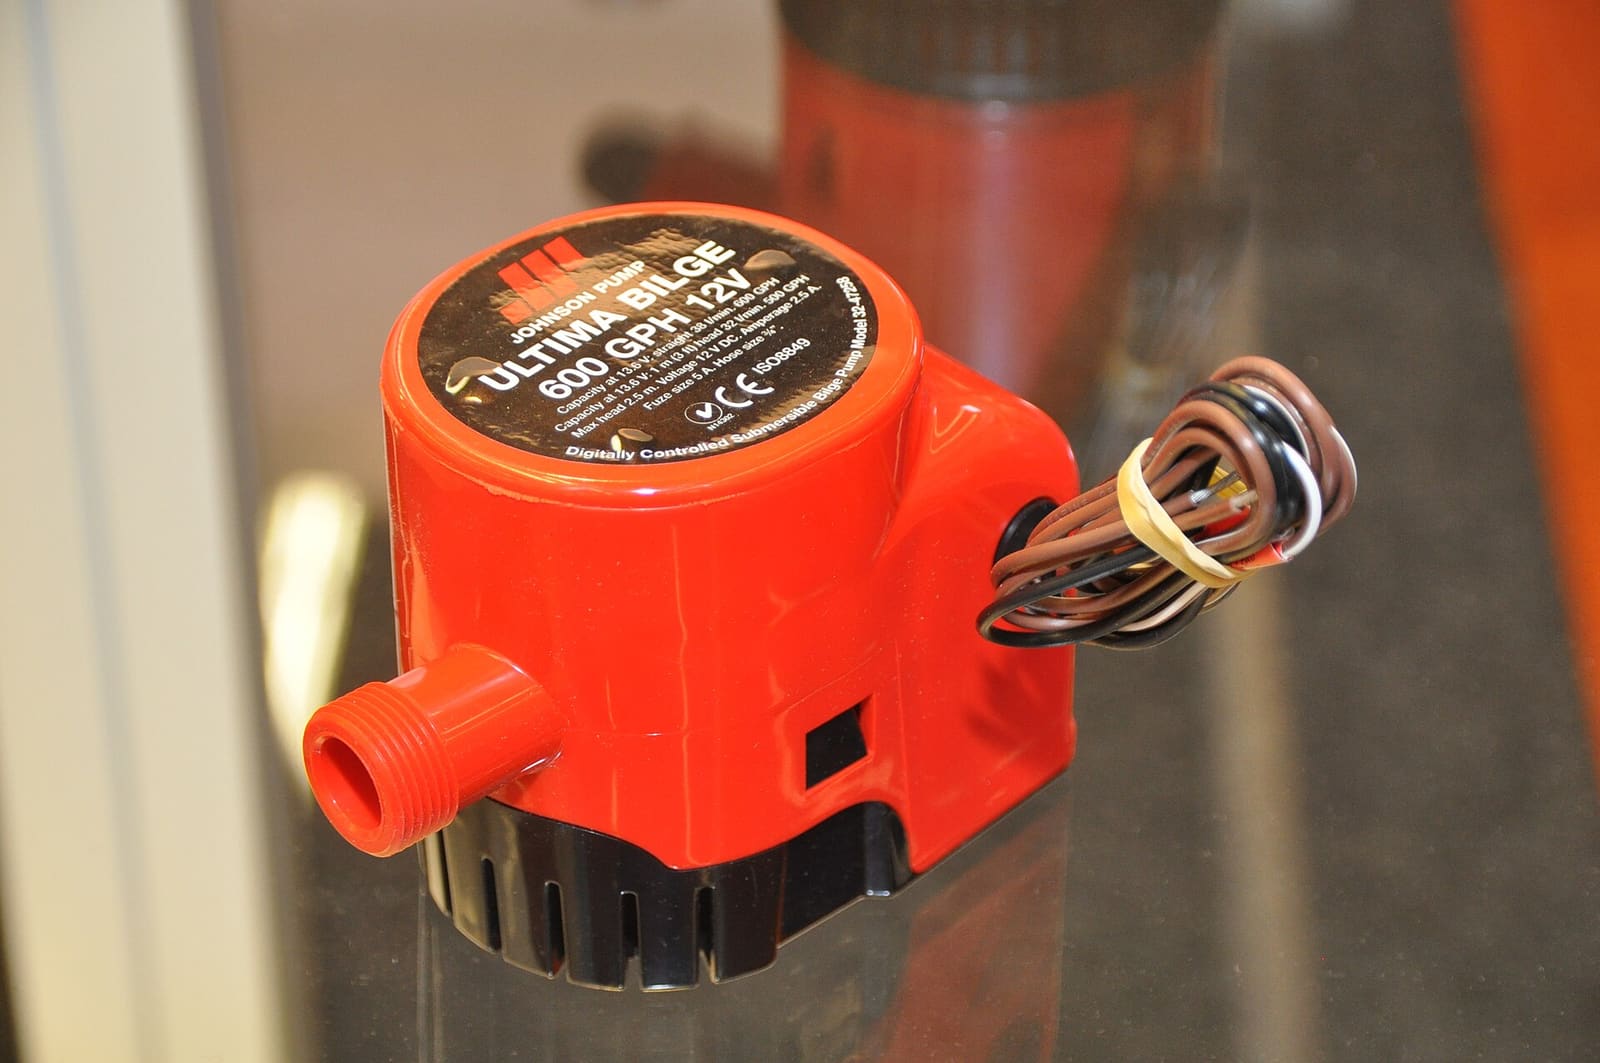
How to Test and Clean Your Bilge Pump and Float Switch
Make sure your bilge pump actually moves water overboard, both on the manual switch and automatically through the float switch. A working bilge pump is one of the most important safety systems on any boat that stays in the water.
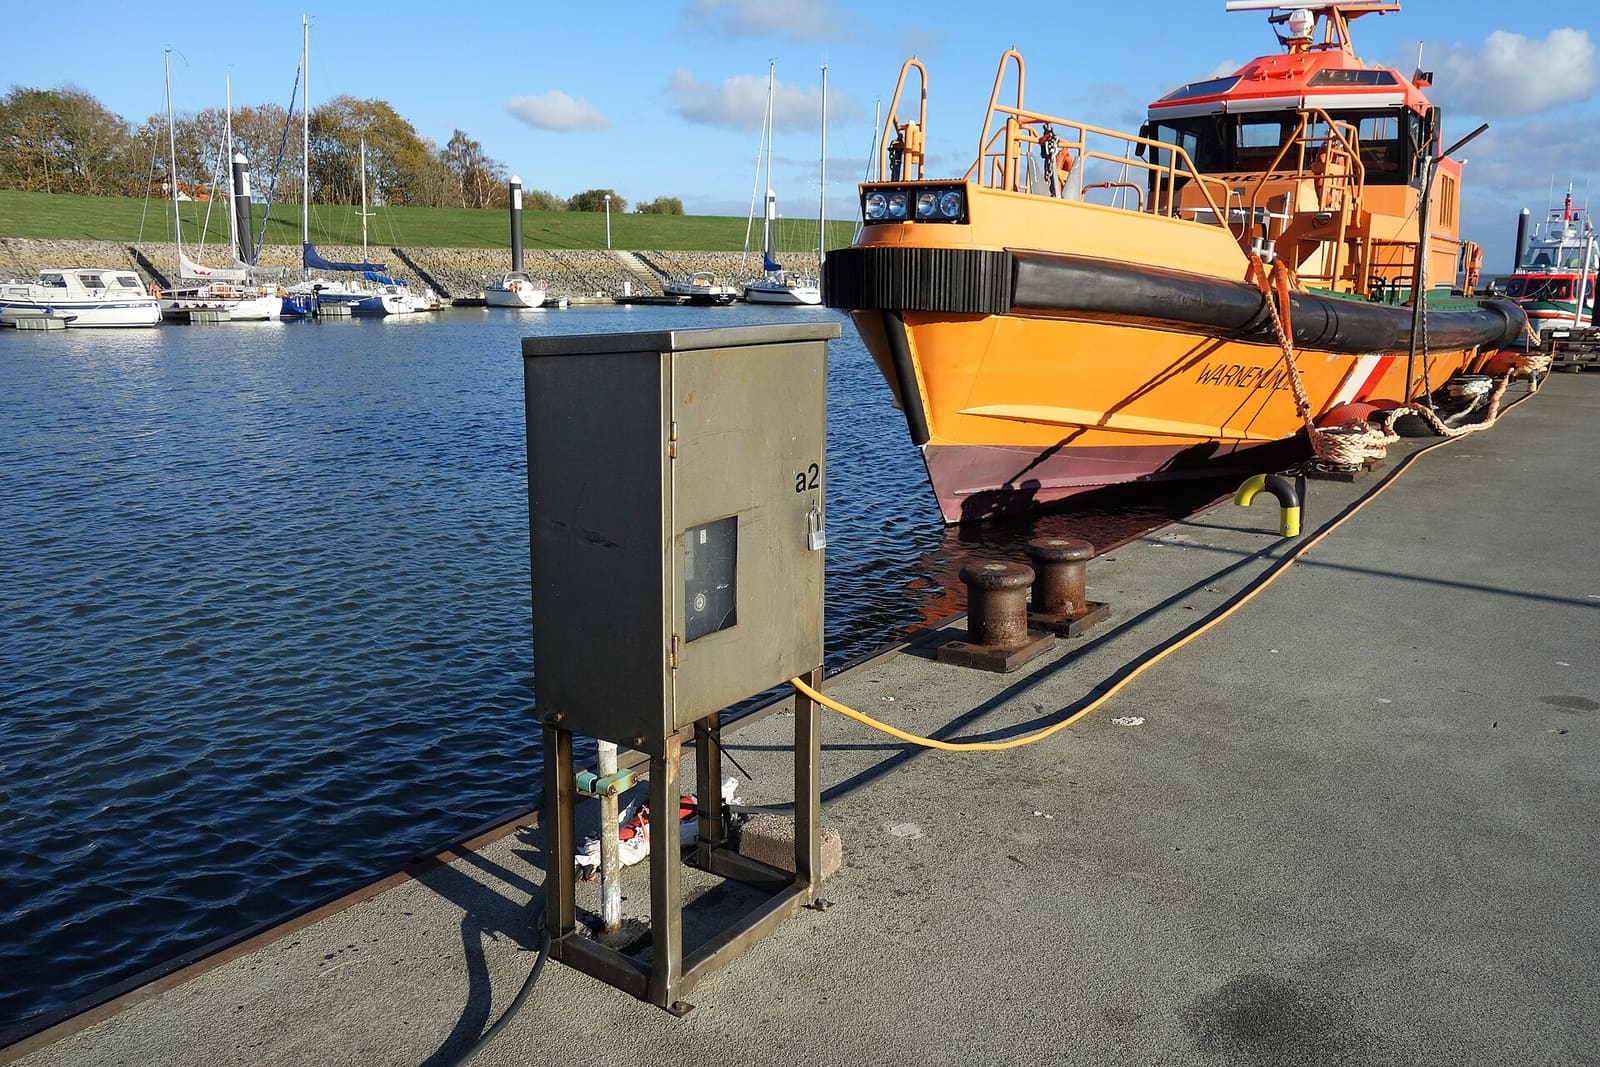
Shore Power Safety: Cords, Inlets, Burned Plugs and Electric Shock Drowning
An owner's inspection routine for your shore power cord, plugs, boat inlet, galvanic isolator and ground-fault protection, plus the right way to plug in and the facts about Electric Shock Drowning. This guide is for looking and testing only; any electrical repair belongs to an ABYC-certified marine electrician.
How to Troubleshoot Dash Gauges, a Dead Tachometer or a Wrong Fuel Gauge
Work through dead or wrong dash gauges from the cheapest check to the most involved: fuses and breakers, power and ground, the gauge-versus-sender test, the tachometer's pulse setting and the extra checks for digital network gauges. Most gauge problems turn out to be a bad connection, not a bad gauge.