Outboard Hydrofoil Fins: Do They Help, and How to Install One Safely
Learn when a bolt-on hydrofoil (the fin that mounts on the anti-ventilation plate) can help a boat plane sooner or stop porpoising, what it can cost you in top speed and handling, and how to mount one without drilling into an anode, trim tab or speed pickup.
Time
1 h
Shop would charge
$100-250
Applies to
Outboard, Sterndrive (I/O)
Safety first: A loose foil can come off at speed and hit the prop, and a foil mounted too far forward can change how the boat steers and leans in turns. Use only the stainless hardware and mounting method from the kit, check it is tight before every outing at first, and test handling gently in open water. Never drill or work on the lower unit with the key in or the engine able to crank.
Owners often ask
- Do hydrofoil fins on the outboard really help a boat get on plane?
- Will drilling a hydrofoil into my cavitation plate cause problems?
This guide walks you through it. Still stuck? Ask the AI Mechanic about your engine.
Tools
- Drill and sharp bits in the size the foil maker specifies
- Right-angle drill attachment (helpful under the plate)
- Center punch and marker or masking tape
- Socket set and screwdriver
- Tape measure and straightedge
- Safety glasses and gloves
Parts & supplies
- Hydrofoil kit sized for your engine's horsepower (with its stainless hardware)
- Marine sealant if the kit suggests it
Before you start
What it is: an aftermarket hydrofoil is a plastic or aluminum wing that bolts or clamps onto the anti-ventilation plate (often called the cavitation plate), the flat plate right above the prop. Brands include StingRay, SE Sport and Doel-Fin. At speed the foil makes lift at the stern, which pushes the bow down.
What makers claim: StingRay says its foils help boats get on plane faster, stay on plane at lower speeds, and reduce porpoising, chine walking and prop ventilation. Those are manufacturer claims; real results depend on the boat. Davis describes its Doel-Fin as a two-piece plastic foil whose halves flex independently to absorb shock, and lists benefits up to "higher top-end speeds" and better gas mileage. Owner reports are more mixed: many see a quicker hole shot and a lower planing speed but lose a little top speed, so treat any top-speed or fuel-saving claim as something to test on your own boat (step 10).
Where they tend to help most:
- Small, light boats that sit stern-heavy and climb slowly onto plane
- Boats with a lot of bow rise on takeoff and no trim tabs
- Underpowered boats, or boats that carry heavy loads at the back
- Some pontoons and boats that ventilate (blow out) in turns, especially with an engine mounted a bit high
The trade-offs:
- Top speed may stay the same or drop a little from the added drag
- Steering can feel heavier, and some boats handle differently in tight turns
- Foils can catch weeds and debris
- Drilling the plate is permanent
Try the free fixes first. Boating Magazine explains porpoising usually comes from too much trim at cruise speed: trimming down a bit or adding a little speed often stops it. Their trim tab article lists other causes: hull shape, an outboard mounted too high, or a prop that makes too much bow lift. Check engine height, prop choice and trim technique before buying a foil. Trim tabs do much of the same job with more control.
Steps
Note how the boat behaves now: time to plane with a normal load, bow rise, lowest speed it will stay on plane, top speed and RPM, and whether it porpoises or ventilates in turns. Write it in your BoatMend log so you can compare after.
- Trim: start with the engine trimmed fully down for takeoff, then trim up once on plane (Boating Magazine).
- Engine height: if the anti-ventilation plate sits well below the bottom of the hull, it adds drag; if it's far above, the prop may ventilate. Your engine or boat dealer can check the mounting height.
- Prop: a prop with the wrong pitch or design for the load can cause slow planing or porpoising. See the propeller and ventilation guides.
Foils are sold by horsepower range. Make sure the kit lists your engine. Some outboards need the foil's notch trimmed to clear the gearcase, and some drives with exhaust through the plate can't use certain foils or clips, so read the fitment notes before you buy. Note whether the kit is a four-bolt, two-bolt or no-drill clamp style.
Measure your plate's width before you order. SE Sport, for example, steers smaller plates to its smaller model because the larger foil's hole spacing would leave too little metal between the holes and the edge of the plate. Its FAQ also notes that some outboards with a raised ridge or a big nut on the plate need a notch cut or a pocket carved in the foil (which it says doesn't affect its warranty), that some sterndrives need longer bolts and large washers that aren't in the box, and that a few small four-strokes aren't a fit for its smaller model. Twin outboards can usually take a foil each, side by side. Each brand's fitment chart is different, so check yours.
Drilling into the anti-ventilation plate is a permanent change to the lower unit. Ask your dealer whether it affects your engine warranty, and keep the receipt and instructions. If the engine is new or under extended coverage, a no-drill mount may be the safer choice.
Tilt the engine up and look at the plate from above and below. Before you mark any holes, locate:
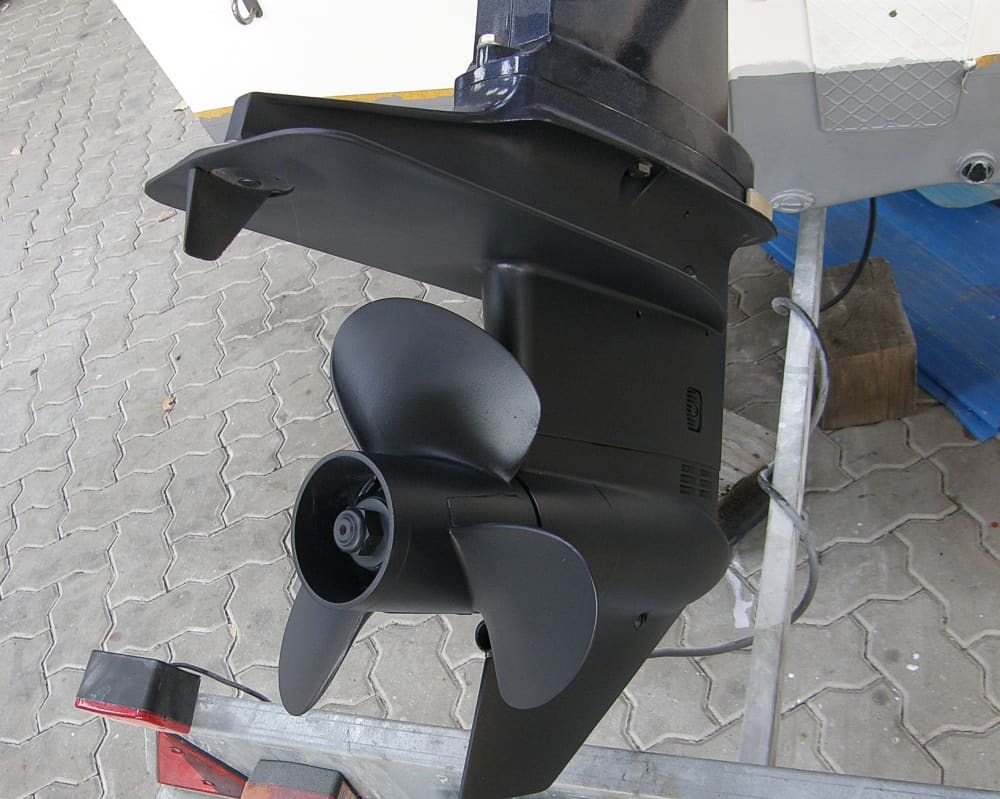
- The trim tab or anode under the plate (the little fin in the cover photo). Kit instructions often say you can move the foil back to clear it without losing performance.
- Any speedometer pickup, pitot hole or water pressure port on the gearcase or plate.
- Any water intake, exhaust outlet or transducer close to the plate (a transom-mounted transducer or speed paddle wheel must stay in clean water).
- Bolts or plugs that the foil would cover.
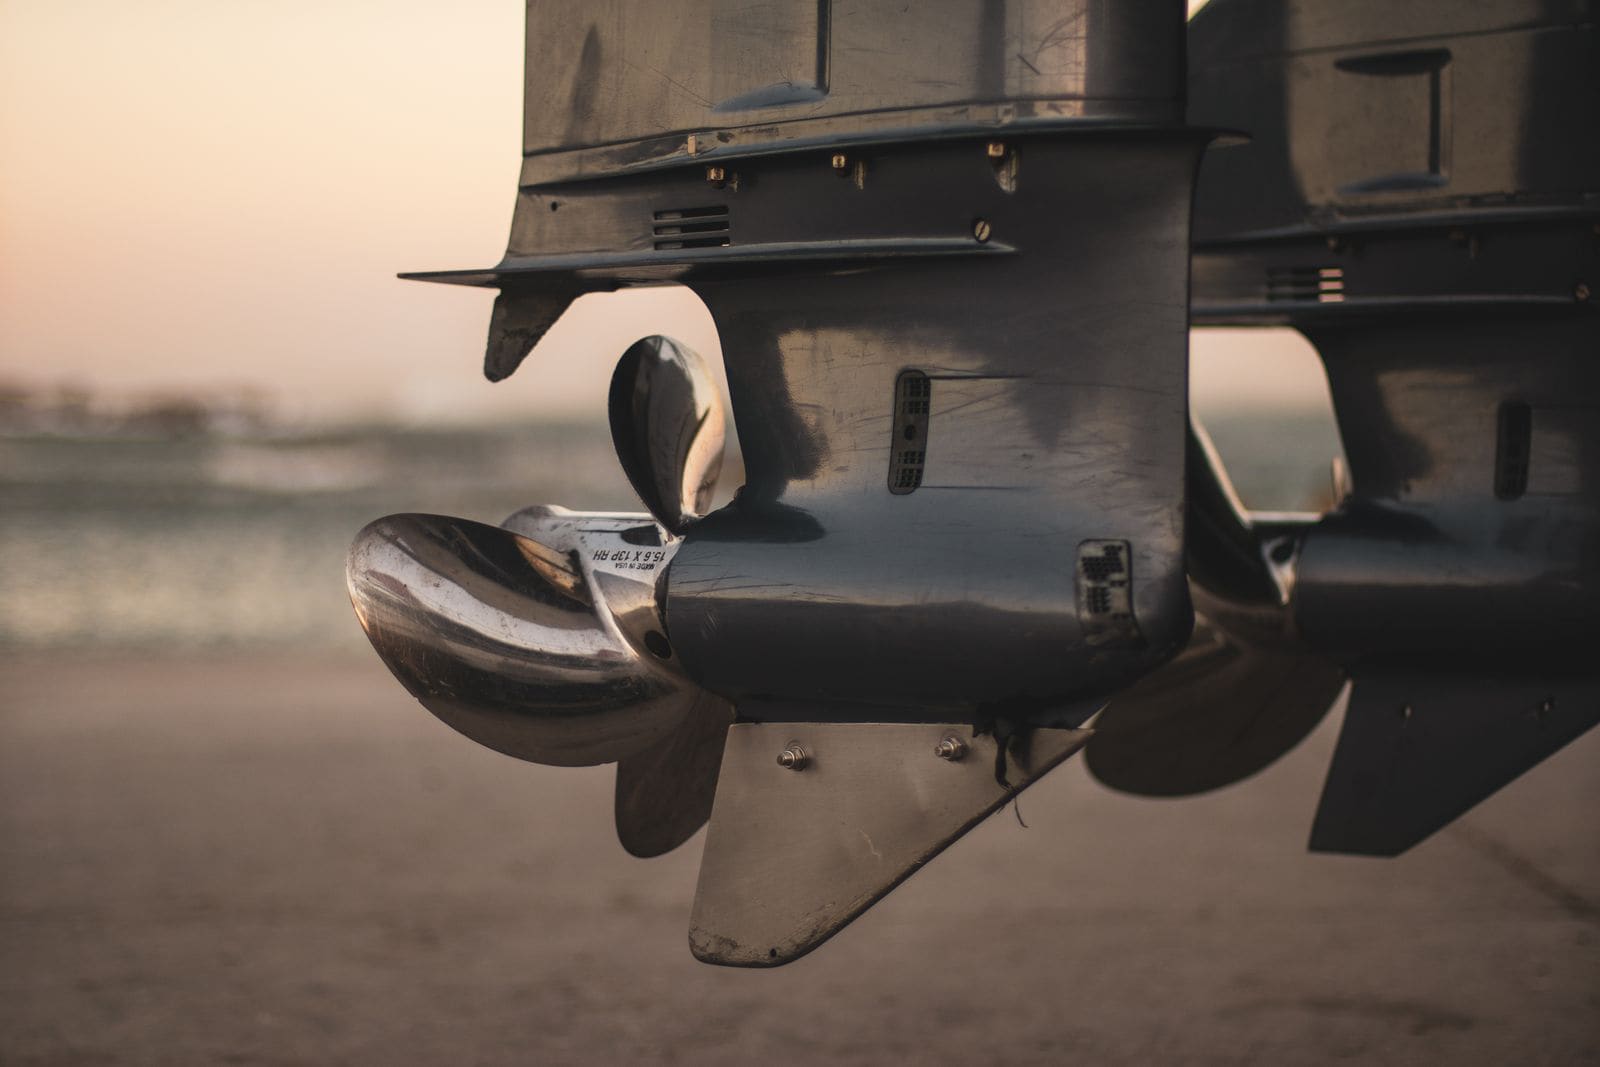
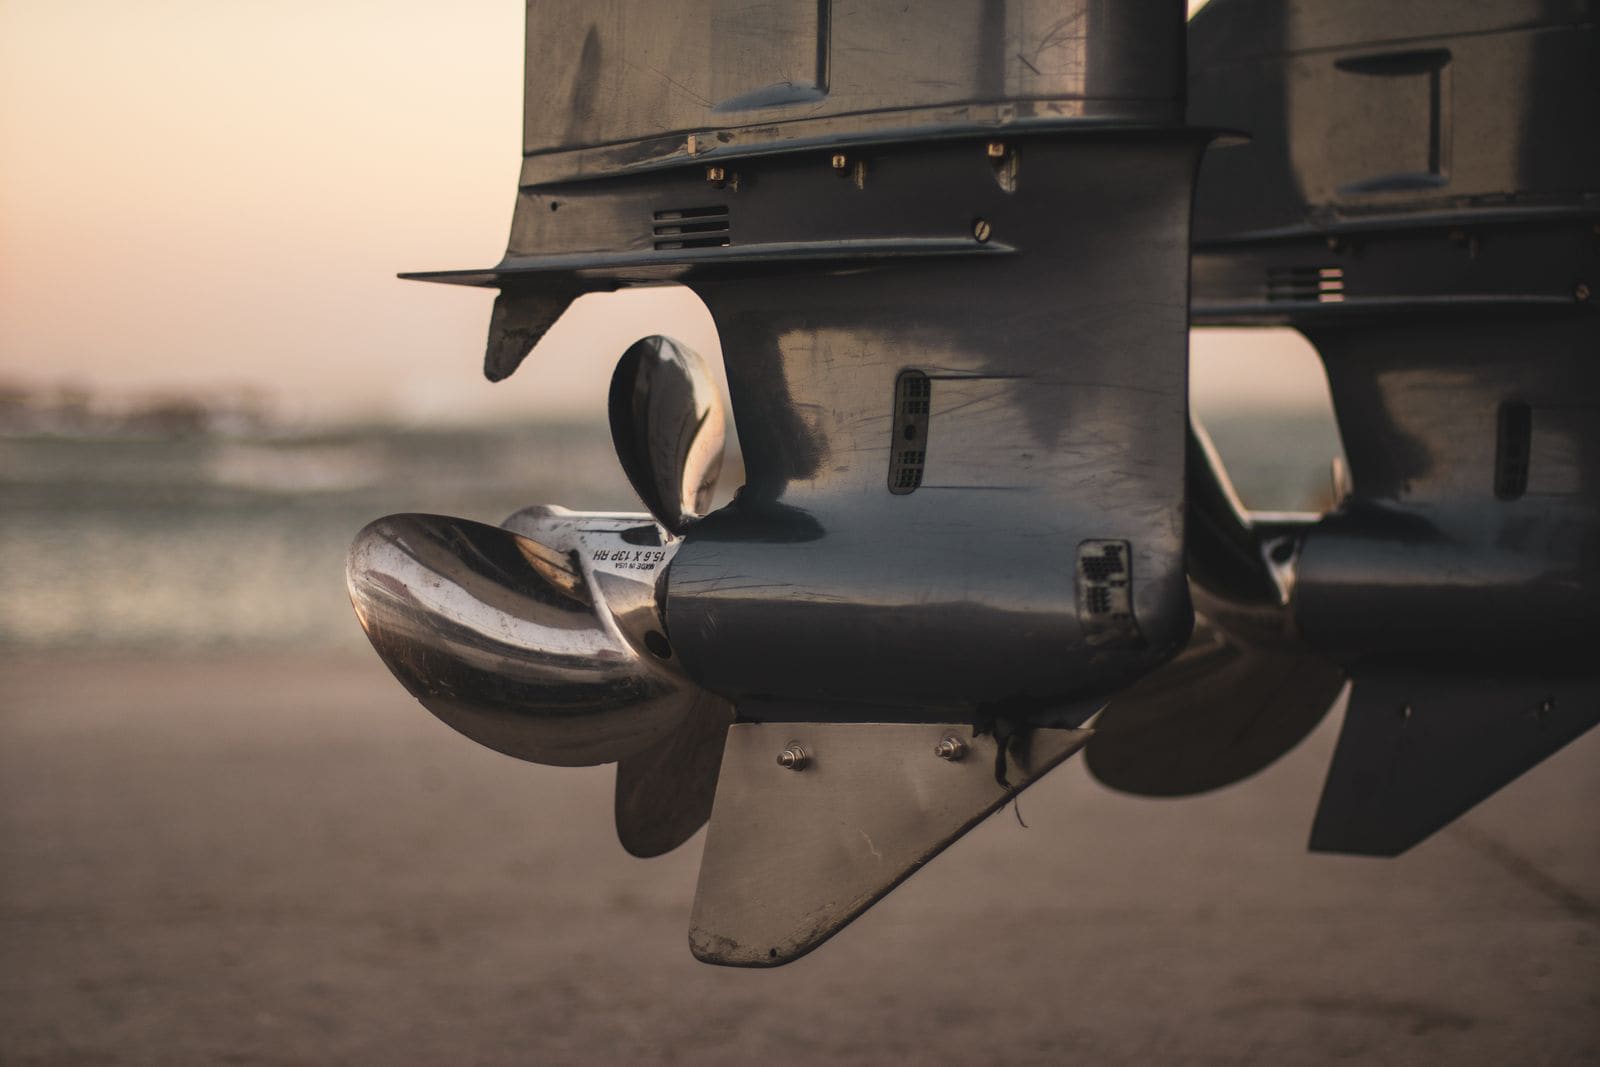
The flat anti-ventilation plate above each prop is where a bolt-on or clamp-on foil sits. Check what's on and under the plate before marking any holes. Photo: Stuart Reece / Pexels Follow the kit instructions exactly. A common method: center the foil on the plate and slide it forward until it starts to tilt up against the gearcase, then back it off. Keep both wings even, with trailing edges parallel to the plate's centerline. Moving it slightly aft to clear an anode, trim tab or pickup is usually fine; never cover them.
Mark the holes through the foil (it often serves as the template), center-punch, and drill straight with a sharp bit of the size the kit specifies. A right-angle attachment helps if you must drill from below. Clean out all metal shavings so they don't sit against aluminum and corrode it.
For a no-drill model, follow the kit's clamping method and check that set screws or clips are fully seated.
Use the kit's stainless bolts, washers and locking nuts. Tighten snugly as the instructions say; overtightening can crack a plastic foil or distort the plate. Use the rubber washers if supplied. Some kits say sealant is optional. Nylon-insert lock nuts are meant for one use: SE Sport says not to reuse them if the foil ever comes off, so buy new stainless lock nuts.
Switching brands or removing a foil? Some foils share a hole pattern (SE Sport says its larger model matches StingRay's), but if yours doesn't, fill the old holes with a marine epoxy putty as the foil maker suggests rather than leaving them open.
Spin the prop by hand: the foil must not touch it. Tilt the engine fully up and down and turn it lock to lock to confirm the foil clears the transom, the jack plate, trim tabs and the trailer.
In open water with a normal load, compare against your notes: time to plane, bow rise, minimum planing speed, top speed and RPM. Try gentle turns first, then tighter ones. If the boat now leans oddly, feels like it wants to dig in, or steering gets very heavy, stop and reassess the foil position or remove it.
Check the bolts or clamps after the first outing and periodically after that. Look for cracks in the foil, especially around the bolt holes, and check that the anode or trim tab is still clear.
Common mistakes
- Buying a foil to cure porpoising that trim, engine height or the right prop would fix.
- Drilling through or covering the anode, trim tab or speed pickup.
- Mounting the foil crooked, so the boat pulls or leans.
- Overtightening and cracking a plastic foil.
- Expecting more top speed; most of the benefit is at takeoff and low planing speeds.
- Not checking that the foil clears the jack plate, transom or trailer when tilted.
When to call a pro
- You're unsure about engine height or prop setup (dealer or prop shop)
- The engine is under warranty and the foil needs drilling
- After installation the boat handles unpredictably in turns
- The plate or gearcase is cracked or damaged
- The foil came off and hit the prop or lower unit
Tips
- Take before-and-after GPS speed and RPM readings at the same load and fuel level.
- A no-drill foil lets you test the idea and remove it if it doesn't help.
- If you add trim tabs later, you may not need the foil; compare both.
- Keep the foil's instructions with your boat records in BoatMend.
Official references
We read these to write this guide. Your engine's own manual always wins.
- Boating Magazine – Learning How Outboard and Drive Trim Works
- Boating Magazine – How to Use Trim Tabs
- Boating Magazine – Using a Hydrofoil to Improve Efficiency
- StingRay Hydrofoils – Home (installation methods)
- StingRay Hydrofoils – Classic 2 Senior
- StingRay Hydrofoils – XR4
- StingRay Hydrofoils – StarFire (no-drill mount)
- SE Sport – Hydrofoil FAQ (fitment, installation, performance)
- Davis Instruments – Doel-Fin Stabilizer Fin
Safety: BoatMend is for information only and does not replace a certified marine technician. You are responsible for your safety and your boat. Read the full disclaimer.
Last updated 2026-10-25
Related guides
Prop Ventilation vs. Cavitation - Why Your Engine Revs Up and the Boat Loses Grip
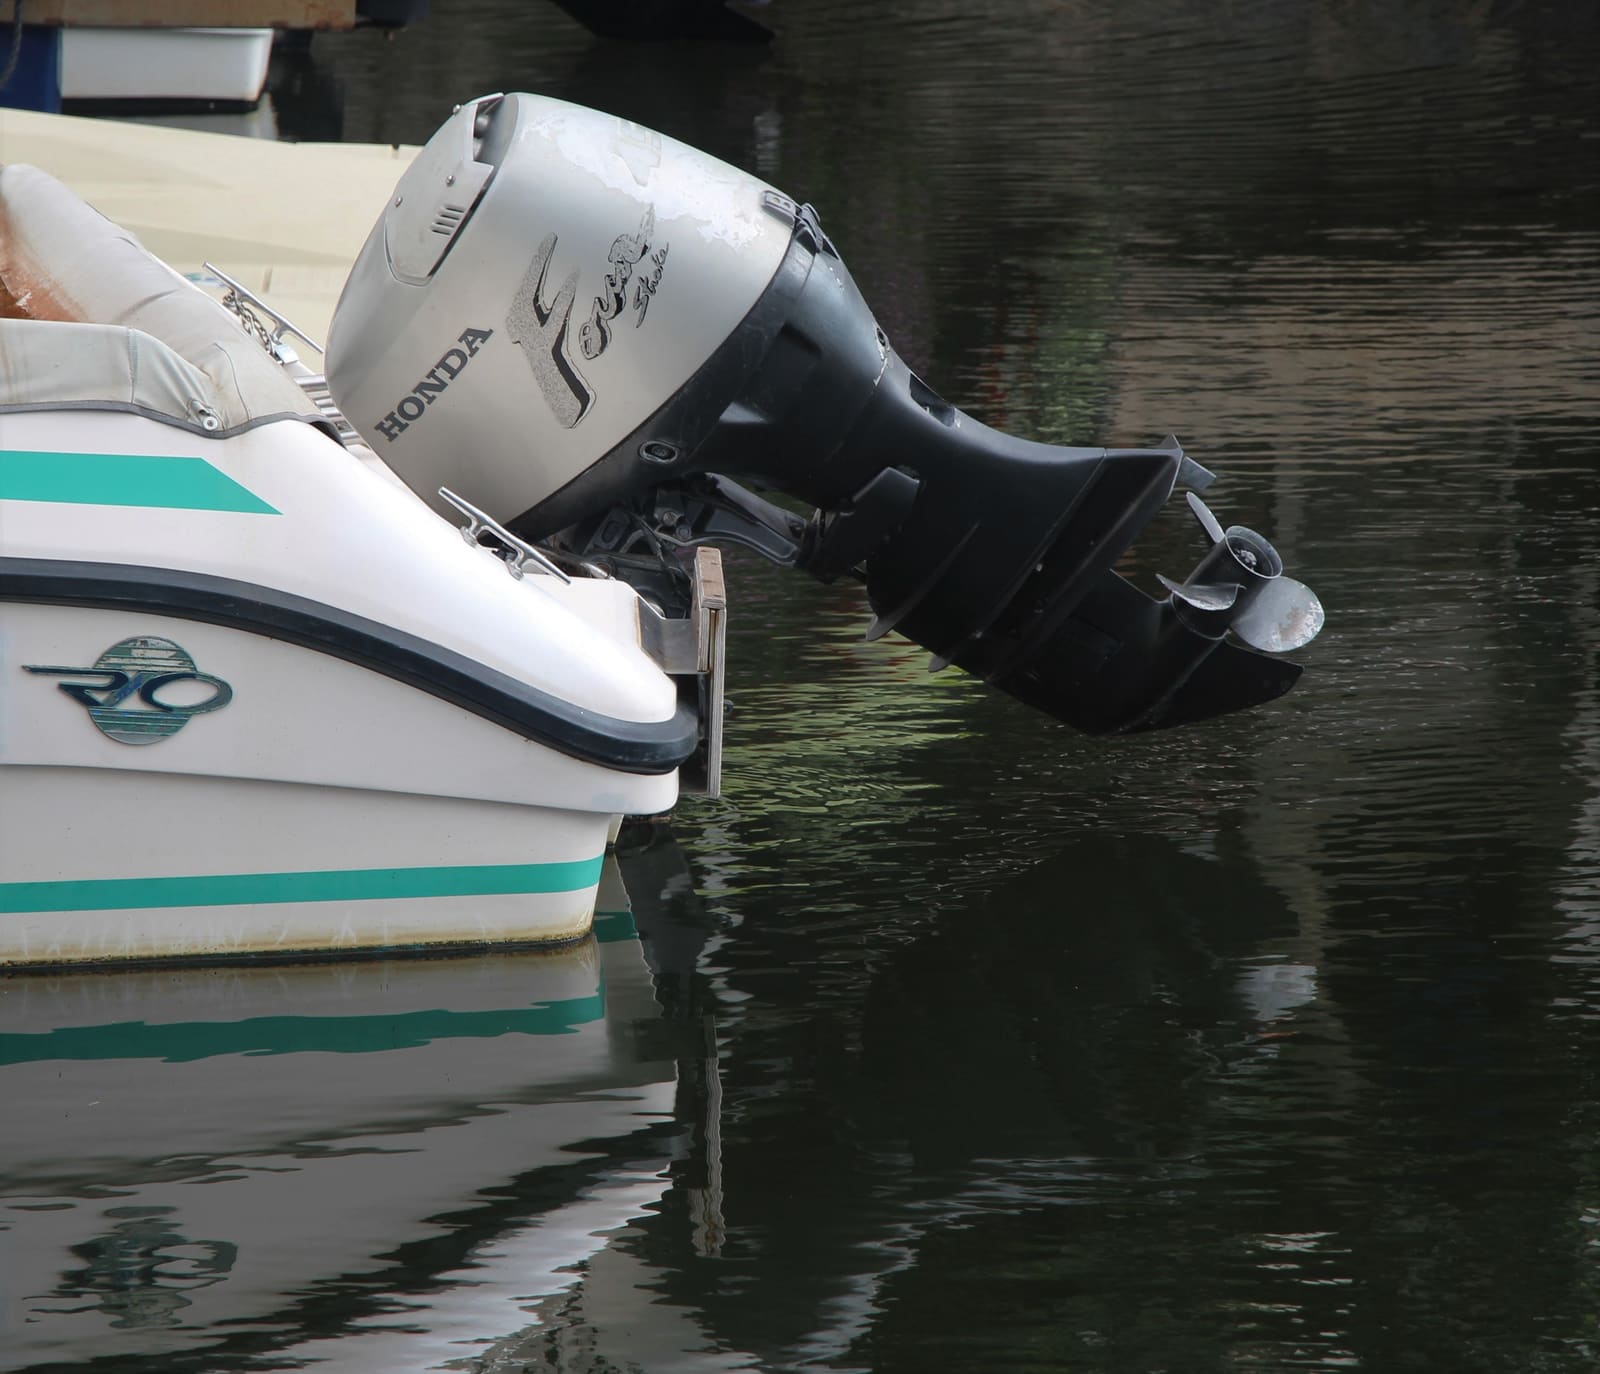
Sudden RPM spikes, blowouts in turns, or a prop that slips when you accelerate are usually ventilation, not cavitation. Learn to tell them apart, then work through the fixes in order: trim, load, prop damage, the hull ahead of the prop, engine height, and finally a different prop.
How to Inspect and Troubleshoot Hydraulic and Electric Trim Tabs
Keep your trim tabs working with a simple seasonal check of the blades, anodes, fluid, lines and wiring, and track down the usual faults when a tab won't move, only one side works, or the tabs stay stuck down.
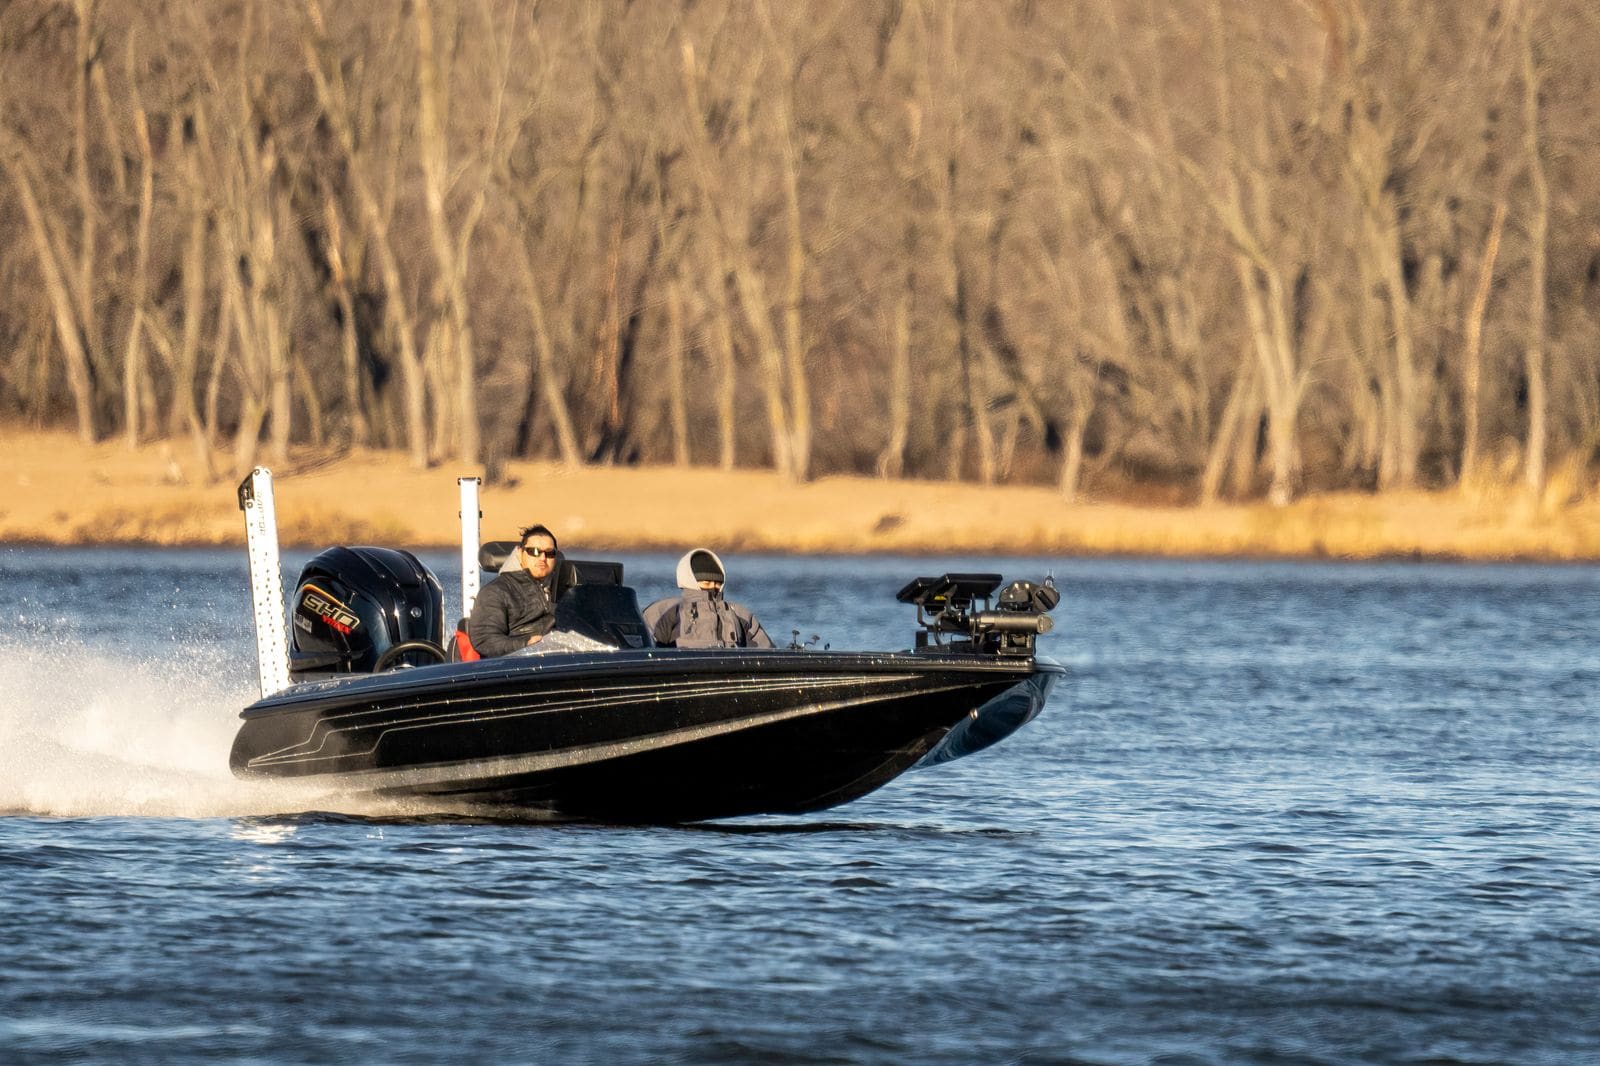
How to Care for a Hydraulic Jack Plate (Fluid, Pump, Leaks, Grease and Height)
Keep a hydraulic jack plate (Bob's Machine Shop, T-H Marine Atlas, CMC, SeaStar style) lifting smoothly: check and top up the right fluid, keep the pump and relays dry, find leaks and slow drift, lubricate only the way your model calls for, set running height safely and prepare it for winter. Mounting and setback changes are dealer work.
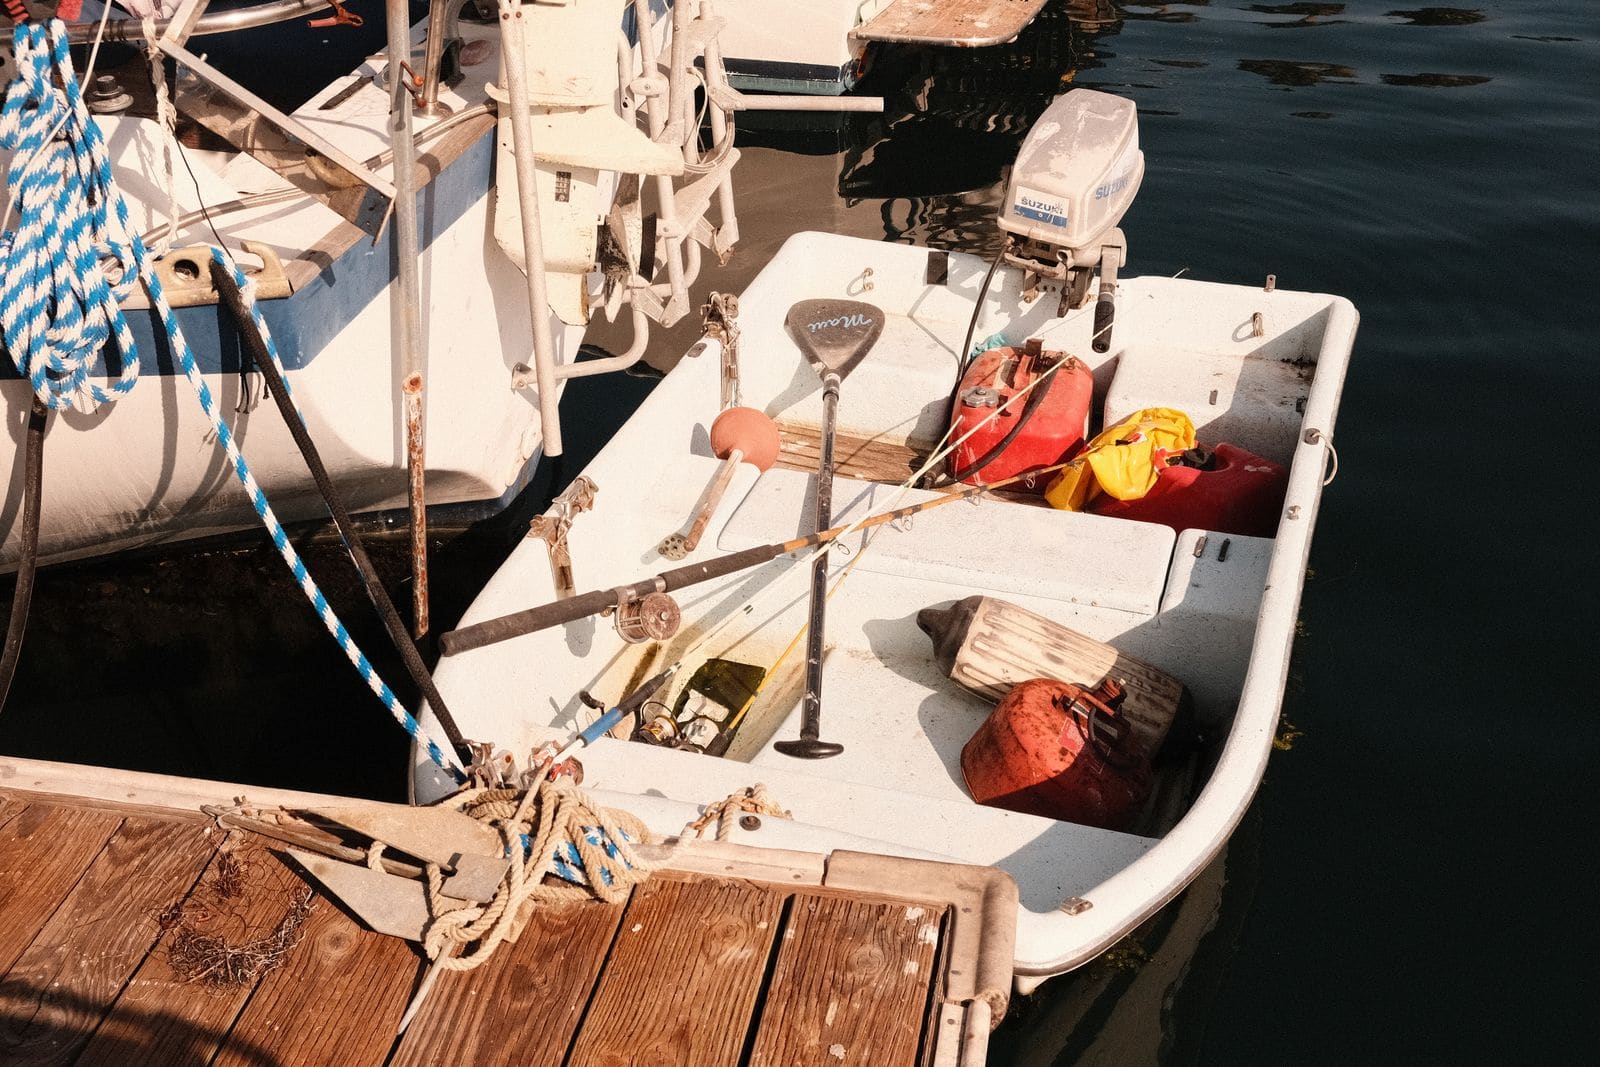
How to Mount or Re-Tighten an Outboard on the Transom
A loose outboard can steer badly, crack the transom or fall off the boat. Learn how to center the motor, check engine height, tighten clamp screws, seal and bolt through the transom with backing plates, add a safety cable on small motors and spot transom flex before it becomes a costly repair.
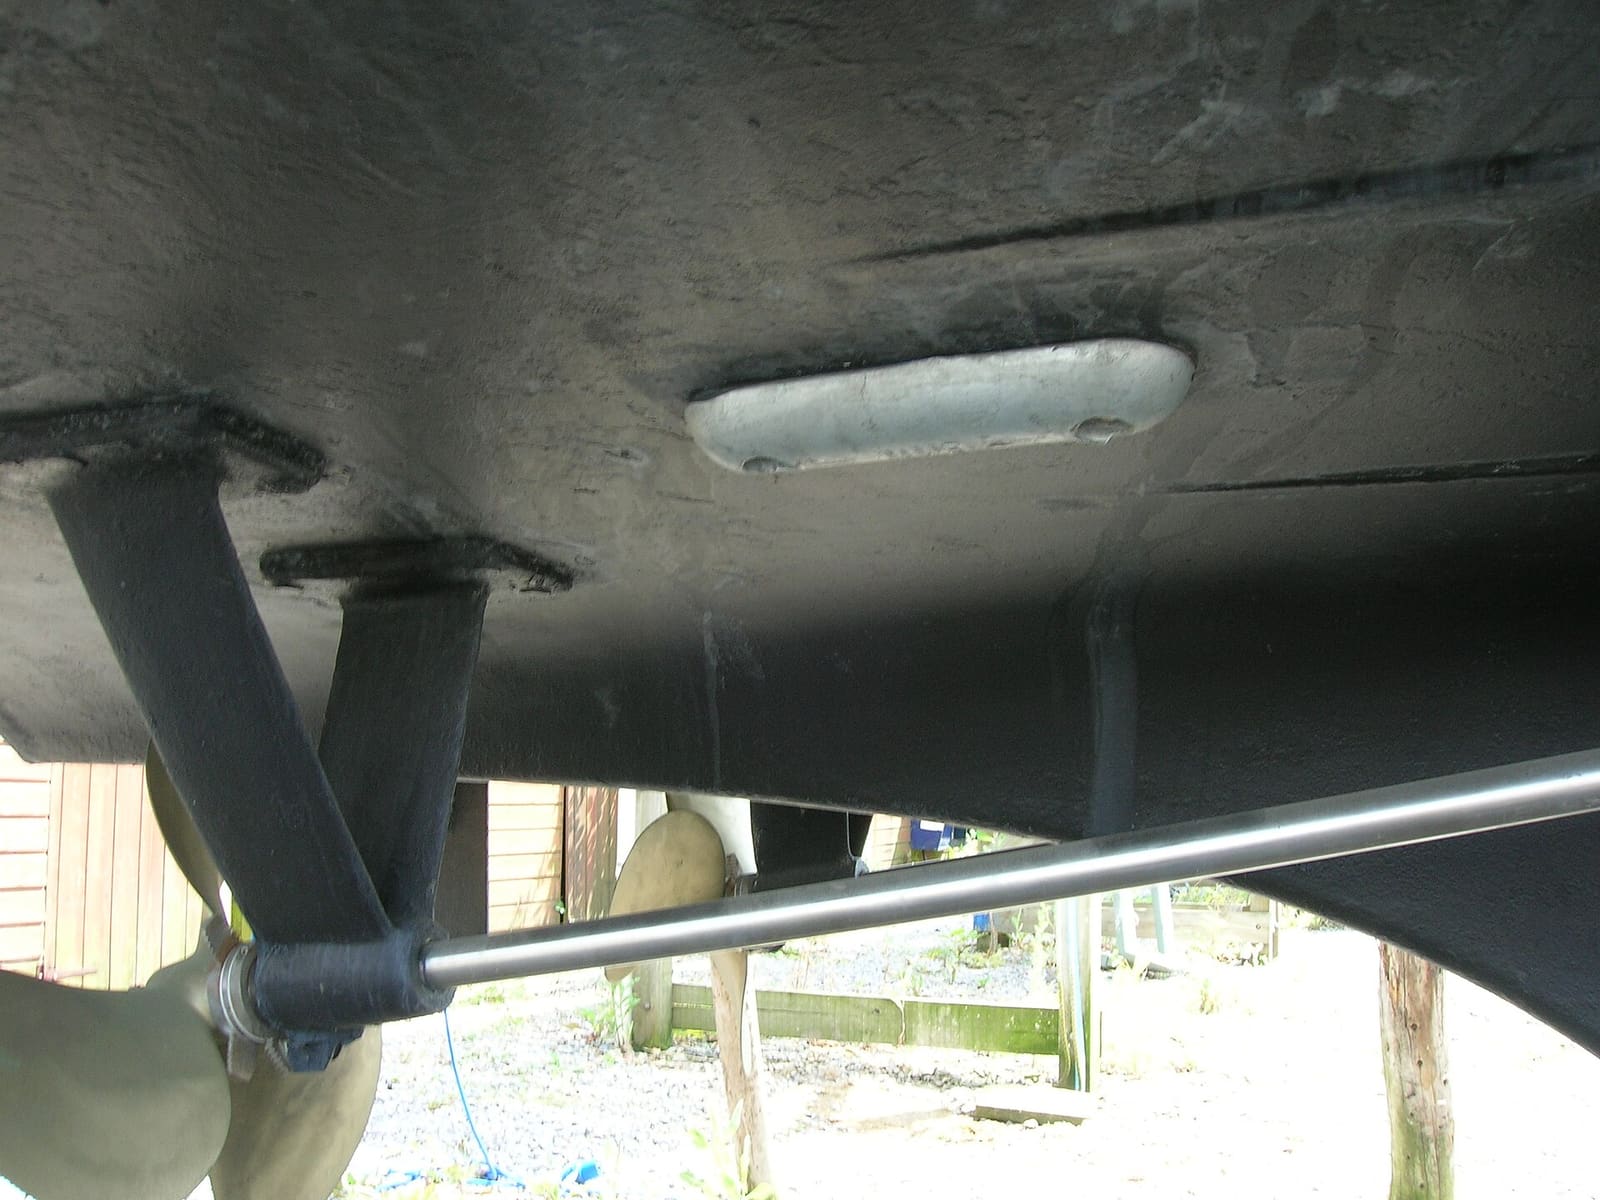
How to Inspect and Replace Sacrificial Anodes (Zincs)
Check the anodes on your outboard, sterndrive or inboard running gear, replace them when they are half gone, and choose the right metal for the water you boat in. Fresh anodes are cheap insurance against expensive corrosion damage to your lower unit, drive and prop.
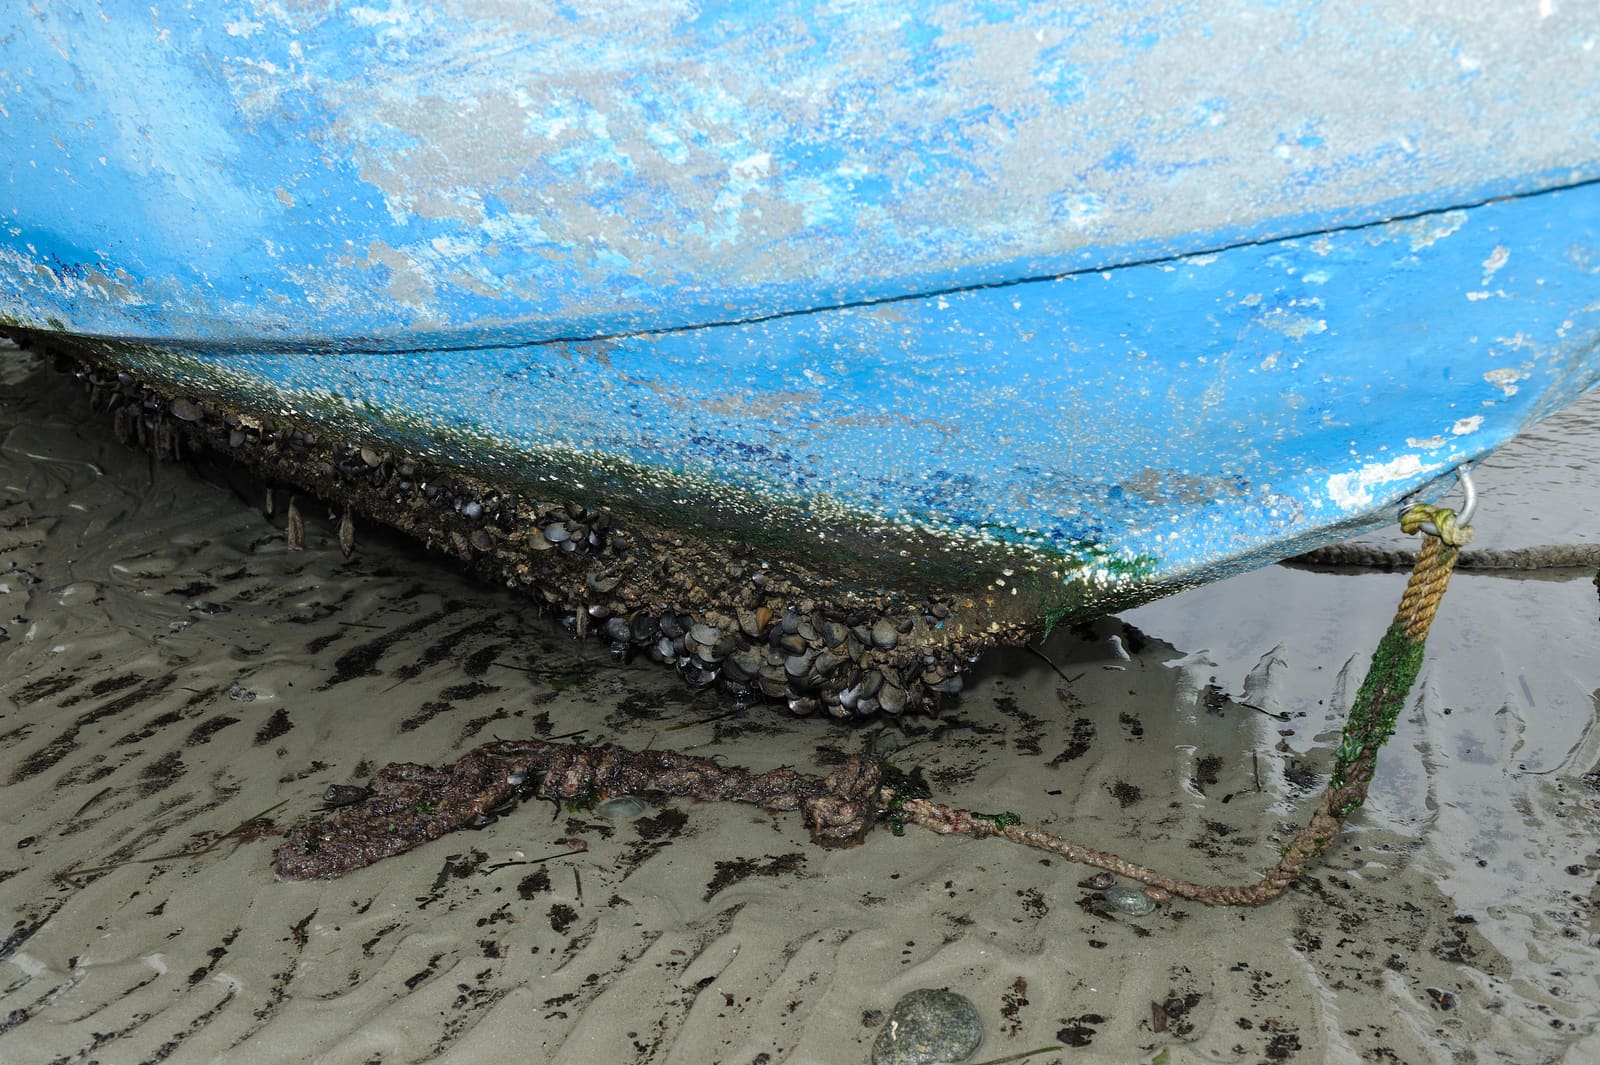
Boat Slower Than It Used to Be? How to Find the Cause
When your boat loses top speed or takes longer to get on plane, the cause is usually something you can check yourself: extra weight, water in the hull, trim, a dinged or fouled prop, or a dirty bottom. This step-by-step diagnosis goes from the cheapest checks to the harder ones and explains what your RPM and GPS speed are telling you.

How to Get Better Fuel Economy From Your Boat
Boat fuel is expensive, but most owners can stretch every gallon further without buying anything. Learn how to find your boat's most efficient cruise RPM, why a clean bottom, the right prop, good trim and less weight matter most, which tune-up items count, how fuel flow data helps, and which fuel-saving myths to ignore.
Propeller Care: Inspect, Remove, Replace and Choose the Right Pitch
Check your prop for damage, pull it to clear fishing line and grease the shaft, reinstall it correctly, and learn how pitch affects your engine's wide-open-throttle RPM. The right prop in good shape protects your engine and often makes the boat run better and use less fuel.