How to Find a Leak When Water Gets Into a Pontoon Tube
A pontoon that sits low on one side, lists or sloshes when you rock it probably has water in a tube. Learn how to confirm it, drain it, track down the pinhole or cracked weld, and choose between a temporary patch and a proper weld repair.
Time
3 h
Shop would charge
$300-1500
Applies to
All engines · Pontoon
Safety first: If a pontoon starts listing quickly or a tube is visibly sinking while you are out, get everyone into life jackets, move passengers toward the high side, and head slowly for the nearest shore or dock. Call TowBoatUS, Sea Tow or the Coast Guard on VHF channel 16 (or 911) if you cannot make it. Never pump compressed air into a tube without a regulator: too much pressure can split a seam or blow out a plug.
Owners often ask
- I can hear water sloshing inside my pontoon tube. How do I find the leak?
This guide walks you through it. Still stuck? Ask the AI Mechanic about your engine.
Tools
- Socket or wrench that fits the tube drain plugs
- Bucket or drain pan
- Flashlight and inspection mirror
- Spray bottle of soapy water
- Grease pencil or paint marker
- Thin plastic tubing for siphoning (if no drain plug)
- Level or a smartphone level app
- Safety glasses and gloves
Parts & supplies
- New drain plug O-rings or plugs from your pontoon maker
- Thread sealant if your maker specifies it
- Flexible marine epoxy for aluminum (temporary patch above the waterline only)
Before you start
How tubes are built. Most pontoon tubes (also called logs) are sealed aluminum cylinders divided inside into two or more chambers by bulkheads, plus a nose cone. Many have a small drain plug at the bottom rear of each chamber; some have none, and some have plugs on top. Your owner's manual or the builder can tell you the layout.
How water gets in. Usually through a pinhole or a hairline crack, most often at a welded seam, around the brackets that attach the tube to the deck crossmembers, at the nose cone, or at a dent from hitting a rock, log or dock. Corrosion from stray electrical current at a marina can also eat pinholes in aluminum. A drain plug with a bad O-ring or stripped threads is the cheapest leak of all.
Why it matters. Water inside a tube weighs the boat down, makes it slower and harder on fuel, strains the engine and can trap salt water against the aluminum. The builder Avalon stresses fixing the source of the leak, not just draining the water.
Check the warranty. Many pontoon builders offer long structural warranties for the original owner. Call your dealer before drilling, patching or welding anything.
Steps
Signs of water in a tube:
- One tube or one corner sits noticeably lower than the others at rest.
- The boat lists or plows, is slow to get up to speed or burns more fuel than it used to.
- You hear water sloshing when someone rocks the boat on the trailer or lift, or when you stop suddenly.
A slight lean can be normal. Avalon notes that a full fuel tank on one side can make that tube ride a little lower. Uneven seating, a heavy battery bank or a cooler can do the same. Also, lifting strakes (the fins welded along some tubes) and some under-deck spaces can hold water that drains out when the boat comes out of the water; that is not a tube leak. Even out the load and compare again.
Put the pontoon on its trailer or lift, level side to side and front to back. Water inside a tube runs to the low end, so a level boat lets you drain and test each chamber properly.
This is the most useful step, and it is free. With the water still inside, walk around each tube with a flashlight and mirror. A leak that lets water in also lets it out, so look for drips, wet streaks or rust-colored trails on the underside, especially at welds, brackets, the nose cone and dents. Circle anything suspicious with a grease pencil.
Put a bucket under each drain plug and open them one at a time. Note which chamber the water comes from and roughly how much. A cup or two after years of use can be condensation; gallons mean a real leak. Replace the plug O-ring when you reinstall it, and use thread sealant only if your builder says so.
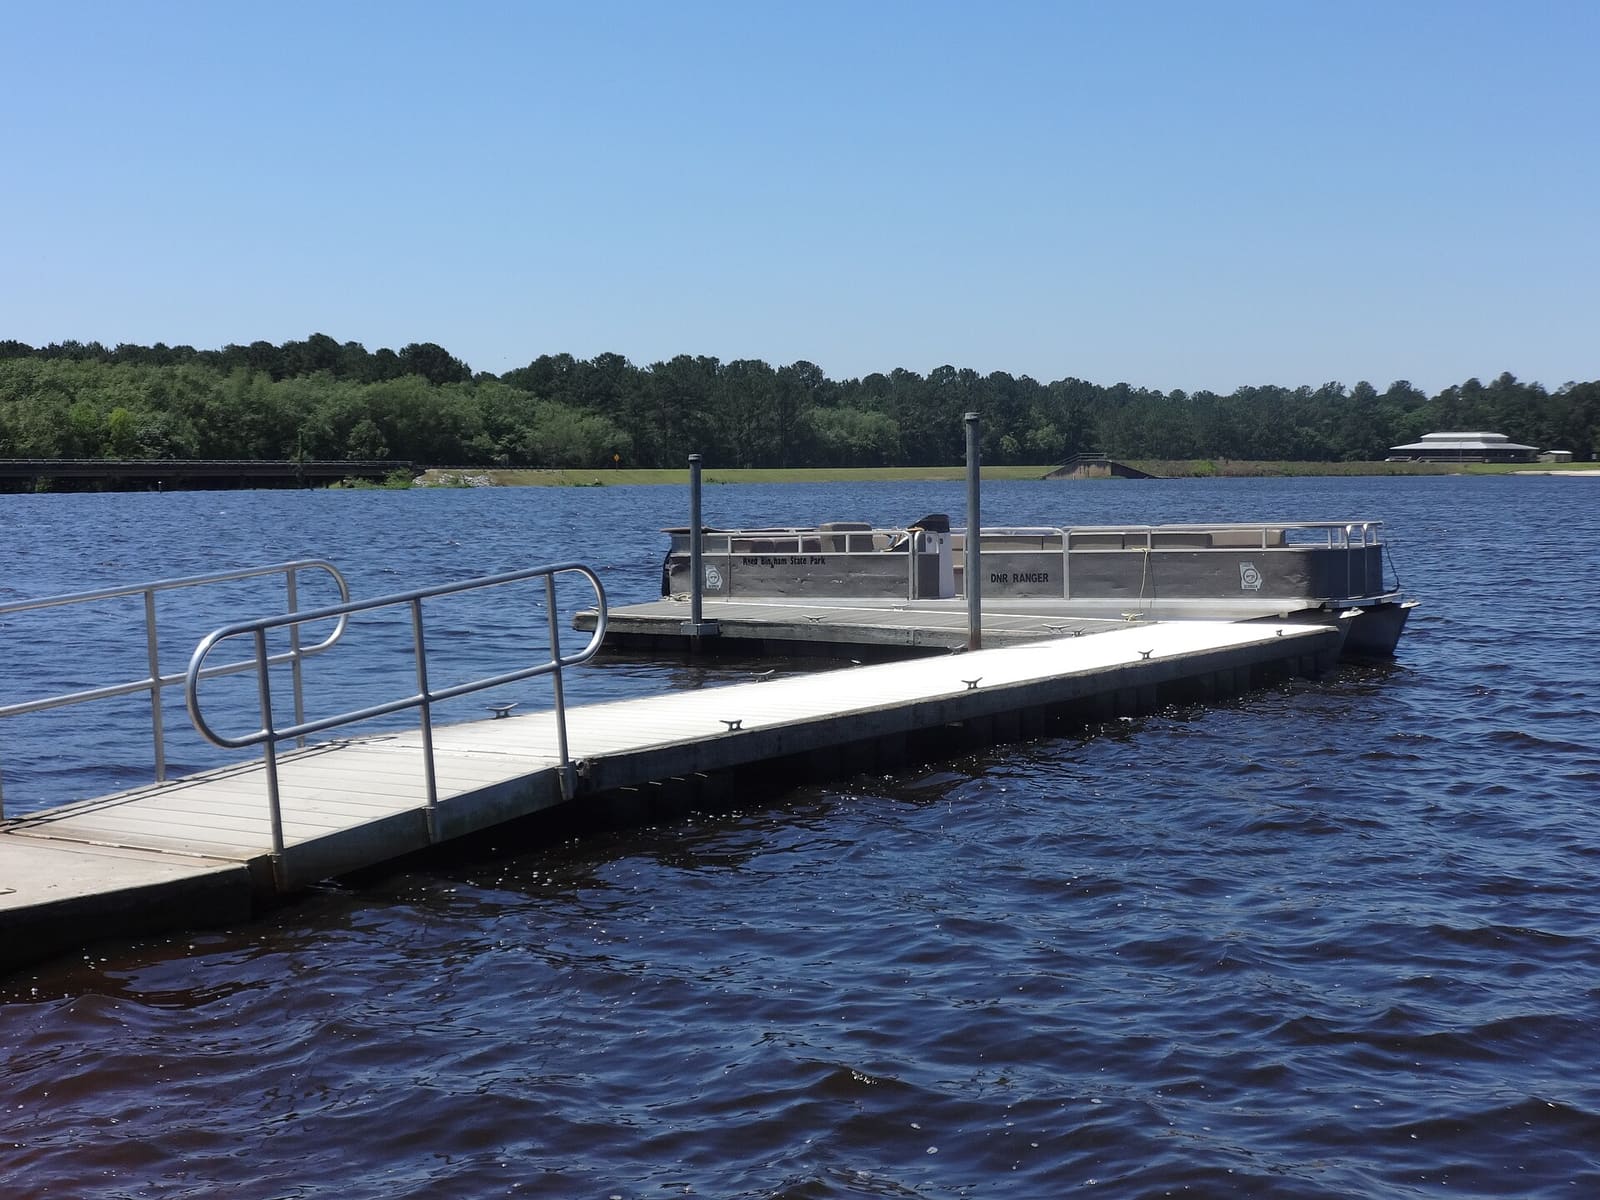
A healthy pontoon sits level at the dock. If one tube or corner rides lower than the rest, check that tube for water. Photo: Michael Rivera / Wikimedia Commons · CC BY-SA 4.0 If a chamber has no drain plug, some owners siphon water out through a top plug or vent with thin tubing. Do not drill your own drain hole until you know where the bulkheads are and what plug the builder uses. A hole in the wrong spot, or one without a proper threaded fitting, creates a new leak. Your dealer can add a correct drain if needed.
With the tube drained and dry, go over it closely:
- Welds along the length and around the nose cone
- Where each bracket or leg joins the tube
- Dents, gouges and scrapes from docks, rocks and trailers
- Any earlier repair or patch
- Small pits or white powdery spots, which point to corrosion
- The drain plug threads and seat
Soapy water only shows a leak when air is pushing out through the hole. Shops find pinholes by putting a very low, regulated air pressure into one sealed chamber and soaping every weld. That is effective but risky: tubes are thin and too much pressure can bulge or split them. If you want to try it, ask the builder for the maximum test pressure for your tubes, use a regulator and gauge (never a compressor straight into the tube), pressurize one chamber at a time, and stand clear of plugs and end caps. Otherwise, let the dealer or a welding shop do this step.
- Bad drain plug or O-ring: replace it. Done.
- Pinhole or crack at a weld, bracket or dent: the proper fix is welding by a shop experienced with aluminum pontoons. The tube must be drained, dried and vented before welding, because heated air trapped inside can blow the weld out. Tube walls are thin and the alloy matters, so this is not a job for a hobby welder; ask your dealer which aluminum welder they use. A torn tube (from a storm or a dock strike, for example) needs a patch of matching aluminum formed to the tube's curve, not a flat piece of angle stock welded over the hole.
- Small hole above the waterline: a flexible marine epoxy made for aluminum can serve as a temporary patch until you can get it welded. Clean to bright metal first and follow the product instructions.
- Many pinholes, heavy corrosion or a badly damaged tube: ask about replacing the tube.
Avoid filling a leaking tube with expanding foam. It can trap water against the aluminum, hide the leak and make a future weld repair much harder.
After the repair, launch the boat and compare how it sits. Then check it again after a few outings: open the drain plug of the repaired chamber, or rock the boat and listen. Note the date and what was found in your BoatMend log.
- Inspect the tubes for dents and scrapes every time the boat comes out of the water, and after any hard bump.
- Rinse salt and brackish water off the tubes, and keep the anodes on the motor (and on the tubes, if your builder fits them) in good shape.
- At a marina with shore power, have the boat's shore power and galvanic protection checked. Stray current can eat holes in aluminum quickly.
- Keep the drain plugs snug and replace their O-rings when they look flat or cracked.
- Clean the tubes with a cleaner made for aluminum, not harsh acids. Discover Boating warns that muriatic acid can streak and weaken aluminum, and points to weld seams and brackets as the spots where grime collects and corrosion starts; brush them clean and dry them when you wash the tubes.
Common mistakes
- Draining the water every spring and never finding the leak.
- Blowing air into a tube with an unregulated compressor and splitting a seam or bulkhead.
- Drilling a drain hole in the wrong spot or without a proper threaded plug.
- Filling the tube with foam or smearing sealant over a cracked weld.
- Welding a tube that still has water or sealed, unvented air inside.
- Mistaking water trapped in lifting strakes or under the deck for a leaking tube.
- Repairing it yourself while the boat is still under the builder's structural warranty.
When to call a pro
- A tube that fills quickly, or water in more than one chamber
- Cracked welds, cracks around brackets, or damage to the nose cone
- Pinholes from corrosion, especially if the boat is kept at a dock with shore power
- Any welding, and any pressure test you are not comfortable with
- The boat is still under warranty: contact your dealer first
- You are on the water and the boat is listing or sinking: VHF 16, 911, TowBoatUS or Sea Tow
Tips
- Take a photo of the boat at the dock from straight ahead each spring. Comparing it later makes a low tube obvious.
- Write down how much water came out of each chamber. If it returns after a repair, you will know right away.
- Buying a used pontoon? Ask the seller to remove the drain plugs before you go, or rock the boat on the trailer and listen for sloshing.
Official references
We read these to write this guide. Your engine's own manual always wins.
Safety: BoatMend is for information only and does not replace a certified marine technician. You are responsible for your safety and your boat. Read the full disclaimer.
Last updated 2026-10-24
Related guides
How to Inspect a Used Boat Before You Buy
A step-by-step checklist for looking over a used boat, from paperwork and the hull ID number to the transom, engine, compression test, sea trial and trailer. Know what to check yourself, what the red flags mean, and when to pay a marine surveyor.
Launch Day and Haul-Out Checklist for Trailer Boats
A step-by-step checklist for getting your boat off the trailer and back on again safely and quickly, from the drain plug and tie-downs to the blower and ramp etiquette. Following it in order prevents the classic mistakes that sink boats and back up the ramp.
How to Inspect and Replace Sacrificial Anodes (Zincs)
Check the anodes on your outboard, sterndrive or inboard running gear, replace them when they are half gone, and choose the right metal for the water you boat in. Fresh anodes are cheap insurance against expensive corrosion damage to your lower unit, drive and prop.
Shore Power Safety: Cords, Inlets, Burned Plugs and Electric Shock Drowning
An owner's inspection routine for your shore power cord, plugs, boat inlet, galvanic isolator and ground-fault protection, plus the right way to plug in and the facts about Electric Shock Drowning. This guide is for looking and testing only; any electrical repair belongs to an ABYC-certified marine electrician.
How to Clean, Remove Oxidation and Wax Your Boat's Gelcoat (Plus Pontoon Tubes)
Wash your hull the right way, bring back chalky, faded gelcoat with compound, and seal it with wax so it stays glossy and protected from the sun. Includes how to clean and protect the aluminum tubes on a pontoon boat.
How to Find and Fix Leaking Rivets on an Aluminum Boat
Almost every older riveted aluminum boat weeps a little water. Learn how to find the leaking rivets, tighten the ones that are loose, seal the rest with a flexible epoxy, replace the bad ones the right way, and know when a crack or corrosion needs a welder.