Jet Ski Saltwater Care: Flushing, Rinsing, Corrosion Protection and Storage
A simple after-every-ride routine for Sea-Doo, Yamaha WaveRunner and Kawasaki Jet Ski owners who ride in salt or brackish water. Flush in the right order, rinse the pump, hull and engine bay the gentle way, spray anticorrosion only where it belongs, and keep anodes, the battery and the trailer from rotting away.
Time
30 min
Shop would charge
$100-250
Applies to
Jet ski / PWC · Jet ski / PWC
Safety first: Run the engine only outdoors (exhaust carbon monoxide), with the craft level and out of the water, and only with flushing water connected the way your manual says. Start the engine first and then turn on the water; turn the water off before stopping the engine. Water fed into a stopped engine can flow back through the exhaust and wreck it. Keep hands, hair and loose clothing away from the pump intake and nozzle whenever the engine could start, and keep the key, lanyard or fob in your pocket while you work on the pump. If you smell fuel or see fuel in the hull, don't start it: get it checked by a dealer.
Owners often ask
- Do I have to flush my jet ski after every ride in salt water, and in what order do I turn on the hose?
- Where should I spray anticorrosion on my jet ski, and where should I not?
This guide walks you through it. Still stuck? Ask the AI Mechanic about your engine.
Tools
- Garden hose and the flush adapter for your model (a quarter-turn shut-off valve on the hose helps)
- Soft wash mitt, soft brush and a microfiber towel or chamois
- Old towels or rags
- Flashlight
- Socket set (for anodes, only if you replace them)
Parts & supplies
- Mild marine boat soap (not dish soap)
- Anticorrosion spray made for PWCs (for example Yamaha Yamashield or a maker-approved equivalent), or a silicone protectant for fresh water
- Salt-removal wash concentrate, if you choose to use one
- Replacement anodes for your model, when worn
- Dielectric grease for battery and electrical connections
Before you start
Why salt is hard on a PWC: salt water is corrosive, and Yamaha points out it can also crystallize inside hot cooling passages and restrict flow. Salt mist also gets into the engine compartment through the vents and attacks the throttle linkage, electrical connections and metal parts (Discover Boating). The fix is a short routine after every salt or brackish ride, not just at the end of the season. Not all salt water is equal, either: BoatUS points out that warm, very salty water such as coastal Florida eats metal faster than a brackish bay, so a craft that moves south needs closer watching than it did at home.
Know your cooling system:
- Yamaha WaveRunners and Kawasaki Jet Skis use the water they ride in to cool the engine (open loop). Flushing clears the engine cooling passages and the exhaust.
- Most current Sea-Doo models have a sealed coolant loop like a car (closed loop). Only the exhaust needs flushing; never add antifreeze or open the coolant system for a flush.
Read your owner's manual's flushing section once before you start. Times, flush port location and adapter type vary by model and year. Discover Boating notes most makers give 90 seconds to 3 minutes.
Steps
As soon as the craft is on the trailer, with the engine off and the key or fob in your pocket, spray fresh water into the intake grate under the hull and into the steering nozzle at the back. Look for weeds, sand or a plastic bag in the grate. Clearing the pump is covered in our jet pump guide.
At home, park with the craft level. Find the flush fitting (on the transom, under the seat or in the engine compartment, depending on the model) and connect the hose and adapter. Don't turn the water on yet.
Start the engine and let it idle, then immediately turn the water on. Follow your manual's time and method:
- Yamaha: idle about 3 minutes with the water fully on. If the engine stops while flushing, turn the water off immediately, then restart and continue. When done, turn the water off and blip the throttle quickly for 10 to 15 seconds to push water out, then stop the engine. Yamaha says not to run above 4,000 RPM on land, and not more than 15 seconds without water.
- Sea-Doo (closed loop): run at idle with water flowing for about 90 seconds to flush the exhaust, then water off first and engine off after (Sea-Doo's winterizing steps).
- Kawasaki and others: use the order and time in your manual.
Never leave the engine running unattended on the hose. Put the flush cap back on securely afterward; an uncapped flush fitting can spray water into the hull when you ride.
Rinse the whole craft with fresh water, then wash with a mild marine soap and a soft mitt. Yamaha warns against dish soap and household detergents because they strip wax and protective coatings. Rinse again and dry with a chamois or microfiber towel. Wash the trailer at the same time (Step 10).
Let the engine cool first: never rinse a hot engine. Remove the seat(s), pull the bilge drain plug(s) so rinse water can run out, and tip the bow up slightly if you can. Rinse the engine area and bilge with low pressure: a plain hose or your thumb over the end, never a pressure washer or a strong nozzle. Discover Boating and Yamaha both warn that pressure can force water past electrical seals, and Yamaha says to keep water away from the air intake area. A salt-removal wash product can help in salt water.
Wipe off the water you can reach with old towels. Let the engine compartment air dry with the seat off. Yamaha suggests standing the seat on end against a wall so water drains out of the foam instead of dripping back on a clean engine. Put a note on the handlebars to put the drain plug(s) back in before the next ride.
Sea-Doo adds a few habits that keep water out of the hull: loosen the drain plug(s) after you pull out at the ramp so water drains on the drive home, leave the seat or access panels off for several hours before covering, and store the craft on its trailer with the plugs loose and the bow slightly raised so rain can't collect. If you find a lot of water in the engine compartment when it hasn't rained and you haven't ridden, Sea-Doo says to have a dealer check for a leaking cooling line, a loose hose clamp or damage.
Once the engine bay is dry, mist a PWC anticorrosion spray (Yamaha's own advice is Yamashield in salt water and silicone spray in fresh water) over:
- The engine's outer surfaces and metal brackets
- Electrical connections and the battery terminals
- Steering and throttle linkages, hinges and other exposed metal (Sea-Doo lists these for its anticorrosive lubricant)
- Exposed metal parts of the jet pump, lightly (Sea-Doo)
Where not to spray: the seat, footwells, traction mats, handlebar grips and boarding step (they get slippery), the air intake and air filter box, a hot exhaust, and the pump impeller and wear ring area unless your manual says so. Wipe off overspray on painted and gelcoat surfaces.
Salt air attacks connections first. Look at the battery terminals and the connections you can see for white or green crust. Yamaha recommends removing a corroded connection, cleaning both sides to bright metal, refitting it tight and coating it with a protectant. Disconnect the negative battery cable first and reconnect it last.
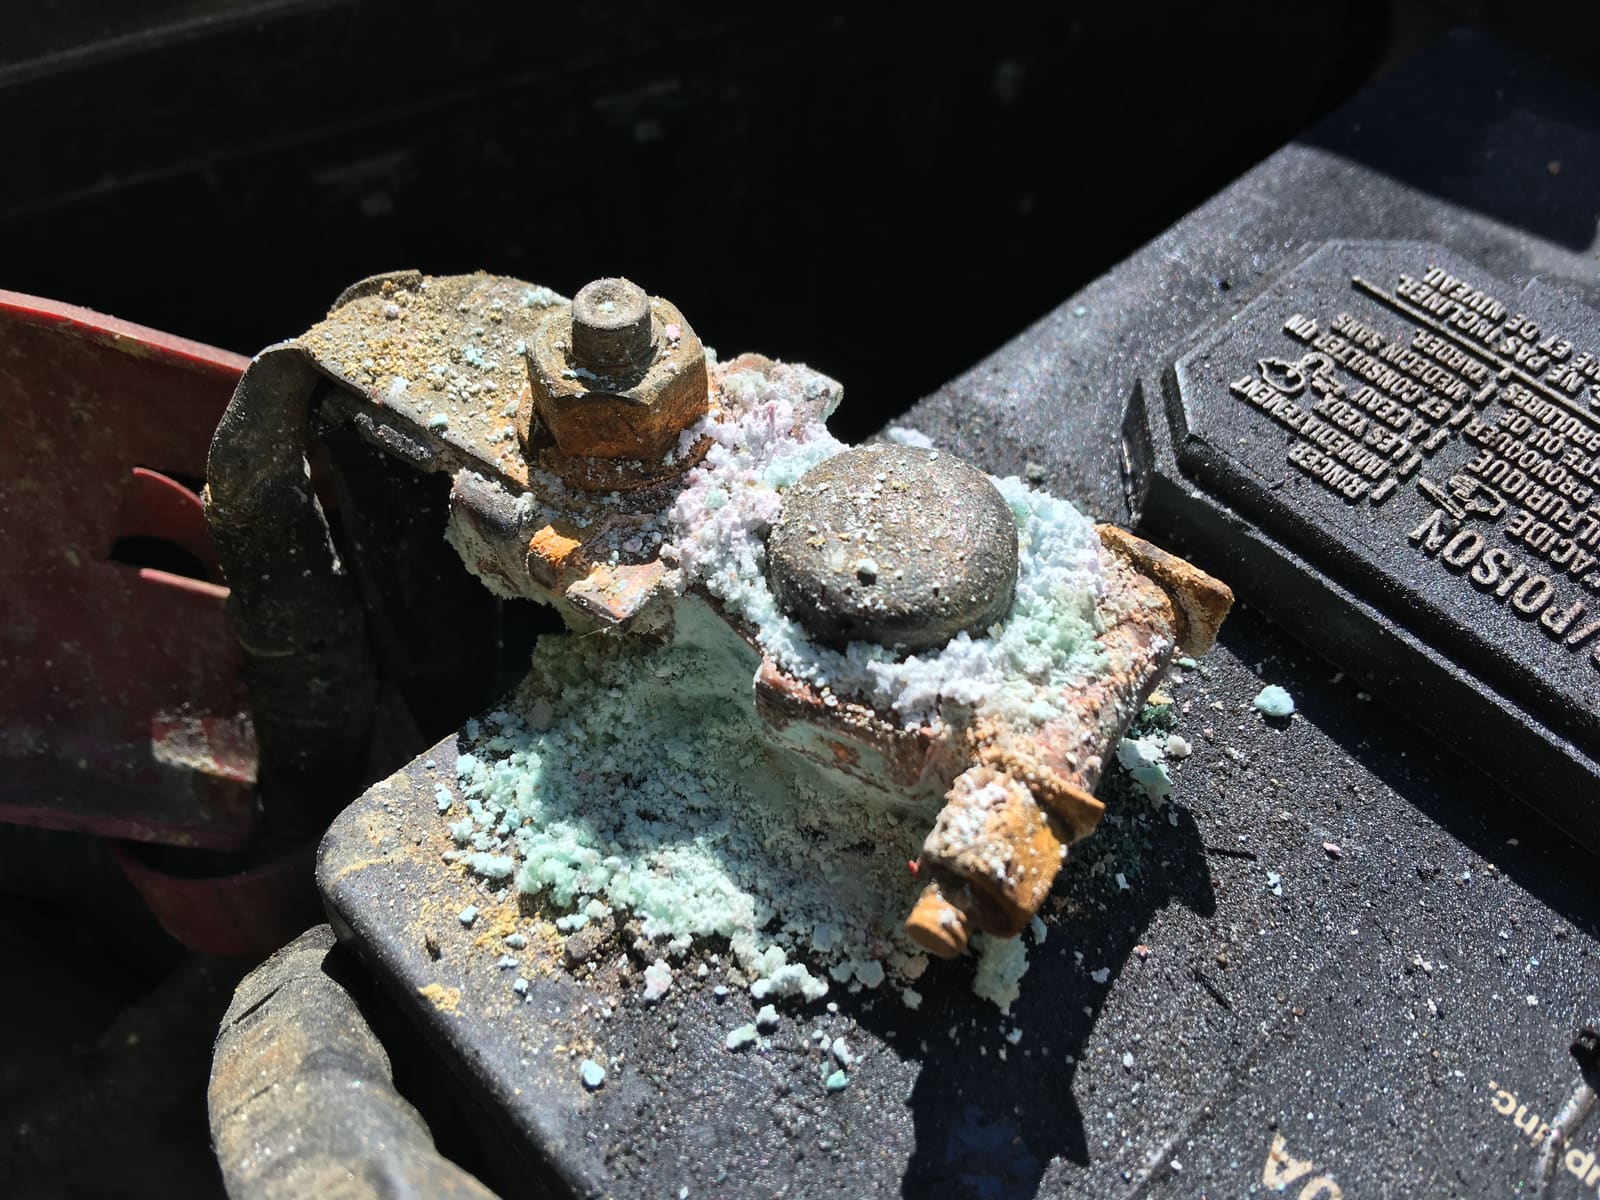
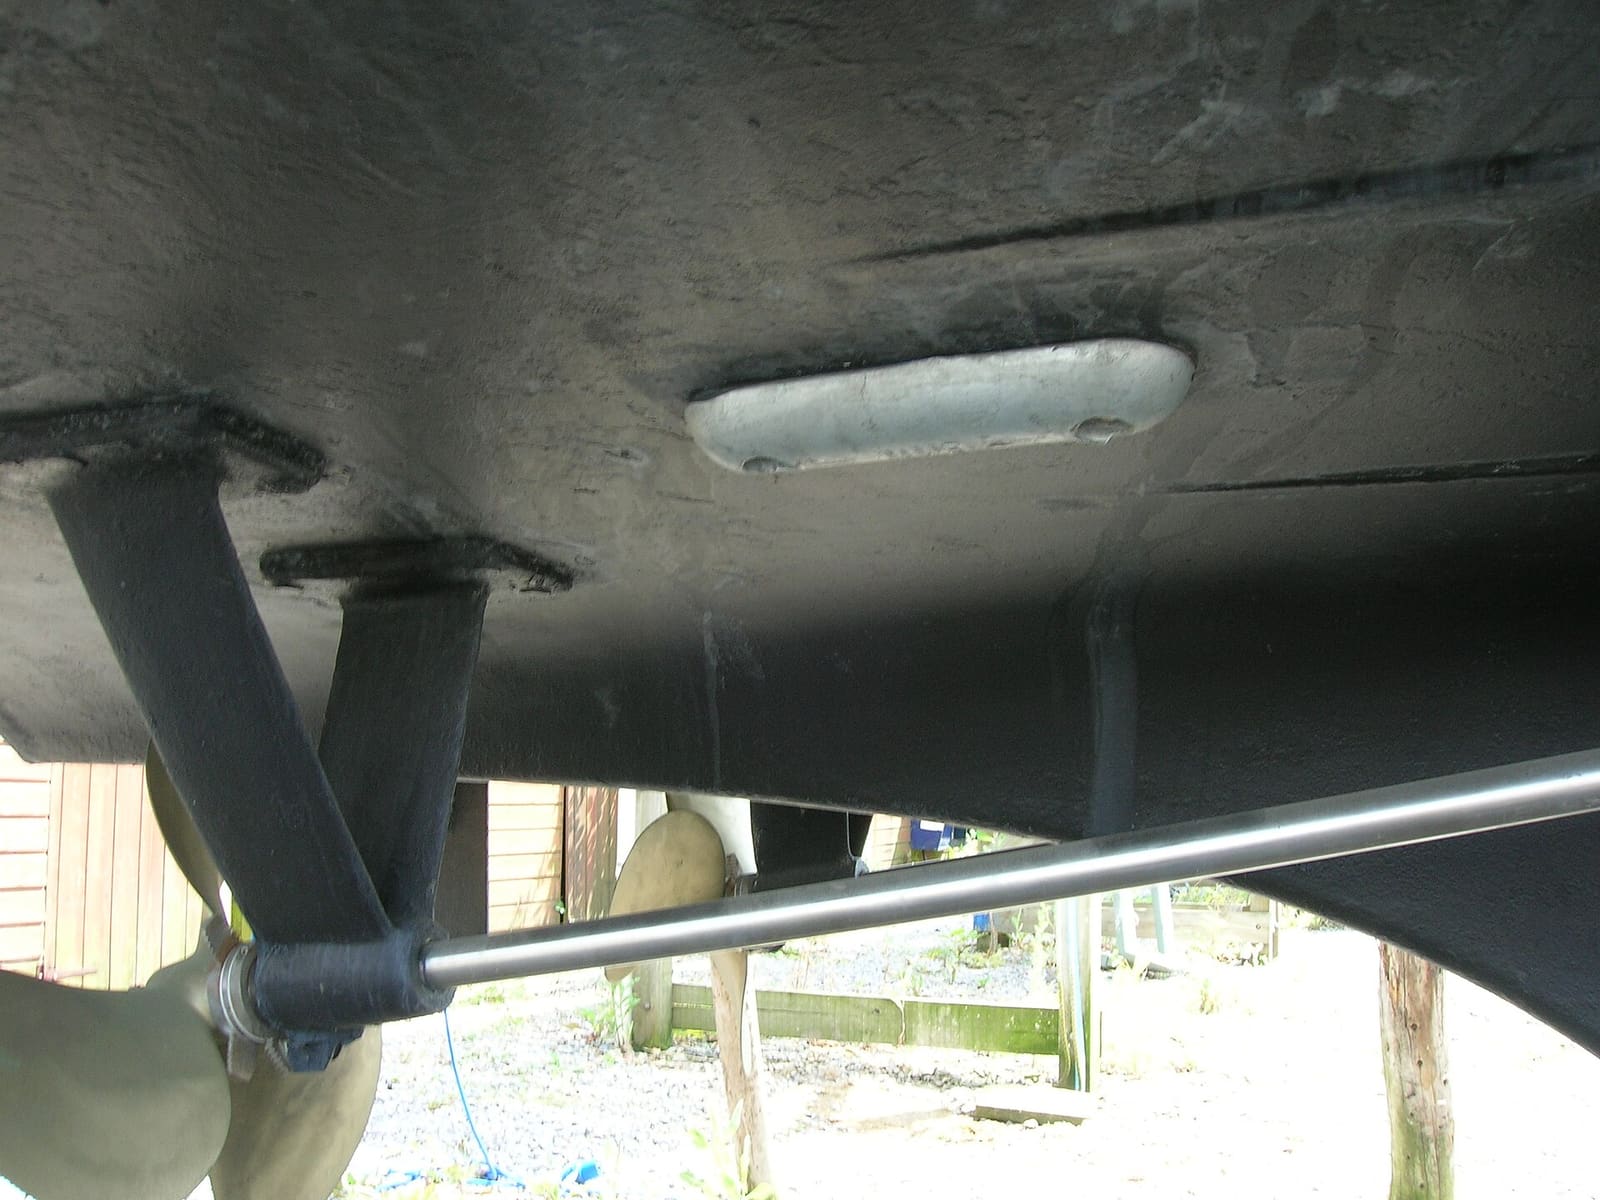
Photo: MarkBuckawicki / Wikimedia Commons · CC0 1.0 Most PWCs have one or more sacrificial anodes, often in the pump or ride plate area. Check them monthly in salt water and replace them when they are about half worn away (typical; confirm in your manual). Never paint them. Use the anode alloy your maker lists for where you ride: BoatUS notes magnesium anodes are meant for fresh water only, and a craft that moves to salt water needs aluminum or zinc ones (check with your dealer before swapping). An anode that looks brand new after a season of salt riding may not be connected properly: have a dealer check it. See our sacrificial anodes guide.
Salt water eats trailers, especially the wheel bearings, brakes, lights and winch. After every salt launch, rinse the frame, springs, axle, hubs, brakes and bunks with fresh water, including from underneath. Let hot hubs cool before you submerge or spray them, so the bearings don't suck in water. Many owners add a salt-removal wash to the rinse. Grease bearings as our trailer bearing guide describes and check the lights often. BoatUS suggests doing the rinse within a few hours of leaving the ramp (a coin car wash on the way home works), and reminds owners of aluminum or galvanized trailers that bolts, spring hangers and any scratched spots on the frame still rust. If you ride different lakes or rivers, also remove weeds and mud and let the craft and trailer dry before the next launch so you don't carry invasive species (see our clean, drain and dry guide).
Once a month in salt season, look for rust or corrosion in the engine compartment, check exhaust and cooling hose clamps for looseness or rust, check engine mounts, and inspect the air filter or air box for signs of water (all on Yamaha's post-ride list). Before every ride, check the hull and pump area and make sure the drain plugs are in.
Keep the craft covered with a breathable, fitted cover when it isn't in use; Sea-Doo warns against plastic wrapping that traps moisture. Fill the fuel tank between rides to cut condensation, as Yamaha suggests (check your manual for how full). For winter or long storage, follow our PWC winterizing guide: flush, drain and purge water, stabilize fuel, change the oil, fog if required and take care of the battery. Log every flush, anode change and corrosion check in BoatMend.
Common mistakes
- Turning the hose on before starting the engine, or leaving it running after the engine stops. This is the classic way to put water in the engine.
- Skipping the flush "because I'm going out again tomorrow." Salt dries and crystallizes in a few hours.
- Using a pressure washer in the engine bay and soaking electrical connectors.
- Spraying silicone or anticorrosion on the seat and footwells, then slipping off the boarding step.
- Leaving the flush fitting cap off after flushing.
- Riding all season on anodes that are gone, or painting over them.
- Flushing the closed coolant system on a Sea-Doo. Only the exhaust needs it.
When to call a pro
- The engine overheats or shows a cooling warning even after a good flush and a clear intake
- Fuel smell, fuel in the hull, or oil that looks milky
- Heavy corrosion on engine parts, the exhaust, the steering or the electrical system
- Water keeps collecting in the hull, or the engine ran while partly flooded
- Anodes that never wear, or new paint bubbling near the pump (possible electrical problem)
- Anything inside the jet pump beyond clearing debris (impeller, wear ring, seals)
Tips
- A quarter-turn shut-off valve on the end of the flush hose makes the start-then-water, water-off-then-stop order easy for one person.
- Keep a small "salt kit" in the truck: flush adapter, soap, towel and spray.
- If you ride in fresh water too, keep flushing: Yamaha says even freshwater riders should flush after every use.
- A fitted cover on the trailer ride home keeps road grime and salt spray off a clean craft.
Official references
We read these to write this guide. Your engine's own manual always wins.
- Yamaha WaveRunners – Maintenance Matters (flushing, corrosion prevention)
- Discover Boating – How to Flush a Personal Watercraft (PWC) Engine
- Sea-Doo – How to Winterize Your PWC (exhaust flush, anticorrosion lubricant)
- Sea-Doo – How to Clean Your PWC
- Sea-Doo – What Do I Do If Water Gets in the Sea-Doo? (draining, drying, storage)
- Sea-Doo Official Store – Anodes and Wear Rings
- BoatUS – Moving a Boat From Freshwater to Saltwater (2017)
- BoatUS – How To Wash a Trailer (2013)
Safety: BoatMend is for information only and does not replace a certified marine technician. You are responsible for your safety and your boat. Read the full disclaimer.
Last updated 2026-10-24
Related guides
How to Winterize a Jet Ski or PWC (Sea-Doo, Yamaha WaveRunner, Kawasaki)
Get your personal watercraft ready for the off-season by flushing and draining the cooling and exhaust system, stabilizing fuel, changing oil, fogging, and storing the battery. Doing it yourself takes an afternoon and helps avoid freeze damage, corrosion and spring no-starts.
Jet Ski and Jet Boat Pump Care: Clearing the Intake Grate and Checking the Impeller and Wear Ring
Clear weeds, rope and rocks from the intake grate of a Sea-Doo, Yamaha WaveRunner, Kawasaki Jet Ski or jet boat, and learn to spot a damaged impeller or worn wear ring. A clogged or worn pump is the usual reason a jet craft revs high but goes slow.
How to Change the Oil and Filter on a Four-Stroke Jet Ski (PWC)
Pump the old oil out through the dipstick tube, swap the filter, refill and check the level the way your model requires. A yearly oil change (or at the hours your manual lists) is the single most important service for a four-stroke Sea-Doo, Yamaha WaveRunner or Kawasaki Jet Ski.
How to Inspect and Replace Sacrificial Anodes (Zincs)
Check the anodes on your outboard, sterndrive or inboard running gear, replace them when they are half gone, and choose the right metal for the water you boat in. Fresh anodes are cheap insurance against expensive corrosion damage to your lower unit, drive and prop.
Jet Ski Electrical Problems: Dies in Waves, Low Voltage and Bad Connections
A personal watercraft that cuts out when it hits chop, shows low voltage, flickers its display or blows fuses usually has a corroded or loose connection, not a dead computer. Work from the battery and grounds to fuses, relays and module plugs, and learn when the job needs a dealer's diagnostic tool.
Jet Ski Taking On Water: Find the Leak and Drain It Safely
A little water in a personal watercraft's hull after a ride is normal; a lot is not. Learn how to tell the difference, drain the hull, and track the leak from the easy causes (drain plugs, seat and hatch seals, loose hose clamps) to the serious ones (driveshaft seal, exhaust, hull cracks), and when to stop riding.
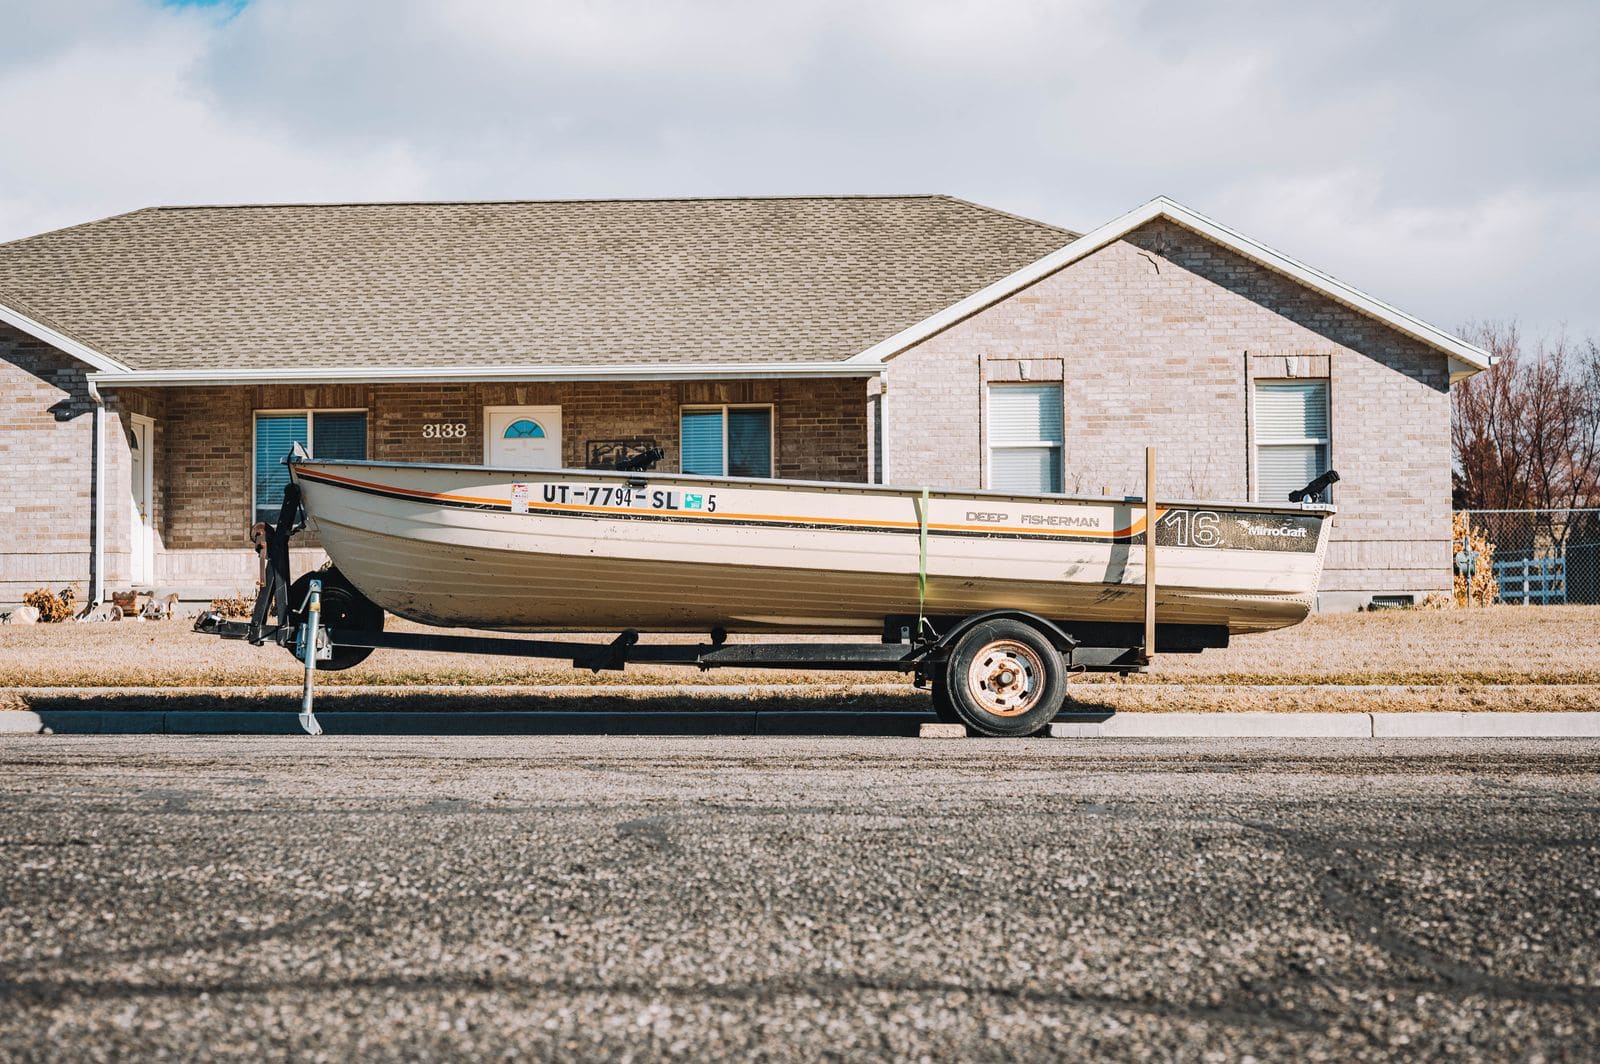
How to Inspect and Repack Boat Trailer Wheel Bearings
Check, clean and repack your trailer's wheel bearings so a seized hub does not leave you stranded on the highway. Boat trailers get dunked in water every launch, which makes their bearings fail far more often than those on dry utility trailers.
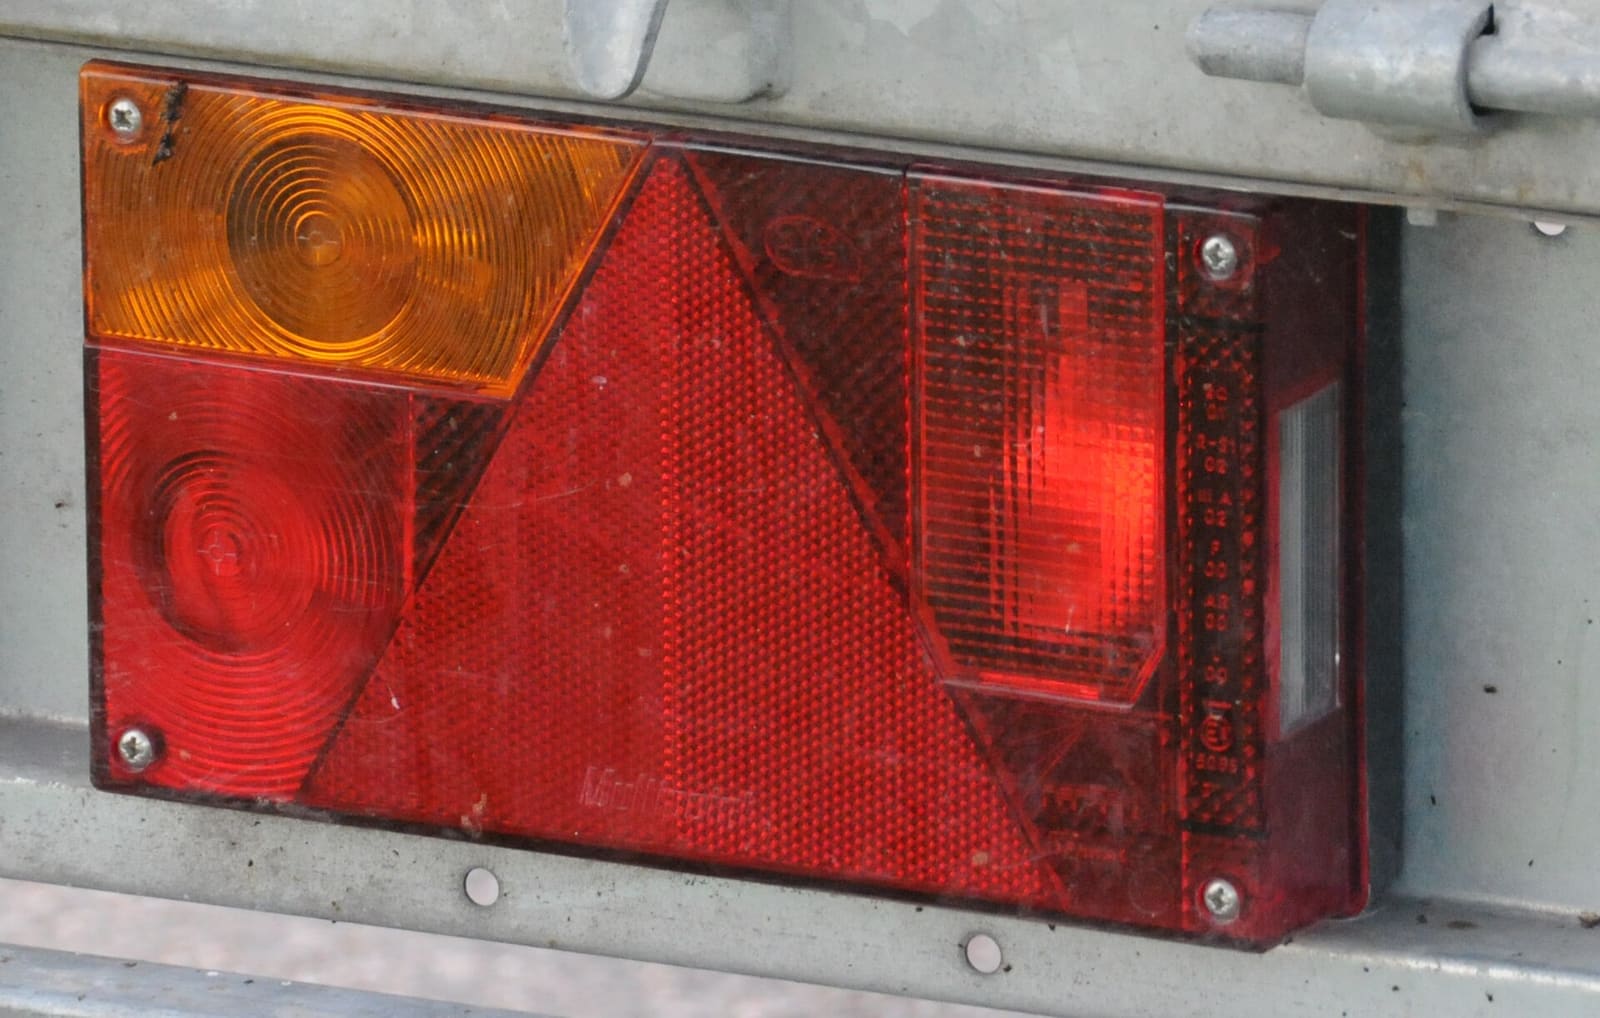
How to Fix Boat Trailer Lights That Flicker, Dim or Don't Work
Track down the real cause of dead or flickering trailer lights, from a bad ground to a corroded plug, and fix it so the repair lasts. Working brake, turn and tail lights are required by law and keep the driver behind you from rear-ending your boat.