How to Replace Boat Battery Cables the Right Way
Swap corroded, cracked or undersized battery cables for tinned marine cable sized from a chart for its real length and load, with crimped lugs, adhesive heat shrink, terminal boots, solid support and a fuse close to the battery.
Time
3 h
Shop would charge
$150-500
Applies to
All engines
Safety first: A boat battery can push hundreds of amps through a dropped wrench or a loose cable end, enough to weld metal, burn you and start a fire. Turn every battery switch OFF, disconnect the negative cable first and reconnect it last, and keep the loose end taped or tucked away from the post. Charging batteries give off explosive hydrogen, so no sparks or flames nearby, and use a heat gun, never a torch, for heat shrink. If you find melted insulation, a cable that was hot to the touch or a burned smell, stop and have a marine electrician find the cause before you power up again.
Owners often ask
- My whole electrical system dies when I turn on the bilge pump or trim. Could it be the battery cables?
- Can I use welding cable or auto parts store cable for my boat battery?
This guide walks you through it. Still stuck? Ask the AI Mechanic about your engine.
Tools
- Heavy-cable lug crimper (hydraulic or long-handled ratchet type) with dies for your cable size
- Cable cutter that shears large cable cleanly (not side cutters)
- Utility knife or cable stripper
- Heat gun (not a torch or lighter)
- Wrenches or sockets that fit your battery and switch studs, ideally insulated
- Digital multimeter
- Battery terminal brush
- Tape measure and a length of string
- Labels or a label maker, and a phone camera
- Safety glasses and acid-resistant gloves
Parts & supplies
- Tinned, stranded marine battery cable in red (positive) and black or yellow (negative), sized from a chart
- Tinned copper lugs matched to the cable size AND the stud size
- Adhesive-lined (glue-lined) heavy-wall heat-shrink tubing
- Rubber or plastic terminal boots for every positive connection
- Nylon-insert lock nuts or hex nuts with lock washers (no wing nuts)
- Cushioned clamps or cable ties and chafe sleeve or split loom
- Main fuse and holder rated for the cable, if the circuit needs one
- Corrosion-inhibiting spray or dielectric grease for the finished joints
Before you start
Battery cables carry the heaviest current on the boat: the starter, windlass, thruster, inverter and the main feed to the panel. BoatUS found in its insurance claims that the DC system causes more than a third of boat fires, and more than half of those start at the engine or the batteries, where big loads, loose or corroded terminals and undersized cables make heat.
Replace a cable when you see any of these:
- Green or white crust that has wicked up under the insulation, or black, stiff strands at the lug
- Cracked, swollen or oil-soaked jacket, or chafe where it crosses an edge
- A lug that turns on the cable, or a cable that gets warm after cranking
- Household, automotive or welding cable, or a lug that was squashed with a hammer
- Slow cranking or the whole panel dying when a big load (pump, trim, windlass) switches on, even with a good battery
BoatUS also suggests that on boats older than about 25 years with the original harness and starter, owners consider replacing them, and that battery switches older than about 15 years be replaced. Those are recommendations from claim analysis, not a rule.
This guide covers the cables from battery to switch, switch to engine or bus, and the matching negative cables. Adding a new battery bank, an inverter, a thruster or a lithium battery is a design job: have an ABYC-certified technician lay it out.
Steps
Before you touch anything, take clear photos of every battery post, the battery switch, the engine or starter terminals and any bus bars. Put a numbered label on both ends of each cable you plan to replace. Replace one cable at a time so nothing ends up on the wrong stud.
Turn off every battery switch and charger, unplug shore power and switch off any inverter or solar controller. Remove the negative cable from each battery first, then the positive. Tape the ends so they cannot spring back onto a post.
Run a string along the path the new cable will actually take: around stringers, through any chase tube, with gentle bends and enough slack for an outboard to tilt and steer lock to lock or for an inboard engine to move on its mounts. Add a little extra for the lugs. Write down this one-way length for each cable.
Cable size depends on two things: how much current flows and how long the circuit is. Blue Sea Systems and BoatUS both stress that for DC the length you use is the round trip, from the battery to the device and back, so add the positive and negative runs together.
- Engine starting cables: your engine maker publishes a minimum battery cable size for each cable length in the installation or owner's manual. Use that, or ask the dealer. If the run is longer than the chart covers, the next size up is the safe direction.
- House feeds, windlass, thruster, inverter: use the device maker's installation chart first. BoatUS is blunt about windlasses: follow the maker's cable size completely.
- Everything else: use the ABYC-based chart from Blue Sea Systems or the ABYC wire-sizing app. Pick the 3% voltage-drop column for the main battery-to-panel feed and other safety circuits, 10% for less critical loads, and always round up to the larger cable.
The negative cable must be the same size as the positive. Never go smaller than the cable you are replacing; if the old one ran warm, it may already have been too small.
- Cable: tinned, finely stranded copper marine cable with insulation rated at least 105°C (Blue Sea's chart assumes that rating). Tinned strands resist the corrosion that creeps up bare copper. Skip automotive and welding cable: they are usually bare (untinned) copper and not built to marine standards, and BoatUS specifically says not to use welding cable.
- Colors: red for positive and black or yellow for negative, so the next person can't mix them up.
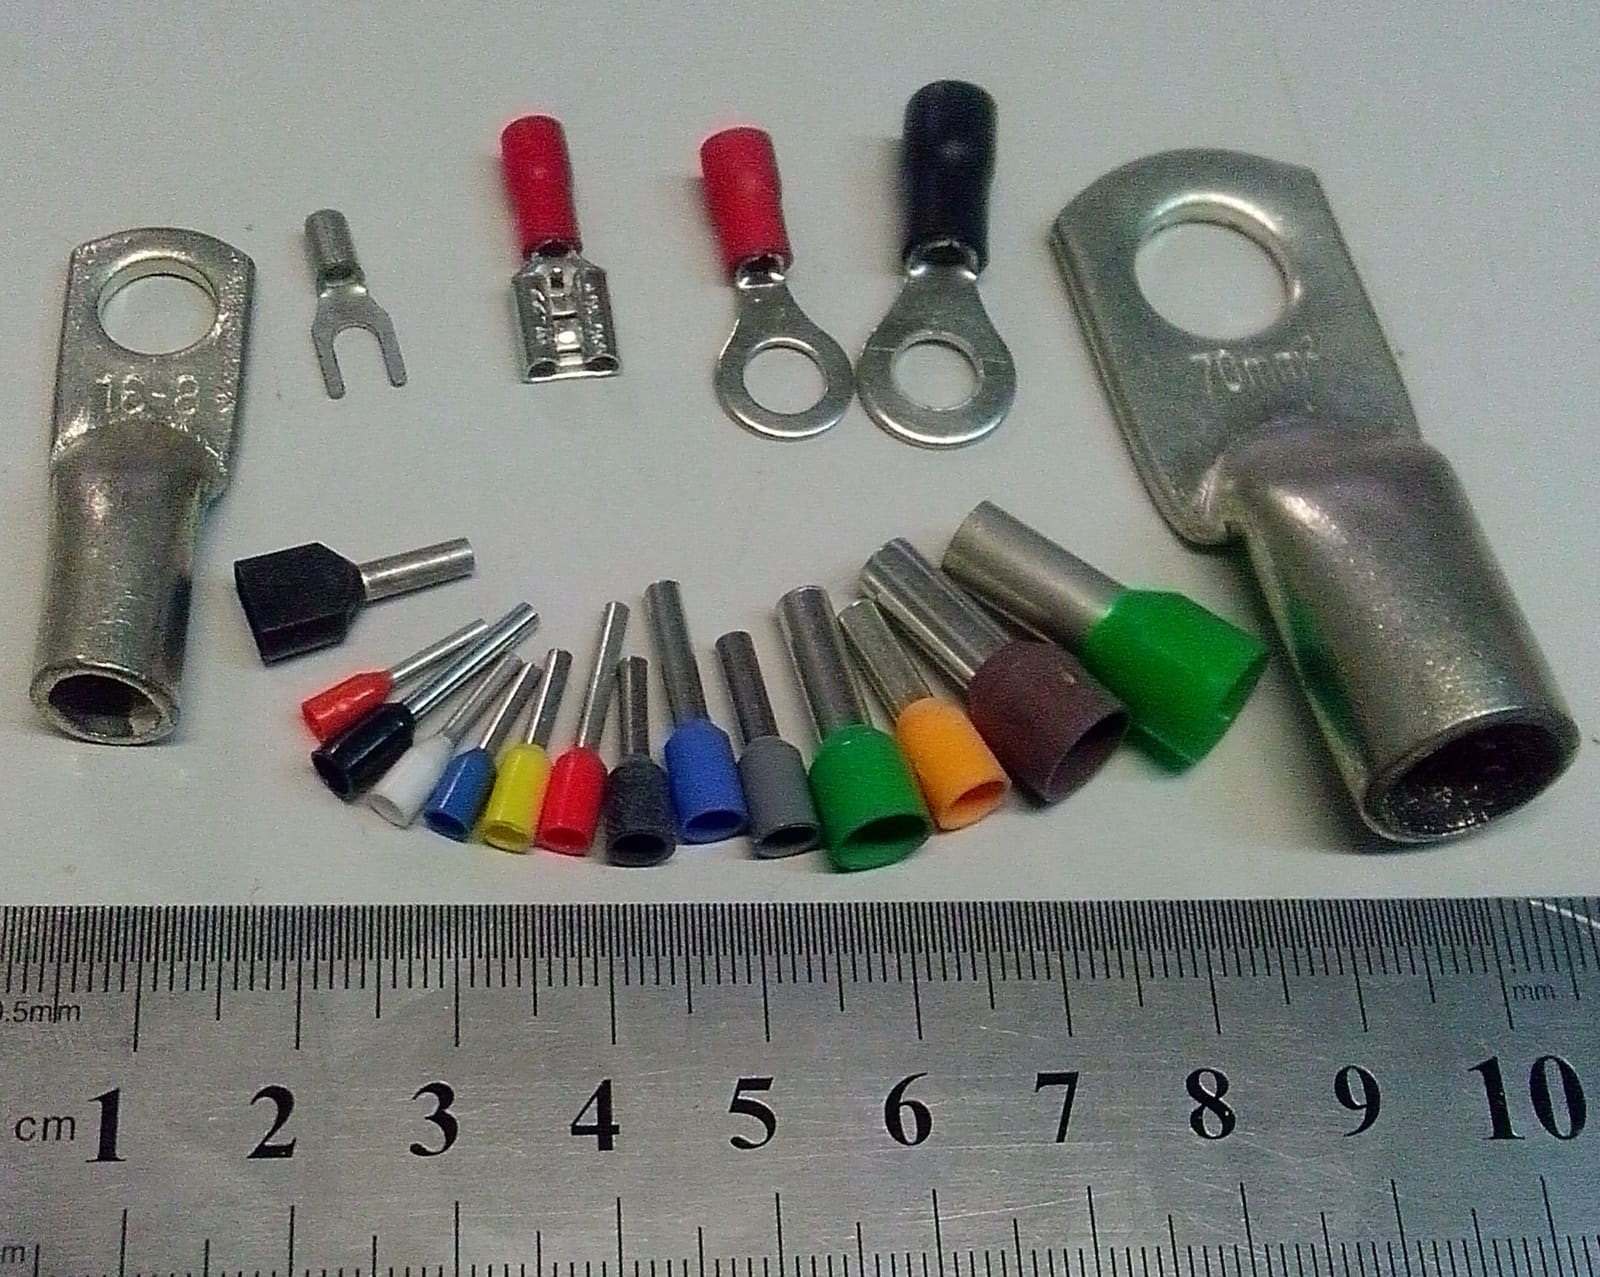
- Lugs: tinned copper lugs sized for both the cable gauge and the stud diameter. A lug made for a larger stud has less contact area and can loosen.
- Heat shrink: heavy-wall, adhesive-lined tubing that seals the barrel of the lug.
Cut the cable square with a proper cable cutter so no strands splay out. Strip just enough insulation for the cable to bottom out in the lug barrel, with no bare copper showing beyond it and no nicked strands. Slide the heat shrink (and any boot) onto the cable now, before the lug goes on.
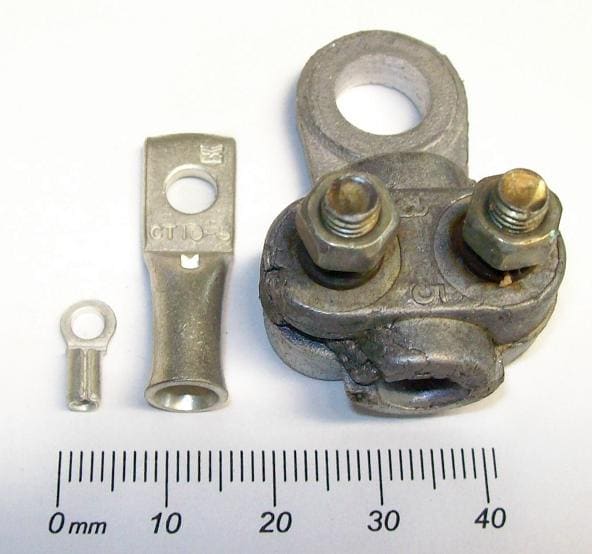
Center: a tubular crimp lug, the kind to use. Right: an old bolt-clamp terminal that squeezes the strands under a screw plate, which loosens and corrodes. Photo: Ulfbastel / Wikimedia Commons · Public domain Push the cable fully into the lug and crimp with a crimper and die made for that cable size. A hydraulic crimper or a long-handled lug crimper makes a full, even crimp; a hammer-type crimper or pliers usually does not. Victron's wiring guide calls for a dedicated crimping tool for every lug, and BoatUS recommends crimping rather than soldering boat connections: solder makes a stiff spot where vibration can crack the strands.
Tug the lug hard. If it moves at all, cut it off and start again.
Slide the adhesive-lined heat shrink over the barrel so it covers the crimp and overlaps the insulation, then shrink it with a heat gun until a little adhesive shows at both ends. This keeps salt water from wicking into the strands, the most common way a cable dies from the inside.
- Follow your string route, away from exhaust, hot engine parts, moving steering and throttle linkages and sharp fiberglass edges.
- Support it at least every 18 inches. BoatUS calls for nonmetallic supports in general and metal (cushioned) clamps in the engine room, where plastic ties can melt.
- Add chafe sleeve or split loom where it passes a bulkhead, stringer or edge.
- Keep cables up out of bilge water and give each connection a drip loop.
- On an outboard, check that the cable does not pull tight or rub at full tilt and full steering in both directions.
Every positive cable except the starter (cranking) circuit needs overcurrent protection sized to protect that cable. Blue Sea Systems summarizes ABYC E-11: the fuse or breaker goes within 7 inches of the battery or source; up to 40 inches if the cable is in a sheath or conduit; and up to 72 inches if it connects directly to the battery terminal and is sheathed for its whole length. Federal rules for gasoline inboard boats (33 CFR 183) have similar distance limits. Inverters and lithium banks usually call for a class T fuse; follow the maker's instructions exactly.
If your old setup had no main fuse on a house feed, that is worth fixing now. Ask a marine electrician to size it if you are unsure.
- Mount the lug flat against the post or stud with nothing between the lug and the mating surface. Victron points out that washers or a fuse stacked between them reduce the current the joint can carry. Washer, lock washer and nut go on top.
- Use nylon-insert lock nuts or hex nuts with lock washers, never wing nuts. BoatUS notes the industry recommendation against wing nuts on cables 6 AWG and larger because they can't be tightened properly and vibrate loose. Yamaha says the same.
- No more than four cables on any one stud (an ABYC recommendation BoatUS cites). If you have more, add a bus bar or fuse block. Blue Sea's tips for a bus bar: bring the main feed cable to the center stud, and put the cable for the biggest load on that same stud, right on top of the feed, so the heaviest current passes lug to lug instead of through the bar. Mount the bar somewhere dry: Blue Sea says no exposed bus bar can be expected to stay safe with live connections in a wet spot.
- Tighten firmly without cracking the battery post; your battery maker may list a torque.
Fit a terminal boot over each positive post and lug: battery, switch, starter, bus bar. Industry standards call for exposed positive terminals to be covered so a dropped tool can't short them. While you are there, check that the battery sits in a secured box or tray and can't move more than about an inch in any direction.
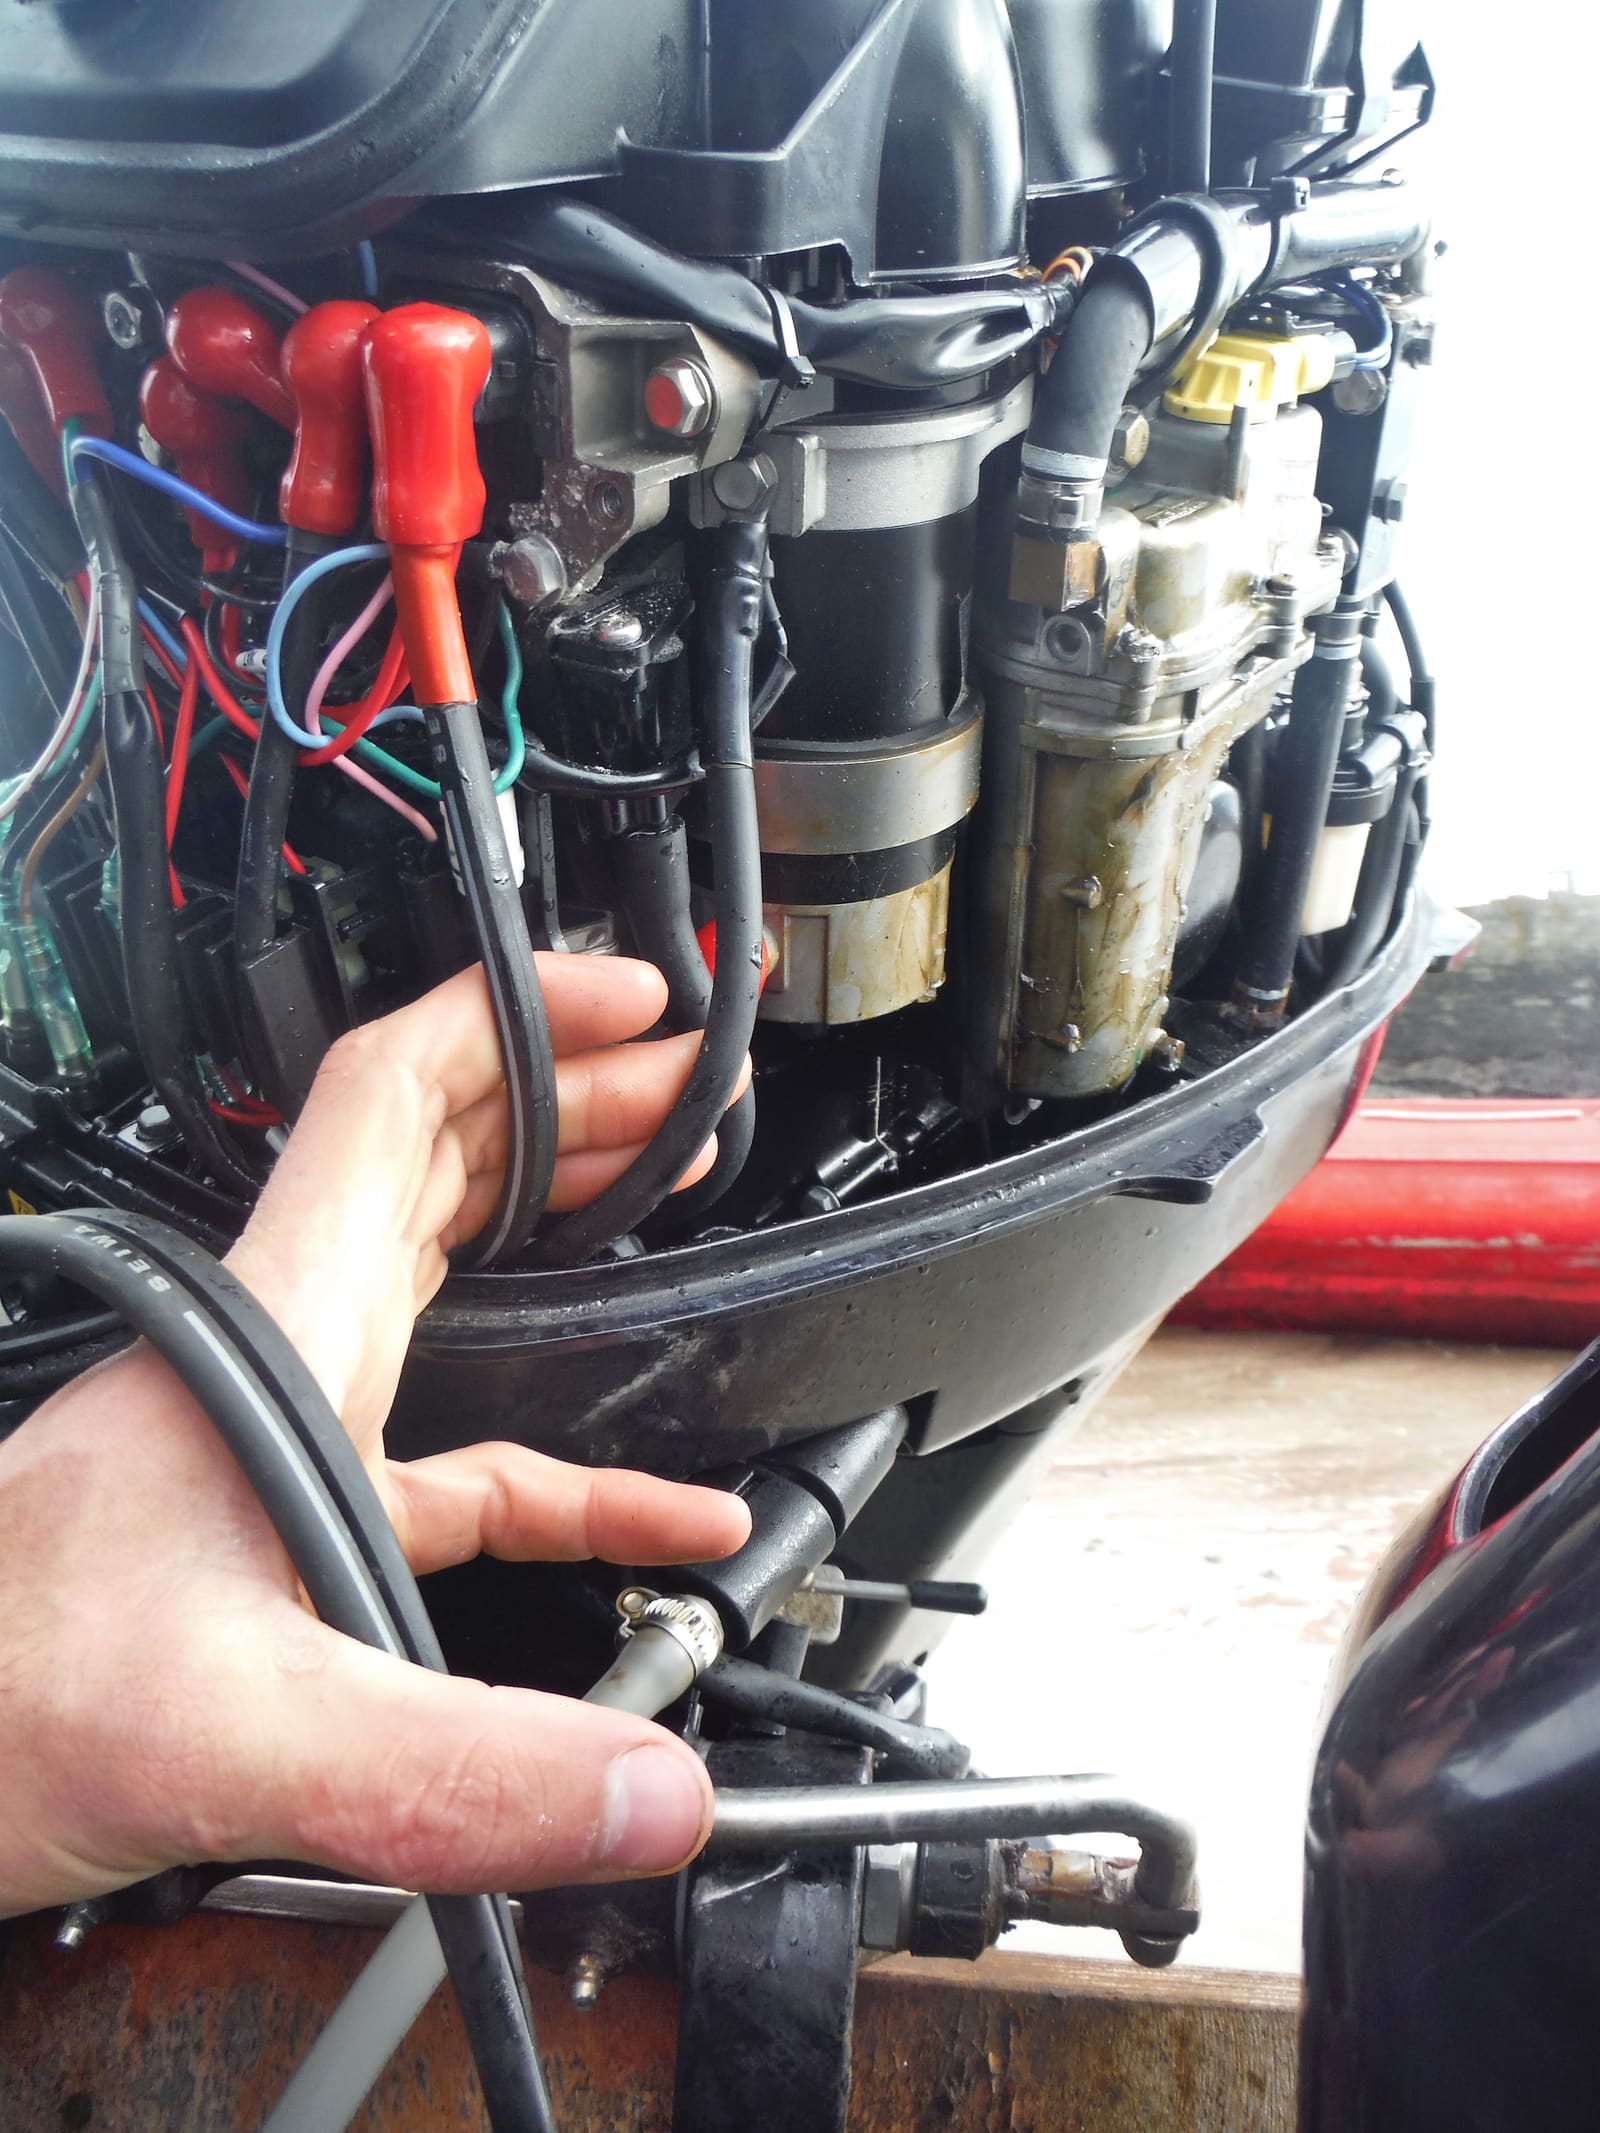
Heavy battery cables entering an outboard, with red boots over the positive terminals at the starter and solenoids. Every positive connection should be covered like this. Photo: PtiBzh / Wikimedia Commons · CC0 1.0 Reconnect positive cables first and negative cables last. Turn on the switch and crank the engine (in the water, or with the outboard on external flush muffs or in a test tank, never dry). With a helper cranking, put your meter across each cable end to end (one lead on each lug): a good cable shows only a small fraction of a volt. Then feel the cables and lugs after a few starts. Anything warm points to a bad crimp or loose connection.
While you're cranking, also read the voltage across the battery posts. BoatUS uses the starter as a simple load test for a lead-acid battery: if the battery drops below about 9.6 volts while the engine cranks, it's time for a new battery (typical; your battery maker's figure rules). New cables can't cure a worn-out battery, and a weak one makes good cables look bad.
Coat the finished connections with a corrosion-inhibiting spray or dielectric grease on the outside, and update your wiring notes and labels.
Common mistakes
- Sizing the cable by the one-way distance instead of the round trip, so it ends up too small.
- Using automotive, welding or household cable instead of tinned marine cable.
- Crimping heavy lugs with a hammer crimper or pliers, then skipping the pull test.
- Forgetting to slide the heat shrink and boot on before crimping the second lug.
- Putting a washer between the lug and the battery post, or stacking six ring terminals on one post.
- Reusing wing nuts because "they were already there."
- Leaving a house feed with no fuse at the battery, or fitting a fuse bigger than the cable can carry.
- Replacing the starter, solenoid and battery before checking the cables. BoatUS and owners on the forums both describe slow cranking and the whole panel dying under load that turned out to be one corroded cable or a melting battery switch.
- Running a new outboard cable so tight that it chafes or pulls out at full tilt.
- On an older boat with shore power, assuming every black wire near the batteries is a DC negative. BoatUS warns that black is also the hot conductor in 120-volt AC wiring; trace each wire before you cut, and unplug shore power and switch off any inverter or charger first.
When to call a pro
- Melted, burned or discolored cables, lugs or battery switch, or a cable that got hot
- Adding a battery bank, inverter, windlass, thruster or lithium battery
- No room for a main fuse within the allowed distance, or you are unsure of the fuse size
- Cables that pass through the engine room of a gasoline inboard where you can't keep them clear of heat and moving parts
- Any cable run where you'd have to drill new holes in bulkheads or through the hull liner
- If you don't own a proper lug crimper: many marine stores and shops will crimp lugs on cable you've cut to length
Tips
- Buy a short extra length of cable and a few spare lugs to practice one crimp before doing the real ones.
- Cables with lugs already crimped and sealed are sold in common lengths. If one fits your route, it saves buying a crimper.
- BoatUS recommends checking the battery, starting and charging connections at least monthly in season, and cleaning terminals at the start and end of each season.
- Keep your photos and labels in your boat profile so the next repair starts with a map.
Official references
We read these to write this guide. Your engine's own manual always wins.
- Blue Sea Systems – Part 1, Choosing the Correct Wire Size for a DC Circuit
- Blue Sea Systems – Voltage Drop in Conductor, Wire Sizing Chart
- Blue Sea Systems – DC Main Overcurrent Protection Requirements
- BoatUS – Choose the Correct Wire Size
- BoatUS – Electrical Wiring on Boats
- Blue Sea Systems – Application Steps Which Improve Busbar Performance
- BoatUS – Electrical Do-It-Yourself (battery boxes, wing nuts, terminal studs)
- BoatUS – Onboard Electrical Hazards
- BoatUS – Analyzing Electrical Fires on Boats
- BoatUS – How To Make The Perfect Crimped Connections
- BoatUS – Wiring (windlass cables, no welding cable)
- BoatUS – Batteries, Keep On Charging (starter load test)
- BoatUS – Create Your Own Wiring Diagram (AC vs. DC wire colors)
- Victron Energy – Wiring Unlimited, DC Wiring (cable lugs and connections)
- Yamaha Outboards – Maintenance Matters, Electrical System
- eCFR – 33 CFR Part 183 Subpart I, Electrical Systems
Safety: BoatMend is for information only and does not replace a certified marine technician. You are responsible for your safety and your boat. Read the full disclaimer.
Last updated 2026-10-25
Related guides
Marine Battery Care: Test, Charge and Store for Winter
Check your boat battery's health, charge it the right way for its type (flooded, AGM or lithium), and store it so it is ready in spring. Most "boat won't start" calls start with a neglected battery.
How to Use a 1-2-Both Battery Switch and Run Two Batteries
Learn what the 1, 2, Both and Off positions really do, a simple routine that keeps one battery ready to start the engine, how to check that both batteries are charging, and when an automatic charging relay makes life easier. Rewiring high-current cables is a job for a marine electrician.
How to Find and Fix Corroded Electrical Connections on a Boat
Track down the green crust and loose terminals behind flickering lights, dead gauges and slow cranking with a simple voltage-drop test, then remake the connection the marine way: tinned wire, a proper crimp, adhesive-lined heat shrink and a protective coating.
12-Volt Boat Wiring Basics: Circuits, Color Codes, Fuses and Wire Size
Learn how your boat's 12-volt system is laid out, what the ABYC wire colors mean, how fuses and breakers protect the wiring, why voltage drop and tinned wire matter, and how to read a wiring diagram, so you can troubleshoot smarter and know which jobs belong to a marine electrician.

Fuse Keeps Blowing? How to Troubleshoot a Boat Fuse Block or Breaker Panel
Work through a blown fuse or tripping breaker the safe way: confirm it, tell a short from an overload, isolate the device or wire at fault, replace a worn breaker or panel switch with the same rating, and label every circuit, without ever fitting a bigger fuse.
Engine Clicks but Won't Crank - Testing the Battery, Cables, Neutral Switch, Solenoid and Starter
A click (or nothing) when you turn the key is usually a power delivery problem, not a dead engine. Work from the battery and cables through the neutral switch, start relay and solenoid to the starter motor using simple voltage-drop tests, and learn how to jump-start safely when gasoline vapor may be around.
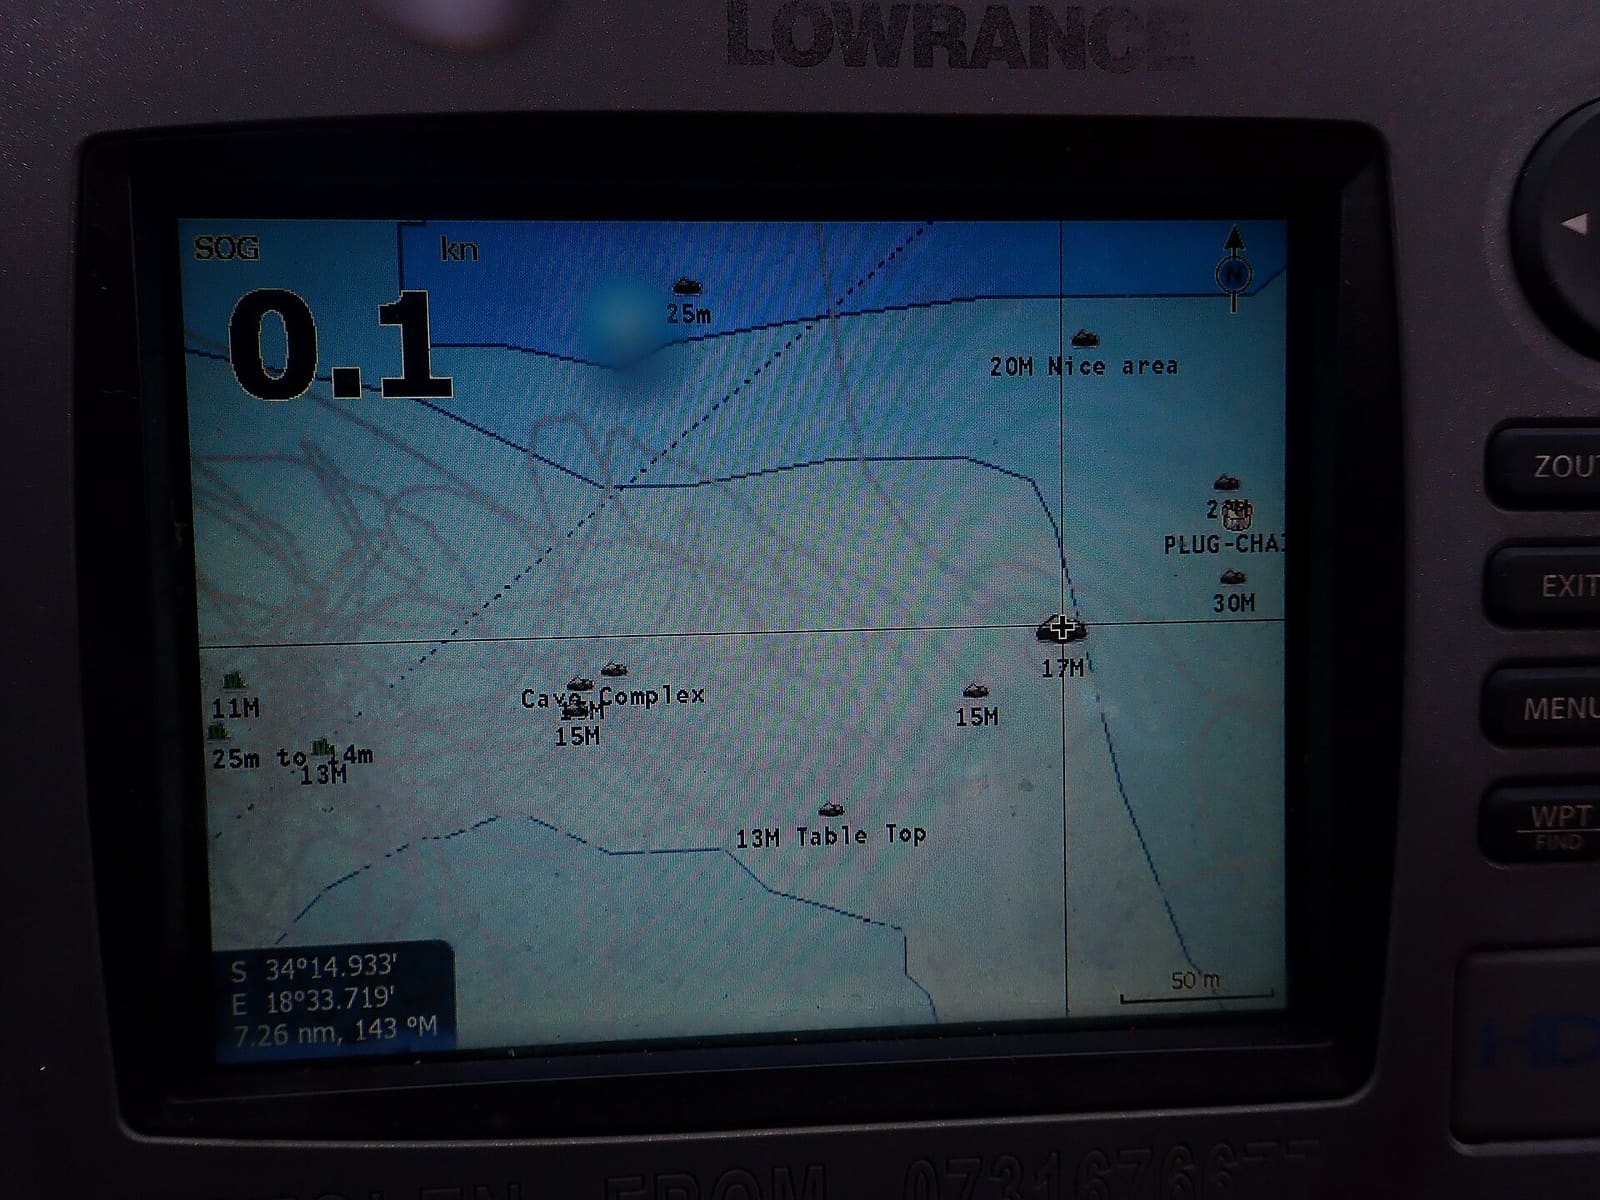
Electronics That Reset or Shut Off When You Start the Engine: Finding and Fixing Voltage Sag
If your chartplotter, fishfinder, VHF or stereo blinks off or reboots when you crank the engine or switch on a big load, the cause is almost always low voltage reaching the device. This guide walks from the cheapest checks (battery, connections, grounds) to the real fixes: a dedicated electronics feed, start isolation between batteries, and voltage-stabilizing converters.
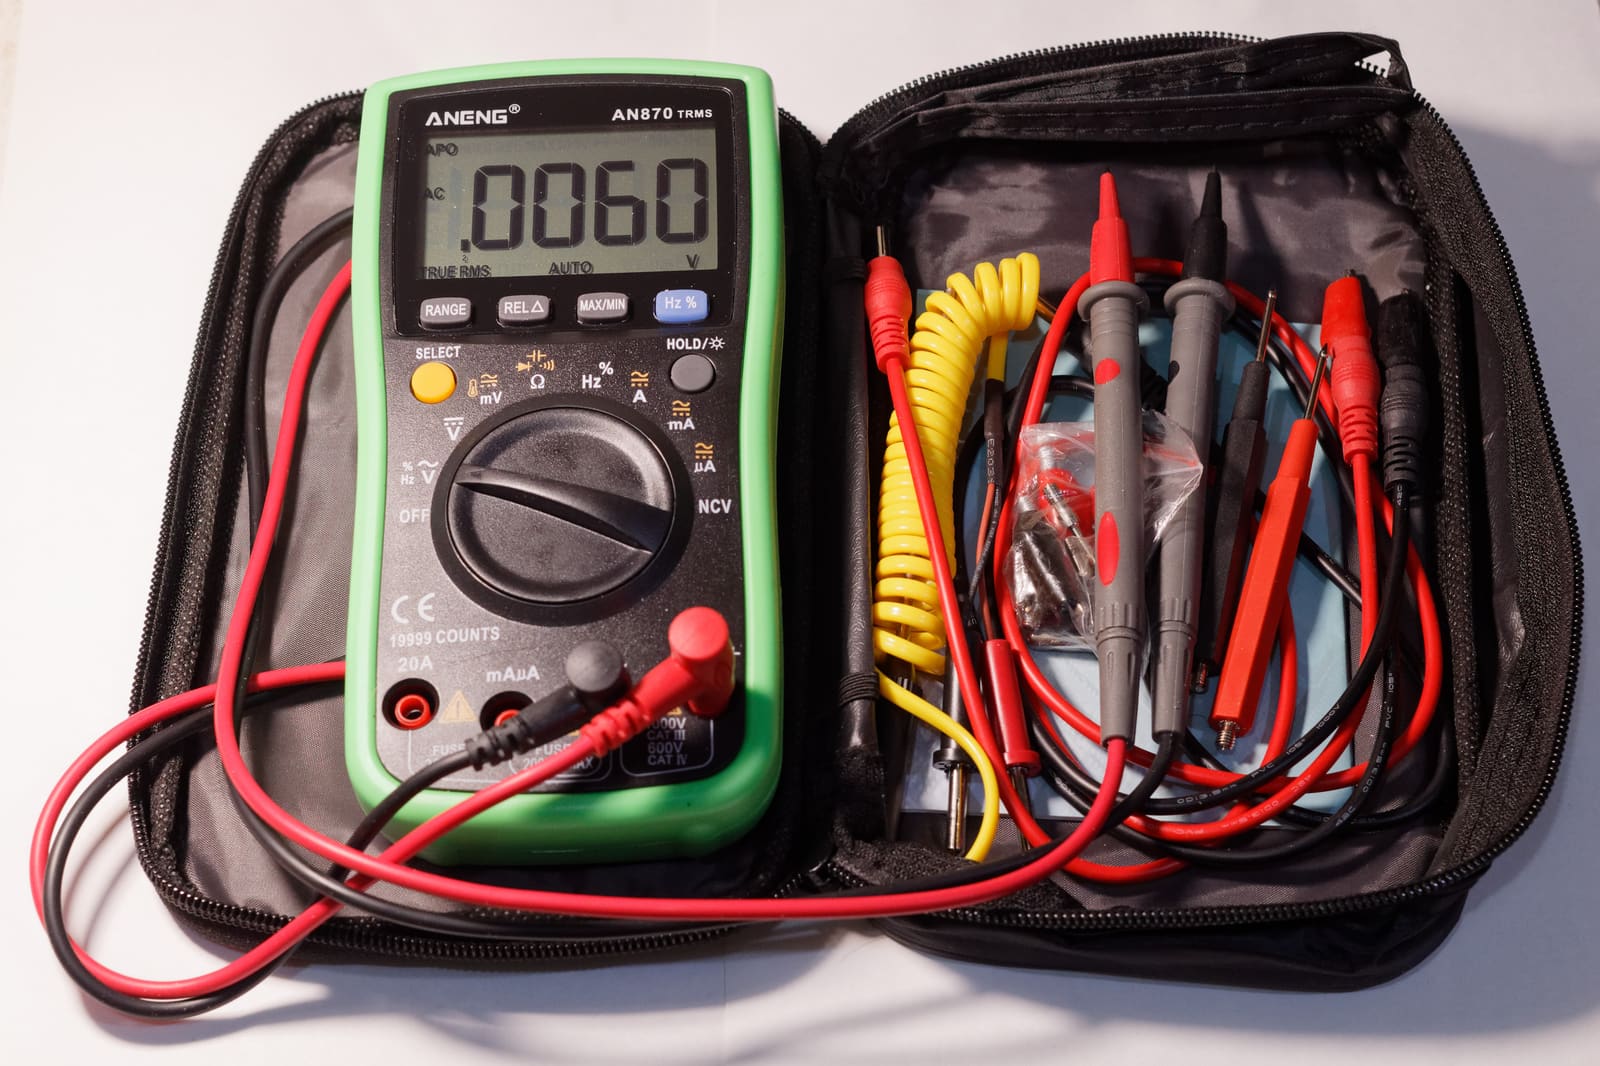
Is My Engine Charging the Battery? Test the Charging System With a Multimeter
A step-by-step way to find out whether your outboard's stator and rectifier/regulator or your inboard's alternator is really charging the battery, what the voltage readings usually mean, and when the problem is just a dirty connection. Exact test specs come from your engine's service manual.
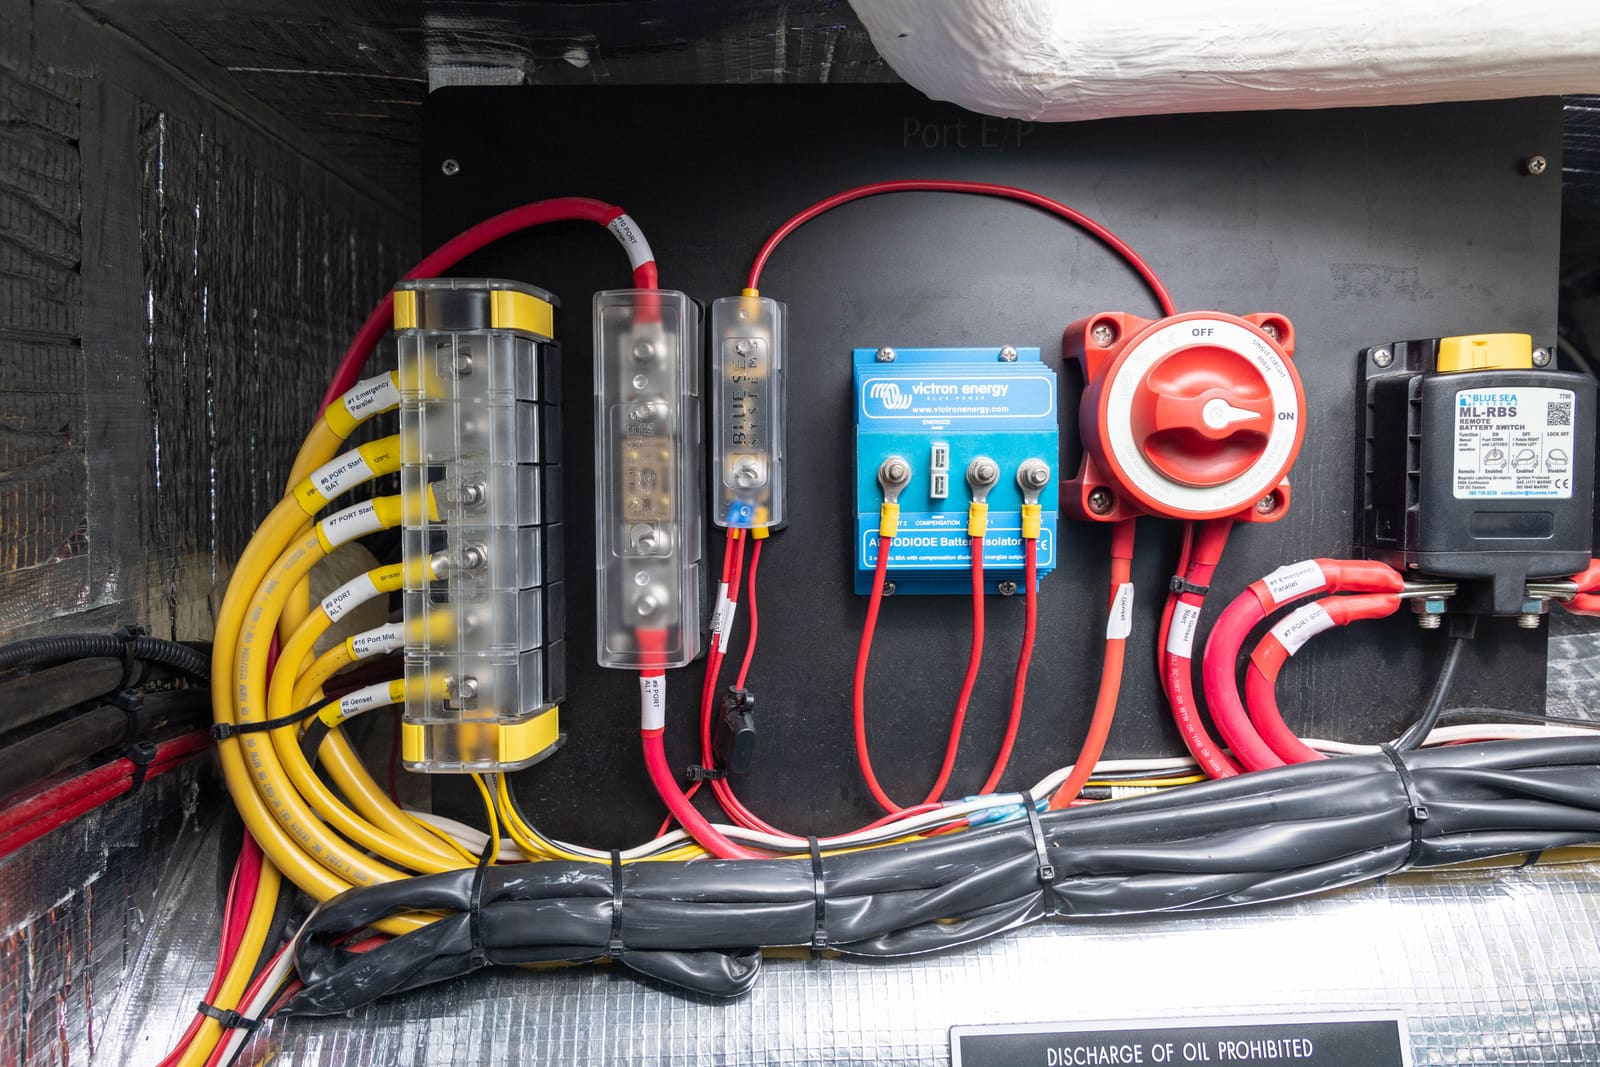
Boat Inverters and Inverter/Chargers: Sizing, Safe Use and What a Pro Must Install
An inverter turns battery power into 120-volt household current, which makes it as dangerous as shore power and a serious fire risk if it is fused or wired wrong. Learn how to size one realistically, what a safe installation looks like, the owner checks to do, and the mistakes (like backfeeding) that hurt people.