Mounting Hardware Where You Can't Reach Behind: Blind Fasteners
Learn how to mount light accessories on a boat when you can't get a hand behind the panel, using blind rivets, rivet nuts, well nuts, toggle anchors and bonded studs, when to cut an inspection port instead, and what must never be held by a blind fastener.
Time
1 h 30 min
Shop would charge
$100-400
Applies to
All engines
Safety first: Blind fasteners are only for light loads. Never use them for cleats, bow or stern eyes, tow points, lifting eyes, ski tow pylons, seat pedestals, stanchions, safety tether or jackline points, or anything that keeps a person aboard. Those need through bolts with a proper backing plate. Before drilling any hole, find out what is behind the surface: wires, fuel lines, fuel tanks, hoses and steering cables often run behind liners. If you are not sure, don't drill.
Owners often ask
- How do I mount something on my boat when I can't reach behind the panel to put a nut on?
- Can I use well nuts or rivnuts to mount a cleat or grab handle?
This guide walks you through it. Still stuck? Ask the AI Mechanic about your engine.
Tools
- Drill, sharp bits and a countersink bit
- Blue painter's tape and a marker
- Inspection camera or mirror and a flashlight
- Small hammer for tap-testing
- Blind rivet tool and/or rivet nut setting tool (for the fasteners you choose)
- Screwdrivers and wrenches
- Hole saw or jigsaw (if you add an inspection port)
- Shop vacuum
Parts & supplies
- Fasteners matched to the job and substrate (blind rivets, rivet nuts, well nuts, toggle anchors or bonded studs)
- Stainless or other marine-grade machine screws of the correct thread and length
- Large washers or a thin backing strip where the fastener allows
- Marine sealant for every hole (polyurethane or polyether as the sealant maker directs; not silicone for bedding fasteners)
- Epoxy and filler to seal hole edges in cored panels
- Inspection or deck plate (if adding an access port)
Before you start
The gold standard is a through bolt with a backing plate. BoatUS explains why: a pair of bolts with only washers underneath spreads the pull over a couple of square inches, while a simple backing plate spreads it over many times that area. Everything in this guide is a fallback for light gear when the back of the panel truly can't be reached, such as small electronics brackets, light fixtures, switch panels, rod holder racks, gear hooks, trim and cushion snaps.
First ask: can I get access? Often you can, by removing a speaker, a hatch, a cushion bolster or a panel. If not, cutting a neat inspection port and through-bolting may be the best "blind" fix of all (see Step 3).
The main blind options (from Practical Sailor's tests and common marine practice):
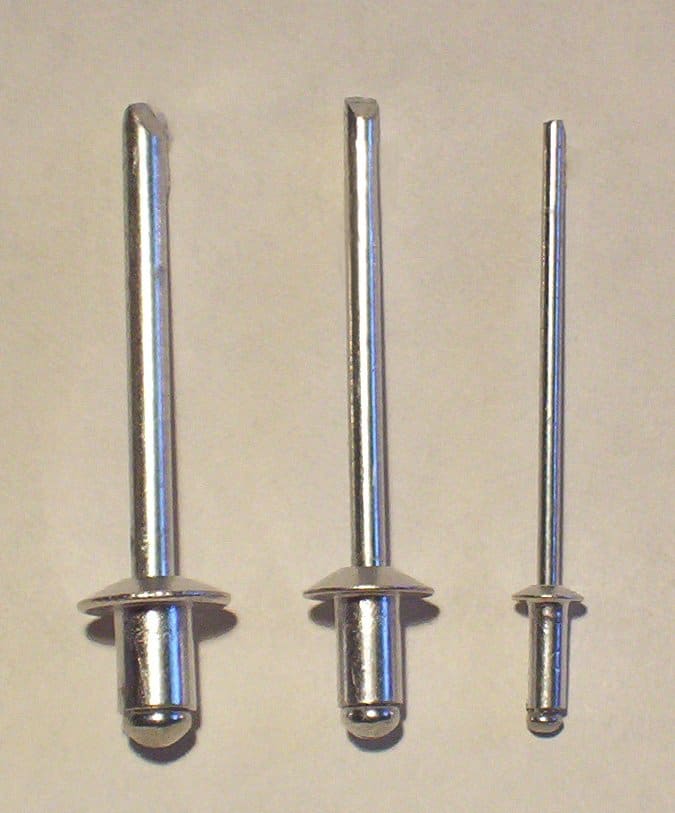
- Blind (pop) rivets: good in thin metal, like aluminum hulls, consoles and spars. Weak in fiberglass on their own; pull them up through a washer to spread the load. Choose sealed (closed-end) rivets where water could get through, and pick rivet material compatible with the metal you are fastening to, to limit galvanic corrosion.
- Rivet nuts (threaded inserts set from one side): give you a metal thread for a machine screw. Great for things you remove often, such as electrical panels, and for replacing stripped screw holes. Not stronger than a good machine screw. Can spin or crush soft or thin fiberglass.
- Well nuts: a rubber sleeve with a brass nut inside. Tightening the screw makes the rubber bulge behind the panel. They seal and damp vibration, and suit thin fiberglass or plywood for light items like small lights, trim and switch plates.
- Toggle anchors (spring toggles and heavy-duty strap toggles): need room behind the panel and a bigger hole. High-quality stainless types can be surprisingly strong, but never stronger than the panel they grip.
- Bonded (glue-on) studs and nuts: glued to a surface you can reach, then the item bolts on. No hole through the panel. Strength depends on prep and the bond between skin and core.
- VHB tape and Dual Lock: for very light items on smooth, clean surfaces only.
The weakest link is the panel. Practical Sailor's key point: an anchor will never be stronger than what it is fastened to, and hull liners and cabin liners can be thin and poorly bonded.
Steps
Ask what happens if someone grabs it, steps on it, or a wave slams it. If the answer is "a person could fall" or "the boat could break loose", stop: use through bolts and a backing plate (see our through-bolting and cleat installation guides). Blind fasteners are for gear that only has to hold its own weight plus boat motion.
Tap-test with a small hammer to find hollow areas, stringers and bulkheads. Use an inspection camera through an existing opening. Look at where wiring and fuel lines run on similar boats or ask the builder. BoatUS's rule for cutting holes applies to every drill bit: if you are not sure what is behind it, don't cut.
A round screw-out deck or inspection plate near the mounting spot lets you reach in, install a backing plate and real nuts, and check the area later. Pick a flat spot, clear of structure, and seal the cut edge, especially in cored panels (see our inspection port guide). This turns a blind job into a proper through-bolted one.
Measure at an existing hole or opening. Is it solid fiberglass, cored fiberglass (a sandwich with balsa or foam), plywood, plastic or aluminum? The fastener maker gives a grip range for each size; a fastener outside its range won't set properly.
- Thin aluminum or metal: sealed blind rivets of a compatible alloy, or rivet nuts.
- Solid fiberglass or plywood, light load: well nuts, rivet nuts with a wide flange, or toggles if there is room behind.
- Cored panels: be careful. Crushing the core lets water in and rots it. Prefer a port and through bolt, or bonded studs, and seal every hole edge.
- Liner panels with stripped wood screws: threaded inserts bedded in epoxy (Practical Sailor used these to reattach ceiling liner panels).
If you choose bonded studs (no hole at all), the bond is only as good as the prep. Good Old Boat's technical editor and Panbo readers who use them describe the same routine:
- Degrease, then sand the spot with medium paper (Good Old Boat uses 150 grit) and wipe with a dewaxer. Interior gelcoat that came out of a mold can still carry mold-release wax, and paint should be sanded off the spot.
- Use the adhesive the stud maker specifies. Fast methacrylate "plastic welder" types hold a stud in place even on vertical or overhead surfaces; slow epoxy needs tape or a clamp until it cures.
- Press the stud on and give it a slight twist until a small bead squeezes out all around. Wait the full cure time on the label before loading it.
- A handy trick: hang the studs through the item's mounting holes and set the whole thing in place while the glue is wet, so everything lines up.
- Light loads only. On a cored panel, a hard pull can peel the skin off the core before the stud lets go. Some adhesives also have a short shelf life once opened, so check the date.
Hold the item in place, mark the holes, and lay painter's tape over the gelcoat to reduce chipping. Double-check spacing against the item's base.
Use the exact hole size the fastener maker specifies; too big and it spins or pulls out, too small and it won't seat. On gelcoat, a light countersink at the hole edge helps prevent spider cracks.
In cored decks or panels, drill oversize, dig out a little core around the hole, fill with thickened epoxy, let it cure, and redrill to size through the epoxy. This keeps water out of the core for good.
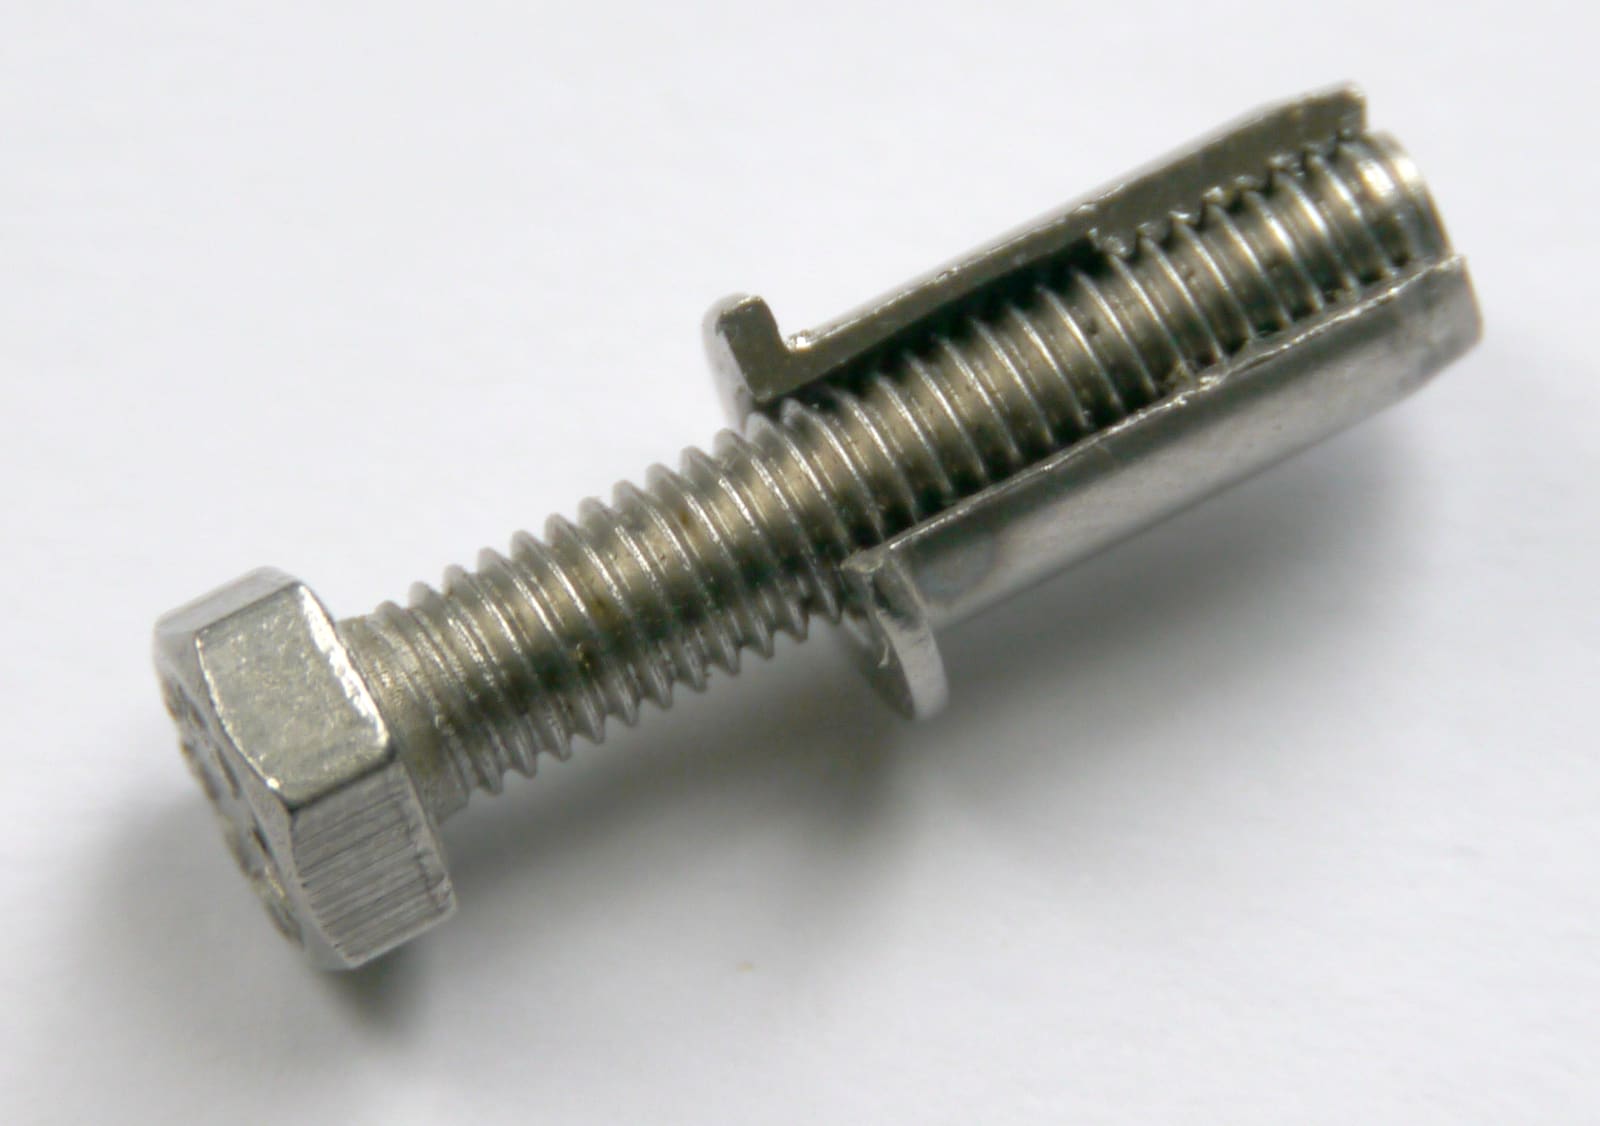
A rivet nut cut open. When set, the thin part of the body folds behind the panel to grip it. Photo: Erik Wannee / Wikimedia Commons · CC BY-SA 4.0 Put sealant in the hole and under the flange, then set the fastener with the right tool, keeping it square. Don't over-squeeze rivet nuts or well nuts: overdoing it crushes fiberglass or spins the insert. With toggles, hold the toggle against the back of the panel by pulling the bolt toward you while you start the thread.
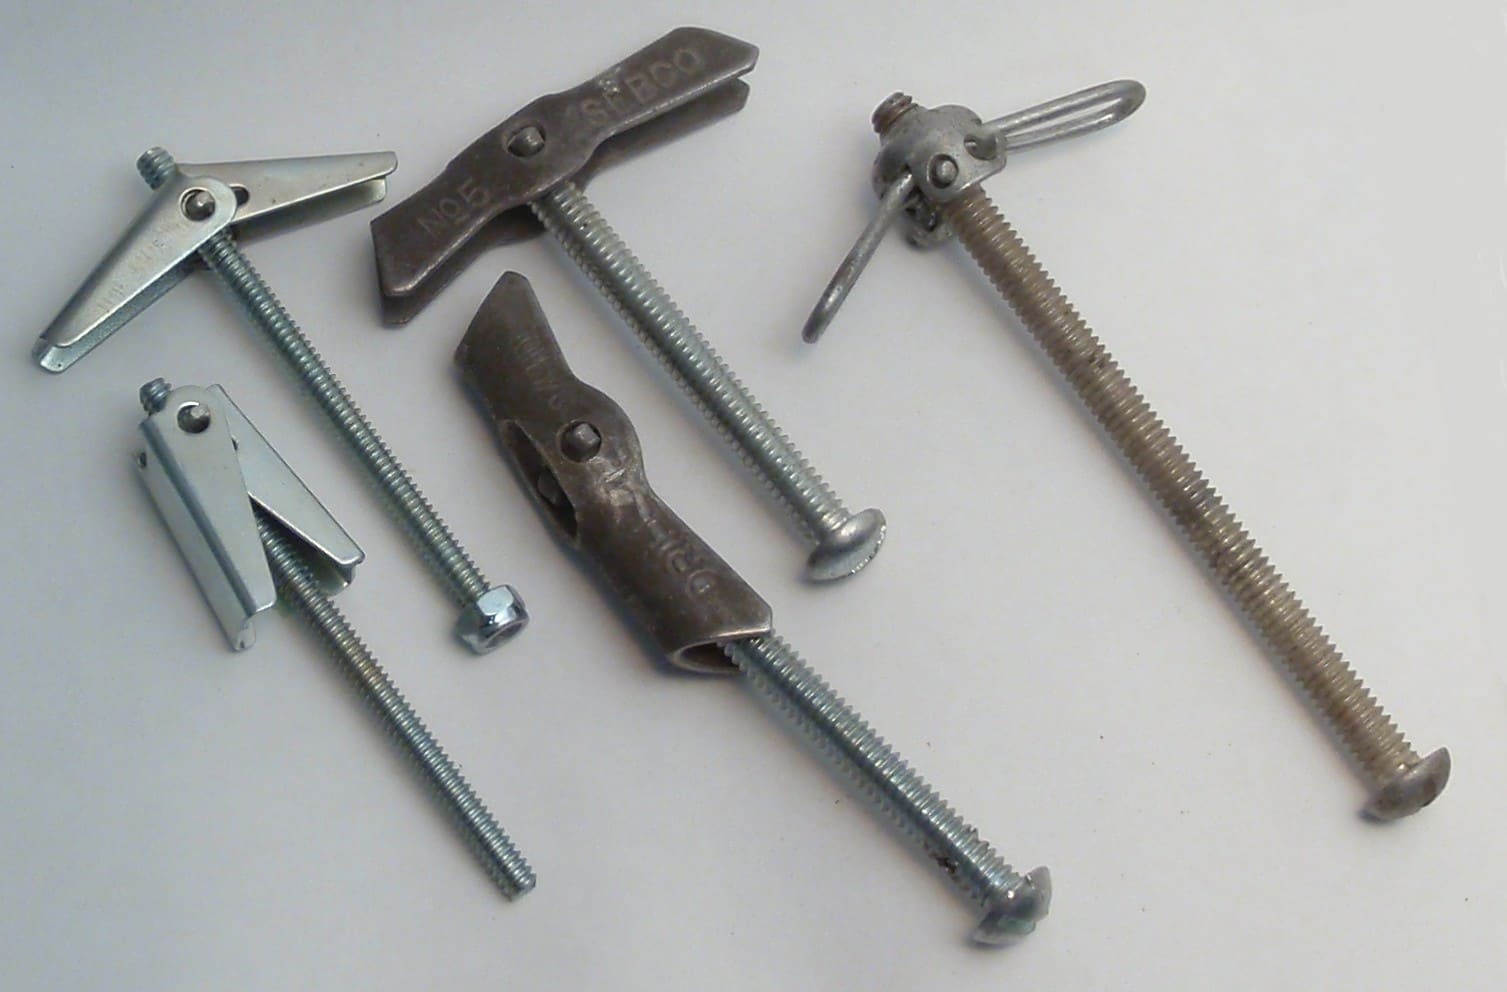
Toggle bolts need a larger hole and room behind the panel for the wings to open. Photo: Tenbergen / Wikimedia Commons · CC BY-SA 3.0 Apply sealant under the item's base and on the screw threads. Use marine-grade screws of the right length: too long can hit wiring or bottom out, too short won't engage enough thread. Tighten snugly by hand, not with an impact driver. Clean off the squeeze-out.
Give the item a firm, sensible push in the direction it will be loaded. Any movement, cracking sound or spinning fastener means it isn't holding. Recheck after the first few trips and again at season's end.
Note the fastener type, size and location in BoatMend so you, or a buyer, knows what is holding that item and what not to hang from it.
Common mistakes
- Mounting cleats, tow eyes, grab handles or seat pedestals on blind fasteners. These loads need through bolts and backing plates.
- Drilling blind into a liner and hitting a wire, hose or fuel line.
- Open-end rivets in places water can reach, creating a leak through the middle of every rivet.
- Mixing metals (for example steel rivets in an aluminum hull), causing corrosion.
- Crushing a cored panel with a fastener and leaving the core exposed to water.
- Over-tightening rivet nuts or well nuts until they spin.
- Wrong hole size, so the fastener never grips properly.
- Silicone as bedding under fasteners, which doesn't hold up as a long-term seal for this job.
When to call a pro
- Anything that carries people, towing, mooring or lifting loads
- The surface is cored and shows soft spots, cracking or moisture
- You must drill near fuel tanks, fuel lines, steering or high-current wiring
- Mounting heavy gear like a T-top brace, radar, outboard bracket or trolling motor
- The hole would be below or near the waterline
Tips
- Buy a few extra fasteners; toggles and nuts love to drop inside the panel.
- Test a fastener in a scrap of similar material before drilling the boat.
- Put anti-seize on stainless screws going into rivet nuts so they can come out later.
- If you only need to hang light items like cord hooks, quality adhesive mounts may avoid holes entirely.
Official references
We read these to write this guide. Your engine's own manual always wins.
Safety: BoatMend is for information only and does not replace a certified marine technician. You are responsible for your safety and your boat. Read the full disclaimer.
Last updated 2026-10-25
Related guides
How to Mount Rod Holders, Fish Finders, Cleats and Antennas Without Causing Leaks
Add accessories to your boat the right way, with through-bolts, backing plates, sealed core and proper wire pass-throughs, so every new hole stays dry and strong. Also learn where you should never drill.
How to Add or Upgrade Boat Cleats (Sizing, Placement and Backing Plates)
Most cleats that fail don't break; they pull out of the deck. Learn how to size a cleat to your dock lines, where to put new cleats for docking and spring lines, how to through-bolt them with real backing plates, how to protect a cored deck, and what's different about pop-up and pull-up cleats.
How to Install an Inspection Port (Deck Plate) in a Deck or Bulkhead
Add a screw-out or pry-out deck plate so you can reach hidden nuts, wiring, hoses and through-hulls, or check a deck core for rot. Learn where it is safe to cut, how to pick and size the port, how to seal a cored deck with epoxy, and how to bed the ring so it never leaks.
Marine Sealants Explained: 5200, 4200, 4000UV, Polysulfide, Silicone and Butyl Tape
Pick the right sealant before you bed a cleat, a through-hull, a window or a transducer. The wrong goo either leaks in a year or glues a part on so hard you damage the boat getting it off.
How to Find and Fix Leaking Deck Hardware (Rebedding Cleats, Stanchions and Tracks)
Track down the cleat, stanchion base or track that is dripping into the cabin, then remove it, seal the deck core and bed it again with the right sealant so the leak stops for years instead of weeks. Catching it early protects the deck core from rot.
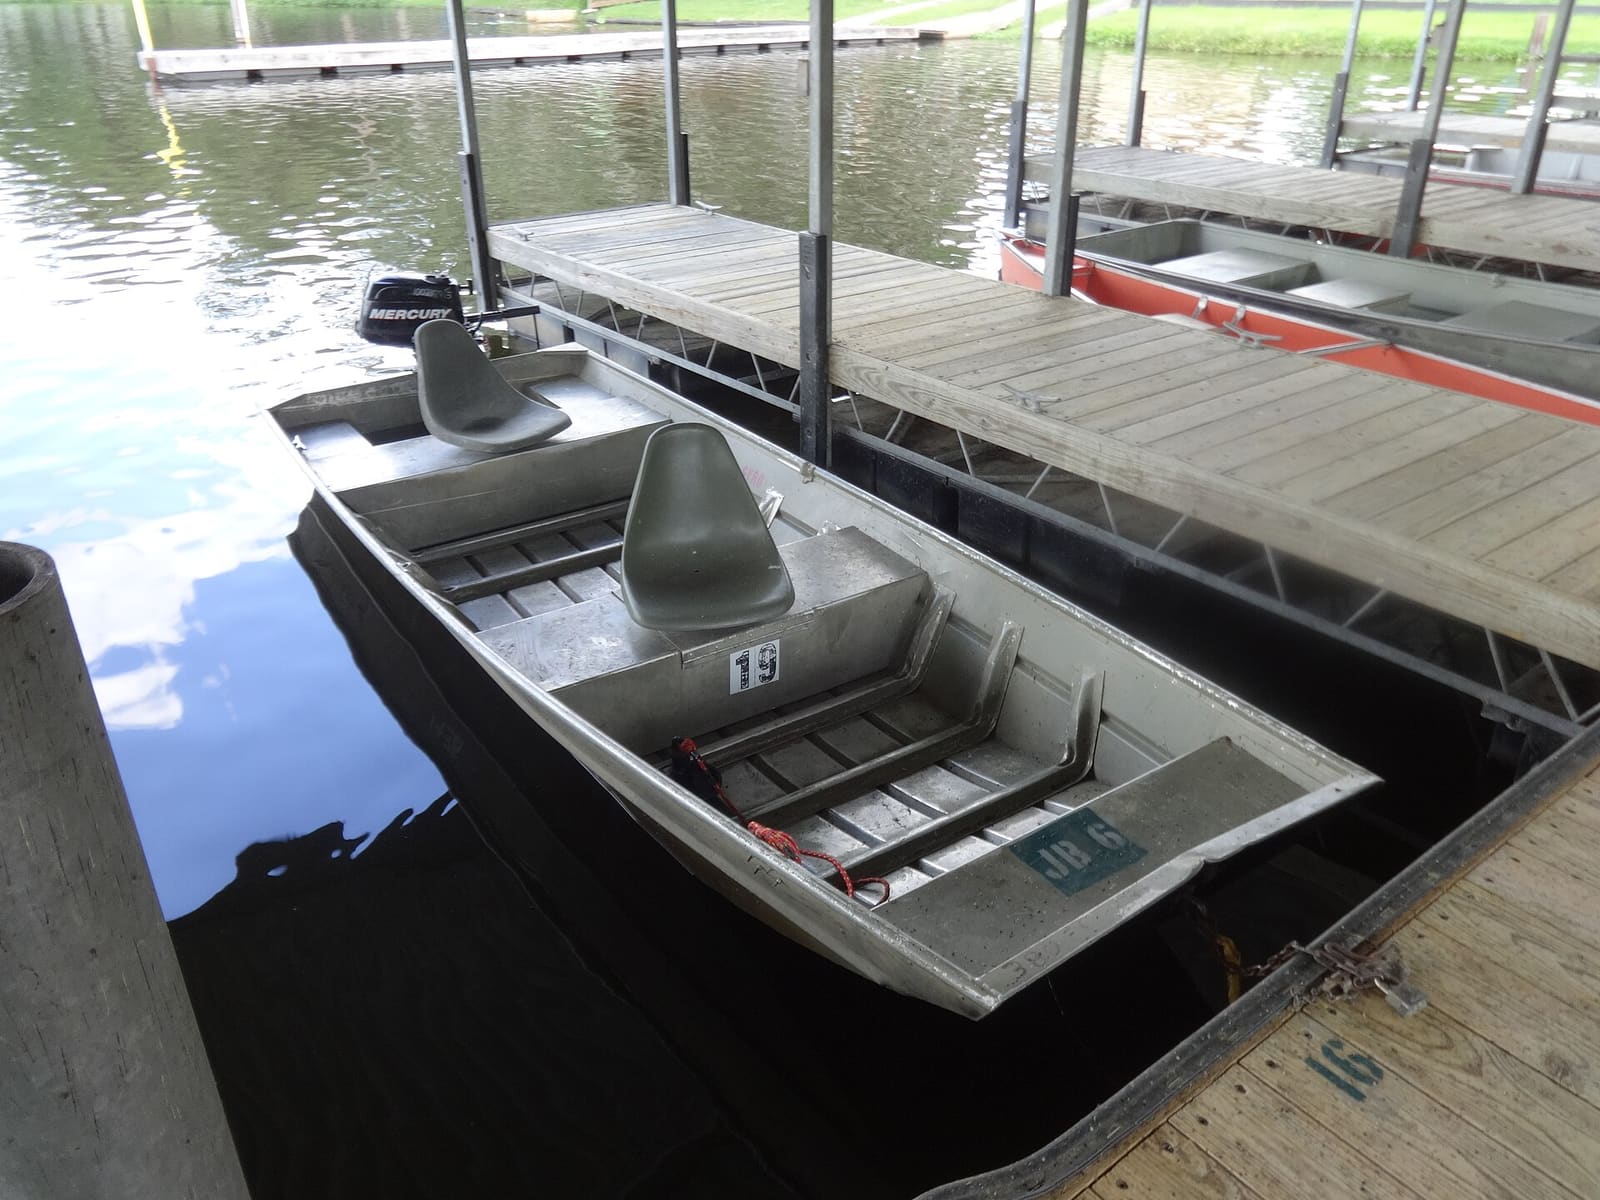
How to Find and Fix Leaking Rivets on an Aluminum Boat
Almost every older riveted aluminum boat weeps a little water. Learn how to find the leaking rivets, tighten the ones that are loose, seal the rest with a flexible epoxy, replace the bad ones the right way, and know when a crack or corrosion needs a welder.