How to Add or Upgrade Boat Cleats (Sizing, Placement and Backing Plates)
Most cleats that fail don't break; they pull out of the deck. Learn how to size a cleat to your dock lines, where to put new cleats for docking and spring lines, how to through-bolt them with real backing plates, how to protect a cored deck, and what's different about pop-up and pull-up cleats.
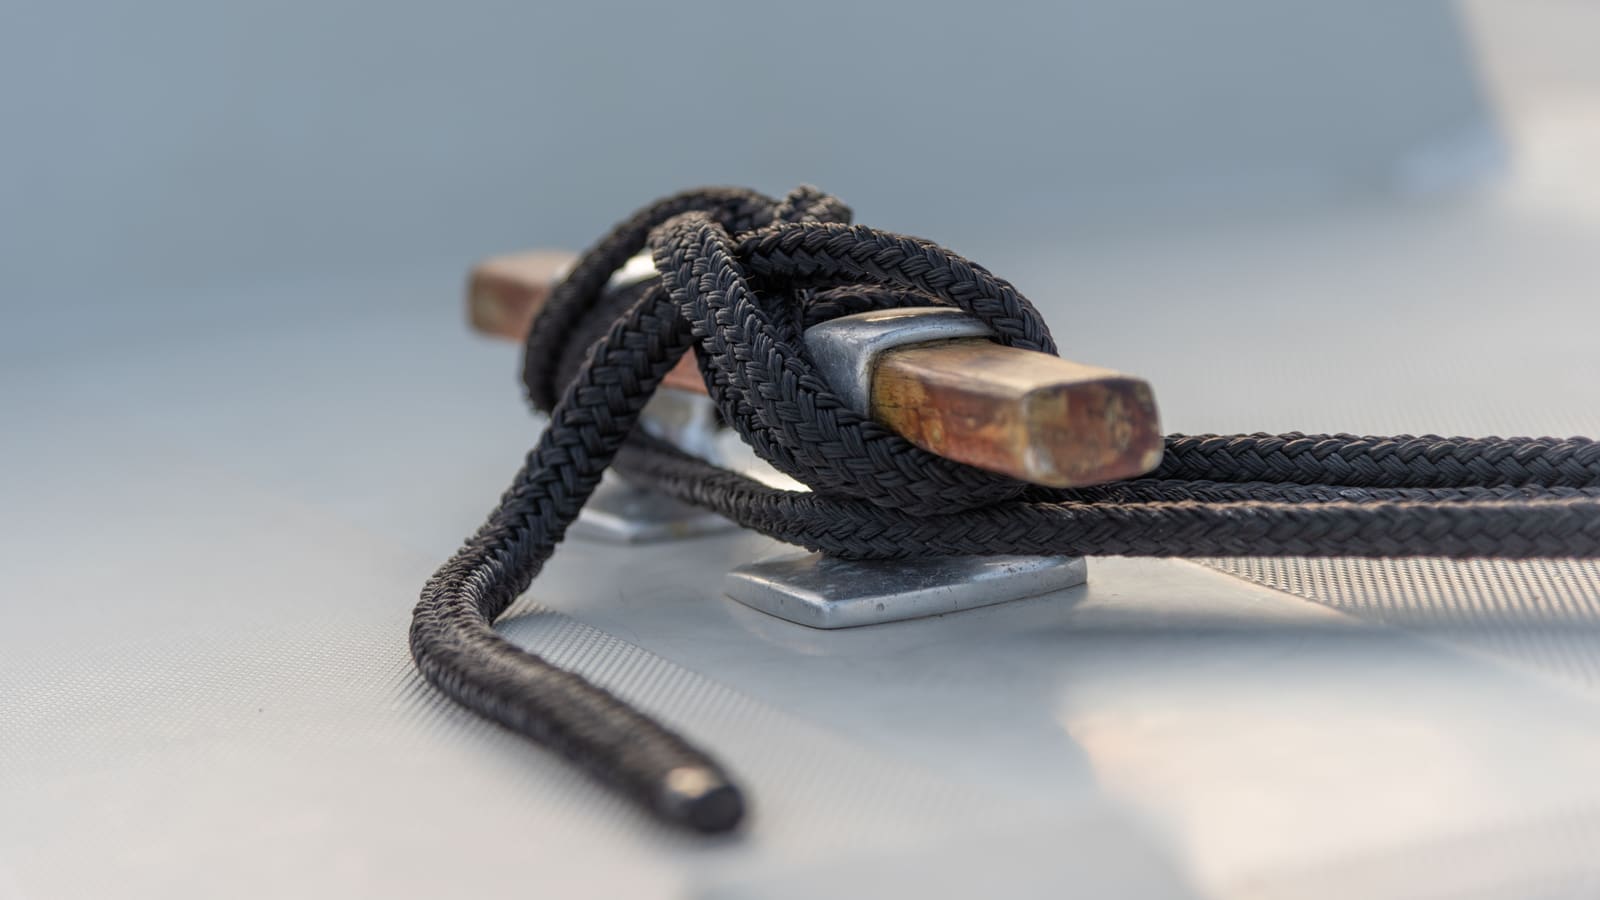
Time
3 h
Shop would charge
$150-500
Applies to
All engines
Safety first: A cleat holding a surging boat carries thousands of pounds, and if it tears out, the line and hardware can whip back with enough force to injure someone. Never stand in line with a heavily loaded line. Before drilling, look and feel under the deck for wiring, fuel and fuel vent lines, hoses and steering cables. Epoxy and solvents call for gloves, eye protection and ventilation. If drilling reveals wet or rotten core, stop and plan a proper repair before the cleat goes on.
Owners often ask
- What size cleat do I need for 1/2-inch dock lines?
- I drilled for a new cleat and the shavings look like balsa wood. What do I do now?
- A cleat on my sealed deck snapped off and I can't reach underneath. Can I just use bigger screws?
This guide walks you through it. Still stuck? Ask the AI Mechanic about your engine.
Tools
- Masking tape, marker and tape measure
- Drill with sharp bits sized for the bolts
- Countersink bit
- Hole saw (about 1 inch or larger) and a flat screwdriver, for cored decks
- Plastic syringes, mixing cups and a stir stick for epoxy
- Jigsaw or rotary tool (for pop-up cleat cutouts)
- Socket set and box-end wrenches
- Caulking gun and plastic scraper
- Flashlight, inspection mirror and a helper
- Safety glasses and nitrile gloves
Parts & supplies
- Cleat sized for your dock lines (stainless, bronze, aluminum or other high-strength metal)
- Stainless steel machine bolts sized for the cleat's holes (never screws)
- Stainless washers and nylon-insert locknuts
- Backing plate (aluminum, stainless, G10 fiberglass board or epoxy-sealed marine plywood)
- Marine bedding sealant (polysulfide or hybrid polyether, not a permanent adhesive)
- Epoxy resin and thickening filler, for cored decks and old holes
Before you start
Why bother. A BoatUS marine surveyor writes that builders often get cleat size, number or location wrong, and that an undersized or missing cleat is an easy problem to fix with a few hours of DIY work. BoatUS insurance catastrophe teams routinely find cleats torn out of decks after storms, usually because they were held only by self-tapping screws, or by bolts with just a nut and washer underneath. Practical Sailor adds that among boats damaged in Hurricane Irma, cleats pulling out of the deck was far more common than cleats breaking.
Think of it as a system. The BoatUS Foundation, which lab-tested cleats with the University of Virginia, describes the cleat, the bolts, nuts and washers, the deck, the backing plate and the line as one chain. In its tests, more than half the failures were the fasteners, not the cleat body.
The two main types:
- Horn cleats (traditional two- or four-hole cleats): strongest and simplest, but they stick up where feet and lines catch.
- Pop-up and pull-up cleats: recessed into the deck. Pop-ups spring up when you press a button; pull-ups are lifted with your fingers. Neater, but they need a larger cutout and can let water into the mechanism.
Check access first. You need to reach the underside of every bolt to fit a backing plate and nuts. BoatUS reminds you to confirm there is access and room under the spot before you commit to it.
No access underneath? This is one of the most common owner questions, often after a cleat on a sealed deck or a small pontoon breaks off in a storm, and the usual forum answer is bigger self-tapping screws and adhesive. That's exactly the kind of mount BoatUS finds torn out. Better options: cut an access hole and fit an inspection port so you can reach the bolts (see the deck inspection port guide), or move the cleat to a spot you can reach. Practical Sailor calls a through-bolt with a hefty backing plate the gold standard, and notes that blind fasteners such as tee nuts, rivet nuts and pop rivets only hold about as well as a nut with a small washer: fine for light accessories, not for a dock or mooring cleat.
Steps
Common upgrades: midship cleats for spring lines (many small boats have none), bigger bow and stern cleats to take thicker lines for storms, an extra cleat for a dinghy or fender lines, or replacing horn cleats with pop-ups where people walk. Look at how you actually tie up at your slip or dock and where the lines want to lead.
The rule of thumb cleat makers use, as the BoatUS Foundation reports it, is roughly 1 inch of cleat length for every 1/16 inch of line diameter:
- 3/8-inch line: about a 6-inch cleat
- 1/2-inch line: about an 8-inch cleat
- 5/8-inch line: about a 10-inch cleat
The Foundation's advice is to buy the biggest cleat your budget and the deck space allow. Practical Sailor points out how quickly this grows for storm lines: it says storm-mooring a 35-foot boat calls for 7/8-inch line and 14-inch cleats, while few boats that size have cleats over 10 inches. Size for the heaviest line you will use, such as your hurricane lines, not your everyday ones (see the dock lines and hurricane prep guides). A larger cleat with smooth, rounded horns also reduces chafe.
The BoatUS Foundation recommends a high-strength metal such as stainless steel, bronze or aluminum and similar alloys. In its tests, four-hole cleats with small feet tended to break at the feet, so look for feet that are large relative to the cleat and have plenty of metal around the bolt holes. Nylon and plastic cleats are for flags, fenders and light lines, not for mooring or docking. In salt water, aluminum or zinc cleats with stainless bolts can corrode where the metals touch; use the fasteners the cleat maker specifies and isolate them as directed.
Good cleat placement follows the lines:
- Bow and stern cleats take the bow and stern lines, which Discover Boating runs forward and aft to the dock.
- Spring lines run from a midship cleat (or the farthest-aft cleat if there is no midship one) to the dock, and they are what keep the boat from surging forward and back. Discover Boating calls the spring line the essential line when docking and also uses a line from the midship cleat straight across to the dock to stop the boat swinging out.
- Chocks and fairleads should be close to the cleat with no change in direction between them. The BoatUS Foundation notes that sharp bends weaken line, and Practical Sailor says pressure against sharp edges can cut a line's strength by 20 to 50 percent.
Also keep the cleat clear of walkways where it will catch toes, hatch lids and the swing of the anchor or windlass. Lay a line from the cleat through the chock to where the dock would be and look at the angle before you drill.
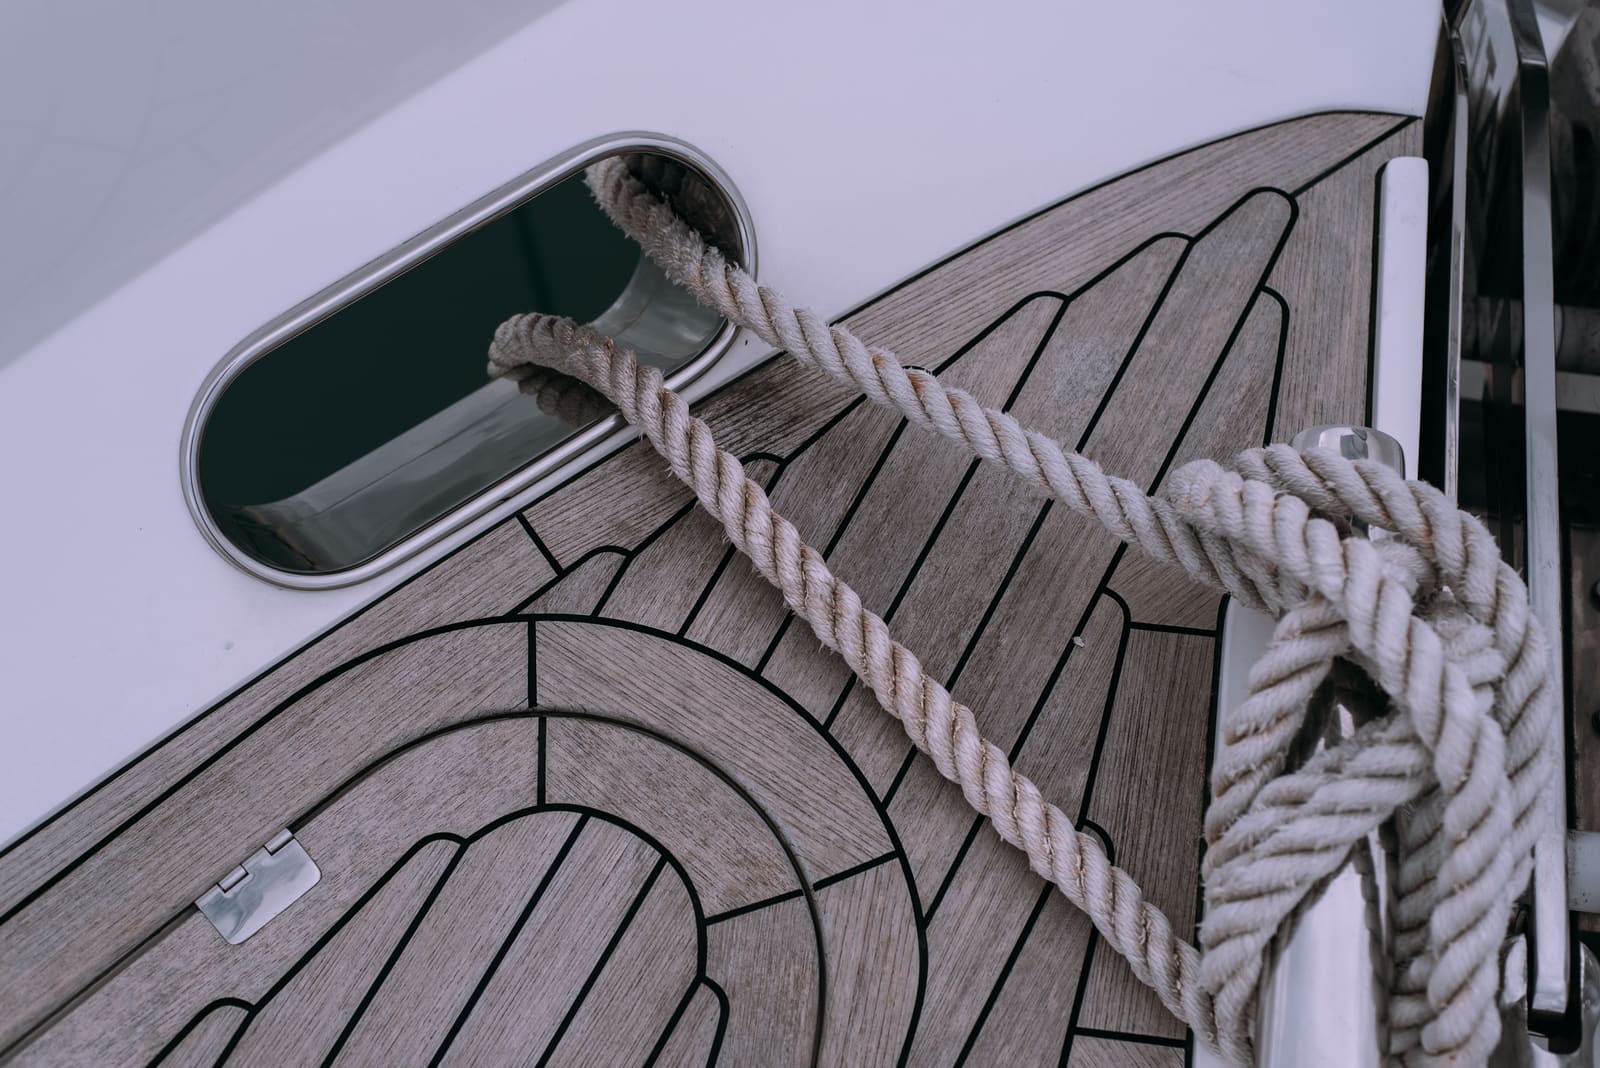
Lines should run straight from the fairlead to the cleat, with no sharp edges to chafe on. Photo: Roman Odintsov / Pexels Go below and look at the underside of the deck where the cleat will go: is it solid fiberglass or a cored sandwich, is there room for a backing plate, and what runs nearby? The BoatUS Foundation advises avoiding soft-cored areas such as balsa for cleats; if you can't, the core has to be removed and the area reinforced, a job it says is generally best for a professional. Ideally the builder solidified the deck where cleats go, but BoatUS's surveyor warns that you'll often have to deal with the core yourself (step 8).
BoatUS shows why plates matter: two 5/16-inch bolts with washers give only about 2 square inches to resist pulling through, while a simple 3-by-6-inch plate gives 18 square inches, almost nine times more. The BoatUS Foundation suggests an under-deck plate about twice the cleat's length and half its length wide. Material options from BoatUS:
- Aluminum: at least 1/4 inch thick (3/8 inch if needed), easy to cut; taper the edges.
- Stainless steel: stiffer and stronger, harder to cut; 1/4 inch is usually plenty.
- G10 fiberglass board: corrosion-proof and stiff, usually 1/4 inch.
- Marine plywood: void-free with waterproof glue, tapered edges, sealed with several coats of epoxy, with the bolt holes drilled oversize, filled with epoxy and redrilled so water can't reach the wood. The plate must sit flat against the underside; fill any unevenness with thickened epoxy first.
Cover the area with masking tape to protect the gelcoat. Mark the holes using the cleat's template or the cleat itself. BoatUS's surveyor runs the drill in reverse until it's through the gelcoat, to avoid chipping, then switches to forward. Drill straight down. Look at the shavings as you go: they tell you whether the deck is solid or cored, and with what.
- Plywood core: BoatUS says there's no need to remove it. Just wet the exposed edges in each hole with a few coats of epoxy so water can't migrate into the wood.
- Balsa or other soft core: remove the core around each bolt and replace it with epoxy. BoatUS's method works from below: cut through the bottom skin and core with a 1-inch (or larger) hole saw centered on each hole, stopping before the top skin and picking out the last bit of core by hand so you don't damage the deck surface. Tape the bottom of the hole, flood it with epoxy to soak the exposed core, remove the excess after a few minutes, then fill completely with thickened epoxy, stirring out air bubbles with a bent paper clip. Once cured, redrill the bolt holes through the plugs. The plugs keep water out and stop the nuts from crushing the core.
Bevel the top of each hole with a countersink bit; BoatUS says this helps prevent gelcoat cracks and gives the sealant a better seat. Dry-fit the cleat, bolts, backing plate, washers and nuts. Fix any fit problems now, because once the sealant is on, as BoatUS's surveyor puts it, everything gets very messy.
Apply a marine bedding sealant to the cleat's base and around the holes. BoatUS suggests a polysulfide or hybrid polyether sealant and advises against permanent adhesives such as 3M 5200, which make removing and rebedding the cleat later very difficult (see the marine sealants guide). Push the bolts through, fit the backing plate, washers and nylon-insert locknuts from below.
With a helper holding the bolt heads, tighten the nuts until sealant just starts to squeeze out around the base, then stop. Leave it overnight so the sealant sets into a gasket. The next day, tighten to the cleat maker's spec. Don't overtighten: BoatUS warns that it can crush the laminate and deform the hardware. Trim cured squeeze-out with a sharp plastic scraper or knife.
These usually come with a precut backing plate that doubles as a template. BoatUS's method: hold the plate in place, drill one hole and put a bolt through it, drill the rest, fit bolts in all of them, tighten two opposite ones to lock the template, then cut the opening with a rotary tool or jigsaw. Seal any exposed core exactly as in step 8, since the larger opening exposes more of it. Remember the mechanism sits below the deck: check it won't hit anything underneath, and that water entering through it will drain where it does no harm.
Boating Magazine adds a few points from its own retrofit: many retractable cleats come with a drain cup underneath, and on a closed gunwale or deck you run a small hose from the cup's barb to a proper drain fitting (open gunwales that already drain to a self-bailing cockpit may not need it). If you're replacing a regular cleat, choose a retractable one at least the same size; its bigger footprint may hide the old holes, otherwise fill them. Check that the studs or bolts are long enough for your deck plus backing plate before you cut. Some pull-up models need only two large holes instead of a central cutout, if you'd rather not jigsaw the deck.
If the new cleat doesn't cover the old holes, fill them with thickened epoxy and finish with gelcoat or paint, or mount the new cleat on a base pad that covers them, as BoatUS describes. Once the sealant has cured, put a line on the cleat and load it firmly in the directions it will be pulled, while someone below watches the backing plate and the deck around it for any movement. Check the bolts and look for water stains below at the start of each season and after any storm.
Common mistakes
- Self-tapping screws or nuts and washers only. These are exactly the cleats BoatUS finds torn out after storms.
- Undersized cleats that can't take a properly sized storm line.
- Drilling into balsa core and not sealing it, letting water rot the deck around the cleat.
- A cleat far from its chock, so the line rubs on the gunwale or a sharp edge.
- Bedding with a permanent adhesive, so the cleat can never come off cleanly for rebedding.
- Cranking the nuts down in one go, squeezing out all the sealant and crushing the laminate.
- Mixing metals in salt water without isolating them.
When to call a pro
- The spot is balsa-cored and you can't reach the underside to de-core and fit a plate
- Drilling shows wet, dark or rotten core
- The deck flexes or cracks around existing cleats
- You need heavy-duty mooring or towing points, such as bow eyes or cleats for storm moorings on a larger boat
- Under-deck access means removing headliners, liners or fuel tank covers
Tips
- Buy cleats in pairs and mount them symmetrically port and starboard.
- Mark each cleat's backing plate and bolt size in your BoatMend boat notes for future rebedding.
- The BoatUS Foundation also suggests a pad on top of the deck about 25 percent longer and wider than the cleat, which spreads the load and lets a bigger cleat cover old holes.
- When you're at the dock, use only a proper cleat hitch with its final locking turn, which Discover Boating says won't slip and is easy to untie.
Official references
We read these to write this guide. Your engine's own manual always wins.
- BoatUS – How to Install a Cleat (2025)
- BoatUS – The Critical World of Backing Plates (2020)
- BoatUS Foundation – Cleat Tests (Findings
- Practical Sailor – Most Well-Made Cleats Fit the Bill, But Beware
- Discover Boating – How to Tie Up a Boat
- Practical Sailor – Through Bolt Alternatives
- Boating Magazine – Installing Retractable Cleats
Safety: BoatMend is for information only and does not replace a certified marine technician. You are responsible for your safety and your boat. Read the full disclaimer.
Last updated 2026-10-25
Related guides
How to Size, Rig and Inspect Dock Lines and Fenders
Pick the right dock line diameter and fender size for your boat, set up bow, stern and spring lines in a slip, add chafe gear, inspect for wear and UV damage, and double everything up before a storm.
How to Mount Rod Holders, Fish Finders, Cleats and Antennas Without Causing Leaks
Add accessories to your boat the right way, with through-bolts, backing plates, sealed core and proper wire pass-throughs, so every new hole stays dry and strong. Also learn where you should never drill.
How to Find and Fix Leaking Deck Hardware (Rebedding Cleats, Stanchions and Tracks)
Track down the cleat, stanchion base or track that is dripping into the cabin, then remove it, seal the deck core and bed it again with the right sealant so the leak stops for years instead of weeks. Catching it early protects the deck core from rot.
Marine Sealants Explained: 5200, 4200, 4000UV, Polysulfide, Silicone and Butyl Tape
Pick the right sealant before you bed a cleat, a through-hull, a window or a transducer. The wrong goo either leaks in a year or glues a part on so hard you damage the boat getting it off.

How to Prepare Your Boat for a Hurricane or Tropical Storm
Make a written storm plan before the season, then haul out or secure the boat with doubled lines and chafe gear, strip off everything that catches wind, and check it safely after the storm. Never ride out a hurricane aboard.
Anchor Basics: Choosing the Anchor, Rode and Scope, Setting It and Checking Your Gear
Match your anchor to the bottom you usually anchor in, put together a chain-and-nylon rode, let out enough scope for the depth and weather, set and check the anchor, use an anchor alarm, and inspect the rode, splices and shackles every season so the weakest link isn't hiding in your ground tackle.
Basic Rope Work for Boat Owners - Eye Splices, Whipping and Sealing Line Ends
Learn the rope skills every owner uses: put an eye splice in three-strand dock or anchor line, stop line ends from unraveling with a whipping or by melting them, know when double-braid splicing is worth it or when to buy pre-spliced line, and inspect splices so you retire a line before it fails.
How to Repair Small Gelcoat Chips and Scratches
Fill and blend small chips, dings and scratches in your boat's gelcoat with a repair kit so they stop letting water into the fiberglass and look close to new. Also learn to spot damage that is structural and needs a pro.
How to Install an Inspection Port (Deck Plate) in a Deck or Bulkhead
Add a screw-out or pry-out deck plate so you can reach hidden nuts, wiring, hoses and through-hulls, or check a deck core for rot. Learn where it is safe to cut, how to pick and size the port, how to seal a cored deck with epoxy, and how to bed the ring so it never leaks.