How to Re-Cover Boat Cushions and Seats (DIY Sewing vs. Upholstery Shop)
Cracked, faded or split cushion covers can be replaced without buying new seats. Learn how to choose marine vinyl or acrylic fabric, which thread survives the sun, how to use the old cover as a pattern, where zippers and drain vents go, and when a walking-foot machine at home makes sense versus paying an upholstery shop.
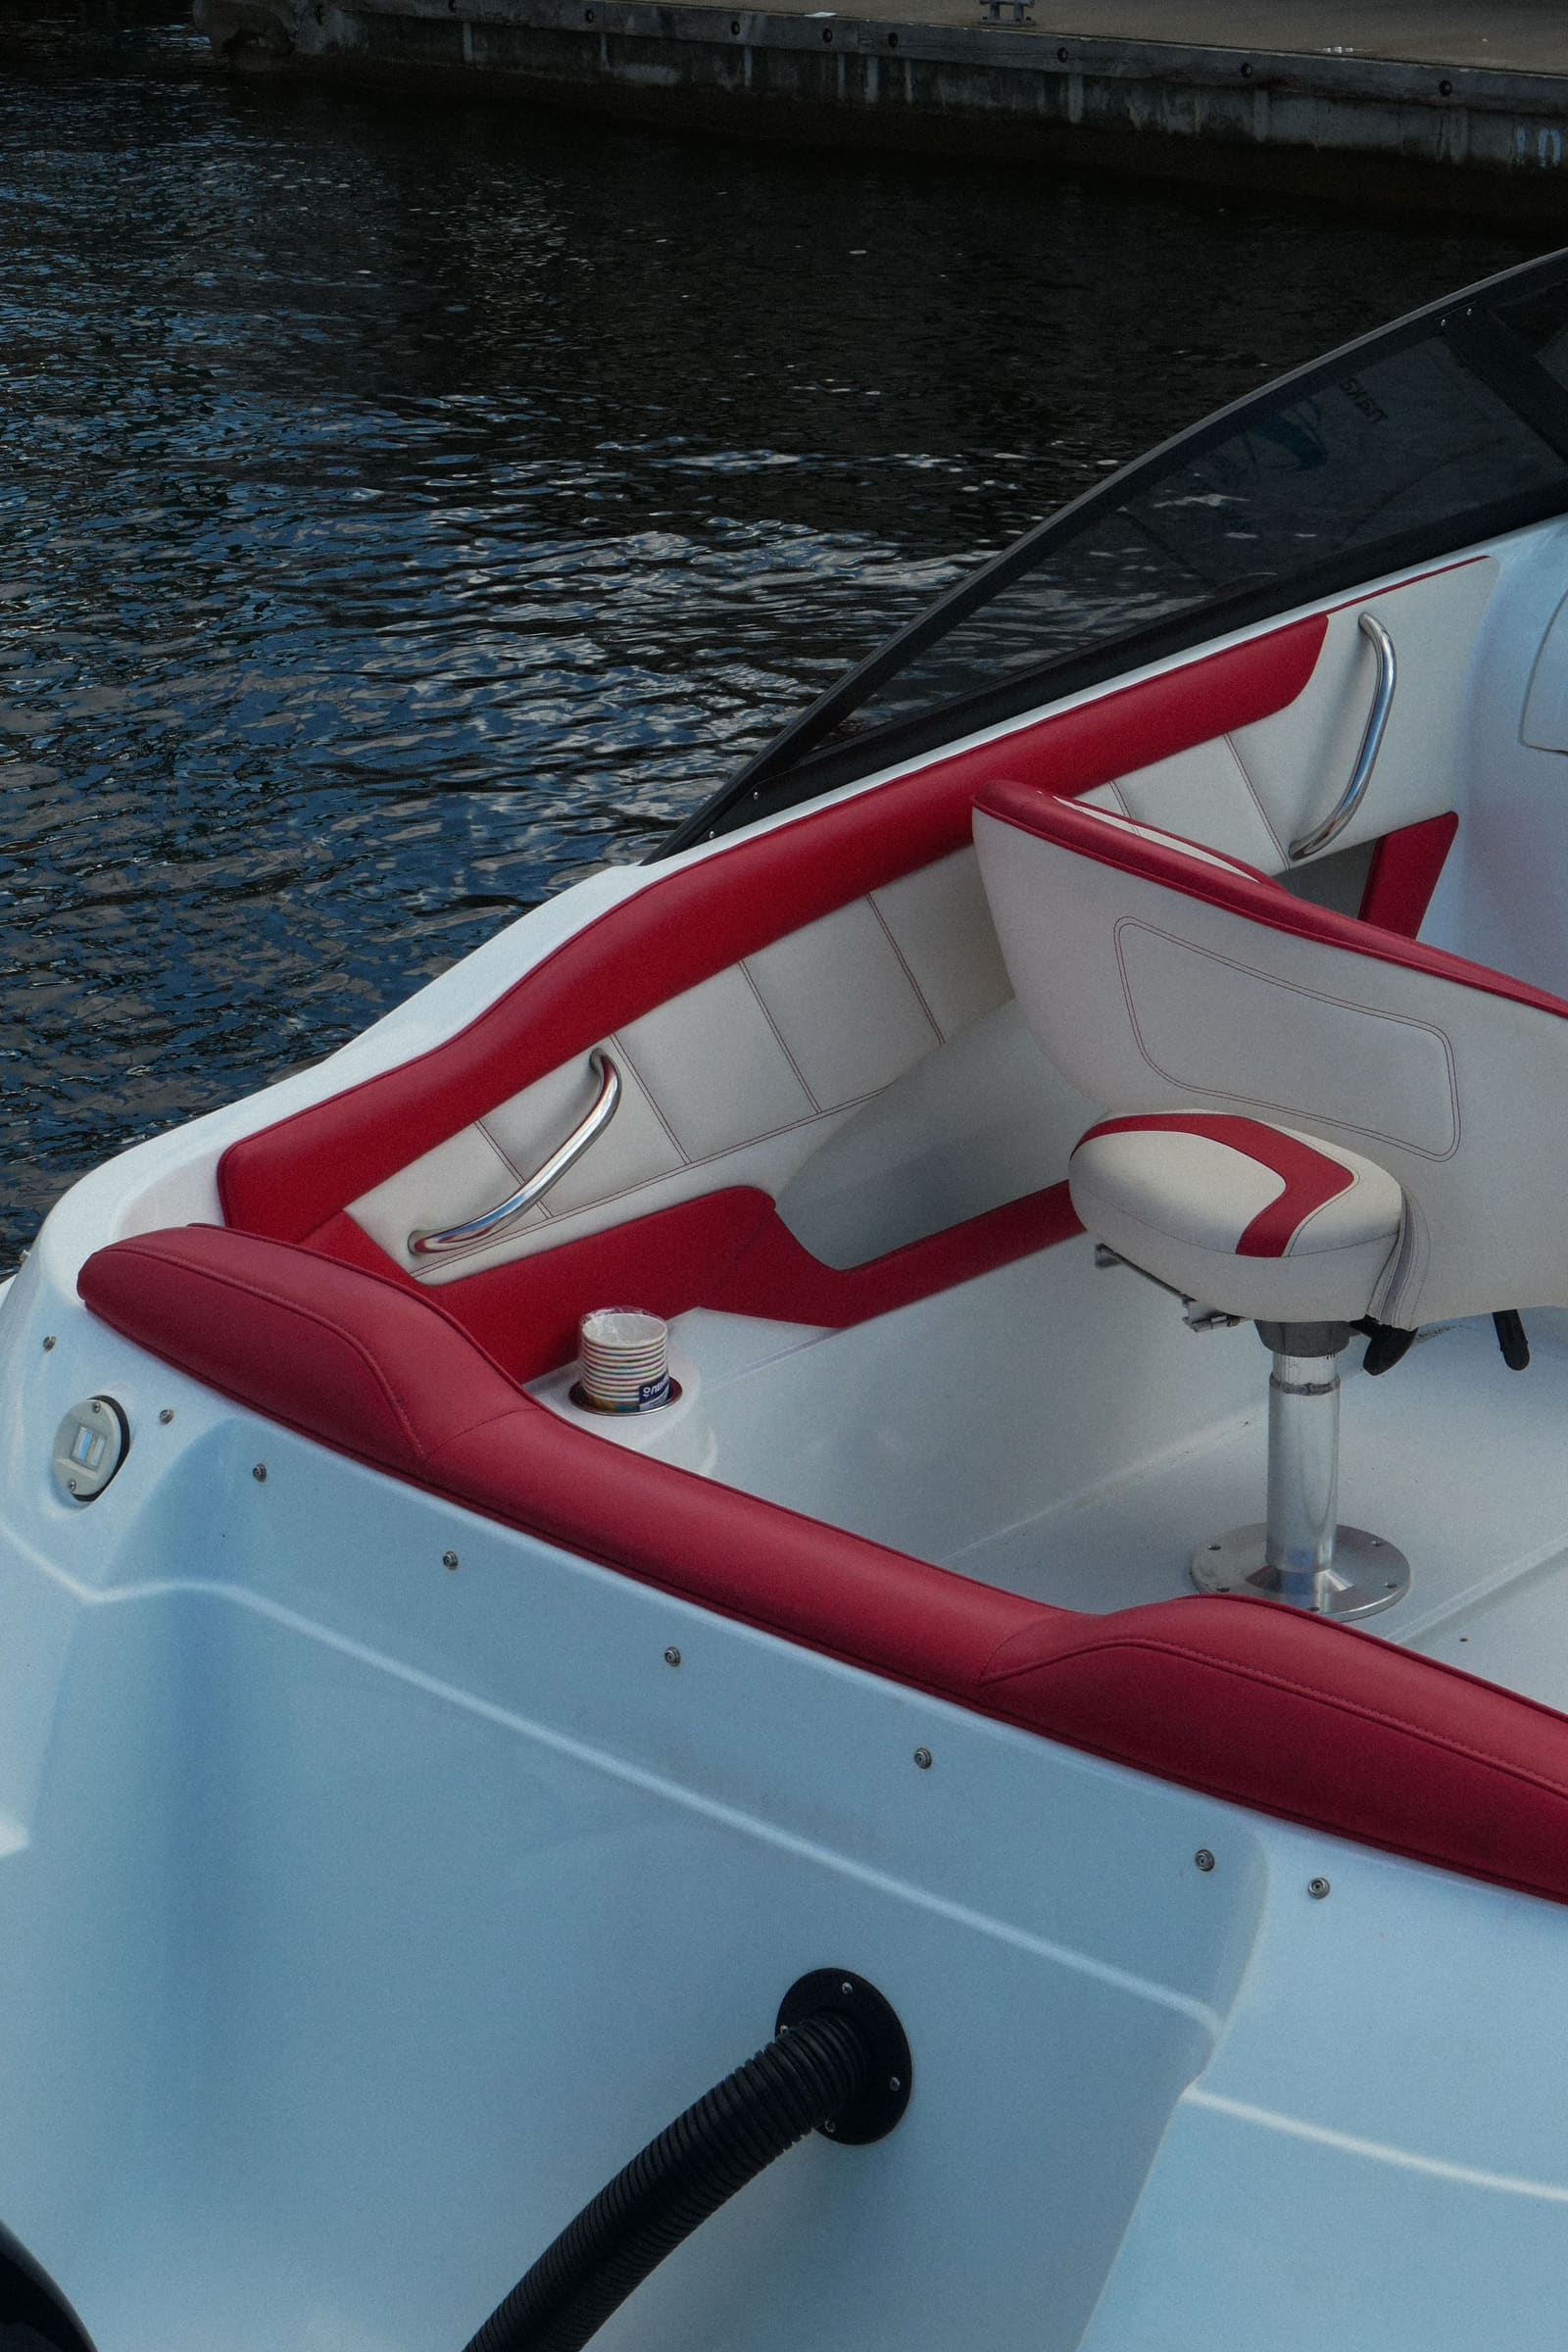
Time
8 h
Shop would charge
$150-600
Applies to
All engines
Safety first: Sewing machines, staple guns and rotary cutters cause most injuries on this job: keep fingers clear of the needle and the cutting path, and never point a staple gun at anyone. If you strip a seat down to its base, check the seat mounts and hinges before you put it back; a seat that breaks loose underway can throw someone overboard. Old foam that smells moldy should be handled with gloves and a dust mask and bagged outdoors.
Owners often ask
- Can I re-cover my boat seats with a regular home sewing machine?
- Which thread should I use so the seams on my new boat cushions don't rot in the sun?
- Is it OK to use a Magic Eraser on my boat's vinyl seats?
This guide walks you through it. Still stuck? Ask the AI Mechanic about your engine.
Tools
- Walking-foot sewing machine (or a heavy-duty machine for light fabrics only)
- Heavy-duty needles sized for your thread
- Seam ripper and small pliers
- Staple remover or flat screwdriver (for stapled seats)
- Pneumatic or heavy manual staple gun (for stapled seats)
- Sharp fabric scissors or a rotary cutter and cutting mat
- Long clear ruler, tape measure and fabric marking pencil or chalk
- Phone camera and masking tape for labeling pieces
- Household vacuum (to compress foam into the cover)
Parts & supplies
- Marine vinyl or solution-dyed acrylic outdoor upholstery fabric
- UV-resistant bonded polyester outdoor thread (Tex 70 or Tex 90) or PTFE thread
- #5 molded-tooth zipper chain and matching sliders
- Open vinyl mesh for cushion bottoms, or metal vent grommets (for vinyl cushions)
- Seam basting tape (double-sided, for upholstery)
- Piping cord, if your cushions have welting
- Stainless steel staples (for seats stapled to a board)
- New foam, batting and plastic foam wrap if the old foam is worn out (see the seat cushion foam guide)
- Exterior plywood and epoxy, if a seat backer board is rotten
Before you start
Why covers fail. BoatUS notes that it's often the thread that goes first: harsh cleaners such as bleach and high-alcohol products attack both the vinyl and the stitching, and seams split open even when the vinyl still looks OK. Sun, sweat and sunscreen do the rest. If the vinyl itself is cracked, faded or brittle, it's time for new covers.
DIY or shop?
- Good DIY projects: cabin and cockpit box cushions, bench cushions, simple seat backs. Good Old Boat's writer made more than 80 cabin cushions on a 1960s home machine by simplifying the design.
- Harder projects: contoured helm and back-to-back seats with sculpted foam and internal fabric "pulls," pleated or quilted designs, and anything with two-tone inserts. Sailrite calls back-to-back seats a more advanced project. Plan on a few practice pieces, or hand those to a marine upholsterer.
- Shop: a marine upholstery shop is the fastest route to a factory look and usually knows which foam and fabric last in your climate. Ask what thread they use (see step 3).
Order materials for the whole job at once, from the same dye lot, plus extra for mistakes. Bring the old cover or a photo to match color and grain.
Steps
Make a list of every cushion and seat, and start with the simplest, least visible one. Photograph each from all sides, including the bottom, the zipper, the seams and any piping. Note which cushions get sat on wet (cockpit, bow, swim platform) and which stay dry (cabin); they need different materials.
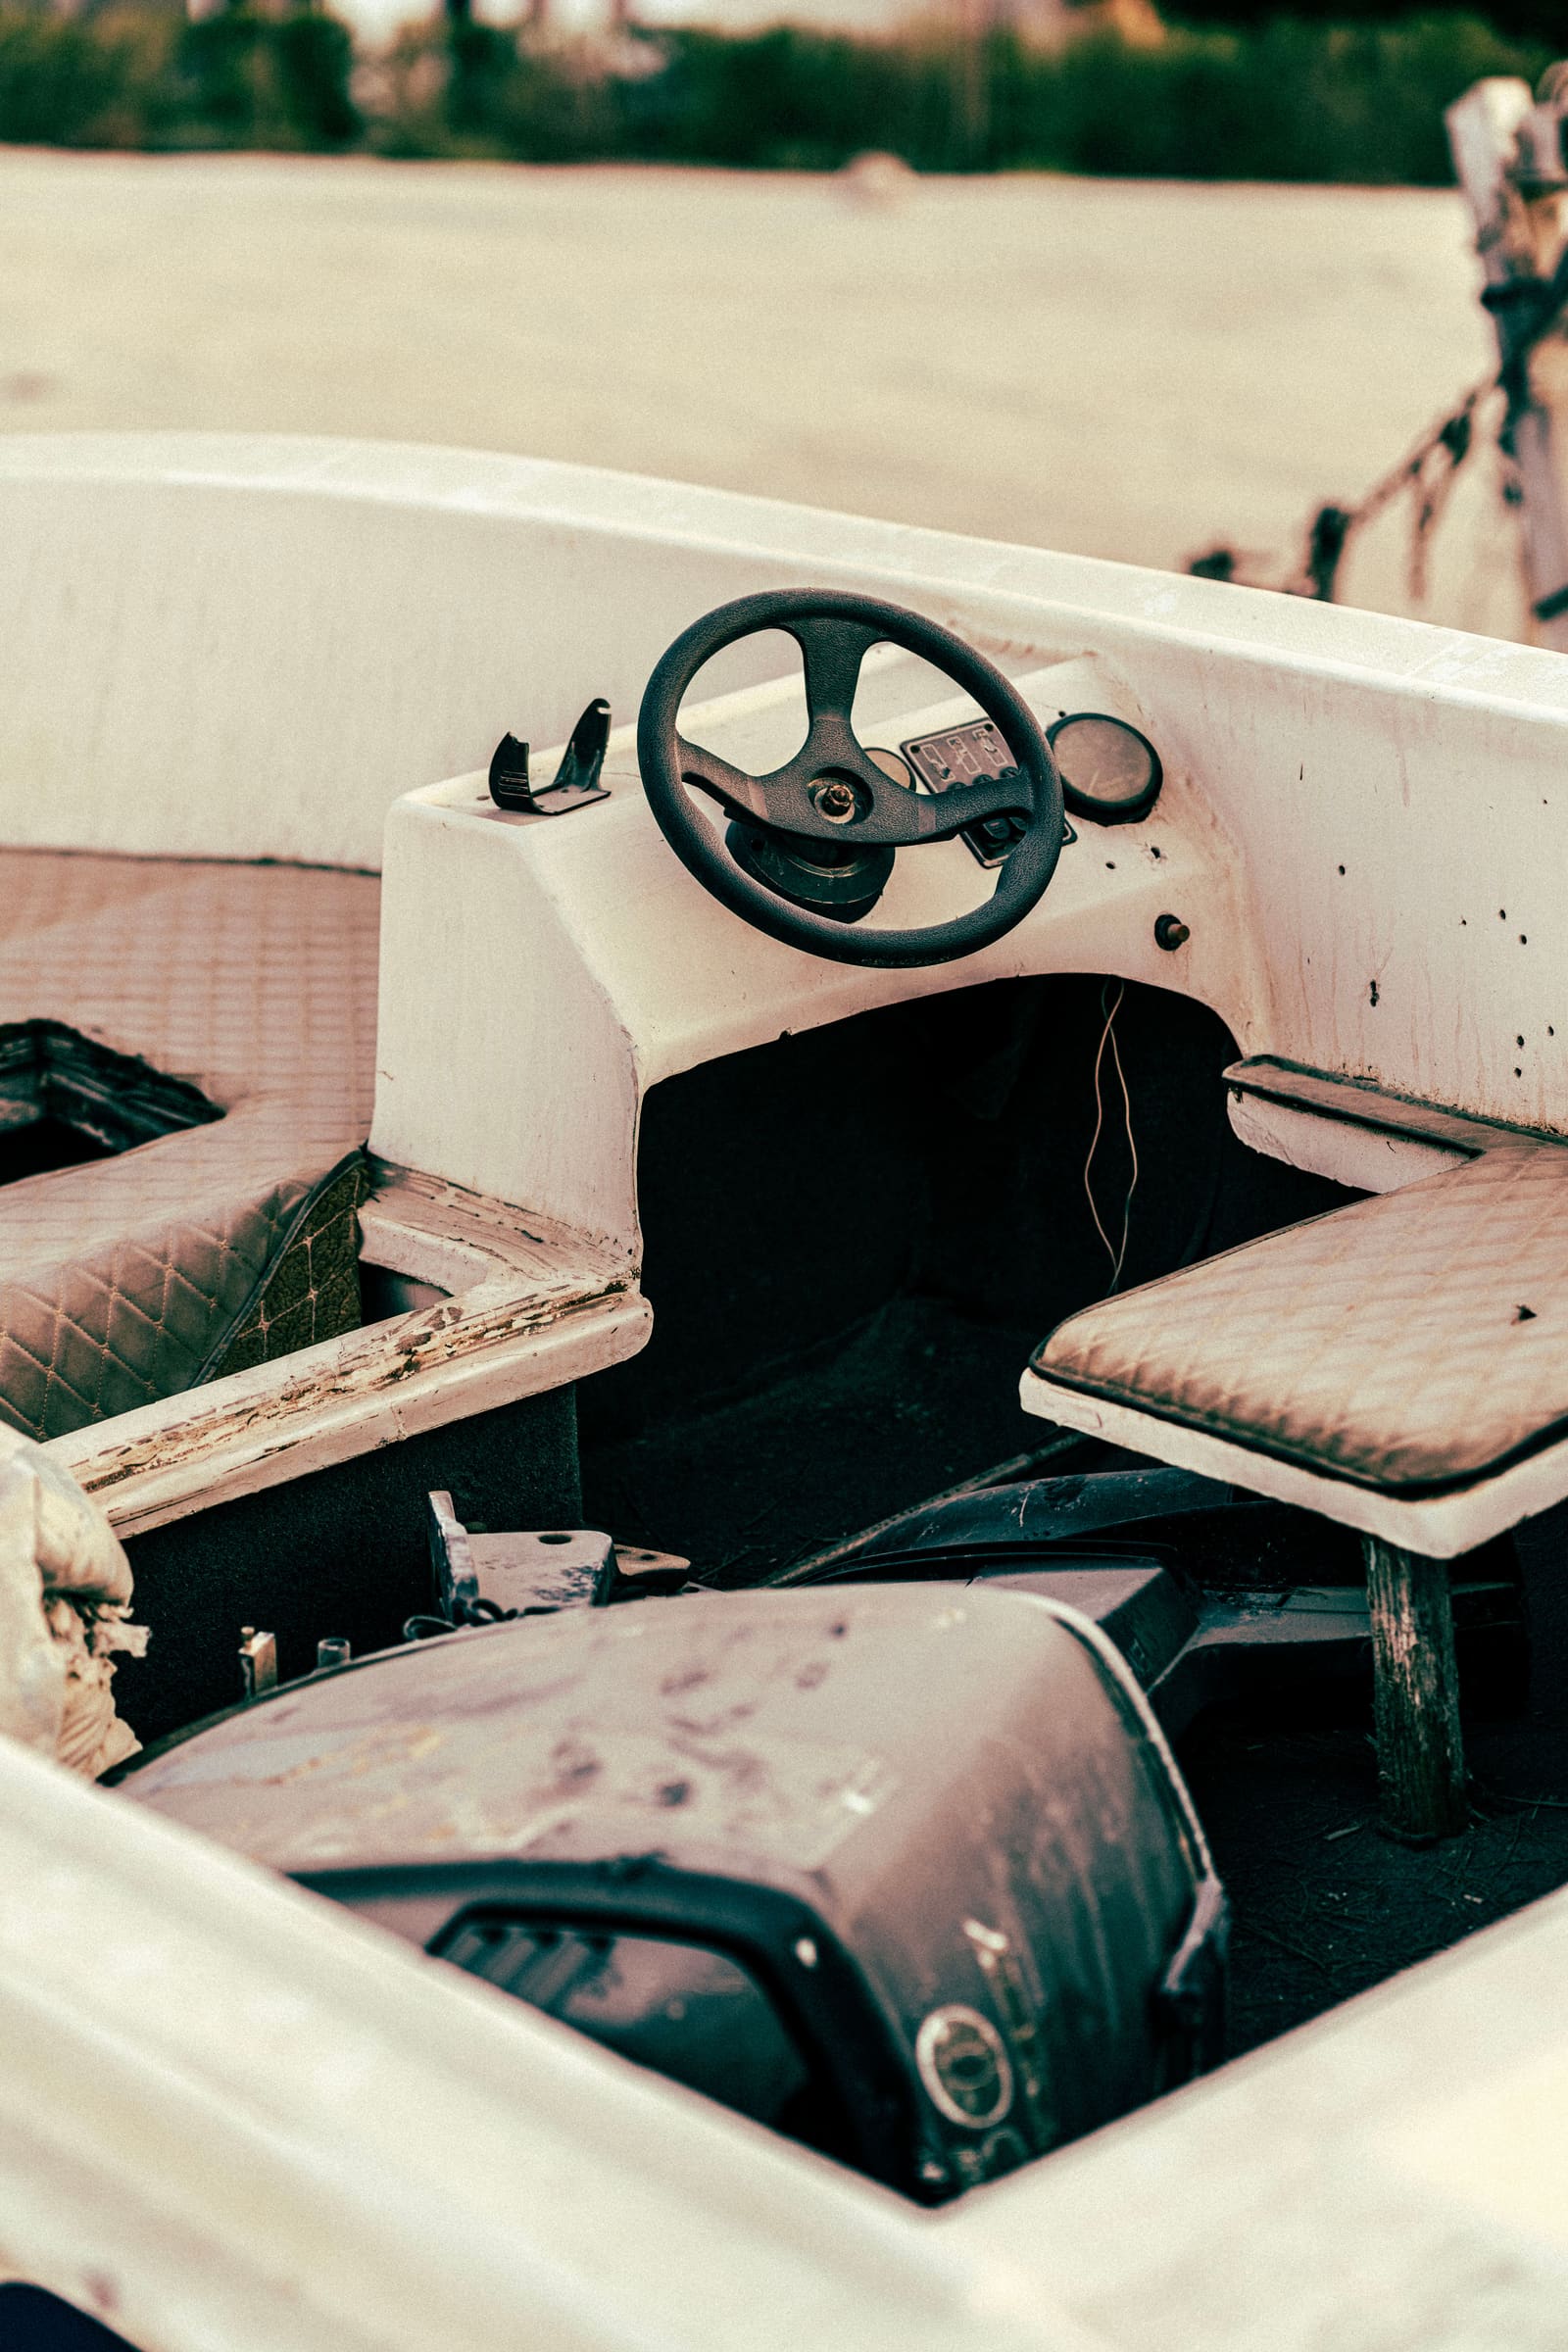
Faded, stained vinyl like this is a classic re-cover job. Check the foam and seat bases while the covers are off. Photo: aboodi vesakaran / Pexels - Marine vinyl (PVC, from brands such as Morbern and Sailrite's EverSoft): waterproof, very abrasion-resistant and easy to wipe clean. Sailrite's cautions: it doesn't breathe, so water that gets in through seams is trapped and feeds mildew; water pools on top; and it can get hot in direct sun. Polyurethane faux leather is a softer alternative for shaded areas. Read the product details before you order: Sailrite's listing for Morbern Seabrook, a common seating vinyl, gives a cold-crack rating (how cold it can get before the vinyl cracks when flexed) and notes the fabric has a right and a wrong side. If the boat sits outside in a northern winter, compare cold-crack ratings.
- Solution-dyed acrylic upholstery fabric (Sunbrella and similar): breathes, drains when paired with the right foam, and is cooler on bare skin. Sunbrella says its marine upholstery fabrics resist fading, don't grow mold on the fabric itself, and can be cleaned with bleach without losing color. Use vinyl where people sit in wet swimsuits and want to wipe down, and woven fabric where comfort and breathability matter more, such as cabin or shaded cockpit cushions.
Thread is a small part of the cost but decides when the seams fail. There are two choices:
- UV-resistant bonded polyester (Sailrite recommends Tex 70, or Tex 90 on an industrial machine, in an outdoor grade with UV protection and a non-wicking finish). Cheaper and easy to sew. A thread specialist quoted by Marine Fabricator says polyester's life in the sun is limited and that she would not use it for projects meant to last more than two or three years outdoors; harsh cleaners like bleach also shorten its life.
- PTFE thread (such as Tenara): practically unaffected by UV and cleaning chemicals, and its maker claims it outlasts the fabric. Marine Fabricator puts its price at five to ten times that of polyester, and it is slippery, so it can need tension adjustments. For covers that live in the sun year-round, PTFE is worth the money. For cabin cushions, outdoor polyester is fine. Never use ordinary cotton or all-purpose thread.
Sailrite explains why home machines struggle with marine vinyl: most use drop feed, where only the feed dogs underneath pull the fabric, so thick, sticky vinyl feeds unevenly, stitches wander and needles break. A walking-foot machine moves the top and bottom layers together and takes heavy needles and thread. Light woven upholstery fabric for cabin cushions can often be sewn on a sturdy home machine, as Good Old Boat's writer did; multiple layers of vinyl with piping really need a walking foot. You can rent time on one at some upholstery or canvas shops, or borrow from a sailing club. Fit a new needle sized for your thread before starting.
Unzip or unstaple the old cover and remove the foam. Before cutting any stitching, mark each panel with tape: "top," "front," which cushion, and match marks across every seam (short lines that cross the seam so you can line pieces up again). Then open the seams with a seam ripper. Sailrite's back-to-back seat tutorial does exactly this: separate the old pieces and use them as the pattern. Keep any internal pulls, listing strips and the zipper for reference. On stapled seats, pull every old staple; leftovers tear the new vinyl.
With the cover off, squeeze the foam. Sailrite reuses foam if it is still supportive, dry and free of mildew. If it is crumbling, soaked or smells, replace it now (the seat cushion foam guide covers the types). On stapled seats, check the plywood or plastic base: rotten, soft wood won't hold staples. Good Old Boat recommends exterior plywood sealed with epoxy and stainless or galvanized staples for any new base.
Old covers with pink or rosy stains that won't wash out? Morbern, a major marine vinyl maker, explains that "pink stain" isn't mildew but a dye made by bacteria growing in wet foam, wood or padding, and it works its way out through even well-protected vinyl. A new cover over the same soggy foam or base can stain again, so replace contaminated foam and a damp base, and build the new seat to shed water and dry quickly.
Old covers stretch and shrink, so check each old panel against the foam and the seat before trusting it. Lay each piece flat on paper or pattern plastic, smooth it out, and trace it, transferring the match marks. True up straight lines with a ruler and make left and right pieces mirror each other. Add seam allowance if the old piece was trimmed close; Good Old Boat traced around its cushions with about a 1/2-inch allowance. For simple box cushions you can skip the old cover and trace the foam directly. For curved cockpit cushions, Sailrite patterns the shape straight from the boat's seating area.
Lay the patterns on the fabric with the grain or the vinyl's stretch running the same way on every panel of a cushion, especially on tops and fronts that show. Mark with a pencil or chalk on the back side; pins leave permanent holes in vinyl, so hold patterns down with weights instead. Transfer every match mark with a small notch or line in the seam allowance. Cut the boxing (the strip that wraps the sides) long enough to go all the way around with extra to overlap.
Piping (welting) gives a crisp edge. Good Old Boat cut fabric strips about 4 1/2 inches wide, wrapped them around cord and stitched close to the cord with a cording or zipper foot. Sailrite also sells ready-made vinyl welting. Sew the welting onto the edges of the top and bottom panels first, then add the boxing.
Sailrite's recommendations for outdoor cushions: #5 molded-tooth zipper chain with a matching slider (no need for a finished zipper of a set length), in a UV-resistant brand. Put the zipper where it won't show and where water won't sit on it: along the back boxing, or on the underside as Sailrite does on its curved cockpit cushions. Then plan how water and air get out:
- Vinyl cushions: because vinyl doesn't breathe, Sailrite adds metal vent grommets in the zipper area or a strip of open vinyl mesh in the zipper panel, so air can escape when someone sits down.
- Woven or quick-dry cushions for wet areas: a vinyl mesh bottom panel lets water drain straight through and helps the foam dry.
Use basting tape to hold layers together instead of pins. Stitch around the top panel's welting, add the boxing (matching your marks as you go), insert the zipper panel, then close with the bottom panel. Backstitch at every start and stop. For vinyl cushions, Sailrite suggests a semi flat-felled seam with basting tape to help seal seams against seeping water. Turn the cover right side out and check the fit before going on to the next cushion.
For zippered cushions, Sailrite's trick is to wrap the foam loosely in thin plastic film, put a vacuum hose in the open end, and let the vacuum shrink the foam so it slides into the cover easily. Leave the film in as a moisture barrier with standard high-density foam in vinyl, but remove it with quick-dry foam, which has to drain. For stapled seats, center the cover, staple the middle of each side first, then work out toward the corners, pulling evenly and pleating the corners neatly. Use stainless staples only.
BoatUS's advice for vinyl: rinse and gently wash after every trip with mild boat soap and a soft cloth, never pressure-wash, avoid bleach and high-alcohol cleaners, and use a dedicated vinyl cleaner and protectant when needed. Check your vinyl maker's list of approved cleaners for stubborn stains. Morbern's care sheet is a good example of what to avoid: no abrasive powders or abrasive cleaners, no steel wool, no citrus-based cleaners, no lacquer solvents and never wax on vinyl upholstery, which it says makes vinyl brittle. It also warns that some household cleaners and solvents pull plasticizers out of vinyl, and that dyes from jeans and bright prints can rub off and stain light vinyl. Owners in forums add that "magic eraser" sponges are mildly abrasive and can dull the protective top layer, so treat them as a last resort on a hidden spot, if at all. Cover the seats when the boat isn't in use, with a cover that breathes. For acrylic fabrics, Sailrite suggests restoring water repellency with a fabric protector now and then, kept off zippers.
Common mistakes
- Cutting the old cover apart without match marks, then not knowing how the pieces go together.
- Trusting a stretched old cover as a pattern without checking it against the foam.
- Ordinary thread. It rots in a season or two in the sun and the seams split.
- Vinyl cushions with no vents, which balloon when sat on and trap moisture inside.
- Pins in vinyl, leaving holes that show and leak.
- Mixing dye lots, so a replaced cushion doesn't match the rest.
- Carbon steel staples that rust through the vinyl from the inside.
- Cleaning new covers with bleach, which attacks polyester thread and vinyl.
When to call a pro
- Contoured, pleated or quilted helm and back-to-back seats you want to look factory-made
- The seat base, frame, hinges or pedestal is broken or rotten and needs rebuilding
- You don't have access to a walking-foot machine for multi-layer vinyl
- Large sun pads or V-berth sets where a pattern mistake would waste a lot of expensive fabric
Tips
- Practice on the smallest cushion first, and keep it in the least-visible spot.
- Label every new panel on the back with chalk or a fabric pencil as you cut it. Skip masking tape on new vinyl: Sailrite's listing for Morbern Seabrook vinyl, for example, says not to use masking tape on either side of it. Tape is fine on the old covers you're taking apart.
- Keep your new patterns, labeled by boat and cushion, so the next set is quick.
- Buy one extra yard of fabric and some zipper chain and store them for future repairs.
- If you are only replacing the thread on otherwise sound covers, a canvas or upholstery shop can often restitch seams with PTFE thread for much less than new covers.
Official references
We read these to write this guide. Your engine's own manual always wins.
- Sailrite – The Ultimate Guide to Outdoor Vinyl & Faux Leather Cushions
- Sailrite – The Ultimate Guide to Building Weatherproof Outdoor Cushions
- Sailrite – How to Upholster Back-to-Back Powerboat Seats
- Sailrite – DIY Curved Cushions
- Sailrite – Do You Need a Special Sewing Machine for Marine Vinyl?
- Sailrite – How to Protect Foam From Moisture & UV Damage
- Marine Fabricator – Thread Technology, Polyester vs. PTFE
- Good Old Boat – New Cushion Covers
- BoatUS – Have A Seat (vinyl seat care)
- Sunbrella – Marine Upholstery Fabrics
- Sailrite – Morbern Seabrook Blue 54" Vinyl Fabric (product details)
- Morbern – Product Resources (care and cleaning information)
- Morbern – Care and Cleaning of Morbern Vinyl Coated Fabrics
- Morbern – Pink Stain and Morbern Vinyl Coated Fabrics
Safety: BoatMend is for information only and does not replace a certified marine technician. You are responsible for your safety and your boat. Read the full disclaimer.
Last updated 2026-10-25
Related guides
How to Dry or Replace Waterlogged Boat Seat Cushion Foam
Stop the soggy-seat problem: find out why the foam inside boat cushions holds water, dry it out the fast way, and choose the right replacement foam (standard, closed-cell or quick-drying reticulated) so your seats stay dry, firm and mildew-free.
How to Clean and Protect Boat Canvas, Bimini Tops and Vinyl Seats
Wash your bimini, covers and enclosure the right way, beat mildew without wrecking the stitching, keep vinyl seats soft and stain-free, look after zippers and snaps, and store everything so it comes out clean next spring.
How to Prevent and Remove Mold and Mildew on Your Boat
Stop the musty smell and black spots before they start. Find and fix the water source, keep air moving, control humidity safely, and clean mold off gelcoat, vinyl and cabin surfaces with products that won't damage them.
How to Detail Your Boat's Interior (Vinyl Seats, Carpet, Storage and Drains)
Give your cockpit and cabin a proper detail. Clean marine vinyl without stripping its UV protection, wash snap-in and glued-down carpet, clear out cup holders, storage boxes and their drains, beat mildew and pink stains, and know which household cleaners to keep off your boat.
How to Repair Torn-Out Canvas Snaps, Fasteners and Zippers
Fix snaps that have pulled out of your bimini, cover or enclosure, reinforce the torn fabric, choose the right snap metal and setting tool, free stuck snaps, replace Lift-the-Dot and twist fasteners, and swap a worn zipper slider.
How to Replace or Re-Cover a Bimini Top
Decide whether you need new canvas or a whole new top, measure your frame the right way, pick a fabric that will last in the sun, check the frame and hardware, and swap the canvas yourself or brief a canvas shop.

How to Care for a Pontoon Deck, Flooring, Fence and Furniture
Keep a pontoon's carpet or vinyl floor clean and dry, find soft spots in the plywood deck before they spread, check fence rails, gates and seat bases, care for furniture vinyl, and cover and store the boat so mildew and sun do not win.
How to Replace Folding Boat Seat Hinges and Fix Back-to-Back Seats
Fix flip-up seats, fold-down fishing seats and back-to-back lounge seats that sag, jam or rip loose. Replace rusted or bent hinges with stainless hardware, rebuild a rotten plywood base so the new screws actually hold, and adjust the latches so the seat stays put.