How to Replace Folding Boat Seat Hinges and Fix Back-to-Back Seats
Fix flip-up seats, fold-down fishing seats and back-to-back lounge seats that sag, jam or rip loose. Replace rusted or bent hinges with stainless hardware, rebuild a rotten plywood base so the new screws actually hold, and adjust the latches so the seat stays put.
Time
2 h
Shop would charge
$100-450
Applies to
All engines · Bowrider / runabout, Pontoon, Fishing boat
Safety first: A seat back or bolster that folds unexpectedly at speed can throw a passenger or the driver off balance. Don't let anyone sit on, or lean on, a seat with a broken hinge or latch until it's fixed. If a fix means drilling into the boat's floor, check what's underneath first: fuel tanks, fuel lines, wiring and the hull can sit just below the deck.
Owners often ask
- The hinge on my fold-down boat seat ripped out of the base. Can I just put in bigger screws?
- My back-to-back seat sags when it is laid flat as a sun pad. Is the hinge bad?
This guide walks you through it. Still stuck? Ask the AI Mechanic about your engine.
Tools
- Screwdrivers (Phillips and square drive) and a cordless drill with sharp bits
- Socket set and two wrenches (one to hold the nut)
- Pliers, a staple remover or flat screwdriver, and a pick
- Awl or small screwdriver to probe for soft wood
- Penetrating oil for seized screws
- Phone camera, masking tape and a marker
- Safety glasses, gloves and a dust mask
Parts & supplies
- Replacement hinges in 316 or 304 stainless steel, matched to the old hinge size, hole pattern and fold direction
- Stainless screws, or bolts with washers and locking nuts, sized for the hinge holes
- Thickened epoxy (resin plus filler) for filling old or stripped screw holes
- Marine plywood, or a plastic or composite board, if the seat base must be rebuilt
- Marine sealant for screws that go into the boat's floor or deck
- Replacement latch, striker or spring clip if the old one is worn
Before you start
Which seat do you have? The repair is similar for all of them, but the parts differ:
- Fold-down fishing seats. A molded seat that folds flat onto a hinge base, often on a pedestal or a console box.
- Flip-up bolsters and helm seats. The front of the cushion flips up so the driver can lean or stand. A spring hinge or a pivot bracket holds it.
- Back-to-back lounge seats. Two seats share a backrest, and every piece is hinged so the whole unit lays flat into a sun pad. Sailrite's re-upholstery project on a back-to-back seat notes that designs vary a lot, so photograph how yours comes apart.
- Pontoon and bowrider bench lids. The cushion and its plywood base hinge up for storage underneath.
Why hinges fail: cheap hinges (plated steel or thin pot metal) rust or bend; screws strip out of a plywood seat base that has soaked up water; and latches drift out of line so the seat flops or won't lock. Most of the time the hinge is only half the problem. The wood it's screwed into is the other half.
Order the right hinge: take the old one with you or measure it: overall length and width, leaf thickness, the hole pattern, which way it folds and whether it has a stop or a spring. Many seat makers sell exact replacements. If yours doesn't, look for marine hardware in 316 or 304 stainless steel. BoatUS notes 316 holds up better than 304 in salt water.
Steps
Fold and unfold the seat several times and rock it in each position. Watch where the movement happens: the hinge pin itself (a worn or bent hinge), the screws (stripped holes or rotten wood), or the latch (out of adjustment or worn). A seat that won't stay up or down is often just a latch or a worn spring. A seat that sags or rocks is usually the hinge or the wood.
Photograph the hinge, latch, spacers and screw positions from a few angles before you touch anything. Then unscrew the seat or cushion from its hinge, or the hinge from the boat, whichever is easier. Put the screws in labeled bags. If screws are seized, soak them with penetrating oil and use a screwdriver bit that fits the head snugly so you don't strip it.
Look for rust streaks, a bent leaf, an oval or loose pin, and cracks around the screw holes. Brown staining on "stainless" hinges is common. BoatUS explains that even good stainless corrodes when it sits wet without oxygen, such as inside soggy wood. Pitting near the pin or cracks mean replace it. Light surface staining can be cleaned, but a hinge that wobbles on its pin won't get better.
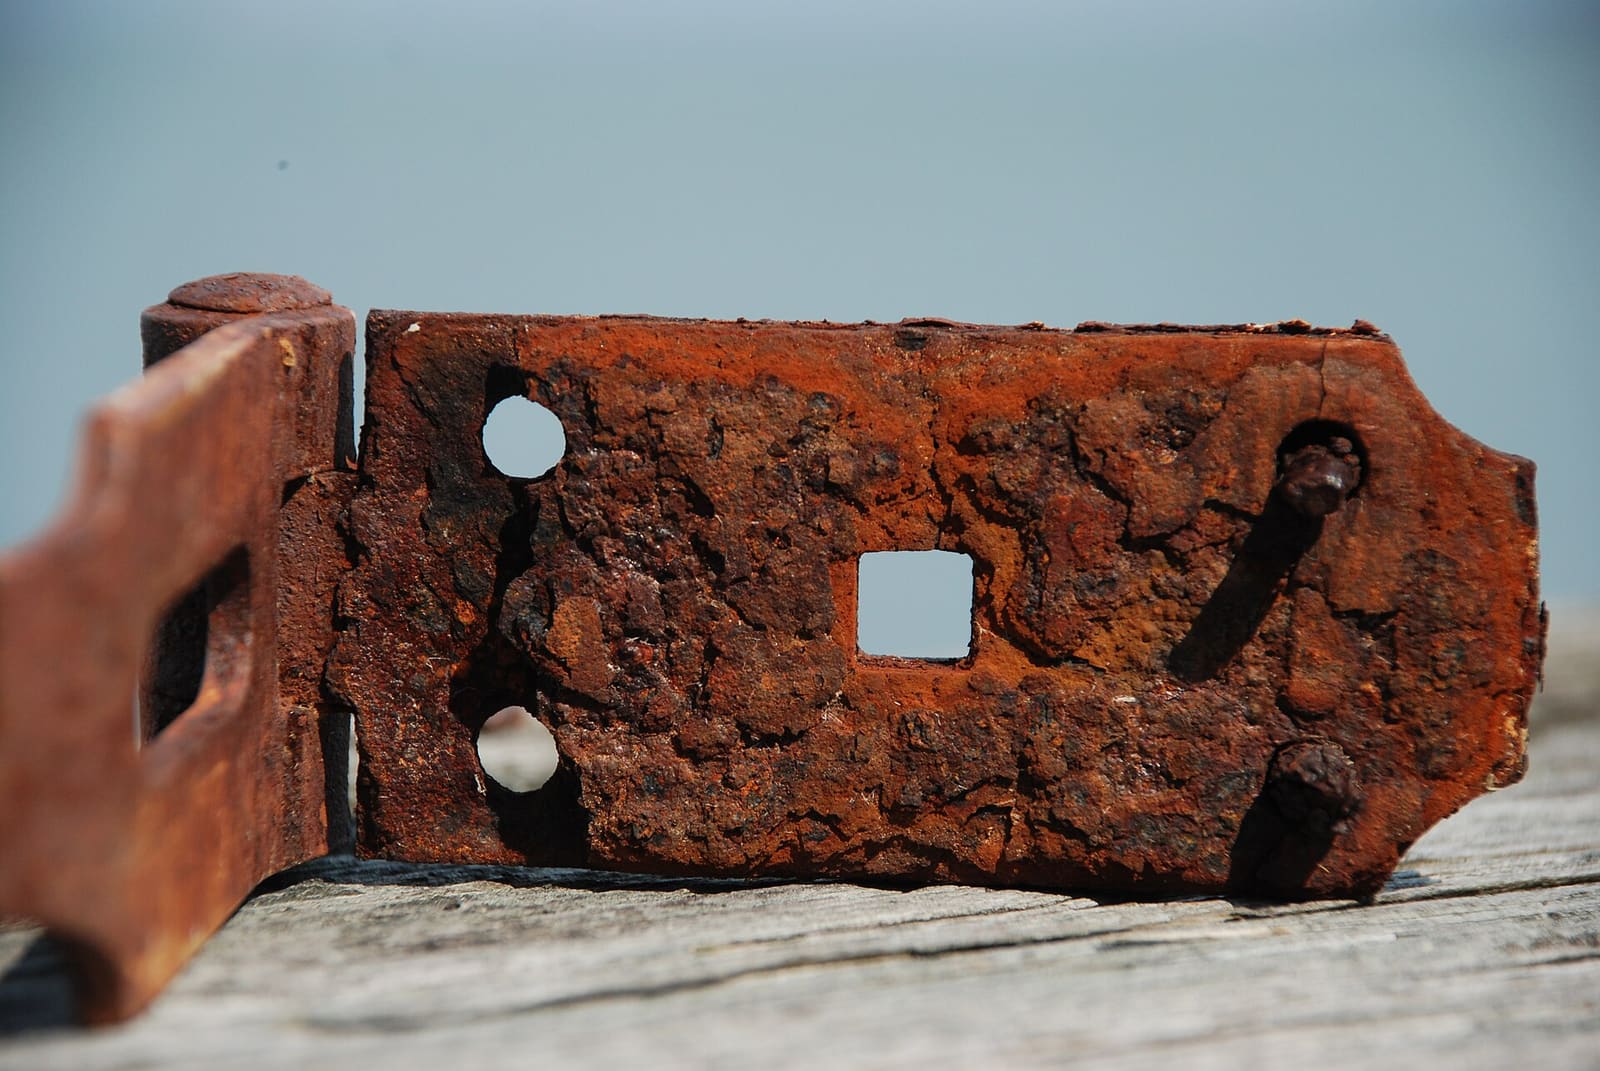
Plain steel hardware after years of salt air. Rust like this eats the leaf and the pin; replace it with stainless marine hardware. Photo: Eric Magnan / Wikimedia Commons · CC BY-SA 4.0 Most seat bottoms and lids are plywood under the vinyl. Push an awl into the wood around each screw hole. Firm wood resists; soft, dark or crumbly wood is rotten, and new screws won't hold there. Press on the panel and see if it flexes. If the vinyl is stapled over the wood, pull back a corner to look at the edges, since water usually gets in at the edges and the screw holes first.
- Sound wood, stripped holes: fill and re-drill (step 6).
- Soft spots only around the screws: dig out the soft wood, let it dry and fill with thickened epoxy (step 6).
- The panel is rotten or delaminating: make a new base (step 7). Epoxyworks points out that once plywood has delaminated from moisture, the only real repair is new wood, and the same applies to a seat base.
Drill each damaged hole a bit oversize so you reach clean wood, let it dry, then fill it with thickened epoxy. After the epoxy cures, drill a new pilot hole through the plug. The screw now bites into solid epoxy instead of mushy wood, and the epoxy seals the end grain so water can't wick in again. Don't just jam a bigger screw into a rotten hole; it holds for a weekend.
Remove the vinyl and foam carefully: pull the staples instead of cutting the cover, so you can reuse it or use it as a pattern. Trace the old base onto new marine plywood (or a plastic or composite board), cut it out, and drill the same holes and drain holes. Seal plywood on every face and edge, including inside the holes, with epoxy or a good marine finish. Raw edges are where water gets in. Then put the foam and cover back on, or see the seat cushion guide if the foam is soaked.
Line the new hinge up with your photos and check that it folds the right way and the seat clears the boat, the console and any other cushions through its full swing. Mark and drill pilot holes. Use stainless screws or bolts sized to the hinge holes (don't mix steel or plated screws with a stainless hinge). Where the seat base allows it, through-bolt the hinge with washers and locking nuts rather than screws. BoatUS's backing plate article shows that a bolt with only a small washer has very little area to resist pulling through, so a large washer or a small plate under the nuts makes a big difference on a seat that people lean back on. Snug the fasteners evenly; don't crush the wood.
For a seat that's hinged to the floor, or a bench base screwed to the deck, treat every hole as a possible leak. BoatUS's seat-mounting advice is to fill old holes with epoxy and coat the threads of each new screw with a flexible marine sealant, because the pounding of a boat slowly crushes the wood fibers and opens a path for water. Through-bolt with a backing plate if you can reach underneath; see seat pedestal mounts and through-bolting accessories.
Fold the seat into each position and check it locks with a positive click and doesn't rattle. Most latches have slotted holes: loosen the screws, slide the latch or striker until it engages cleanly, then tighten. If a spring clip or detent is worn smooth, replace it. On back-to-back seats, check that each section rests on its stop or support leg, not on the hinge alone, when it's laid flat. A hinge that carries a person's weight with nothing under the seat will bend again.
Bench and locker lids with twist (cam) latches: if a hinged seat lid thumps and rattles in a chop, the latch is often loose rather than the hinge being worn. Mercury's quick tip: with the latch locked, tug the handle; more than about 1/8 inch of play means it needs adjusting. Open the lid, loosen the small set screw that holds the cam (the flat or Z-shaped hook under the rim) just enough to spin it, turn the cam two or three full turns clockwise, then snug the set screw and test. Full turns keep the cam and handle lined up when locked. If it becomes hard to twist, back the cam off a turn. A tight lid also keeps moisture out of the storage space under the seat.
Rinse salt and sand out of the hinge and latch with fresh water and let them dry. Apply a light lubricant that's safe for vinyl to the pin and moving parts, and wipe off the excess so it doesn't stain the cushions. Work the seat through its motion a few times.
Sit down hard, lean back, and push on the seat back and bolster from different directions. Fold and unfold it a dozen times. Recheck the screws after the first couple of trips, and log the job in BoatMend.
Common mistakes
- Bigger screws in the same rotten holes. Fix the wood first, or the hinge will rip out again.
- Cheap plated hinges. They look fine in the store and rust in one season. Buy stainless marine hardware.
- Steel screws in a stainless hinge. They rust, stain the seat and lose grip.
- Letting the hinge carry the load. Seats laid flat need their legs or stops to take the weight.
- Cutting the old vinyl off. Pull the staples instead; you may want the cover back, or need it as a pattern.
- Flipping a wet bolster back up. BoatUS warns that folding a damp flip-up bolster closed traps water between the layers of vinyl and breeds mold. Let it dry first.
When to call a pro
- The floor or deck under a hinged seat is soft, or water comes out when you remove the screws
- You'd need to drill near fuel tanks, fuel lines or wiring, or you smell fuel (stop and get help)
- The seat is part of a molded or welded frame with cracks, or a helm seat frame is bent
- You want the base rebuilt and recovered to match; an upholstery shop can do both
- The seat is a factory unit with a special hinge or gas strut you can't identify
Tips
- Add a hinge: on long bench lids and back-to-back seats, a third hinge spreads the load and slows wear.
- Keep the seat's model or the boat's hull ID handy when calling the seat maker or dealer for parts.
- Cover the seats when the boat sits; dry wood holds screws for many more years.
- Drill small drain holes in a new base where the old one had them, so water can get out of the foam.
Official references
We read these to write this guide. Your engine's own manual always wins.
- BoatUS – Seat Mounting (sealing screw holes in wood decks)
- BoatUS – The Critical World Of Backing Plates
- BoatUS – Not-So-Stainless Steel
- BoatUS – Have A Seat (flip-up bolsters and trapped moisture)
- Sailrite – How to Reupholster Back-to-Back Boat Lounge Seats
- Epoxyworks – Repairing a Runabout Floor or Pontoon Deck
- Mercury Marine – Quick Tip, How to Adjust Storage Compartment Latches
Safety: BoatMend is for information only and does not replace a certified marine technician. You are responsible for your safety and your boat. Read the full disclaimer.
Last updated 2026-10-25
Related guides
How to Fix a Loose Boat Seat Pedestal, Base or Leaning Post
Find out why seat pedestals and leaning posts work loose, through-bolt the base with a proper backing plate, deal with soft or rotten floor under it, and keep swivels and slides working smoothly so your helm seat stays solid in rough water.
How to Mount Rod Holders, Fish Finders, Cleats and Antennas Without Causing Leaks
Add accessories to your boat the right way, with through-bolts, backing plates, sealed core and proper wire pass-throughs, so every new hole stays dry and strong. Also learn where you should never drill.
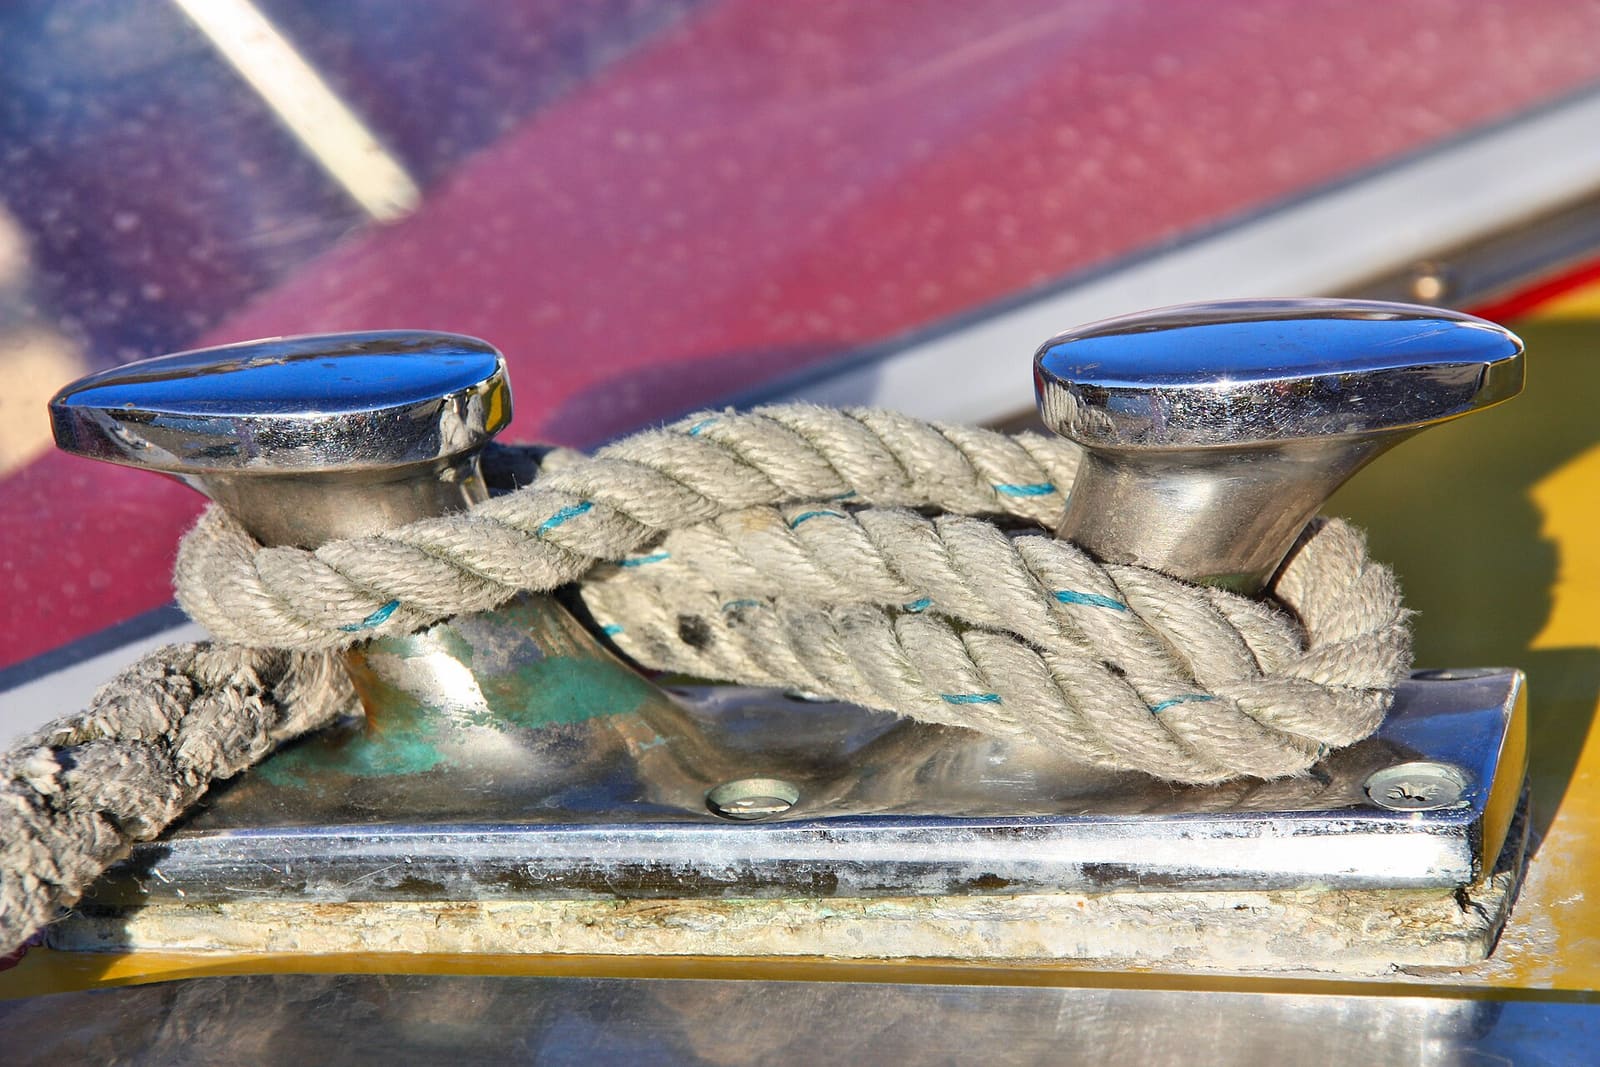
How to Find and Fix Leaking Deck Hardware (Rebedding Cleats, Stanchions and Tracks)
Track down the cleat, stanchion base or track that is dripping into the cabin, then remove it, seal the deck core and bed it again with the right sealant so the leak stops for years instead of weeks. Catching it early protects the deck core from rot.
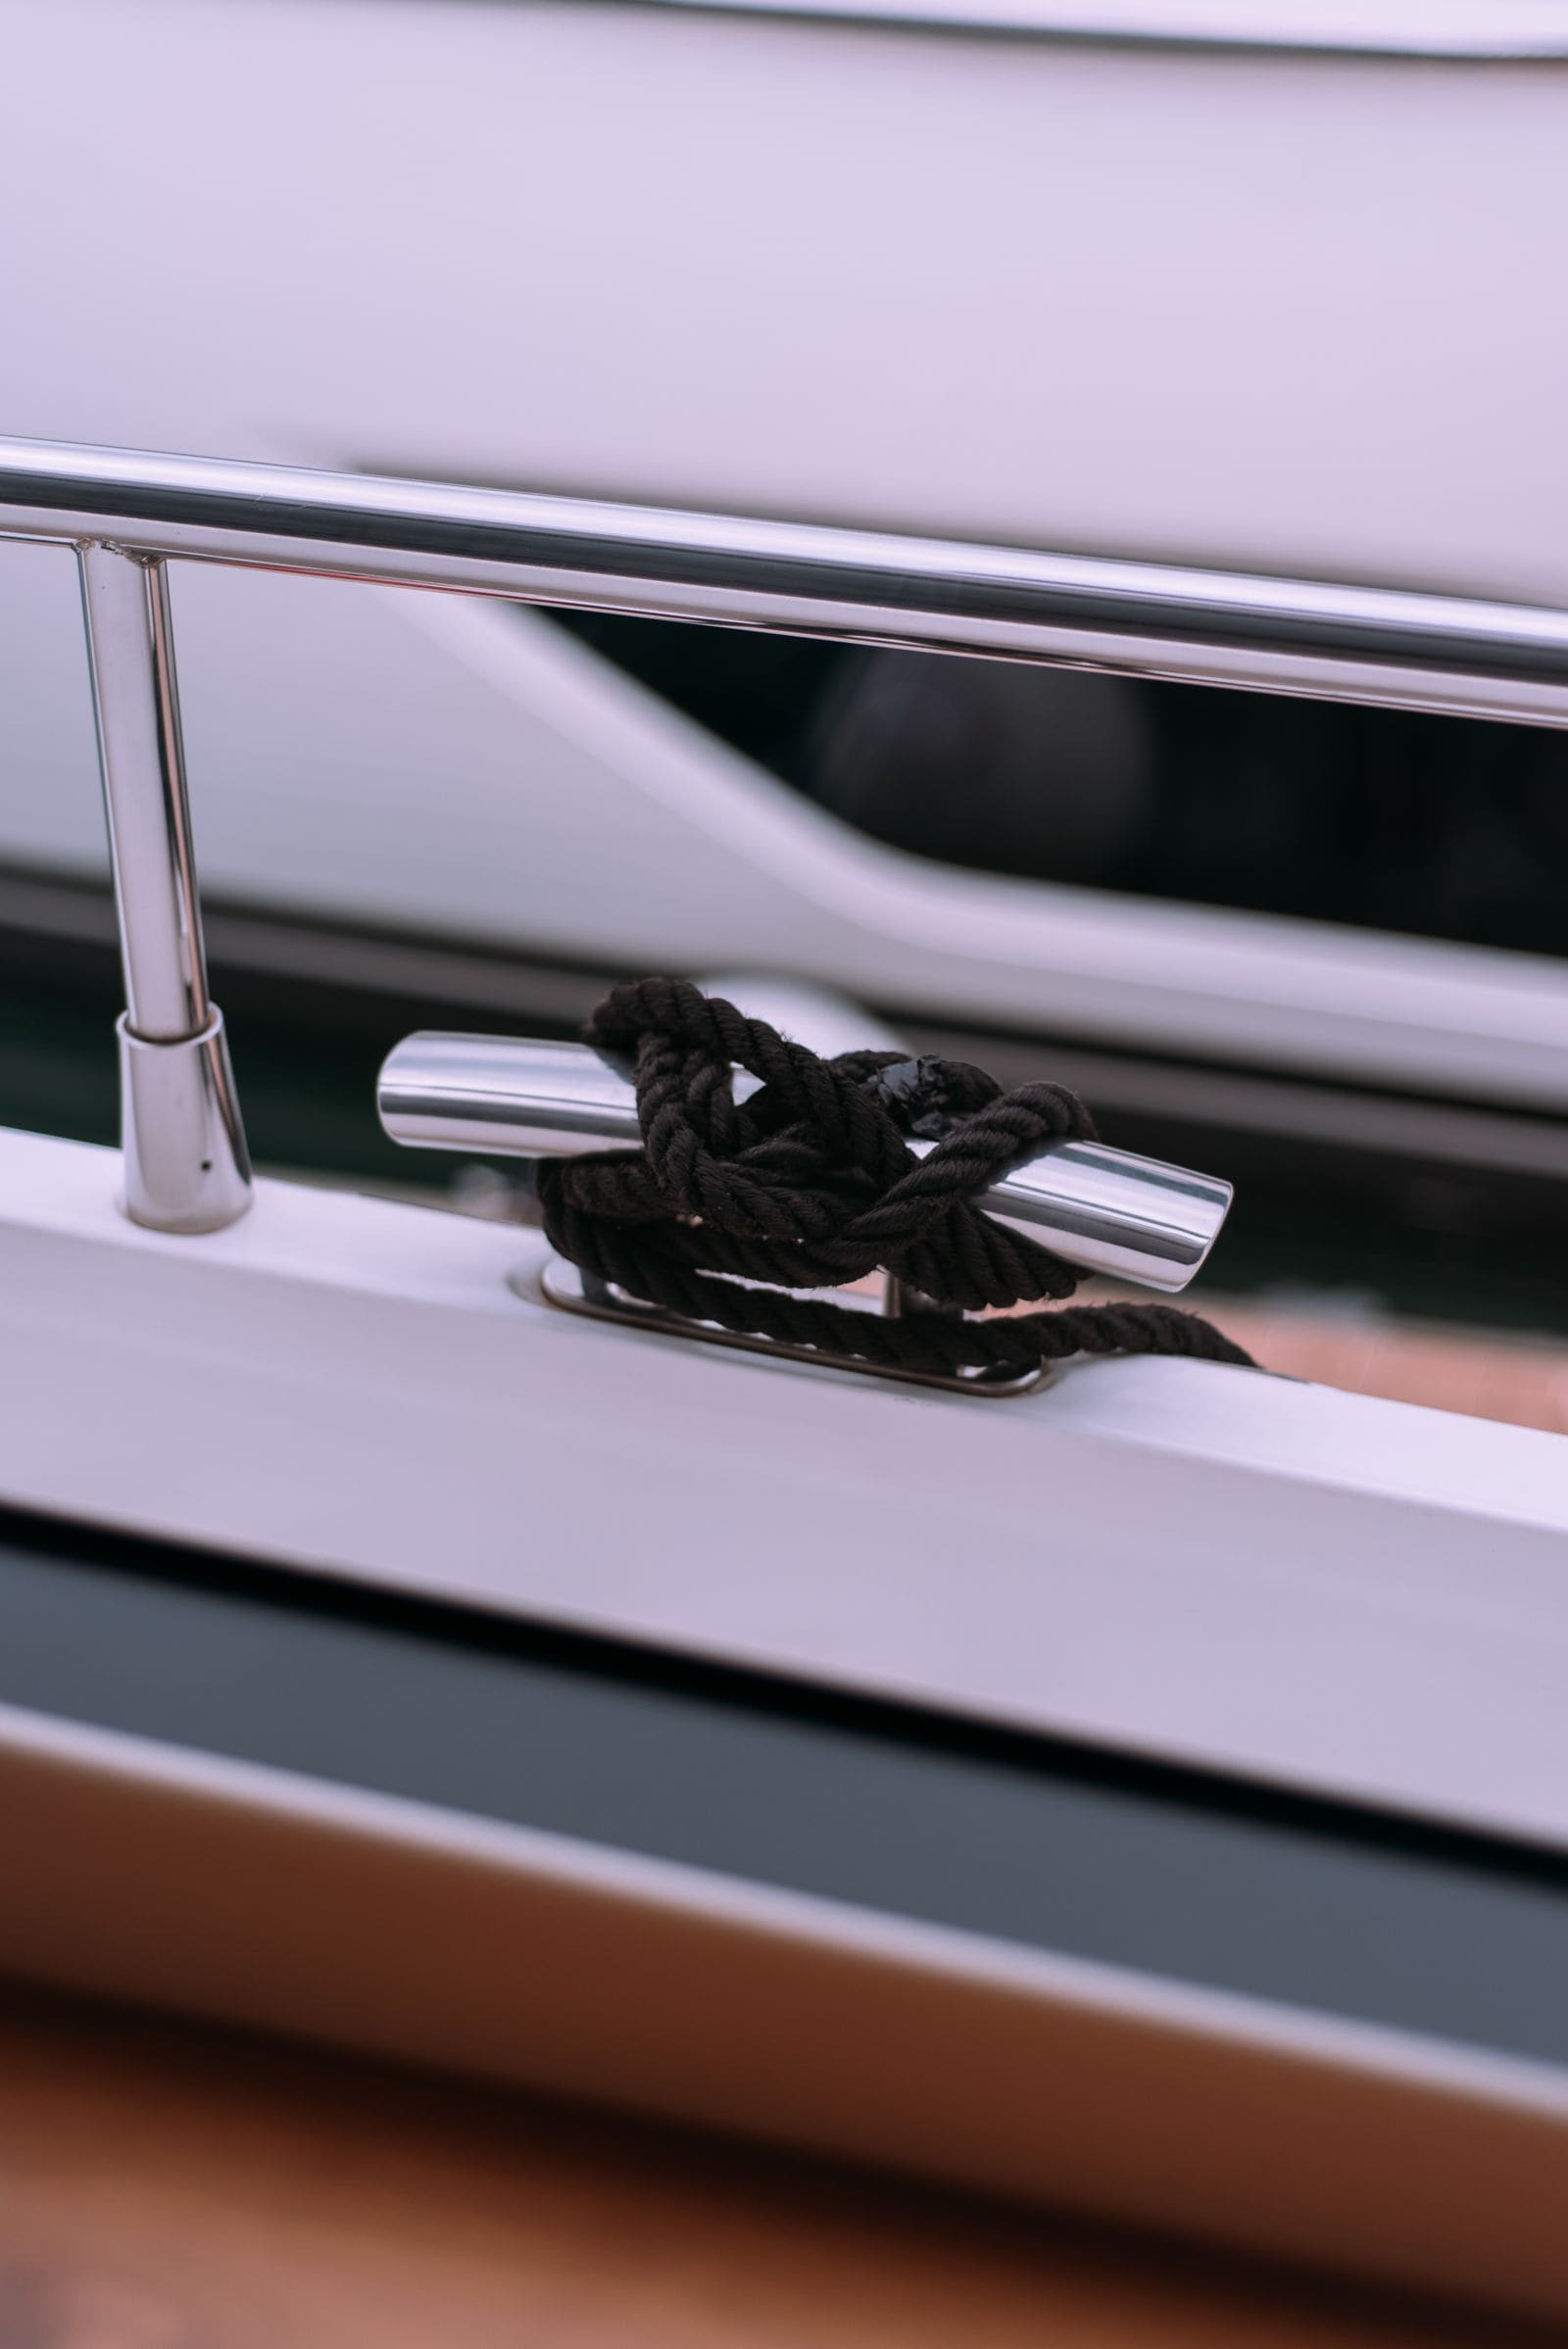
How to Clean, Protect and Inspect Stainless Steel Boat Hardware
Remove tea stains and rust from rails, cleats and fittings without scratching them, passivate stainless so it stays clean longer, understand why 304 and 316 behave differently, and spot the hidden crevice corrosion that weakens fittings from underneath.
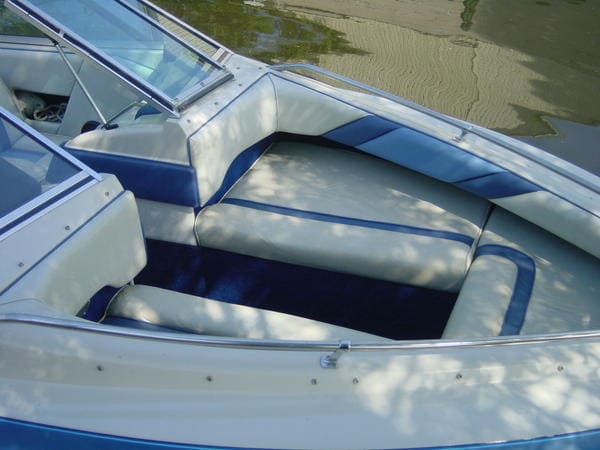
How to Dry or Replace Waterlogged Boat Seat Cushion Foam
Stop the soggy-seat problem: find out why the foam inside boat cushions holds water, dry it out the fast way, and choose the right replacement foam (standard, closed-cell or quick-drying reticulated) so your seats stay dry, firm and mildew-free.

How to Care for a Pontoon Deck, Flooring, Fence and Furniture
Keep a pontoon's carpet or vinyl floor clean and dry, find soft spots in the plywood deck before they spread, check fence rails, gates and seat bases, care for furniture vinyl, and cover and store the boat so mildew and sun do not win.
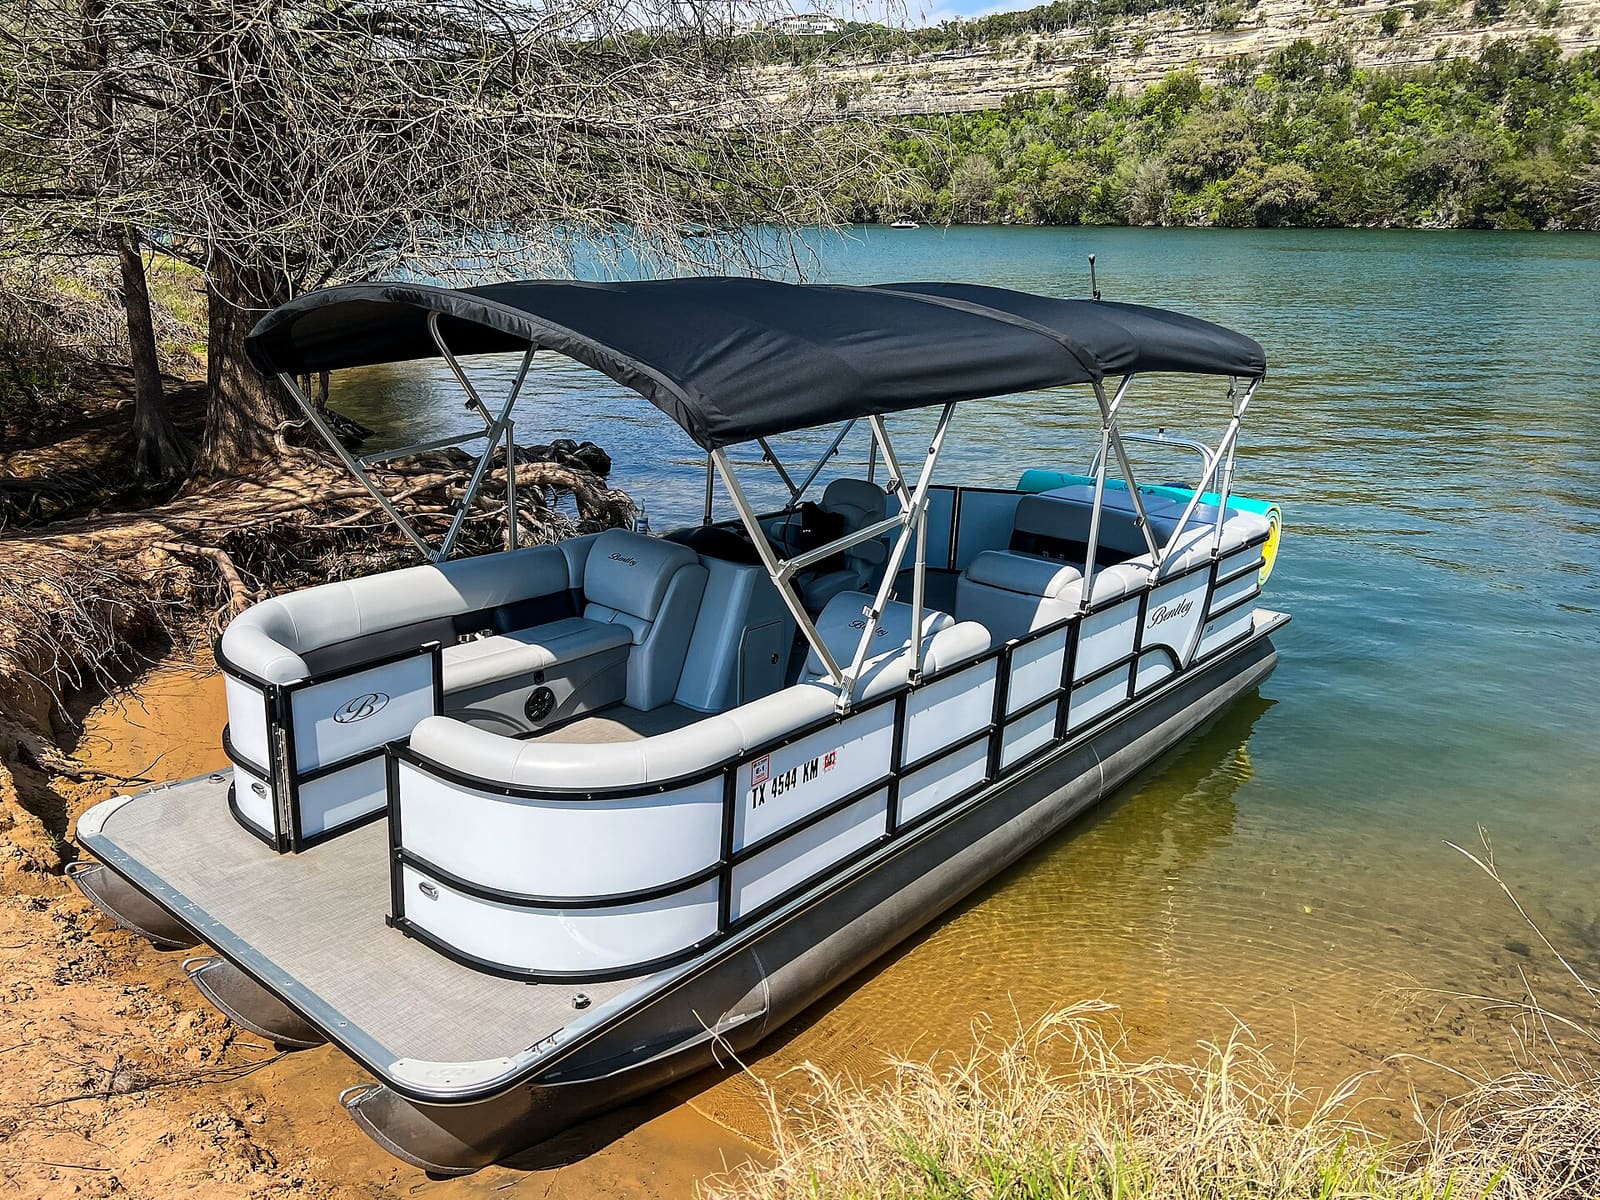
How to Detail Your Boat's Interior (Vinyl Seats, Carpet, Storage and Drains)
Give your cockpit and cabin a proper detail. Clean marine vinyl without stripping its UV protection, wash snap-in and glued-down carpet, clear out cup holders, storage boxes and their drains, beat mildew and pink stains, and know which household cleaners to keep off your boat.