How to Clean the Raw-Water Strainer and Replace the Impeller on a Marine Diesel
Clean the sea strainer and swap the rubber impeller in the raw-water pump of a Yanmar, Volvo Penta, Westerbeke, Beta or similar inboard diesel. A worn impeller is one of the most common reasons a diesel overheats, and this job takes about an hour with basic tools.
Time
1 h 30 min
Shop would charge
$200-450
Applies to
Marine diesel, Gas inboard
Safety first: The strainer and pump sit below the waterline on most boats. Close the raw-water seacock before you open anything, and never leave the boat with the seacock open and the strainer lid or a hose off. If water keeps coming in after the seacock is closed, or the seacock handle will not move, stop and call a marine mechanic, Sea Tow or TowBoatUS; if the boat is taking on water you cannot control, call the USCG on VHF 16 or 911. Remove the key and keep everyone away from the start button: a belt-driven pump can grab fingers.
Owners often ask
- My sailboat diesel overheats under load. Impeller, mixing elbow or heat exchanger?
This guide walks you through it. Still stuck? Ask the AI Mechanic about your engine.
Tools
- Screwdrivers (flat and Phillips) and a small socket or wrench set (most diesels are metric)
- Impeller puller, or two flat screwdrivers or slip-joint pliers
- Small cup or magnetic tray for the cover screws
- Plastic scraper or razor blade for old gasket material
- Flashlight or headlamp, plus a small inspection mirror
- Rags, absorbent pads and a bucket
- Nitrile gloves and safety glasses
- Phone camera to photograph the pump before you take it apart
Parts & supplies
- Impeller made for your exact pump (genuine or exact equivalent)
- New cover gasket or O-ring for your pump
- Impeller lubricant recommended by the pump or impeller maker (often glycerin or a light silicone- or soap-based lube)
- Strainer lid gasket or O-ring if the old one is flattened or cracked
Before you start
What these parts do: seawater (or lake water) comes in through a seacock, passes through the raw-water strainer (a bowl with a basket that catches weeds and shells), and is pushed by the raw-water pump. Inside the pump is a flexible rubber impeller. The water then cools the engine (directly, or through a heat exchanger on freshwater-cooled engines) and leaves mixed with the exhaust.
When to do it:
- Clean the strainer whenever you see debris in the bowl, before long trips, and any time the temperature climbs.
- Replace the impeller on the schedule in your engine's operator's manual (Yanmar, Volvo Penta, Westerbeke, Beta and others list it by hours or years). Many owners simply replace it every year at haul-out or launch, because a two-year-old impeller can fail without warning. Typical; confirm in your manual.
- Replace it right away if the engine overheated, ran dry, or you see less water at the exhaust than usual. A Coast Guard safety alert from June 2026 stresses that even a brief dry run overheats an impeller and shortens its life, and that impeller life depends on keeping the strainer clean.
- BoatUS's fire claims add a reason not to stretch it: an overheated wet exhaust can melt or ignite the exhaust hose. Its advice is to change the impeller at least every other year, and also after a grounding or running in very dirty water. Damage from a worn-out impeller is treated as maintenance and is usually not covered by insurance.
Model differences: some pumps are belt-driven off the front of the engine (common on small Yanmars), others are gear-driven and bolted to the engine. On some engines the pump is easy to reach; on others the starter or alternator is in the way and it is easier to remove the whole pump first. Look at your manual's drawing before you buy parts, and check the pump maker's name and model on the pump body so you buy the right impeller and gasket.
Steps
Turn the engine off, remove the key, and let it cool down. Close the raw-water seacock (the handle is usually across the pipe when closed). Put a note on the ignition that says "Seacock closed" so nobody starts the engine and burns up the new impeller.
Put a rag under the strainer. Unscrew the lid, lift out the basket, and dump weeds, shells and grass into the bucket (not the bilge). Rinse the basket and scrub hard deposits off the screen with a brush. Wipe the sealing surface and check the lid gasket or O-ring: if it is flat, cracked or twisted, replace it. A leaky strainer lid can suck air and make the pump lose its prime, which looks like an impeller problem.
Also look at the bowl itself. If it is cracked, crazed or the threads are damaged, replace the strainer. Look especially hard in spring: a strainer that wasn't drained before winter can be split by ice, which is a common insurance claim.
Follow the hose from the strainer to the pump. Take photos of the hoses, the cover plate and the belt (if any) from a couple of angles. Check whether you can reach all the cover screws. If you cannot, plan to remove the pump: undo the hose clamps, then the bolts that hold it to the engine (and loosen the belt on belt-driven pumps). Your manual shows how.
Put a rag under the pump to catch water. Remove the cover screws and drop them straight into your cup; they are small and love to disappear into the bilge. If the plate is stuck, slide a thin blade into the joint or tap the edge gently with a plastic or rubber mallet. Pry carefully so you do not cut an O-ring if your pump uses one.
Before you pull the impeller, note which way the vanes are bent. Take a photo. The new one goes in the same way.
Grip the center hub (not the vanes) with an impeller puller or slip-joint pliers and wiggle it out. If it is stuck, use two flat screwdrivers on opposite sides of the hub and lever gently and evenly. Do not scratch the pump body. Some impellers are held by a screw or a snap ring in the center; remove that first.
Count the vanes and look closely:
- All vanes present and flexible, no cracks: it was still working, but replace it anyway since you are in there.
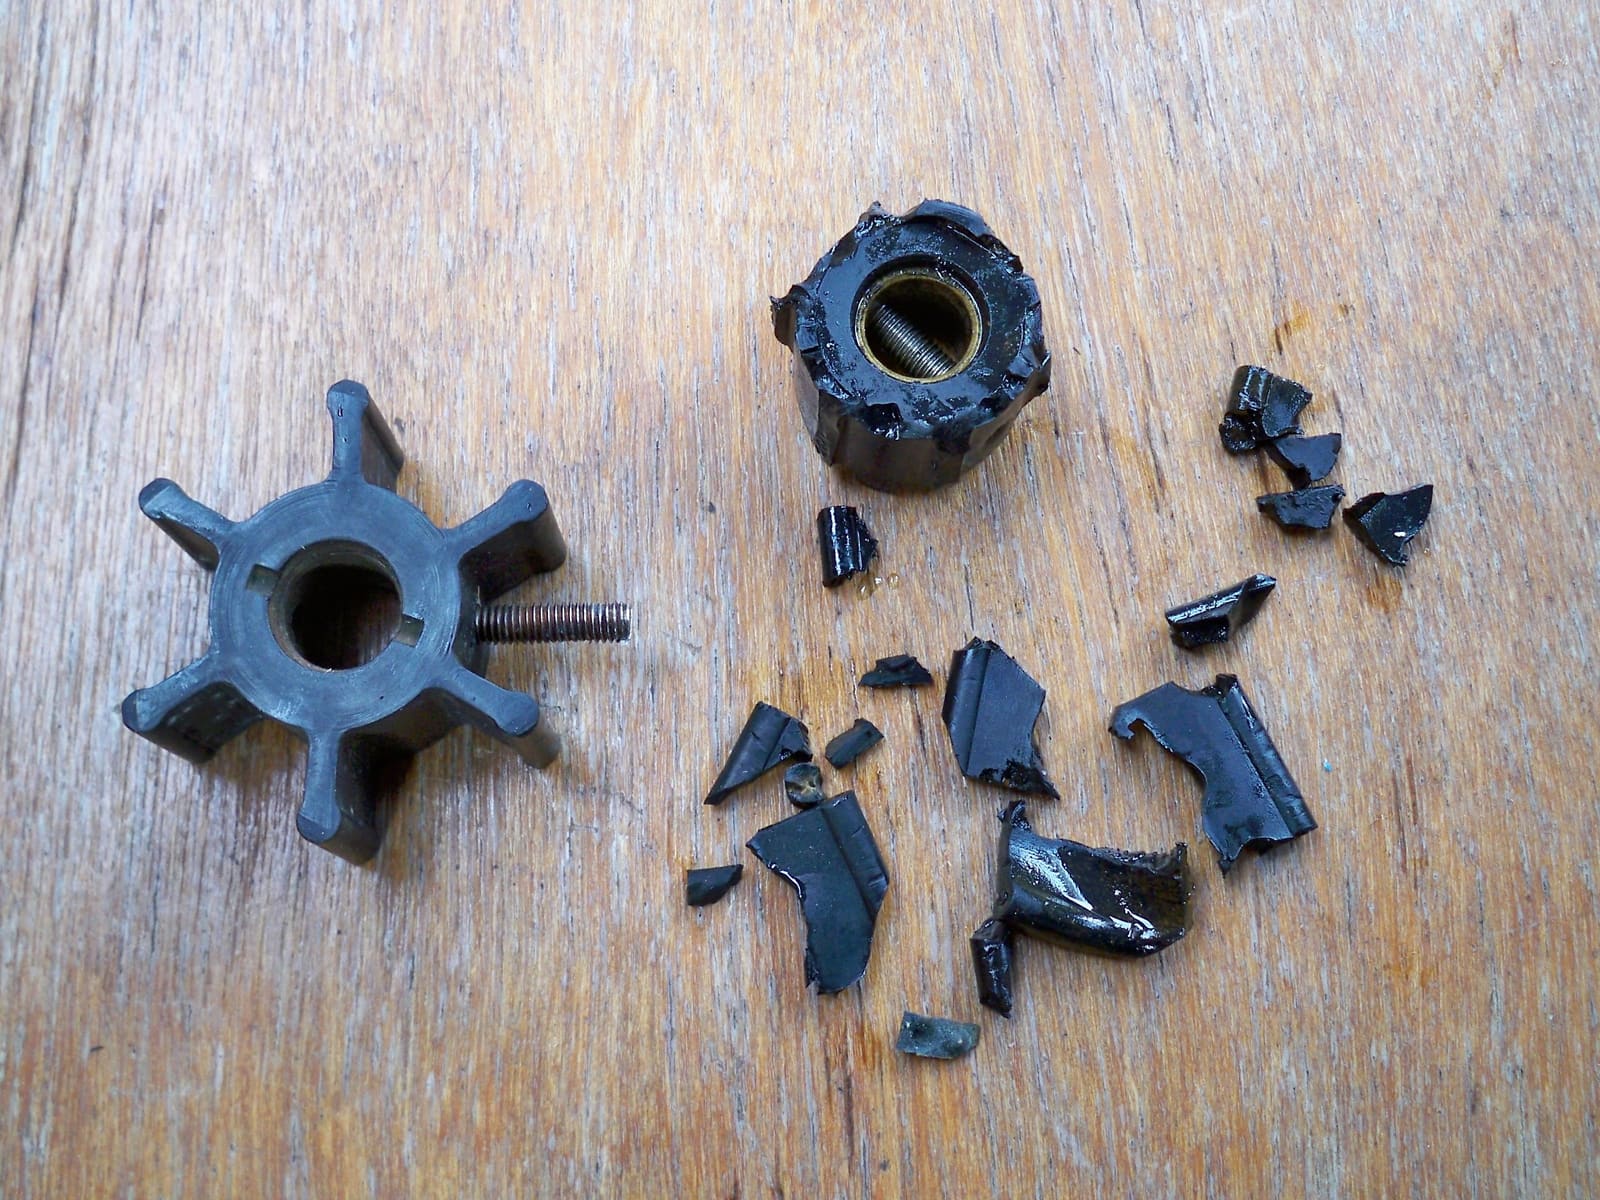
- Cracks at the base of the vanes or vanes stuck in a curved shape: it was worn out.
- Vanes torn off or missing: go to step 7 before you put anything back together.
- Burned, melted or glazed: the pump ran dry. Find out why (closed seacock, clogged strainer, air leak) before you run the engine again.
Broken pieces travel downstream and block the cooling water. Check the pump outlet and the hose leading away from it. On freshwater-cooled engines, the usual trap is the inlet end of the heat exchanger (or an oil or gear cooler on some engines). Many have an end cap you can remove to look inside. Account for every missing piece. If you cannot find them or cannot reach the heat exchanger, have a mechanic do it before you rely on the engine.
Wipe out the inside of the pump. Light scratches are normal. Deep grooves, heavy corrosion or a worn cam (the raised part inside that bends the vanes) mean the pump needs parts or replacement. Look at the inside face of the cover plate: if it is worn in a ring, many plates can be flipped over or replaced. Scrape off every bit of old gasket.
Look for a drip from the small weep hole under the pump. Water dripping there means the shaft seal is leaking. On some pumps, a leaking seal can let water reach the engine oil, so have it rebuilt soon.
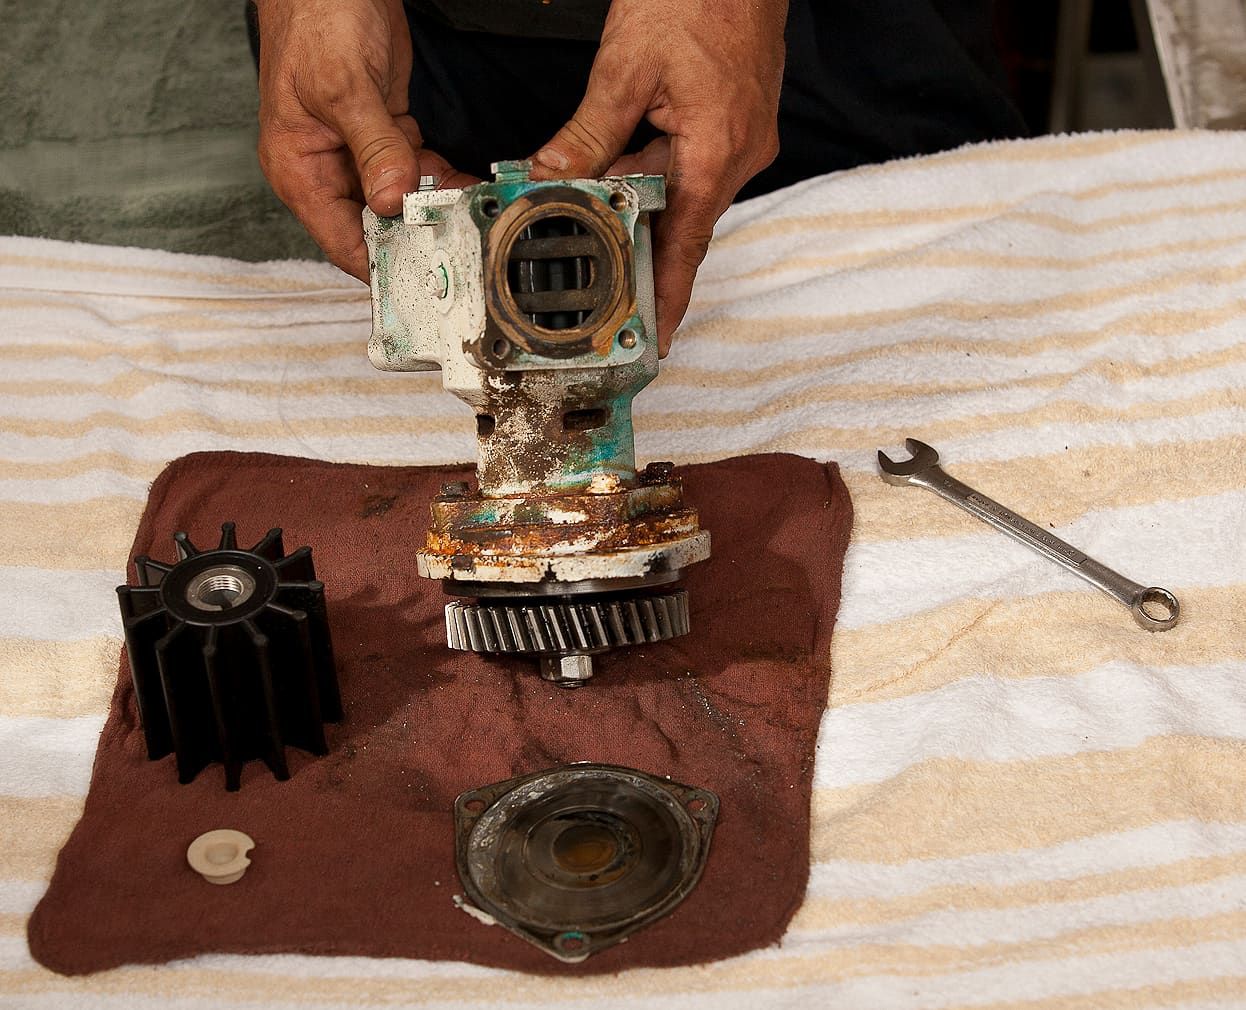
Photo: Captnshaw / Wikimedia Commons · CC BY-SA 3.0 Coat the impeller and the inside of the pump with the lubricant the pump or impeller maker recommends. Avoid petroleum grease or oil unless your pump maker approves it, since it can soften some rubber.
Bend the vanes the same way as the old ones (your photo), line up the drive slot, splines or pin with the shaft, and push it in with a twisting motion in the direction of rotation. A cable tie wrapped around the vanes can help squeeze them on stiff impellers; cut it off as the impeller slides in.
Always use a new gasket or O-ring. An old one will probably leak, and an air leak at the cover can stop the pump from priming. Line up the screw holes, then tighten the screws in a criss-cross pattern a little at a time so the cover sits flat. Snug is enough; do not overtighten small screws in a soft metal or plastic pump.
Bolt the pump back on, reconnect the hoses, and tighten the clamps. On belt-driven pumps, set the belt tension as your manual describes. Check that nothing touches the belt.
Open the seacock and remove your note. Start the engine and look at the exhaust right away: cooling water should spit out with the exhaust within several seconds. If it does not, shut down and check that the seacock is open, the strainer lid is tight, and the impeller is turning (a broken drive pin or loose belt can spin without pumping).
Let it idle for several minutes and check for drips at the cover, hoses and strainer lid. Watch the temperature gauge.
If the temperature still creeps up at idle and gets worse as you add RPM, something is restricting the raw-water flow. Westerbeke warns that judging flow by eye at the exhaust is unreliable (a weak flow can look fine); a mechanic can measure it. Its usual suspects, after the strainer and impeller: a dirty heat exchanger, a clogged water-injection fitting on the exhaust elbow, and an engine overloaded by a fouled bottom or prop.
Record the date and engine hours in BoatMend. Keep a spare impeller, gasket and the cover screws aboard. The old impeller, if it was still intact, can be cleaned and carried as an emergency spare.
Common mistakes
- Putting the strainer lid back on cross-threaded or with a dirty gasket. The pump then sucks air and the engine overheats a few minutes later.
- Reusing the old cover gasket. It almost always leaks, sometimes air instead of water, which you cannot see.
- Ignoring missing vanes. The pieces lodge in the heat exchanger and cause overheating weeks later.
- Cranking the engine for a long time during bleeding or a no-start with the seacock closed, which runs the new impeller dry; or with the seacock open, which can fill the exhaust and back water into the engine. See the bleeding guide for the correct method.
- Forgetting to reopen the seacock after the job.
- Idling an overheating engine in neutral to "cool it down." If the impeller has failed, no water is moving. The Coast Guard's 2026 alert describes a fatal fire that began this way, when the hot exhaust line ignited a compartment behind the engine room. Check the exhaust water; if it's missing, shut down, and after any overheat look at every space the exhaust passes through.
- Buying an impeller by "engine model" only. The same engine can have different pump makers over the years; match the part to the pump itself.
When to call a pro
- The seacock is stuck, leaking or will not close fully
- You cannot find the missing vane pieces, or the heat exchanger end cap is seized
- Water is leaking from the weep hole, or the engine oil looks milky
- The pump body or cam is badly worn or corroded
- The engine still overheats after a new impeller and a clean strainer
- The pump is buried and getting to it means removing the alternator, starter or other major parts
Tips
- Look at the exhaust every time you start the engine. Less water than usual, extra steam or a dry, raspy exhaust sound is your early warning.
- Paint a small mark on the pump cover showing the direction of rotation; it makes the next change foolproof.
- Some owners swap the cover screws for slightly longer stainless ones, or fit a quick-release cover kit, to make future changes faster. Use only parts made for your pump.
- If the boat will sit for months, some owners remove the impeller so the vanes do not take a set; put a big tag on the ignition if you do.
- A strainer with a clear lid lets you check for debris at a glance.
Official references
We read these to write this guide. Your engine's own manual always wins.
- BoatUS – Water Pump Impeller Service
- BoatUS – Raw-Water Strainers
- BoatUS – Maintaining Marine Diesel Engines
- BoatUS – Bleeding A Marine Diesel Engine
- Westerbeke – Troubleshooting FAQs (temperature creep, missing impeller blades)
- US Coast Guard – Safety Alert 07-26, Responding to an Engine High Temperature Alarm (June 2026)
- BoatUS – Analyzing Onboard Fire Claims
- BoatUS – 5 Spring Claims to Avoid
Safety: BoatMend is for information only and does not replace a certified marine technician. You are responsible for your safety and your boat. Read the full disclaimer.
Last updated 2026-10-24
Related guides
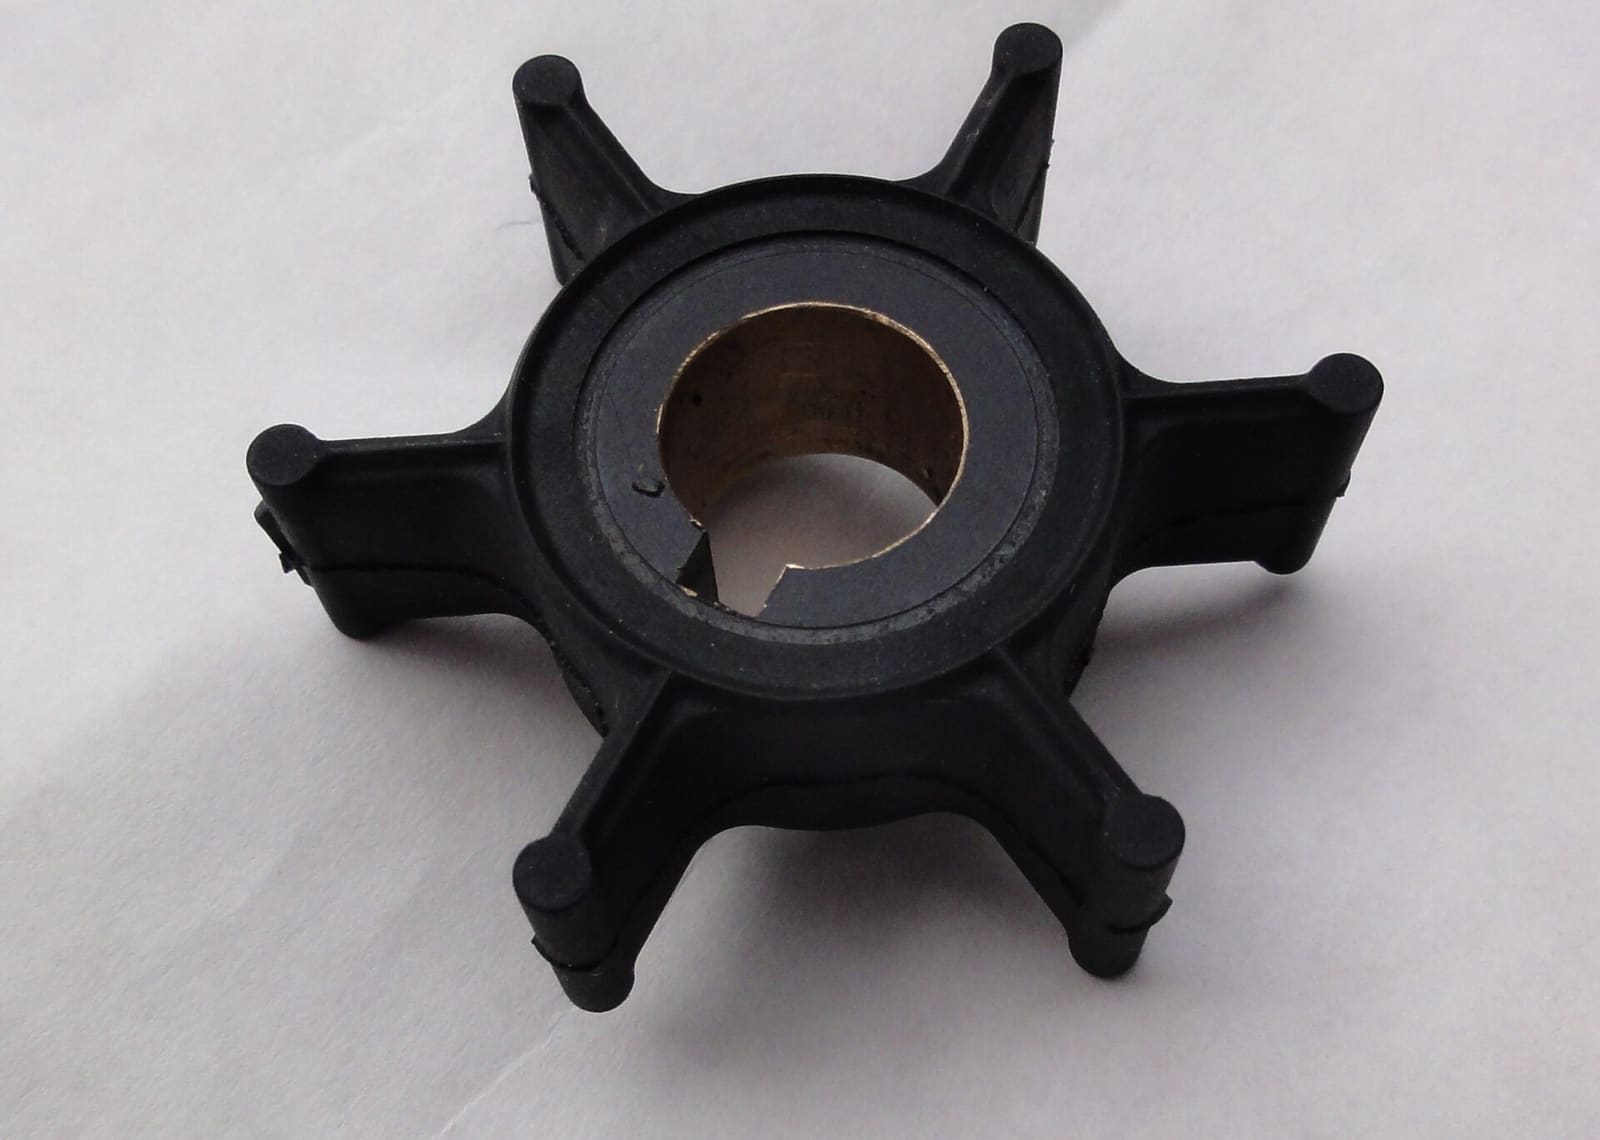
How to Replace the Water Pump Impeller
Replace the rubber impeller that pumps cooling water through your engine, the part most often behind overheating. On many outboards it is a two-hour driveway job that saves a shop bill of several hundred dollars and prevents far costlier heat damage.
Engine Overheating - Troubleshooting Guide
Work through the most likely causes of a hot engine or overheat alarm, from a blocked water intake to a worn impeller or stuck thermostat. Acting fast and in the right order can save your engine and often gets you home without a tow.
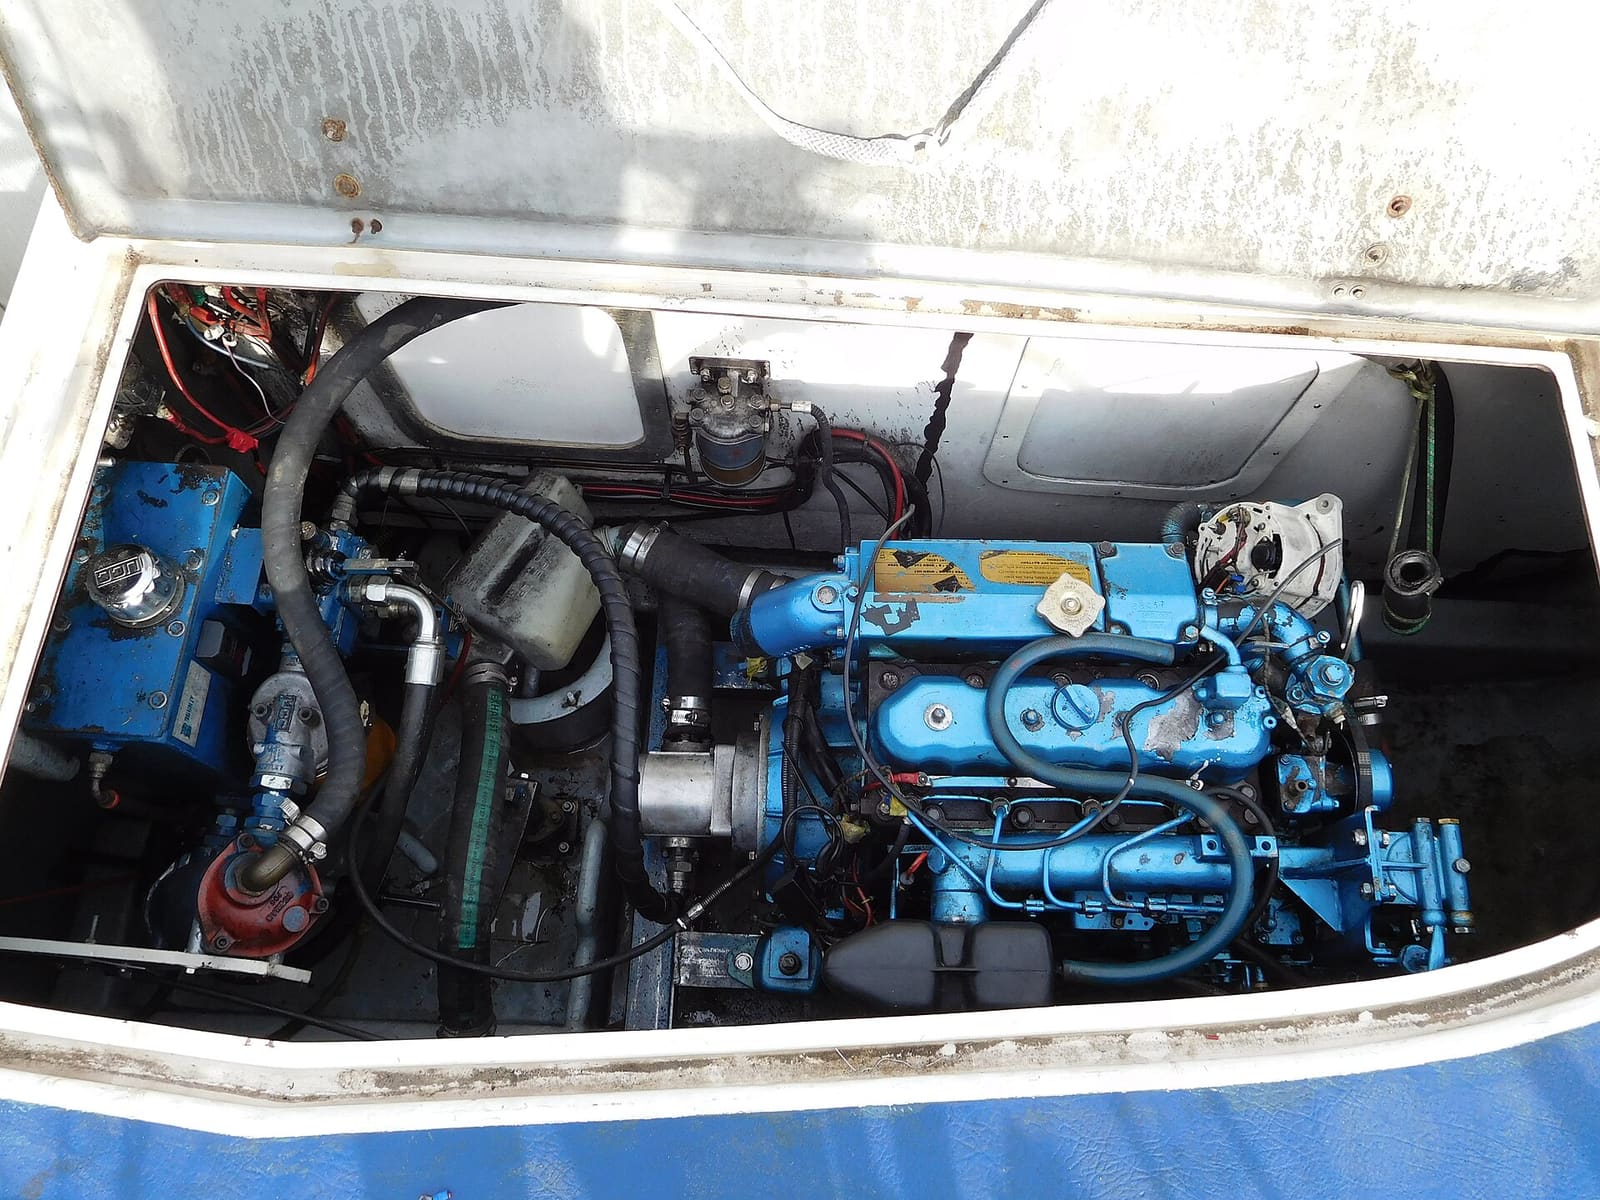
Marine Diesel Service: Oil Change, Fuel Filters and Bleeding Air
Change the oil and oil filter, replace the primary and secondary fuel filters, and bleed air from the fuel system on a Yanmar, Volvo Penta, Beta, Cummins or similar marine diesel. These three skills cover most routine diesel care and can get you out of trouble when the engine dies on a passage.
How to Inspect and Exercise Seacocks, Through-Hulls and Hose Clamps
Check every hole in your hull below the waterline, work each seacock open and closed, and inspect the hoses and clamps attached to them. A single failed fitting or hose is one of the most common reasons boats sink at the dock.
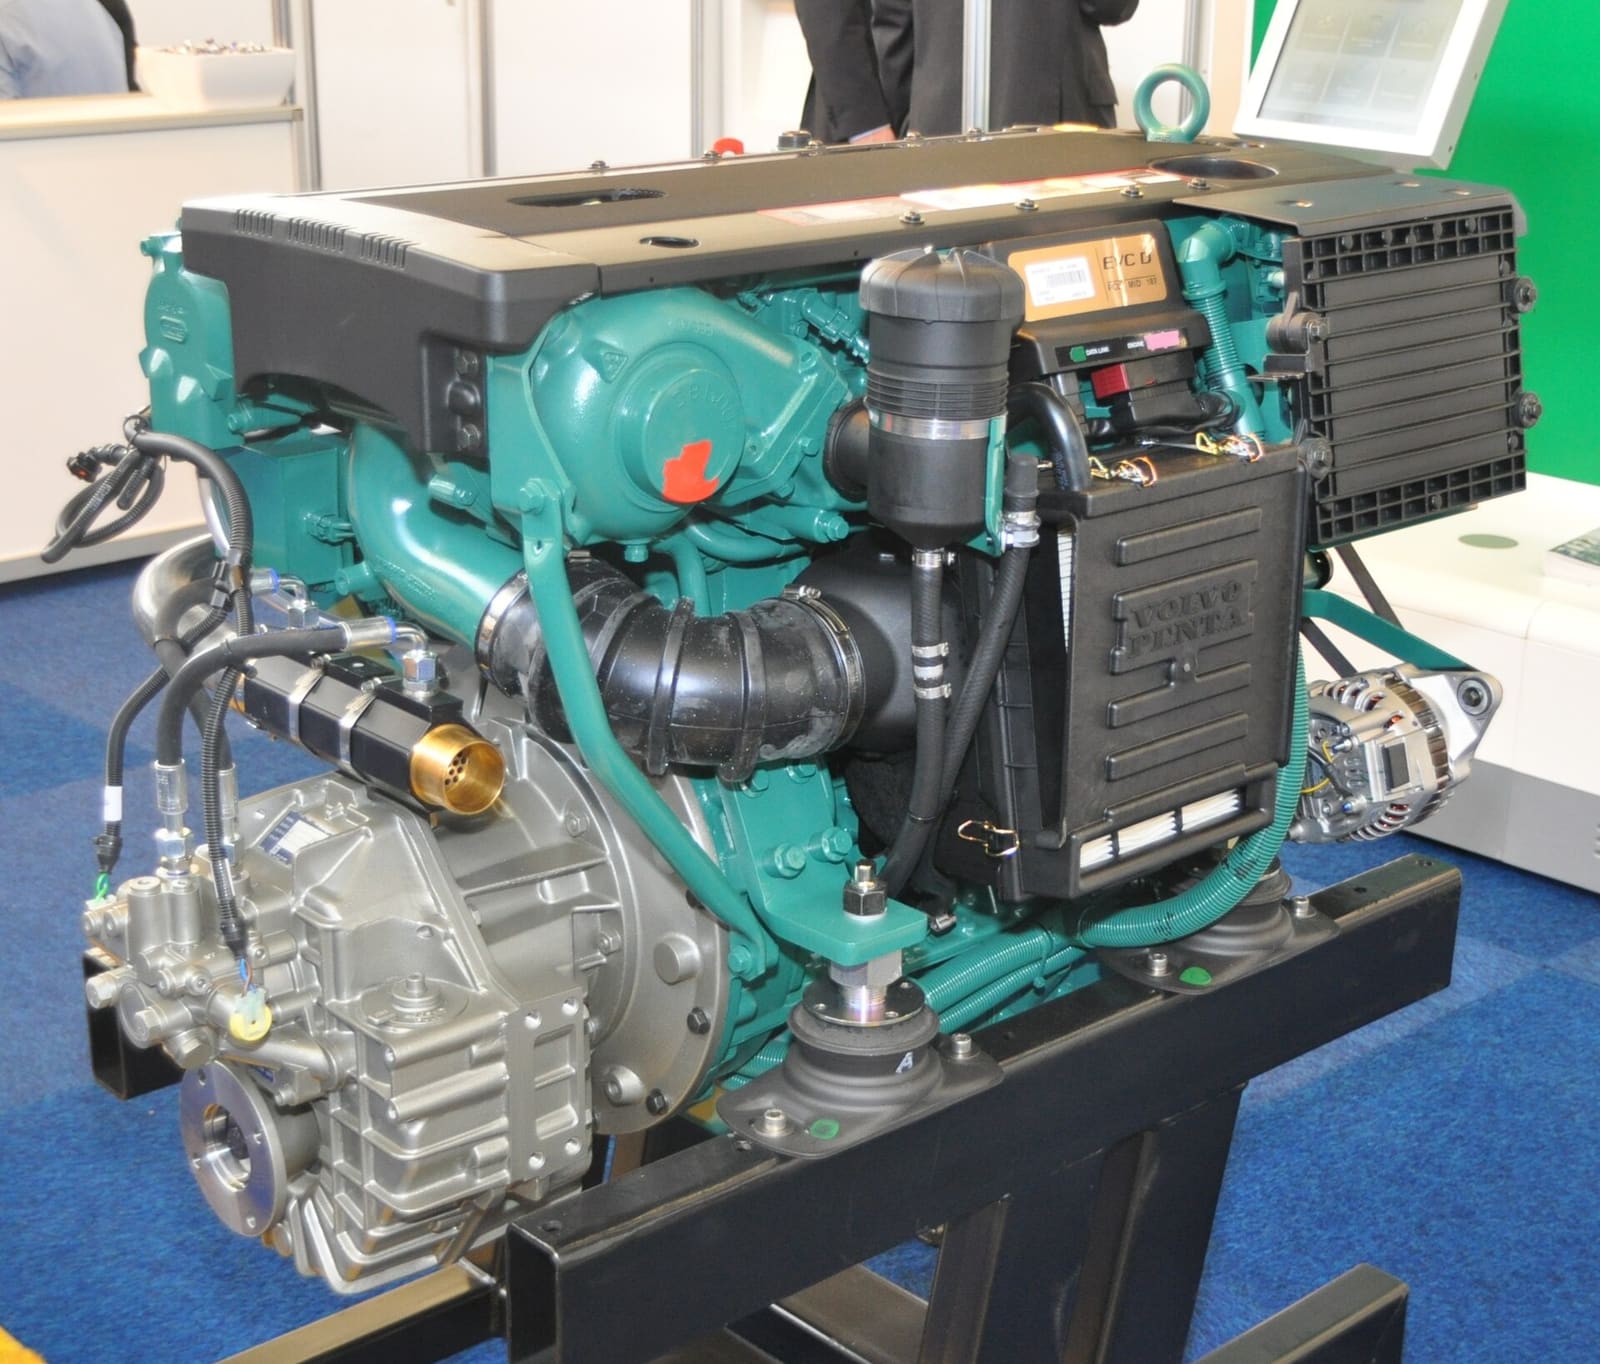
How to Check and Change Coolant in a Closed Cooling System
Check, test and change the coolant in a freshwater-cooled (closed cooling) inboard, sterndrive or diesel, and learn the heat exchanger basics that keep it working. Old coolant quietly eats hoses, pumps and engine passages, and many boats go a decade without a change.
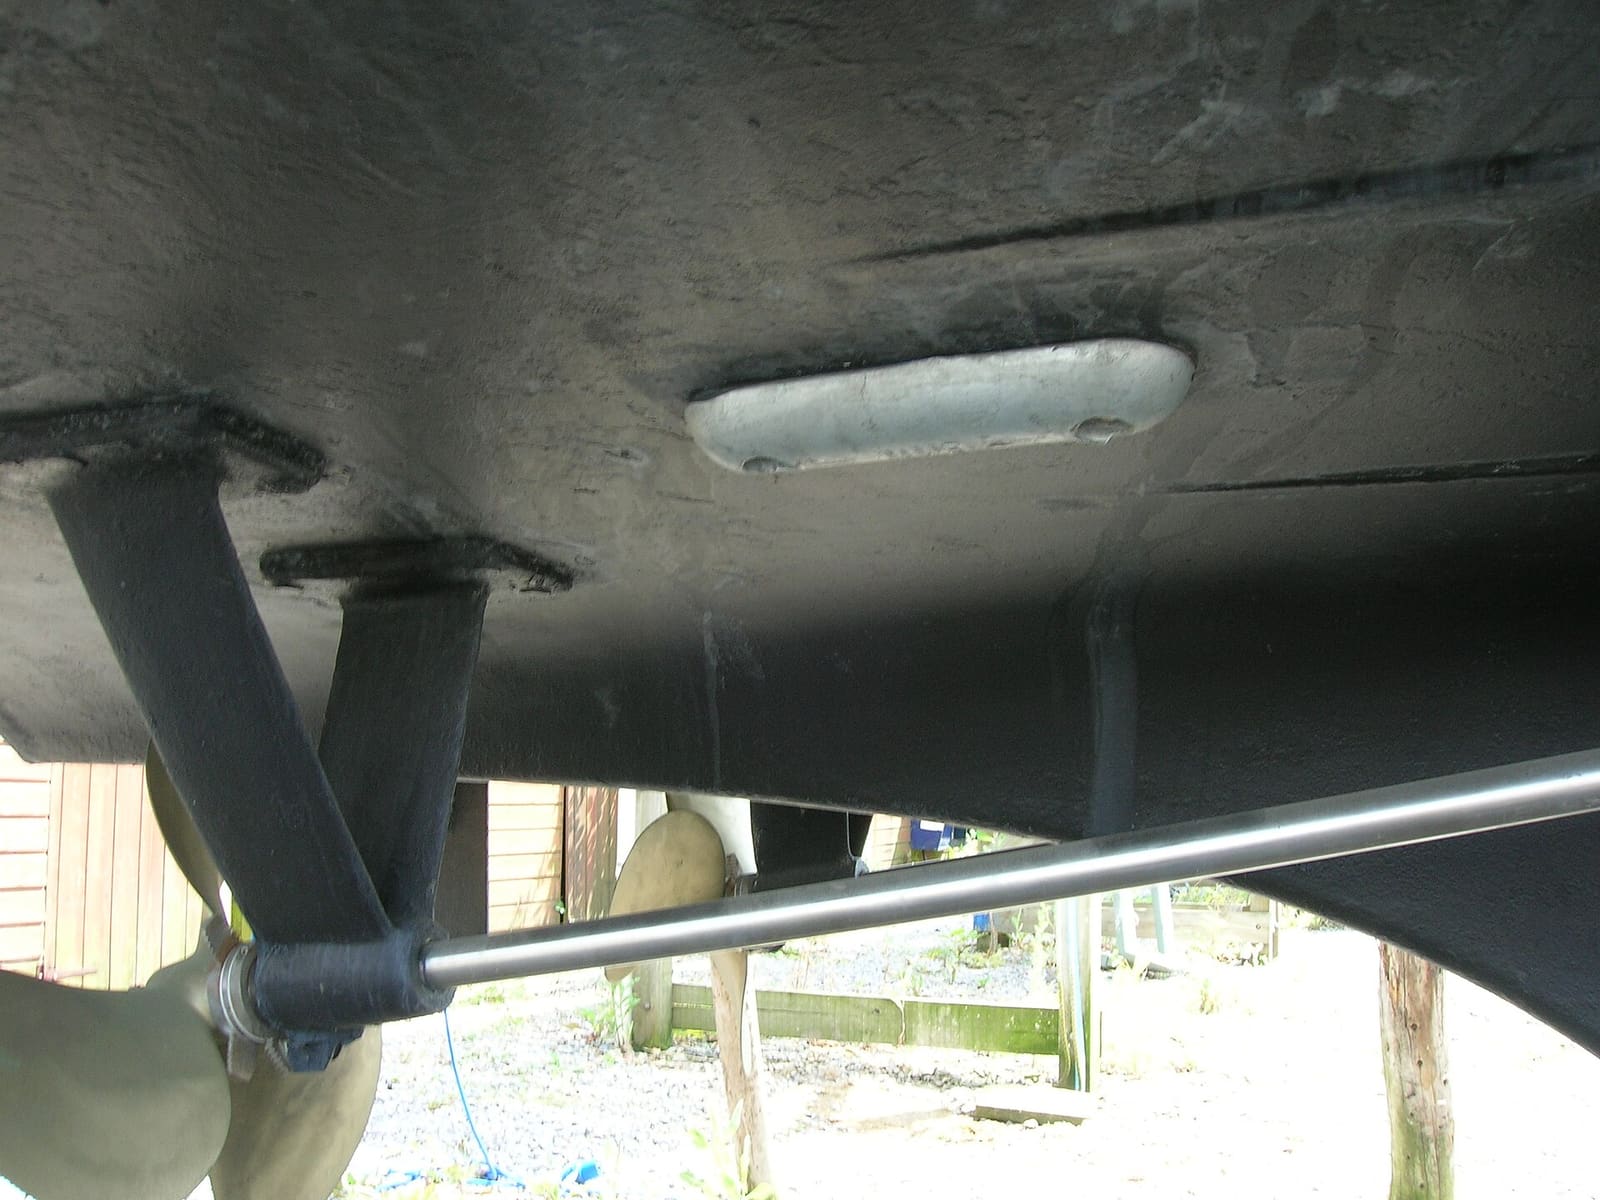
How to Inspect and Replace Sacrificial Anodes (Zincs)
Check the anodes on your outboard, sterndrive or inboard running gear, replace them when they are half gone, and choose the right metal for the water you boat in. Fresh anodes are cheap insurance against expensive corrosion damage to your lower unit, drive and prop.