Marine Diesel Service: Oil Change, Fuel Filters and Bleeding Air
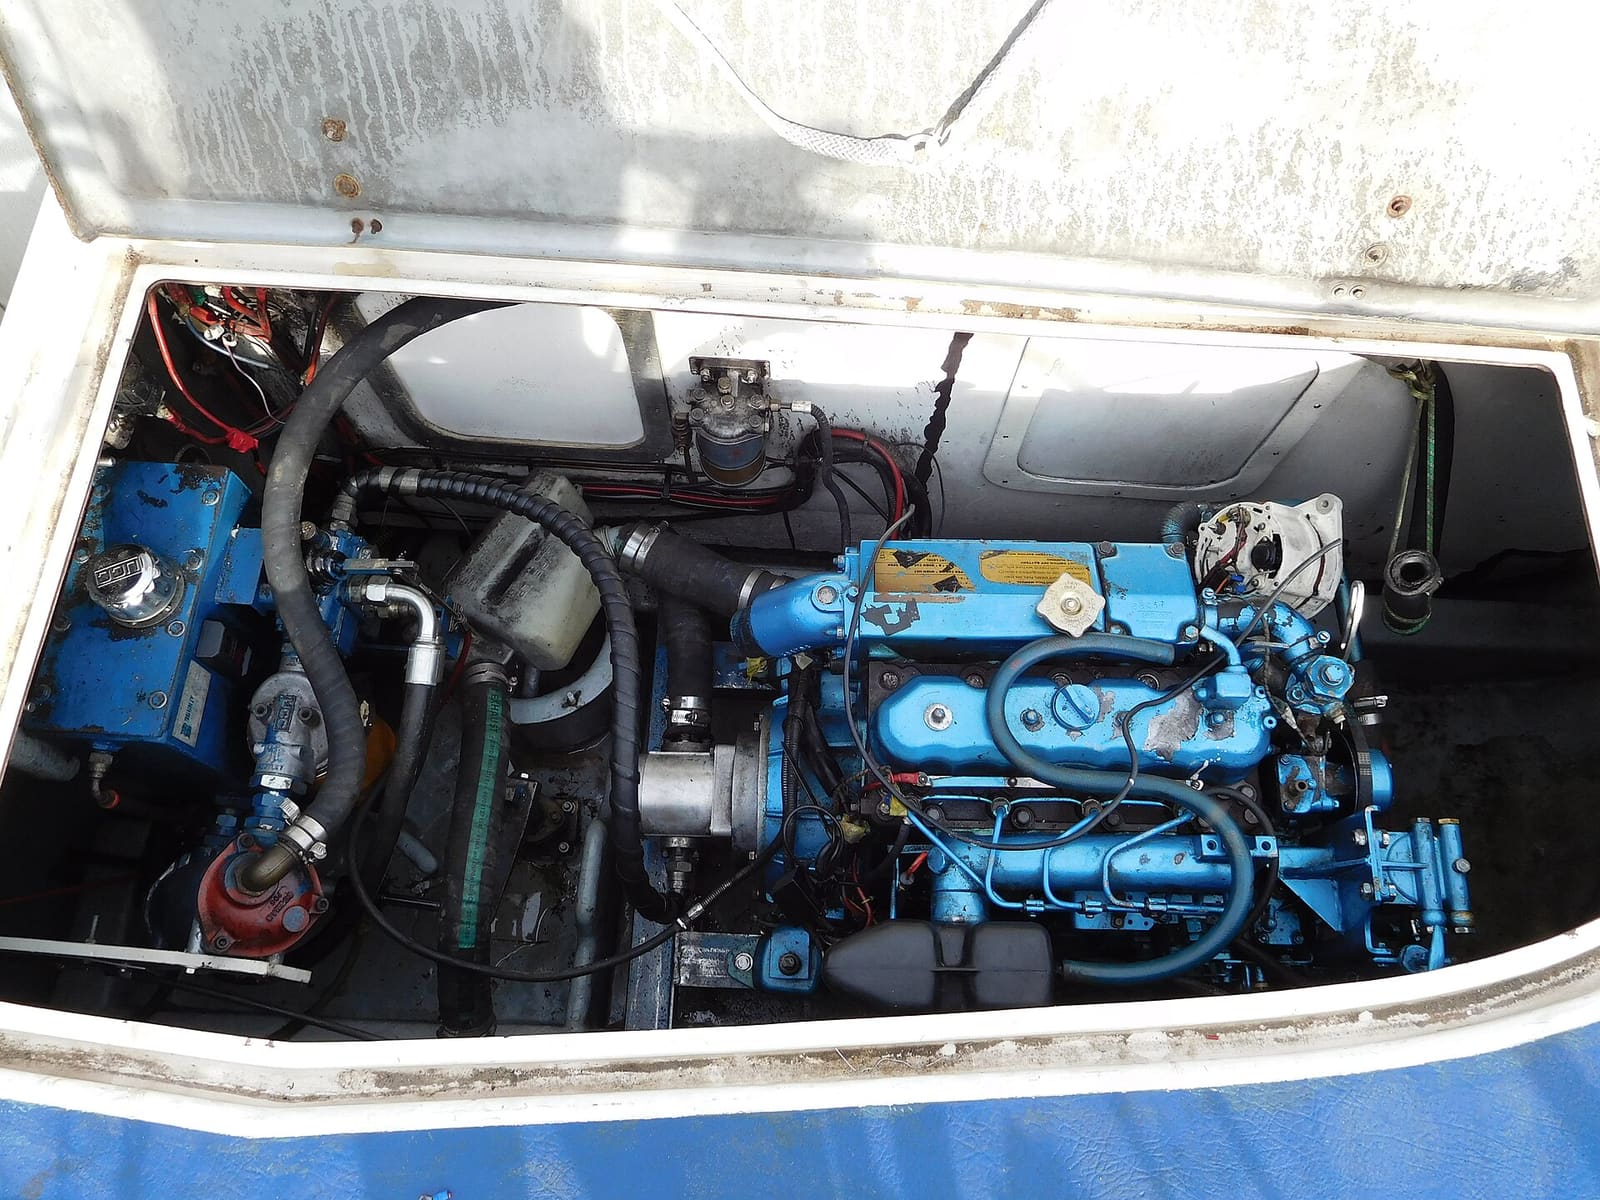
Change the oil and oil filter, replace the primary and secondary fuel filters, and bleed air from the fuel system on a Yanmar, Volvo Penta, Beta, Cummins or similar marine diesel. These three skills cover most routine diesel care and can get you out of trouble when the engine dies on a passage.
Time
2 h 30 min
Shop would charge
$300-700
Applies to
Marine diesel, Gas inboard
Safety first: Never loosen the high-pressure lines or fittings on a common-rail diesel (most modern electronic engines); fuel there is under extreme pressure and can cut or inject into skin, which is a medical emergency. Hot oil and exhaust parts burn, so let the engine cool to warm, not hot. Diesel spills are slippery and pollute; never pump oily bilge water overboard. If you have a fuel leak you cannot stop, smell exhaust in the cabin (carbon monoxide), or the boat is taking on water from a disturbed hose or seacock, stop work, ventilate, and call a marine mechanic or Sea Tow / TowBoatUS; in an emergency call USCG on VHF 16 or 911.
Tools
- Oil extraction pump (manual or electric) with a tube that fits your dipstick tube
- Oil filter wrench (strap or cap type)
- Wrenches and sockets (most diesels are metric)
- Clear container for inspecting fuel from the separator bowl
- Oil-absorbent pads and a drip tray
- Zip-top plastic bags for old filters
- Flashlight or headlamp
- Nitrile gloves and safety glasses
- Funnel
Parts & supplies
- Engine oil of the grade and specification in your manual (diesel-rated)
- Oil filter (genuine or exact equivalent)
- Primary fuel filter element with new gaskets/O-rings (for example a Racor-type element of the micron rating your engine maker specifies)
- Secondary (engine-mounted) fuel filter with new O-rings/sealing washers
- Clean diesel to pre-fill filters
Before you start
Intervals: follow your engine's operator's manual (Yanmar, Volvo Penta, Beta, Cummins and others list oil, oil filter, primary filter and secondary filter intervals by hours). Schedules vary a lot by model. Two common-sense rules on top of the manual:
- Change oil and filter at least once a year and before winter layup, even with few hours. Dirty oil sitting all winter is acidic. BoatUS points out that sailboat engines used for an hour or two at a time are especially hard on oil.
- Change fuel filters at least once a year, and sooner if you see water or dirt in the separator bowl or the engine starts losing power.
Know your fuel system: fuel goes from the tank, through a primary filter / water separator (often a large Racor-style unit with a clear bowl, on the suction side), then the lift pump on the engine, then the secondary filter (on the engine), then the injection pump, then the injectors. Extra fuel returns to the tank.
Bleeding: opening the fuel system lets in air, and a diesel will not run with air in its fuel. Many older and small engines (common on sailboats) must be bled by hand. Many newer common-rail engines have an electric pump or self-bleed procedure: use only the method in your manual.
Get your manual's oil spec and capacity, filter part numbers, and its bleeding sequence before you start. Volvo Penta and Yanmar manuals are available from the maker or your dealer.
Steps
Run the engine about 10 minutes (underway, or in neutral at the dock with lines secure) so the oil is warm and contaminants are stirred up. Then shut down. Warm oil extracts much faster. Close the fuel valve at the tank once the engine is off if you will change fuel filters.
Most marine diesels have no reachable drain plug. Push the extractor tube down the dipstick tube until it touches bottom, or connect to the engine's oil drain hose or pipe if it has one. Pump the oil into the container. Move the tube around to get the last of it. Note the color and look for a milky look (water or coolant in the oil); that needs a mechanic.
Put pads and a bag under the filter. Unscrew it with the filter wrench, keeping it upright. Make sure the old rubber gasket came off with it. Wipe the mounting surface. Smear clean oil on the new gasket and spin the new filter on hand-tight plus the amount printed on it. If your filter mounts upright, you can pre-fill it with oil; if it hangs sideways, do not.
Add the amount in your manual through the fill cap, a little less at first. Wait a few minutes, check the dipstick, and top up to the full mark. Do not overfill.
Use the API and SAE ratings in your manual. Westerbeke also suggests sticking with one well-known brand rather than mixing brands between changes, because different makers use different additive packages.
With the fuel valve closed and pads underneath:
- Drain water and sediment from the bottom of the bowl into a clear container and look at it.
- Remove the lid (T-handle style on Racor-type units), lift out the old element and bag it.
- Replace the lid gasket and O-rings, smearing them with clean diesel first.
- Install the new element, fill the housing with clean diesel, and close the lid hand-tight.
Different filter brands differ; follow the instructions packed with the element.
This filter sits on the engine near the lift pump. It may be a spin-on canister or an element with a bowl held by a center bolt. Remove it over pads (expect some spilled fuel), replace all O-rings or sealing washers, wipe the sealing faces clean, and fit the new filter. Pre-fill a spin-on filter with clean diesel if your manual allows. Do not over-tighten bolts on light alloy housings.
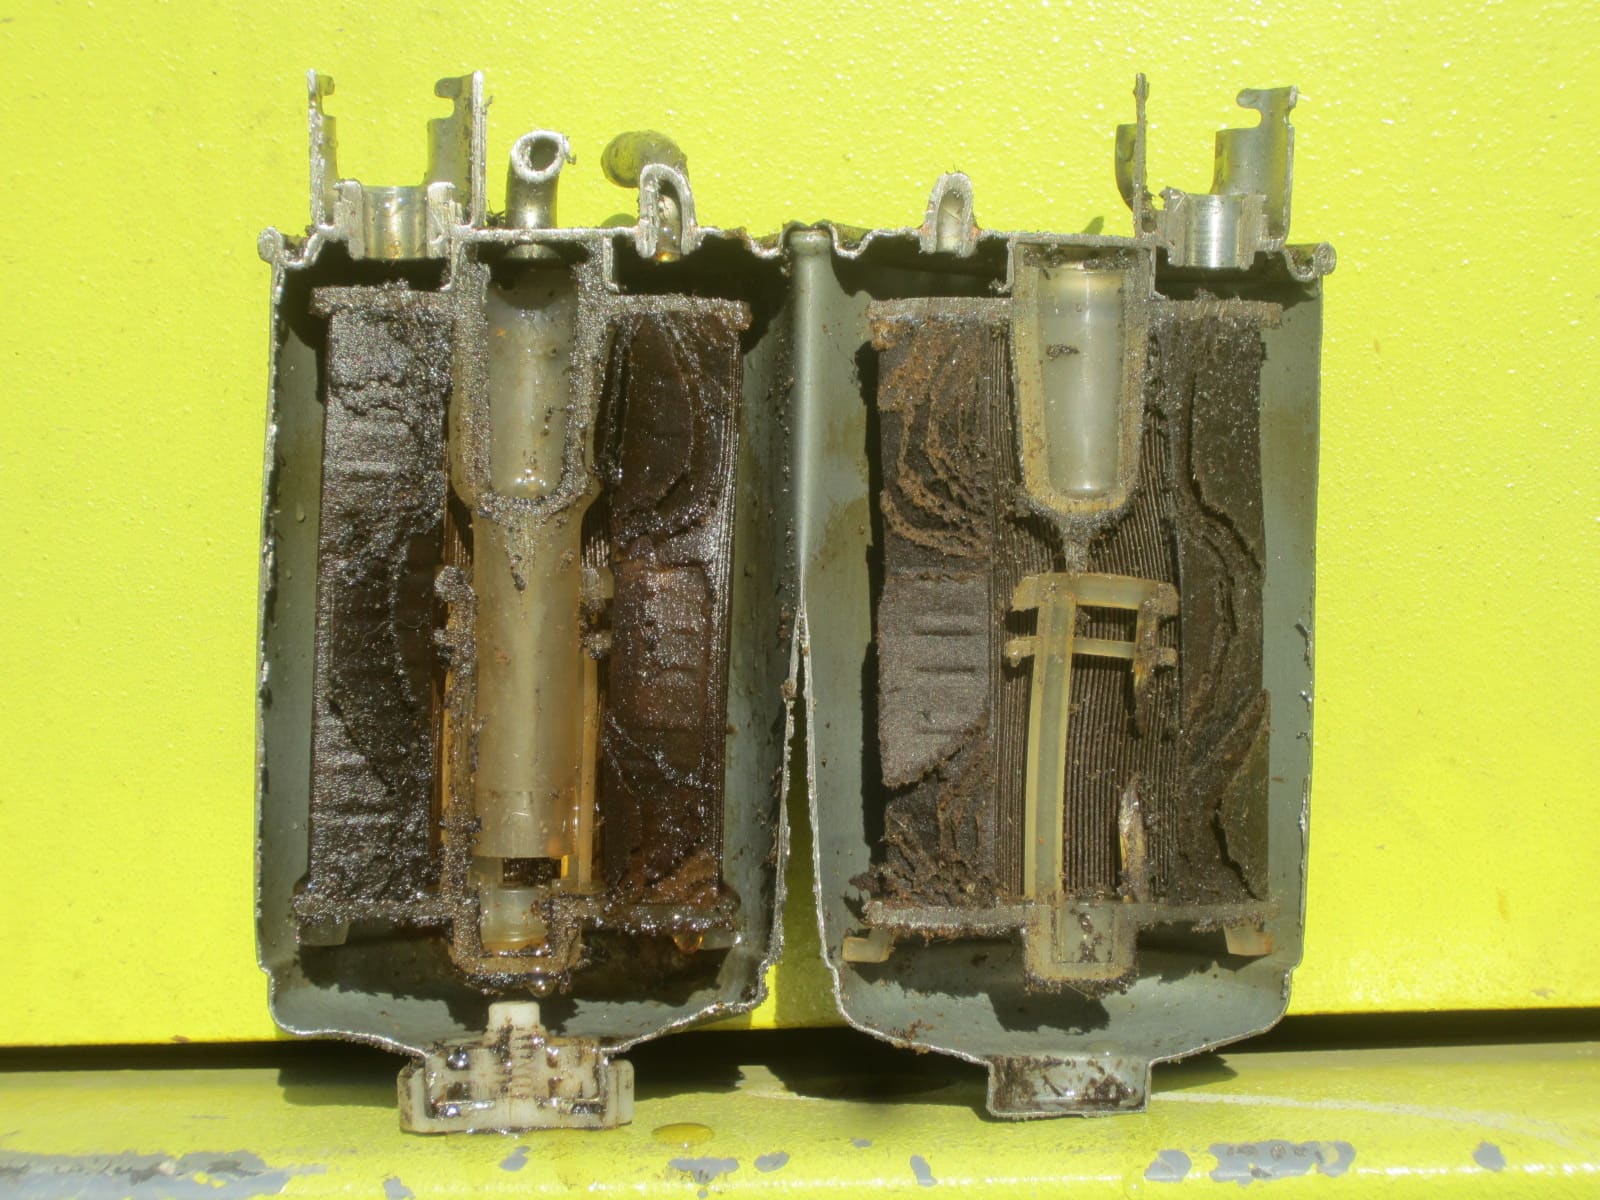
A clogged diesel fuel filter cut in half. Dirt like this starves the engine of fuel, which is why the filters are changed on schedule. Photo: Kat1100 / Wikimedia Commons · CC BY 3.0 Open the tank fuel valve. Bleeding and cranking will spin the raw-water pump. Its impeller is ruined if it runs dry, so keep the raw-water seacock open. If you will crank a lot with the engine not starting, BoatUS warns water can fill the exhaust muffler and back up into the engine: close the seacock while cranking for long periods, and reopen it before the engine actually starts.
On engines that need manual bleeding: find the bleed screw on top of the secondary filter housing and the hand lever (or priming button) on the lift pump. Loosen the bleed screw about half a turn (do not remove it). Work the lever until fuel flows with no bubbles, then tighten the screw while still pumping. Wipe up spilled fuel.
If the lift pump lever feels dead, the engine may have stopped with the pump's cam at the wrong spot; bump the starter briefly and try again.
Repeat at the bleed screw or fitting on the injection pump. It usually takes only a few strokes. Tighten it as soon as clean fuel comes out. Some engines skip this step.
Only on engines your manual says to bleed this way, and never on common-rail engines: loosen one injector line nut at the injector about half to one turn, set the throttle as the manual says, and crank briefly until fuel spits out without bubbles. Tighten it and repeat for each injector. Crank in short bursts (around 10 seconds) with rest in between so the starter does not overheat.
Open the raw-water seacock if you closed it. Start the engine. Check that cooling water comes out with the exhaust right away. Let it idle and inspect every filter, bleed screw and the oil filter for drips. Westerbeke suggests letting it run 5 to 10 minutes after a fuel filter change, to be sure no air is left in the fuel system and nothing you disturbed is leaking. Then shut down and recheck the oil level.
If the engine starts then dies, or will not start after about 10 seconds of cranking, there is still air or an air leak, usually on the suction side at the primary filter lid. Recheck your work and bleed again.
Bag the old filters and pads. Take used oil, filters and fuel-soaked pads to a marina or recycling center that accepts them. Never pump oil or oily bilge water overboard.
Record engine hours, date, oil used, and filter part numbers in BoatMend. Note what you found in the separator bowl; water showing up repeatedly means a fuel tank problem worth investigating.
Common mistakes
- Cranking over and over with the raw-water seacock open while the engine will not fire. Water can fill the muffler and back up into the cylinders.
- Bleeding out of order, starting at the injectors instead of working from the tank toward the engine.
- Reusing the old lid gasket or O-rings on the primary filter, or pinching one on reassembly. A tiny air leak there causes endless bleeding.
- Pouring dirty fuel into a new filter, or filling the outlet (clean) side, which sends dirt straight to the injection pump.
- Loosening any line on a common-rail engine "to bleed it".
- Skipping the fall oil change because the engine only ran a few hours. Short runs are the hardest on oil.
- Forgetting to reopen the fuel valve or the seacock before starting.
- Adding a diesel additive or biocide without checking that it is compatible with your primary filter/separator element (Westerbeke flags this). Some products can affect certain elements.
- Letting a drip of oil or diesel go into the bilge "because it is small". It ends up pumped overboard. Washington State's boating program says never to drain engine fluids into the bilge and never to use soap on a sheen; a spill that reaches the water must be reported (National Response Center 1-800-424-8802 or VHF 16).
When to call a pro
- You have a common-rail engine and the bleeding procedure is not clearly in your manual
- The oil looks milky, smells like fuel, or the level rises between changes
- You find lots of water, black sludge or "slime" (diesel bug) in the separator bowl
- The engine still will not start after bleeding twice
- Any fuel leak you cannot stop, or exhaust smell inside the boat
- The engine is under warranty and the maker requires dealer service
Tips
- Carry spare primary and secondary filters, O-rings, and a small bleed kit (wrench, rags, container) on every passage. Rough seas stir up tank sediment, and a clogged filter is a common reason diesels stop offshore.
- Practice bleeding at the dock once so you can do it calmly when it counts.
- Use the filter micron ratings your engine maker specifies; BoatUS notes Yanmar commonly calls for a coarser primary and finer secondary filter on many models.
- Keep the tank as full as practical in storage to reduce condensation, and treat diesel with a biocide or stabilizer if the boat sits for long periods.
- Consider oil analysis once a year; it can show coolant or fuel in the oil early.
Official references
We read these to write this guide. Your engine's own manual always wins.
Safety: BoatMend is for information only and does not replace a certified marine technician. You are responsible for your safety and your boat. Read the full disclaimer.
Last updated 2026-10-23
Related guides
How to Replace the Water Pump Impeller
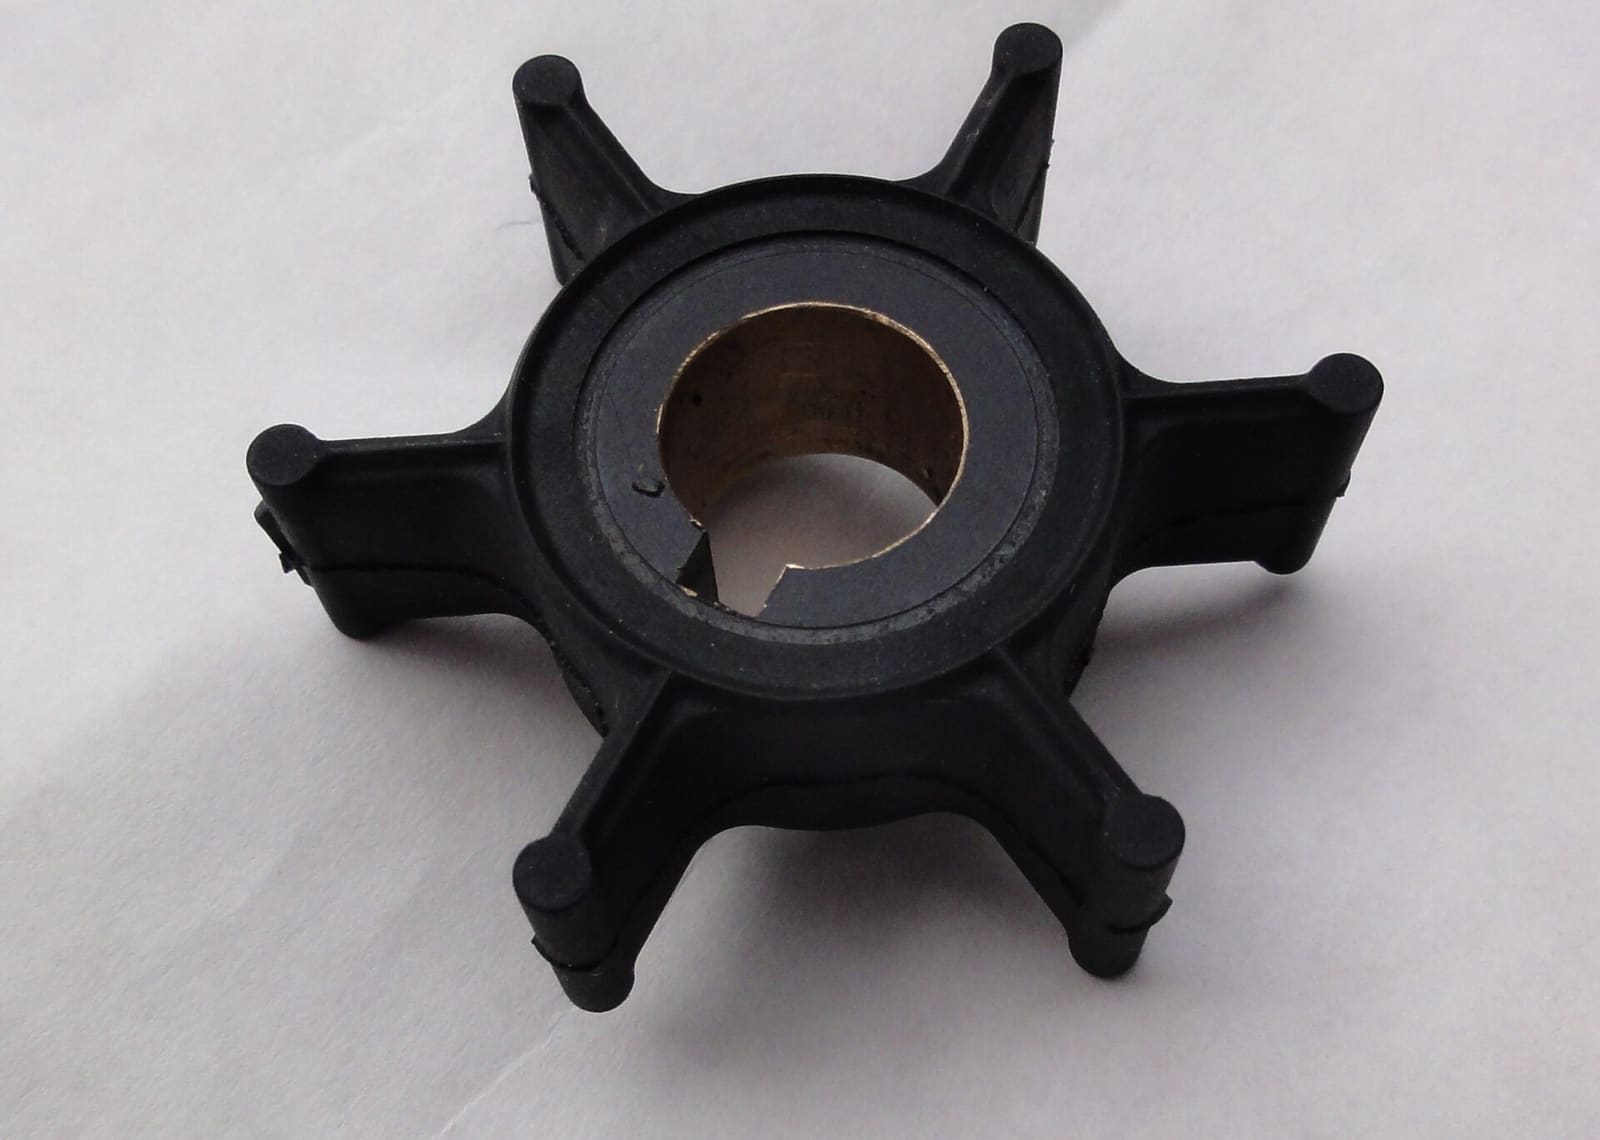
Replace the rubber impeller that pumps cooling water through your engine, the part most often behind overheating. On many outboards it is a two-hour driveway job that saves a shop bill of several hundred dollars and prevents far costlier heat damage.
Engine Overheating - Troubleshooting Guide
Work through the most likely causes of a hot engine or overheat alarm, from a blocked water intake to a worn impeller or stuck thermostat. Acting fast and in the right order can save your engine and often gets you home without a tow.
Engine Won't Start or Won't Crank - Troubleshooting Guide
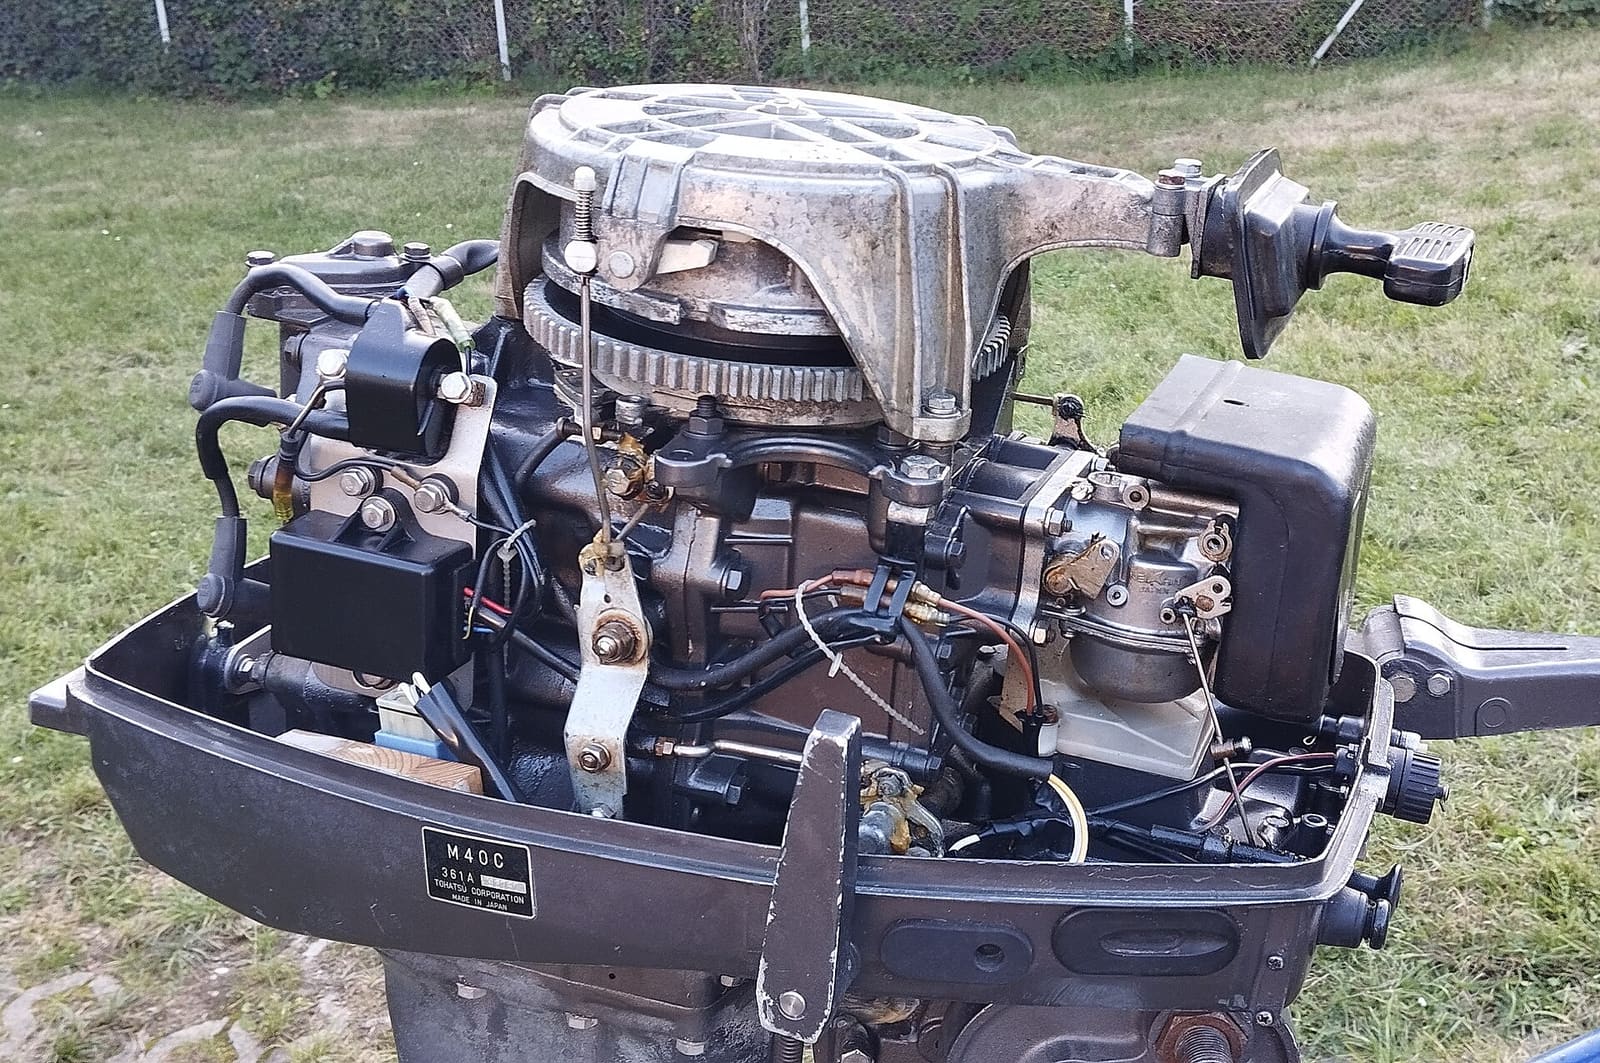
Find out why your boat engine will not turn over or will not fire, starting with the simple things owners miss most, like the kill switch lanyard and battery switch. Many no-starts are fixed at the ramp in minutes without a tow.
Engine Starts Then Dies - Troubleshooting Guide
Track down why your boat engine fires up and then stalls, whether at idle, when you shift into gear, or after a few minutes of running. Most causes are in the fuel supply and can be checked with no special tools.
Loss of Power, Hesitation or Misfire - Troubleshooting Guide
Figure out why your engine bogs down, stumbles, will not reach full rpm or runs rough. Work from simple checks like trim, prop and fuel filter to ignition and engine protection modes before paying for diagnostics.
How to Inspect and Replace Sacrificial Anodes (Zincs)
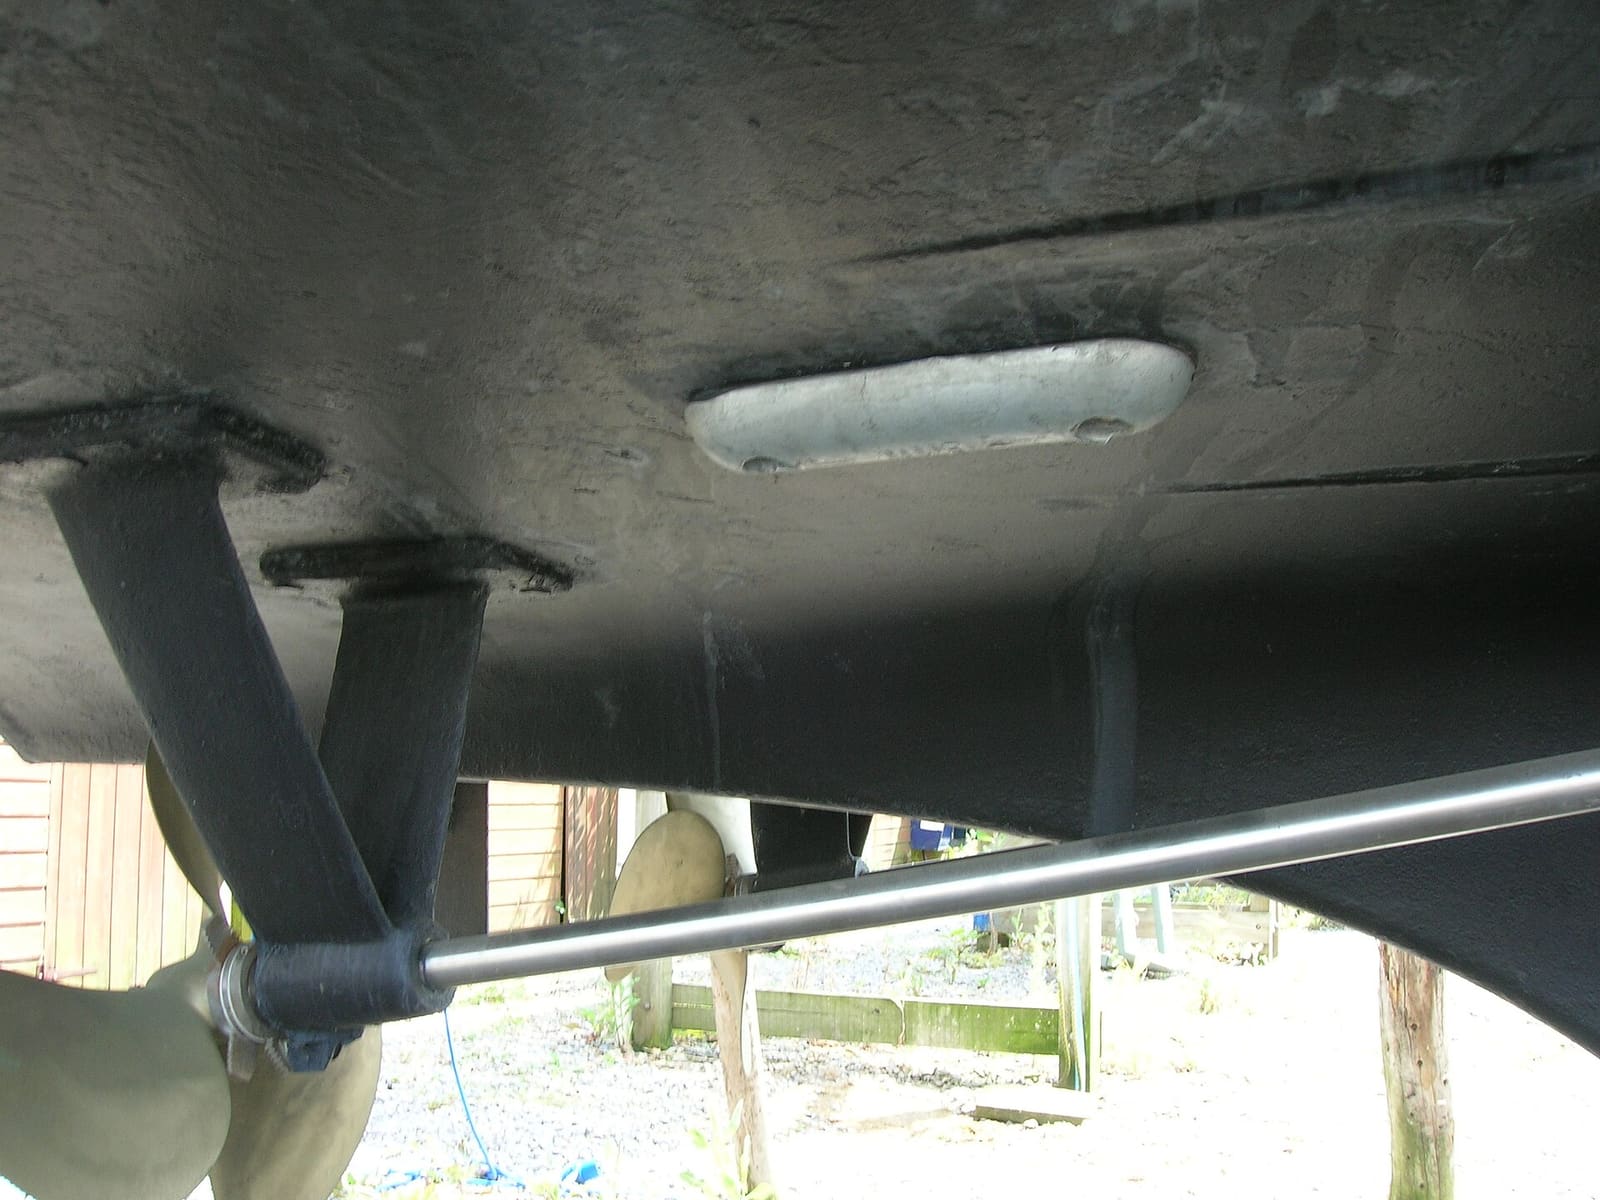
Check the anodes on your outboard, sterndrive or inboard running gear, replace them when they are half gone, and choose the right metal for the water you boat in. Fresh anodes are cheap insurance against expensive corrosion damage to your lower unit, drive and prop.