Drain Plugs: Types, Pre-Launch Checks, Spares and Replacing a Garboard Drain
A forgotten or worn drain plug is one of the most common ways a boat floods at the ramp. Learn the plug types, a launch routine that makes it hard to forget, how to look after plugs and fittings, how to replace a garboard drain, and when the plug should come out for storage.
Time
20 min
Shop would charge
$100-300
Applies to
All engines
Safety first: If water is pouring in through the drain at the ramp, don't try to fix it afloat: get the boat back on the trailer and pull it out. If you're away from the ramp and taking on water you can't stop, turn on the bilge pump, put on life jackets and call for help on VHF channel 16 or 911 (and TowBoatUS or Sea Tow if you have them). Never use the plug hole to drain a bilge with fuel or oil in it onto the ground or into the water; clean it up properly first.
Owners often ask
- Someone used 5200 on my drain plug and now it won't come out. What can I do?
- Should I leave the drain plug in or out when the boat is on the trailer between trips?
This guide walks you through it. Still stuck? Ask the AI Mechanic about your engine.
Tools
- Wrench or T-wrench that fits a threaded garboard plug (if you have one)
- Flashlight
- Clean rag
- For replacing a fitting - screwdrivers or wrenches for the flange fasteners, plastic scraper, solvent the sealant maker recommends, caulking gun
Parts & supplies
- Spare drain plug that matches your fitting (at least one, ideally two)
- Waterproof marine grease (for threads or O-rings, unless your boat or plug maker says otherwise)
- For replacing a fitting - new garboard drain sized to the hole, and marine sealant rated for below the waterline
Before you start
BoatUS insurance data puts a missing drain plug behind about 12 percent of trailer boat sinkings, usually right at the ramp, and every one of those was avoidable.
Most trailer boats have a drain at the bottom of the transom so rain and spray can run out of the bilge on land. Larger boats and sailboats may have a garboard drain low in the hull. Many boats also have plugs in livewells, bait wells and sumps. Find every one on your boat before your first launch, and note what kind of plug each takes.
The common types:
- Expanding rubber plugs. A rubber body you squeeze outward by turning a T-handle or wing nut, or by flipping down a lever (often sold as "snap" or "snap-lock" plugs). They seal inside a smooth drain tube, usually 1 inch on small boats.
- Threaded garboard plugs. Boating Magazine explains that the original 1-inch garboard drains used a bronze plug with tapered pipe threads and a square head that needs a wrench or T-wrench. Later versions add a crossbar or a thumb-screw head for hand tightening, and some add an O-ring or rubber seal. Boating notes trailer boaters and dry-stack owners tend to like the hand-tightened styles, while owners who keep boats in a slip often prefer plugs that need a wrench.
- Captive plugs. Some newer garboard drains keep the plug attached to the fitting even when it's unscrewed, so you can't lose it.
Steps
Take each plug out on land and look at it with the fitting.
- Expanding plugs: tighten until the rubber is firmly pressed against the tube and the plug won't turn or pull out by hand. Over-tightening can split the rubber.
- Threaded plugs: these seal on the threads or on an O-ring. Snug them with the right tool; don't use a pipe wrench or a cheater bar that can crack the fitting.
- Inside or outside? Some fittings take the plug from outside the hull, some from inside, depending on how the drain tube is mounted. Use the side the builder intended, so water pressure pushes the plug into its seat. Owners of boats kept on a lift sometimes want to move the plug inside so they can drain the bilge without wading or paddling to the stern. Whether that's safe depends on the fitting and plug design; ask the builder or a marine tech rather than forcing a plug into a tube it wasn't made for.
Mercury's pre-tow checklist says to keep the drain plug, the boat keys and other critical gear in the tow vehicle so they're not left at home. At the ramp:
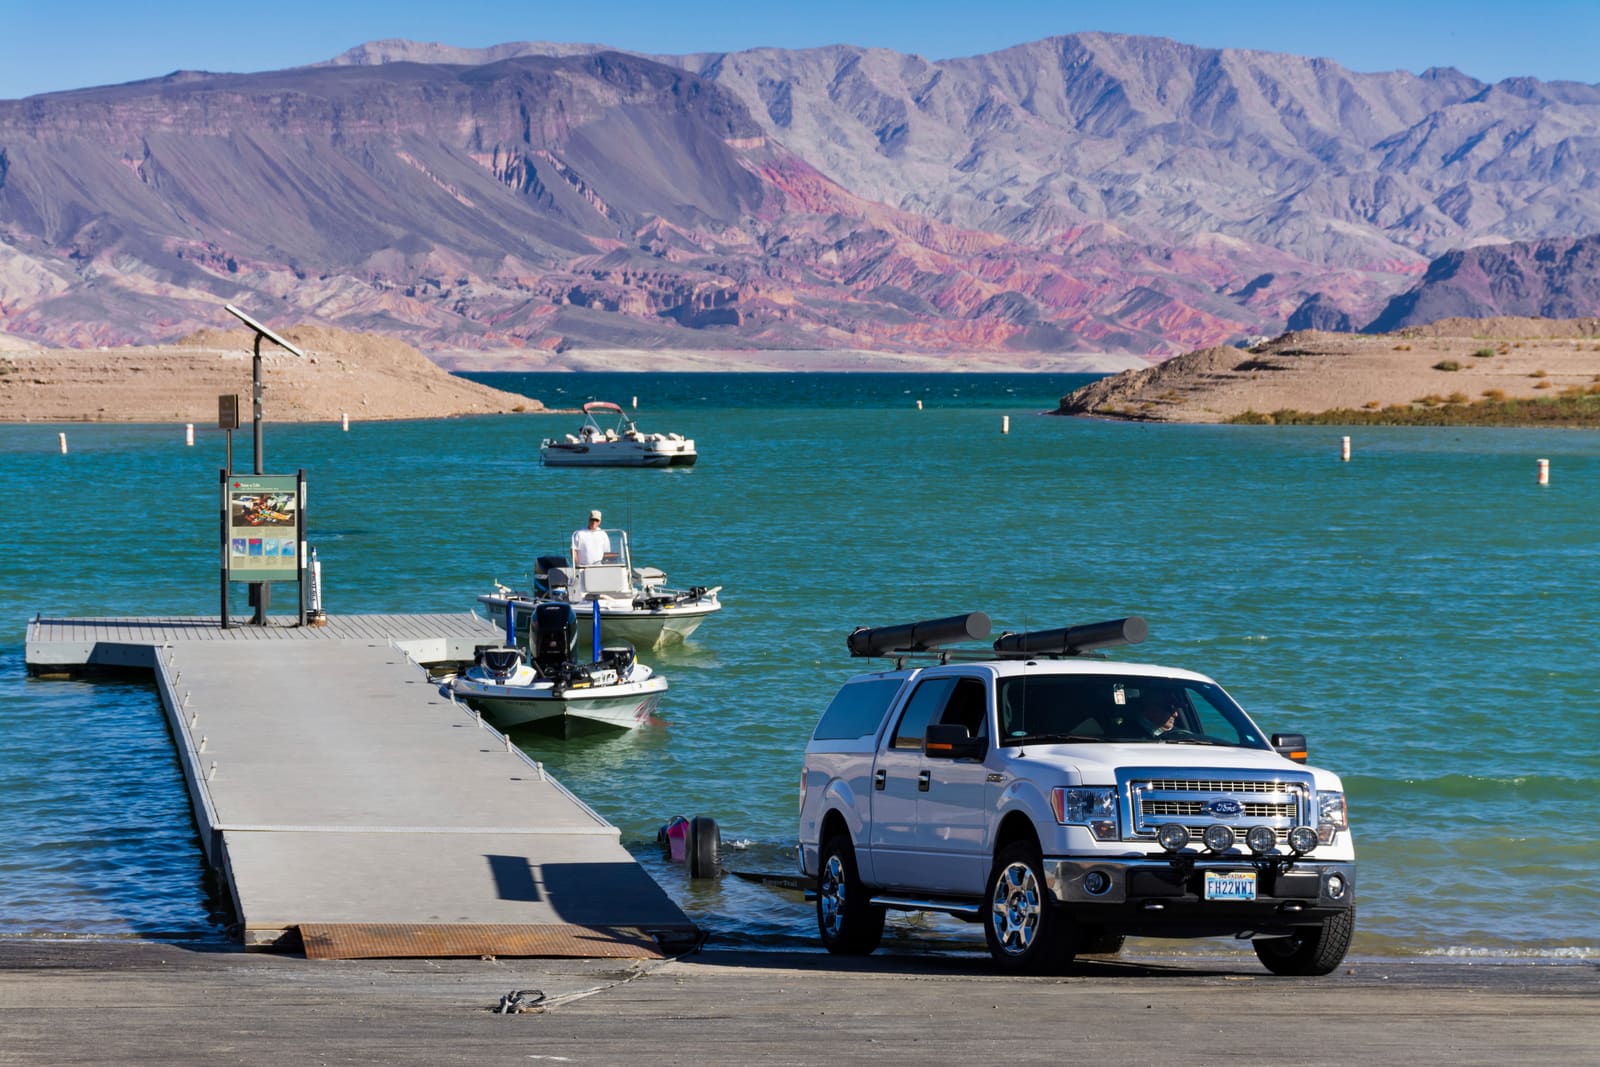
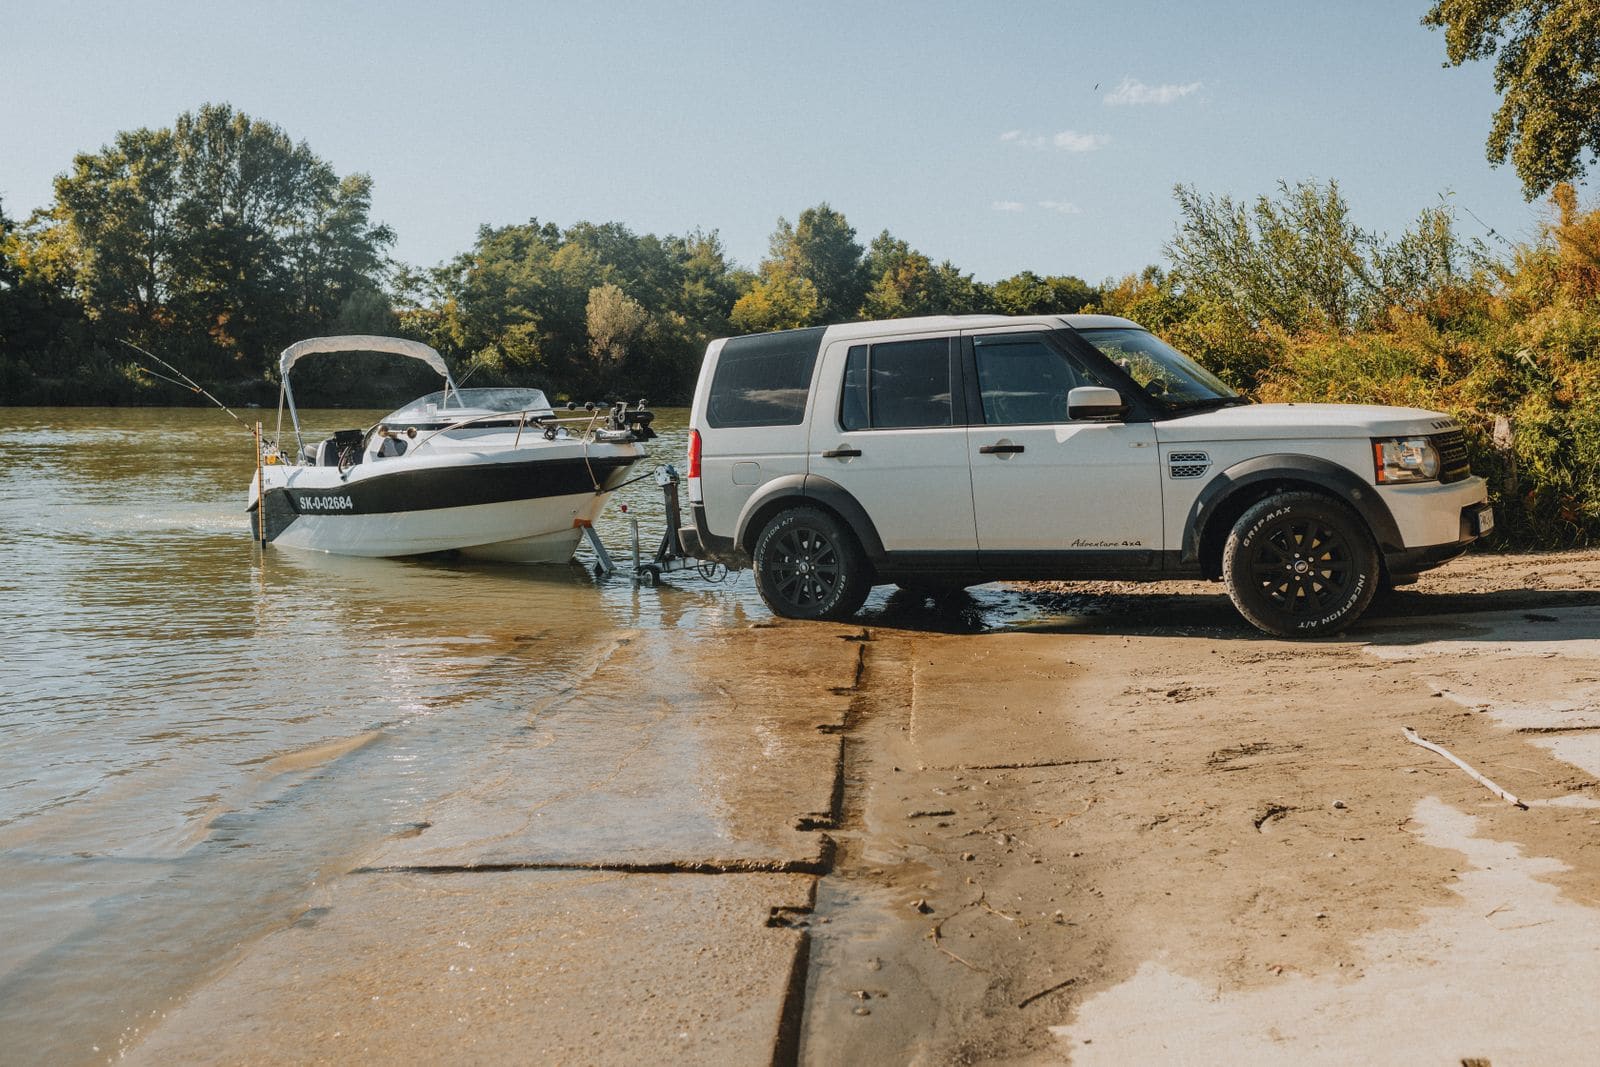
- Install the plug in the staging area, before you back down, at the same time as you remove the transom straps. Sea-Doo's launch routine does exactly that: prep area, straps off, plug in, lanyard on.
- Have a second person check it, or touch it yourself one more time right before the trailer goes in.
As soon as the boat floats, open the bilge or engine hatch and look at the drain area. A steady trickle means the plug isn't seated. Don't idle away from the dock with a leak; it's much easier to fix at the trailer. Run the bilge pump briefly to confirm it works too.
If the boat is still on the trailer when you notice water coming in, BoatUS suggests pulling the whole rig back up the ramp and letting the water drain out while you find the plug. Be careful if a lot of water got in: the extra weight can exceed what your tow vehicle can safely pull up the ramp. In that case, pump it out first or get help.
Once the boat is on the trailer and out of the ramp lane:
- Remove the transom plug and let the bilge drain. Mercury's invasive-species tip says to make sure nothing blocks the flow to the drain, and to pull the plugs from livewells and bait wells as well.
- Many states require boats to be drained before leaving the ramp. Colorado's inspection stations, for example, ask boaters to arrive with the bilge plug removed and on hand to put back after the inspection. See our clean, drain and dry guide for state rules.
- Some states go further and make you drive with the plug out. Minnesota's invasive species law (statute 84D.10) says drain plugs and other draining devices for bilges, live wells and ballast tanks must be removed or opened while you transport the boat over land; only the short move in the loading and prep area is excepted. If you trailer across state lines, check each state's rules before you go.
- Put the plug straight back in the tow vehicle, in the same spot every time.
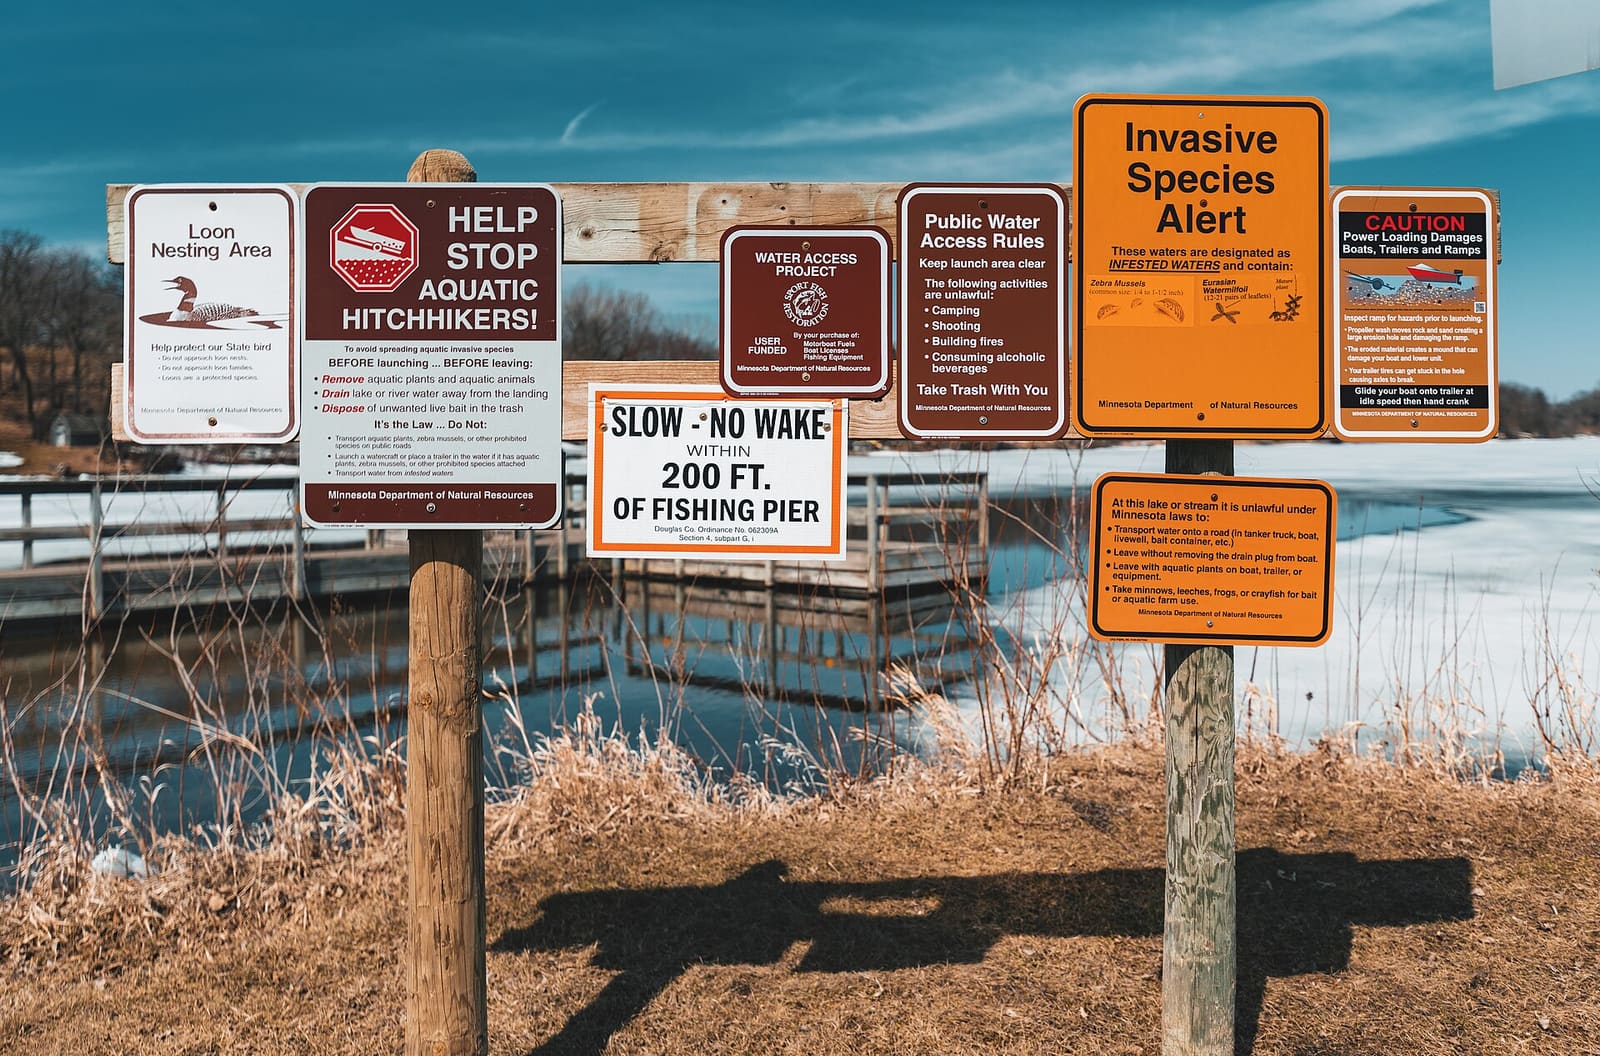
Photo: Tony Webster / Wikimedia Commons · CC BY 2.0 At least each season, and any time it leaks:
- Rubber plugs: look for cracks, hardening, flattening or tears. A rubber body that has taken a "set" may not expand enough to seal.
- Hardware: check the T-handle, lever, wing nut and bolt for corrosion and bends. A lever plug that no longer snaps firmly needs replacing.
- Threaded plugs: look for galled or flattened threads, and check the O-ring or seal if there is one.
- The drain tube or fitting: look for cracks, corrosion pits, a loose flange or old sealant that has pulled away. Brown streaks or wet wood around the drain can mean water is getting into the transom core.
Plugs are cheap. Replace a worn one rather than tightening harder.
A light film of waterproof marine grease on threads or an O-ring keeps a plug from seizing, unless your boat or plug maker calls for something else. Never put adhesive sealant on a removable plug. Owners who've grabbed a tube of sealant in a hurry report plugs that wouldn't come out again, sometimes forcing replacement of the whole fitting. Our marine sealants guide explains why permanent adhesives don't belong on anything you need to remove.
- Expanding plugs: loosen the handle fully, then wiggle and pull. If the rubber has stuck to the tube, work it gently with a plastic tool, not a screwdriver that can scratch the tube.
- Threaded plugs: use the correct wrench square on the head and steady pressure. Penetrating oil can help on threads that are just corroded.
- Stop if the whole fitting starts to turn in the transom, the flange cracks, or the tube moves. Forcing it can tear the seal between the fitting and the hull, and then you have a leak into the transom. That's a job for a pro or the next step.
If you're replacing a fitting or plug, Boating Magazine's guidance on garboard drains:
- Bronze is the traditional, time-tested choice below the waterline.
- Stainless steel looks good and is the better choice on aluminum boats, as long as it's properly isolated from the aluminum. Bronze and aluminum don't get along at all.
- Stainless is more prone to corrosion than bronze underwater.
- Plastic fittings aren't a good choice for a fitting that sits well below the waterline.
Match the plug to the fitting: plugs from different makers often don't seal in each other's fittings.
This is a moderate job on most trailer boats. Do it on land with the boat level and the bilge dry.
- Measure the hole. Boating says garboard drains are made for holes from about 3/4 inch to 1-1/2 inches, with 1 inch the most common on today's recreational boats. Buy a fitting for your hole size.
- Check the fit. The flange must have enough flat surface around the hole and must not hang below the bottom of the transom. The tube shouldn't stick out past the inner transom wall, or it will trap water instead of draining it.
- Remove the old fitting. Take out the fasteners, cut the old sealant with a plastic scraper or knife, and push or tap the fitting out. Clean both surfaces back to bare, dry material.
- Inspect the hole. If the transom has a wood or foam core, look at the cut edge. Wet, dark or crumbly wood means water has been getting in. Stop and get it assessed (see our transom rot guide) before sealing it up again.
- Mount it solidly. Boating notes some fittings come with a backing plate for through-bolting, a good idea on any boat and especially one kept in the water. If yours uses screws through the flange, make sure they're long enough to bite solidly into the transom.
- Bed it generously with a marine sealant rated for below the waterline, on the flange, in the hole and on the fasteners. Tighten evenly so a little sealant squeezes out all around. Let it cure for the full time on the tube before the boat goes in the water.
- Test it. With the plug in, add a bucket of water to the bilge on the trailer and check outside for drips.
Garboard plugs are small and easy to lose, so Boating suggests having a spare or two. One product it mentions is a bright orange emergency plug that clips to the boat key ring. A practical setup:
- One spare on or with the boat keys
- One in the tow vehicle's glove box
- One aboard, in a spot you can reach quickly (many owners tape it near the drain)
Check that each spare actually fits your fitting.
Pick at least one:
- Keep the plug on the key ring, so the boat can't start without you holding it
- Hang a bright tag on the steering wheel whenever the plug is out
- Store the plug on the trailer winch handle or in the tow vehicle's cup holder, so you see it when you hitch up
- Put "PLUG" first on a laminated launch checklist
- Trailer and dry storage: Mercury's winter storage advice is to pull the drain plug(s) and keep the bow slightly raised so no water pools. Discover Boating's winterizing guide also says to remove drain plugs on dry land and make sure the boat is positioned to drain.
- Boat lifts: BoatUS describes a winterized boat left on a lift with the transom plug in; it filled with water and the lift collapsed. Rain alone can do the same in summer if the plugs are in or the drains are clogged.
- Personal watercraft: advice varies. Yamaha's post-operation checks say to keep the drain plug out while the craft is on land, and Sea-Doo's launch routine has you loosen the plugs after you pull out. Follow your manual.
Wherever the plug is out, the reminder from step 11 should be on the boat.
After storage, the plug goes in as the first step of spring commissioning or your next launch, not the last. Look at it and the fitting closely (step 5) before you do.
Common mistakes
- Launching without the plug, or with it loosely seated.
- Leaving the plug in a pocket, the garage or the boat's bilge instead of one fixed spot.
- Sealing a removable plug with adhesive sealant.
- Buying a "universal" plug that doesn't really fit the tube.
- Over-tightening an expanding plug until the rubber splits, or a threaded plug until the fitting cracks.
- Storing a boat on a trailer or lift with the plug in and the bow down.
- Forgetting livewell and bait well plugs when draining.
- Running a bilge pump hose out through the drain hole. The drain sits at or below the waterline, so a leak or siphon there can flood the boat; pump discharges belong in a proper fitting above the waterline (see our bilge pump guide).
When to call a pro
- The drain fitting is loose, cracked or leaking around the flange
- Wet, soft or rotten wood or foam around the drain hole
- A seized fitting that turns in the transom when you try to remove the plug
- Your boat floods at the ramp or after launch and you can't find the source
- Taking on water away from the ramp that you can't stop: call VHF 16, 911, TowBoatUS or Sea Tow
Tips
- Take a photo of each drain and plug type and keep it in your phone, so you can buy the right spare anywhere.
- A dab of brightly colored tape on the plug handle makes it easy to spot in the tow vehicle or bilge.
- If you have more than one drain, count plugs out and back in, every time.
- On boats kept in a slip, check the drain during routine bilge checks; a slow leak there can hide behind a working bilge pump.
Official references
We read these to write this guide. Your engine's own manual always wins.
- Boating Magazine – Boat Drain Plugs (garboard drain types and installation)
- Mercury Marine – Pre-Tow Checklist for Hauling Your Boat
- Mercury Marine – How to Store Your Boat for Winter
- Mercury Marine – Quick Tip, How to Remove Aquatic Invasive Species from Your Boat
- Discover Boating – How to Winterize a Boat
- BoatUS – Troubleshooting 101, Water In The Boat (missing drain plugs and trailer boat sinkings)
- BoatUS – Give Your Boat A Lift (lift collapse with the drain plug in)
- Sea-Doo – How Do You Launch and Load a Sea-Doo?
- Yamaha Motor – Post-operation Checks (WaveRunner)
- Colorado Parks and Wildlife – Boat Inspections
- Minnesota Statutes 84D.10 – Prohibited Activities (drain plugs removed during transport)
Safety: BoatMend is for information only and does not replace a certified marine technician. You are responsible for your safety and your boat. Read the full disclaimer.
Last updated 2026-10-25
Related guides
Launch Day and Haul-Out Checklist for Trailer Boats
A step-by-step checklist for getting your boat off the trailer and back on again safely and quickly, from the drain plug and tie-downs to the blower and ramp etiquette. Following it in order prevents the classic mistakes that sink boats and back up the ramp.
What to Do When Your Boat Is Taking On Water: Emergency Steps and Prevention
A step-by-step emergency plan for water coming into the boat - life jackets on, call for help early on VHF 16, find and slow the leak, pump, and head for shallow water if needed - plus the maintenance checklist that prevents most sinkings.
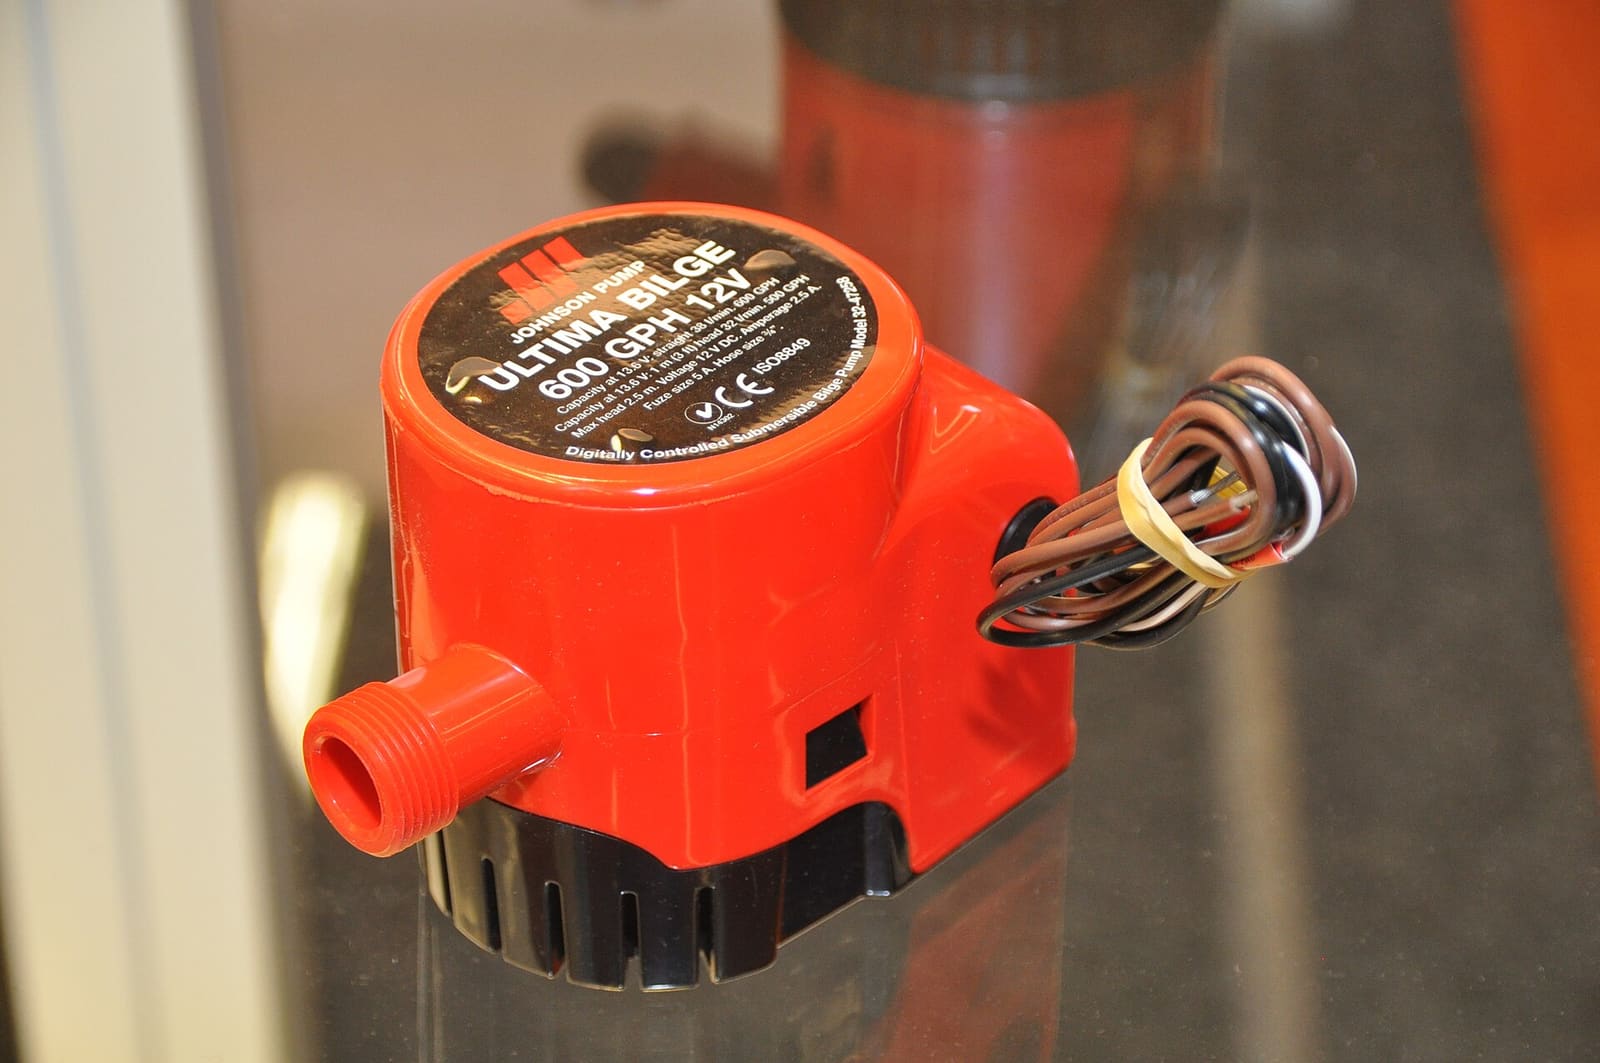
How to Test and Clean Your Bilge Pump and Float Switch
Make sure your bilge pump actually moves water overboard, both on the manual switch and automatically through the float switch. A working bilge pump is one of the most important safety systems on any boat that stays in the water.

Clean, Drain, Dry: Stopping Zebra and Quagga Mussels and Other Invasive Species
What Clean, Drain, Dry means in practice for your boat, trailer and motor, what to drain before you leave the ramp, what happens at a watercraft inspection or decontamination station, and examples of state rules you may run into when you trailer between lakes.

Winter Layup Master Checklist (Step-by-Step, With Links to Each Job)
One ordered checklist for putting any boat away for winter, from booking storage and treating the fuel to winterizing the engine, water systems, head and batteries, then blocking, covering and securing the boat. Each step links to the detailed BoatMend guide for that job.
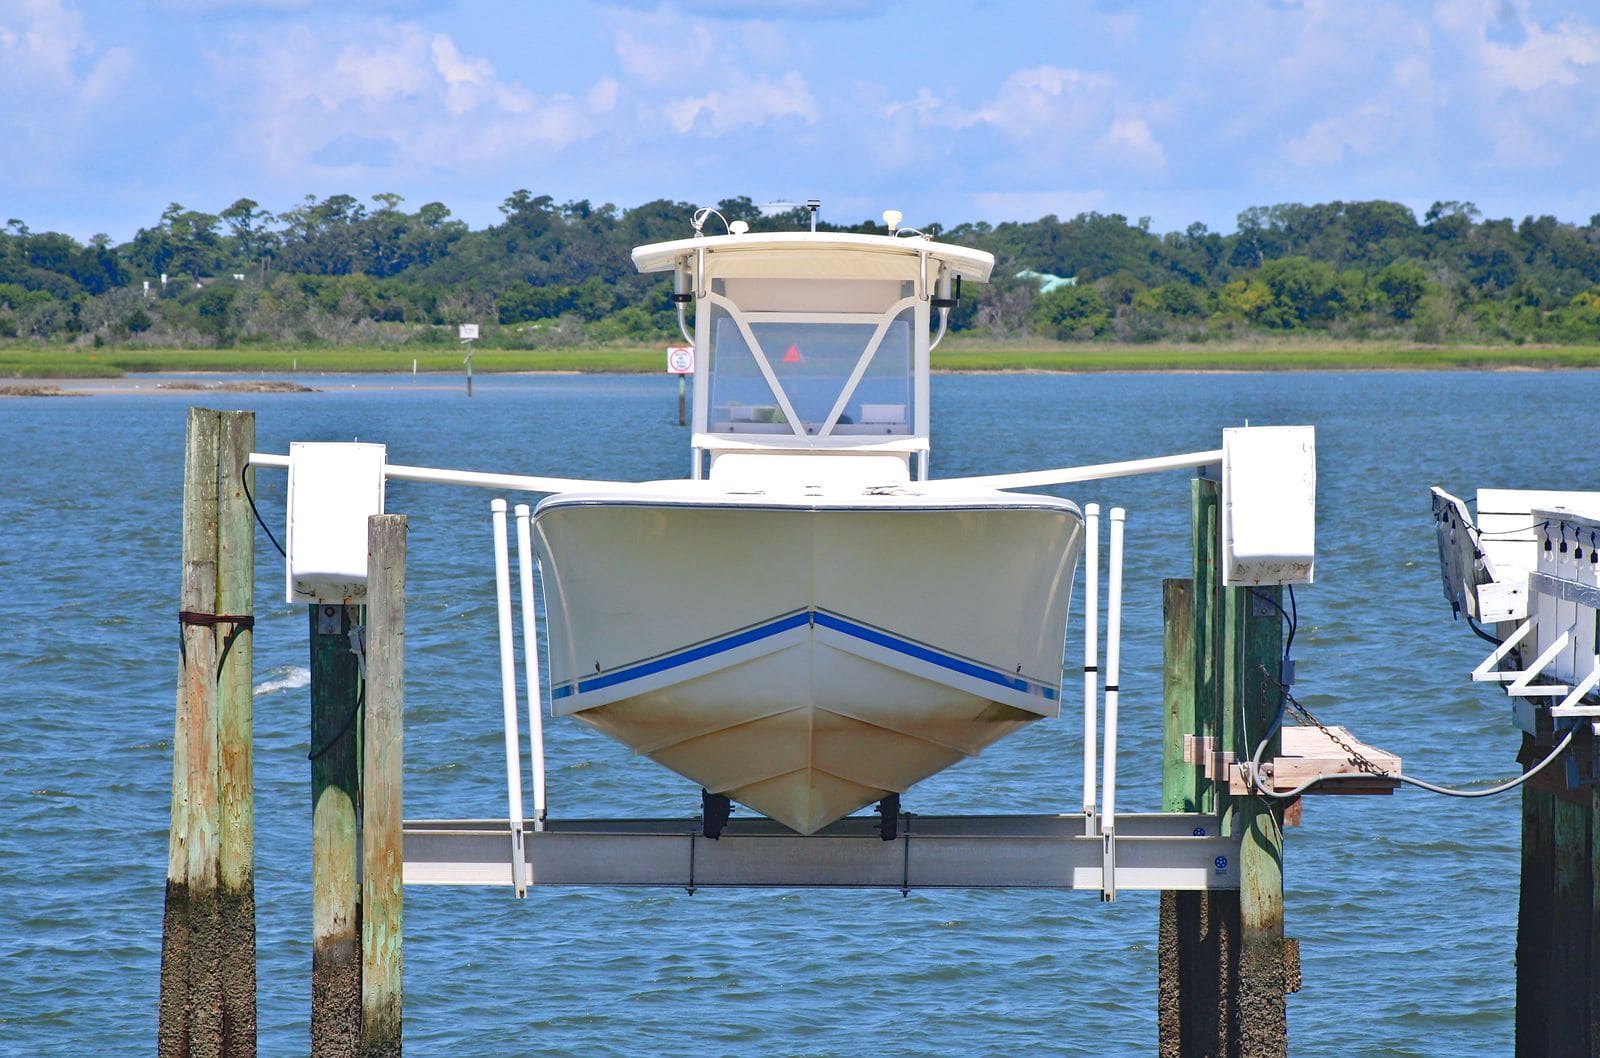
How to Inspect and Maintain a Boat Lift (Cables, Pulleys, Motor, Bunks and Storm Prep)
Inspect the cables, pulleys, motor, wiring and bunks on your boat lift, center the boat correctly, and prepare the lift and boat for storms and winter. Cable failures and overloading from rainwater or snow are the most common ways lifts drop boats.

How to Check a Boat for Transom and Stringer Rot
Many older fiberglass boats have wood inside the transom, stringers and deck, and water that gets in slowly rots it. Learn the tap test, the flex test, how to read a moisture meter and the other warning signs, and why a rotten transom or stringer is a structural job for a pro, not a weekend patch.
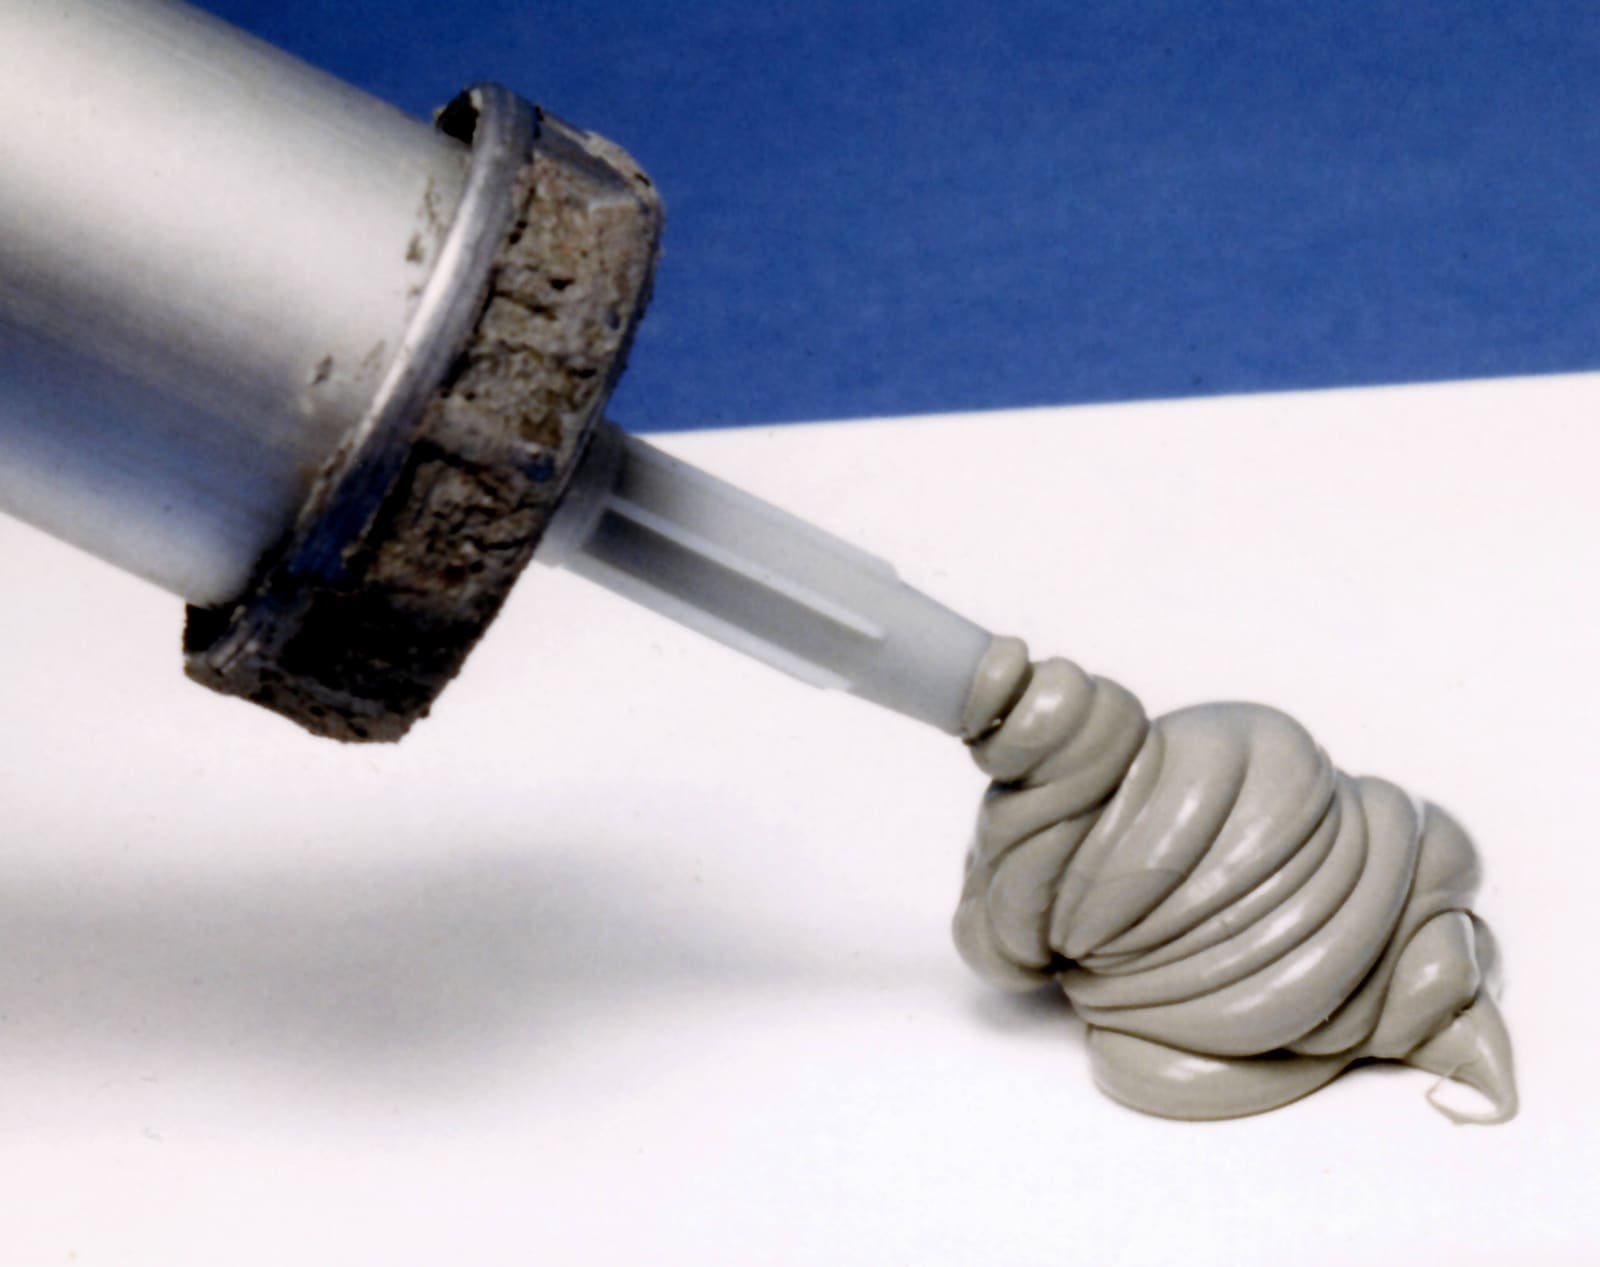
Marine Sealants Explained: 5200, 4200, 4000UV, Polysulfide, Silicone and Butyl Tape
Pick the right sealant before you bed a cleat, a through-hull, a window or a transducer. The wrong goo either leaks in a year or glues a part on so hard you damage the boat getting it off.
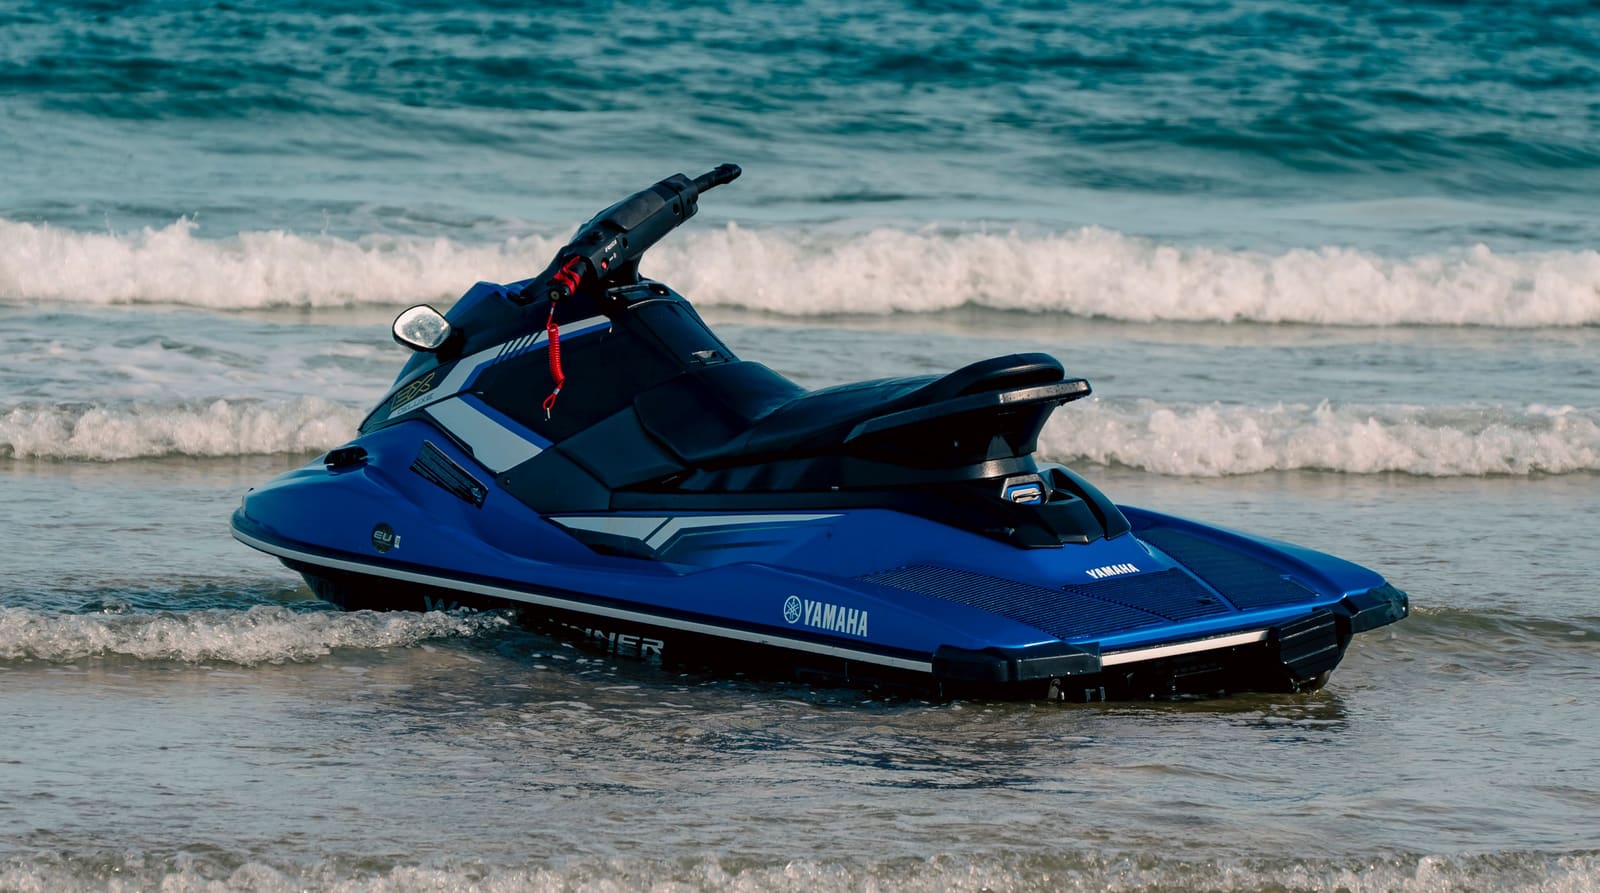
Jet Ski Taking On Water: Find the Leak and Drain It Safely
A little water in a personal watercraft's hull after a ride is normal; a lot is not. Learn how to tell the difference, drain the hull, and track the leak from the easy causes (drain plugs, seat and hatch seals, loose hose clamps) to the serious ones (driveshaft seal, exhaust, hull cracks), and when to stop riding.
How to Build a Damage-Control Kit: Plugs, Patches and a Plan for Leaks
Put together a labeled kit that can slow or stop water coming into your boat - softwood plugs tied at every through-hull, rescue tape, spare clamps, rubber and plywood patches, plastic sheeting, underwater sealant, a manual pump and the tools to reach a hidden leak - and practice with it so your crew knows where everything is.