Converting a Pull-Start Outboard to Electric Start: What It Takes
Find out whether your pull-start outboard can take a factory electric start kit, what parts the job really needs (starter, charging coil, rectifier, battery, harness, key or button, neutral safety), and when a dealer install or a newer motor makes more sense.
Time
4 h
Shop would charge
$500-1500
Applies to
Outboard
Safety first: An electric starter turns the prop the instant the engine fires, so the motor must never be able to start in gear. Keep or add a working neutral safety (start-in-gear protection) and always wear the kill switch lanyard. Disconnect the battery before touching any wiring, and never cut corners on cable size: undersized or loose battery cables get hot and can start a fire.
Owners often ask
- Can I add electric start to my pull-start outboard, or should I just buy a new motor?
- I bought an electric start kit online. Do I also need a charging coil and a neutral safety switch?
This guide walks you through it. Still stuck? Ask the AI Mechanic about your engine.
Tools
- Your engine's serial number and model code
- Owner's manual and, ideally, the service manual for your model
- Basic socket and wrench set
- Torque wrench
- Digital multimeter
- Battery terminal brush
- Marine heat-shrink connectors and crimper (only if the kit calls for them)
Parts & supplies
- Factory electric starter kit for your exact model (tiller or remote version)
- Charging coil (alternator/lighting coil) and rectifier or regulator, if your motor lacks them
- Tiller start button or key switch harness, or a remote control box with a neutral safety switch
- Marine cranking battery of the size your manual lists, in a strapped-down battery box
- Battery cables of the gauge and length your kit or manual calls for
Before you start
Many small outboards (roughly 30 hp and under) were sold in both pull-start and electric-start versions. On some of them, the maker sells a kit that turns the manual version into the electric one. On others, the parts simply do not exist, or the flywheel and powerhead were never made to take a starter.
Be honest about the goal:
- Hard to pull because it is hard to start? Fix the real problem first (old fuel, gummed carburetor, weak spark). A starter will only crank a bad-running motor longer. See Engine Won't Start.
- Physically hard for you to pull, or you want a remote console? A factory kit can make sense.
- The motor is old and worn? The kit plus a battery and labor can approach the price of a newer motor. Read step 3 before you buy anything.
This guide explains what the job involves so you can make a good decision and talk to a dealer. The exact wiring and mounting steps come from the kit instructions and your service manual, not from here.
Steps
Kits are matched to the model, the year range and sometimes the serial number range. The plate is usually on the clamp bracket or the swivel bracket. Write down the full model code and serial number. "A 15 hp from the 1990s" is not enough to order the right parts.
Call a dealer for your brand with the serial number and ask three questions: Is there an electric start conversion kit? Which harness or control does it need? What else must be added (charging coil, rectifier, flywheel)? Tohatsu, for example, lists separate electric starter kits for tiller-handle and remote-control engines, which tells you the control setup matters. Some brands list conversion kits only for certain model years, and many older kits are discontinued.
Clues your motor was built to accept one: threaded starter mounting bosses on the powerhead, a flywheel with gear teeth around its rim (the ring gear), and a sister electric-start model of the same horsepower and year. If the dealer says no kit exists, stop here. Homemade conversions with unmatched parts rarely end well.
Make a full list before you decide:
- Starter kit (starter motor, bracket, relay or solenoid, small parts)
- Charging parts if your motor has none (see step 4)
- Start button or key switch harness, or a remote control box and cables
- Cranking battery, battery box and cables
- Dealer labor, often several hours
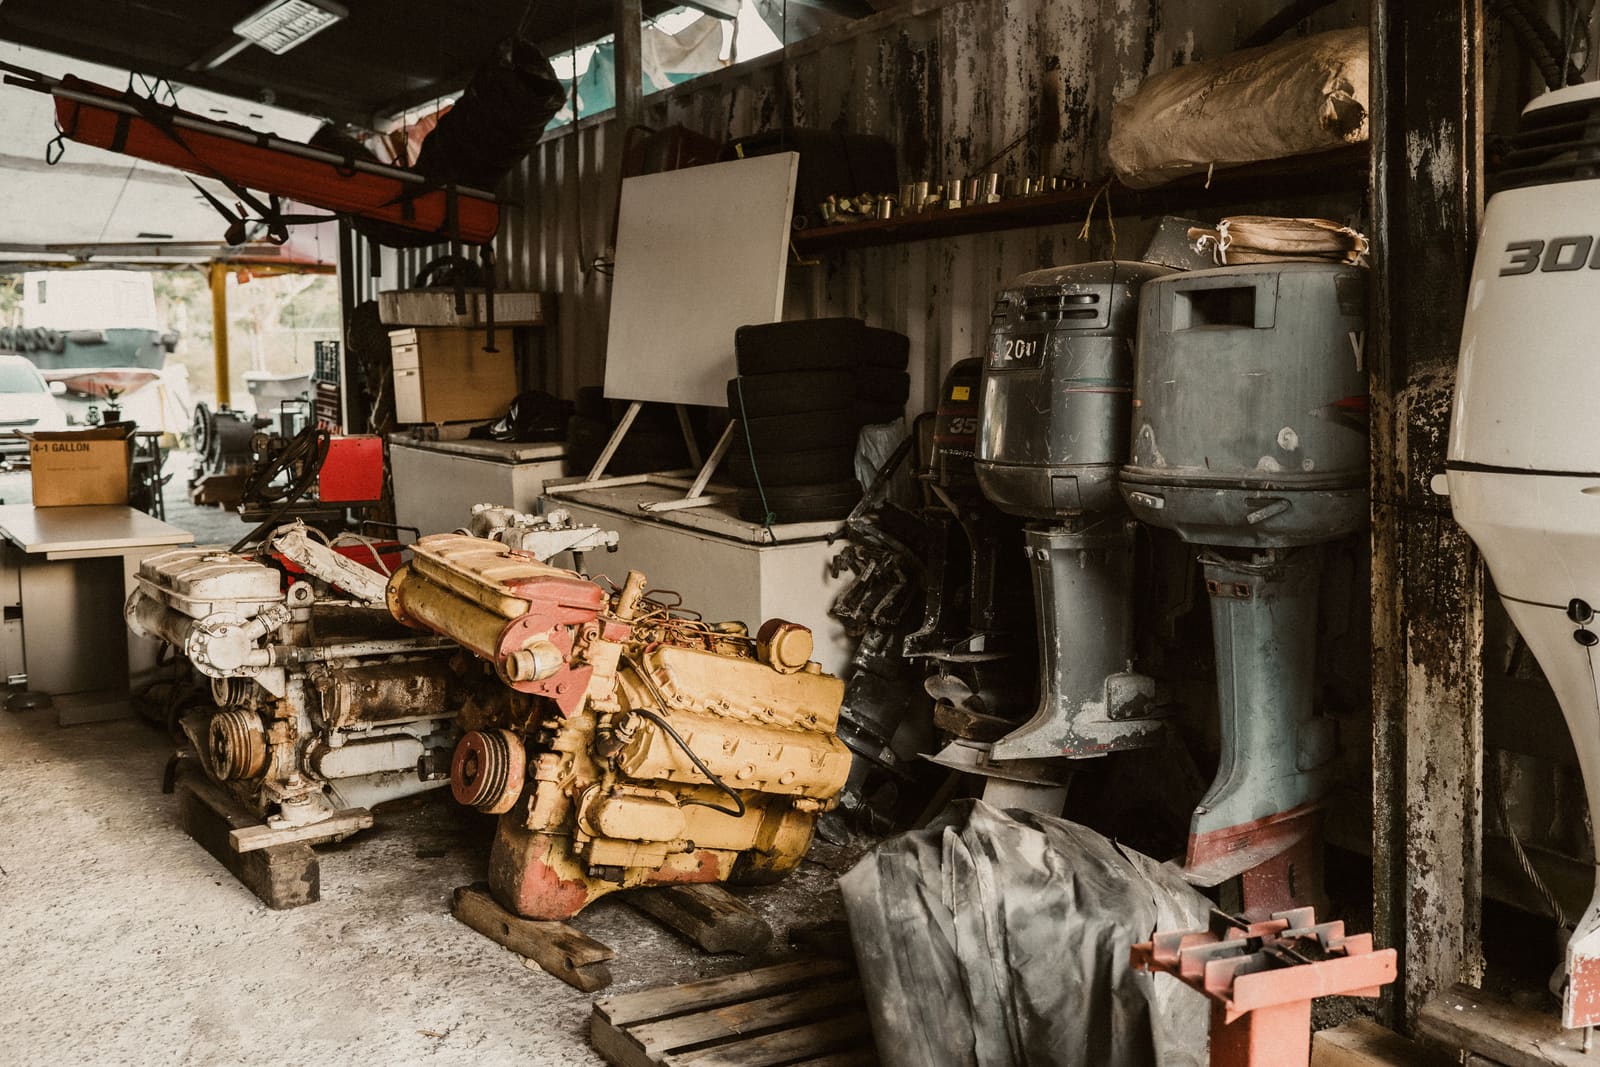
Add it up and compare with selling your motor and buying the electric-start version, used or new. On a tired motor, that comparison often favors replacing it. See Repower Planning.
A starter drains the battery, so the motor needs a way to recharge it. Many pull-start motors have no charging coil at all, or only a lighting coil that makes AC current. Tohatsu explains that its alternator kit gives a manual-start model 12-volt power, but that power is AC and needs either a regulator (for lights) or a rectifier kit (for charging a battery). On many electric-start models the alternator is standard while it is optional on the manual versions.
Without charging, you would have to recharge the battery at home after every trip. That works for a kicker or a short outing, but plan for it.
Ask how much the charging system puts out, too. Small outboards make only modest charging current; Mercury, for example, promotes the 17-amp alternator on its newer 25 and 30 hp electric-start models as enough to keep starts reliable while running a couple of depth finders. An older small motor's lighting coil may make much less, so a big fishfinder, livewell pump and lights can drain the battery faster than the motor refills it.
Electric-start outboards have start-in-gear protection so the starter will not engage unless the shifter is in neutral. Your conversion must keep this.
- Tiller motors: the kit or harness usually uses a neutral switch on the shift linkage, plus a start button on the tiller or a key switch.
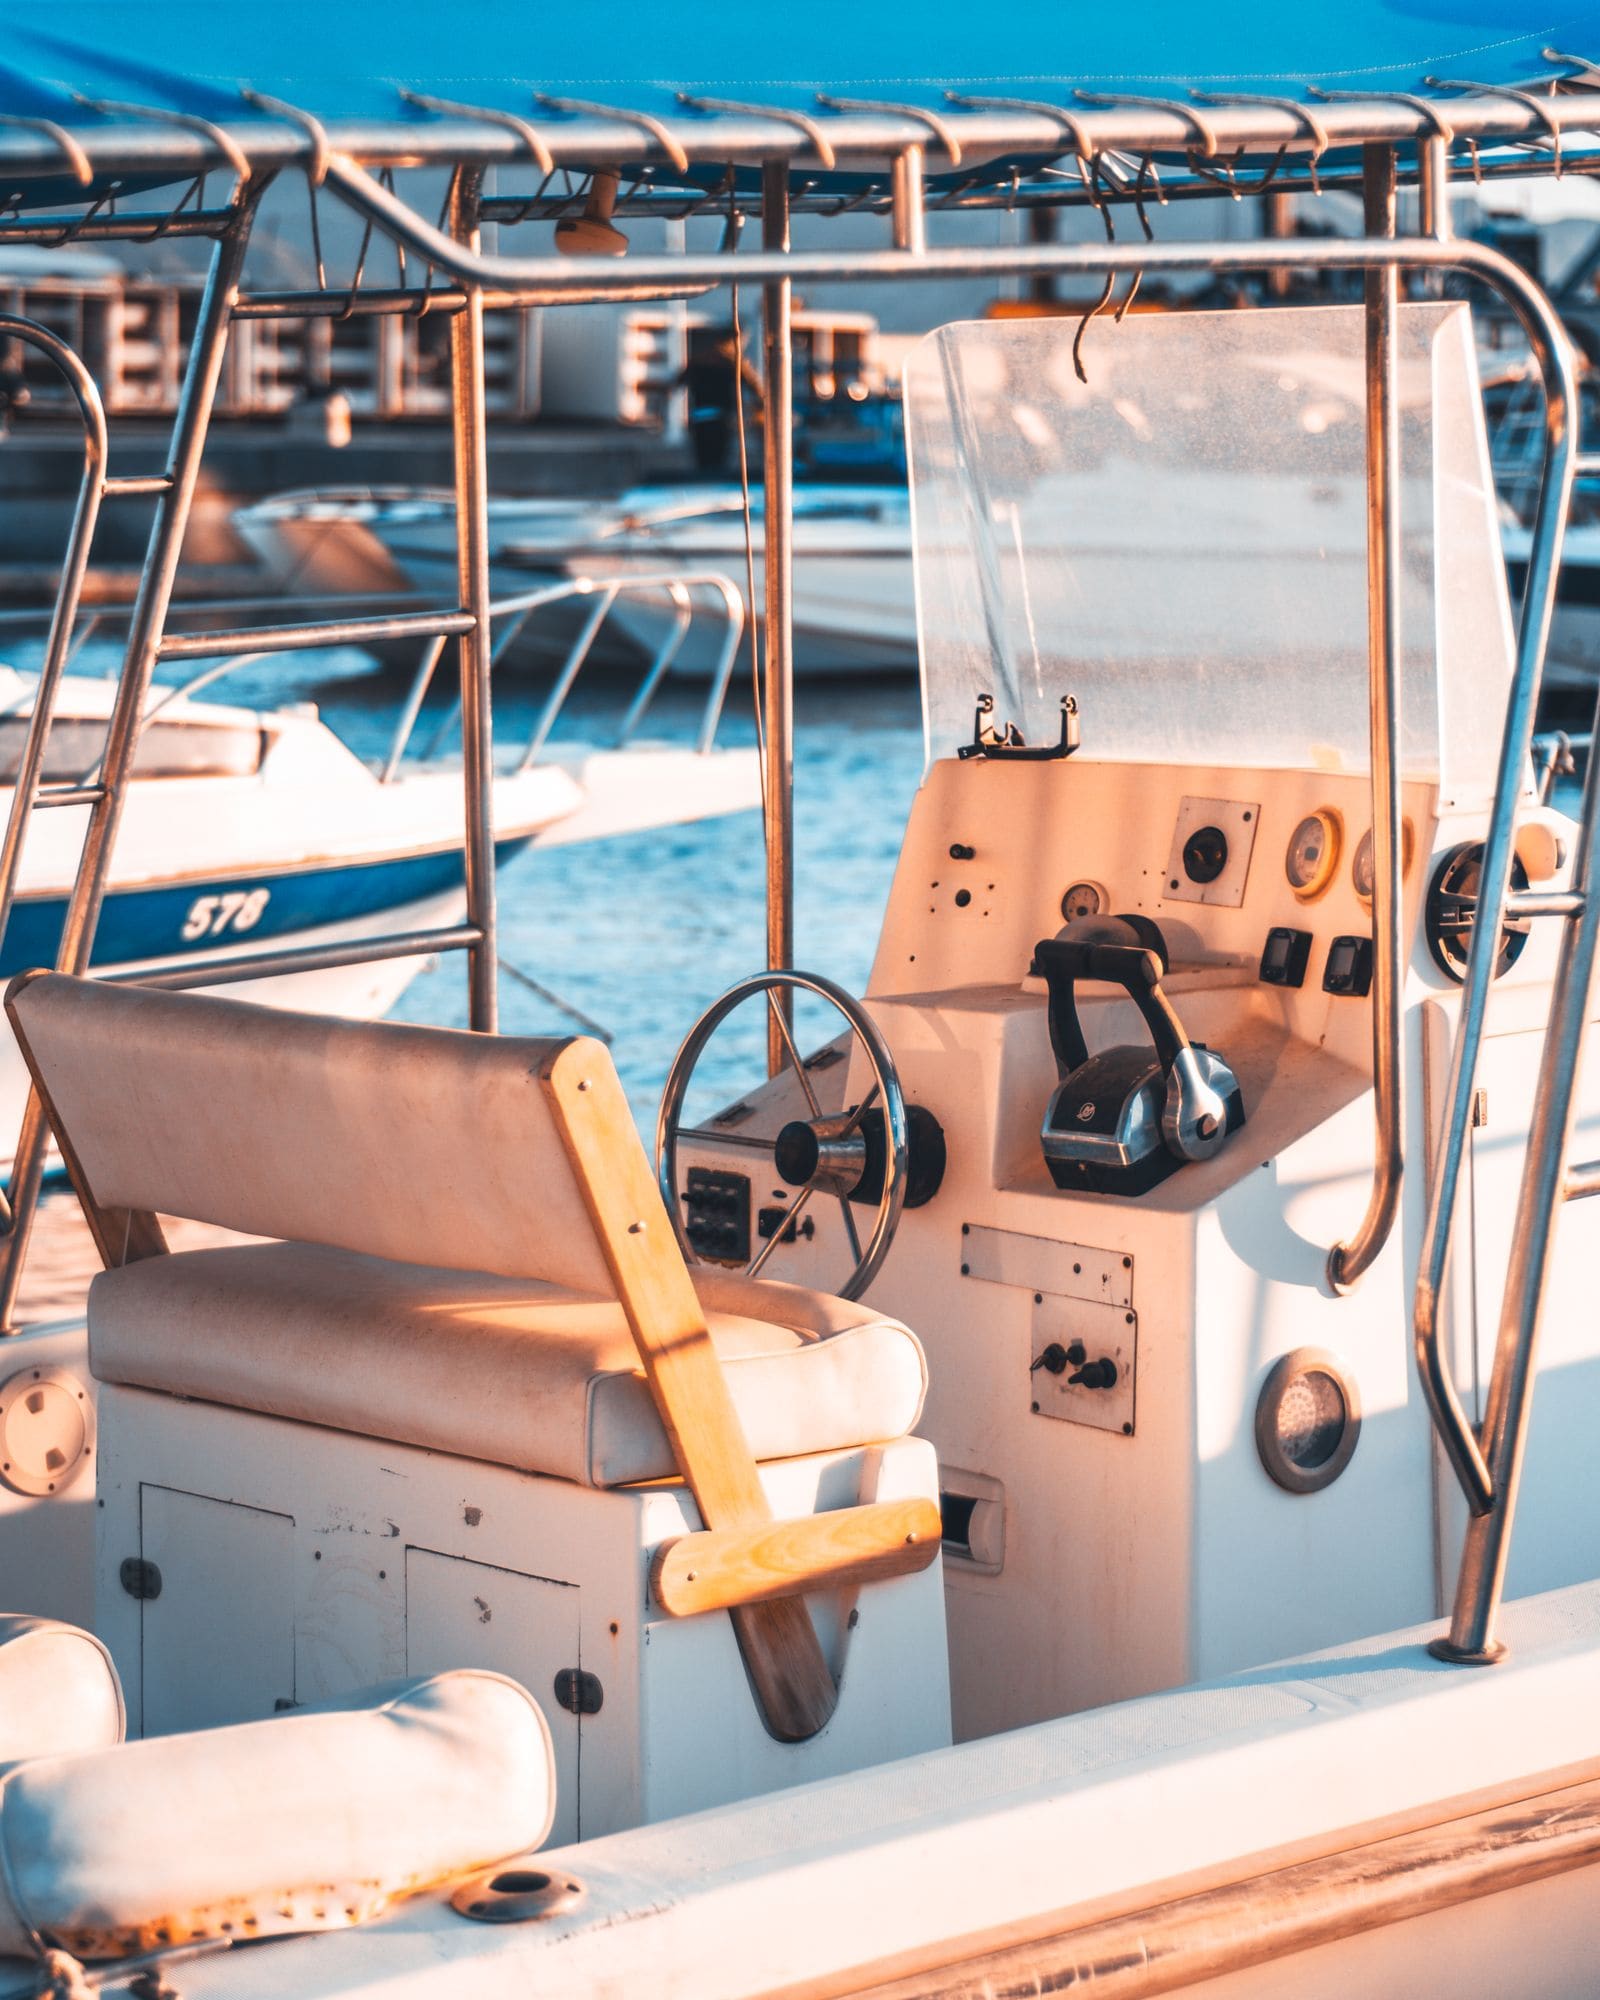
- Remote steering: the remote control box should have a built-in neutral safety switch. Tohatsu warns that a box without one can let the engine start in gear. Do not reuse an unknown box from another brand unless the dealer confirms it is compatible. See Remote Control Box Service.
Keep the kill switch lanyard working with whatever control you choose. See Kill Switch Lanyard.
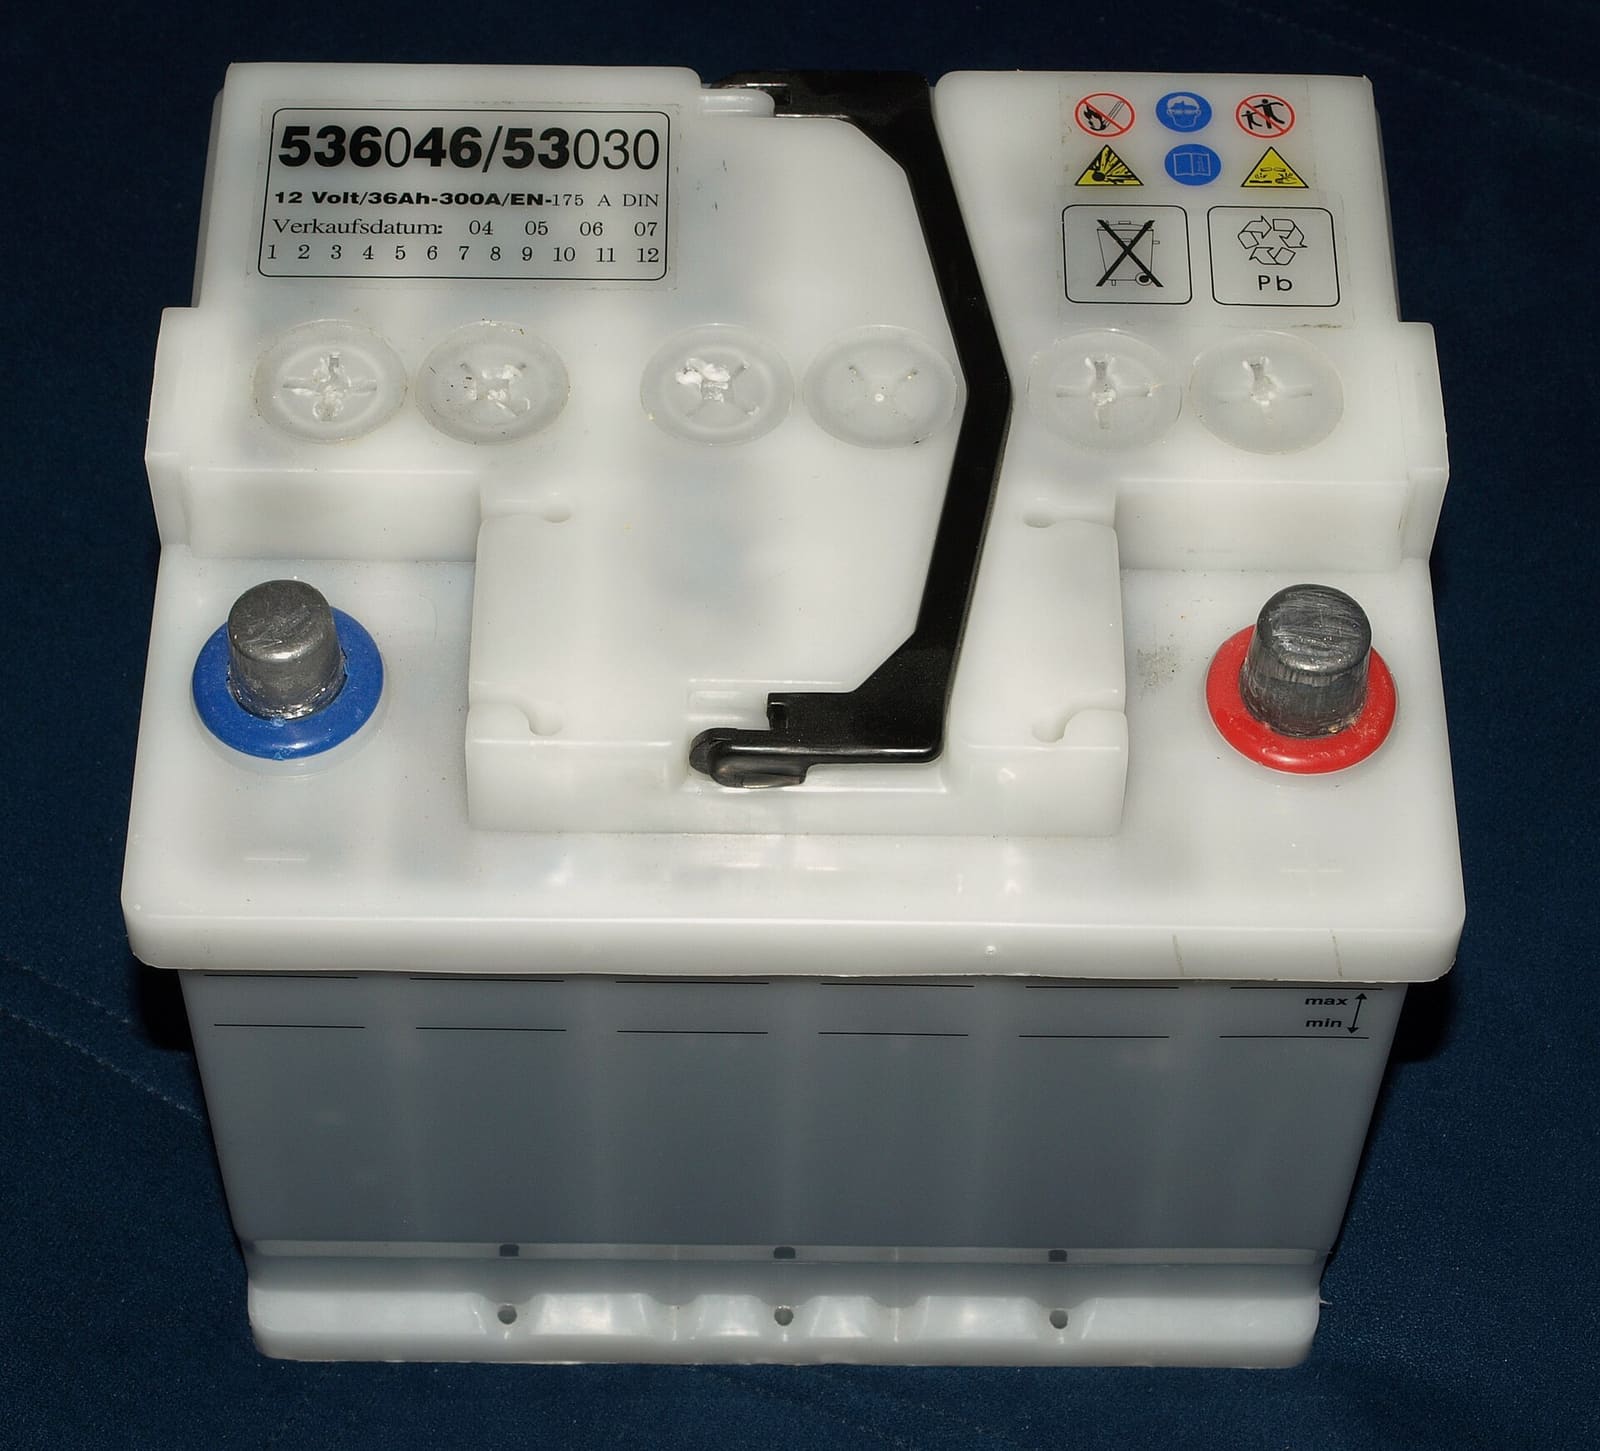
Use the battery type and minimum rating your owner's manual lists for the electric-start version of your motor. Put it in a strapped-down, covered battery box near the stern so the cables stay short. A loose battery sliding around a small boat is a hazard. See Marine Battery Care.
With the battery disconnected and the lanyard off, the kit bolts the starter and its bracket to the powerhead. If the motor needs a charging coil, that usually means pulling the flywheel, which takes a flywheel puller and a holder and must be tightened back to the service manual's spec. Most owners stop here and hand the job to a dealer. If you do it yourself, follow the kit sheet exactly and use the fasteners it supplies.
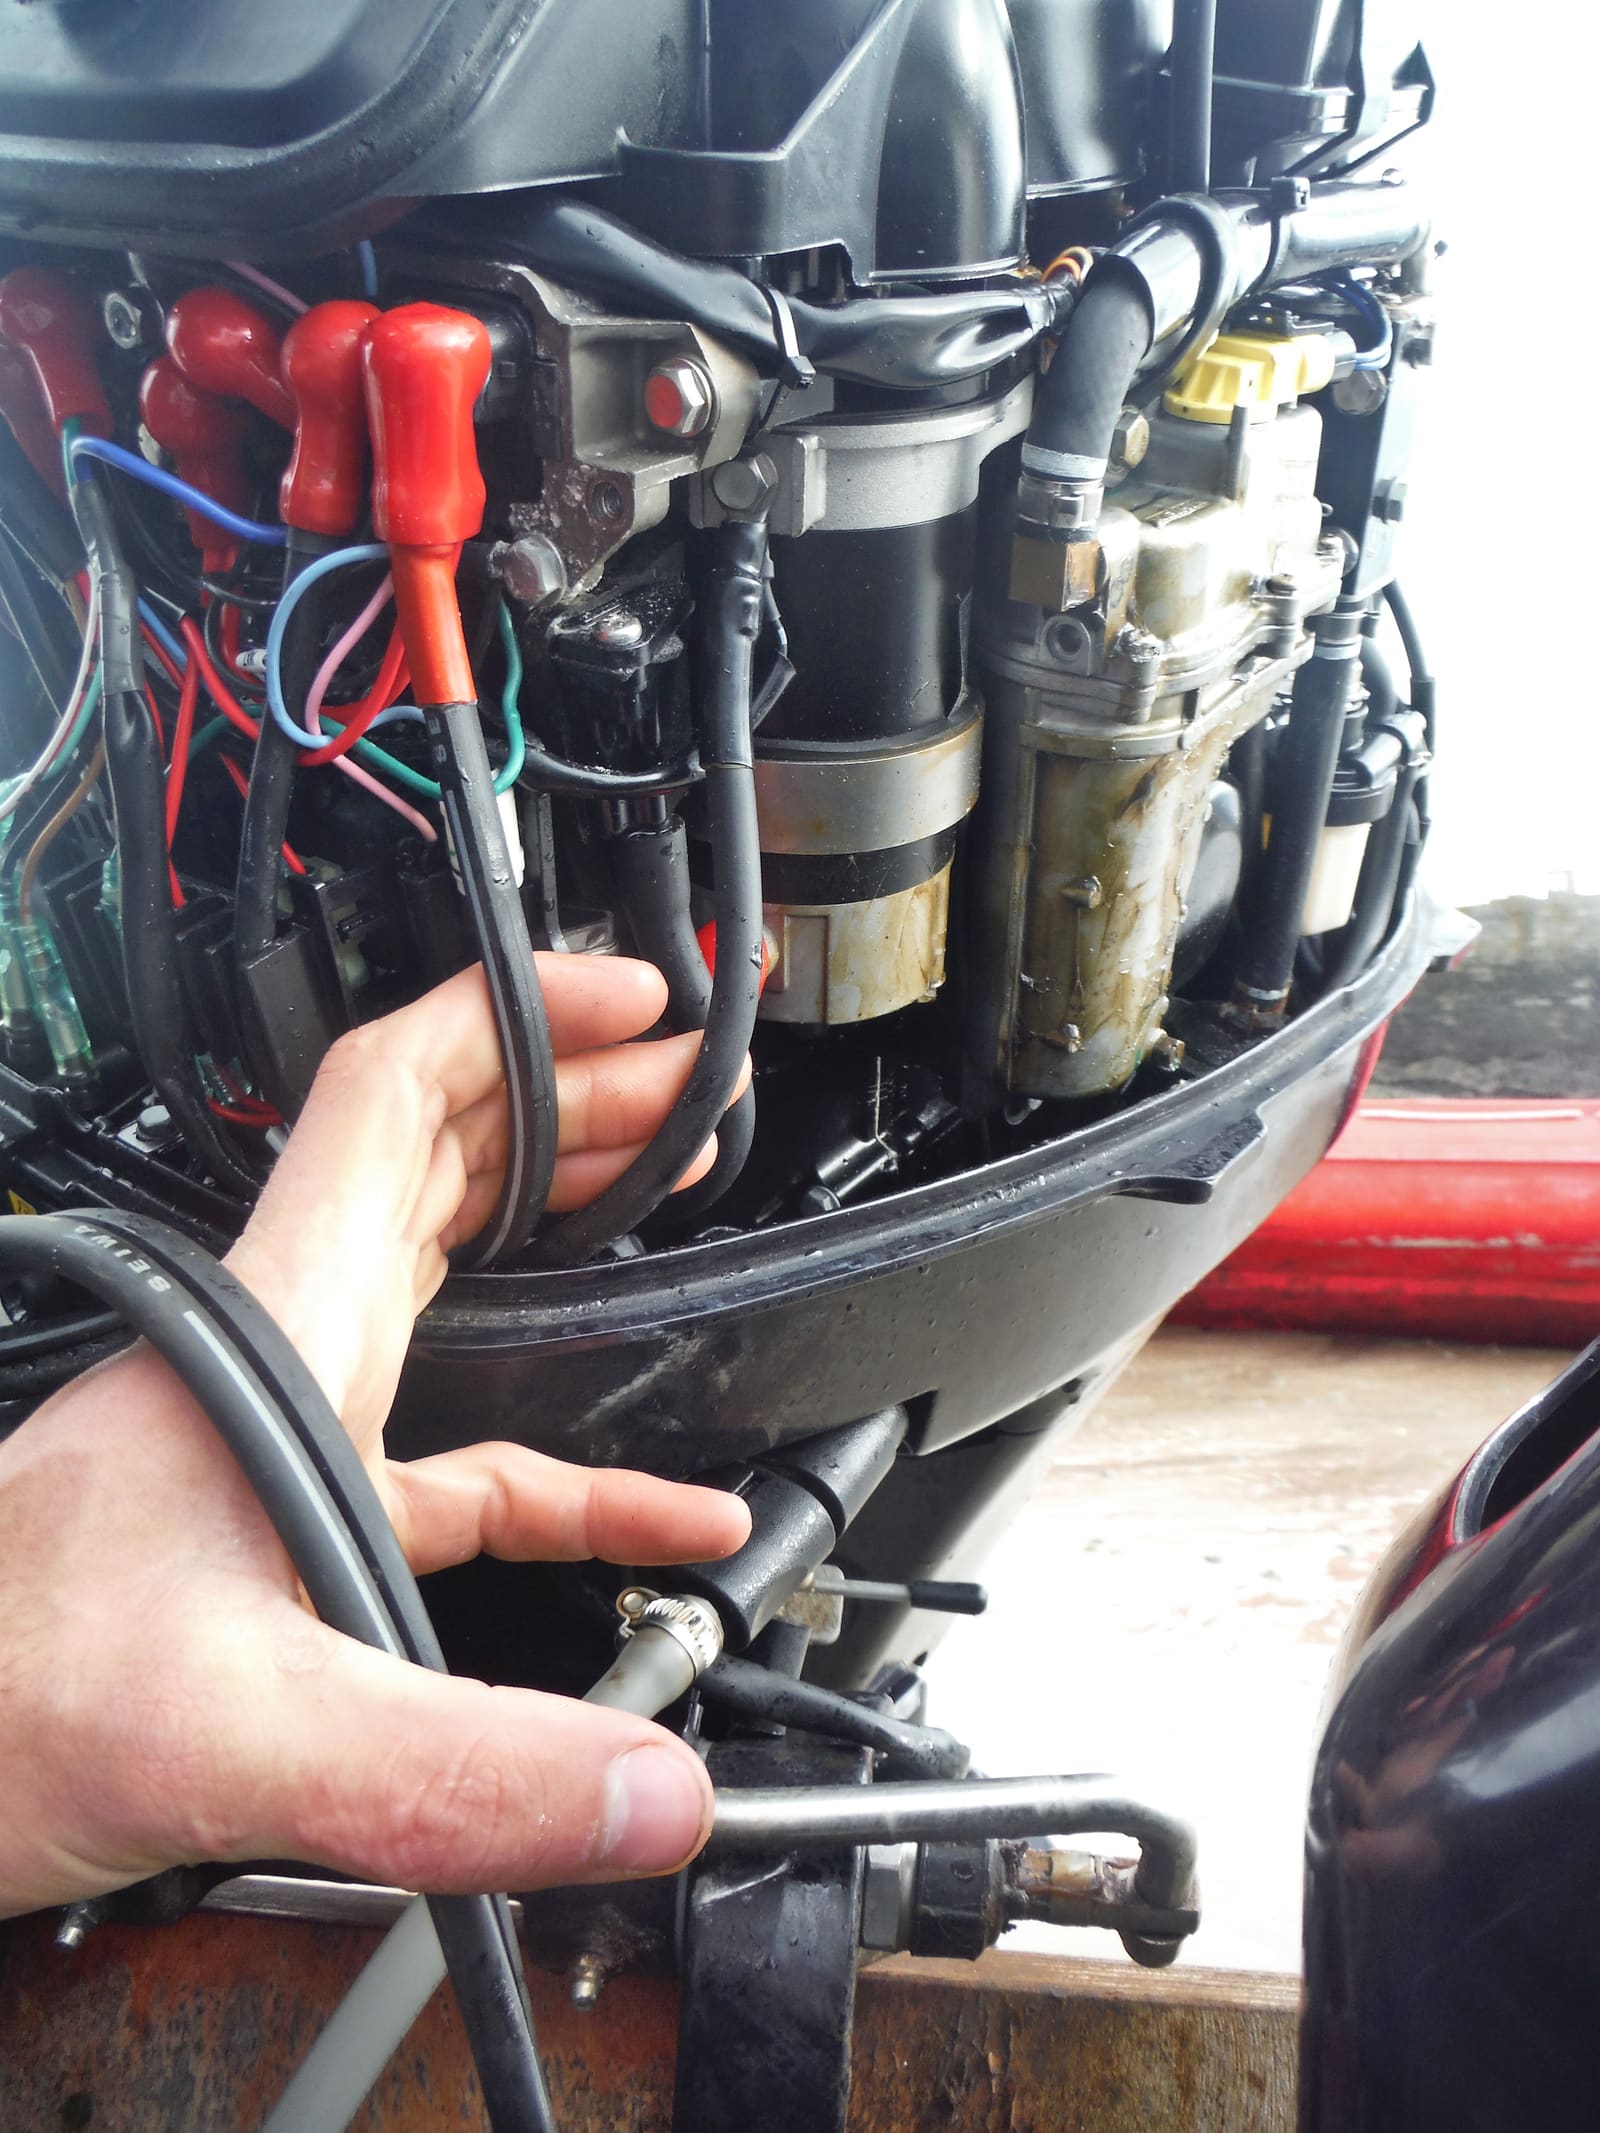
The black cylinder at center is the starter motor on an electric-start outboard; the relays and harness sit beside it. A conversion adds these parts to a pull-start motor. Photo: PtiBzh / Wikimedia Commons · CC0 1.0 Follow the kit's wiring diagram exactly. Keep cables away from the flywheel, linkages and hot exhaust parts. Secure them so tilting and steering cannot pinch or chafe them. Yamaha points out that battery connections must be clean and tight, using hex nuts and lock washers, not wing nuts. Loose connections cause no-start problems and heat.
Before reconnecting the battery, have a helper confirm:
- The starter pinion clears the flywheel when at rest.
- No wire can touch the flywheel or move with the throttle.
- The shift lever moves freely through forward, neutral and reverse.
Reconnect the battery positive first, then negative.
With the motor in the water or on external flush muffs (never dry), and the prop area clear of people, try to start it in forward and in reverse. It must not crank. Then try in neutral; it should crank and start. If it cranks in gear, stop and fix it before using the boat.
The opposite problem is common too: nothing happens in neutral. Before blaming the starter, make sure the shifter is fully in neutral. A neutral switch that is out of adjustment, or a stiff remote control box that never quite reaches neutral, blocks the starter on purpose. Have the dealer adjust it; never bypass it. BoatUS's no-crank checklist covers the other usual suspects in order: the battery switch on, the kill switch clip in place, battery cables clean and tight, at least 12 volts at the battery, the engine's main fuse, and the main harness plug between boat and motor.
With the motor running at a fast idle, measure battery voltage at the terminals with a multimeter. It should rise above the resting reading. If it does not change, the charging coil, rectifier or wiring is not working. See Charging System Test.
Most small electric-start outboards keep a recoil starter or emergency rope as a backup. Make sure yours still works. If the battery dies on the water, that rope gets you home.
After the first few hours, look over the starter bolts, cable ends and the transom clamp screws or bolts. Yamaha suggests checking clamp screws and transom bolts after the first few hours of running anyway. Retighten anything loose.
Common mistakes
- Buying a cheap online "universal" starter kit with no wiring diagram, then finding the starter will not mesh or disengage properly with the flywheel.
- Skipping the charging coil and rectifier, then wondering why the battery is always dead.
- Expecting a bolt-on starter to "charge the battery when the motor runs." A starter only uses power. Charging needs the coil and rectifier from step 4.
- Leaving a starter connected that keeps spinning after the engine fires. That means the wiring or the relay is wrong. Disconnect the battery before it burns out the starter or the flywheel teeth.
- Wiring a start button straight to the starter relay with no neutral switch. The motor can then start in gear and lurch the boat.
- Using a remote control box from another brand or one with no neutral safety switch.
- Running thin, long battery cables with wing nuts. The motor cranks slowly and the connections heat up.
- Spending more on a conversion than a better electric-start motor would cost.
- Assuming a hard-starting motor needs a starter, when the real problem is fuel or spark.
When to call a pro
- Any flywheel removal or charging coil install
- The kit needs a new remote control box, cables or a neutral safety switch fitted
- The motor cranks in gear, or the starter keeps spinning after you let go of the button
- Wires get hot, smell burnt or the battery swells or smells of rotten eggs; disconnect it and get help
- You cannot find a factory kit for your serial number
Tips
- Newer battery-free EFI pull-start motors start easily without any battery. Mercury describes its 8 and 9.9 hp EFI system as battery-free, so the motor runs even as a true portable. BoatUS notes the idea started on Mercury's 25 and 30 hp models in 2009 and has spread through most brands' small motors since; early versions needed two pulls, newer ones usually one. Because the fuel system is sealed, these motors also avoid the gummed-up carburetor that makes many old pull-start motors so hard to start. If easy starting is the goal, that kind of motor may beat a conversion.
- If you only need help pulling, have a shop check compression, the recoil starter and the choke or primer. A healthy small motor should start in a pull or two.
- Keep the conversion paperwork and receipts with your engine records; a buyer will ask.
- A small battery charger or maintainer at home keeps the cranking battery ready between trips. Use a charger made for marine batteries: BoatUS sees fires from automotive chargers, which lack proper float settings and are often not ignition protected.
- Photograph the battery connections before you ever disconnect them, and mark the positive post. BoatUS reports that about half of battery-wiring fires on outboard boats are owner mistakes when reconnecting: cables reversed, posts shorted with a tool, or batteries joined the wrong way.
Official references
We read these to write this guide. Your engine's own manual always wins.
- Tohatsu Outboards – Repair Kits (electric starter, alternator and rectifier kits)
- Tohatsu Outboards – MFS20E specifications (alternator, start-in-gear protection)
- Mercury Marine – Mercury Adds EFI Engines to Portable Outboard Lineup
- Yamaha Outboards – Maintenance Matters, Electrical System
- Yamaha Outboards – Installing a Portable Outboard
- BoatUS – Small Outboard Innovations (battery-free EFI)
- BoatUS – Causes of Fires on Outboard-Powered Boats
- Mercury Marine – Mercury Introduces All-New 25 and 30hp Outboard Engines (Dockline)
- BoatUS – What To Do If Your Outboard Won't Start (neutral switch, main fuse, cables)
Safety: BoatMend is for information only and does not replace a certified marine technician. You are responsible for your safety and your boat. Read the full disclaimer.
Last updated 2026-10-25
Related guides
Engine Clicks but Won't Crank - Testing the Battery, Cables, Neutral Switch, Solenoid and Starter
A click (or nothing) when you turn the key is usually a power delivery problem, not a dead engine. Work from the battery and cables through the neutral switch, start relay and solenoid to the starter motor using simple voltage-drop tests, and learn how to jump-start safely when gasoline vapor may be around.
Is My Engine Charging the Battery? Test the Charging System With a Multimeter
A step-by-step way to find out whether your outboard's stator and rectifier/regulator or your inboard's alternator is really charging the battery, what the voltage readings usually mean, and when the problem is just a dirty connection. Exact test specs come from your engine's service manual.
Marine Battery Care: Test, Charge and Store for Winter
Check your boat battery's health, charge it the right way for its type (flooded, AGM or lithium), and store it so it is ready in spring. Most "boat won't start" calls start with a neglected battery.
Small Portable Outboard Care (2.5 to 20 hp Kickers and Dinghy Motors)
Keep your dinghy motor or kicker starting on the first few pulls. Use fresh fuel, flush it, run the carburetor dry before you put it away, carry and lay it down on the correct side so oil doesn't flood the cylinders, and check the shear pin or prop, gear oil and engine oil on schedule.
Engine Cut-Off Switch (Kill Switch) and Lanyard: The Law, Testing and Daily Use
How the engine cut-off switch (ECOS) and its lanyard or wireless fob work, when federal law requires you to wear it (boats under 26 feet, 3 hp or more, on plane), how to test it before every trip, and why a spare clip aboard matters.
Planning a Repower: Horsepower Limits, Transom, Rigging, Prop and Costs
Putting a new engine on a boat you love can cost far less than a new boat, but only if the plan is right. Learn how to read the capacity plate for maximum horsepower and weight, check the transom, sort out controls, gauges and rigging, budget for the prop and the extras, and decide between a dealer installation and doing it yourself.
Remote Control Box Troubleshooting: Stiff Lever, Won't Crank, Trim Switch
The throttle and shift control at the helm (side-mount or binnacle) takes a beating. Learn how to find out why the lever is stiff, why the engine will not crank even with a good battery, why the trim button on the handle quit, and when the whole control box should be replaced along with its cables.