Water in the Lower Unit Keeps Coming Back - Seals and the Pressure Test Explained
Milky gear lube means water is getting past a seal, and changing the oil alone will not stop it. Learn where water gets in (prop shaft seals, driveshaft and shift shaft seals, drain and vent screw gaskets), how a pressure and vacuum test finds the leak, and when to do it yourself or hand it to a shop.
Time
1 h 30 min
Shop would charge
$100-600
Applies to
Outboard, Sterndrive (I/O)
Safety first: Before touching the propeller, remove the kill switch clip and the key (and disconnect the battery on larger engines) so the engine cannot start. Wedge a block of wood between a prop blade and the anti-ventilation plate, never your hand. Never pressurize a gearcase with shop air from a compressor: too much pressure can push seals out and create the leak you are looking for.
Owners often ask
- I changed my milky lower unit oil but the water came back. What is leaking?
- What is a lower unit pressure test and can I do it myself?
This guide walks you through it. Still stuck? Ask the AI Mechanic about your engine.
Tools
- Clean clear container for a lube sample
- Large flat screwdriver for the drain and vent screws
- Prop wrench or socket and a block of wood
- Sharp knife or pick for fishing line
- Magnifying glass and flashlight
- Gearcase pressure/vacuum tester with the adapter for your vent hole (optional)
- Spray bottle of soapy water
- Gear lube pump
Parts & supplies
- Marine gear lube specified in your owner's manual
- New drain and vent screw gaskets (sealing washers)
- Prop shaft seals, bearing carrier O-ring or other seals, only once the leak is found
Before you start
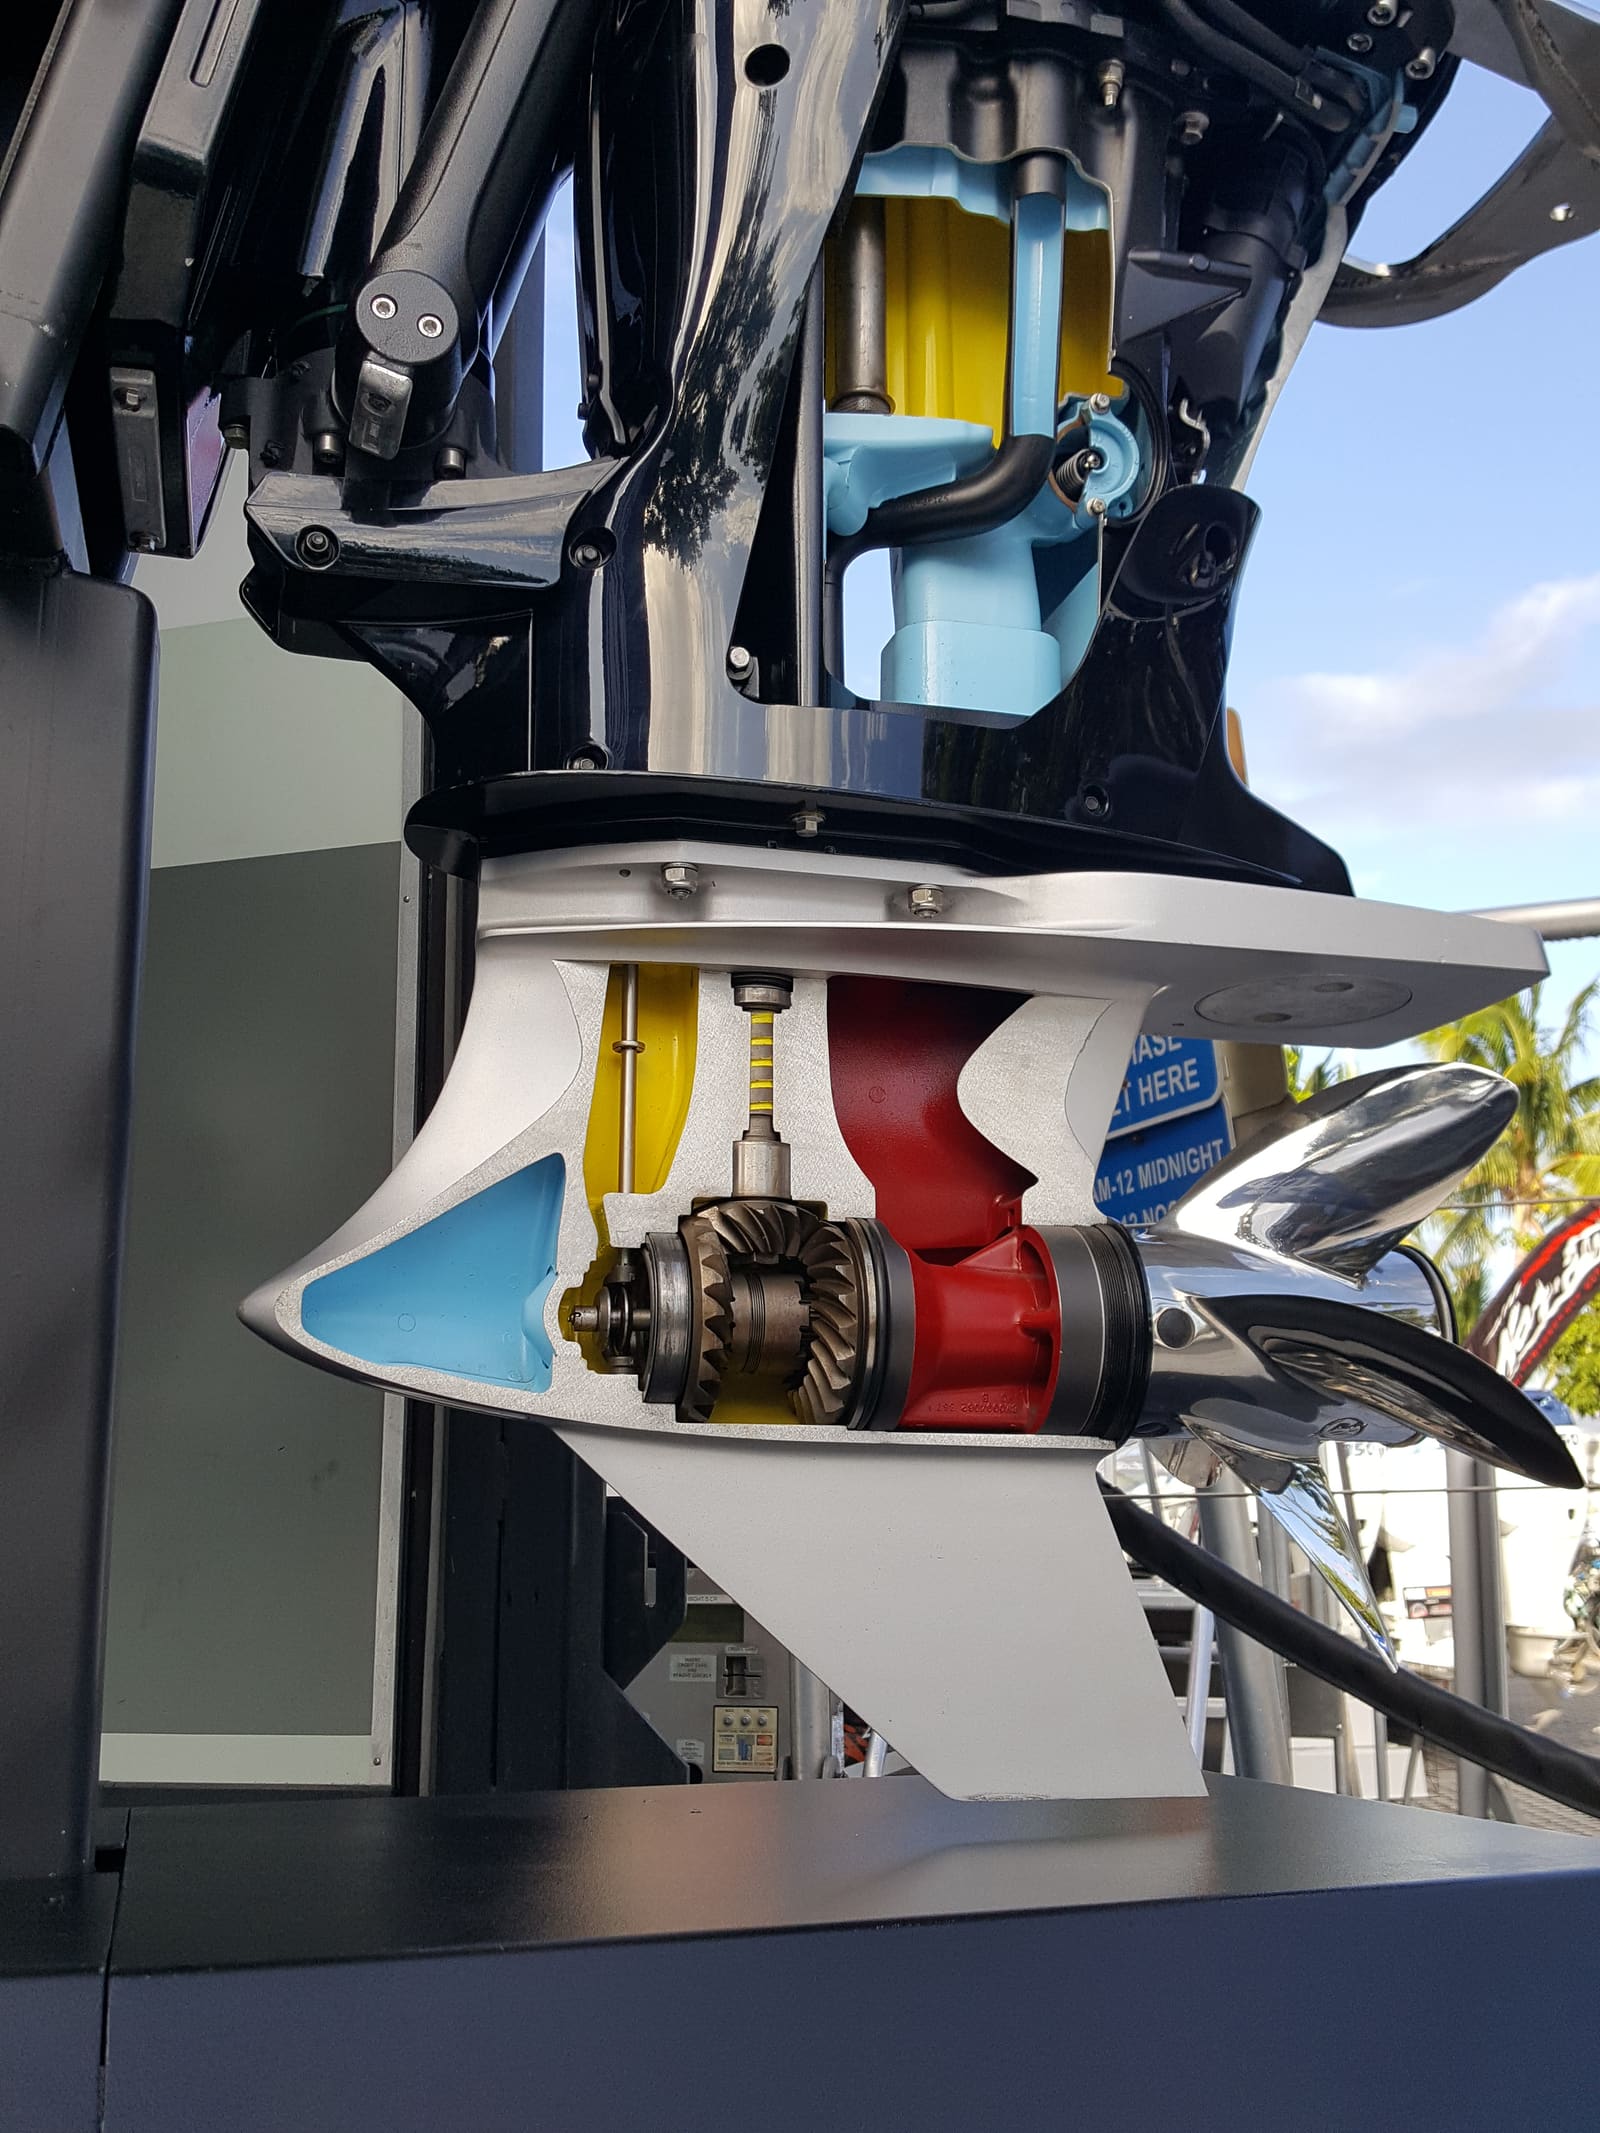
The lower unit (gearcase) is a sealed box of gears and bearings that lives underwater. Its only protection is the gear lube and a handful of seals. When water gets in, the lube turns milky, rust starts on the steel parts, and the gears and bearings eventually fail. BoatUS puts the numbers plainly: a lube change costs around $30, while rebuilding a gearcase can run well over $2,500.
Changing the lube only removes the water you can see. If the leak is still there, the water comes back. To fix it, you have to find where it gets in.
The usual entry points:
- Prop shaft seals: BoatUS explains there are typically two, one behind the other. The inner seal keeps the lube in; the outer seal keeps water out. Fishing line is their worst enemy.
- Drain and vent screw gaskets: Yamaha calls these small sealing washers a main defense against water, says they are not reusable, and says to fit new ones every time the screws come out.
- Bearing carrier O-ring: the big seal that holds the prop shaft carrier in the case (Boating Magazine's seal job replaces it too).
- Driveshaft seal and shift shaft seal: at the top of the gearcase, under the water pump. These usually need the gearcase removed to reach.
- Damage: a crack from hitting a rock or log, or a corroded area around a screw.
Sterndrives have the same kinds of seals in the lower gearcase, plus seals in the upper gearcase. Some sterndrives use a gear lube reservoir bottle in the engine compartment; if its level drops, lube is leaking out somewhere, and water can get in the same way.
Steps
With the engine upright and cold (not right after a run), crack the bottom drain screw, then loosen the top vent screw to let a little lube out into a clean clear container. Yamaha's guidance: milky color means water; a burnt look or smell means it is time for a change. Yamaha also warns that running the engine right before the check churns air into the lube, and those tiny bubbles can look milky too.
Other clues:
- Water is heavier than lube and settles at the bottom, so a few drops of clear water come out first if a lot has gotten in. If you are unsure, Mercury suggests pouring some of the lube into a glass jar and letting it settle: any water separates out at the bottom.
- Mercury's owner FAQ notes that lube can look slightly yellowish after running, and creamy where it mixed with assembly grease, without any water in it.
- A small amount of very fine metal paste on the drain screw magnet is normal wear. Black, burnt-smelling lube with larger metal chips means internal damage, per BoatUS.
If you find water, Mercury's FAQ says to have the lower unit inspected by an authorized dealer, who will open it up and check the oil seals and their running surfaces, the O-rings and the water pump gaskets as well as the gears and bearings. Read on to understand what that inspection involves and what you can check first.
The cheapest fix comes first. Check both screws for a missing, flattened, cut or doubled-up gasket, and look at the threads and the seat in the case for damage. If the old gaskets were reused, that alone may be your leak. Fit new gaskets every time, as Yamaha says, and keep a few spares in the boat.
Remove the prop and thrust washer (see the propeller guide). BoatUS describes how line wraps around the shaft just behind the forward thrust washer, winds tight, heats up and melts into a hard, sharp-edged ring that cuts the seal lips. Yamaha says to check for line or anything wrapped around the shaft before every trip.
Cut away every strand with a sharp knife or pick, being careful not to nick the shaft or the seal. A brittle plastic disc behind the thrust washer is melted line.
With a flashlight and magnifying glass, look at the prop shaft seal where the shaft leaves the carrier. BoatUS suggests checking the seal lips for cuts or tears. A seal that is torn, hard, or has lube weeping around it is suspect. Then look over the whole gearcase for cracks or fresh impact damage, especially the skeg and the leading edge, and around every screw.
Lube leaking out means water can get in. A seal can also look fine and still leak, which is what the pressure test is for.
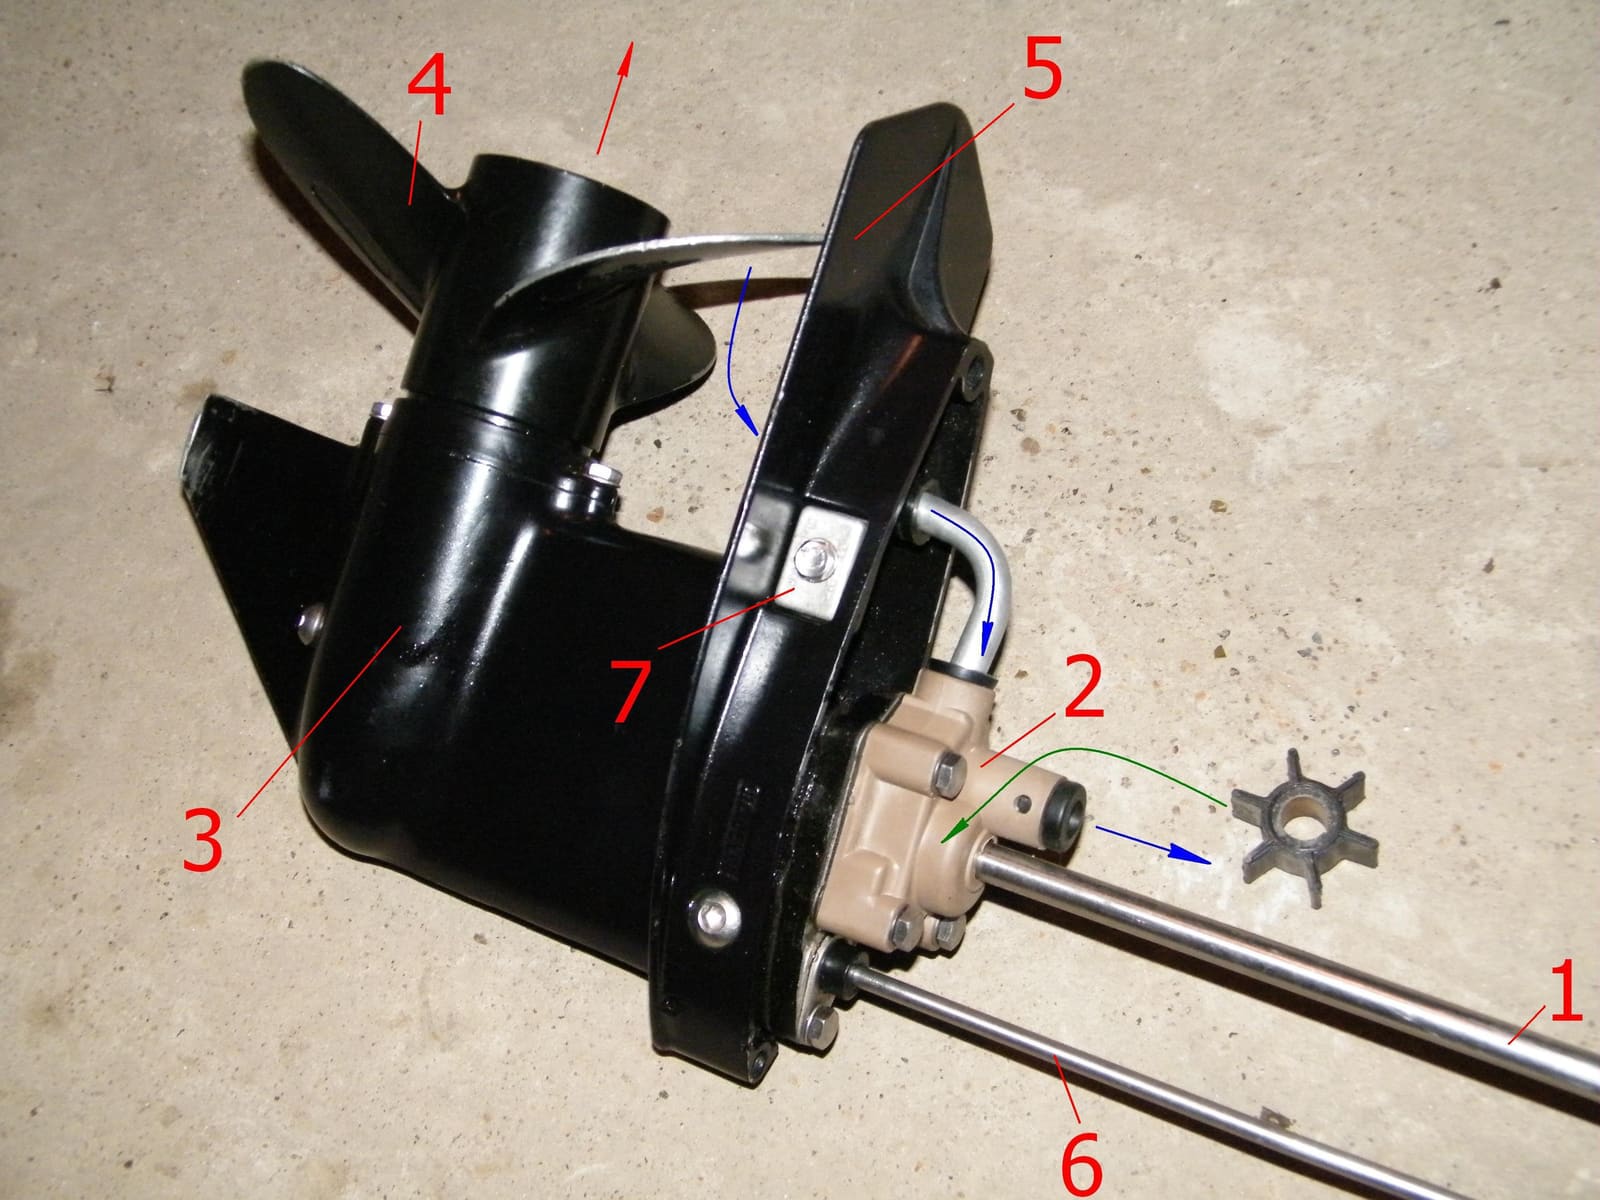
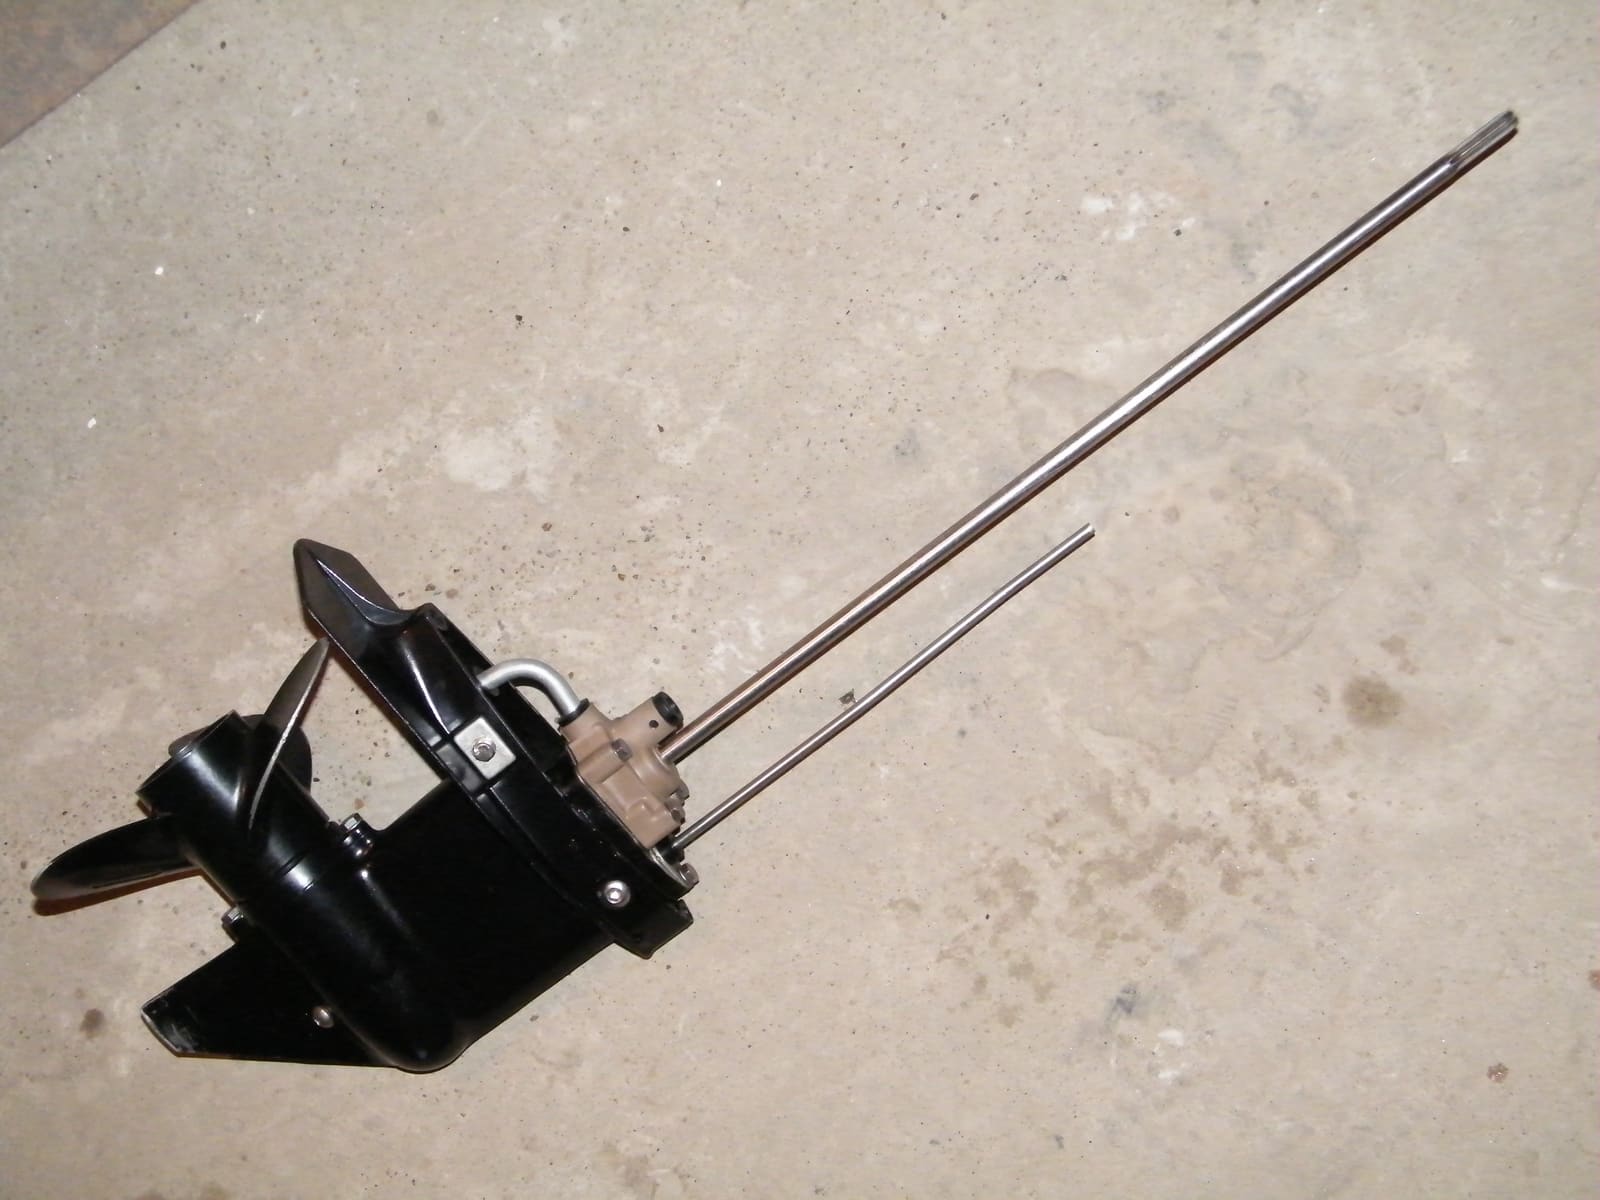
A small outboard's lower unit off the motor: driveshaft (1) and shift rod (6) enter the top, past the water pump (2); the propeller (4) sits on the prop shaft at the back of the gearcase (3). Photo: Andshel / Wikimedia Commons · CC BY-SA 4.0 A pressure test is how shops prove whether the gearcase is sealed. The idea:
- The gearcase is drained.
- An adapter with a gauge screws into the vent hole, and a small hand pump puts a low air pressure inside. The correct pressure for your gearcase is in the service manual; it is much less than tire pressure.
- If the gauge holds steady for the time the manual specifies, the case is sealed. If it drops, there is a leak.
- To find the leak, the tech sprays soapy water on every seal, screw and seam (or dunks the gearcase in water) and watches for bubbles.
Most shops also pull a vacuum on the gearcase. Seal lips are designed to hold against pressure from one side, so a seal can pass the pressure test and still leak when the gearcase pulls inward. That happens in real life: a hot gearcase that cools quickly in the water contracts the air inside and can draw water past a weak seal. If the vacuum holds for the specified time, the seals are good in both directions.
DIY: Pressure/vacuum testers are sold for outboard and sterndrive gearcases. If you buy one, use only the hand pump that comes with it, the adapter that fits your vent hole, and the pressure and vacuum values from your service manual. Never connect shop air.
Shop: A pressure and vacuum test is a routine, fairly quick job at a dealer, and it is the right choice if you will not reuse the tester or if the water came back after a seal job. Ask them to tell you exactly which seal or gasket failed.
- Drain/vent gaskets: easy DIY. New gaskets, clean seats, snug screws.
- Prop shaft seals and carrier O-ring: Boating Magazine rates this a 4 out of 5 skill level and about 8 hours on a MerCruiser Alpha One, with special pullers and seal installers, and torque specs from the service manual. Handy owners do it; many prefer a shop.
- Driveshaft or shift shaft seals: these sit at the top of the gearcase, so the gearcase must come off and the water pump comes apart. That is a good time to replace the impeller too (see the gearcase removal and water pump guides).
- Cracks or damaged bores: shop job. A cracked case may need welding or replacement.
After any seal work, have the gearcase pressure and vacuum tested again before filling. Then refill with the gear lube from your manual, from the bottom hole upward until it comes out of the top vent, and fit the screws with new gaskets (see the lower unit oil change guide).
Pull a small sample after the first few outings. Clean, clear lube means the fix worked. Any milkiness means the leak is still there.
- Look behind the prop for fishing line before every trip if you fish or run near anglers, as Yamaha suggests, and at least once a season pull the prop to look, as BoatUS suggests.
- Change the lube at the end of the season, before storage. BoatUS warns never to store a gearcase with old lube in it: any water inside sits on the bearings and gears and rusts them all winter.
- Stored outside in a cold climate? Yamaha suggests trimming the outboard fully down or slipping a tightly sealed plastic bag over the (dry) lower unit, so rain and condensation can't collect in it and freeze.
Common mistakes
- Changing milky lube over and over without finding the leak. The water keeps coming back and the bearings keep rusting.
- Reusing the old drain and vent screw gaskets to save a few cents.
- Refilling with automotive or tractor gear oil after the repair. Yamaha says to avoid them: marine gear lube is made to keep protecting the gears even if a little water gets in. Use the lube your manual names.
- Pressurizing the gearcase with a shop compressor. Too much pressure can blow out a seal.
- Mistaking the foam from a just-run engine for water. Let it sit and cool before checking.
- Ignoring a strand of fishing line behind the prop "because it is just a little."
- Running the boat for weeks with water in the gear lube. The longer it runs, the more expensive the repair.
When to call a pro
- Any water in the lube, if you do not have a tester or the service manual specs (Mercury's FAQ recommends a dealer inspection whenever water shows up)
- Water returns after you replaced gaskets or seals
- Driveshaft or shift shaft seals, cracks, or damaged seal bores
- Black, burnt-smelling lube or large metal chips on the magnet
- Clunking, grinding or hard shifting along with water in the lube
- Sterndrives with water in the upper or lower gearcase, since the drive may need to come off
Tips
- Keep a lube sample in a clear jar labeled with the date. Comparing it with the next sample shows whether things are getting better or worse.
- If you catch water just before winter, drain and refill right away so the gearcase does not sit wet for months, then get it tested in the spring.
- Note the date and hours of every lube change and seal job in your boat log.
Official references
We read these to write this guide. Your engine's own manual always wins.
Safety: BoatMend is for information only and does not replace a certified marine technician. You are responsible for your safety and your boat. Read the full disclaimer.
Last updated 2026-10-24
Related guides
How to Change Lower Unit (Gearcase) and Sterndrive Oil
Drain and refill the gear oil in your outboard lower unit or sterndrive, and learn to spot water intrusion before it destroys the gears. It is a 30-minute job that protects a gearcase costing thousands to replace.
Propeller Care: Inspect, Remove, Replace and Choose the Right Pitch
Check your prop for damage, pull it to clear fishing line and grease the shaft, reinstall it correctly, and learn how pitch affects your engine's wide-open-throttle RPM. The right prop in good shape protects your engine and often makes the boat run better and use less fuel.
How to Remove and Reinstall an Outboard Gearcase (Lower Unit) Without Losing Shift
Dropping the lower unit is the first step of every outboard water pump job, and the reinstall is where most DIY trouble starts: no forward gear, no cooling water or a driveshaft that will not seat. Learn how to set the shift position, protect the water tube, line up the splines and test everything before the boat goes back in the water.
How to Replace the Water Pump Impeller
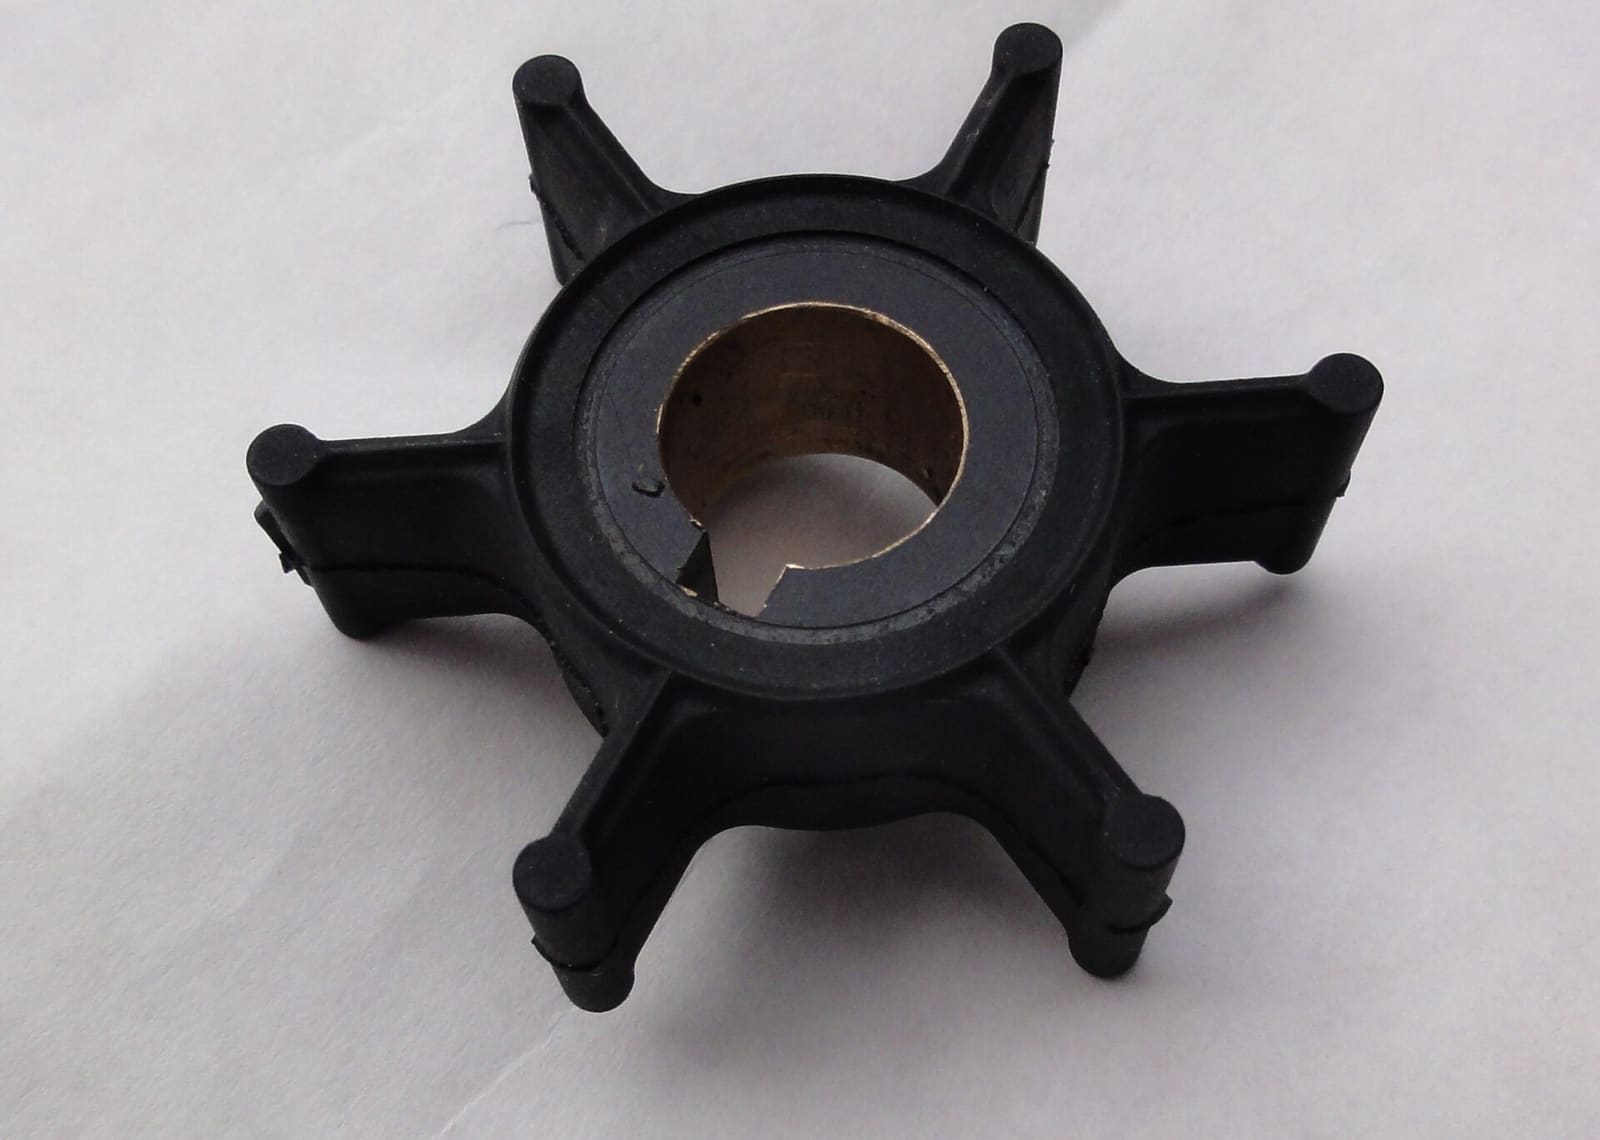
Replace the rubber impeller that pumps cooling water through your engine, the part most often behind overheating. On many outboards it is a two-hour driveway job that saves a shop bill of several hundred dollars and prevents far costlier heat damage.
How to Inspect Sterndrive Bellows, Gimbal Bearing, U-Joints and Shift Cable
Learn to spot a cracked sterndrive bellows before it lets water into the boat, and to recognize the warning signs of a worn gimbal bearing, U-joints and shift cable. A failed bellows is one of the top reasons boats sink at the dock, and a 20-minute inspection can catch it.
How to Winterize an Outboard Engine
Protect your outboard from freeze damage, stale fuel and internal corrosion over the off-season. Most owners can do it in an afternoon with basic tools, compared with a shop bill that often runs several hundred dollars.
Outboard Fell Overboard or Engine Got Submerged: What to Do in the First Hours
A dunked engine can often be saved, but only if you act fast and in the right order. Learn what to do (and what never to do) in the first hours after an outboard goes overboard or a boat swamps, how to buy time until a shop can take it, and when it is a loss.