Inflatable Life Jacket Care: Inspect, Test and Rearm
An inflatable life jacket only saves a life if the cylinder is full, the inflator is armed and the bladder holds air. Learn the quick check before every trip, the overnight leak test, how to read replacement dates and how to rearm it after it fires.
Time
30 min
Shop would charge
$40-100
Applies to
All engines
Safety first: An inflatable life jacket with an empty or loose cylinder, or a red status indicator, will not inflate, and the Coast Guard does not count it as a life jacket. If a check fails and you cannot fix it before you leave, take a foam life jacket for that person instead. Never try to patch a leaking bladder yourself: send it to the manufacturer. Never point a CO2 cylinder at anyone or puncture one by hand.
Owners often ask
- My automatic inflatable life jacket went off by itself in storage. Why, and can I rearm it?
- Does an inflatable life jacket count toward the Coast Guard requirement if it's stowed?
This guide walks you through it. Still stuck? Ask the AI Mechanic about your engine.
Tools
- Your life jacket's owner's manual (or the maker's online manual and rearming video for your model)
- Permanent marker (for the service record label)
- Plastic coat hanger
- Bowl of fresh water (for the valve bubble check)
- Mild soap
Parts & supplies
- Rearming kit made by your life jacket's manufacturer for your exact model (CO2 cylinder, plus a bobbin or inflator cartridge on automatic models)
- Replacement bobbin or hydrostatic inflator if the date has passed
Before you start
Inflatable life jackets (also called inflatable PFDs) are comfortable enough that people actually wear them, which is the whole point. The trade-off is that they need regular attention. There are three common types, and your manual says which one you have:
- Manual: inflates only when you pull the "jerk to inflate" handle.
- Automatic with a bobbin: a small water-sensing pill (the bobbin) dissolves when it gets wet and fires the cylinder. Common on recreational models from makers such as Onyx, Mustang and Stearns.
- Automatic hydrostatic: a sealed inflator (Mustang calls theirs HIT, with a Hammar inflator) that fires from water pressure when you go under, not from rain or spray.
Know the rules before you rely on one (check your label; it is the final word):
- The Coast Guard says inflatables are generally meant for people over about 80 pounds, and to count toward the life jacket requirement the wearer must be over 16 years old.
- Many inflatables only count if they are worn, not stowed. BoatUS notes this applies to most models, so carry enough regular wearable life jackets for anyone not wearing theirs.
- They are not for weak or non-swimmers, and the Coast Guard recommends a life jacket marked for PWC or water-ski use when riding a personal watercraft or being towed. Most inflatables are not rated for that, and many states require an inherently buoyant (foam) jacket on a PWC.
- To count at all, the cylinder must be full and every status indicator must be green.
- Newer labels show a "Level" instead of a "Type." The number (50, 70, 100 or 150) is the minimum buoyancy in newtons; the Coast Guard notes 70 newtons is about 15.7 pounds. Level 70, common on slim inflatables and belt packs, is meant for boaters who have help close at hand or are near shore, not for a long wait in rough water. Pick the level that fits where you boat.
Plan on a quick look before every trip, a leak test a few times a season and a full inspection once a year. Every maker sets its own schedule (Mustang lists every six months for the leak test; BoatUS suggests every two months), so follow yours.
Steps
Find the label inside the jacket. It lists the approval, the minimum age and weight, whether it must be worn and the type of inflator. Note the rearming kit it calls for. Onyx and Mustang both say to use only the kit made for your model; a different cylinder or bobbin may not fire and voids the warranty. If you lost the manual, the maker's website has it, often with a rearming video for your exact model.
This takes a minute and catches most problems:
- Status indicator green. Most inflators have a window or pin that shows green when armed. Red means the cylinder has fired, is loose or was installed wrong. Some jackets have more than one indicator.
- Cylinder snug. Make sure it is screwed in firmly and not corroded.
- Bobbin or inflator in date (automatic models; see Step 5).
- Pull tab outside and easy to reach, and the oral tube's dust cap in place.
- Cover, straps and buckles with no rips, frayed stitching or broken hardware, and zippers or hook-and-loop closures lined up.
Mustang points out that green does not always mean ready: the inflator can be past its date, or the cylinder can be empty after a partial discharge, so check the date and the cylinder too.
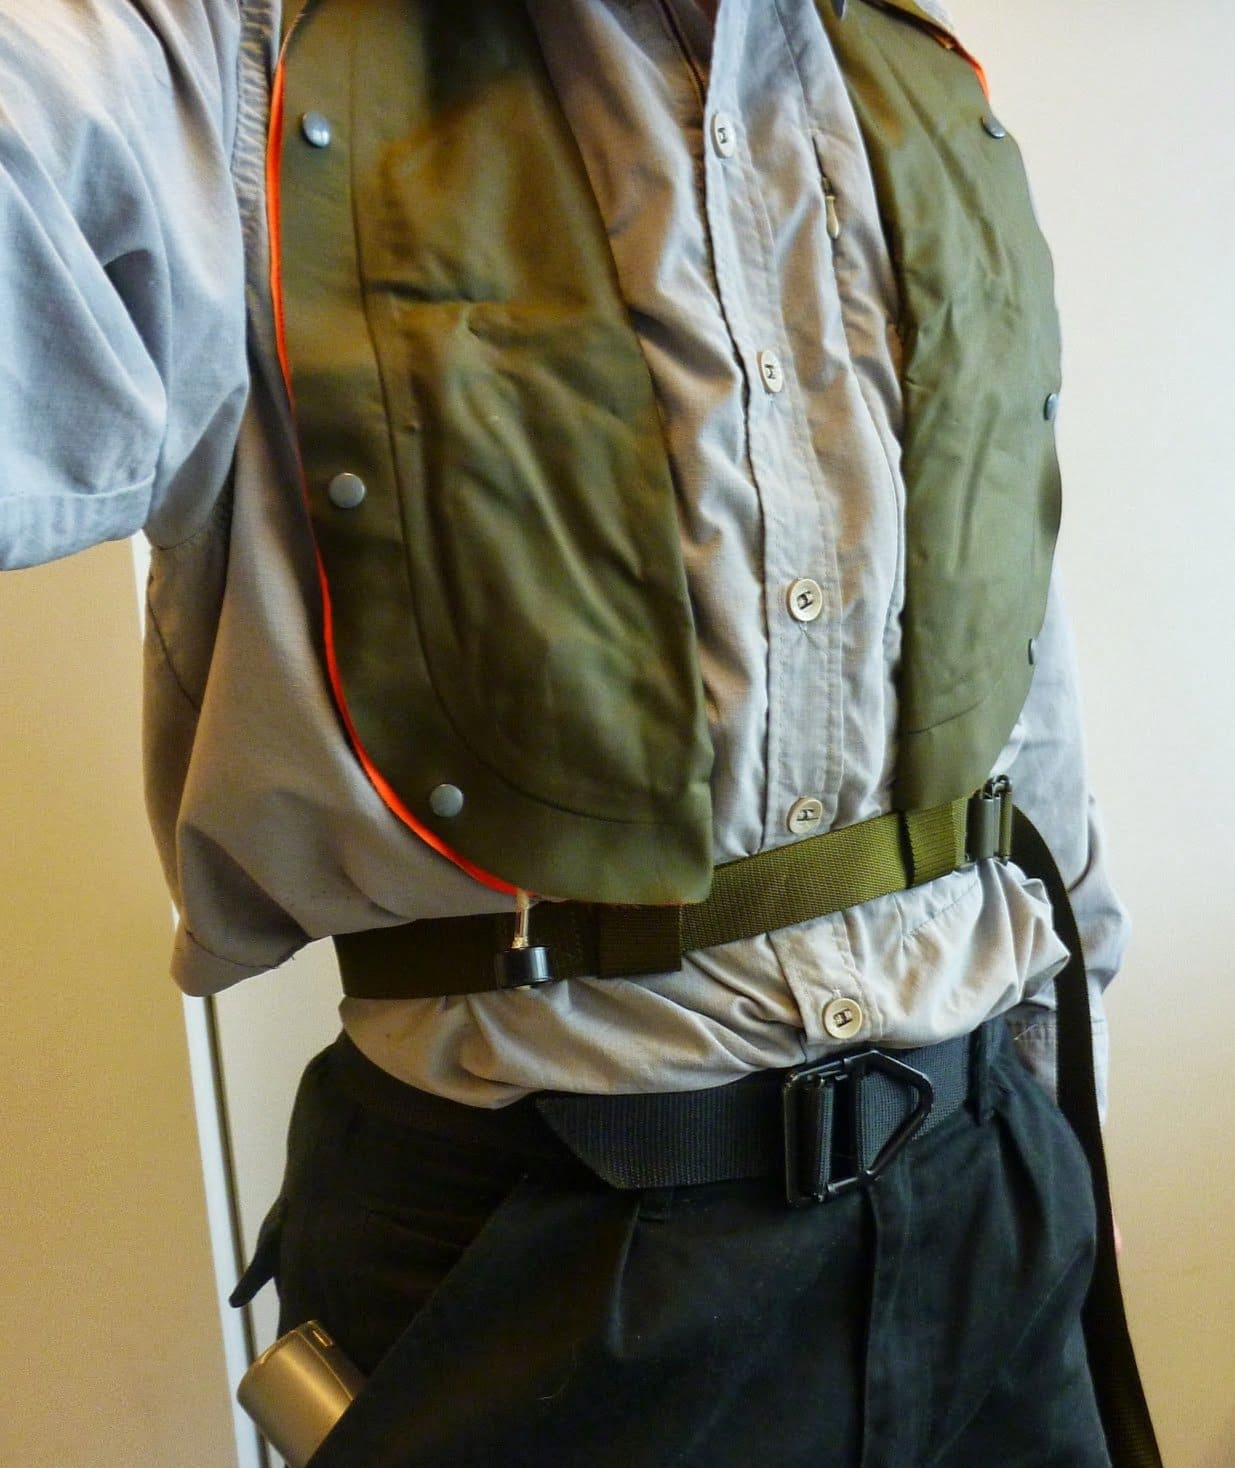
Packed and uninflated, these jackets are slim enough to wear all day. Photo: Fernost / Wikimedia Commons · Public domain Unscrew the cylinder (turning counterclockwise) and look at the small end. The seal should be intact, not pierced. A pierced seal means it is empty, even if it looks normal. Check for rust or pitting. Some cylinders are marked with a full weight; if yours is and you have a small scale, a cylinder that weighs less than marked has lost gas. Screw it back in by hand until it is firmly seated, but do not overtighten. Recheck the indicator: it should be green.
Open the cover enough to reach the oral inflation tube. Blow the bladder up by mouth until firm. Do not use the CO2 cylinder or a compressor for this test, because it can overinflate and damage the bladder. Leave it in a room with a steady temperature overnight; BoatUS suggests 16 to 18 hours (an older BoatUS inspection article says 16 to 24), and Mustang says at least two hours and ideally overnight. The same BoatUS article suggests you can also hold the inflated jacket underwater to look for bubbles from the bladder or the oral tube, but keep the automatic inflator out of the water.
If it is noticeably softer in the morning, it leaks. Before you give up on it, check the oral valve, which sometimes sticks open:
- With the jacket inflated, dip just the tip of the oral tube in a bowl of water. Keep the automatic inflator dry.
- Bubbles mean the valve is not sealing. Deflate, inflate again by mouth (this often reseats the valve) and test again.
- If it still leaks, or the bladder itself is losing air, stop using it and send it to the manufacturer. Do not glue or patch it.
Automatic parts wear out even if the jacket never gets wet:
- Bobbin type: look for the expiration or manufacture date printed on the bobbin or its cap. BoatUS says bobbins are typically replaced every two to three years if only a manufacture date is shown; Onyx stamps a date code and says some of its bobbins have a three-year life and others five. Onyx also suggests replacing bobbins every year in very humid regions such as the Southeast, or sooner after high heat or vibration.
- Hydrostatic type: Mustang says its Hammar inflators have a five-year life with no service needed, and must be replaced after the five-year expiry date marked on the inflator, or whenever the indicator turns red. BoatUS says three to five years is typical for hydrostatic inflators.
If you only find a manufacture date, use the interval in your manual. Write the next replacement date on the service label.
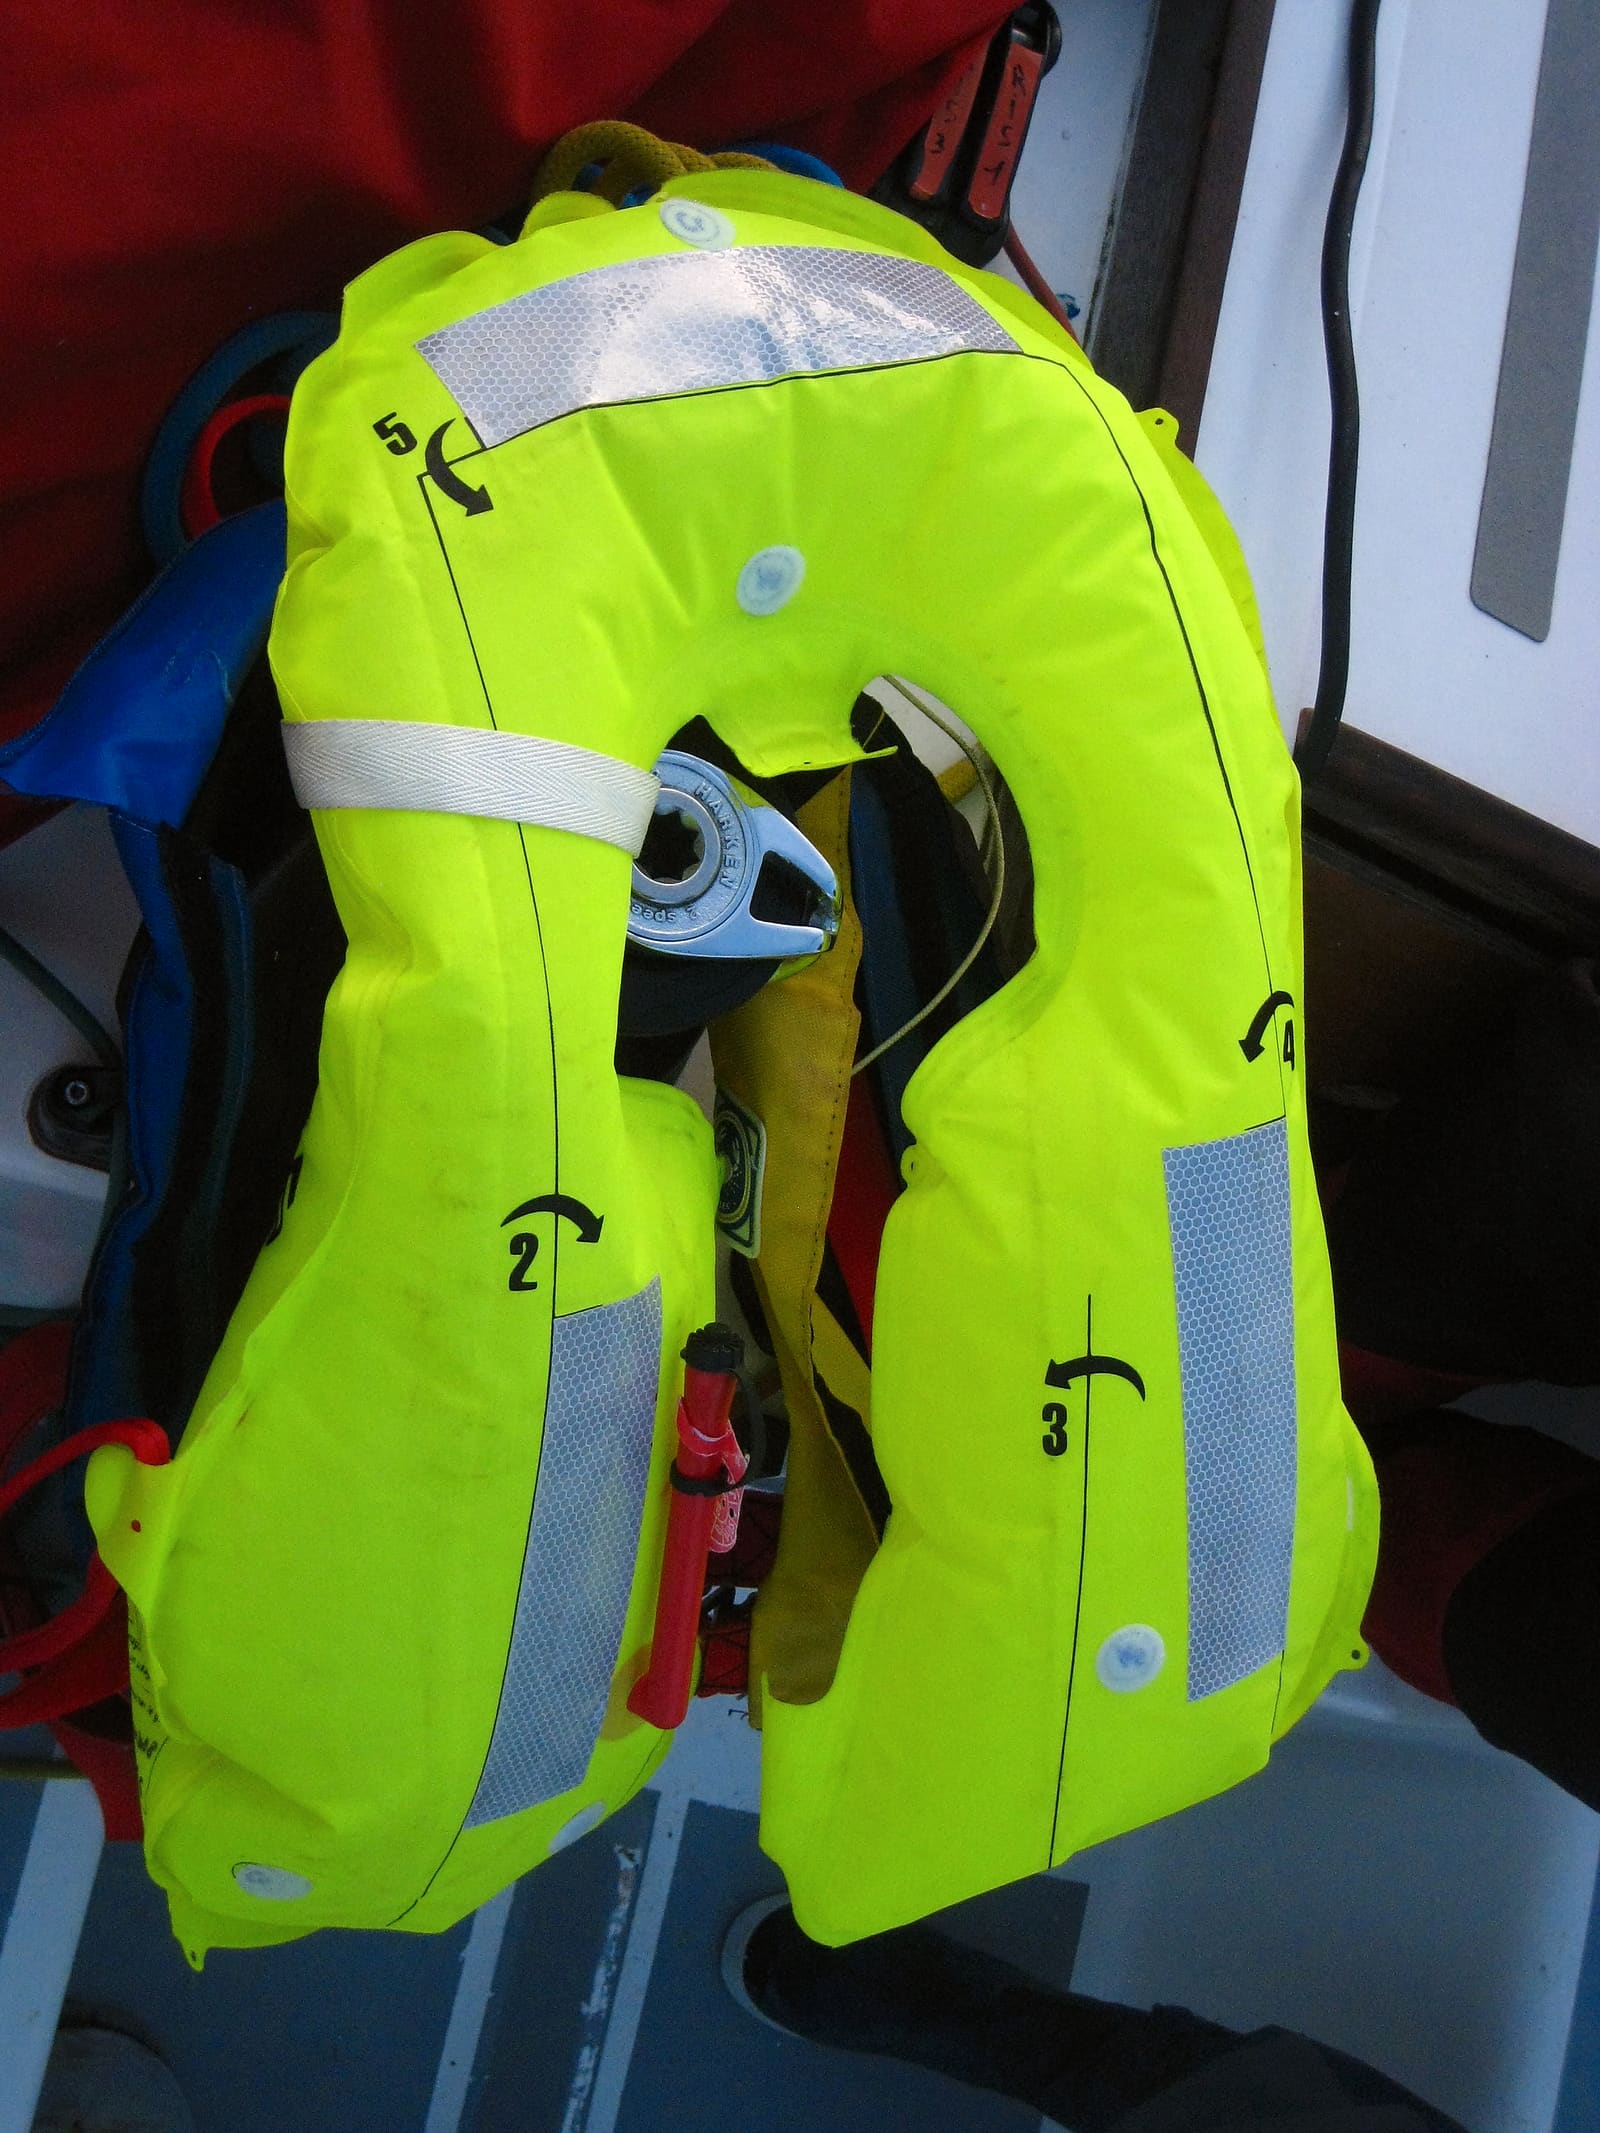
To deflate after the leak test, most makers have you turn the oral tube's dust cap upside down and press it into the valve to hold it open, then gently press the air out. Do not twist or wring the bladder. Repack it following the fold order in your manual (many jackets have numbered fold marks printed on the bladder). Finish with the pull tab and its lanyard outside the cover where you can grab it, and the cover fully closed.
Once a year, or after salt-water use, hand wash with mild soap and rinse with fresh water. Keep the automatic inflator dry: BoatUS suggests removing the auto-inflation cartridge before rinsing and putting it back once the jacket is dry. Never dry clean it or use bleach or other harsh chemicals. Hang it on a plastic coat hanger to dry, out of direct sun and away from heaters.
Store it the same way: hanging, in a dry, airy place, not on a wet cockpit floor and not crammed in a damp locker. Onyx notes that most unwanted inflations happen when jackets are stowed where humidity is very high or water can reach them. Aboard, keep it where you can grab it fast: MasterCraft's life jacket advice is never to stow them in plastic bags, in locked compartments or under other gear.
Any inflation, on purpose or by accident, means you must rearm before the next trip. The general sequence (follow your manual exactly; models differ):
- Let all the gas out through the oral valve.
- Unscrew and discard the used cylinder.
- On bobbin models, remove the cap and old bobbin, check the housing is clean and completely dry, then fit the new bobbin and cap as the kit shows.
- On hydrostatic models, replace the whole inflator unit as the kit directs.
- Check that the new cylinder is not pierced, then screw it in firmly by hand.
- Confirm every indicator is green. If any is red, it is not armed: start over.
- Repack (Step 6) and note the date on the service label.
Some makers suggest a real in-water test at the start of the season (Onyx relays this as a Coast Guard recommendation), which means you will need a rearming kit afterward. Others recommend the manual leak test only. If you want to see it fire, do it in a pool or shallow water while wearing it, with a rearm kit ready. Never trigger it while stowed in a closed space.
Write the date and what you did on the service record label in permanent ink. Retire the jacket (or send it to the maker for service) if the bladder leaks, the cover or webbing is torn or faded and brittle, the inflator housing is cracked, or the label is unreadable. Test any strobe, whistle or personal locator beacon attached to it and replace expired batteries.
Common mistakes
- Assuming a green indicator means ready, without checking the cylinder seal and the inflator date.
- Counting a stowed inflatable as a required life jacket when the label says it must be worn.
- Putting an inflatable on a child under 16 or a weak swimmer, or wearing one on a jet ski.
- Using a generic CO2 cylinder or another brand's bobbin to rearm.
- Inflating with the CO2 cylinder or an air compressor for the leak test.
- Storing it on the wet floor of the boat or in a sealed, humid locker and then wondering why it fired by itself.
- Forgetting to rearm after an accidental inflation, so the next time it is just an empty bag.
- Patching a leak with glue or tape instead of sending it to the manufacturer.
When to call a pro
- The bladder will not hold air overnight and the oral valve is not the cause
- The inflator housing is cracked, corroded or will not show green after a careful rearm
- You are not sure which rearming kit fits your model
- The jacket fired and you cannot find the cause (for example, it fired while dry)
- Contact the manufacturer's customer service or an authorized service center; many makers inspect and repair their own jackets
- In an emergency on the water, call 911 or the Coast Guard on VHF channel 16
Tips
- Keep one spare rearming kit per jacket on board for longer trips.
- Put a piece of tape inside the cover with the bobbin or inflator replacement date written large.
- Air travel: the TSA generally allows a life jacket with up to two small CO2 cylinders installed plus two spares, but check with your airline before you fly.
- Do your annual inspection at the same time as your spring commissioning so it never gets skipped.
Official references
We read these to write this guide. Your engine's own manual always wins.
- U.S. Coast Guard Boating Safety – Life Jacket Wear / Wearing Your Life Jacket
- U.S. Coast Guard Boating Safety – Frequently Asked Questions
- BoatUS – Inflatable Life Jacket Care & Maintenance
- Mustang Survival – How to Inspect & Maintain Your PFD
- Mustang Survival – Hydrostatic Inflator Technology with Hammar
- Onyx Outdoor – FAQs (rearming, bobbins, cylinder checks)
- BoatUS – Inspecting Inflatable Life Jackets (2014)
- MasterCraft – Knowledge Center, Personal Flotation Devices (stowage and inflatable status)
Safety: BoatMend is for information only and does not replace a certified marine technician. You are responsible for your safety and your boat. Read the full disclaimer.
Last updated 2026-10-24
Related guides
USCG Required Safety Equipment Check by Boat Length
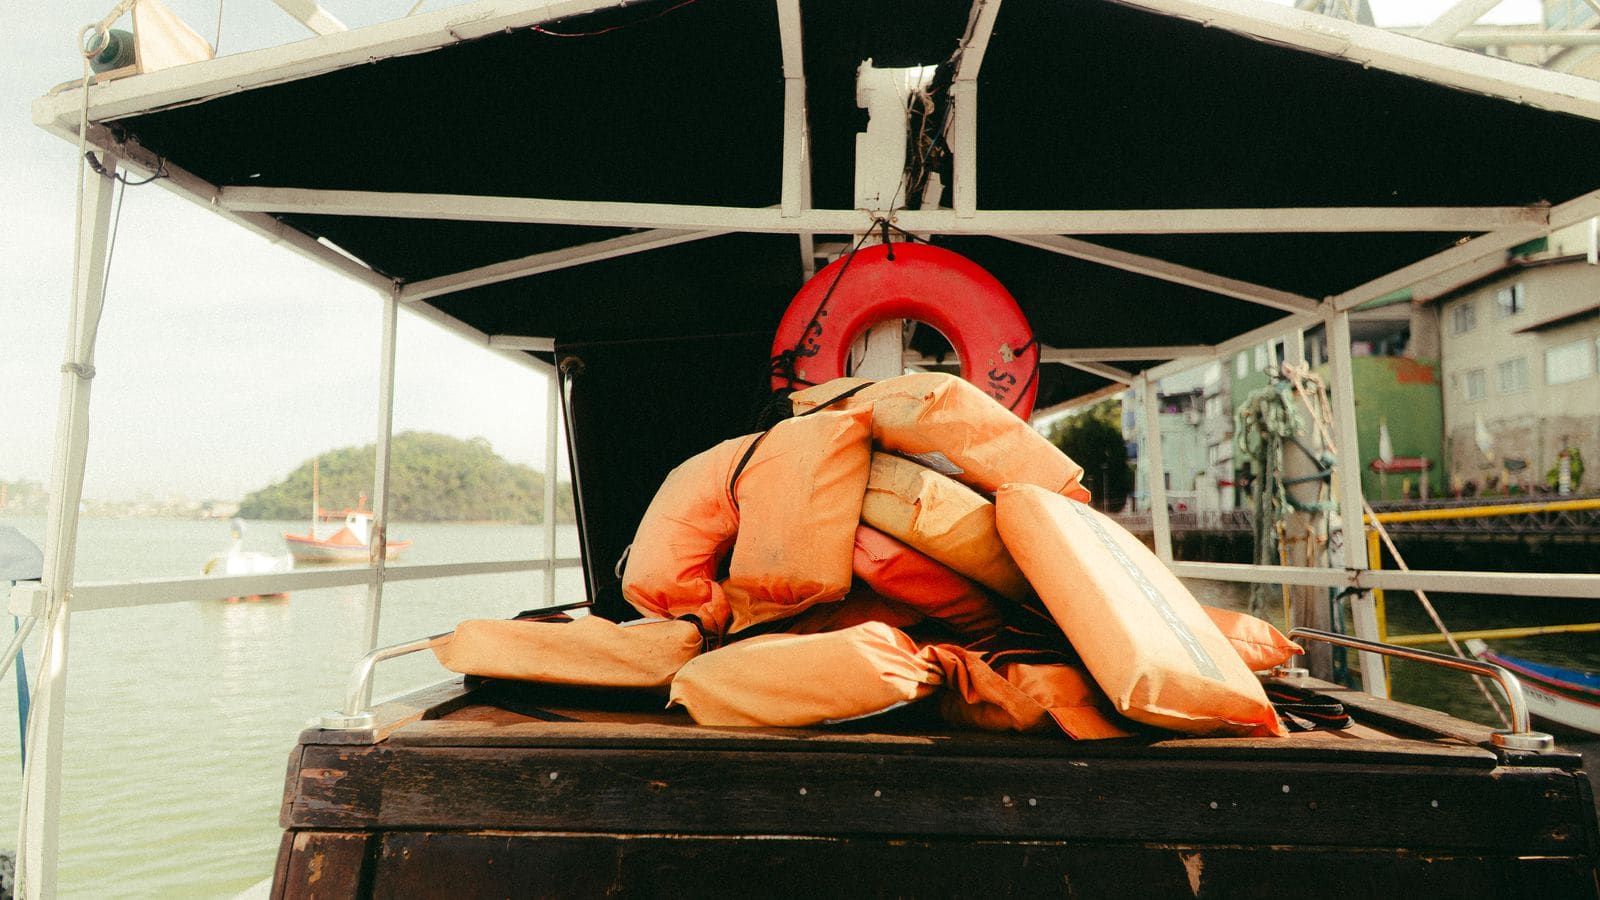
Walk through your boat and confirm you carry every piece of safety gear the US Coast Guard requires for your boat's length and type, and that none of it is expired or worn out. Missing or expired gear is one of the most common tickets on the water, and it is the gear you need when things go wrong.
Launch Day and Haul-Out Checklist for Trailer Boats
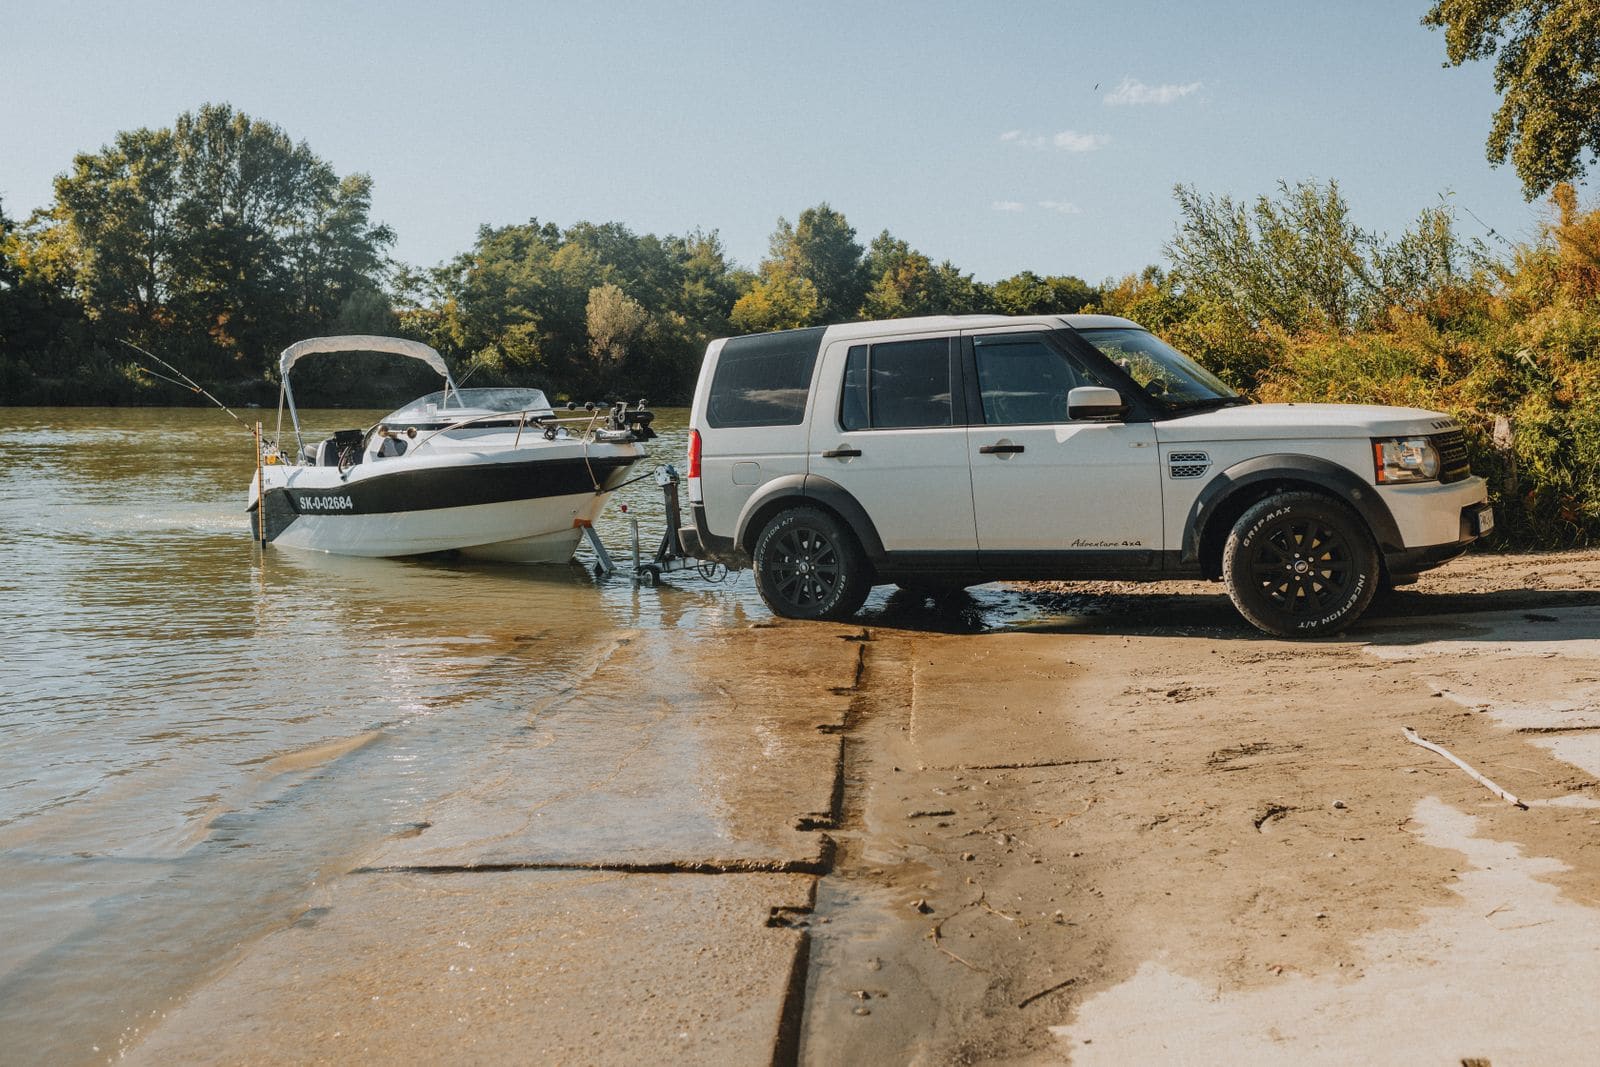
A step-by-step checklist for getting your boat off the trailer and back on again safely and quickly, from the drain plug and tie-downs to the blower and ramp etiquette. Following it in order prevents the classic mistakes that sink boats and back up the ramp.
What to Do When Your Boat Is Taking On Water: Emergency Steps and Prevention
A step-by-step emergency plan for water coming into the boat - life jackets on, call for help early on VHF 16, find and slow the leak, pump, and head for shallow water if needed - plus the maintenance checklist that prevents most sinkings.
How to Winterize a Jet Ski or PWC (Sea-Doo, Yamaha WaveRunner, Kawasaki)
Get your personal watercraft ready for the off-season by flushing and draining the cooling and exhaust system, stabilizing fuel, changing oil, fogging, and storing the battery. Doing it yourself takes an afternoon and helps avoid freeze damage, corrosion and spring no-starts.