How to Replace Sailboat Lifelines with Dyneema or Swageless Wire Terminals
Replace worn lifelines yourself, either with spliced Dyneema-type rope and lashings or with stainless wire and mechanical (swageless) or hand-crimped terminals, and get the measuring, chafe protection, tension and follow-up inspections right.
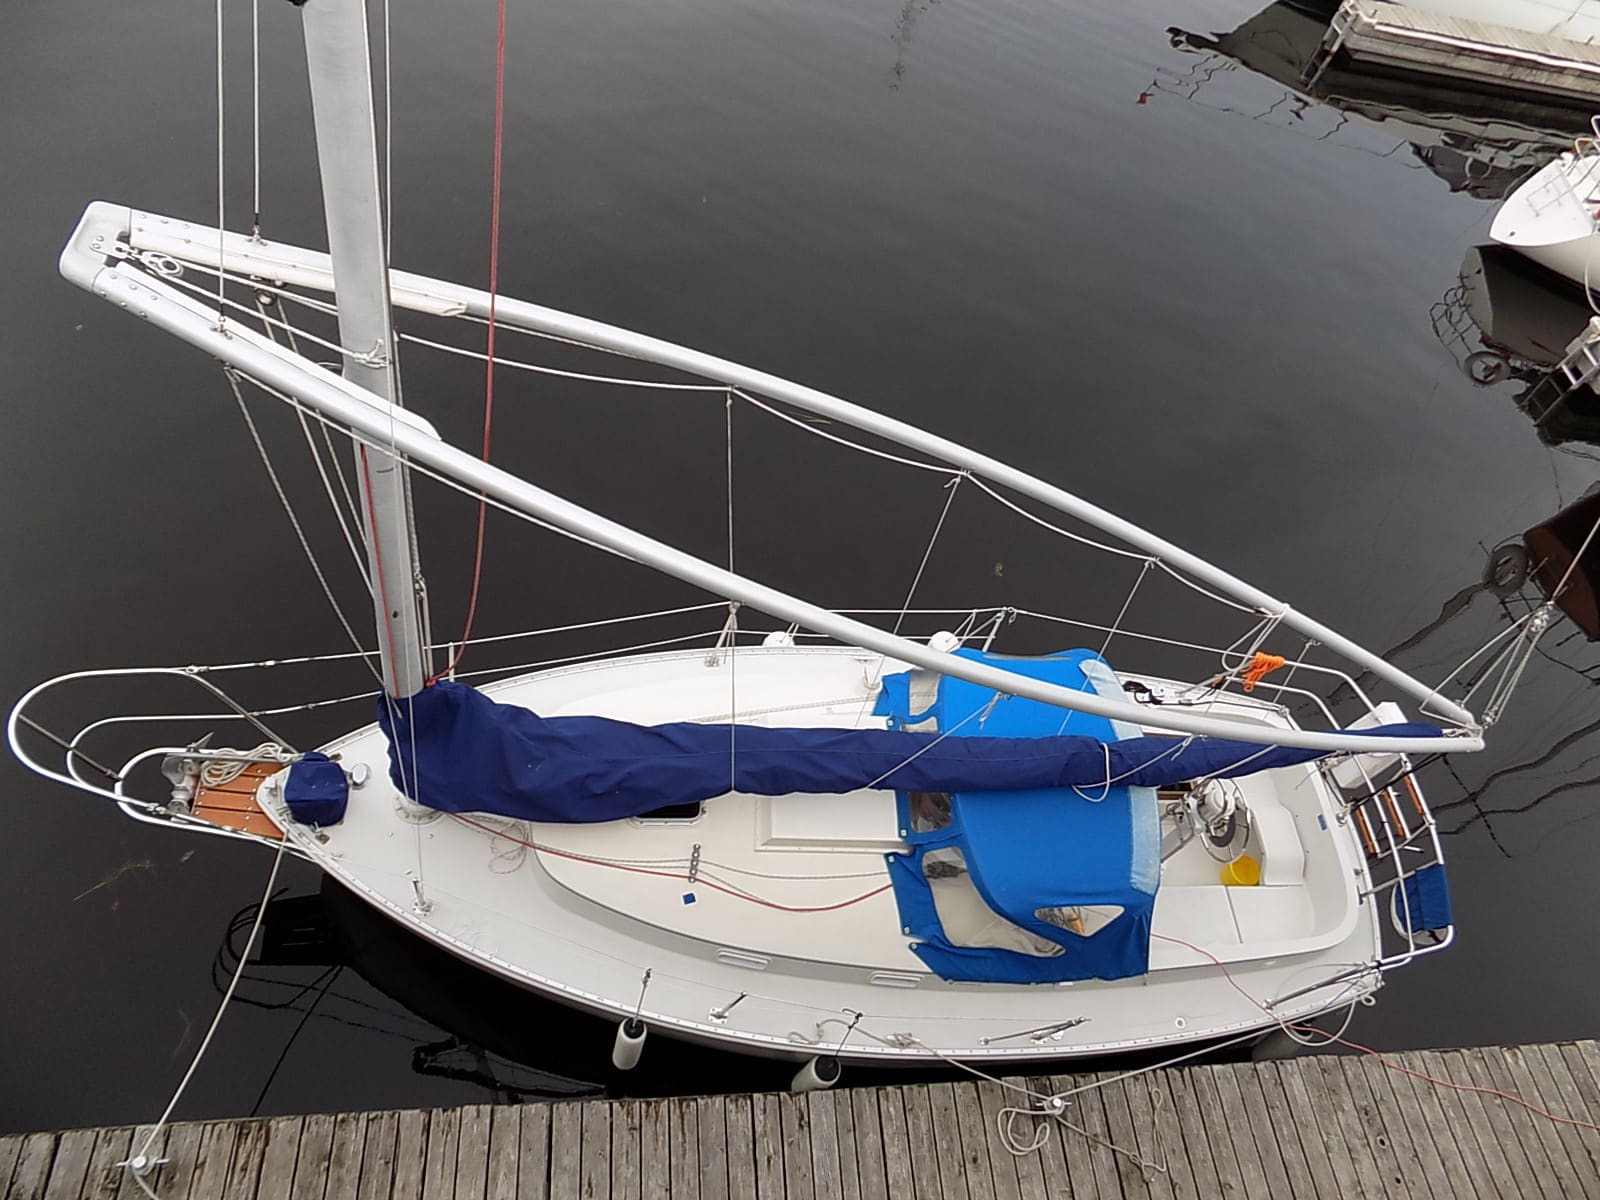
Time
8 h
Shop would charge
$400-1500
Applies to
All engines · Sailboat
Safety first: Lifelines are what keeps people aboard, so a badly made splice or terminal is worse than an old lifeline you know to distrust. Do this job at the dock or on land, never underway, and replace one side at a time so the boat is never fully open. While the lines are off, keep kids and guests off the side decks, and on a boat on stands, stay well back from the deck edge. Never use lifelines or stanchions to clip harness tethers or jacklines; they aren't made for that load. If you aren't confident in your splices or terminals, have a rigger make the lines or check your work before you trust them.
Fuel smell, water coming in, CO alarm or smoke? Stop, get everyone in life jackets and call USCG on VHF 16 or 911. For a tow: Sea Tow or TowBoatUS.
Owners often ask
- Can I make my own Dyneema lifelines, and how do I attach them to the pulpit?
- Are Sta-Lok or Hi-MOD terminals OK for lifelines instead of having them swaged?
- How often should I replace the lashings on my Dyneema lifelines?
This guide walks you through it. Still stuck? Ask the AI Mechanic about your engine.
Tools
- Tape measure and masking tape for labels
- Phone camera
- Wrenches and screwdrivers for turnbuckles and gates
- Rat-tail file or rotary tool with fine sanding drum, plus sandpaper up to 400 grit
- For rope lifelines - splicing fid or wire fid, sharp knife or rope cutter, blunt sail needle, whipping twine and a marker
- For wire lifelines - wire cutter made for stainless rigging wire and the tools listed in your terminal maker's instructions
- Rigging tape
Parts & supplies
- Lifeline rope (single braid or covered Dyneema-type line made for lifelines) or new stainless lifeline wire
- Splice-on or mechanical (swageless) terminals, or hand-crimp terminals plus the matching crimp tool
- Dyneema-type lashing line, if your design uses lashings
- Tubular webbing or chafe sleeves for UV and chafe protection
- New turnbuckles, pelican hooks, toggles, cotter pins and rings as needed
Before you start
Is DIY right for you? Practical Sailor reports that a 2020 Australian Sailing study for World Sailing found Dyneema lifelines suitable for all offshore categories, but recommended that a professional rigger install them, because getting the design, chafe protection and details right isn't simple. West Marine notes the easiest route for wire lifelines is to bring the old ones to a rigging shop to be duplicated. Doing it yourself is realistic if you can already splice rope well (see the rope splicing guide) or follow a terminal maker's instructions exactly, and you have a rigger who will look over the result.
Choose the material.
- Bare (uncoated) stainless wire: West Marine says it's easy to inspect for corrosion and is now required on offshore racing boats. Practical Sailor gives it a long life, often 12 to 18 years, with failures usually at the terminals, not the wire.
- Vinyl-coated wire: comfortable, but BoatUS explains that worn coating traps water that corrodes the wire out of sight, says coated wire is generally not recommended, and suggests replacing it every five years if you keep it. Practical Sailor has found coated wire with most of its steel corroded away under the vinyl. BoatUS adds that bare wire is thinner overall, so switching lets you step up a wire size.
- Dyneema-type rope (ultra-high-molecular-weight polyethylene, sold under names like Amsteel and in covered lifeline-specific products): light, no rust and easy on hands and sails, but vulnerable to chafe and UV. Practical Sailor's 2026 review says chafe in the stanchion holes is the most common failure. It notes that World Sailing sets no replacement interval (only monitoring for chafe), that safety experts and makers generally say about eight years, and that some data show this kind of fiber losing a large share of its strength in the first five years. Its own suggestion: replace after about 5 to 7 years in the tropics and 8 to 10 in milder climates. Covered rope resists chafe much better than single braid but needs a larger size for the same strength.
Racing or rallies? World Sailing's Offshore Special Regulations and rally rules set lifeline material, size and installation details, and they change (Practical Sailor reports World Sailing updated its lifeline size rules in 2026). Check the current version before you buy anything. For cruising, Practical Sailor and West Marine suggest erring toward a larger size than the minimum, provided the stanchions and attachment points are strong too.
Sizes and strengths: this guide gives none on purpose. Use the size your boat's builder, your rigger, the racing rules or the rope or terminal maker's chart calls for, and match terminals to that exact wire or rope.
Steps
Before removing anything, photograph every gate, terminal, turnbuckle, pelican hook and attachment point, as West Marine recommends. Label each line (port upper, port lower and so on) and note which end goes to the bow pulpit, gate or stern rail. Then remove one side only, keeping all hardware in order. Leave the other side up until the first side is finished.
With the lines off, check each stanchion and base (see the lifelines and stanchions guide): movement with the deck, cracks, loose fasteners, bent tubes. Then look inside the holes the lifeline passes through. Practical Sailor says burrs in these holes are what chew through rope lifelines. Smooth every hole with a rat-tail file or small sanding drum and work up to 400-grit paper, then polish. Don't skip this for wire either; rough holes wear wire too.
West Marine recommends replacing turnbuckles that show corrosion, thread damage or distortion, and any doubtful pelican hooks, toggles and split rings, at the same time as the lines. A new lifeline on worn hardware isn't a safe system. Newer over-center pelican hooks are an option.
West Marine warns that lifelines need very exact measurements and that different terminals are measured to different points. A reliable method:
- Measure between the attachment points on the boat (pulpit eye to gate, gate to stern rail), not the old line, which may have stretched or been shortened by bent fittings.
- Decide how much room each end needs: a turnbuckle's adjustment range, a lashing gap, or the length of a terminal. Turnbuckles should be set near the middle of their range so there's room to tighten later.
- Write a simple sketch with every length, terminal type and fitting. If any of this is unclear, use the rigging shop's measurement form or have them make the lines.
Mechanical terminals (Sta-Lok, Hayn Hi-MOD, Norseman and similar) grip the wire with an internal wedge or cone and a threaded body, so they can be fitted with hand tools instead of a swaging press. Practical Sailor's pull tests found well-made fittings of this type equal or better than other end fittings. Marine Fabricator and Practical Sailor note they can be taken apart for inspection and reused with a new wedge or cone.
- Buy terminals made for your exact wire size and construction. Practical Sailor notes Hi-MOD fittings don't work with Dyform (compacted) wire.
- Cut the wire cleanly and square with a proper cable cutter.
- Follow the terminal maker's instructions to the letter: how far to slide the parts on, how to lay the strands around the wedge or cone, any sealant or thread-locker, and how far to tighten. Arranging the strands evenly is the step that decides the strength.
- Take the terminal apart once after first tightening if the instructions say so, check the strands are evenly formed, then reassemble.
West Marine notes hand-crimped lifeline terminals can be owner-installed with the matching hand swaging (crimping) tool and give a strong, if lumpy, result. Use only terminals made for lifeline wire, crimp with the tool specified by the terminal maker, and check each crimp with the maker's gauge if one is supplied. Never use household wire-rope clips or hardware-store cable clamps on lifelines.
- Pick the line. Practical Sailor has used a larger size than the minimum on its own boat to leave a reserve against UV and wear, especially for the top line.
- Make the eye splices. Practical Sailor favors a simple bury splice with a smooth, tapered tail, lock-stitched with whipping twine using a blunt needle, following the rope maker's (Samson's) instructions for 12-strand class 2 rope. It reports a lock-stitched bury is as strong as a Brummel lock splice.
- Allow for shrinkage. Each splice shortens the rope. Practical Sailor's tip: make the first splice, pull it firmly to settle it, measure how much it shortened, and allow for that on every other splice.
- Fittings. West Marine sells splice-on fittings that let rope lifelines use standard gate eyes and turnbuckles. Practical Sailor warns against ordinary wire-rope thimbles, whose sharp cut ends can cut the rope; use a sailmaker's thimble, a smooth low-friction ring, a webbing cover, or no thimble.
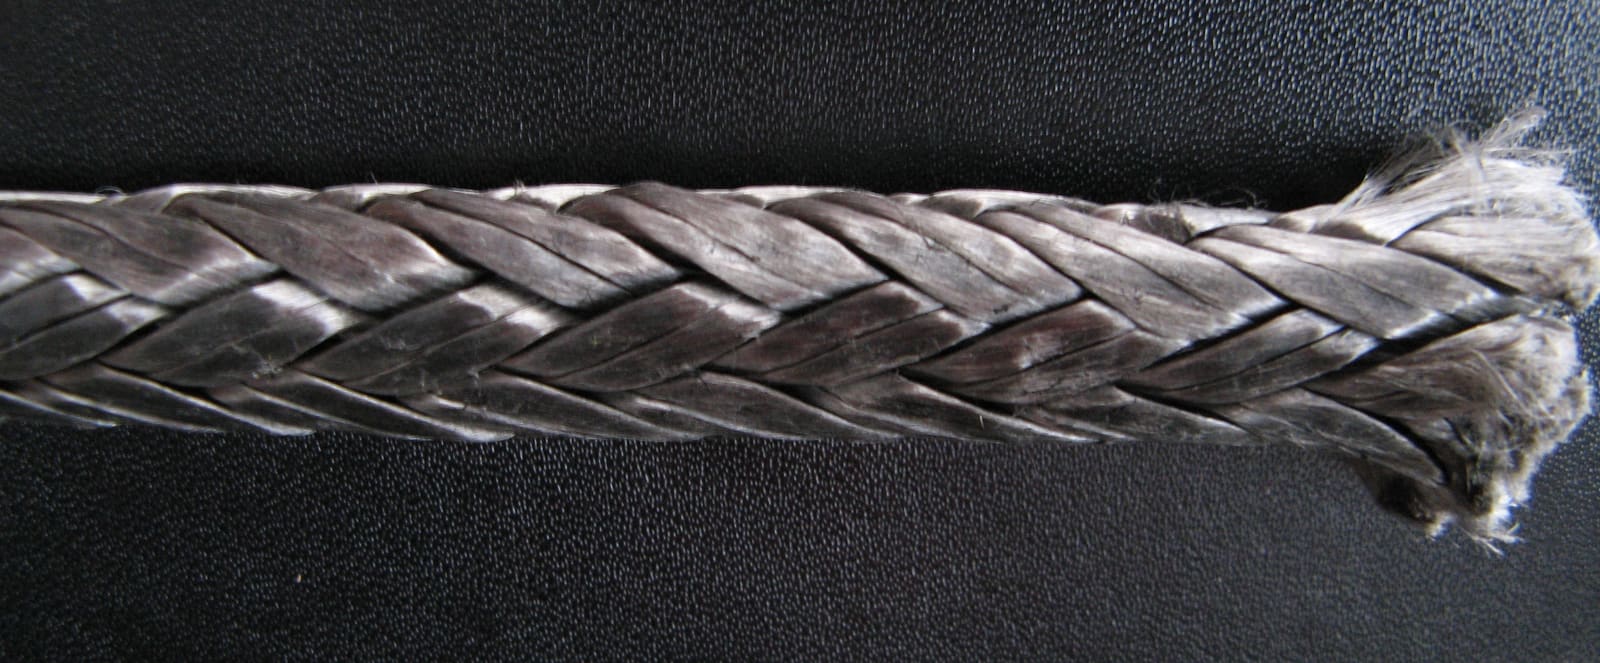
Hollow single-braid Dyneema-type rope: easy to bury-splice and inspect, but more exposed to chafe and UV than covered rope. Photo: Justsail / Wikimedia Commons · CC BY-SA 3.0 Many rope lifelines (and some wire ones) attach at one end with a lashing instead of a turnbuckle. Practical Sailor's testing showed lashings share load unevenly between passes, so it recommends sizing a lashing at twice the calculated strength of its passes, finishing it with a long series of half hitches around the whole bundle, and not cutting the tail short. A lashing has less redundancy than the line: one cut pass can let it all go. BoatUS says lashings should be as strong as the lifeline, no more than about 4 inches long with the line tensioned, given a couple of extra turns for margin because every bend weakens the line, and replaced every year. Practical Sailor likewise says to renew lashings far more often than the lifelines: every few years, and at about the halfway point of the line's life (2 to 3 years) to be safe. Pick the shorter interval if you're unsure. If a lashing is meant to be cut to drop the lifeline for a crew-overboard pickup, make sure everyone aboard knows which one.
Slide tubular webbing or a chafe sleeve over splices, lashings and any spot that rubs, keeping it loose enough to slide aside for inspection, as Practical Sailor suggests. Where rope passes through stanchion holes, a plastic or textile sleeve helps. Don't let the crew hang over rope lifelines while racing or use them as a backrest; that's what wears them through in the stanchion holes.
Fit the new lines, starting at the fixed ends and working toward the gates. Tighten turnbuckles or lashings until the lines are snug without bending the stanchions inward (see the lifelines and stanchions guide for a simple tension check). Lock every turnbuckle, fit cotter pins or rings, and tape pins, ring ends and pelican hooks so they can't snag or open. Open and close each gate: it should latch firmly and the hook shouldn't open by itself.
New rope lifelines settle in as splices bed down and the fibers stretch slightly. Check and retighten them after the first few outings and again after the first season. Recheck mechanical terminals at the same time.
Repeat for the other side. Then set an inspection routine: West Marine and BoatUS suggest checking every season, looking for fuzzy or flattened spots where rope passes stanchions, faded stiff rope from UV, creeping or opening splices, and on wire, rust or broken strands at the terminals. BoatUS's trick for bare wire: run a loose wad of tissue paper along the whole length in both directions; a broken strand ("fishhook") snags the paper before it snags your hand. Practical Sailor notes that swapping a rope lifeline end for end can buy some extra life if chafe shows at the stanchions.
Record in BoatMend the date, material, size, terminal type, who made each line, and when lashings are due. That date is what tells you when the line is due for replacement.
Common mistakes
- Removing both sides at once, leaving the boat open with people aboard.
- Skipping the burrs in stanchion holes, then wondering why new rope lifelines fuzz up in a season.
- Using standard wire thimbles with rope. The sharp ends can cut it.
- Cable clamps or non-lifeline crimps on wire.
- Mechanical terminals assembled from memory instead of the maker's instructions, or reused without the new wedge or cone the maker requires.
- Lashings tied with a few turns of light line and a short tail. They need to be stronger than the lifeline, not weaker.
- Taping over splices and lashings so they can't be inspected.
- Clipping a tether to the new lifelines. Use jacklines on strong points (see the jacklines guide).
When to call a pro
- You haven't spliced Dyneema or fitted mechanical terminals before and there's no one to check your work
- You race or join a rally and need the lines to meet the current World Sailing or rally rules
- Stanchion bases move with the deck, welds on the pulpit or stern rail are cracked, or the deck is soft around a base
- You want wire lifelines with factory-swaged terminals (that needs a rigger's press)
- Anything about a finished line looks wrong: a splice that slips, a terminal with uneven strands, a gate that won't latch
Tips
- Order a few extra feet of rope or wire for a practice splice or terminal before you make the real ones.
- Keep your sketch with lengths and fittings in your boat records; next time you can order exact replacements.
- Leave a tail of lashing line on board in the bosun's bag to renew a lashing quickly.
- If you have kids or pets aboard, add lifeline netting (see the lifelines and stanchions guide).
Official references
We read these to write this guide. Your engine's own manual always wins.
Safety: BoatMend is for information only and does not replace a certified marine technician. You are responsible for your safety and your boat. Read the full disclaimer.
Last updated 2026-11-06
Related guides
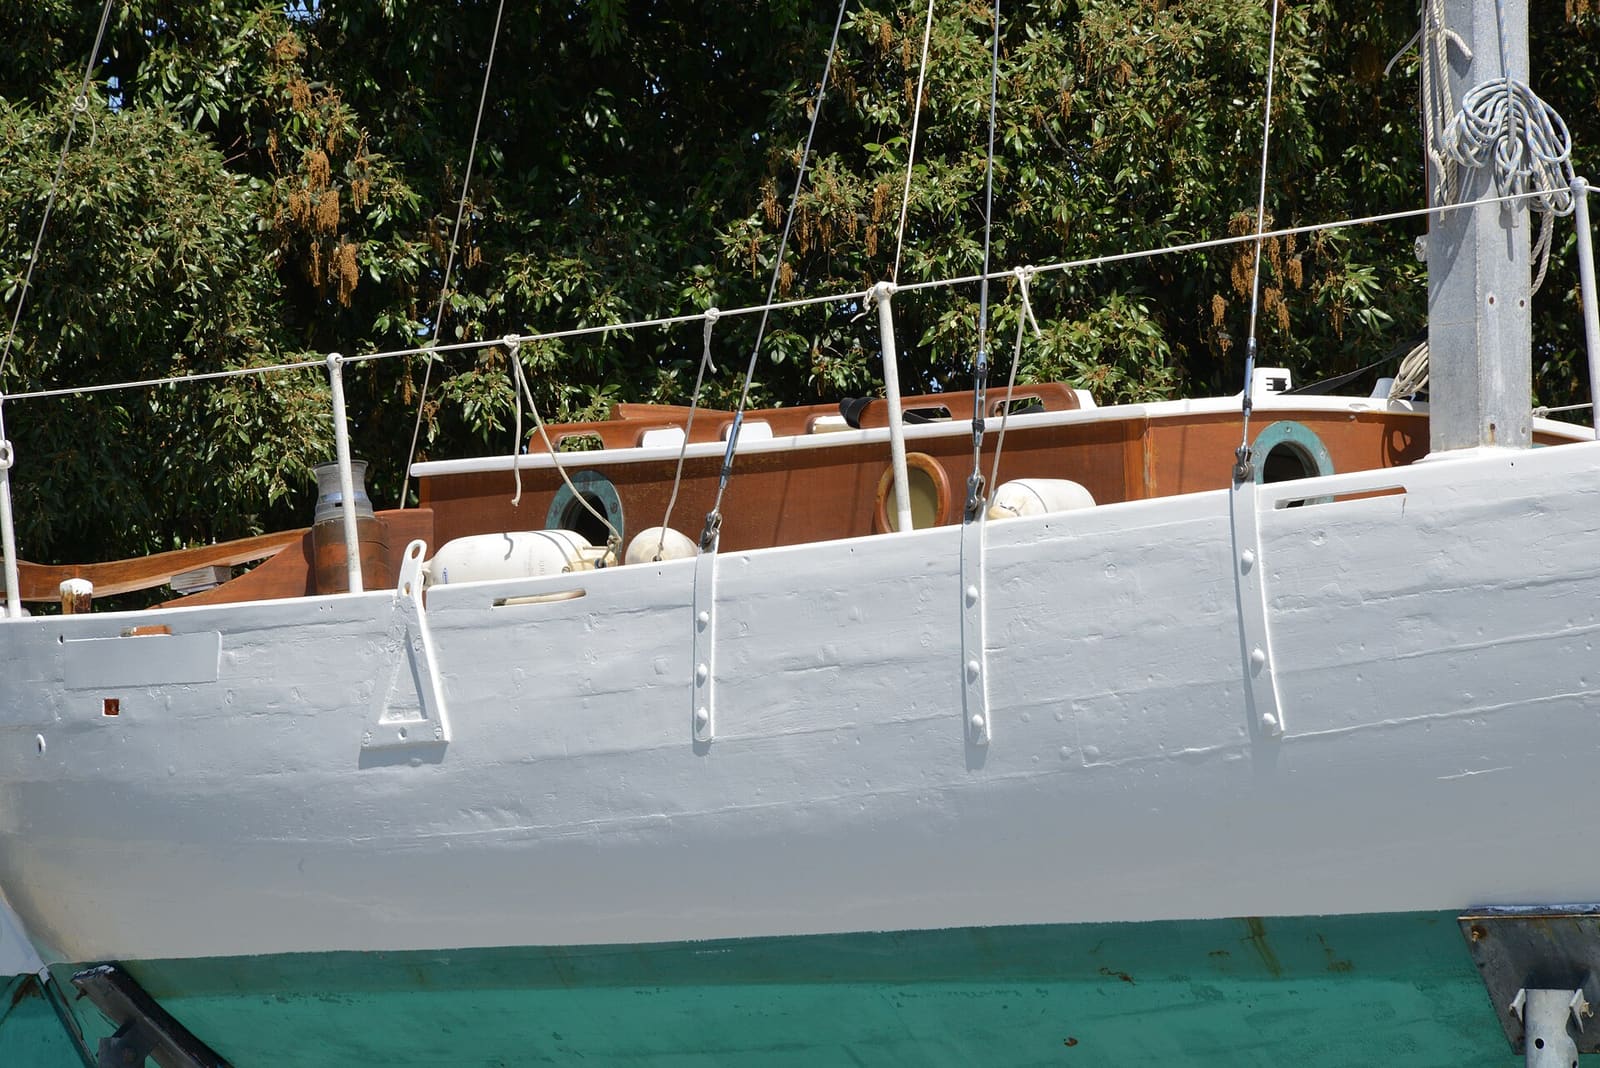
How to Inspect Sailboat Lifelines, Stanchions and Gates
Check the wire or rope, swaged ends, gate hooks, stanchion bases and pulpits that make up your lifeline system, and know when to replace them. Lifelines keep people aboard, but only if every link is sound, and they are never a place to clip a safety tether.
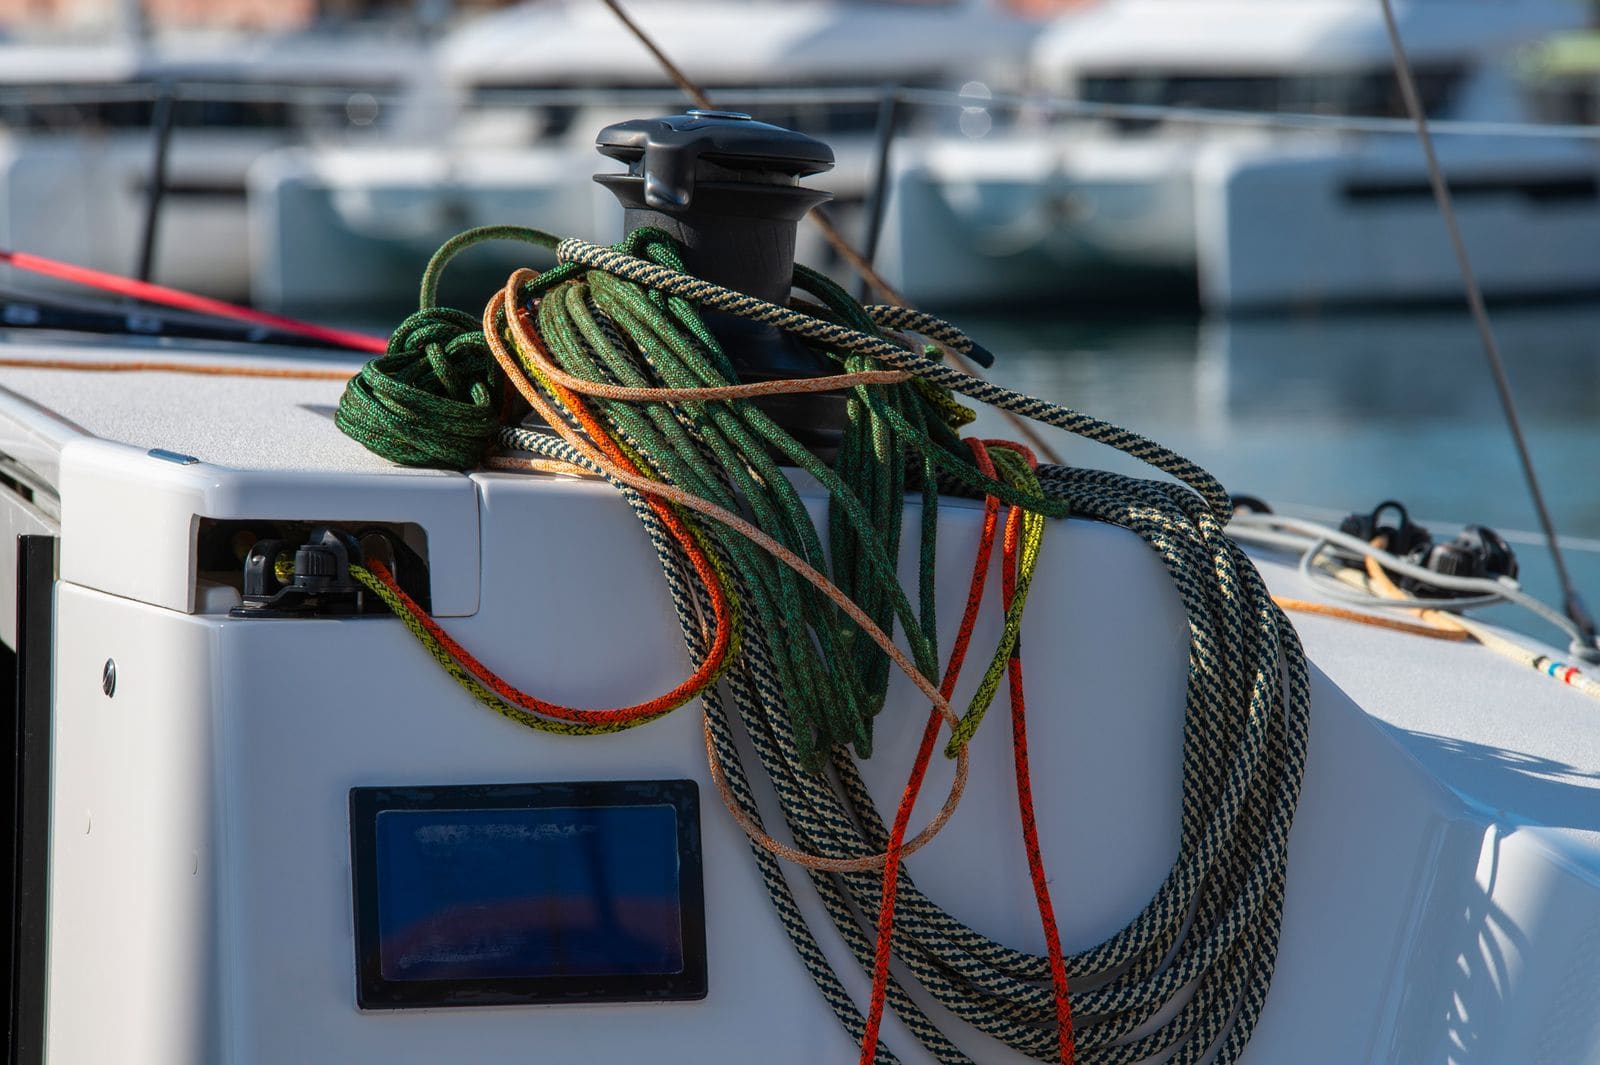
Running Rigging Care: Inspecting Halyards, Sheets and Dyneema Lines
Check your halyards, sheets and control lines for chafe, sun damage, glazing and cover slip, wash them the right way, end-for-end them to spread the wear, and know when a line has to go. A halyard that parts drops a sail; a sheet that parts in a gust can be worse.
Basic Rope Work for Boat Owners - Eye Splices, Whipping and Sealing Line Ends
Learn the rope skills every owner uses: put an eye splice in three-strand dock or anchor line, stop line ends from unraveling with a whipping or by melting them, know when double-braid splicing is worth it or when to buy pre-spliced line, and inspect splices so you retire a line before it fails.
Jacklines and Tethers: How to Rig Them and Use Them So You Stay Aboard
Jacklines and a good tether keep you attached to the boat when you work on deck at night or in rough weather. Learn which jackline material to pick, where to run it and what to anchor it to, how to choose a double tether with safe hooks, and the clip-in habits that make the system work.
How to Inspect Your Sailboat's Standing Rigging
A step-by-step owner's inspection of the wires, fittings, turnbuckles, pins, chainplates and mast that hold your rig up, plus how to decide when it is time for a rigger and new rigging. Includes what insurers commonly expect for older rigs.
How to Find and Fix Leaking Deck Hardware (Rebedding Cleats, Stanchions and Tracks)
Track down the cleat, stanchion base or track that is dripping into the cabin, then remove it, seal the deck core and bed it again with the right sealant so the leak stops for years instead of weeks. Catching it early protects the deck core from rot.
How to Choose and Fit Life Jackets for Children and Babies
Pick the right Coast Guard-approved life jacket for each child by weight, check the fit so it can't slip off, look for head support and a crotch strap on little ones, and learn the federal and state wear rules. Inflatables are not for kids, and a life jacket never replaces an adult watching.