How to Install a Boat Radar Antenna (Radome or Open Array)
Plan and install a radar the right way: choose a mounting spot high enough and clear of obstructions, keep the beam above people's heads, give an open array room to spin, bolt it down with backing plates, route the cable without damaging it and seal every deck pass-through. Know when the job belongs to a certified installer.
Time
8 h
Shop would charge
$500-2500
Applies to
All engines · Cabin cruiser, Yacht, Sailboat, Center console
Safety first: A transmitting radar sends out microwave energy. Mount it so the beam passes above everyone's head, and never stand close to an antenna or look into it while it's transmitting; your radar's installation instructions list a minimum safe distance, so keep people outside it. Keep the radar off (in standby is not enough, switch it off at the breaker) whenever anyone works near it. Open arrays spin with real force: keep hands, lines and flags clear. Working on a mast, arch or hardtop means a fall risk, so use a harness, a helper and calm weather, or hire a pro. Before drilling a hardtop or deck, check what's inside it (wiring, lights, core, fuel or water lines below).
Owners often ask
- How high does my radar dome need to be, and is it safe near people on the flybridge?
- Can I cut the radar cable plug off to fit it through my T-top and splice it back?
This guide walks you through it. Still stuck? Ask the AI Mechanic about your engine.
Tools
- Tape measure, level and angle finder
- Masking tape and marker
- Drill, sharp bits and a hole saw sized for the cable pass-through
- Socket and wrench sets
- Caulking gun
- Fish tape or a light "mouse line" (pull line) and electrical tape
- Cushioned cable clamps and zip ties
- Multimeter
- Fall protection (harness) for any work aloft, and a helper
- Safety glasses
Parts & supplies
- Radar antenna (radome or open array) and its interconnect cable, compatible with your display
- Mount for your boat (hardtop riser or wedge, arch or T-top plate, radar pole, mast or backstay mount)
- Stainless bolts, washers and locknuts as the antenna and mount instructions specify
- Backing plates (aluminum or marine-grade plastic) for under the hardtop or deck
- Watertight cable pass-through (cable gland or clam-style fitting)
- Marine sealant recommended by the mount maker
- Fuse or breaker and tinned marine wire sized per the radar's instructions
Before you start
Radome or open array? A radome encloses a small antenna in a sealed case. Raymarine notes that radomes suit sailboats, RIBs and smaller powerboats because they're compact and have no exposed spinning parts to catch lines, rigging or sails. An open array is a separate pedestal with a long rotating antenna (often 3 to 6 feet). It's heavier and needs much more room, but gives longer range and sharper targets. Sport Fishing Magazine reports domes in the range of about 15 to 25 pounds versus about 45 to 70 pounds for arrays, so an array needs a substantial hardtop, and it needs open space all around to spin without hitting outriggers, antennas or lights.
Decide where it will go. Common spots:
- Hardtop, T-top or arch on powerboats, often on a riser or wedge.
- Radar mast or pedestal added on top of a hardtop or cabin roof for extra height.
- On a sailboat: on the front of the mast (on a mast bracket, usually with a guard), on a stern pole, or on a gimbaled backstay mount.
Read the radar's installation instructions first. They give the minimum safe distance, cable length, mounting hole pattern, power needs, and spacing from compasses, other antennas and GPS receivers. Follow them over anything here.
DIY or pro? BoatUS says mounting a radome is a fairly easy project for a competent DIYer, but warns that the most common radar problem is cable failure, often caused during installation. It suggests an NMEA-certified installer if you have any doubts. Open arrays, mast work and new hardtop structure are usually pro jobs.
Steps
BoatUS explains that the main limit on radar range is the curve of the Earth, so height helps, but less than you'd think. Its example: on a 35-foot cruiser with a hardtop about 10 feet off the water, raising the dome another 10 feet only added roughly a mile of range on a boat-size target. The first goal is simply to get the antenna above everyone's head. Sport Fishing Magazine quotes Garmin noting that a radar only 15 feet off the water won't reach its full range, but for collision avoidance, which is most people's main use, a good clear spot matters more than maximum height.
Pick a spot where the beam passes over the heads of anyone at the helm, on the flybridge or on deck. Practical Sailor's advice is to avoid any installation that puts crew directly in line with the radar within a few meters, and notes a high pole or backstay mount well clear of heads is not considered a measurable risk. On a hardtop where people sit on the roof or a flybridge where heads come close, raise the antenna on a riser or move it.
Stand at the planned spot and look around 360 degrees. Masts, stacks, outriggers, antennas, lights and towers in the beam cast shadows or create false echoes. Also keep the antenna away from the compass, and place GPS and VHF antennas above or below the radar's beam rather than in it (your radar's instructions give the distances). BoatUS suggests mounting a post-mounted radome on the starboard side when you can't avoid some shadowing, since boats approaching from starboard usually have the right of way.
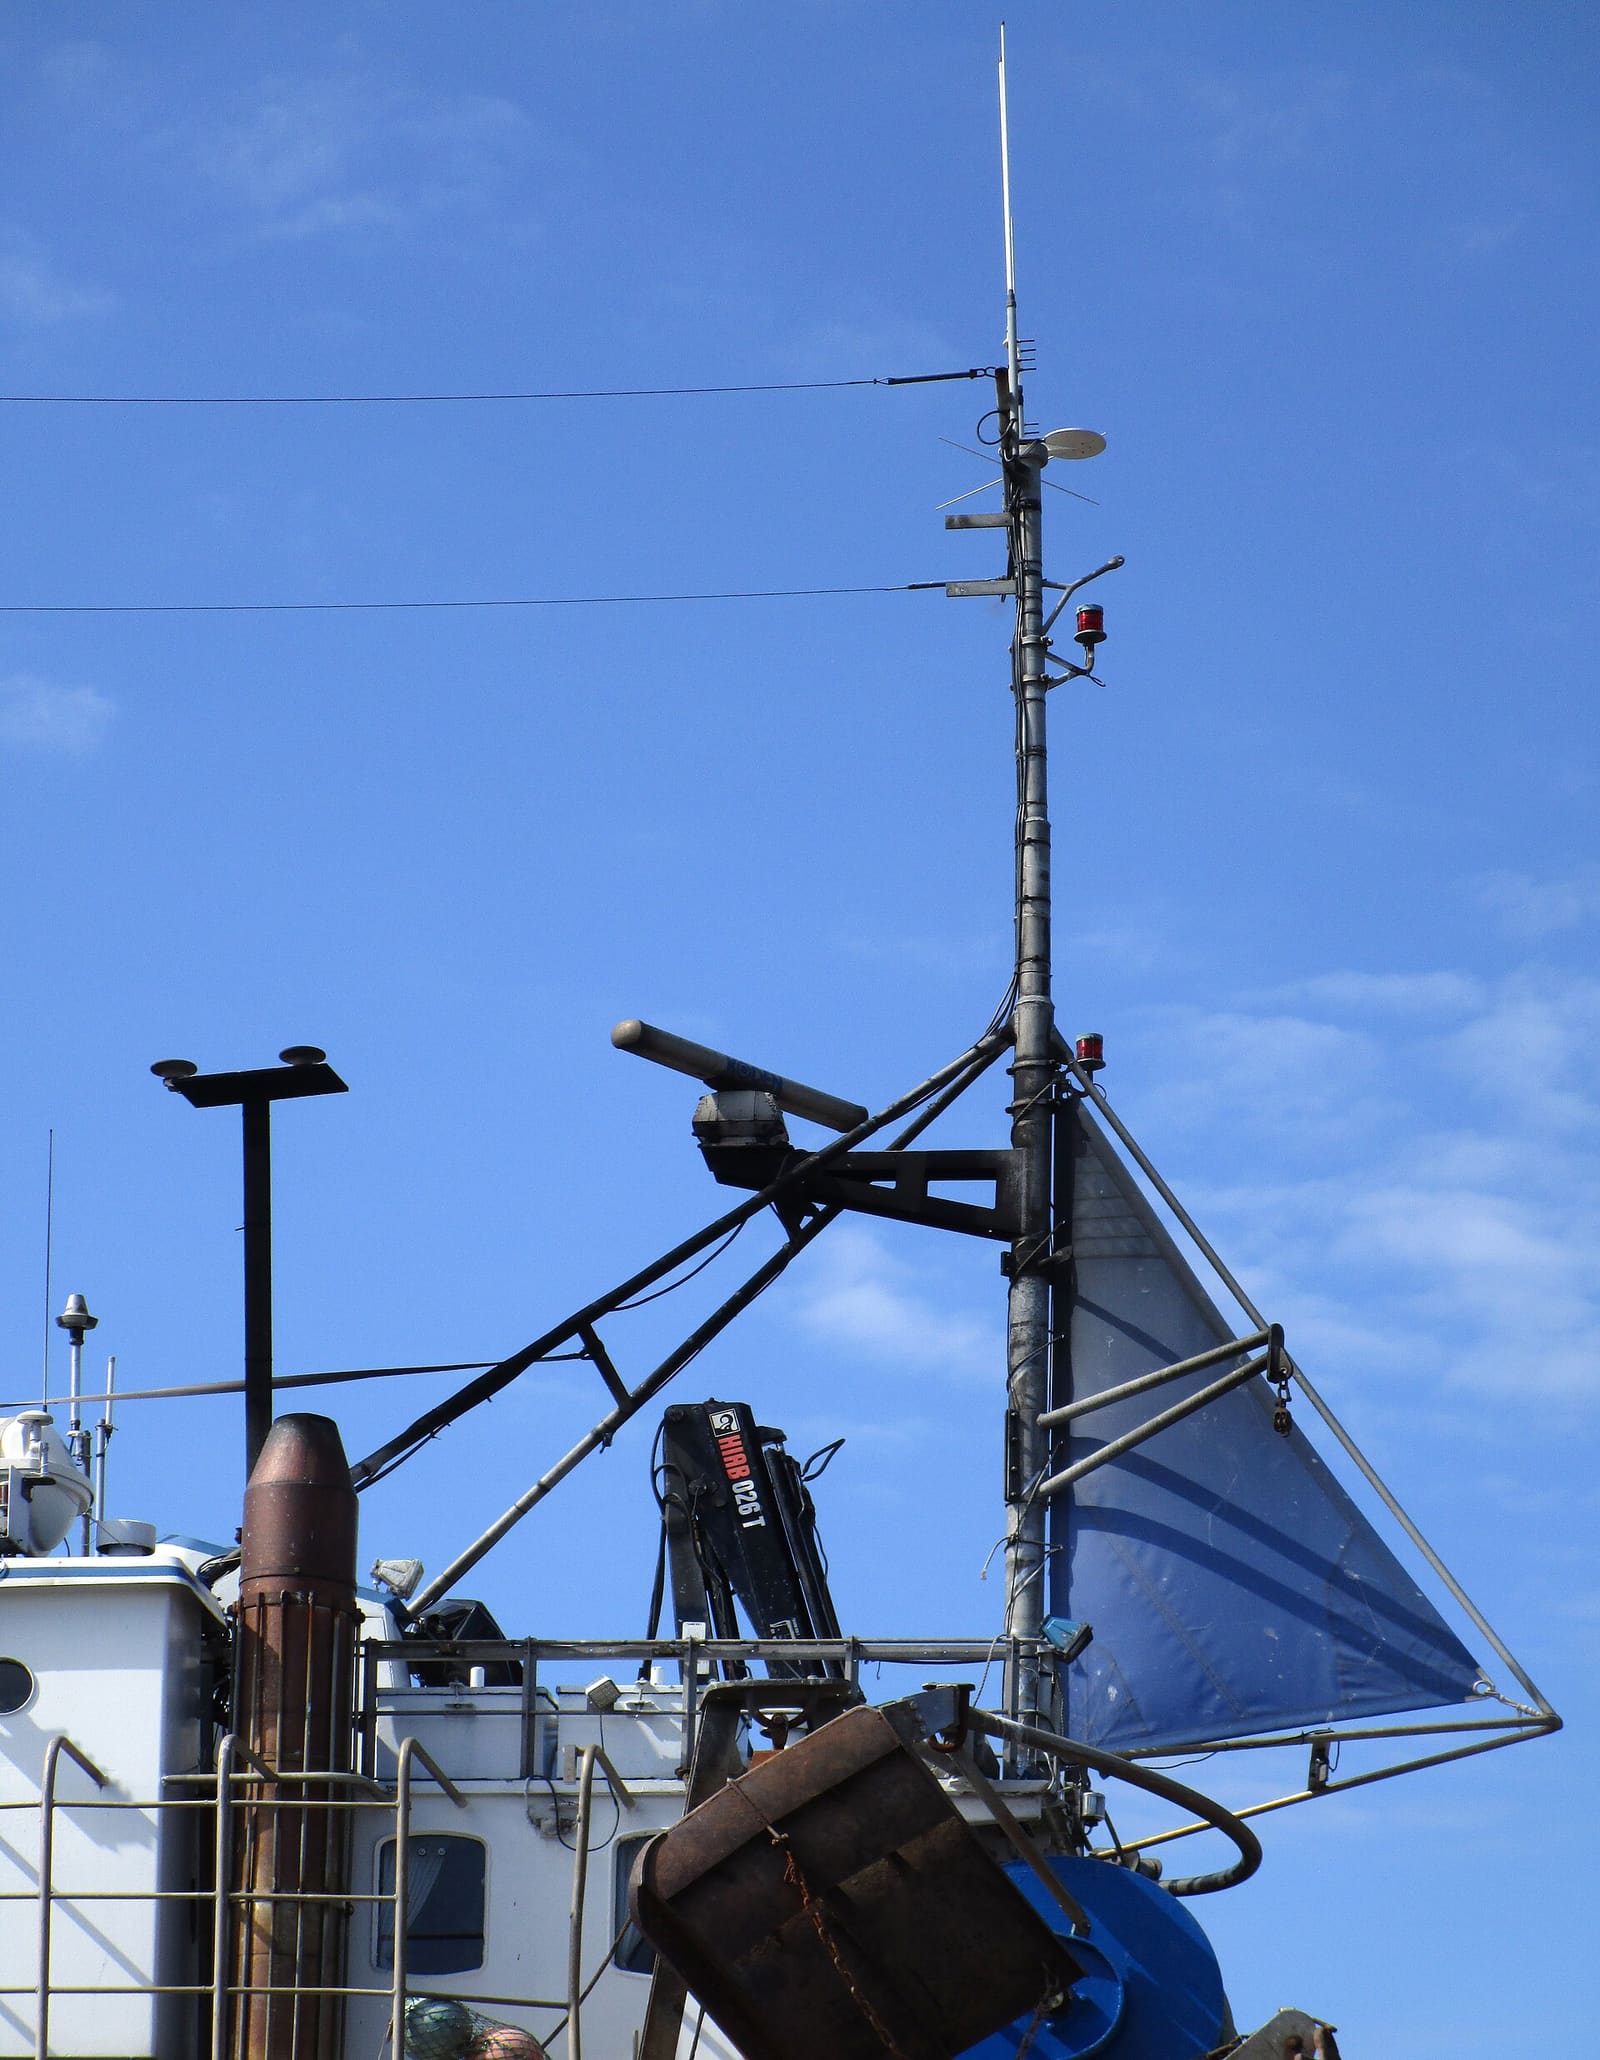
Photo: W.carter / Wikimedia Commons · CC BY-SA 4.0 The radar's beam should be roughly level with the horizon when the boat is underway. BoatUS notes that most fast powerboats run slightly bow-up, which can be corrected with a wedge under the dome or array (some boats have this angle built into the mount). Sailboats and displacement boats run nearly flat. Sailors who use radar while heeled can consider a gimbaled or adjustable mount; Practical Sailor notes that typical radar beams start losing targets at around 15 degrees of heel.
BoatUS points out the trade-off: a mast mount gives more range, but a lower mount is safer from halyards and sails and sees targets closer to the boat. Practical Sailor's mount reviews note that foresails flogging against a mast-mounted dome are a real threat, so a guard is a good idea, and that a stern pole needs proper support from the stern pulpit or rails. A mast-mounted radar must come off when the mast is unstepped. If you choose a gimbaled mount, read step 9 about cable flexing.
The antenna plus mount puts weight and wind load high up, and an open array adds torque as it spins. Check that the hardtop, arch, T-top or pole is solid, with no cracks, loose welds or flexing (see the tower hardware guide). For hardtops, find out whether there's a reinforced area for electronics; ask the builder. Never mount an open array on a structure that wasn't designed for it.
Use the antenna's template to mark the bolt holes, check what's under each one, and drill straight. Seal any cored hardtop or deck holes (drill oversize, fill with epoxy, redrill; see the through-bolting guide). Bed the mount with the recommended sealant and through-bolt it with stainless hardware and a backing plate underneath to spread the load. Tighten to the method or torque in the radar's instructions, evenly and without crushing the laminate. On a radome, Boating Magazine notes the breather hole at the bottom of the dome must not be blocked.
Plan where the cable will come through the hardtop, arch leg, mast or deck, and use a proper watertight gland or clam-style fitting rather than a hole and a blob of sealant. Boating Magazine's install used one on the hardtop. Leave a drip loop so water runs off before it reaches the fitting.
BoatUS is clear on two rules: never cut the plug off a radar cable to make it fit through a hole (the shielding and the connector won't be the same again), and don't strain the cable when pulling it through tubes or chases. Damaged shielding lets salt water in to eat the cable from inside. Boating Magazine suggests taping a pull line to the cable's outer jacket and taping the connector flat to the line so it can't snag or bend back. Support the cable with cushioned clamps along its run, keep it away from VHF and other antenna cables where you can, and coil any extra neatly instead of cutting it. On a gimbaled mount, Practical Sailor reports cables breaking from constant flexing; leave a gentle loop and lock the gimbal when the radar isn't in use.
Connect the cable to the display or network as the radar's instructions show (often Ethernet for newer units). Run power from a fused or breaker-protected circuit sized per the instructions, with tinned marine wire. Ground or drain wires go where the instructions say. If your boat's panel doesn't have a spare breaker or you're unsure about the network setup, this is a good point to call an electronics installer.
With everyone clear of the antenna, power up and follow the setup steps: antenna height, heading (bearing) alignment, and tuning. Check the image against known targets: a buoy or point straight ahead should show straight ahead. The radar care guide covers bearing alignment and tuning in more detail. Expect a blind ring close to the boat; that's normal.
After a few outings, check the bolts, look for any water at the pass-through and under the hardtop, and confirm nothing has loosened or chafed. Note the date in BoatMend and add the radar to your yearly check (see the radar care guide).
Then practice with it on clear days, when you can compare the screen with what you see. Lenny Rudow's BoatUS article on learning radar warns that small fiberglass boats may show up only at close range or not at all, that heavy rain can blank out much of the picture, and that steering by radar alone takes practice because the screen updates more slowly than your eyes and you lose the horizon. Don't save your first real radar run for fog.
Common mistakes
- Cutting the plug off the cable to fit a small hole, then splicing it back.
- Mounting at head height on a flybridge or hardtop where people sit or stand.
- Putting an open array where it can't spin freely, or on a hardtop not built for its weight.
- No wedge on a bow-high powerboat, so the beam points at the sky underway.
- Placing the GPS or VHF antenna right in the radar beam.
- Pulling the cable hard through arch tubes, kinking or nicking the jacket.
- A sealant-only cable hole that leaks into the hardtop core.
- Mast-mounting a dome without a guard where the jib leech can chafe it.
When to call a pro
- Open array installs, or any mount on a mast, tower or tall pedestal
- New hardtop structure, a riser or reinforcement is needed
- The cable must run through a mast, a tight arch or long concealed chases
- Your network (display, Ethernet, NMEA 2000, heading sensor) isn't simple plug-and-play
- You're adding a new breaker or circuit and aren't comfortable with marine wiring
- Any time you'd need to work aloft without proper fall protection
- You smell burning or see damaged wiring when powering up: switch it off at the breaker and have it checked
Tips
- Tape a cardboard circle the size of the dome or the array's swing at the planned spot, then walk around the boat to see what it hits and who's in the beam.
- Buy the radar with a cable long enough for your route; joining cables is not a fix.
- Photograph the cable route before closing panels, and save the photos in BoatMend.
- Learn your radar in clear weather so you're comfortable with it before fog rolls in.
- Replacing an old radar? You may not need new holes or a new cable run. Raymarine says it has kept the same scanner bolt pattern for many years, so an existing mount, riser or mast bracket in good condition can often be reused, and it sells adapters that let some older radome cables carry power and data to a new unit. Some newer radomes can send their picture over Wi-Fi and only need a slimmer power cable, which helps on masts and tight arches. Ask the maker what your old mount and cable are compatible with before you buy.
Official references
We read these to write this guide. Your engine's own manual always wins.
- BoatUS – Where To Mount A Radome For Best Performance
- Boating Magazine – How to Install a Dome Radar System
- Raymarine – Radome and Open Array Radars, What's Right for Me?
- Sport Fishing Magazine – How to Choose the Right Radar for Your Fishing
- BoatUS – Learning To Love Your Boat Radar (Lenny Rudow)
- Practical Sailor – PS Advisor, Safe Mounting for Radar
- Practical Sailor – Gimbaled Radar Mount Concern (cable flexing)
- Practical Sailor – Radar Poles Review
- Raymarine – How to Upgrade Marine Electronics During a Boat Refit
Safety: BoatMend is for information only and does not replace a certified marine technician. You are responsible for your safety and your boat. Read the full disclaimer.
Last updated 2026-10-25
Related guides
Recreational Radar Care: Radome and Open-Array Cleaning, Mounts, Cables and Alignment
Keep your boat's radar seeing small targets by cleaning the radome or open array the right way, checking the mount, cable and connectors for corrosion, and confirming that targets line up with the bow. Includes the safety rules for working near a radar that might transmit, plus winter care.
AIS on Your Boat: Receiver vs. Class B, MMSI Programming, Antennas and Checking You're Seen
Choose between a receive-only AIS and a Class B transponder, get the MMSI programmed the legal way, sort out the GPS and VHF antenna (or splitter), confirm other boats and the Coast Guard actually see you, and understand silent mode and AIS man-overboard beacons.
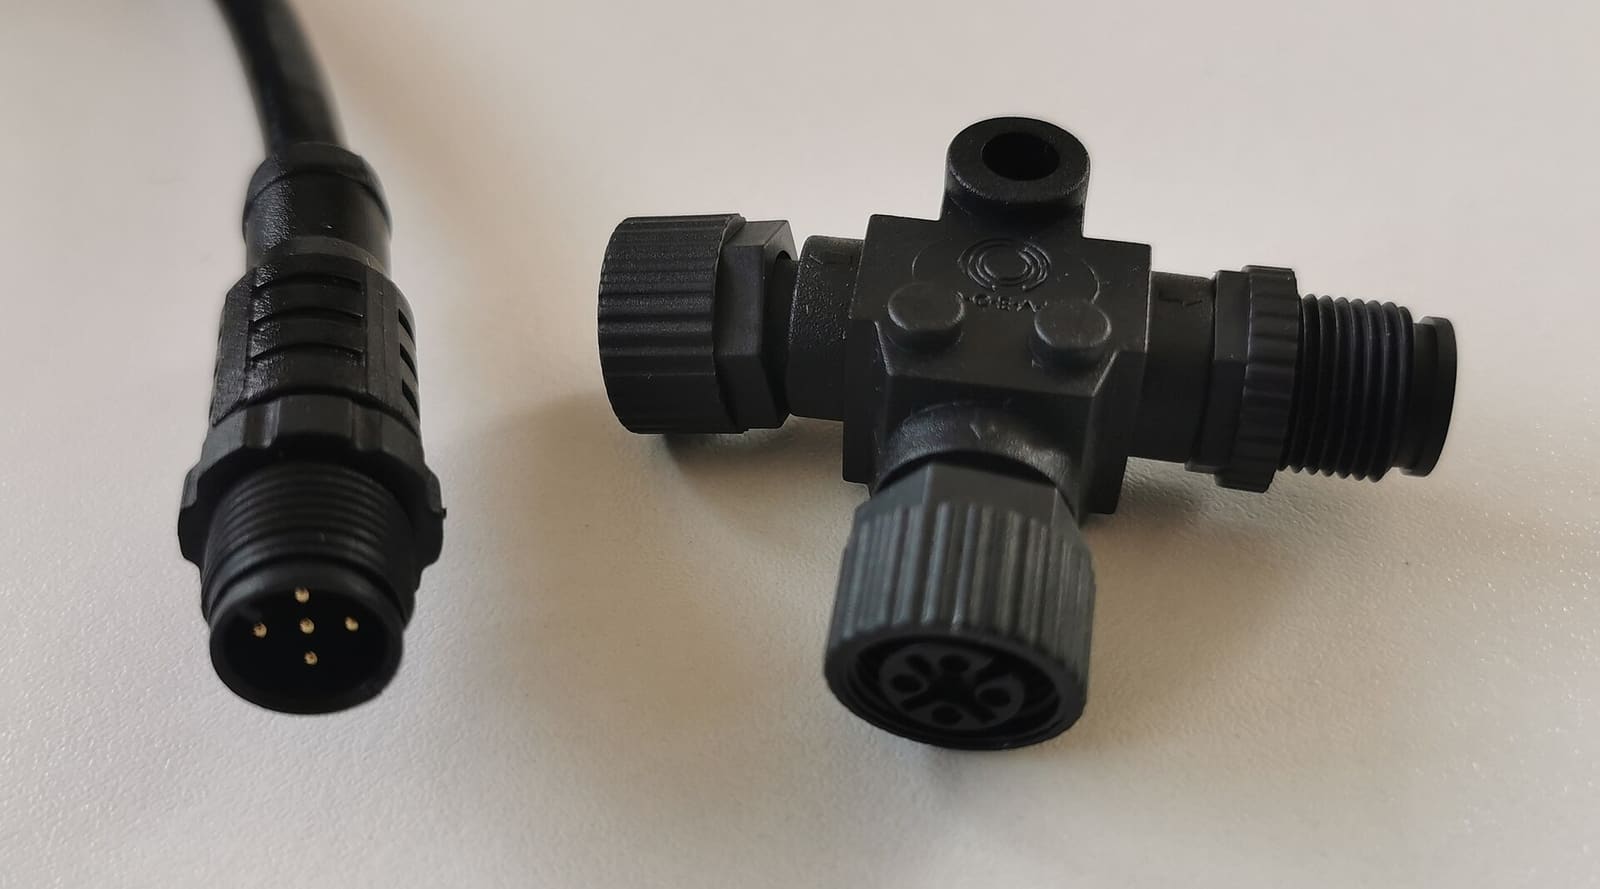
NMEA 2000 Network Basics and Troubleshooting (Plus Chartplotter Updates)
Understand the backbone, terminators, power tap and drop cables that tie your chartplotter, engine data, GPS, depth and autopilot together, then track down why a device keeps dropping off. Finish by updating chartplotter and device software the safe way.
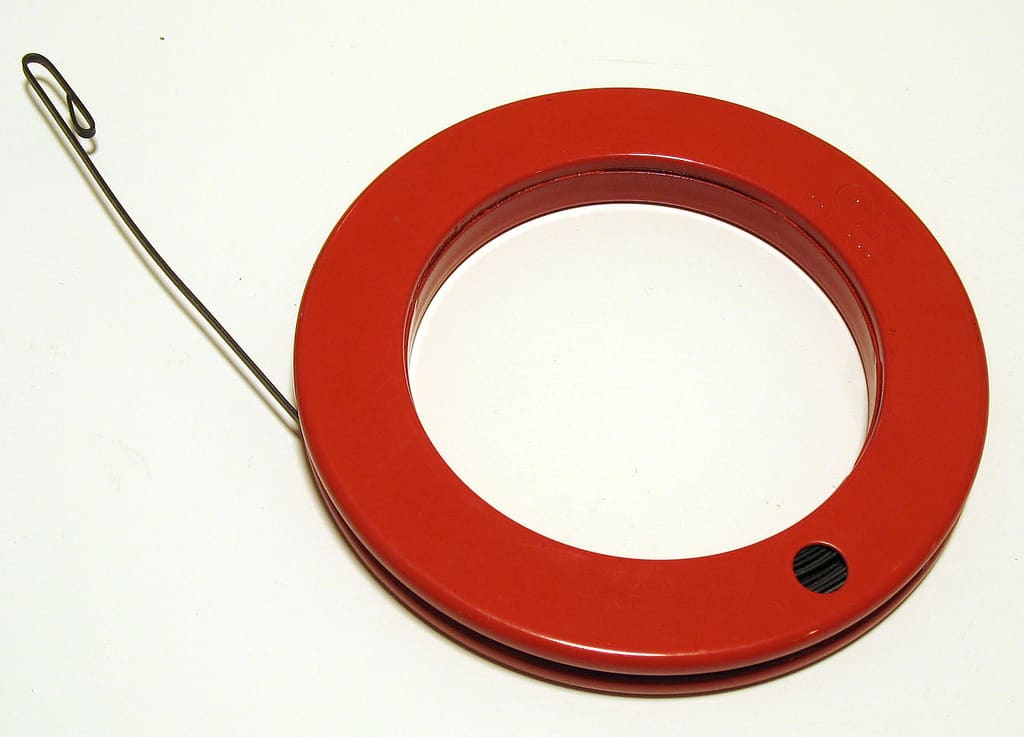
How to Run New Wires Through a Boat (Chase Tubes, Pull Lines and Deck Penetrations)
Get a new transducer cable, light or power wire from the stern to the helm or up through the deck without a fight: use the chase tube and a fish tape or pull string, protect the wire from chafe and heat, support it every 18 inches, seal every penetration and label both ends.
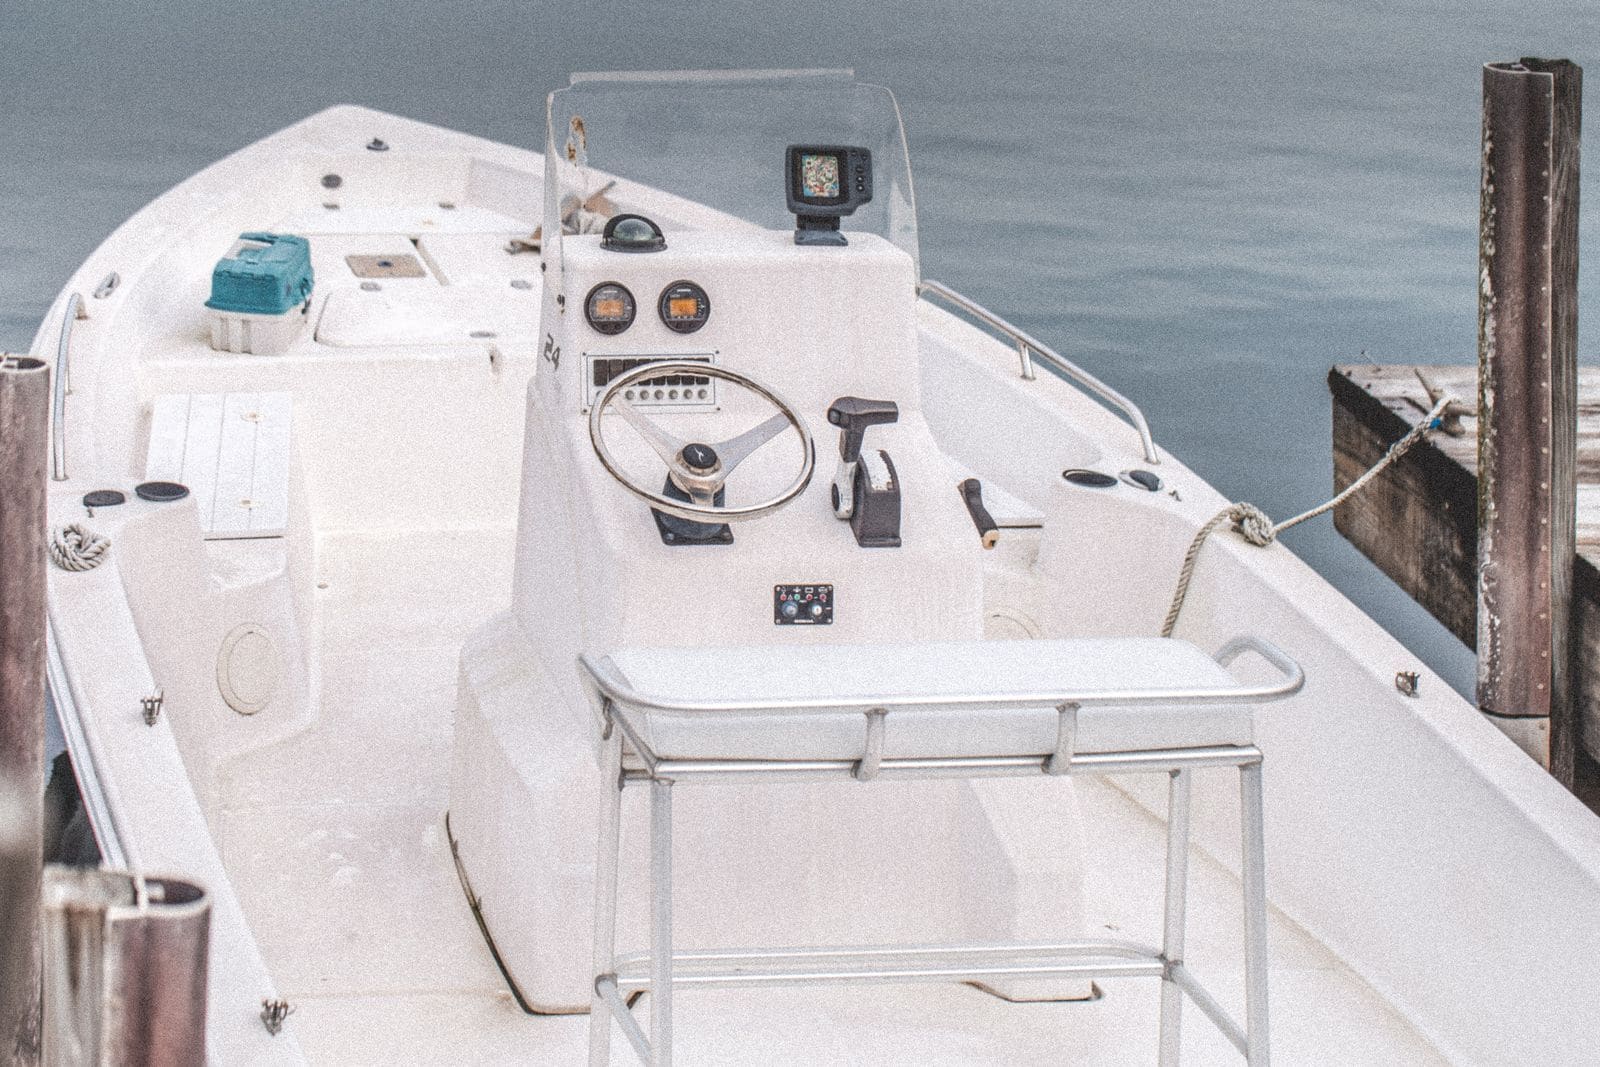
How to Mount Rod Holders, Fish Finders, Cleats and Antennas Without Causing Leaks
Add accessories to your boat the right way, with through-bolts, backing plates, sealed core and proper wire pass-throughs, so every new hole stays dry and strong. Also learn where you should never drill.
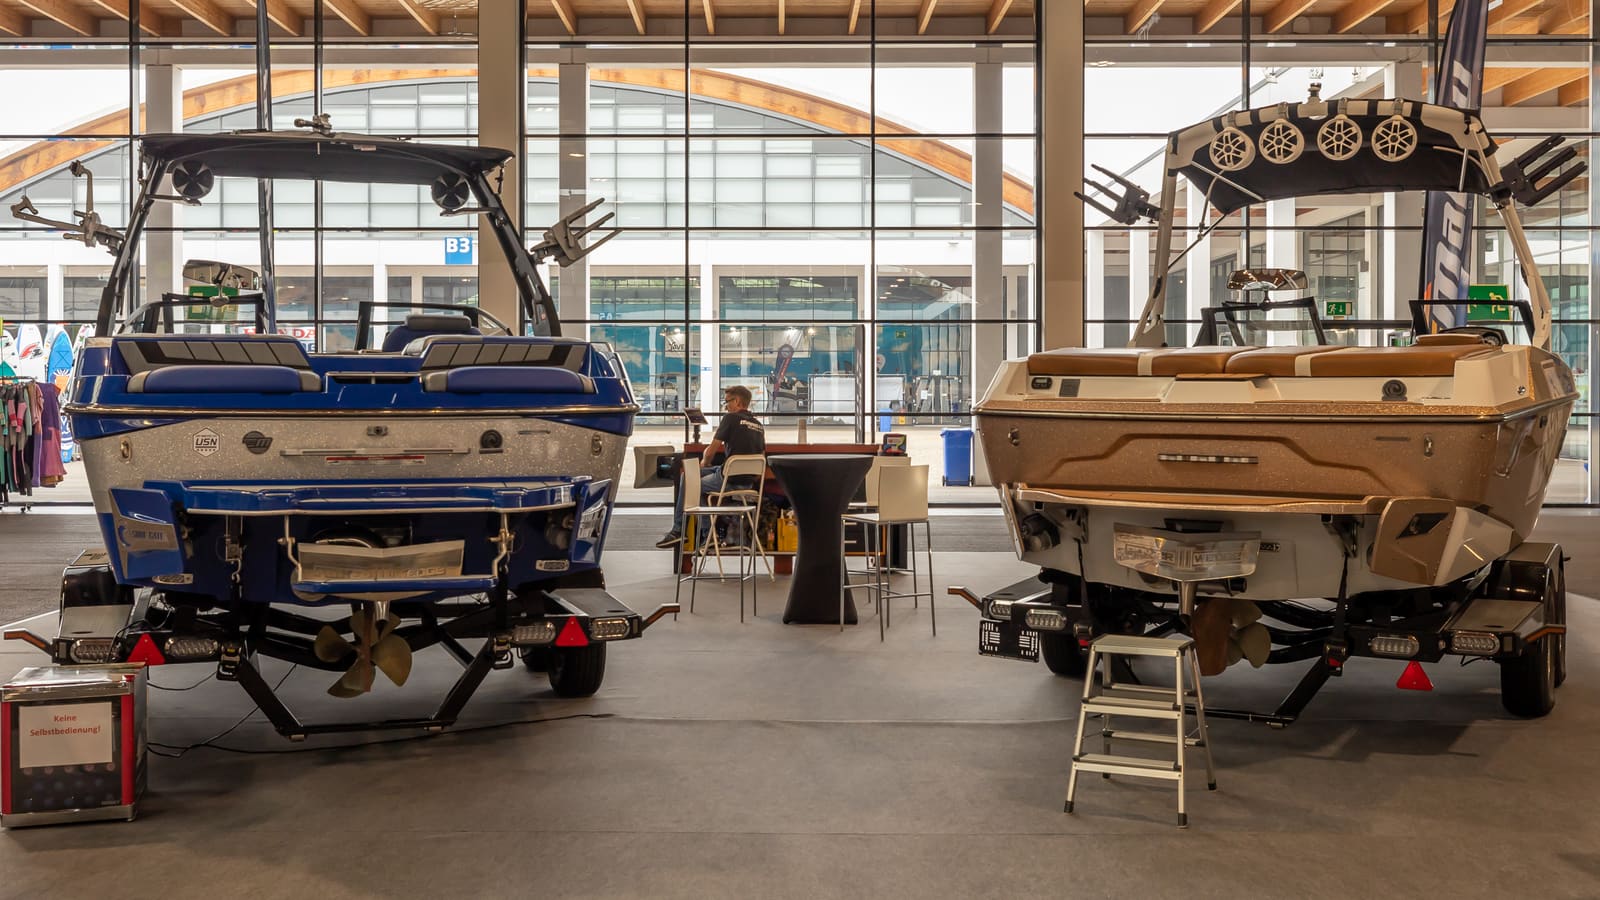
How to Inspect Wakeboard Tower, T-Top and Bimini Hardware
Towers, T-tops and biminis carry tow ropes, speakers, boards, electronics and wind loads, all on a handful of bolts. Learn how to check the welds, bases, backing plates, bolts, folding hinges and accessory loads before a crack or a loose bolt becomes an accident.
Stepping and Unstepping a Sailboat Mast: Trailer Sailers and Yard Cranes
How to raise and lower a sailboat mast safely, whether you step a trailer sailer's mast at the ramp or help the yard crane do it, including power-line checks, mast wiring, basic tuning afterward, and when to leave the job to the yard.
Fuse Keeps Blowing? How to Troubleshoot a Boat Fuse Block or Breaker Panel
Work through a blown fuse or tripping breaker the safe way: confirm it, tell a short from an overload, isolate the device or wire at fault, replace a worn breaker or panel switch with the same rating, and label every circuit, without ever fitting a bigger fuse.
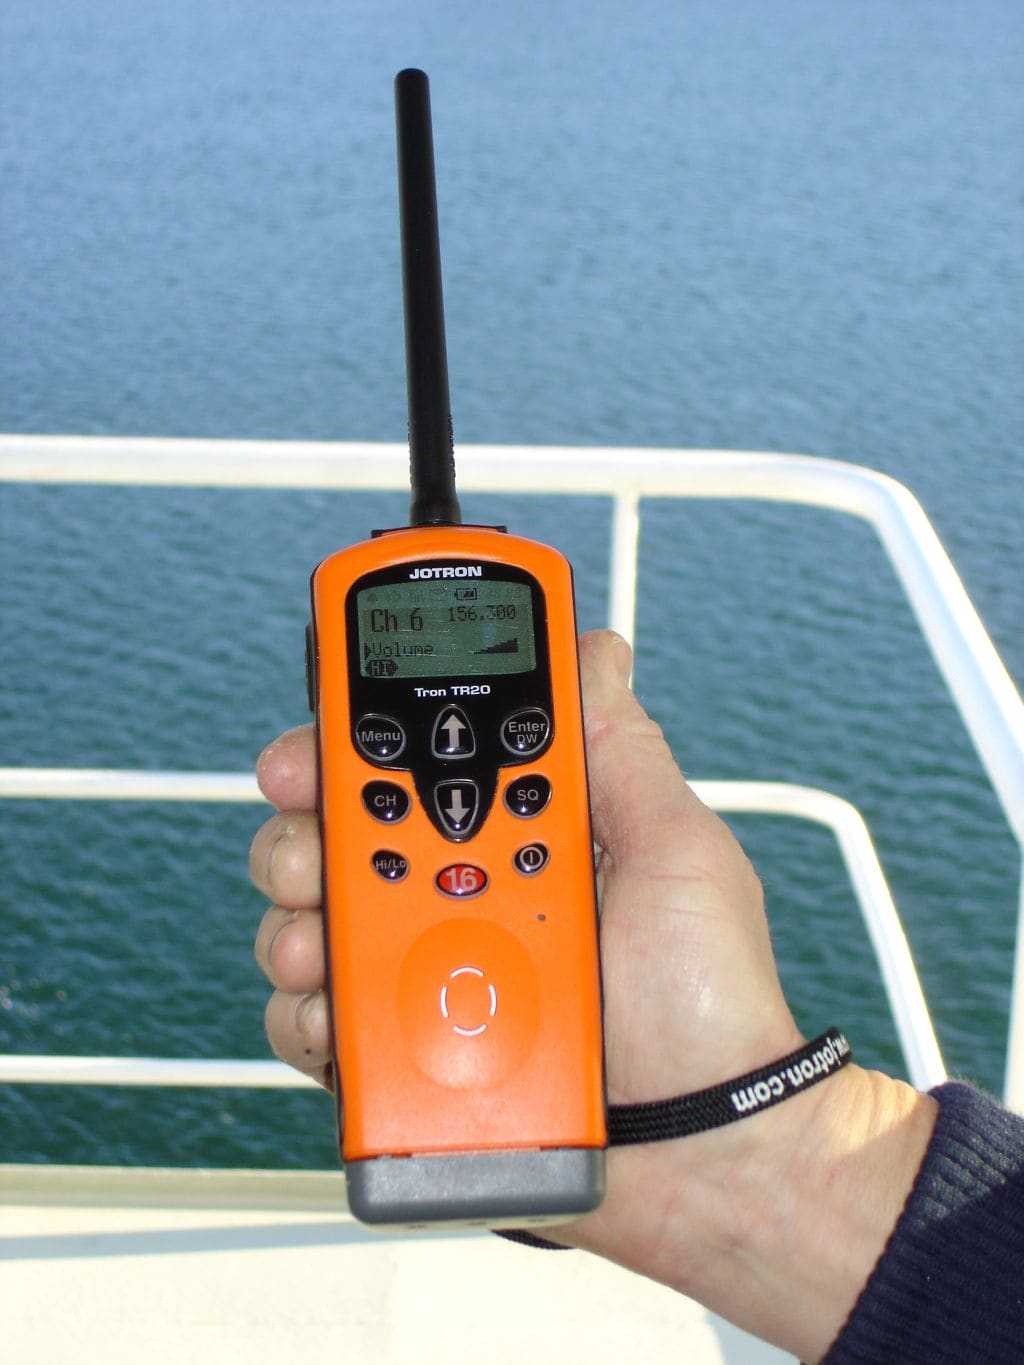
How to Find and Fix LED Lights That Interfere With Your VHF and AIS
Some LED bulbs and fixtures put out radio noise that quietly drowns weak VHF calls, DSC alerts and AIS targets. Run the Coast Guard's squelch test, track down the noisy light with a handheld radio, and fix it with distance, filtering or a quieter fixture.