How to Run New Wires Through a Boat (Chase Tubes, Pull Lines and Deck Penetrations)
Get a new transducer cable, light or power wire from the stern to the helm or up through the deck without a fight: use the chase tube and a fish tape or pull string, protect the wire from chafe and heat, support it every 18 inches, seal every penetration and label both ends.
Time
3 h
Shop would charge
$150-600
Applies to
All engines
Safety first: Turn off the battery switches and make sure any wire you'll be pulling alongside is dead. Steel fish tapes can short a live terminal or cut old insulation. Before drilling any hole, check what's behind it: fuel tanks and lines, hydraulic steering hoses, wiring bundles and the hull itself. Never drill below the waterline for a wire run. If you nick a fuel line or smell fuel, stop, ventilate, keep sparks away and call a pro. Leave AC (shore power, inverter, generator) wiring to a marine electrician.
Owners often ask
- How do I get a new transducer cable from the transom to the console when the tube is already full?
- What is the best way to seal a cable where it goes through the deck?
This guide walks you through it. Still stuck? Ask the AI Mechanic about your engine.
Tools
- Fish tape (nylon or fiberglass preferred) or the stainless inner wire from an old control cable
- Strong pull string or mule tape
- Electrical tape
- Wire-pulling lubricant or silicone spray (no soap, no petroleum products)
- Shop vacuum, yarn and a cotton ball (for T-top and rail tubing)
- Strong magnet and a steel washer (optional)
- Inspection camera (borescope) and flashlight
- Drill, hole saw and step bit (only for planned new holes)
- Wire labels or a label maker
- Multimeter
Parts & supplies
- Tinned, stranded marine wire or duplex cable sized for the load and length
- Split loom, chafe sleeve or grommets for edges and bulkheads
- Cushioned clamps, adhesive or screw-mount tie bases and UV-resistant cable ties
- Deck gland (cable seal) sized for the cable, or a gooseneck fitting
- Marine sealant for bedding fittings, and epoxy for sealing exposed deck core
- Spare pull string to leave in the tube
Before you start
Sooner or later every owner adds something: a transducer, lights, a trolling motor, a stereo, a new antenna. BoatUS notes that most boats are built with chase tubes, usually PVC pipe running under the deck between the stern and the helm (sometimes to the bow), that carry wires, control cables and hydraulic lines. A roomy chase makes the job easy; a packed one with sharp bends takes patience. Some boats have no chase at all, and you'll have to find or create a route.
Plan before you pull:
- Size the wire first. Size by current and round-trip length (out and back) with a marine chart, as Blue Sea Systems and BoatUS describe. Use tinned, stranded marine wire, and remember the Coast Guard and ABYC minimum is 16 AWG with limited exceptions.
- Plan a new circuit, not a tap. BoatUS advises running a new, properly sized duplex cable (positive and negative in one jacket) from the panel or power source to the new device instead of splicing into an existing circuit, with its own fuse or breaker near the source.
- Leave connectors off until the wire is through. If the device comes with a molded plug (common on transducers), plan the route around passing that plug or use a split fitting later.
Steps
Turn off the battery switches and any charger, inverter or solar controller. Make sure the wire you're replacing, and any wire you'll be working beside, is de-energized.
Look under helm consoles, at the transom and in the bilge for the ends of the chase tube. Peek inside with a flashlight or inspection camera to see how crowded it is and whether there's an old pull string already in it. If there is, it's your best friend: tie a new string to it and pull both through so you always keep one in place.
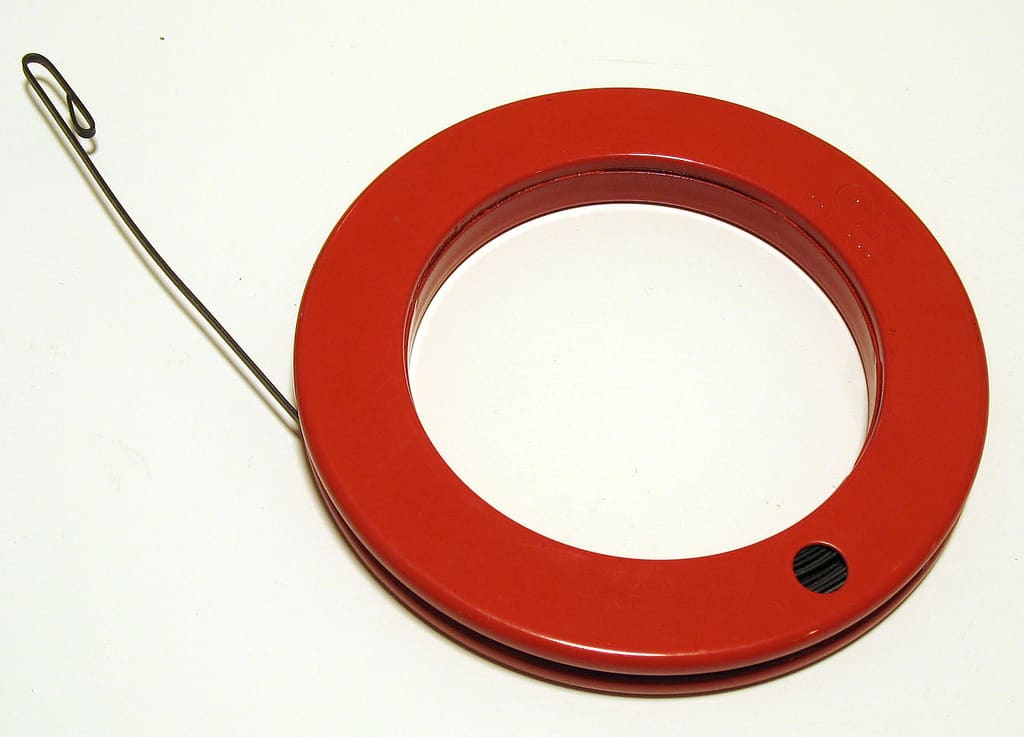
Feed the fish tape in from whichever end gives you the most room to move your hands. BoatUS suggests going slowly and trying different angles until you find the path of least resistance, since a crowded chase can take several attempts. Use a tape with no sharp edges. Steel tapes work but can damage existing wiring; nylon or fiberglass is gentler. A clever free option BoatUS describes is the stainless inner wire from an old control cable, with the ends cut off, a small loop bent into one end and the cut tip filed smooth.
Small wires can sometimes be taped to the fish tape and pushed straight through. For anything complex, BoatUS recommends pushing the tape through, tying on a strong pull string, and using the string to pull the wire. Make the string long enough to leave a spare behind for next time, or pull a second string through with the wire.
How you attach the wire decides whether the pull works:
- Skip bulky knots. Twist the conductors through the loop of the tape or string.
- Wrap electrical tape over the whole joint, tapering it smoothly well above and below so it can't catch, building a bullet shape over any plug.
- Make it strong enough for a hard pull. Breaking halfway through is the worst outcome.
- Pulling several wires at once is fine, but lay them side by side; don't twist them together, or you'll never get one out again later.
Use a wire-pulling gel or silicone spray to ease friction; BoatUS says body powder also works if you want less mess. Avoid soap and petroleum-based products, which can break down insulation over time. On heavier cables, have a helper push while you pull and gently work the cable back and forth at tight spots.
Fish tapes tend to wander in open pipework like T-tops and rails. BoatUS describes two tricks:
- Vacuum: put a shop vac on the exit hole, feed yarn (a cotton ball or bit of tape on the end helps) into the entry, and let the suction pull it through. Then use the yarn to pull a stronger string, and the string to pull the wire.
- Magnet: tie a steel washer to the string and drag it along inside the tube with a strong magnet from outside.
If there's no chase tube, or it's full, look for another path: up inside the gunwale between hull and liner, through lockers, or through cabin structure on bigger boats. A construction diagram or an inspection camera helps. BoatUS says to keep the route away from moving parts, heat sources, fuel tanks and sharp edges. Adding a new length of chase tube where you can reach is often worth it for future projects.
Vibration slowly saws through insulation wherever a wire rubs. BoatUS cites an ABYC standard that calls for chafe protection where wires pass through or against a bulkhead, stringer or other sharp edge. Use a grommet in every hole you drill, and split loom or chafe sleeve where wires cross rough fiberglass edges or rub against each other.
Route wires away from exhaust, manifolds and other hot surfaces. BoatUS insurance data show that engine-room wiring problems start many boat fires, and recommends keeping all wiring supported away from heat. Keep wires up out of bilge water, and make connections in dry, accessible places.
Watch where the new fuse or switch ends up. A new circuit often brings an inline fuse holder, a switch or a small fuse block. Blue Sea points out that the Coast Guard (33 CFR 183.410) requires ignition-protected devices in spaces where gasoline vapor can collect, such as a gas engine room or a fuel-tank compartment, and that the same risk exists anywhere a gas can, propane bottle or leaky fuel fitting shares a space with a spark-producing part, even on a diesel boat. Ignition-protected parts are marked as such. If your route passes through one of those spaces, put the fuse, switch and splices outside it, or use parts marked ignition-protected; if you find an unmarked device already in there, have a marine electrician check it.
Secure the new wire at least every 18 inches along its run. BoatUS notes nonmetallic supports are fine in most places, but in the engine room use metal (cushioned) clamps, which won't melt and drop the wiring onto hot parts. Inside a long chase tube the tube does the supporting, but secure the wire where it leaves each end so it can't work back and forth.
BoatUS advises treating a hole in the deck like a hole in your house's roof. Two fittings are common:
- Deck gland (cable seal): a rubber gland squeezes around the cable as you tighten the fitting. The hole in the gland must match the cable diameter. Split glands let you fit the cable without removing a factory plug.
- Gooseneck (swan neck): an inverted J-shaped tube that sheds water and takes several wires of different sizes. BoatUS suggests sealing the entry with silicone or a little expanding foam, especially where seas can wash over it, and leaving extra wire on the outside so you can pull the plug out later.
For either type, seal any exposed deck core with epoxy before mounting so water can't rot the core, and bed the fitting with marine sealant. Put a drip loop in the wire just below the deck so any water that gets past drips off instead of running into the connection. Place the cable where crew won't grab it as a handhold. See our sealants and rebedding guides for the bedding steps.
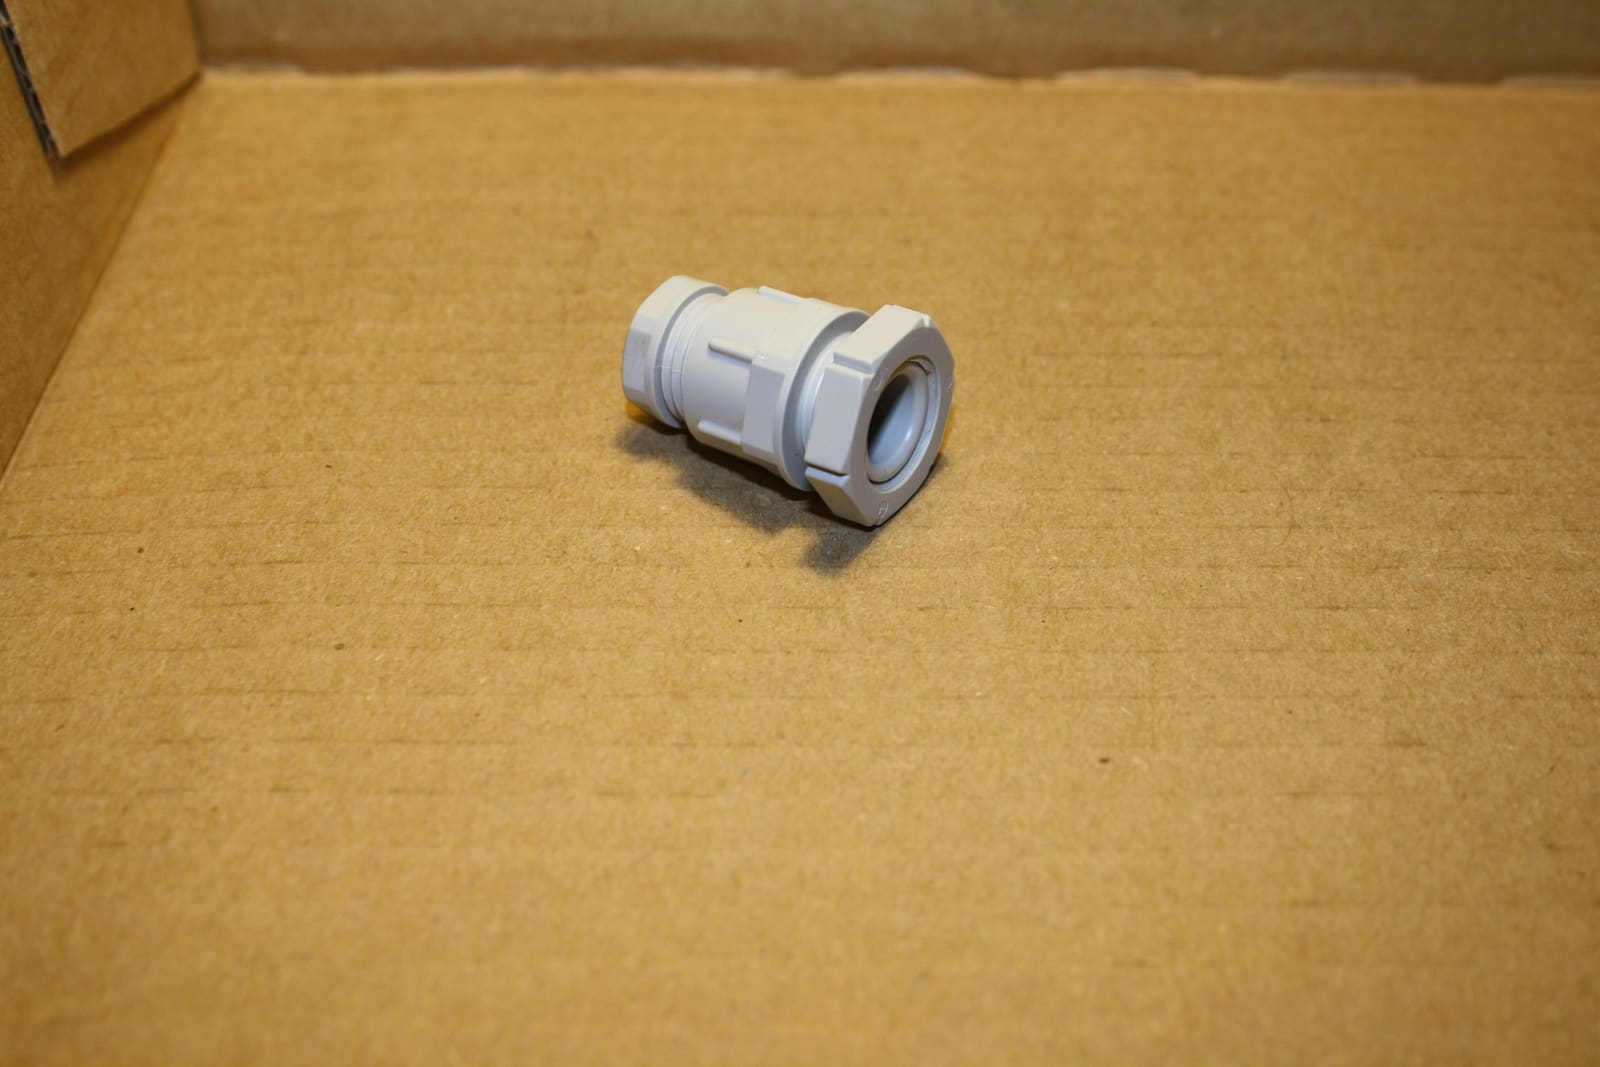
A compression cable gland: tightening the cap squeezes a rubber insert around the cable. Marine deck glands work the same way, but choose one made for decks and sized to your cable. Photo: Leotard / Wikimedia Commons · CC0 1.0 Label every new wire at both ends with what it feeds and its circuit number; BoatUS recommends labeling both ends and keeping an updated wiring plan aboard. BoatUS tells of an owner who disconnected a pile of identical black wires for winter, reconnected them wrong in spring, and damaged the whole electrical system. Then make your terminations with proper crimps and heat shrink, power up, and check the new device works and the voltage at the device is close to the battery voltage.
Make the labels last. In BoatUS's guide to drawing your own wiring diagram, Tom Neale found that office-printer labels lose their glue in the oily, damp air of a boat and end up in the bilge. Use quality marine wire labels, or good white or yellow electrical tape wrapped all the way around the wire so it sticks to itself, written on with an indelible marker. Then add the new circuit to your wiring diagram, with its color, wire size and breaker.
If you ever need to find where an existing wire comes out of a chase, have a helper watch the far end while you tug the wire back and forth. A continuity test with a meter can mislead, because ground connections can show "ghost" continuity; seeing the wire move is the surest check.
Common mistakes
- Twisting several wires together before pulling, so none can ever be removed alone.
- Using a steel fish tape in a chase full of live or old wiring and cutting insulation.
- Lubricating with dish soap or a petroleum product that softens insulation.
- Pulling the last wire through without leaving a new pull string for next time.
- Installing the connectors first, then finding they won't fit through the chase or gland.
- Drilling a deck hole for a cable and bedding the fitting without sealing the exposed core.
- Splicing a new accessory into an existing circuit instead of running a fused circuit from the panel.
- Letting the new wire hang loose under the console, where it chafes and causes "gremlin" faults.
- Using all-black wire for everything and labeling nothing.
When to call a pro
- No usable chase and the only route means cutting into the liner, structure or a fuel-tank compartment
- Any hole below the waterline, or through cored decks you can't inspect
- Runs through the engine room of a gasoline inboard, or near fuel lines
- AC wiring of any kind: shore power, inverter or generator circuits
- Adding a new panel, high-current circuit or battery bank
- You find chafed, melted or heat-damaged wiring in the chase while you're working
Tips
- Before you buy, measure the route with a string and add generous slack at both ends. Running a second wire later is much harder than cutting off an extra foot now.
- If a chase tube is nearly full, pull an extra string or a spare wire now while it's still possible.
- Take photos of the route and the labels and store them in your boat profile.
- If the route passes a hatch or a moving console part, leave a service loop so the wire flexes instead of pulling tight.
Official references
We read these to write this guide. Your engine's own manual always wins.
- BoatUS – How To Pull Wire Without Pulling Your Hair Out
- BoatUS – Create Your Own Wiring Diagram (Tom Neale, 2014)
- BoatUS – The 'Hole' Story (deck glands and gooseneck fittings)
- Blue Sea Systems – Do You Have The Ignition Protection You Need on Your Boat?
- BoatUS – Onboard Electrical Hazards
- BoatUS – How To Install Electrical Items
- BoatUS – Electrical Wiring on Boats
- BoatUS – Analyzing Electrical Fires on Boats
- BoatUS – Choose the Correct Wire Size
- Blue Sea Systems – Part 1, Choosing the Correct Wire Size for a DC Circuit
Safety: BoatMend is for information only and does not replace a certified marine technician. You are responsible for your safety and your boat. Read the full disclaimer.
Last updated 2026-10-25
Related guides
12-Volt Boat Wiring Basics: Circuits, Color Codes, Fuses and Wire Size
Learn how your boat's 12-volt system is laid out, what the ABYC wire colors mean, how fuses and breakers protect the wiring, why voltage drop and tinned wire matter, and how to read a wiring diagram, so you can troubleshoot smarter and know which jobs belong to a marine electrician.

Fuse Keeps Blowing? How to Troubleshoot a Boat Fuse Block or Breaker Panel
Work through a blown fuse or tripping breaker the safe way: confirm it, tell a short from an overload, isolate the device or wire at fault, replace a worn breaker or panel switch with the same rating, and label every circuit, without ever fitting a bigger fuse.
How to Find and Fix Corroded Electrical Connections on a Boat
Track down the green crust and loose terminals behind flickering lights, dead gauges and slow cranking with a simple voltage-drop test, then remake the connection the marine way: tinned wire, a proper crimp, adhesive-lined heat shrink and a protective coating.
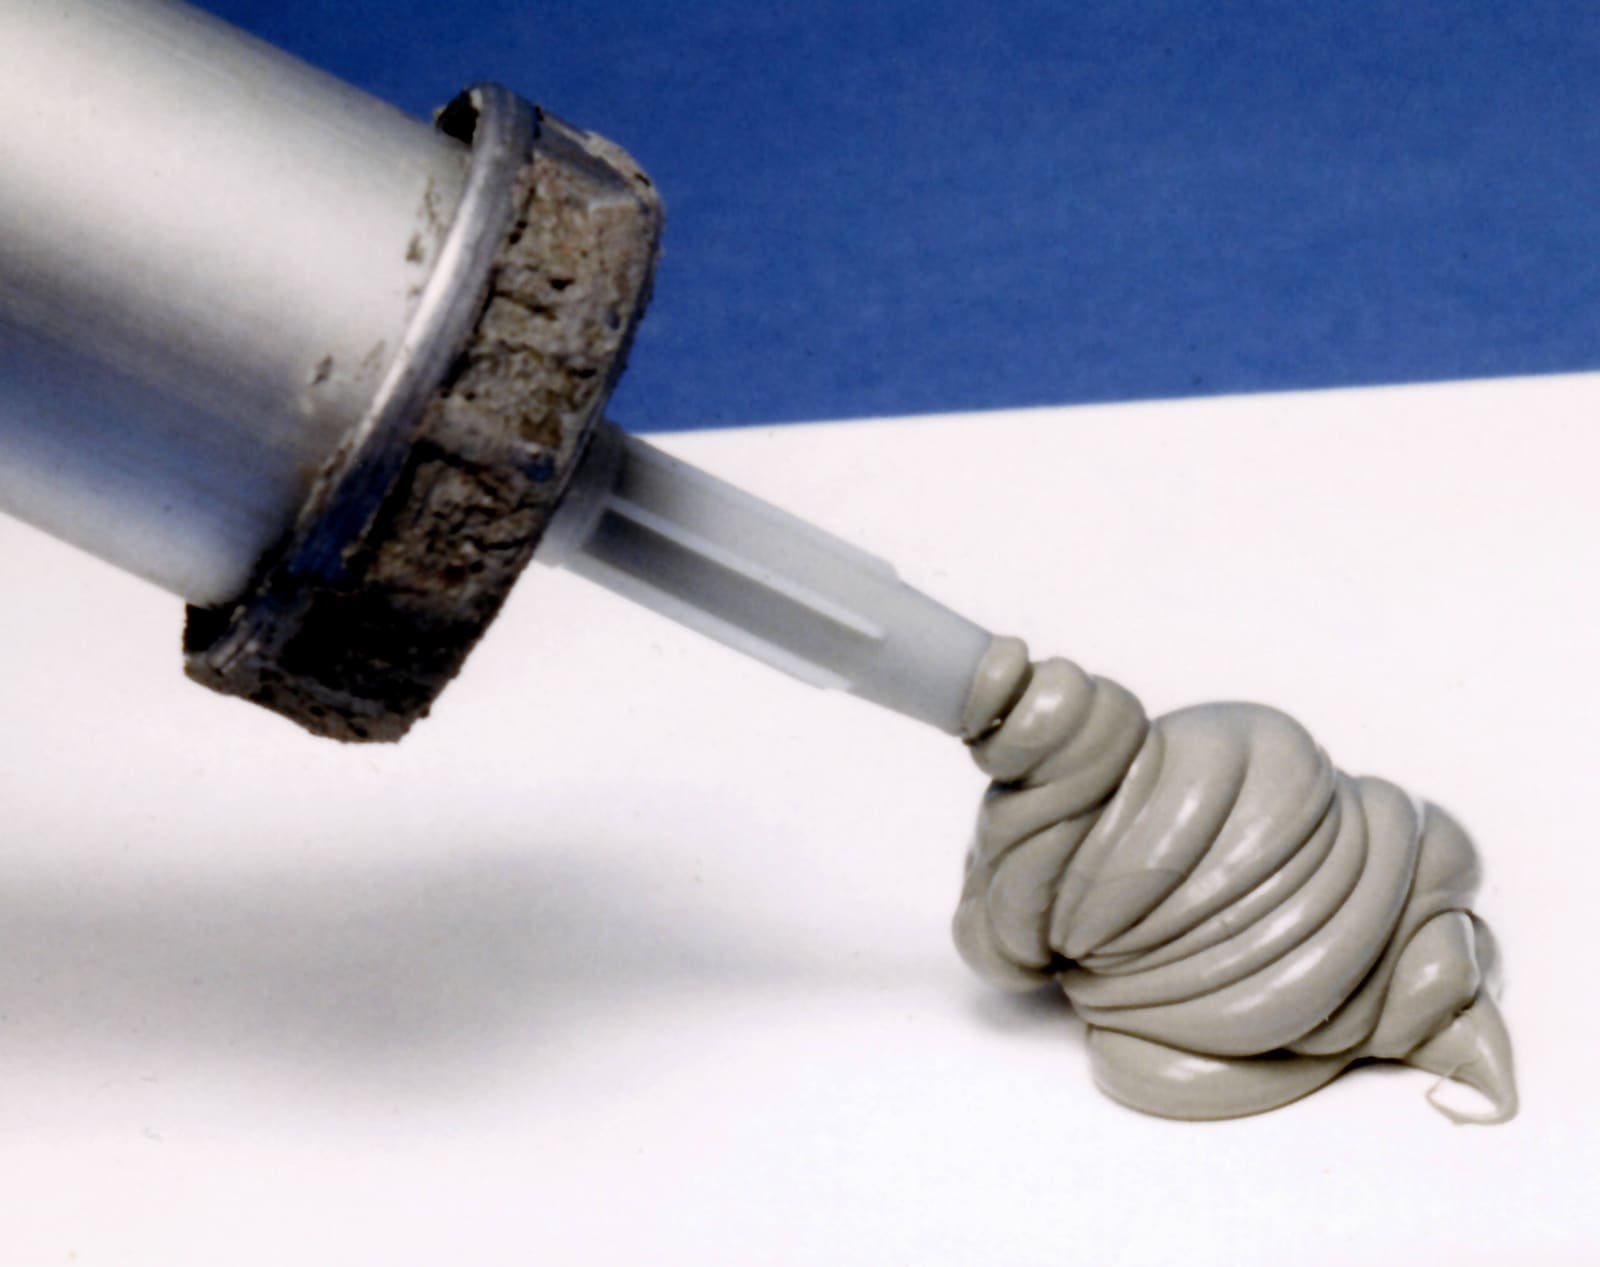
Marine Sealants Explained: 5200, 4200, 4000UV, Polysulfide, Silicone and Butyl Tape
Pick the right sealant before you bed a cleat, a through-hull, a window or a transducer. The wrong goo either leaks in a year or glues a part on so hard you damage the boat getting it off.
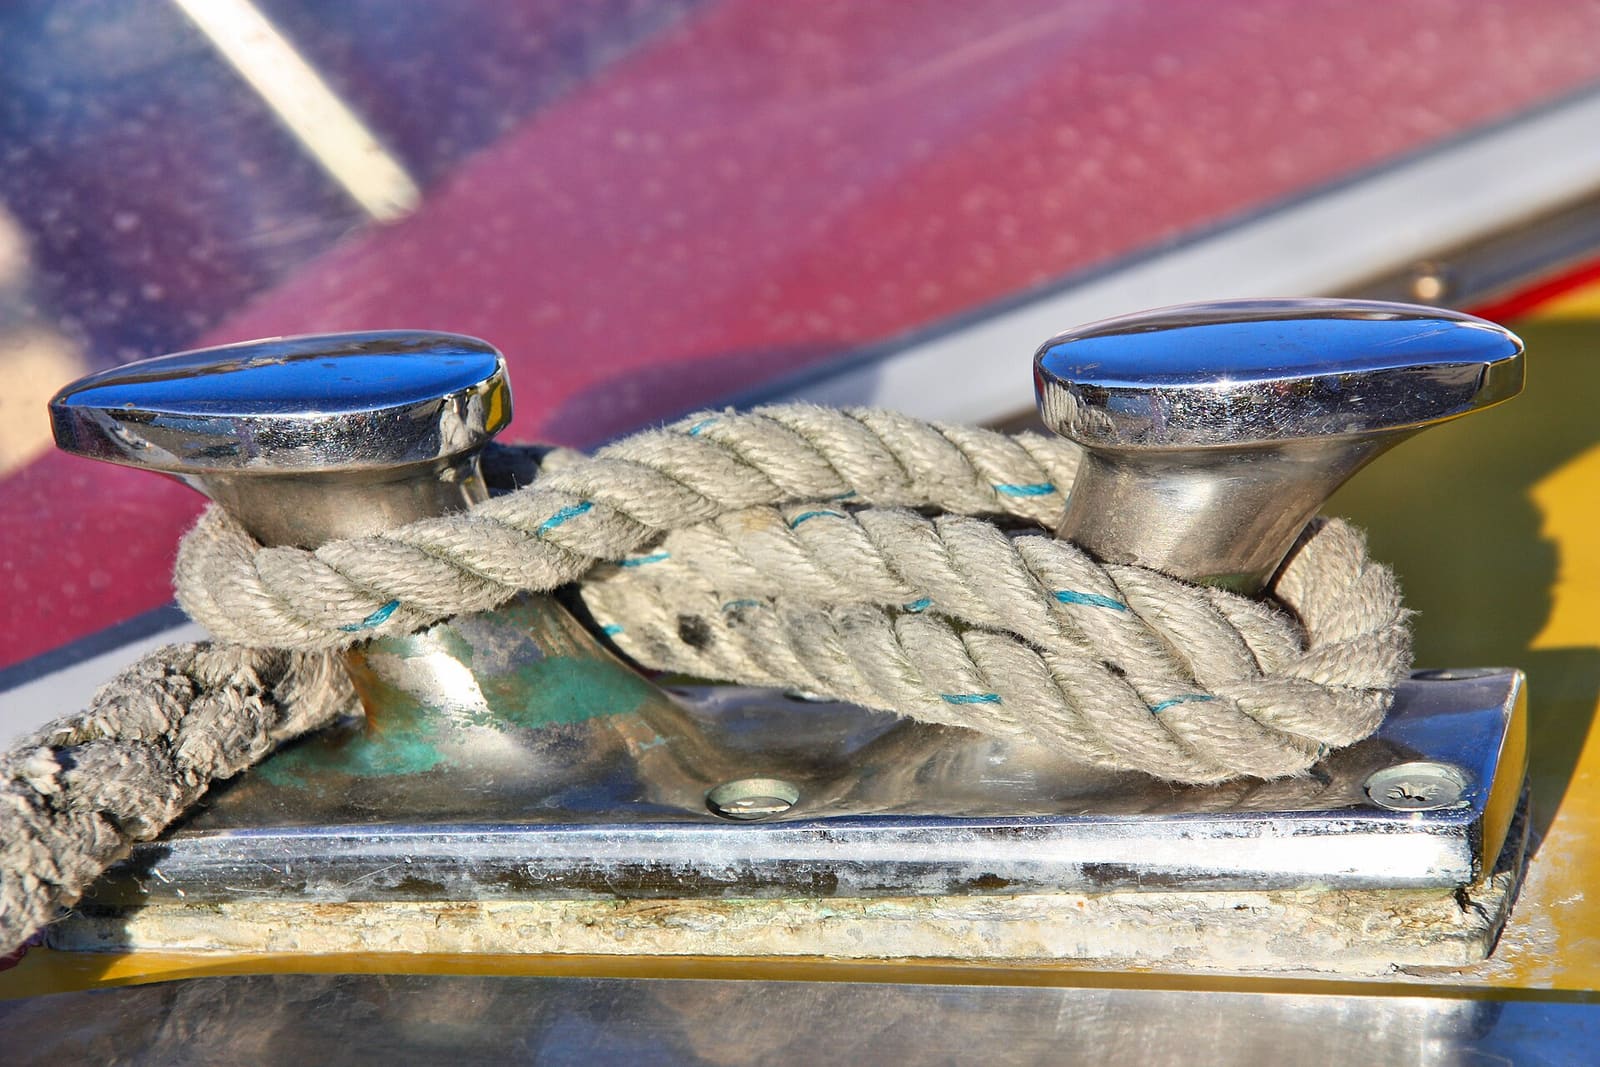
How to Find and Fix Leaking Deck Hardware (Rebedding Cleats, Stanchions and Tracks)
Track down the cleat, stanchion base or track that is dripping into the cabin, then remove it, seal the deck core and bed it again with the right sealant so the leak stops for years instead of weeks. Catching it early protects the deck core from rot.
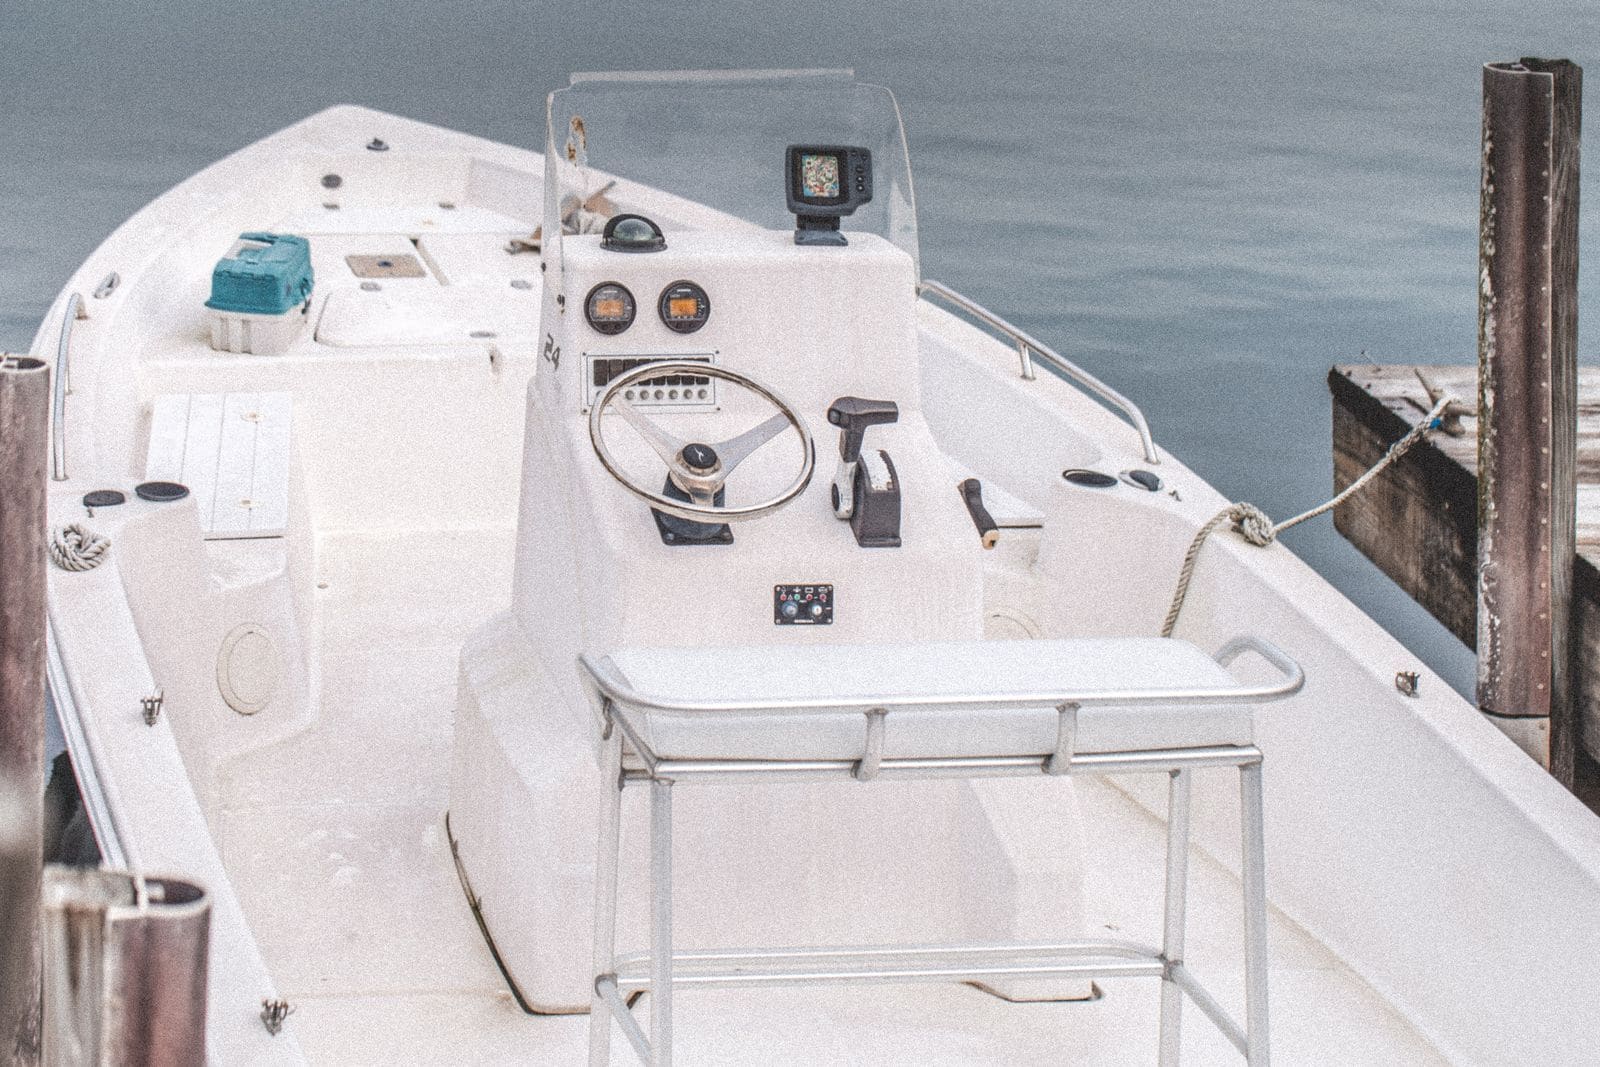
How to Mount Rod Holders, Fish Finders, Cleats and Antennas Without Causing Leaks
Add accessories to your boat the right way, with through-bolts, backing plates, sealed core and proper wire pass-throughs, so every new hole stays dry and strong. Also learn where you should never drill.
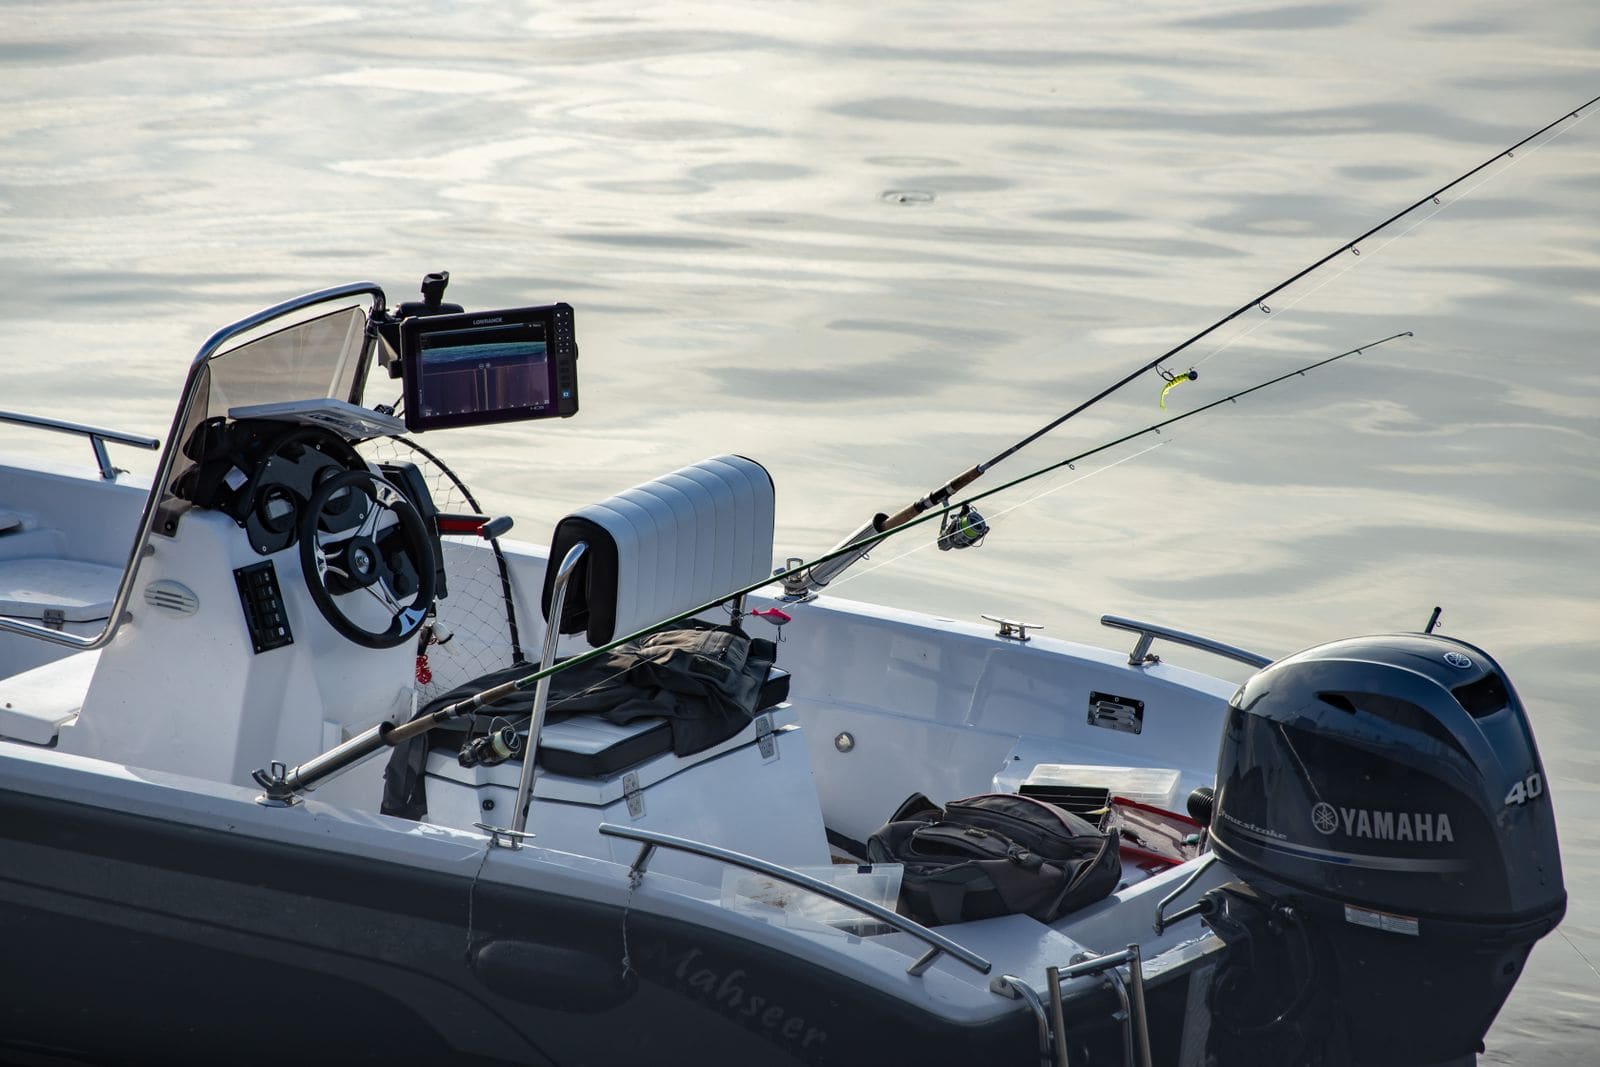
How to Place and Adjust a Side-Imaging and Down-Imaging Transducer
Get a clear, even picture on both sides of your side-imaging sonar by putting the transducer in clean water, at the right height, level, and where nothing blocks its beams. Then test at trolling speed and fine-tune in small steps.
How to Wire a Marine Stereo, Speakers and Amplifier Safely
Install or fix a boat stereo the way that keeps it working and keeps your battery alive: marine-rated gear, a fused feed from the panel, a solid ground, a plan for the always-on memory wire, UV-proof speakers, and an amplifier fused right at the battery. Plus how to stop the stereo from messing with your VHF and compass.
How to Wire a 12, 24 or 36-Volt Trolling Motor and Charge Its Batteries
Set up the battery bank for your electric trolling motor the right way: matched deep-cycle batteries in series or parallel, a circuit breaker sized from the motor maker's chart, a proper plug, and a multi-bank charger that keeps every battery healthy. High-current wiring that runs long distances or ties into other systems is a job for a marine electrician.
How to Replace Boat Battery Cables the Right Way
Swap corroded, cracked or undersized battery cables for tinned marine cable sized from a chart for its real length and load, with crimped lugs, adhesive heat shrink, terminal boots, solid support and a fuse close to the battery.