How to Place and Adjust a Side-Imaging and Down-Imaging Transducer
Get a clear, even picture on both sides of your side-imaging sonar by putting the transducer in clean water, at the right height, level, and where nothing blocks its beams. Then test at trolling speed and fine-tune in small steps.
Time
3 h
Shop would charge
$150-400
Applies to
Outboard, Sterndrive (I/O) · Fishing boat, Center console, Pontoon, Bowrider / runabout
Safety first: Every hole you drill in the transom below the waterline is a possible leak and a path for water into the transom core. Seal each hole as the instructions say, and never drill into a spot you can't inspect from inside. Do adjustments with the boat out of the water or tied securely, engine off and key out. Never lean over the transom to look at the transducer while the boat is moving or the engine is running.
Owners often ask
- Why is my side imaging blank or blocked on one side?
- My side imaging looks great slow but breaks up at speed. Is the transducer mounted wrong?
This guide walks you through it. Still stuck? Ask the AI Mechanic about your engine.
Tools
- Your transducer's installation template and instructions
- Drill with bits listed in the instructions, plus masking tape for a depth stop
- Small torpedo level or digital angle finder
- Screwdrivers and the wrench sizes the bracket uses
- Tape measure and marker
- Flashlight
- Zip ties and cable clamps
Parts & supplies
- Side-imaging transducer and mounting bracket (or trolling-motor mounting kit) made for your fishfinder
- Marine sealant rated for below-waterline use
- Optional transducer mounting plate (polymer board block) if you'd rather not drill the transom repeatedly
- Cable clamps and a transom cable cover
Before you start
A side-imaging (SI) transducer sends very thin beams out to the left and right, and usually down-imaging (DI) and regular 2D sonar straight down. Because the side beams look sideways, almost anything next to the transducer can block one side of the picture: the hull, a lifting strake, the motor, a second transducer, or even the trolling motor pointing at the hull.
Owner forums are full of "my side imaging is blank on one side" and "the picture breaks up at speed." Nearly every case comes down to the same four things: clean water flow, height, level, and a clear view to both sides. This guide covers where to put the transducer and how to tune it. For general depth-finder care and basic transom installation, see depth finder transducer.
Read your transducer's own instructions first. Distances from the prop, starting height and drilling angles differ by model and brand; when this guide and your instructions disagree, follow the instructions.
Steps
Side imaging builds its picture from hundreds of thin slices as the boat moves past things, a bit like a medical scanner. Humminbird explains that the boat must be moving for SI to work, and recommends about 2 to 8 mph for the best detail. It notes SI generally works best under 10 mph; larger SI transducers are strongly affected by turbulence at higher speeds.
So you are tuning for a clean picture at trolling and slow cruising speed. If you also want depth readings at planing speed, that may take a separate, smaller transducer (see step 12).
Humminbird lists three ways to mount a side-imaging transducer:
- Transom mount (comes with most units): the usual choice on outboard and sterndrive boats.
- Trolling-motor mount (adapter kit): puts the transducer on the trolling motor's lower unit.
- Thru-hull (optional): for boats where the transom water is too turbulent, such as larger boats and inboards.
Side imaging can't be glued inside the hull. Humminbird says side beams can't shoot through the hull properly, and it doesn't recommend in-hull mounting for down imaging either.
Look at your propeller. Boating Magazine's guidance is to mount on the side where the prop blades move downward, which is usually the starboard side on a single outboard or sterndrive with a standard (right-hand) prop. Prop wash is rougher on the other side.
Keep the transducer clear of the prop's swing and its wash, using the distance your instructions give. On twin engines, the usual spot is between the drives. Get it as close to the centerline as those limits allow; that helps the hull stay out of the way of the side beams (step 5).
The transducer needs solid water without air bubbles flowing across its face. Air bubbles come from:
- Lifting strakes and steps on the hull bottom (turbulence trails behind each one).
- Rows of rivets on aluminum hulls.
- Through-hull fittings and water pickups ahead of the spot (Boating Magazine warns against mounting behind them).
Lie under the trailer and look at the hull bottom forward of your planned spot. You want a smooth, flat run of hull with nothing sticking out ahead of it. Also check the trailer: the transducer must not land on a bunk or roller when you load.
Humminbird's troubleshooting guide says not to mount an SI transducer next to other transducers, speed or temperature sensors, or the motor, because they block the signal on that side. Picture a flat fan of sound going straight out left and right from the transducer, slightly downward. Ask:
- Will the hull block it? On a deep-V hull, a transducer far from the centerline can "see" the hull on the inboard side. Moving it closer to the centerline or a bit lower usually fixes this.
- Will the motor block it? On some boats the outboard's lower unit sits right in the line of one beam. Humminbird's fix is a second matching SI transducer on the other side, joined with a splitter cable.
- Will another transducer block it? Keep the SI transducer away from the old 2D transducer, speed paddle wheel and live-sonar units.
On a pontoon, the tubes themselves can block the side beams. The transducer has to sit low enough, and in a spot where neither tube is in its line of sight.
Most transom brackets let you slide the transducer up and down. Too high, and air sneaks under the face at speed, so the picture breaks up or goes blank. Too low, and it throws spray (a "rooster tail"), adds drag and is more likely to hit things.
Start at the height your instructions give; many start with the face just slightly below the bottom of the hull at the transom. Mark the bracket so you can see later how far you've moved it.
For SI to show both sides evenly, the transducer must point straight down when the boat sits in the water. Humminbird's instructions start by confirming the boat is level, then setting the transducer body parallel to the hull before tightening the pivot.
- Set it parallel to the waterline fore and aft (use a level or angle finder, with the trailer adjusted so the boat sits as it floats).
- Make sure it isn't tilted side to side. A transducer leaning toward one side makes one side's picture reach farther than the other.
Some installers add a very slight nose-down tilt to keep water flowing smoothly; follow your instructions here.
- Tape the template to the transom, check it's level, and drill to the depth your instructions give (wrap tape around the bit as a depth stop).
- On fiberglass, Boating Magazine suggests running the drill in reverse until you're through the gelcoat and chamfering each hole to prevent cracks.
- Fill the holes and coat the screws with below-waterline marine sealant before driving them.
- If you'd rather not keep drilling the transom, a mounting plate (a polymer board block bonded to the hull) takes the screws instead. This is popular on aluminum boats, and you can re-drill the plate if you need to move the transducer. Mercury's version needs just two small screws and sealant in the transom. BoatUS describes a taller board that reaches above the waterline and is through-bolted there, so no hole in the transom is below the waterline at all.
If a hole goes into a wet or soft transom core, stop and read transom and stringer rot check before going further.
A trolling-motor mount keeps the transducer in clean water at fishing speed and points wherever the motor points. Two cautions from Humminbird:
- Depending on which way the trolling motor is turned, the side beams may be looking at your own hull. Check the picture with the motor pointed straight ahead.
- On trolling motors that deploy, stow or trim themselves, leave enough cable slack for the full motion.
Secure the cable to the shaft with the clamps in the kit, not tight zip ties that can cut the jacket.
Run the cable to the display along its own path, away from engine wiring, trolling-motor power leads and VHF coax where you can. Don't cut and splice the transducer cable; use an extension cable made for it if it's short.
If you see random lines or speckles, Humminbird suggests testing with the boat sitting still and everything electrical and the motors off, then turning things back on one at a time until the noise comes back. If you have more than one transducer pinging at once, Garmin notes they can create cross talk, which its units reduce with the Interference setting. BoatUS adds that another boat's sounder nearby on a similar frequency can do the same, and that transom transducer cables are easily damaged on the trailer, so check the cable along its whole run. See electronics power dropouts for supply-voltage problems.
Pick calm water with known structure (a dock, a channel edge, a bridge piling):
- At rest: confirm the 2D depth reading is steady.
- At 2 to 8 mph in a straight line: watch both sides of the SI screen. They should look similar in brightness and range. Run past the same structure with it first on your left, then on your right.
- At higher speed: note where the down and 2D picture breaks up.
Clean the transducer face first and rub off any air bubbles on it when the boat goes in. Humminbird notes some antifouling paints can't be used on transducers, or only in one thin coat.

A survey side-scan image of a wreck: raised objects throw dark acoustic shadows away from the boat. A well-placed fishfinder transducer shows stumps, brush and rocks the same way, evenly on both sides. Photo: NOAA / U.S. Coast Guard / Wikimedia Commons · Public domain Change one thing at a time and re-test:
- One side dark or short: check for blocking (step 5); move the transducer slightly lower or closer to the centerline, or check that it isn't tilted.
- Picture breaks up at speed, fine when slow: move it down slightly, check for a strake or fitting ahead, or accept that SI is a slow-speed tool.
- Spray, drag, or the transducer kicking up: move it up slightly.
- Port and starboard swapped: many units have an SI orientation setting (Humminbird calls it Reverse) instead of remounting.
If you need good depth readings at planing speed, Humminbird suggests pairing the SI transducer with a separate high-speed 2D transducer through a splitter cable. Note the final height and angle in BoatMend so you can reset it after a trailer bump.
A well-placed transducer can still give a poor picture on auto settings. BoatUS's electronics editor suggests:
- Range: you rarely get useful side returns beyond about 20 times the water depth, so in 4 feet of water a range near 80 feet uses your screen better than 100. Don't leave blank screen past the returns.
- Frequency (if your unit lets you choose): higher frequencies give more detail but less range.
- Contrast and sensitivity together: more contrast over hard bottoms, less over soft mud; and usually less sensitivity over a hard bottom, more over soft. Mercury's pro angler adds that in shallow water (20 feet or less) you rarely need to add 2D sensitivity at all.
Then set the depth offset. Mercury explains a fishfinder measures from the transducer face, so with the boat on the trailer measure from the waterline stain to the bottom of the transducer and enter it in the unit's keel or waterline offset menu. Check it against a tape measure dropped to a firm bottom in calm, shallow water.
Common mistakes
- Gluing a side-imaging transducer inside the hull. The side beams can't work through the hull.
- Mounting right next to the old transducer, the speed sensor or the motor, which blanks one side of the picture.
- Mounting it too high "to protect it," so it sucks air and the screen goes blank at speed.
- Placing it behind a strake, row of rivets or through-hull fitting.
- Not checking the trailer bunks and rollers, so the transducer gets crushed on the first load.
- Skipping sealant in the screw holes, or using one not rated for below the waterline, letting water into the transom core.
- Making several changes at once, so you can't tell which one helped.
- Expecting crisp side imaging at 25 mph. It's designed for slow speeds.
When to call a pro
- You need a thru-hull transducer: cutting a hole in the hull bottom should be done by a marine electronics installer or yard.
- The transom is cored and you're not sure it's solid, or you find wet core while drilling.
- Electrical noise persists after the step 10 test, or the display keeps losing power.
- You want to network several displays and sonar sources (see NMEA 2000 network).
Tips
- Take a photo of the transducer and bracket after each adjustment, with a ruler for scale.
- A bit of masking tape on the bracket marks your starting point so you can always go back.
- On a newer boat, look closely at the bottom of the transom before you drill. Some builders mold in a flat pad or plate meant for mounting a transducer; ask your dealer or the builder.
- Run the cable through a transom cable cover to keep water out of the hole.
- Recheck height and angle after the first few trailer trips; brackets can creep.
- Sonar dead but the screen works? Owners usually suspect the display, but the transducer and its cable live outside the boat and take the knocks (BoatUS's troubleshooting guide checks them early). The quickest test is plugging in a known-good transducer of the same type (a friend's, or the dealer's) before buying a new head unit.
- Screen blacking out when you start the engine is a power problem, not a transducer problem: see electronics power dropouts.
Official references
We read these to write this guide. Your engine's own manual always wins.
- Humminbird Help – Mounting Options for Side Imaging Transducers
- Humminbird Help – Can side and down imaging transducers be installed inside the hull?
- Humminbird Help – Side Imaging Troubleshooting
- Humminbird Help – Side Imaging Beam Blocked by Motor
- Humminbird Help – High Speed Readings with a Side Imaging Transducer
- Humminbird Help – Is movement required for side imaging to work?
- Humminbird Help – Side Imaging Orientation
- Humminbird Help – Transducer Mounting Options
- Garmin – Sonar Sharing (cross talk between multiple transducers), ECHOMAP Ultra owner's manual
- Boating Magazine – Installing a Transom-Mount Transducer on a Boat
- Mercury Marine – Quick Tip, How to Install a Transducer Mounting Plate on Your Boat
- BoatUS – Install A Transducer Without Holes Below The Waterline
- BoatUS – How To Troubleshoot Depth Sounders and Fish Finders
- BoatUS – Fine-Tune Your Side-Scan Fishfinder (2024)
- Mercury Marine – Quick Tip, Calibrate Your Depth Finder for Maximum Accuracy (Dockline)
- Mercury Marine – Understanding Basic Sonar Settings (Dockline)
Safety: BoatMend is for information only and does not replace a certified marine technician. You are responsible for your safety and your boat. Read the full disclaimer.
Last updated 2026-10-25
Related guides
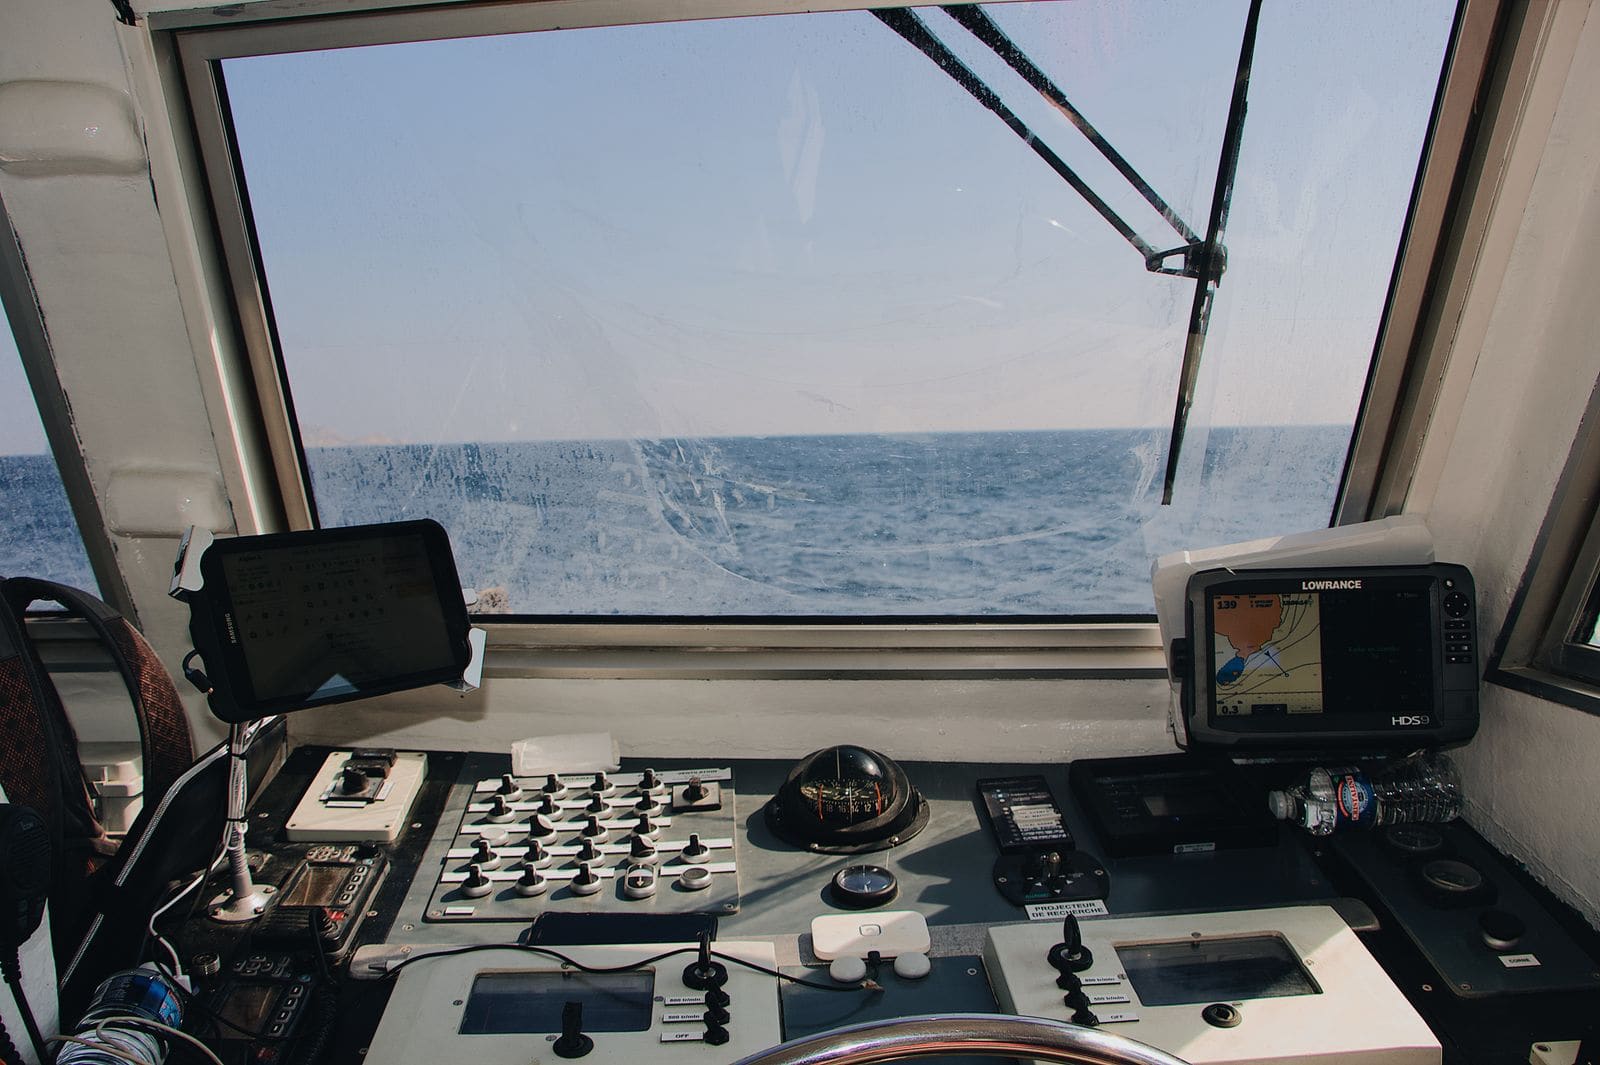
Fish Finder and Depth Sounder Transducers: Mounting, Fixing Bad Readings and Cleaning
Where and how to mount a transom-mount transducer so it reads cleanly at speed, how to track down lost bottom readings and noisy screens, how to clean and paint a transducer without ruining it, and why thru-hull transducers are a haul-out job for a pro.
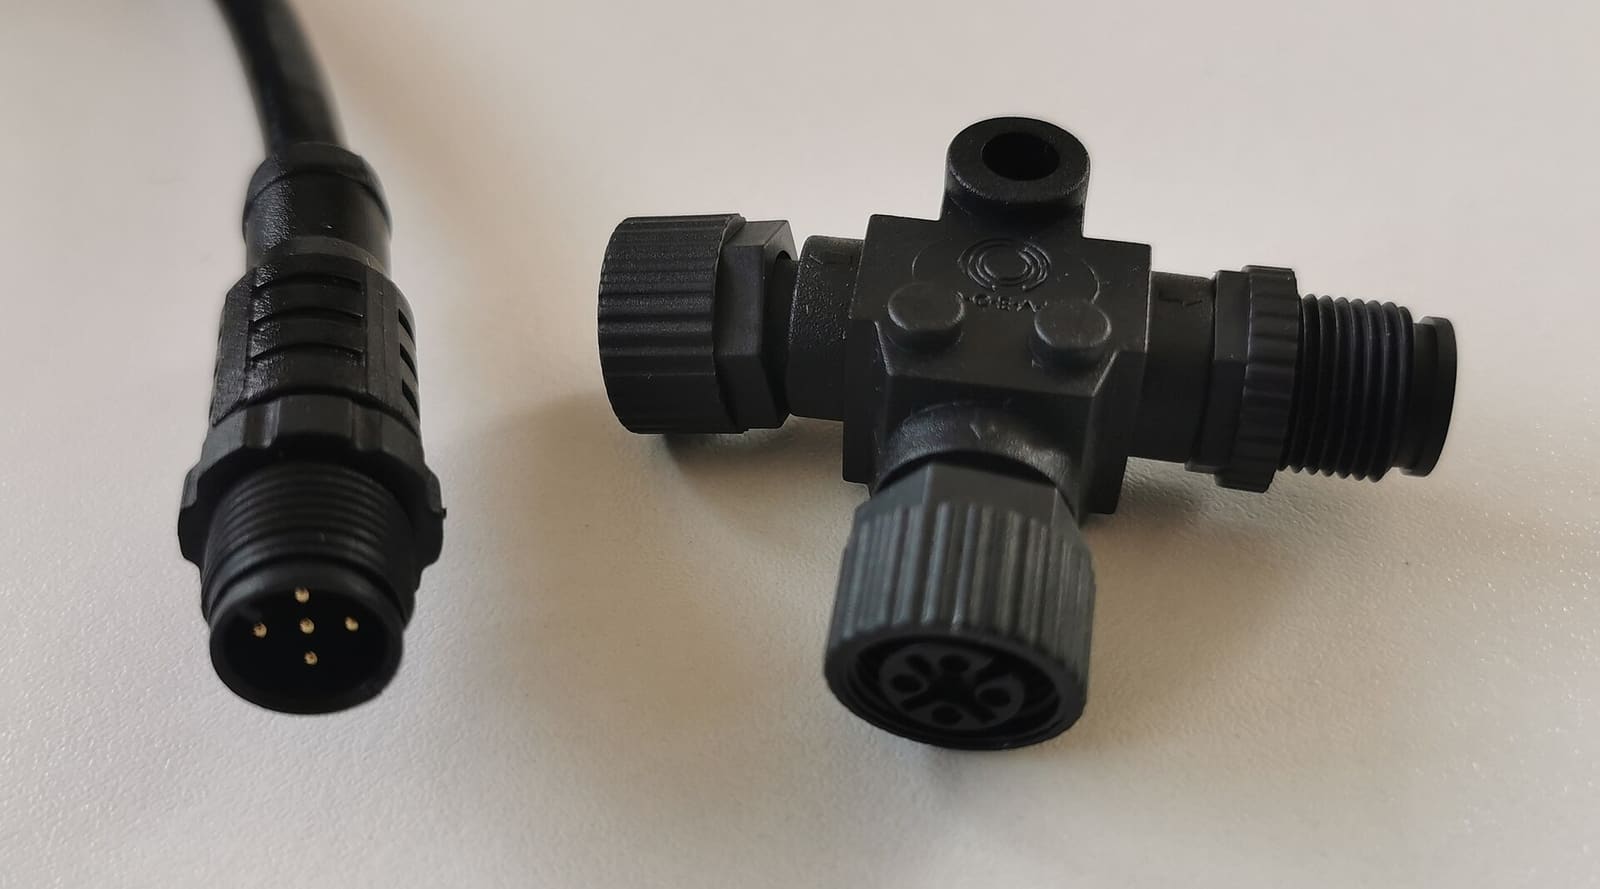
NMEA 2000 Network Basics and Troubleshooting (Plus Chartplotter Updates)
Understand the backbone, terminators, power tap and drop cables that tie your chartplotter, engine data, GPS, depth and autopilot together, then track down why a device keeps dropping off. Finish by updating chartplotter and device software the safe way.
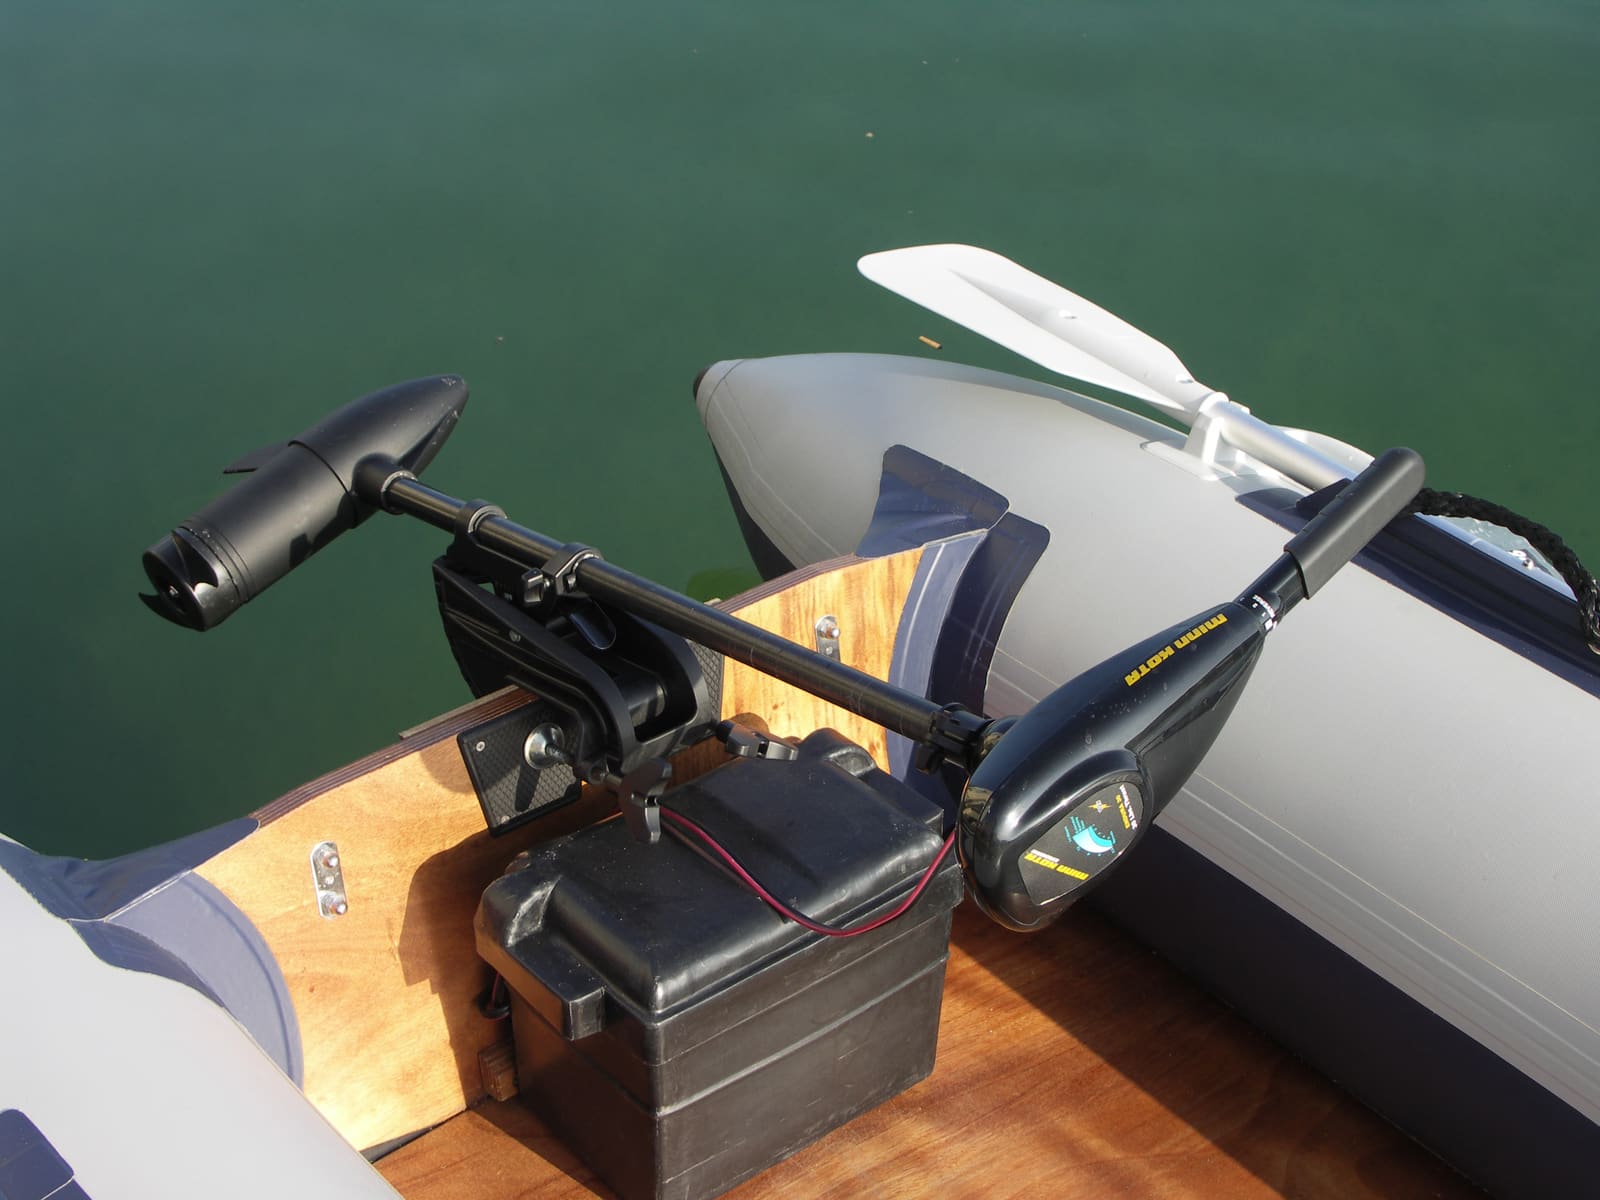
How to Wire a 12, 24 or 36-Volt Trolling Motor and Charge Its Batteries
Set up the battery bank for your electric trolling motor the right way: matched deep-cycle batteries in series or parallel, a circuit breaker sized from the motor maker's chart, a proper plug, and a multi-bank charger that keeps every battery healthy. High-current wiring that runs long distances or ties into other systems is a job for a marine electrician.
How to Mount Rod Holders, Fish Finders, Cleats and Antennas Without Causing Leaks
Add accessories to your boat the right way, with through-bolts, backing plates, sealed core and proper wire pass-throughs, so every new hole stays dry and strong. Also learn where you should never drill.
How to Check a Boat for Transom and Stringer Rot
Many older fiberglass boats have wood inside the transom, stringers and deck, and water that gets in slowly rots it. Learn the tap test, the flex test, how to read a moisture meter and the other warning signs, and why a rotten transom or stringer is a structural job for a pro, not a weekend patch.
Electronics That Reset or Shut Off When You Start the Engine: Finding and Fixing Voltage Sag
If your chartplotter, fishfinder, VHF or stereo blinks off or reboots when you crank the engine or switch on a big load, the cause is almost always low voltage reaching the device. This guide walks from the cheapest checks (battery, connections, grounds) to the real fixes: a dedicated electronics feed, start isolation between batteries, and voltage-stabilizing converters.