Saltwater Outboard Care: The After-Every-Trip and Monthly Routine
A simple routine that keeps salt from eating your outboard, built from Honda, Yamaha, Mercury and Suzuki advice. It covers flushing after every trip, washing, where to spray anticorrosion (and where never to), monthly greasing, anodes, and tilting up or storing out of the water.
Time
30 min
Applies to
Outboard · Center console, Fishing boat, Bowrider / runabout, Pontoon
Safety first: Remove the propeller before flushing with muffs or a bag; Yamaha warns that an exposed prop spinning if the engine slips into gear can cause serious injury or death. Run the engine only in neutral, with water flowing before you start, and stay with it. Keep hands and sprays away from the belt and flywheel with the engine running. Flush outdoors so exhaust fumes can't build up, and never in a closed garage. Anticorrosion sprays are flammable: keep them away from hot exhaust parts and sparks.
Owners often ask
- What should I do to my outboard after every trip in salt water?
- Where should I never spray corrosion inhibitor on my outboard?
This guide walks you through it. Still stuck? Ask the AI Mechanic about your engine.
Tools
- Garden hose with a shutoff (no high-pressure nozzle for the engine)
- Flush muffs, flush bag or the hose adapter for your engine's flush port
- Soft brush or wash mitt, bucket and a mild boat soap
- Grease gun with marine grease specified in your manual
- Rags and a soft brush for anodes
- Prop wrench (to remove the prop for muff or bag flushing)
Parts & supplies
- Anticorrosion spray made for outboards (from your engine maker or a marine equivalent)
- Marine waterproof grease specified in your owner's manual
- Salt-removing flush additive (optional; follow the label)
- Replacement anodes for your model, for when they're half gone
- Touch-up paint from your engine maker
Before you start
Why salt is so hard on outboards: salt water is a strong electrolyte, so corrosion works faster. Yamaha explains that salt left in the cooling passages can crystallize on hot surfaces (above about 170°F) and narrow the passages, and that even "dry" exhaust areas corrode from salts formed when fuel burns. Honda says flushing prevents deposits that clog or corrode water passages, sensors and thermostats.
Check your own manual. Each brand's flushing method and grease points differ:
- Flush port engines (many Mercury, Yamaha, Honda and Suzuki models) take a garden hose on a fitting. On most current models the engine stays off: Yamaha describes running the hose for 15 minutes with the engine not running, and Yamaha and Suzuki both say never to start the engine out of the water on the built-in flush adapter, only on external muffs. A few models are flushed through the port while idling (BoatUS lists some smaller Mercury four-strokes, OptiMax two-strokes and Honda 25–50 hp). Run the engine on the port only if your manual says so for your exact model.
- Muffs or a flush bag let you run the engine at idle in neutral. Yamaha notes engines with two water inlets need a special adapter for muffs.
- Suzuki's DIY Maintenance page has short videos showing both flushing methods and anode replacement.
The routine at a glance:
- After every saltwater trip: flush, rinse, look.
- Monthly: anticorrosion spray under the cowl, grease, anode check.
- Yearly (or every 200 hours in salt, per Honda): thermostat and water pump service.
Steps
Mercury, Honda, Yamaha and Suzuki all say the same thing: flush with fresh water after every use in salt or brackish water. Mercury says flushing clears corrosive salt water from the cooling system. Do it the same day, before salt has time to dry inside.
- Flush port: connect the hose, turn it on, and flush for the time your manual gives (Yamaha's guide is 15 minutes). Keep the engine off unless your manual specifically calls for running it on the port. Some makers limit water pressure here (BoatUS reports Mercury's smaller four-strokes call for the tap only about halfway open), so check before you open the tap all the way. Many port fittings are plastic: thread the brass hose end on straight so you don't cross-thread it.
- Muffs or bag: remove the prop, fit the muffs over the water inlets (or fill the bag above the water pump level), turn the water on first, start in neutral and idle only. Yamaha says never rev the engine on muffs, and to shut down the engine before turning off the water. Many owners flush about 10 to 15 minutes; follow your manual.
Watch for the telltale (pee) stream while flushing. No stream means stop and check the hose and muffs. The freshwater flush guide covers this in detail.
Honda suggests flushing with its salt-removing product. Similar products from other makers dissolve salt that fresh water alone leaves behind. Use only as the label says, and don't mix products.
Owners often see videos of engines being "descaled" with vinegar or household lime removers pumped through the cooling system. That is a repair step for an engine that is already running hot from scale, not a routine. Don't push acids or household cleaners through your engine on your own; if your telltale is weak or the engine runs warm, have a dealer decide what it needs.
Leave the engine in the vertical (down) position for a few minutes after flushing so water drains out of the powerhead and lower unit, then tilt it up for storage.
Mercury says to lower the outboard to vertical before rinsing the cowl, because rinsing it tilted can let water into the air intake at the back of the cowl. Rinse the cowl, the mounting brackets, the trim rams and the cowl latches with low-pressure fresh water. Honda and Yamaha suggest a mild boat soap or the brand's wash, then a fresh-water rinse; Yamaha says not to use liquid dish detergent. Never spray water into the air intake, and don't use a pressure washer or jet nozzle on the engine: Mercury says high pressure can force water into electrical connections.
If salt has built up on the powerhead, or spray got under the cowl, Mercury and Yamaha both allow a careful rinse: cowl off, hose on low pressure with no nozzle, keeping water away from the air intake and the alternator. Rinse the inside of the cowl too. Let everything dry completely before refitting the cowl.
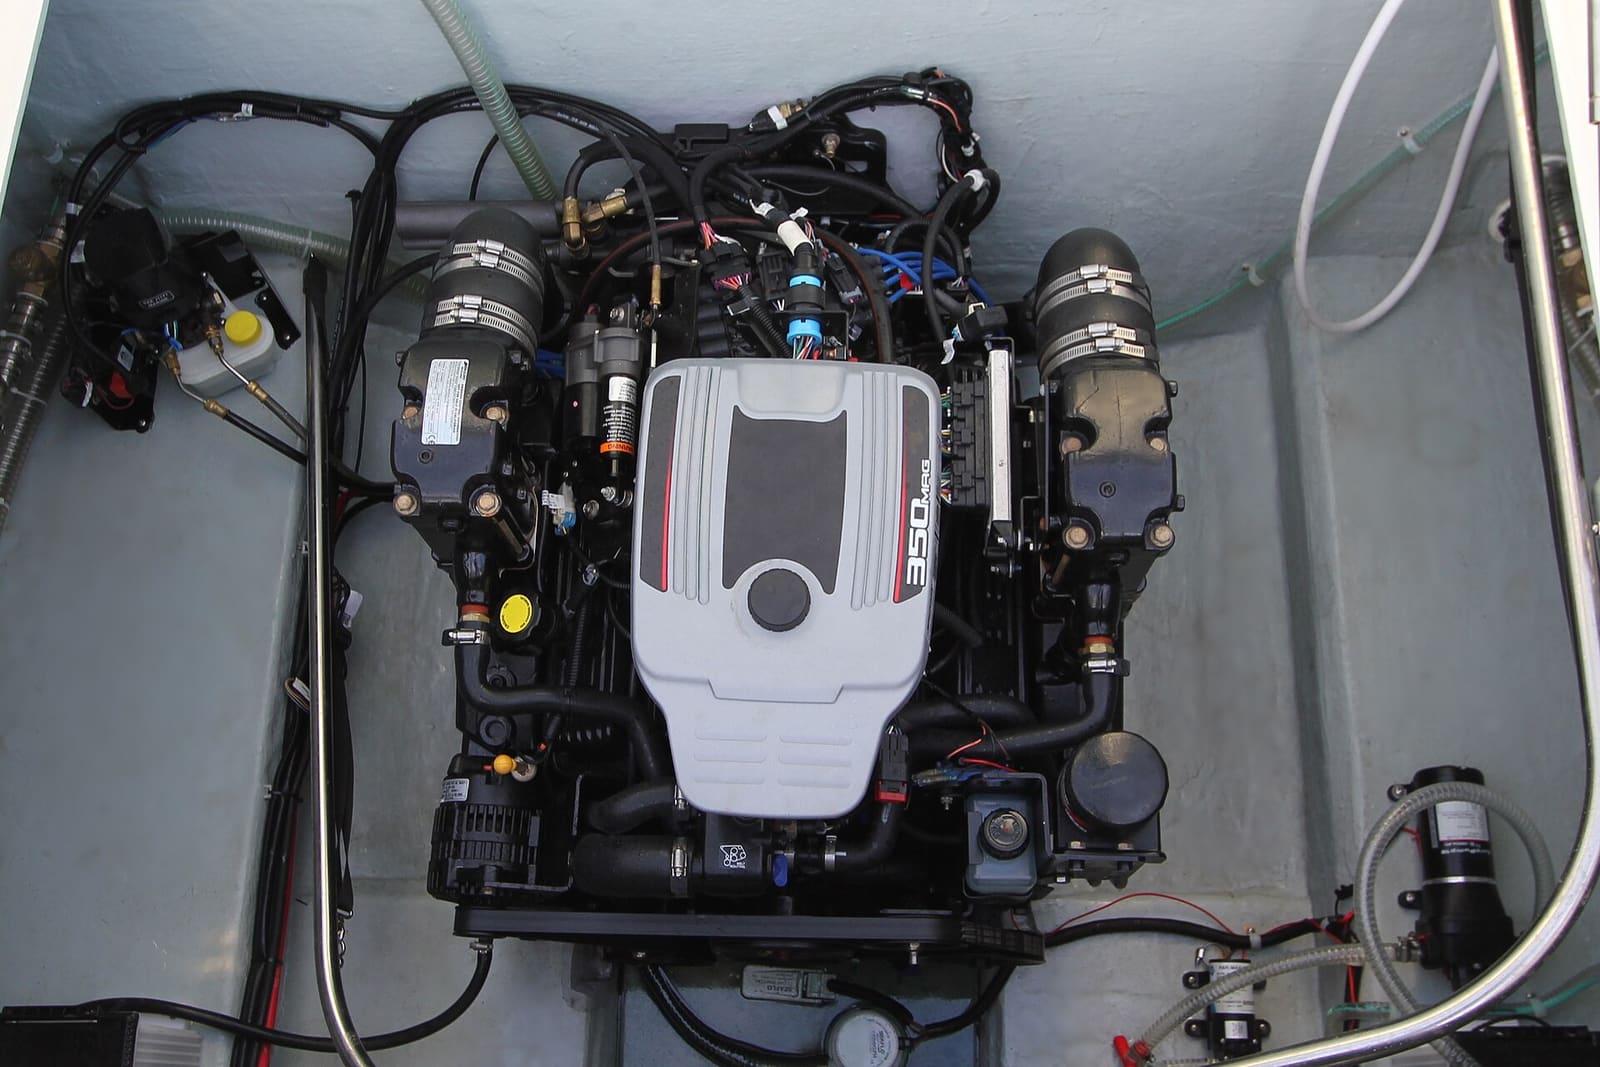
Honda recommends applying its corrosion inhibitor to everything under the cowl and to exposed metal monthly in salt water. Yamaha suggests spraying the external powerhead surfaces and electrical connections with its protectant. Mercury suggests a light coat under the cowl once the powerhead is dry, and a heavier-duty product on the gearcase, trim motor, exposed connections and other surfaces that run in the water.
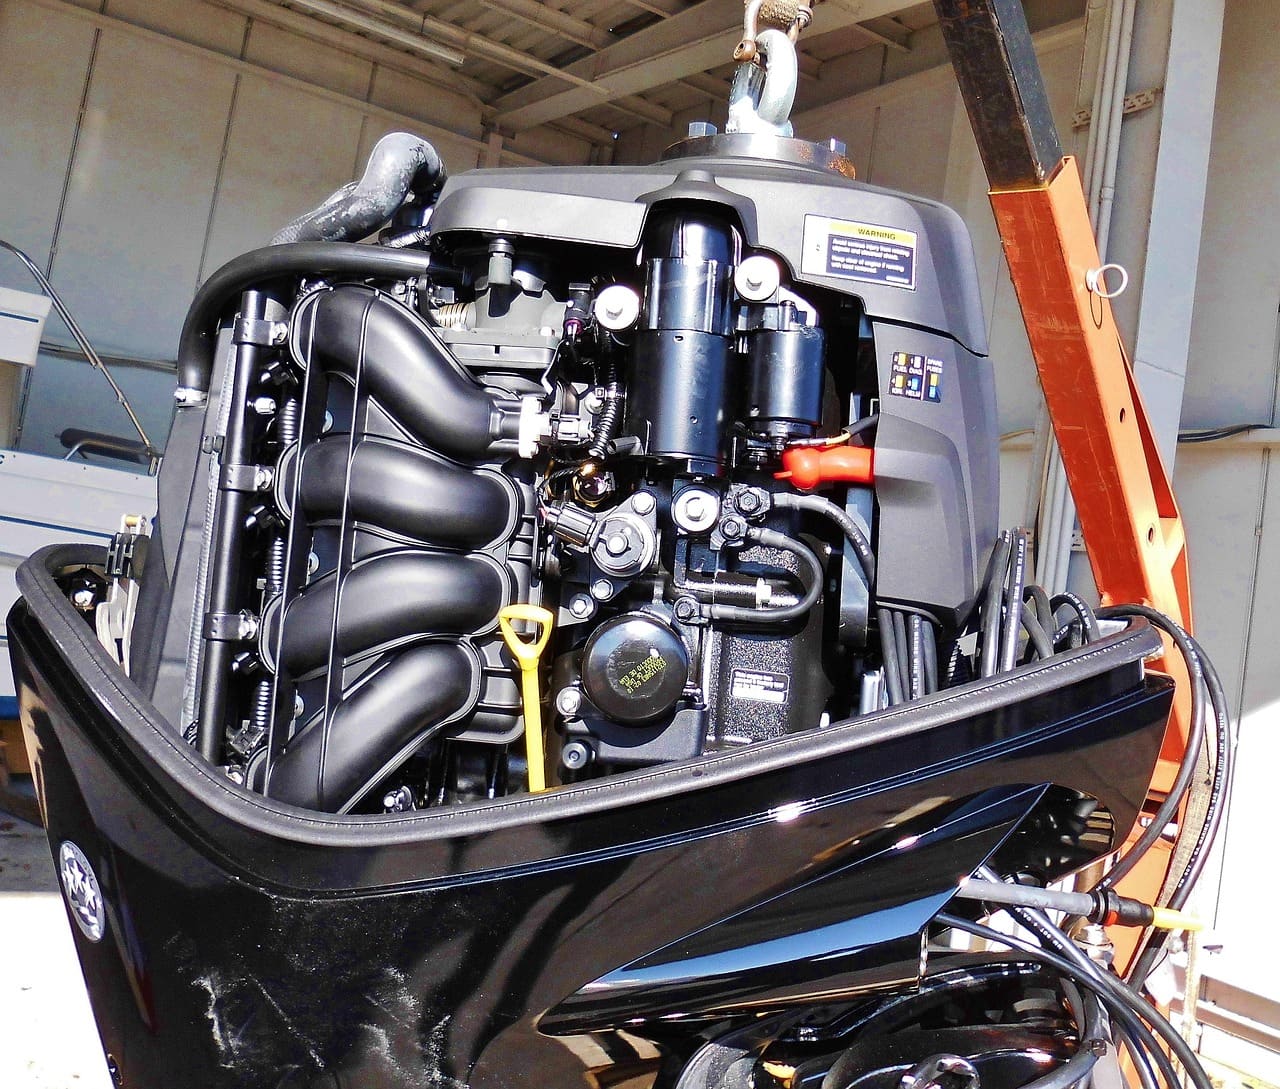
Photo: reverent / Pixabay · Pixabay Content License The makers are specific about what to avoid:
- Belts and pulleys (timing and alternator belts): Honda and Mercury. A slippery belt slips.
- The alternator: Honda and Mercury.
- The air intake: Mercury.
- The oxygen sensor: Honda (on models that have one).
- Anodes: Honda and Mercury. A coated anode can't protect the engine.
Cover these with a rag or spray carefully. If your manual lists other spots, follow it.
Honda recommends waterproof marine grease on the lubrication points in your owner's manual monthly in salt water, because full grease joints keep salt water out. Typical points are the swivel bracket, tilt tube, steering link, tilt lock and the shift and throttle linkage. Wipe each fitting first, then pump until fresh grease appears. See the outboard grease points guide.
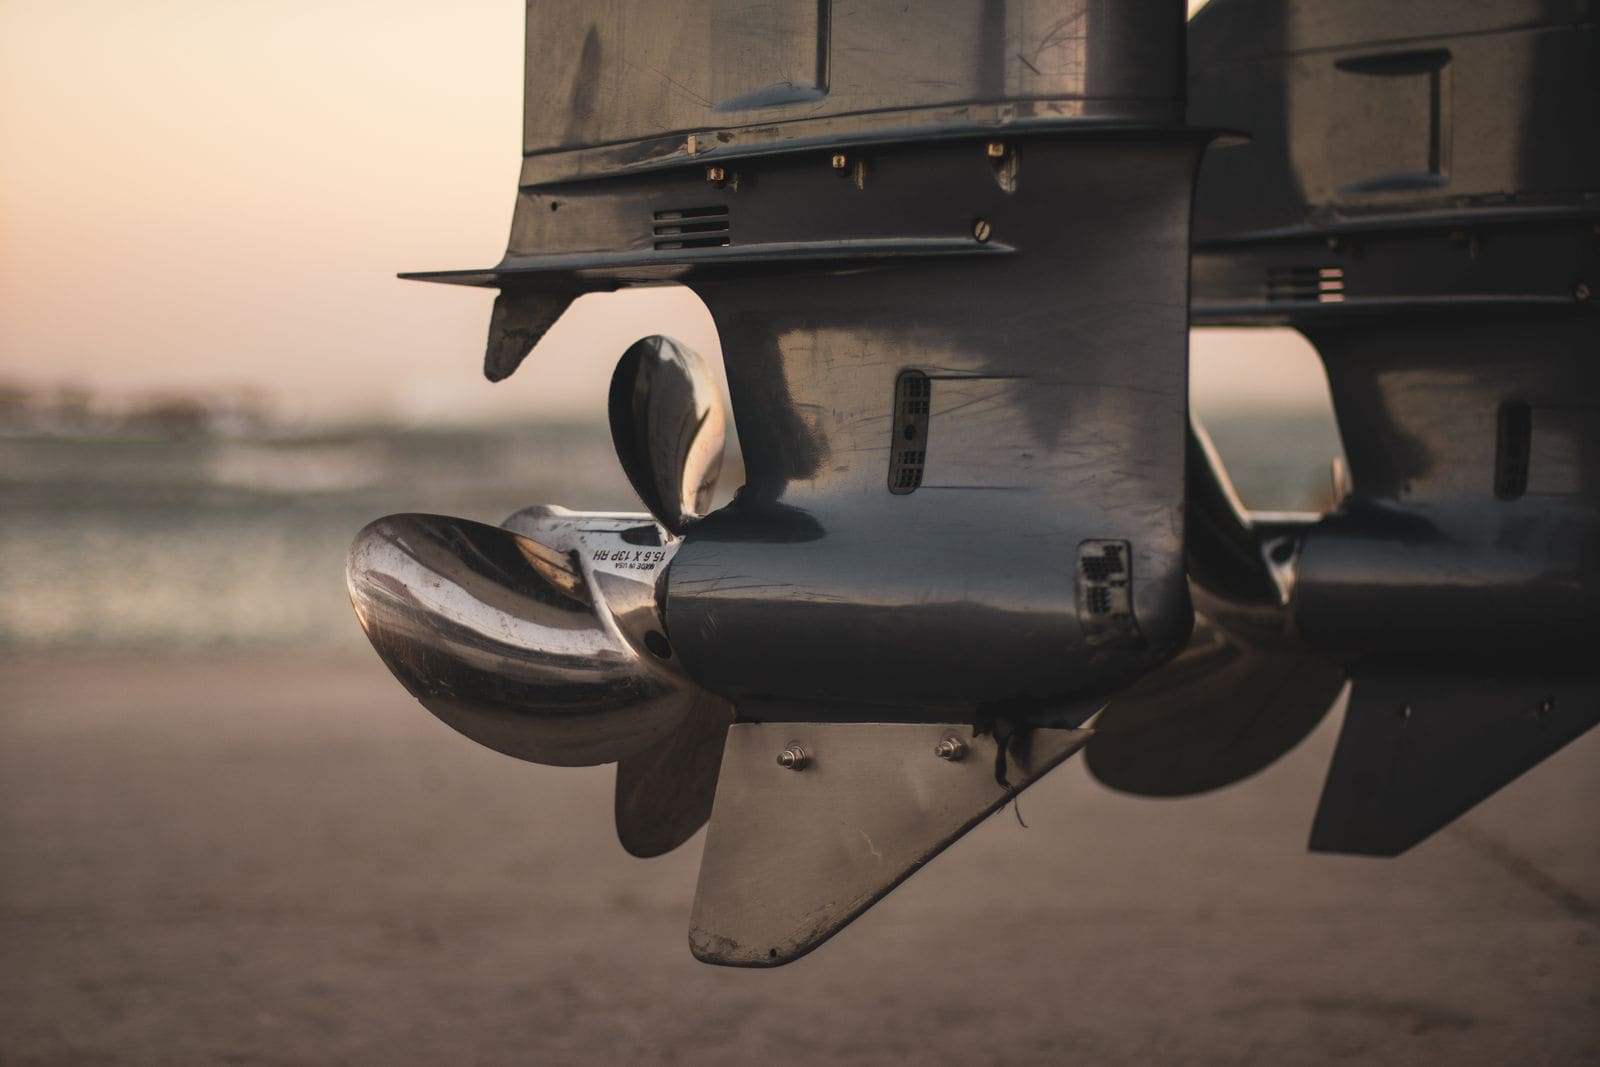
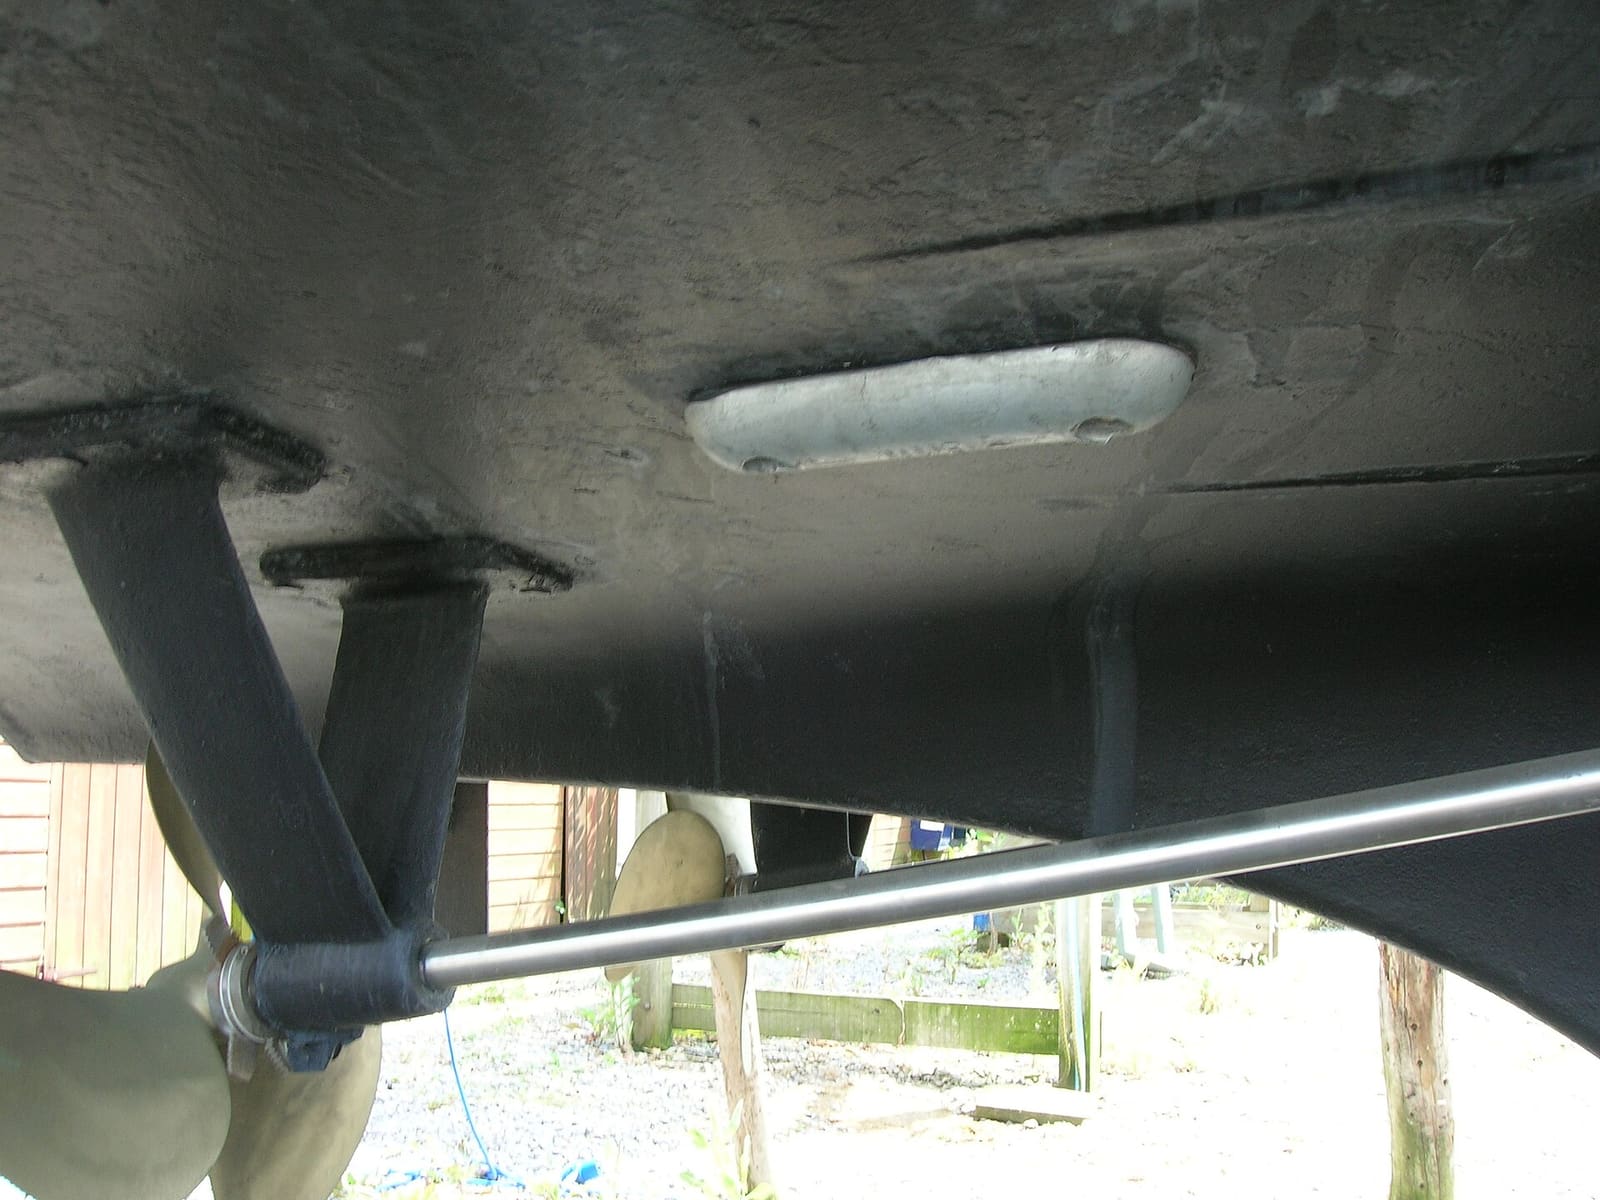
Anodes are the dull gray metal blocks, usually on the gearcase above the prop, the trim tab, the bottom of the transom bracket and sometimes on the trim rams. Yamaha says to check them every time you use the boat, scrub off any thin growth with a brush and soap so they stay in contact with the water, and replace them when about 50% gone, using quality factory-recommended parts. Mercury adds that anodes showing no wear can be a warning sign that corrosion is attacking something else. Never paint them.
Mercury also explains two things salt-water owners often miss: corrosion runs faster in warm water (a Florida boat eats anodes faster than one in Maine), and stainless steel near the aluminum gearcase, such as a stainless prop, powered trim tabs or aftermarket steering parts, speeds it up. If you switch to a stainless prop or add stainless hardware, check the anodes more often for the first few weeks.
Honda says if you moor in salt water, tilt the motor up so the gearcase is completely out of the water, which keeps marine growth from attacking its surface. Tilting up also stops anodes being used up while the boat sits. Store the outboard out of direct sun or under a breathable cover, as Honda suggests, to protect the paint and rubber parts. (Sterndrive owners are told the opposite; this advice is for outboards.)
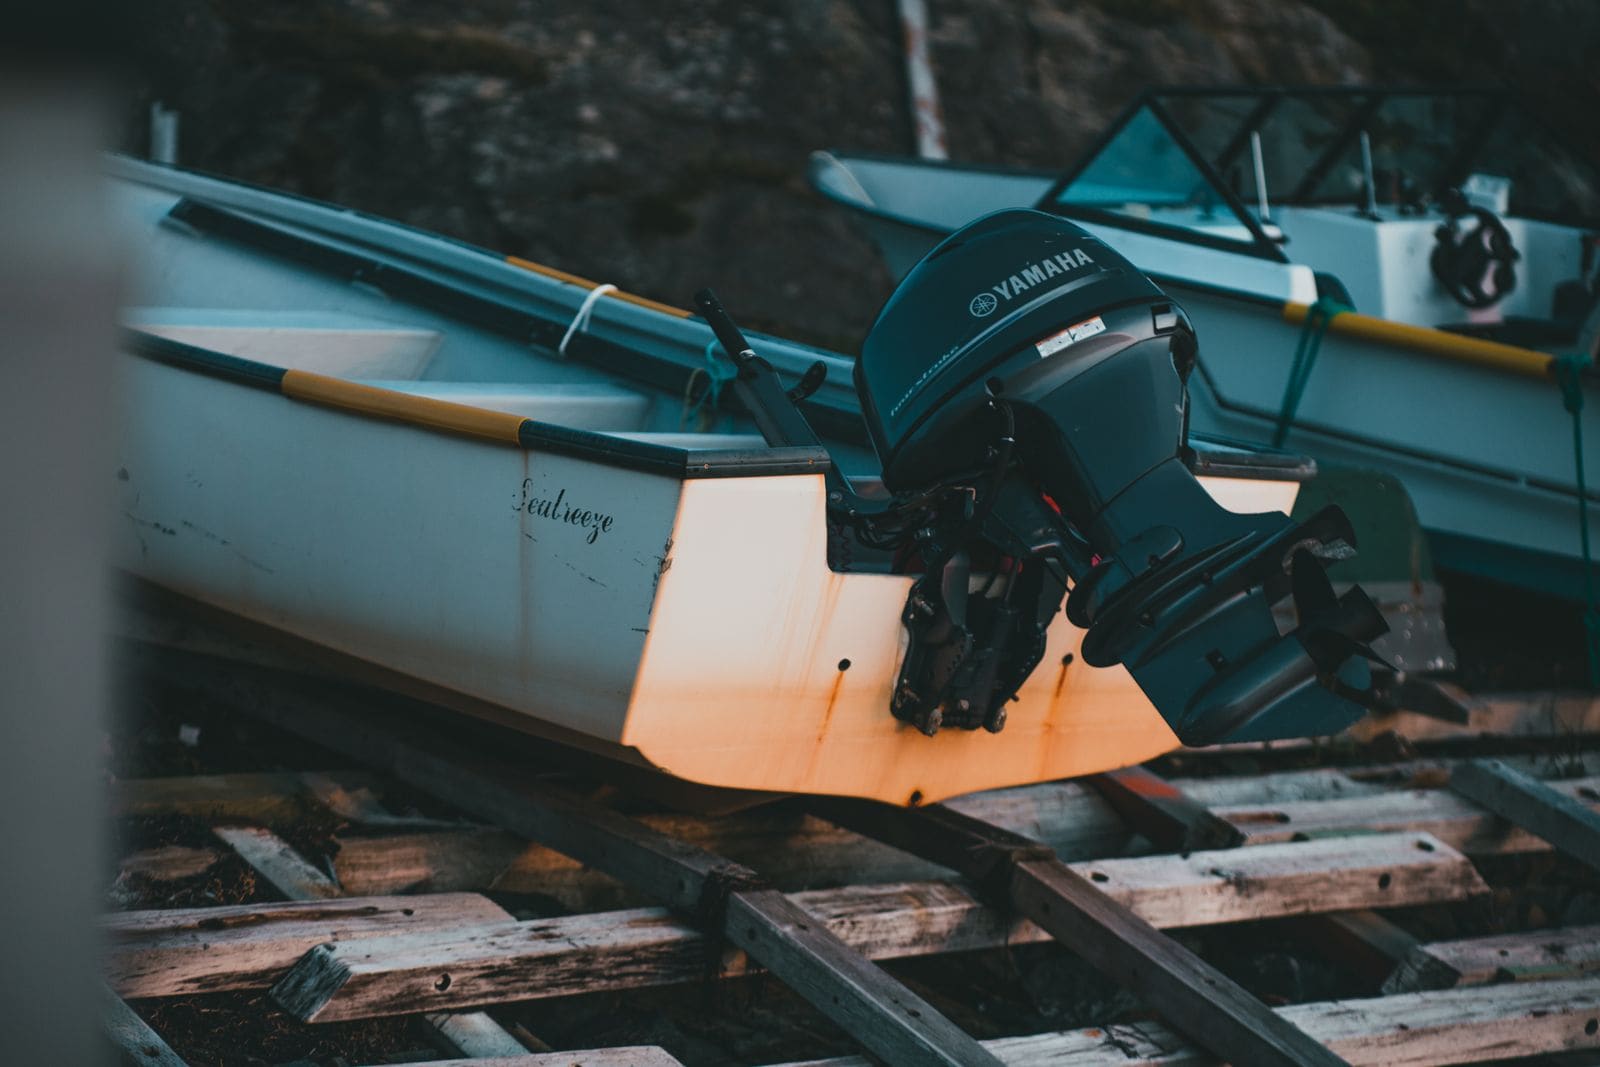
Yamaha adds a trick for the trim rams, which sit in salt spray all the time: once the motor is tilted up, engage the built-in tilt lock (or fit an engine support), then press the trim down button until the rams pull fully back into the unit. That keeps all but the tips bathed in trim fluid instead of salt air; put a dab of marine grease on the exposed tips. The tilt lock is only for mooring and storage, never for trailering.
Honda warns that bare metal exposed to salt water corrodes, and the corrosion can spread under the surrounding paint. Check the gearcase, skeg and bracket for chips after each trip and touch them up with the maker's paint as soon as possible. Big blisters or white powder under the paint mean corrosion is already working; see the sacrificial anode guide and have a dealer look.
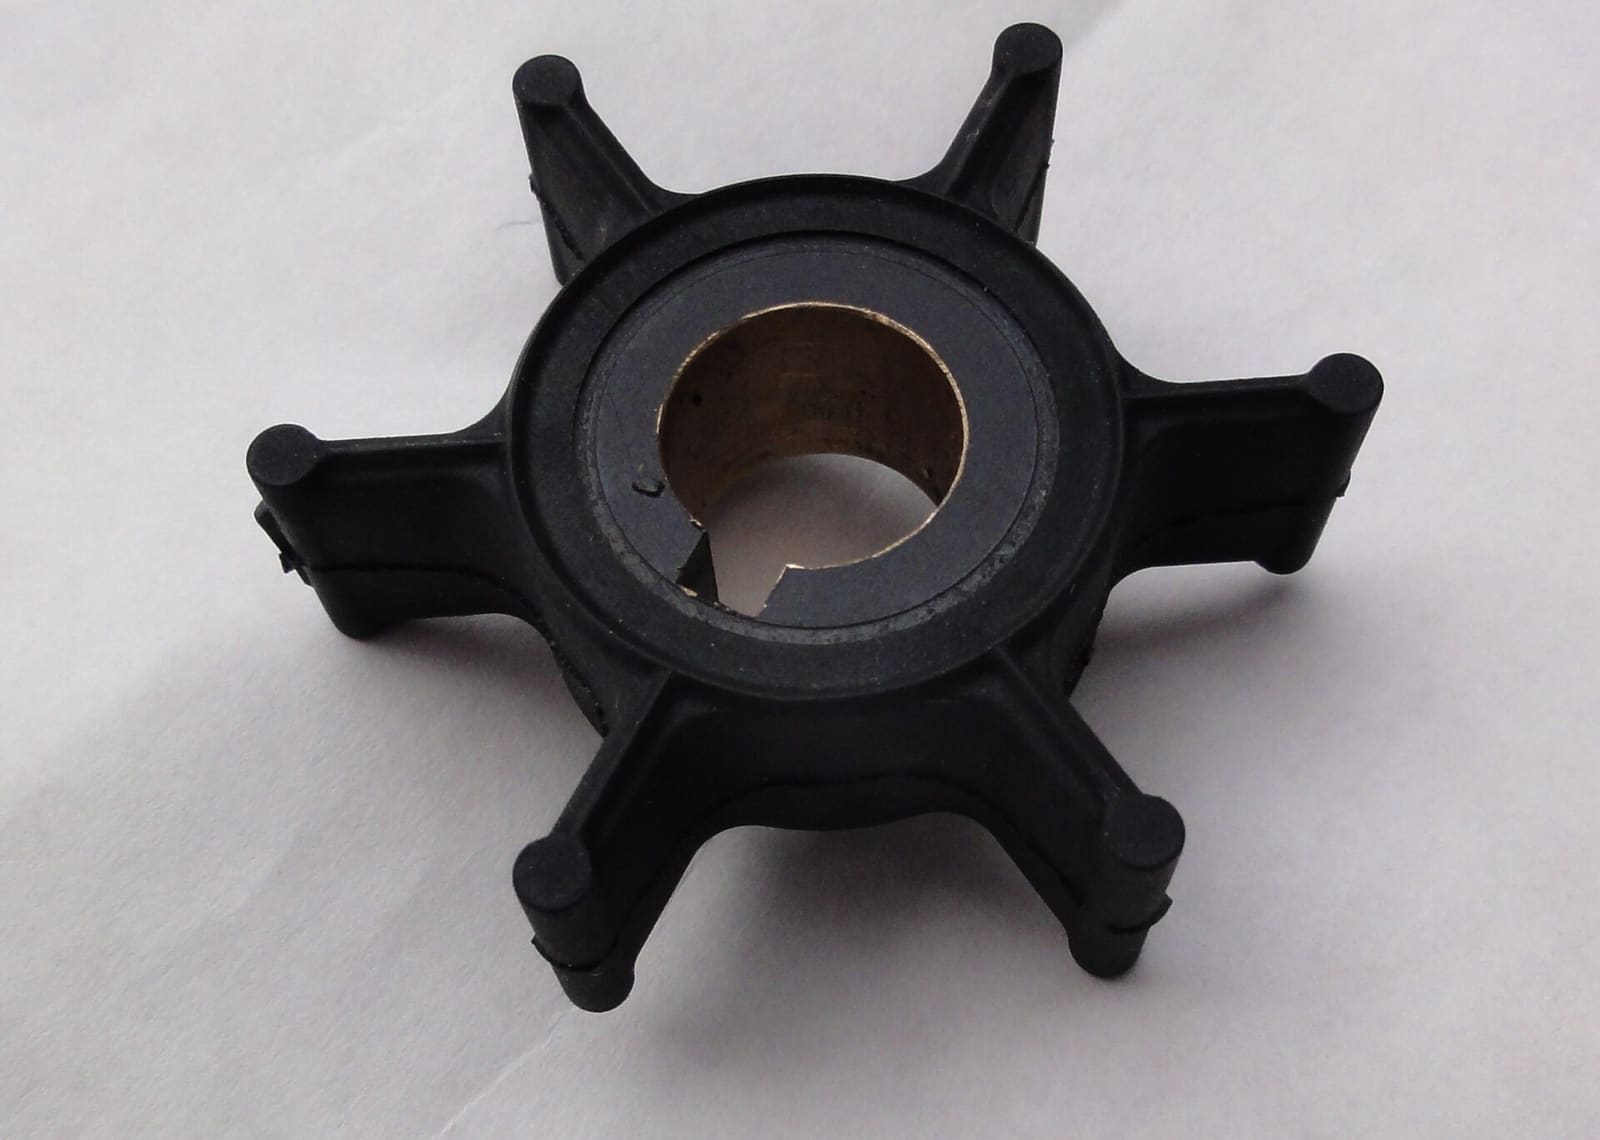
Honda recommends having the thermostat(s) and water pump serviced annually or every 200 hours in salt or polluted water, because salt shortens their life. A weak telltale stream or rising temperature between services is a sign to do it sooner. Typical; confirm in your manual. Watch for the opposite, too: Yamaha notes salt deposits (or a bit of debris) can hold the thermostat or pressure relief valve open, so the engine runs cooler than normal and never reaches its proper temperature. A temperature gauge that now reads lower than it used to is worth a dealer check.
Honda suggests a non-abrasive wax on the cowl to help salt rinse off. Yamaha recommends treating the rubber cowl seal with a silicone protectant so it stays supple. Log each flush, spray, grease job and anode check in BoatMend so the monthly items don't slip.
Common mistakes
- Skipping the flush "just this once" after a short trip.
- Rinsing the cowl with the engine tilted up, which lets water into the air intake.
- Pressure-washing the engine or blasting water into the intake.
- Spraying anticorrosion on belts, the alternator or anodes.
- Revving the engine on muffs, or turning off the water before the engine.
- Flushing with the prop on.
- Starting the engine on the built-in flush port when the manual says that port is for engine-off flushing.
- Leaving the outboard down in salt water at the dock for days.
- Thinking shiny, unworn anodes mean all is well.
When to call a pro
- No telltale stream during flushing, or an overheat alarm after flushing
- White powder, bubbling paint or pitting on the gearcase or bracket
- Anodes disappearing in a few weeks
- Grease fittings that won't take grease, or tilt and steering joints that stay stiff
- Corroded electrical connectors, a corroded trim motor, or warning lights after washing
- The yearly water pump and thermostat service, if you're not comfortable doing it
Tips
- Keep the flush muffs, hose adapter and a can of anticorrosion spray in the truck so the flush happens at the ramp, not "later."
- Set a monthly BoatMend reminder for the spray, grease and anode check.
- Rinse the trailer, winch and lights too; salt eats them as fast as the engine.
- Keep a spare set of anodes and a prop nut kit aboard if you fish offshore.
- Take a quick photo of the gearcase each month; slow corrosion is easier to see in photos side by side.
Official references
We read these to write this guide. Your engine's own manual always wins.
- Honda Marine – Salt Water Operation
- Yamaha Outboards – Maintenance Matters, Corrosion Prevention
- Yamaha Outboards – Maintenance Matters, External Appearance
- Yamaha Outboards – The Post Boat Day Process
- Mercury Marine – Maintenance Made Easy, Preventing Corrosion
- Mercury Marine – Service and Support FAQs (flushing, anodes)
- Suzuki Marine – DIY Maintenance (flushing, anodes)
- Suzuki Marine – FAQs (starting out of the water, saltwater care)
- Yamaha Outboards – Owner FAQs (starting out of the water)
- BoatUS – Outboard Flushing The Right Way (brand-by-brand flush methods)
- Yamaha Outboards – Maintenance Matters, Power Trim and Tilt
- Yamaha Outboards – Maintenance Matters, Additional Tasks (thermostat and pressure valves)
Safety: BoatMend is for information only and does not replace a certified marine technician. You are responsible for your safety and your boat. Read the full disclaimer.
Last updated 2026-10-24
Related guides
How to Flush Your Engine With Fresh Water
Rinse salt, silt and sand out of your outboard or sterndrive cooling system using the built-in flush port, flush muffs or a flush bag. Flushing after every saltwater trip is one of the easiest ways to prevent corrosion and overheating.
How to Grease Your Outboard's Lubrication Points
Grease the swivel bracket, tilt tube, steering and shift linkages, trim rams and prop shaft splines on your outboard. Grease keeps salt and water out of the moving joints. A 30-minute job once or twice a season prevents seized steering, stuck props and corroded brackets.
How to Inspect and Replace Sacrificial Anodes (Zincs)
Check the anodes on your outboard, sterndrive or inboard running gear, replace them when they are half gone, and choose the right metal for the water you boat in. Fresh anodes are cheap insurance against expensive corrosion damage to your lower unit, drive and prop.
How to Replace the Water Pump Impeller
Replace the rubber impeller that pumps cooling water through your engine, the part most often behind overheating. On many outboards it is a two-hour driveway job that saves a shop bill of several hundred dollars and prevents far costlier heat damage.
How to Test and Replace the Engine Thermostat
Find, test and replace the thermostat that controls your engine's operating temperature. A stuck thermostat can make an engine overheat or run too cold. On most outboards and many sterndrives it is a one-hour job with basic tools.
How to Check and Top Up Power Trim and Tilt Fluid
Check and top up the hydraulic fluid in your power trim and tilt unit, then work through the simple checks when the motor won't go up, won't go down or slowly sinks. Most trim problems are a dead battery, a bad relay, low fluid or a release valve left open, and you can find those yourself.
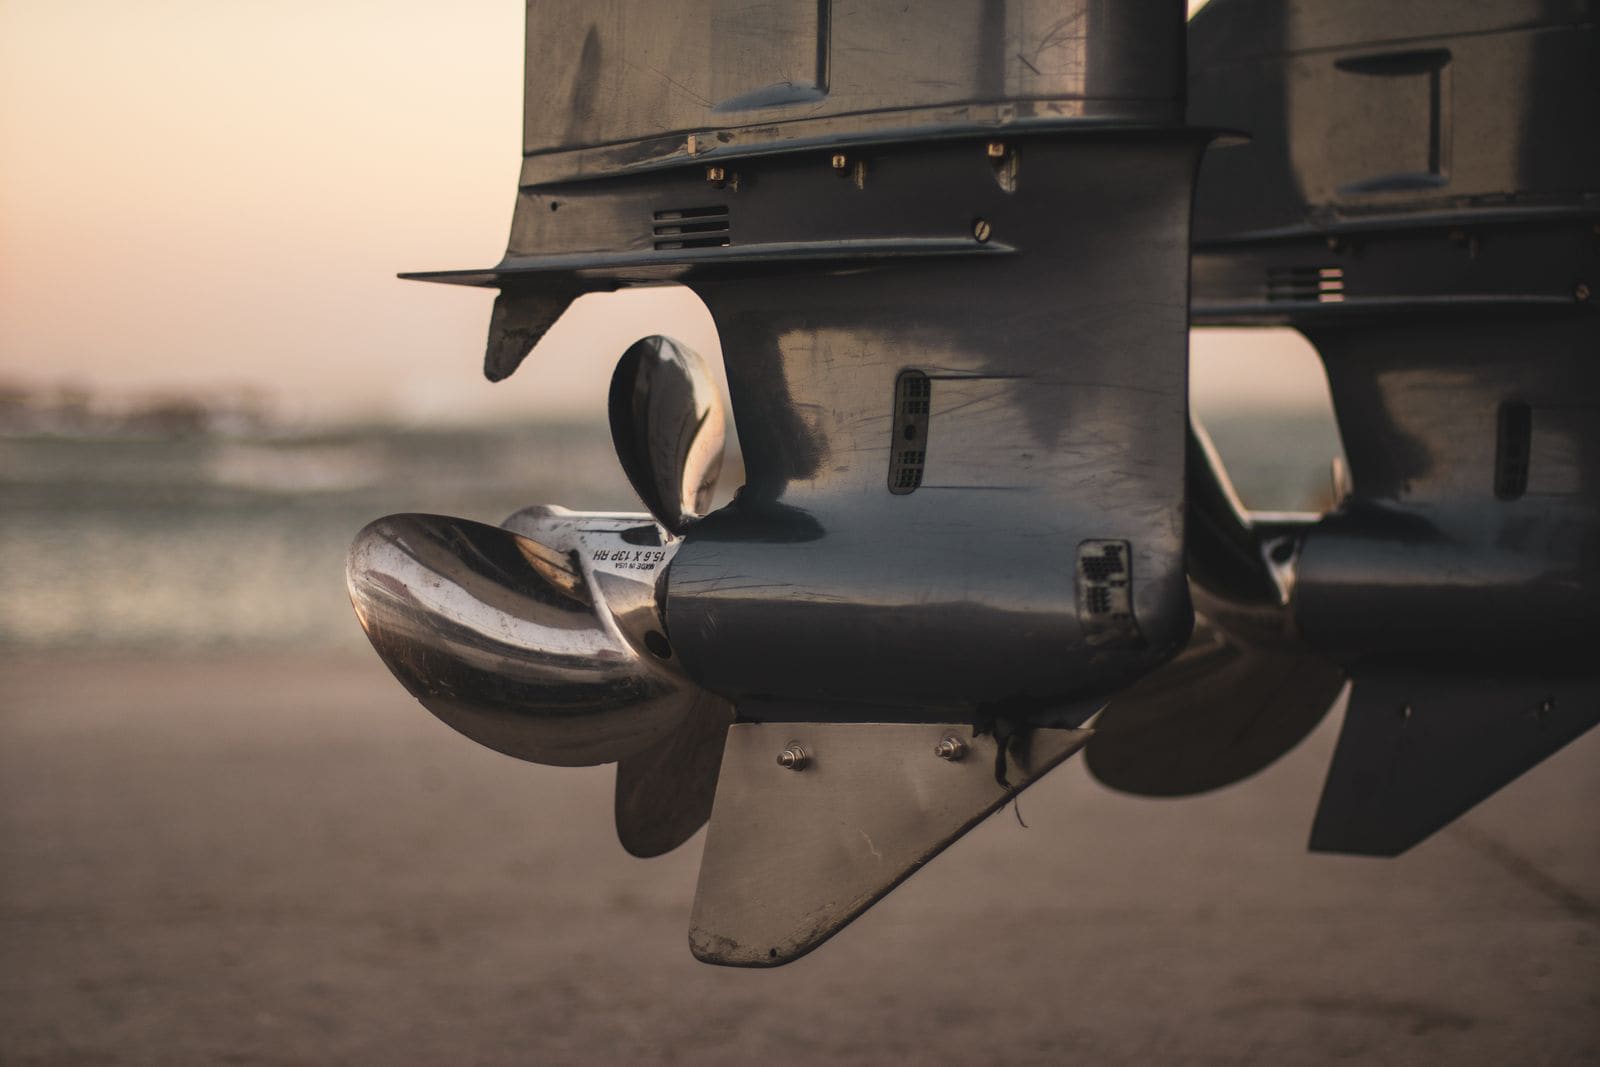
Propeller Care: Inspect, Remove, Replace and Choose the Right Pitch
Check your prop for damage, pull it to clear fishing line and grease the shaft, reinstall it correctly, and learn how pitch affects your engine's wide-open-throttle RPM. The right prop in good shape protects your engine and often makes the boat run better and use less fuel.
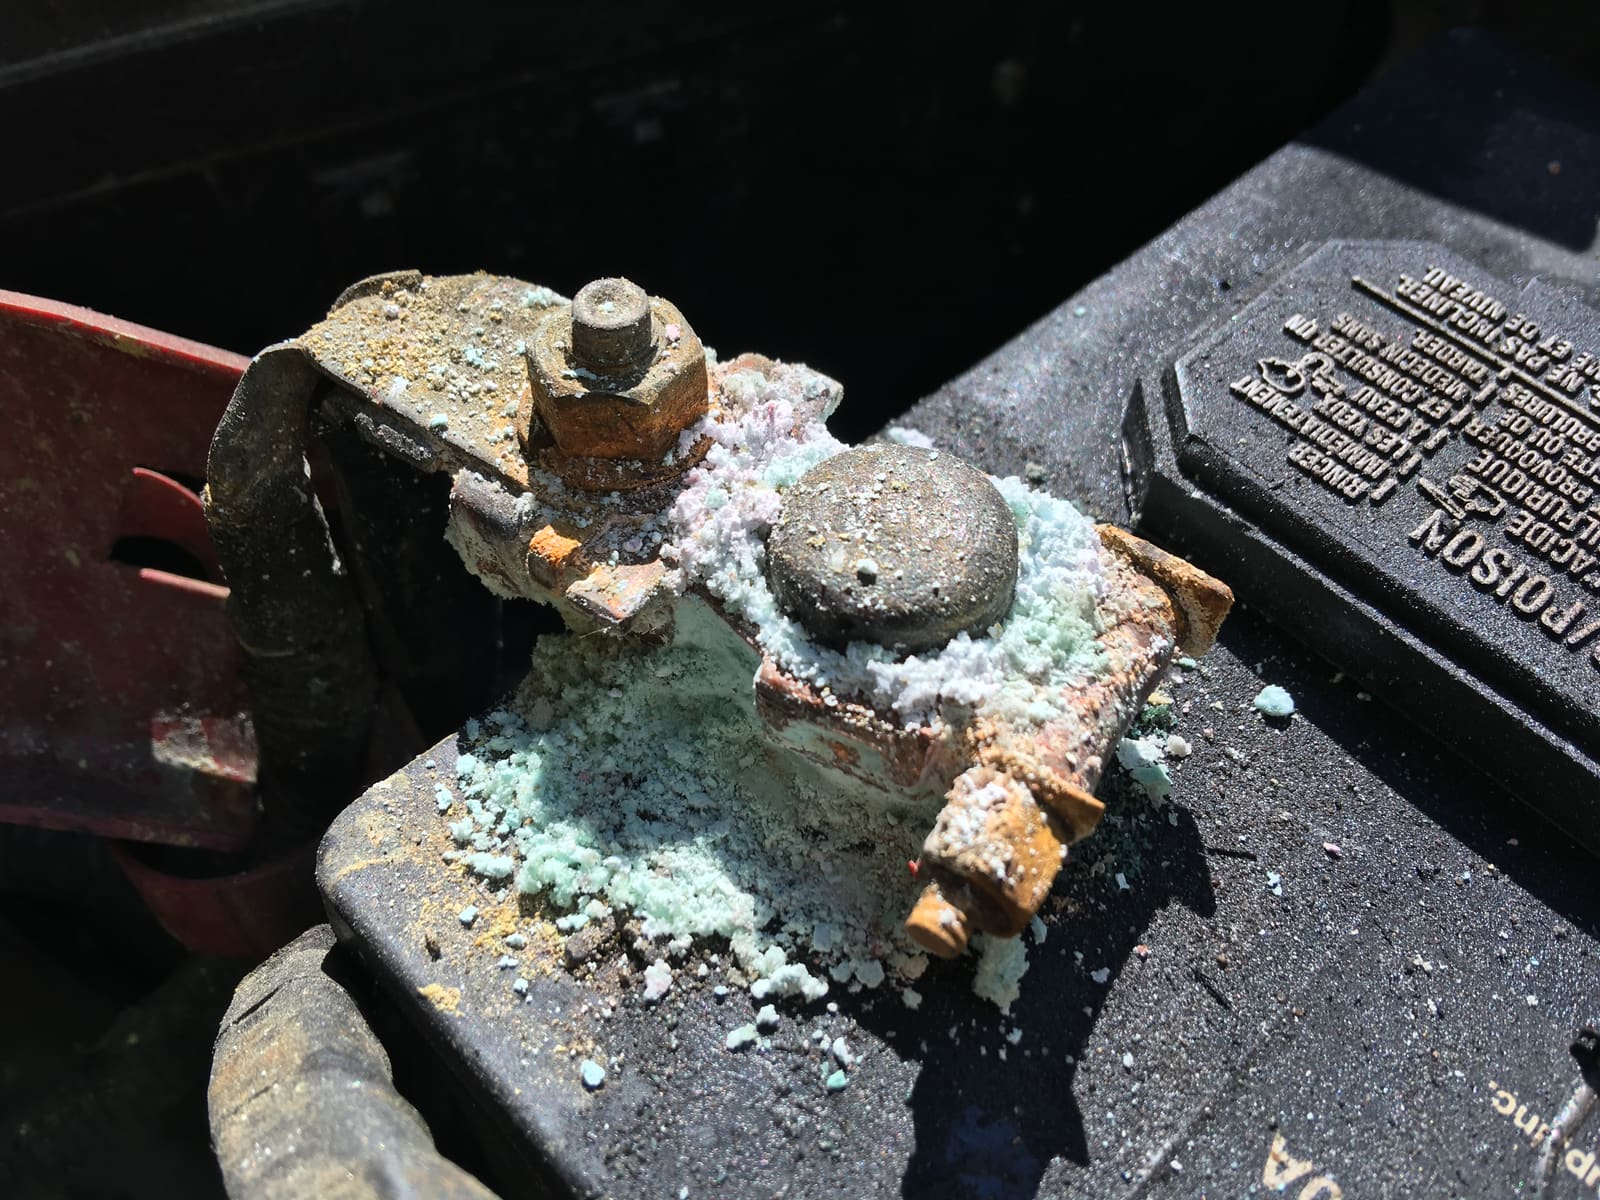
How to Find and Fix Corroded Electrical Connections on a Boat
Track down the green crust and loose terminals behind flickering lights, dead gauges and slow cranking with a simple voltage-drop test, then remake the connection the marine way: tinned wire, a proper crimp, adhesive-lined heat shrink and a protective coating.
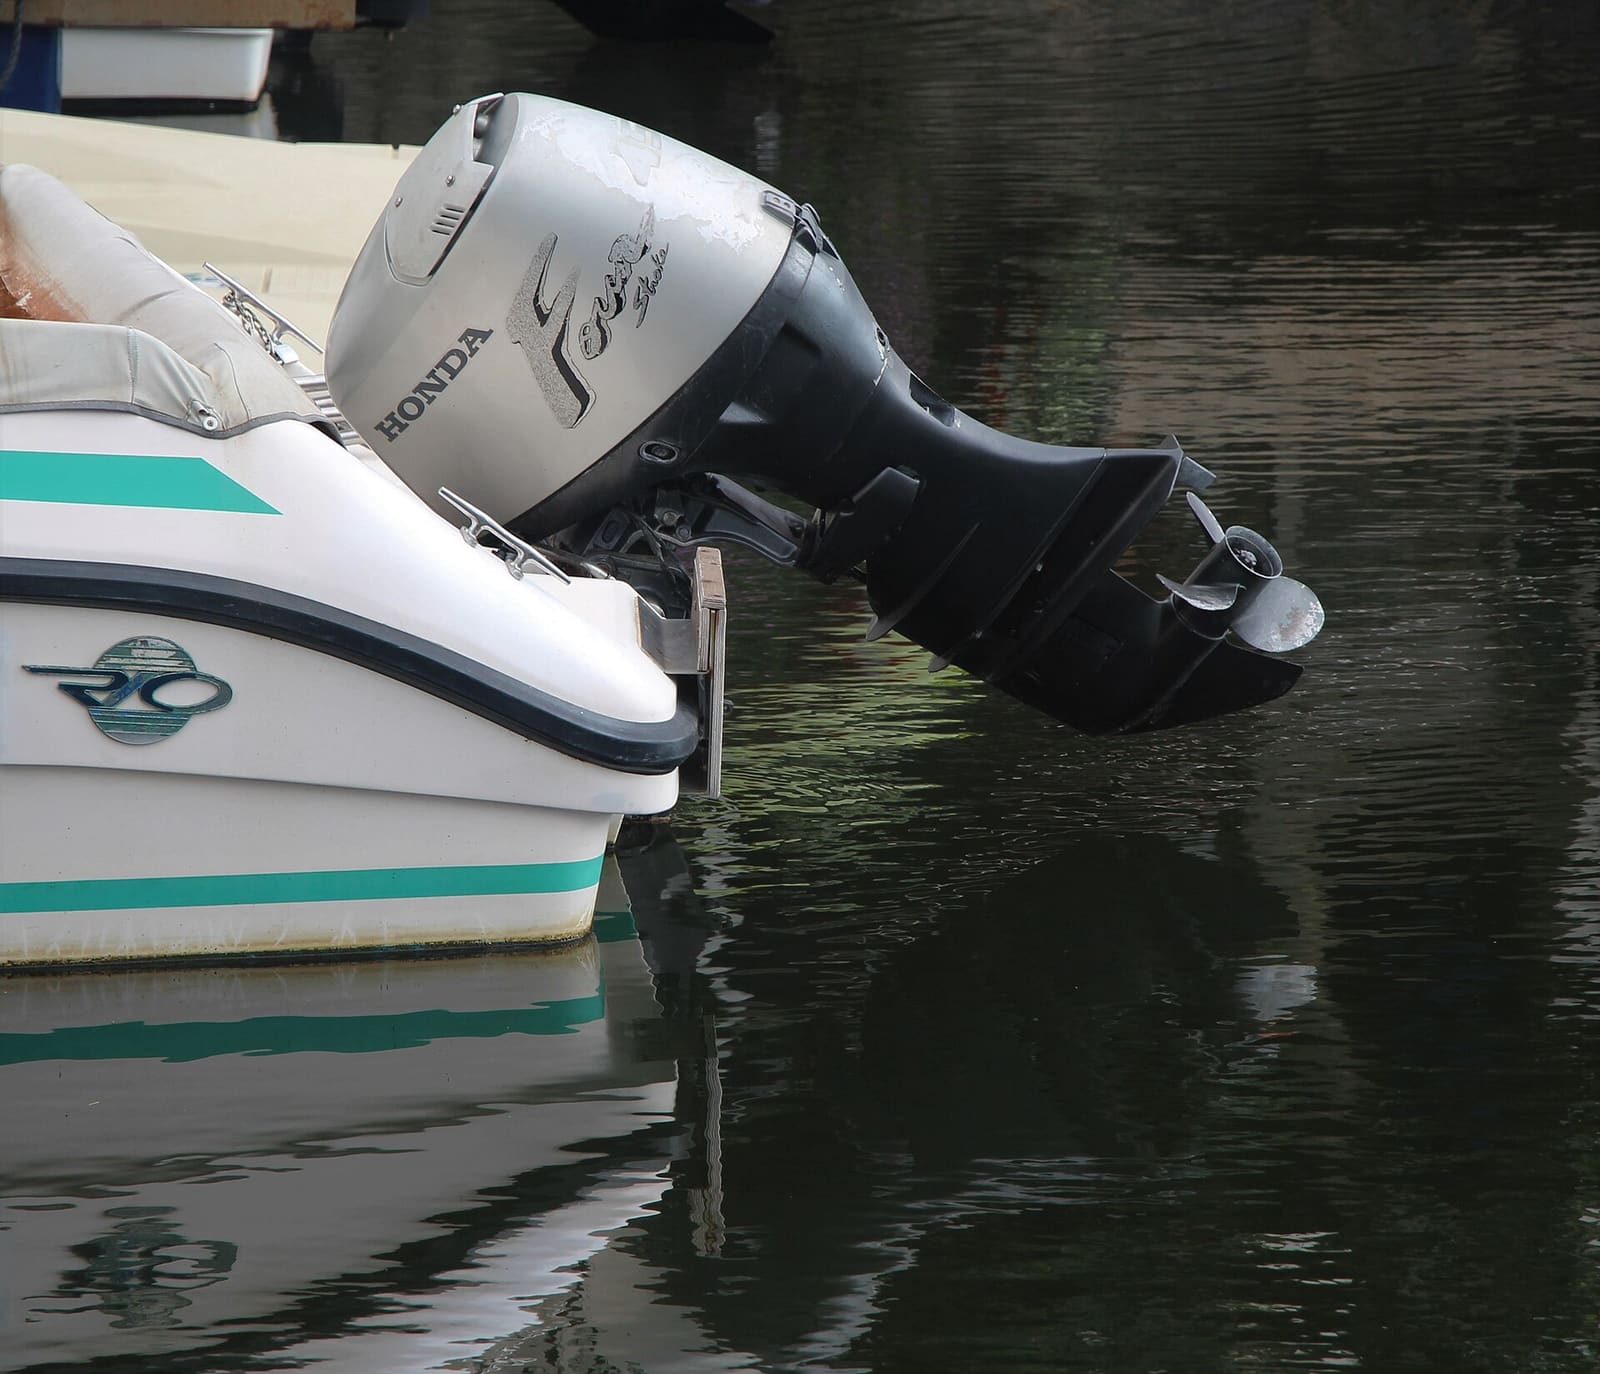
How to Winterize an Outboard Engine
Protect your outboard from freeze damage, stale fuel and internal corrosion over the off-season. Most owners can do it in an afternoon with basic tools, compared with a shop bill that often runs several hundred dollars.
Engine Overheating - Troubleshooting Guide
Work through the most likely causes of a hot engine or overheat alarm, from a blocked water intake to a worn impeller or stuck thermostat. Acting fast and in the right order can save your engine and often gets you home without a tow.