How to Care for Boat Solar Panels, Connectors and the Charge Controller
A boat solar setup is quiet and almost maintenance-free, but salt, shade, loose connectors and a wrong battery setting quietly cut its output or hurt the batteries. Learn the cleaning, inspection and controller checks to do each season, and how to leave the system for winter.
Time
1 h
Shop would charge
$150-500
Applies to
All engines
Safety first: A solar panel makes power whenever light hits it; you cannot switch it off at the panel. Larger arrays wired in series can reach voltages that give a dangerous shock, and a short across the battery side can start a fire. Work on wiring only with the panel covered or disconnected the way your controller's manual describes, and never unplug MC4 connectors while current is flowing. If you see melted insulation, scorch marks or smell burning, disconnect and call a marine electrician. Clean panels standing on a stable surface, not balanced on a bimini or cabin top underway.
Owners often ask
- How should I clean the solar panels on my boat, and how often?
- Does my solar charge controller need a different setting for AGM or lithium batteries?
This guide walks you through it. Still stuck? Ask the AI Mechanic about your engine.
Tools
- Soft sponge or microfiber cloth and a bucket of fresh water
- Soft brush (for snow or bird droppings)
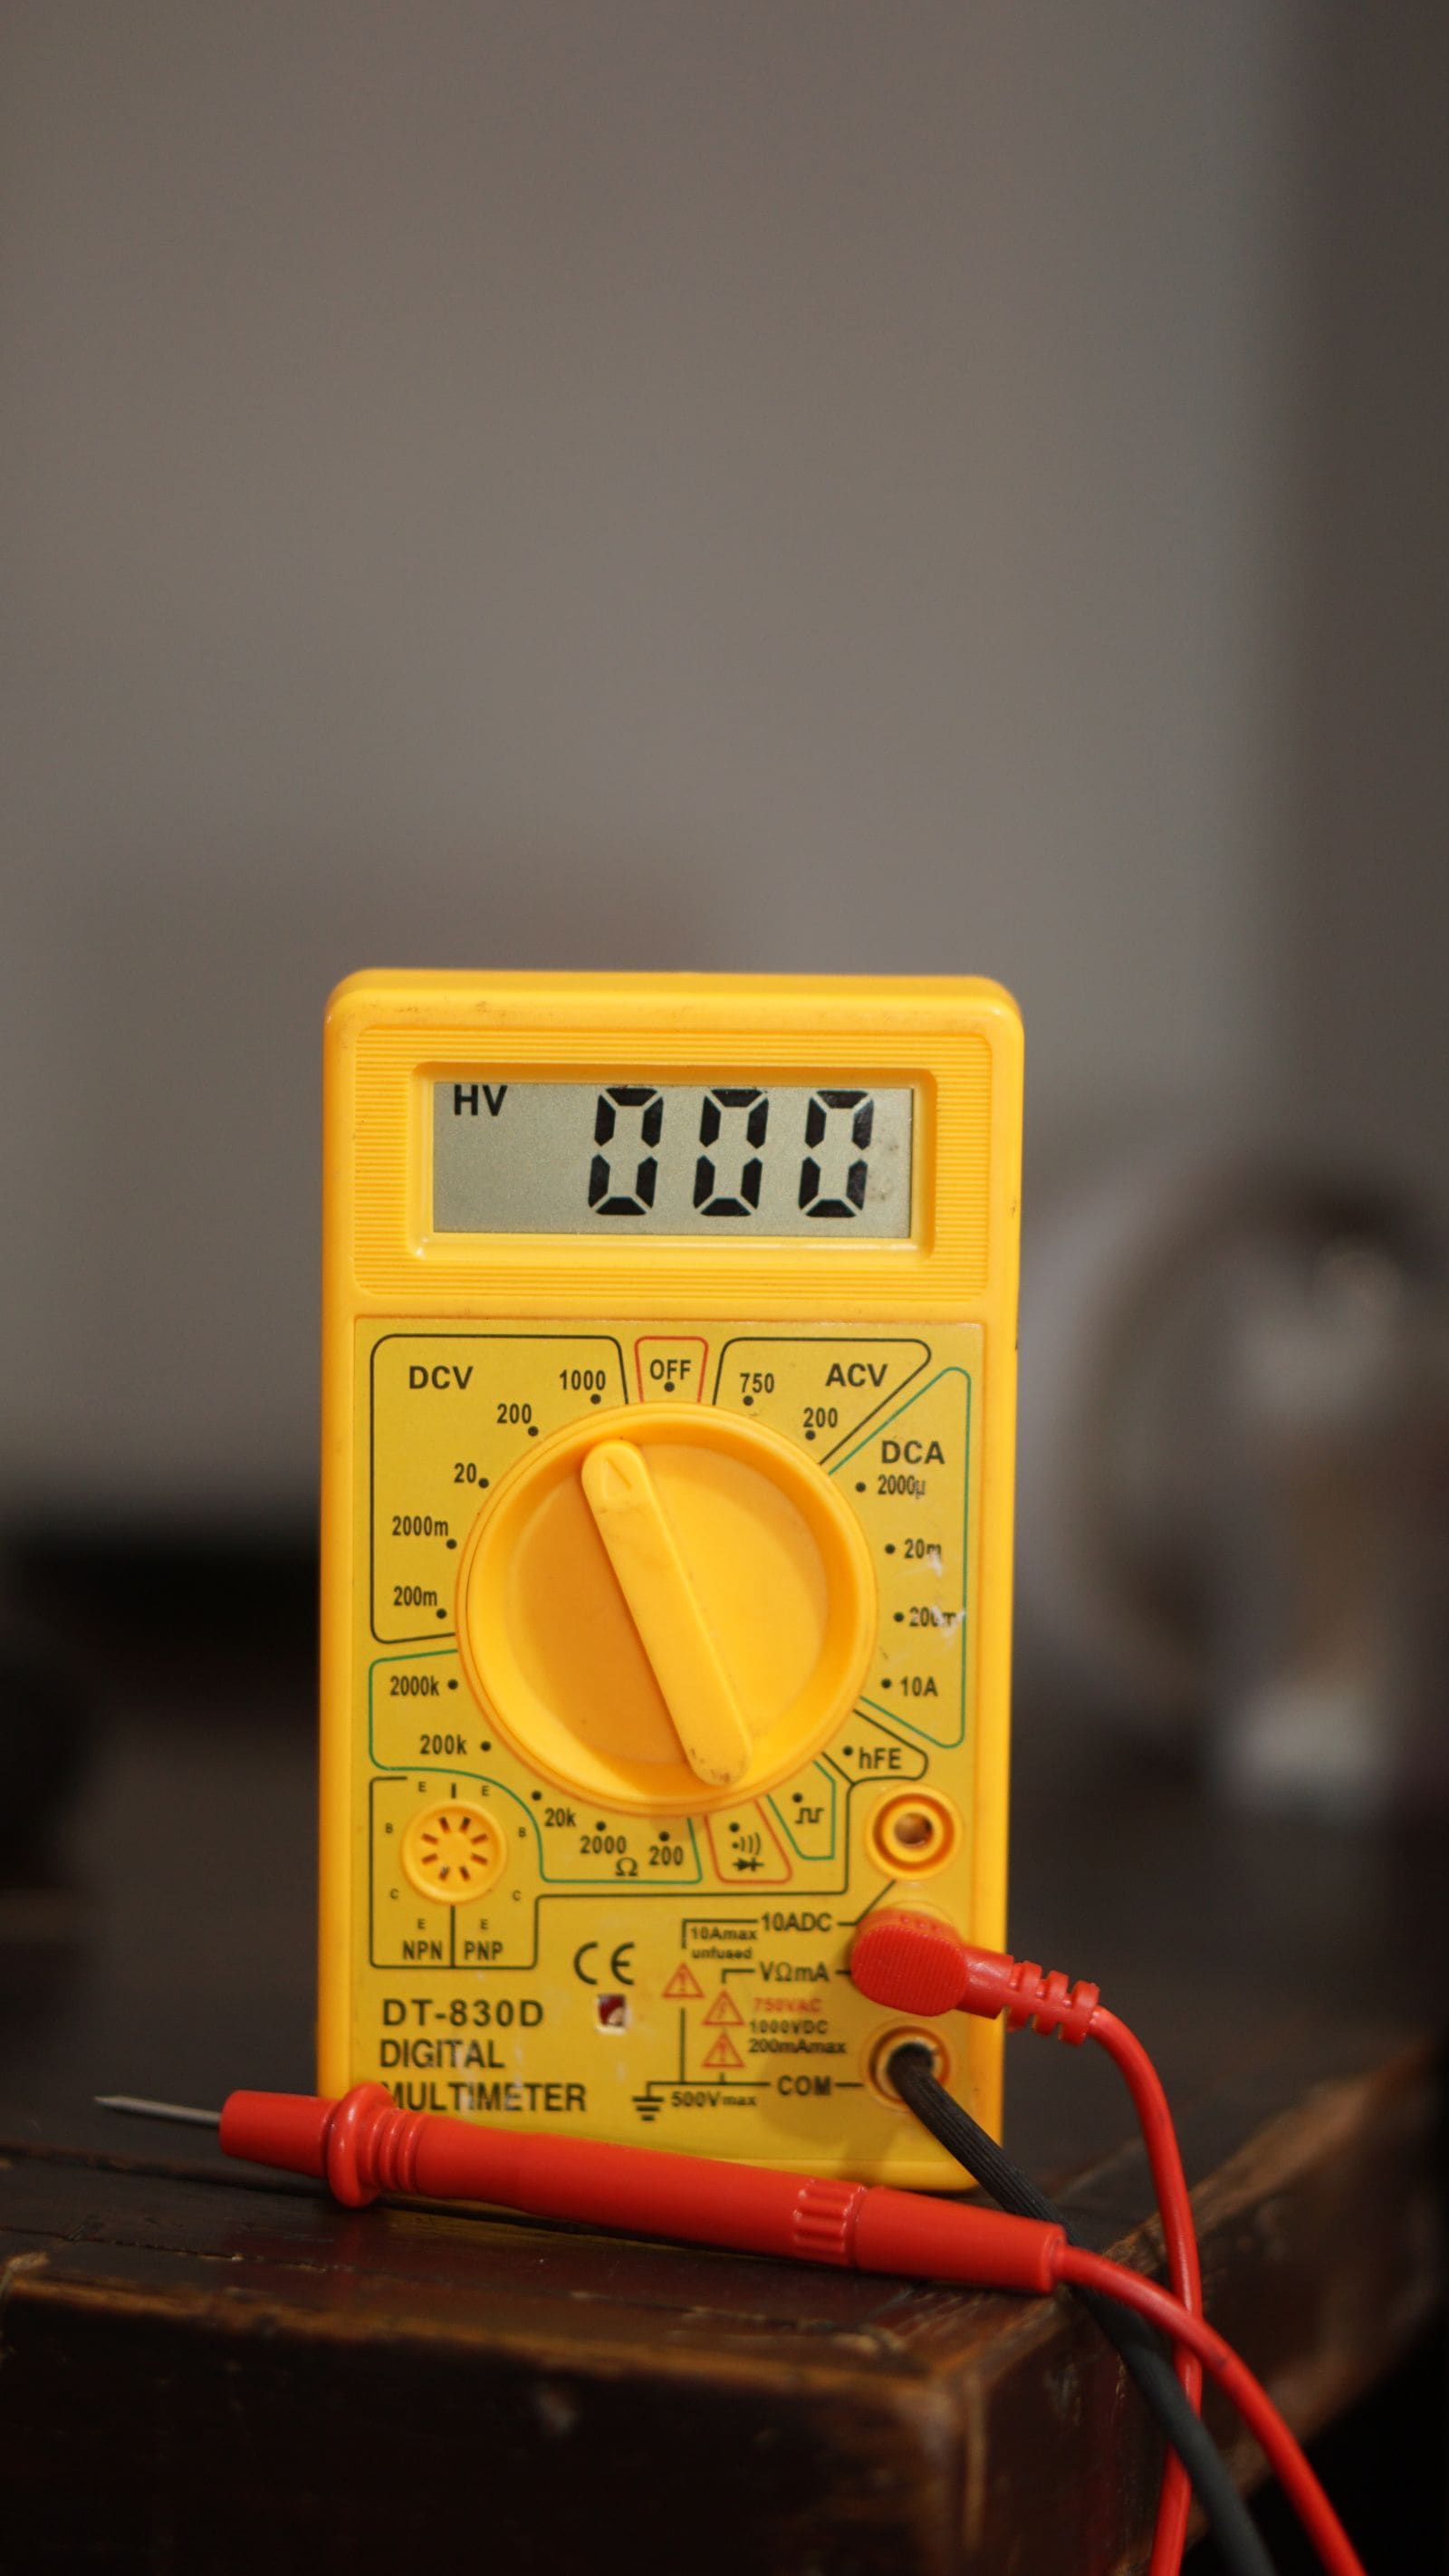
- Multimeter that reads DC volts and amps (a clamp meter is handy)
- Screwdrivers and nut drivers
- Phone with the charge controller's app (if it has Bluetooth)
- Flashlight or headlamp
Parts & supplies
- Mild, non-abrasive soap (no acid, alkaline or ammonia cleaners)
- Dielectric grease (for ring terminals, not inside MC4 connectors unless the maker says so)
- Replacement fuse of the exact rating listed for your system
- UV-resistant cable ties and chafe guard
Before you start
A boat solar system has four parts:
- Panels: rigid glass panels on a frame, semi-flexible panels glued or snapped to a deck or canvas, or roll-up panels. BoatUS explains that panels are there to charge the batteries, not to run equipment directly.
- Wiring and connectors: usually MC4 plugs at the panel, a weatherproof deck fitting, and tinned marine wire to the controller.
- Charge controller: the regulator that turns the panel's higher voltage into a safe charge for your battery type. BoatUS calls skipping it "false economy" that can overcharge and damage the battery. MPPT controllers harvest more power in low light and partial shade than cheaper PWM ones.
- Fuse or breaker between the controller and battery, close to the battery.
Gather your info first: the controller's manual (or app), the battery maker's charging specs, and the panel's label (watts, open-circuit voltage and short-circuit current). Note whether your batteries are flooded, AGM, gel or lithium; the controller must be set to match.
A once-a-season check takes about an hour. Rinse panels more often on a saltwater boat.
Steps
Before touching anything, note what the system is doing on a sunny day around midday: the controller display or app shows panel voltage, charge current and battery voltage. Write the numbers in BoatMend. Next season you can compare and spot a drop before the batteries do.
BoatUS points out that with crystalline panels, even the thin shadow of a rope, shroud or boom across part of a panel can cut or stop the output of the whole panel. Look at the panel at different times of day and with the boat swinging at anchor. Move halyards, flags, antennas and the boom where you can, and stow gear (life jackets, towels, fenders) off the panels. Bypass diodes in many marine panels limit the damage, but shade still costs you power.
Renogy recommends a wet sponge or soft cloth and warns against acid or alkaline cleaners. On a boat:
- Rinse with fresh water to lift salt first, then wipe with mild soap and rinse again.
- Clean early in the morning or at dusk, when the panel is cool and producing less; Renogy suggests this to avoid shock and burns.
- Skip pressure washers, scouring pads and hard brushes, especially on semi-flexible panels whose plastic top scratches easily.
- Bird droppings block light like a solid shadow; soak them before wiping.
Look for cracked glass, bubbles or delamination, brown or burned spots, and corrosion along the thin metal lines in the cells. Renogy lists these as signs of moisture getting in or a damaged panel. On semi-flexible panels, check for lifting edges, cracks where the panel flexes, and hot spots (discoloration). A damaged panel can overheat; replace it rather than patch it.
Wiggle the frame, bimini rail or bracket. BoatUS notes the structure behind the mounting must handle the vibration and twisting loads of a boat at sea. Tighten loose fasteners, look for cracks around deck fittings, and make sure snaps, zippers or hook-and-loop on canvas-mounted panels are holding. A panel that comes loose underway is a hazard to people and the boat.
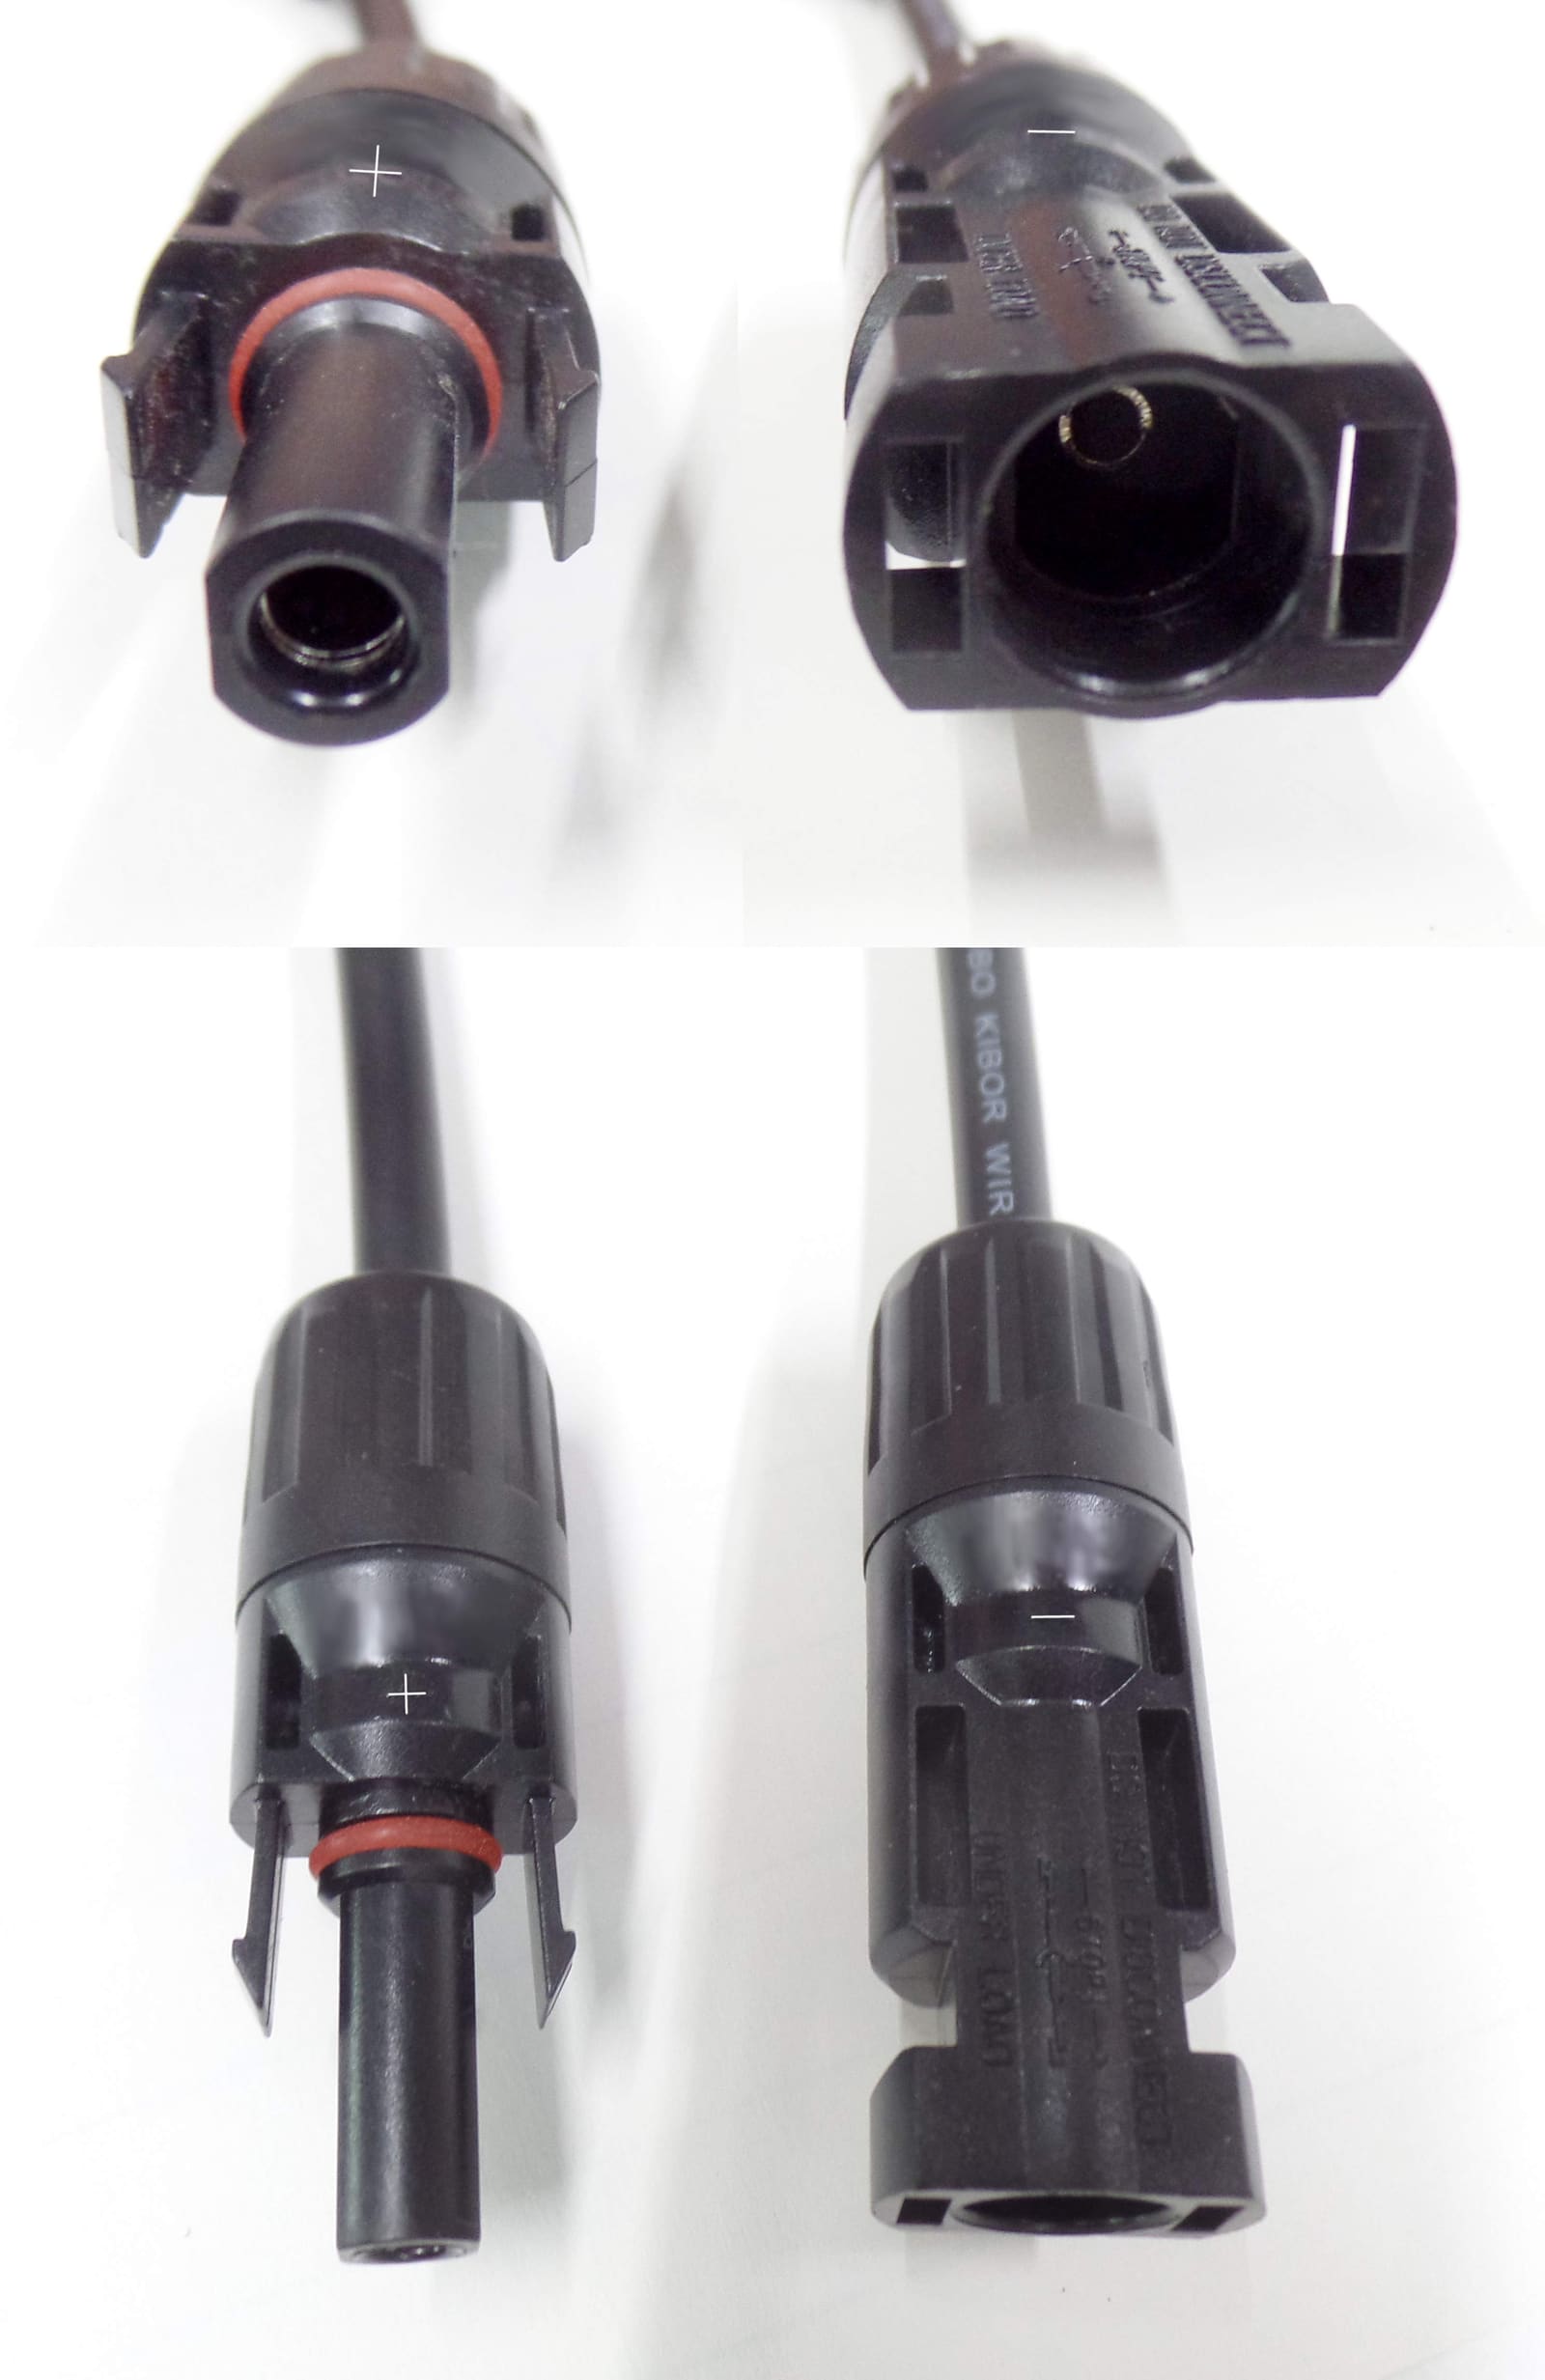
MC4 connectors lock together and seal with a ring. Note the 'do not disconnect under load' warning molded into them. Photo: Orion Lawlor / Wikimedia Commons · CC0 1.0 Check that each pair of MC4 plugs is fully clicked together and that the cable enters the back of the plug snugly. Look for cracked plastic, green or white corrosion, and melted or discolored plugs. Renogy also suggests checking the seal on the panel's junction box about every 6 months. Don't unplug MC4s with the panel in the sun and current flowing: they are not switches, and pulling them under load can arc. Cover the panel or disconnect at the controller first, following your manual.
Look for chafe where the cable runs along rails, through the deck fitting and into the cabin. BoatUS recommends supporting wires about every 18 inches and protecting them where they pass bulkheads. Make sure the deck fitting is sealed; a leaky one drips onto your electrical panel. Inside, check that terminals at the controller are tight and not corroded.
There should be a fuse or breaker on the positive wire between the controller and the battery, close to the battery. BoatUS (2024) says ABYC calls for it within 7 inches of the battery or other connection point in most installs; BoatUS (2017) explains that without a fuse, a short in that wire is a dead short across the battery and a fire risk. Confirm the fuse is present, the right rating for your system, and its holder is not corroded or heat-discolored. If there is no fuse, have one added.

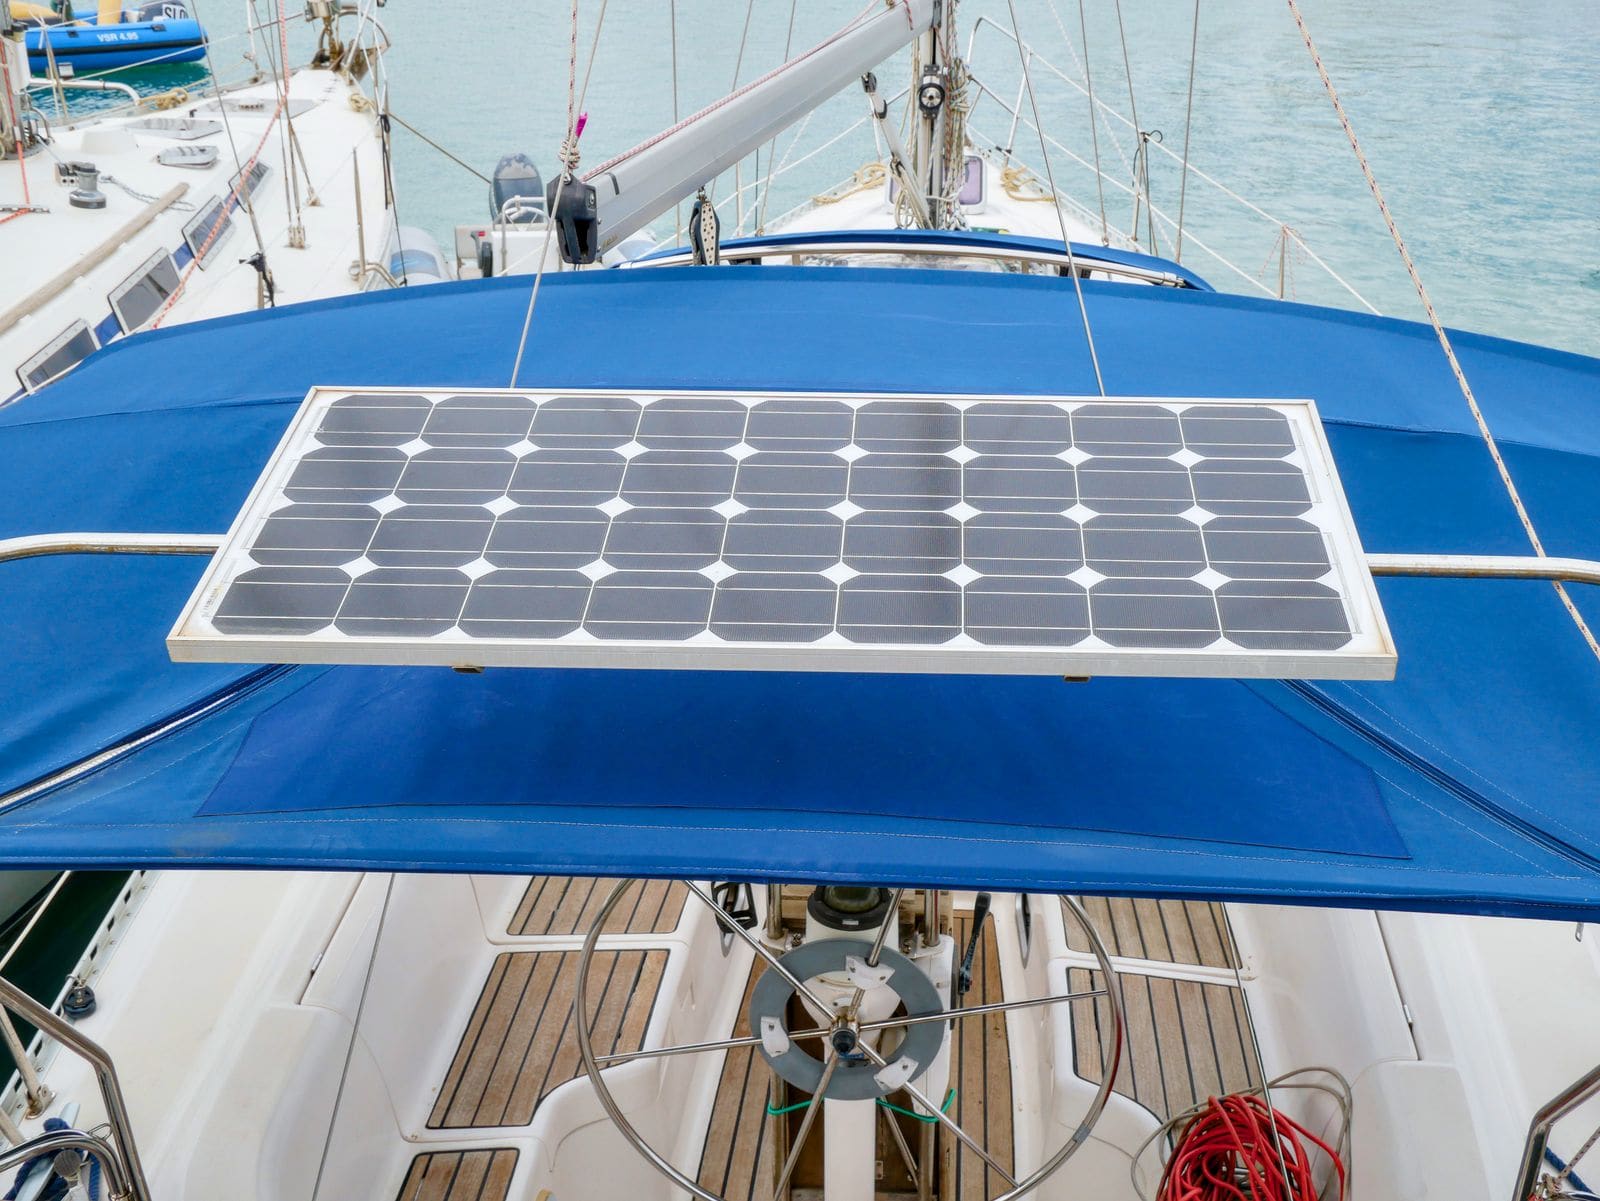
A rigid panel up high on a cabin top or arch stays clear of most shade. Check its mounts each season. Photo: Dennis G. Jarvis / Wikimedia Commons · CC BY-SA 2.0 This is the most important setting. Flooded, AGM, gel and lithium batteries need different charge voltages. Open the controller's settings or app and make sure the profile matches your battery, or that the voltages match what your battery maker publishes. Victron warns not to run an equalization charge on gel, AGM, VRLA or lithium batteries, because it can damage them. If you switched to lithium, the controller must be set for it (see the lithium conversion guide).
Many controllers care about the order. Victron's manual says to connect the battery first and the panels second, so the controller detects the system voltage correctly; to shut down, disconnect the panels first, then the battery, and reverse that to restart. Never disconnect the battery while the panels stay connected unless your controller's manual says it is safe. Write the order on a label next to the controller.
If you also have a wind generator, a DC-DC charger or a shore charger, BoatUS describes how two controllers set to the same voltages can fight each other and reduce charging. If the solar current drops to almost nothing whenever another charger runs, ask a marine electrician to adjust the set points so the sources share the work.
On a bright day with the batteries not full, compare the charge current to earlier readings. A big unexplained drop, after cleaning and clearing shade, points to a damaged panel, a bad connector or a wiring fault. With a multimeter, a technician (or a confident owner following the controller manual) can compare panel voltage at the controller to the panel's label to narrow it down.
Before you blame the panel, rule out the normal and simple causes that Victron's troubleshooting chapter lists:
- Battery already full: the controller cuts the current way down on purpose. Test when the batteries are partly used, not after a week on the charger.
- Cold lithium battery: many controllers pause charging when a lithium battery is near freezing to protect it. That is not a fault.
- Voltage lost in the wiring: while it charges hard (Victron suggests the morning), measure the voltage at the controller's battery terminals and then right at the battery posts. A clear difference means undersized wire, a poor crimp or a loose connection between them; have it fixed.
- Hot controller: output drops when the controller gets very hot. One mounted in a closed locker needs vents or airflow around it.
- If the batteries stay aboard and connected, solar can keep them topped up all winter, which is one of its best uses. Keep the controller set correctly and the panels clear.
- Owners who can no longer bring the boat home to charge often ask if a small panel will do. Usually yes for a boat that only needs topping up, as long as it goes through a proper controller set for your battery type, the battery switch is set so the panel reaches the batteries you want, and you first find out why the batteries go flat (see the parasitic drain guide). A loose "portable power station" clipped to the battery is not a substitute for a controller-based charging setup; use one only as its maker describes, and never leave unattended gear charging in a closed cabin.
- Brush snow off with a soft brush; never chip ice off the glass.
- If you remove the batteries, disconnect the panels first, then the battery, so the controller is not left with panels connected and no battery (follow your manual).
- Check canvas-mounted panels before the cover goes on, and don't let shrink-wrap rub on panel edges.
Common mistakes
- Not setting the controller to the battery type, or leaving it on a flooded profile after switching to AGM or lithium.
- Pressure-washing or scrubbing panels with harsh cleaners, especially semi-flexible ones.
- Unplugging MC4 connectors with the sun on the panels.
- Disconnecting the battery while the panels are still connected, or reconnecting in the wrong order.
- Skipping the fuse near the battery, or using a fuse much bigger than the system calls for.
- Mounting a panel where the boom, shrouds or a radar arch shade it most of the day.
- Using household or automotive wire and crimps outdoors instead of tinned marine wire and sealed connectors.
When to call a pro
- Melted connectors, scorch marks, a hot fuse holder or a burning smell
- You want to add panels, wire panels in series for higher voltage, or change controllers
- Output stays low after cleaning, clearing shade and checking connectors
- The controller shows error codes you can't clear, or it conflicts with other chargers
- Any work that ties solar into a system with an inverter or shore-power charger
- A deck fitting leaks into the cabin or onto the electrical panel
Tips
- Rinse the panels when you rinse the boat after a saltwater day; it takes a minute.
- Keep a photo of each controller setting screen so you can restore them after a reset or firmware update.
- A battery monitor (shunt) tells you how much the solar actually puts in compared with what you use.
- The installer quoted by BoatUS (2017) suggests leaving room for more panels later, and one controller per panel where shading can't be avoided.
Official references
We read these to write this guide. Your engine's own manual always wins.
- BoatUS – What You Need To Know About Boat Solar Panels (2024)
- BoatUS – Marine Solar Panels (2017)
- Victron Energy – SmartSolar MPPT 150/35 & 150/45 manual, Operation
- Victron Energy – SmartSolar MPPT 150/35 & 150/45 manual, Installation
- Victron Energy – SmartSolar MPPT 150/35 and 150/45 Manual, Troubleshooting
- Renogy – How to Clean and Maintain Solar Panels
Safety: BoatMend is for information only and does not replace a certified marine technician. You are responsible for your safety and your boat. Read the full disclaimer.
Last updated 2026-10-24
Related guides
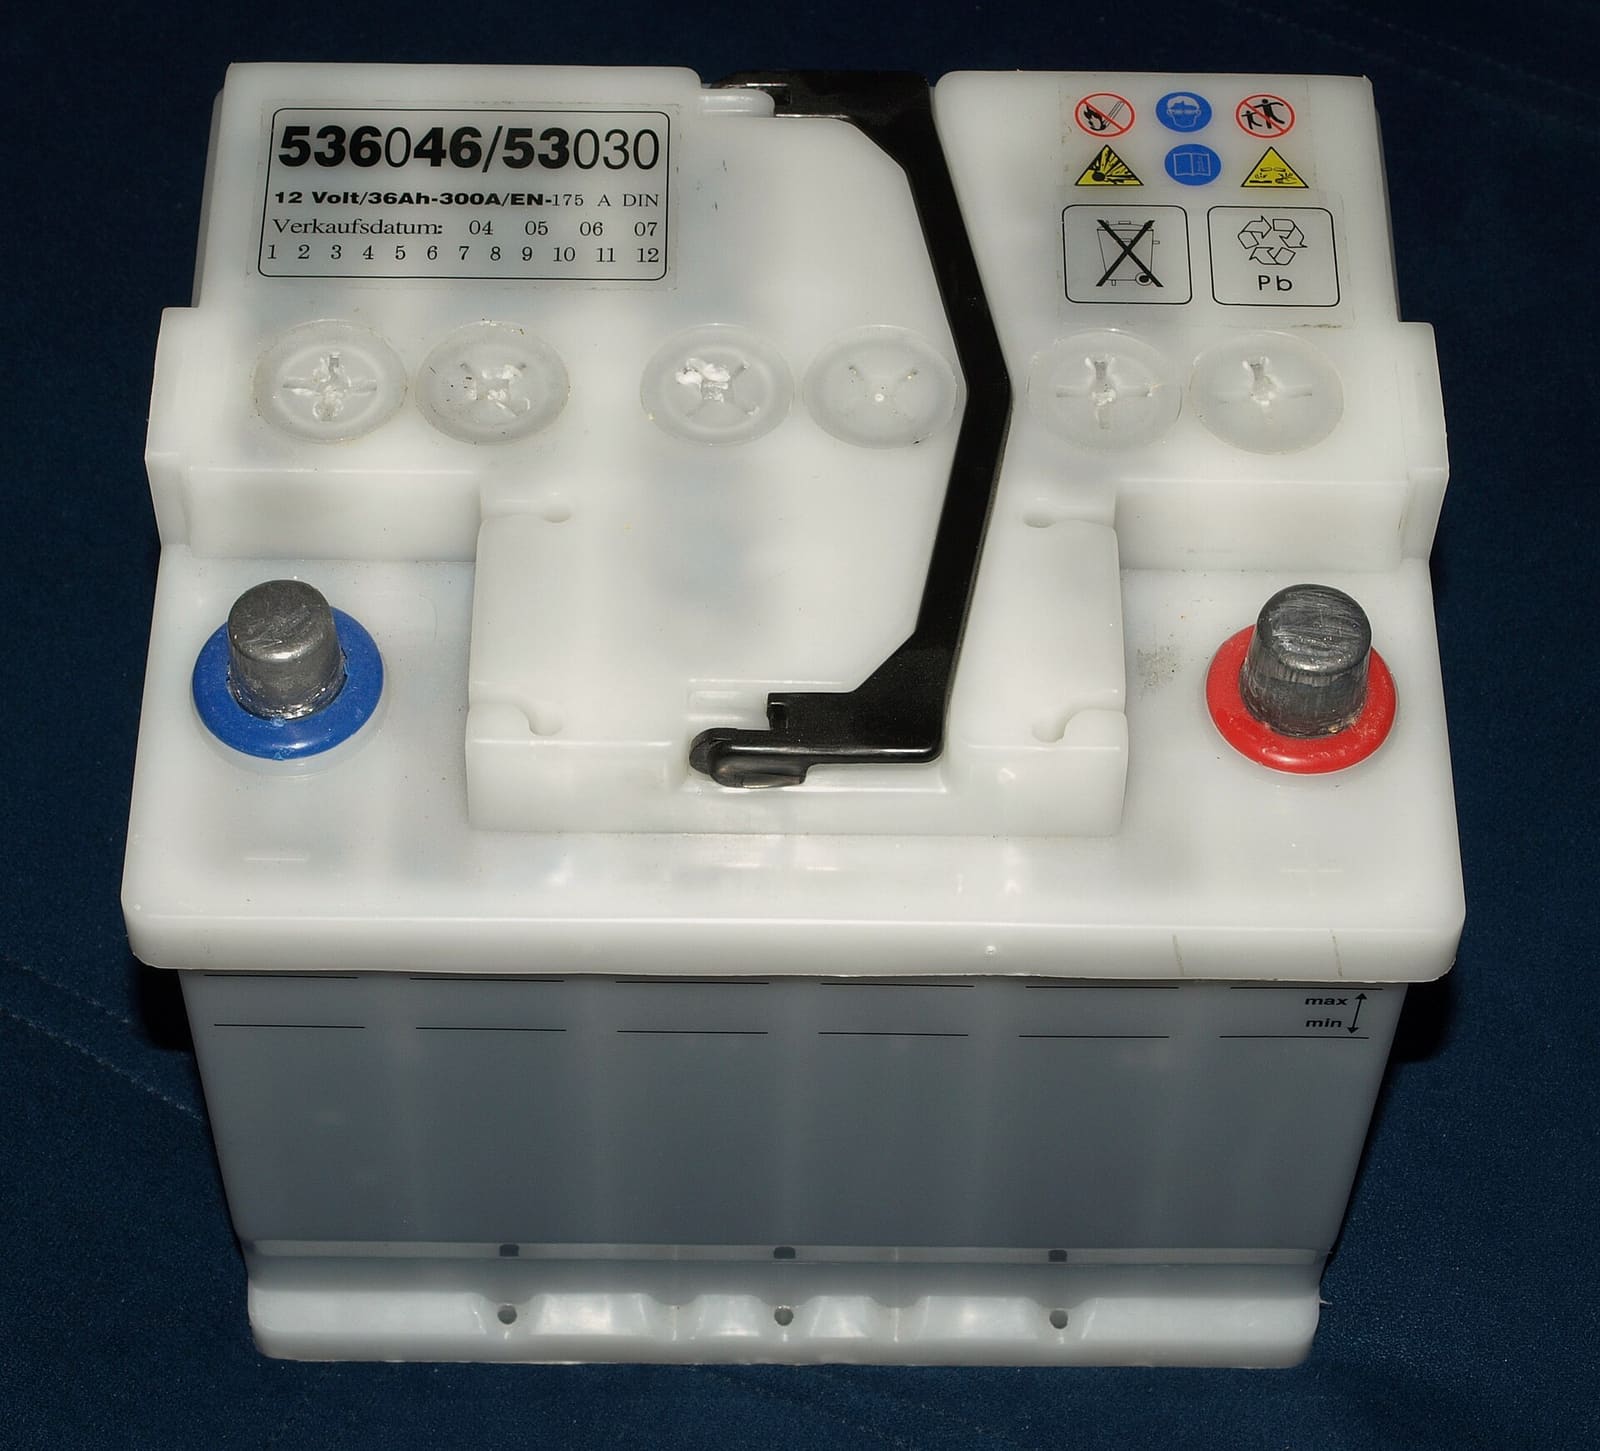
Marine Battery Care: Test, Charge and Store for Winter
Check your boat battery's health, charge it the right way for its type (flooded, AGM or lithium), and store it so it is ready in spring. Most "boat won't start" calls start with a neglected battery.
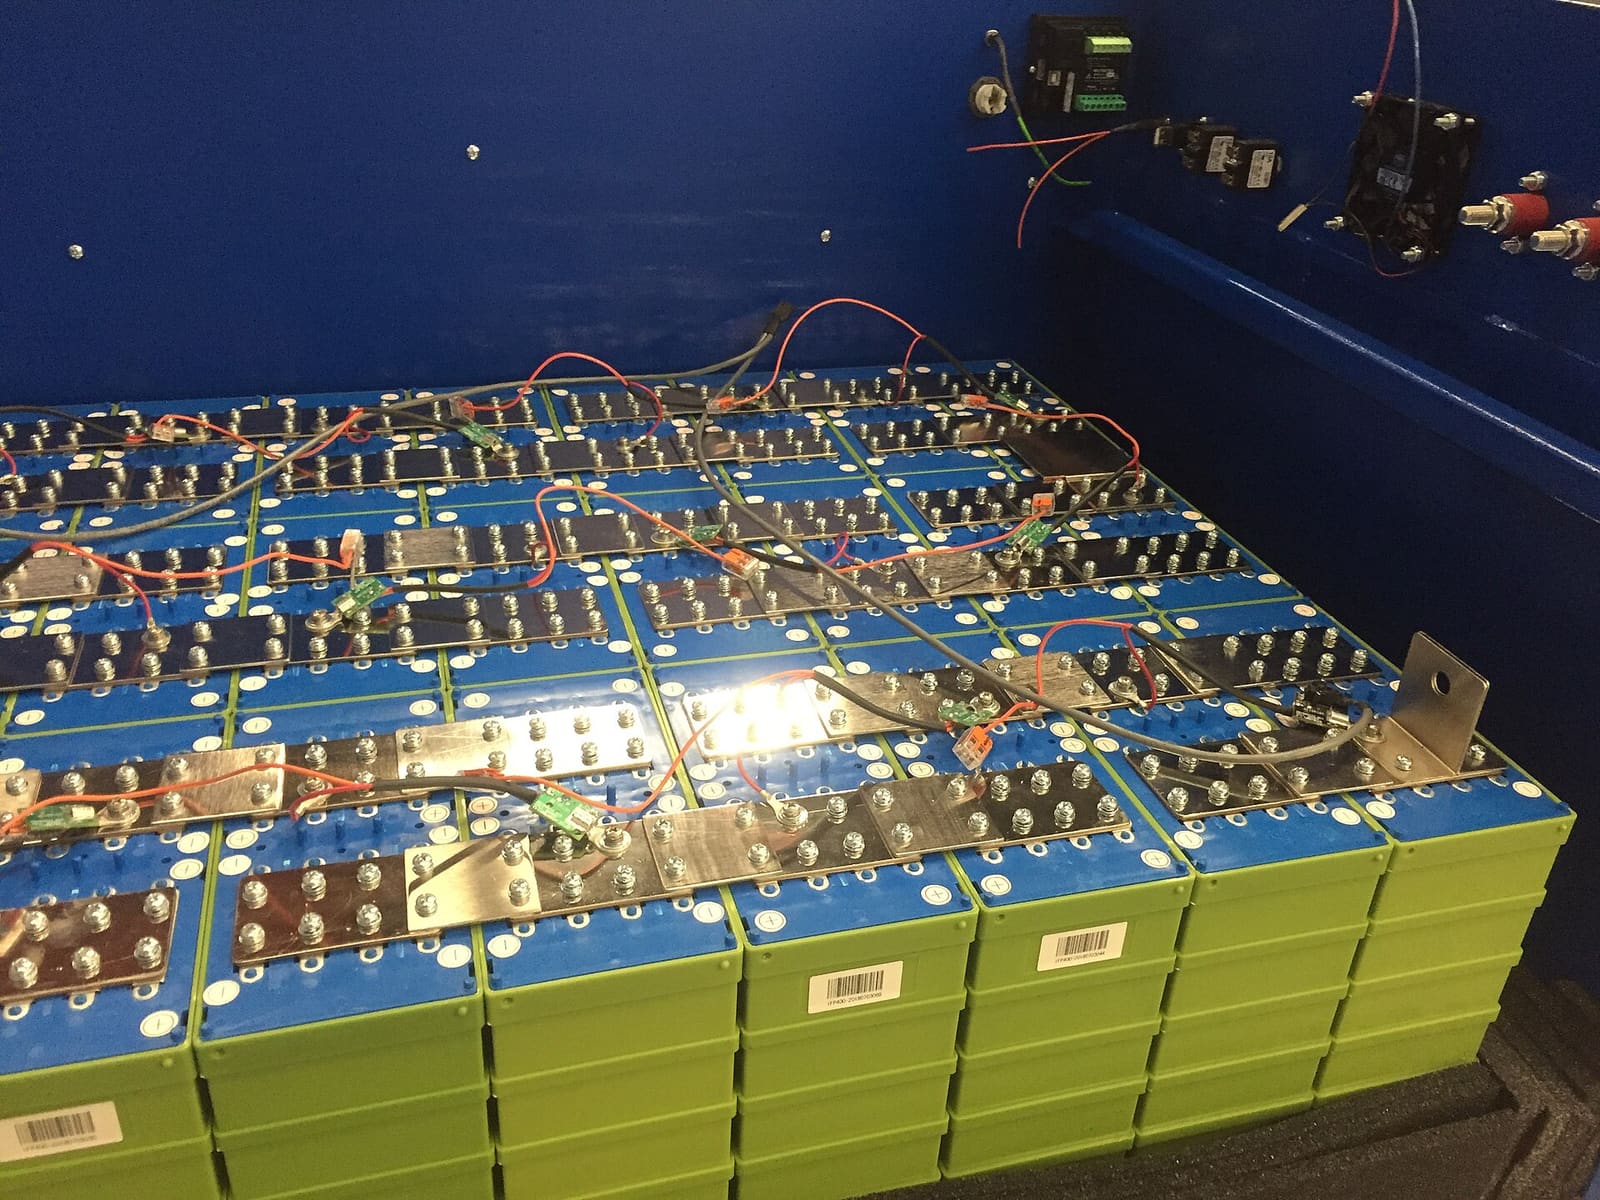
Switching to Lithium (LiFePO4) Boat Batteries: What Changes and When It's Worth It
What really changes when you swap lead-acid for lithium iron phosphate (LiFePO4) batteries on a boat: the battery management system, charger settings, protecting the alternator with a DC-DC charger, not mixing chemistries, cold-weather charging, and which jobs (trolling, house, starting) suit lithium. House-bank conversions should be designed and installed by a qualified marine electrician.
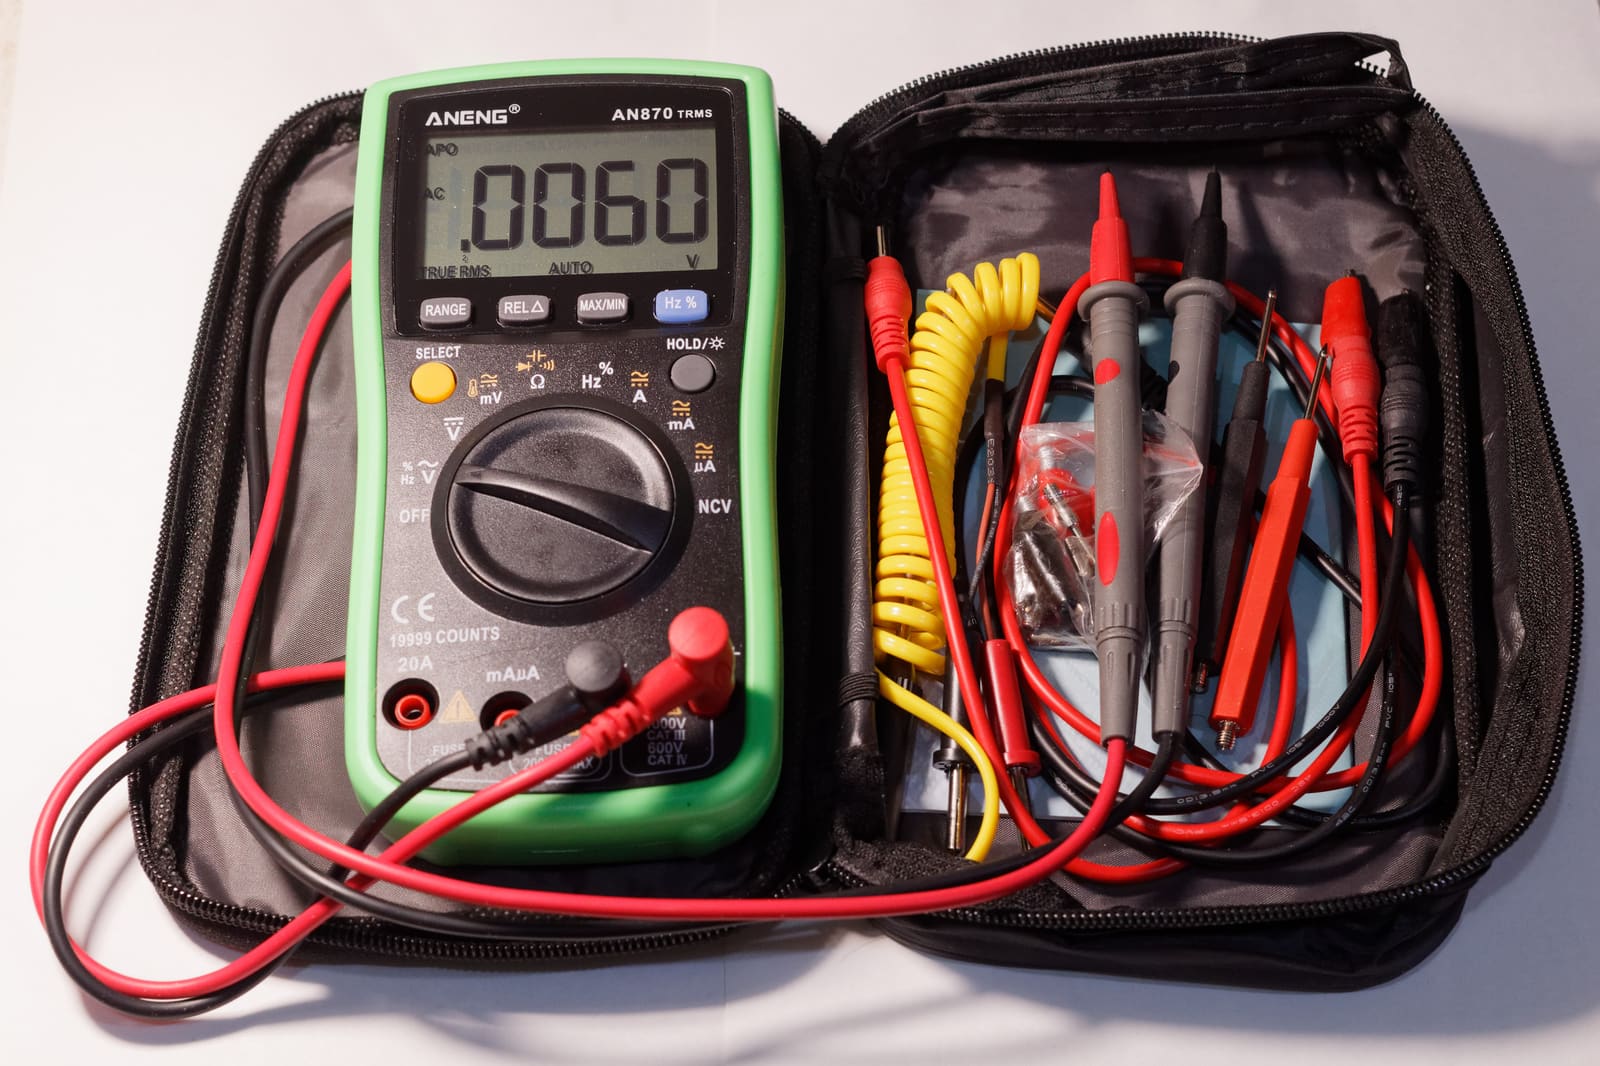
Is My Engine Charging the Battery? Test the Charging System With a Multimeter
A step-by-step way to find out whether your outboard's stator and rectifier/regulator or your inboard's alternator is really charging the battery, what the voltage readings usually mean, and when the problem is just a dirty connection. Exact test specs come from your engine's service manual.
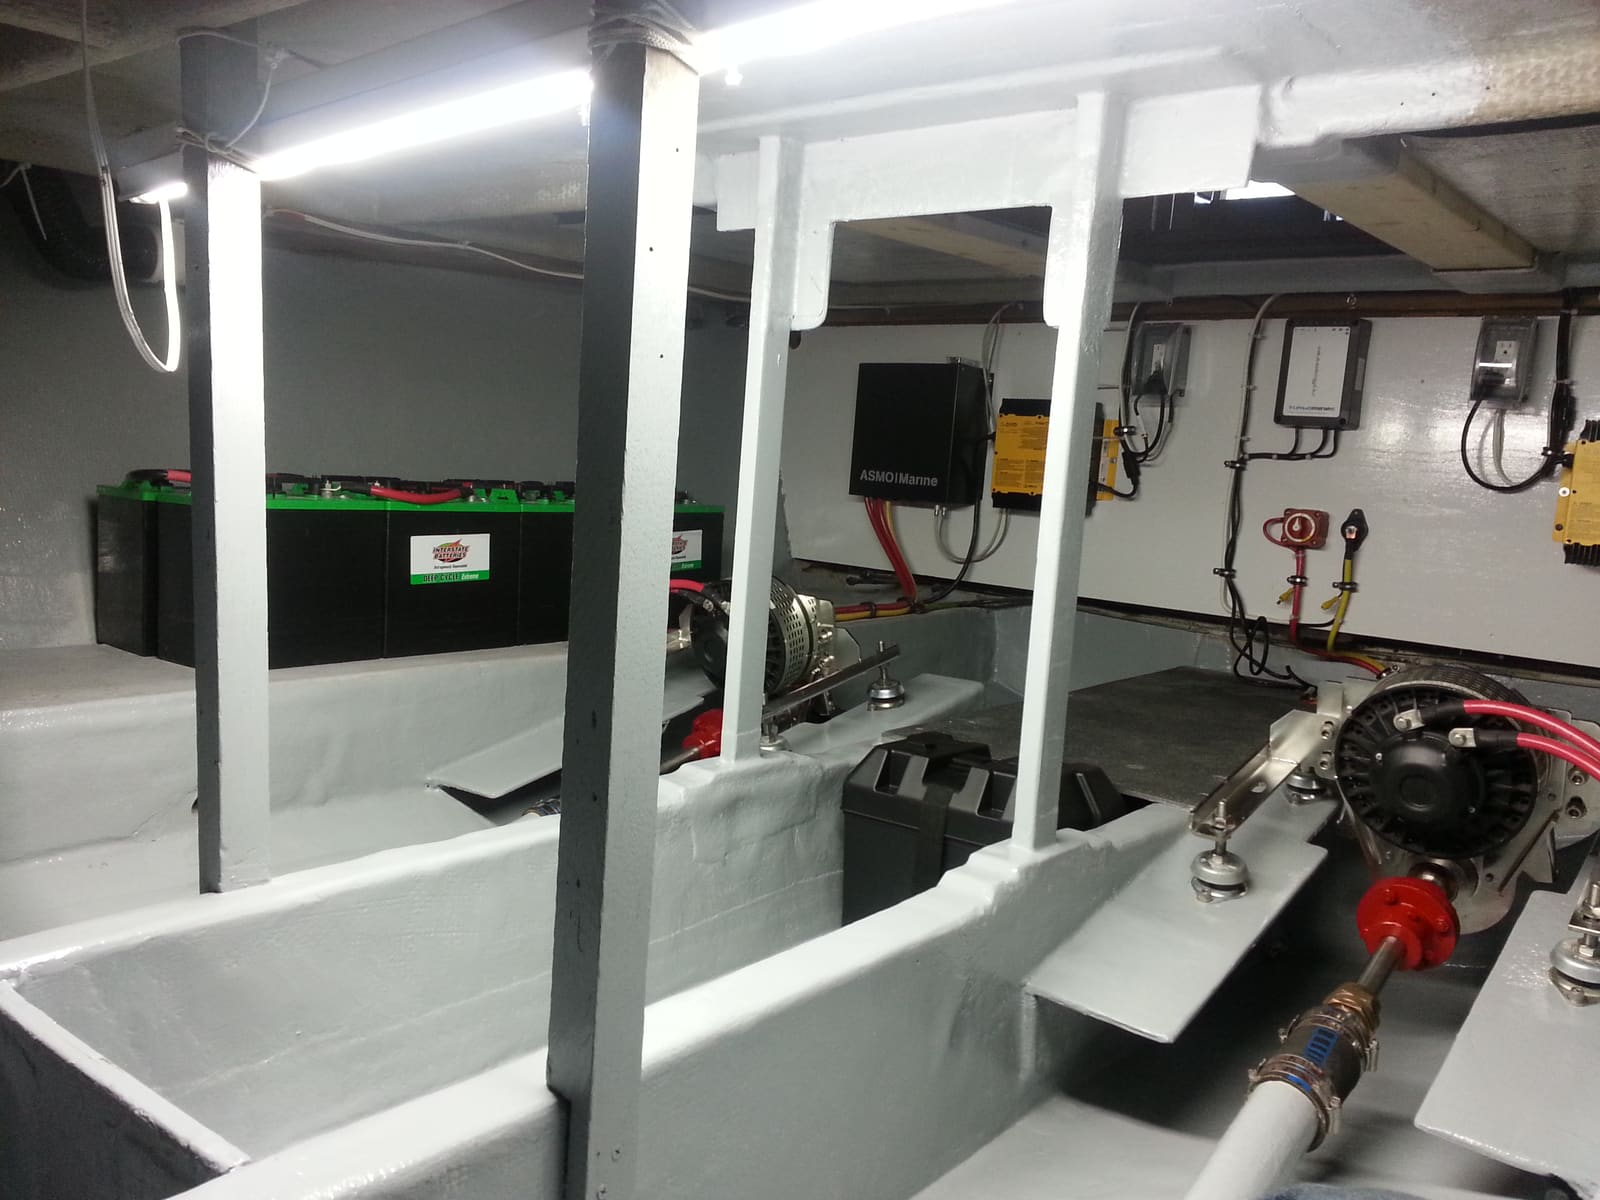
How to Choose, Install and Maintain an Onboard Battery Charger
Pick the right marine charger for your batteries (how many banks, how many amps, flooded, AGM or lithium), mount and fuse it safely, set the charge profile, and use it to keep batteries healthy all season and through the winter. The AC (shore power) side is a job for a marine electrician.
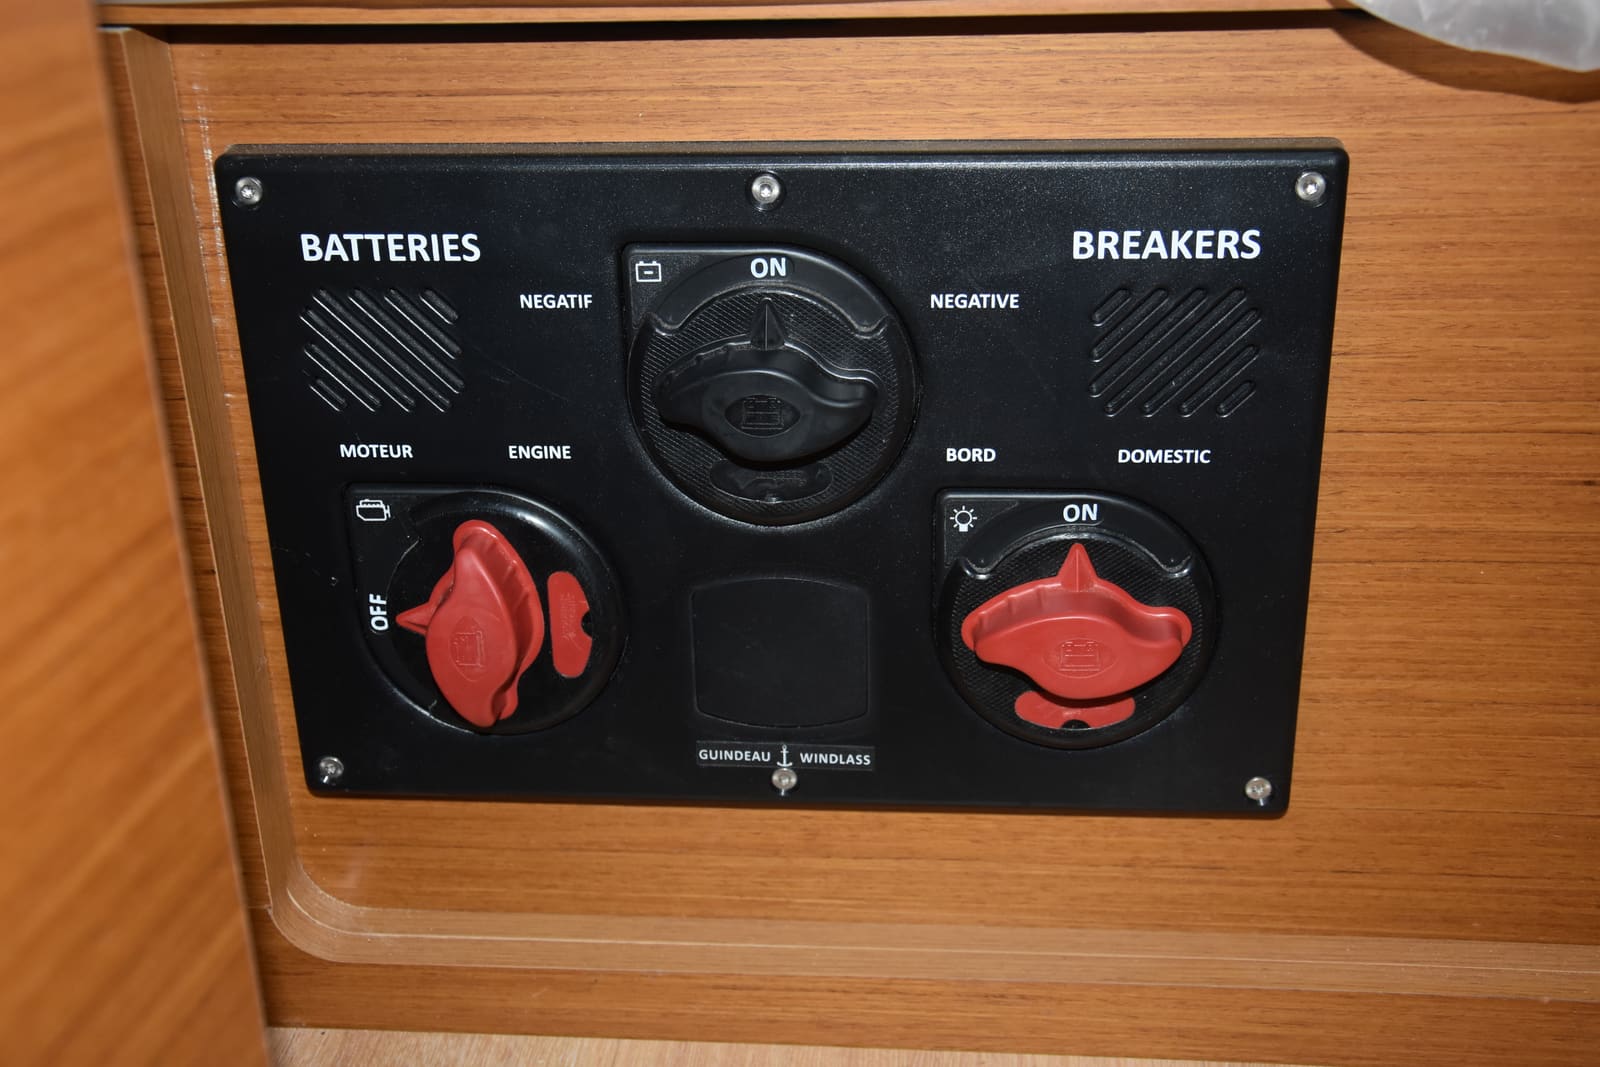
How to Use a 1-2-Both Battery Switch and Run Two Batteries
Learn what the 1, 2, Both and Off positions really do, a simple routine that keeps one battery ready to start the engine, how to check that both batteries are charging, and when an automatic charging relay makes life easier. Rewiring high-current cables is a job for a marine electrician.
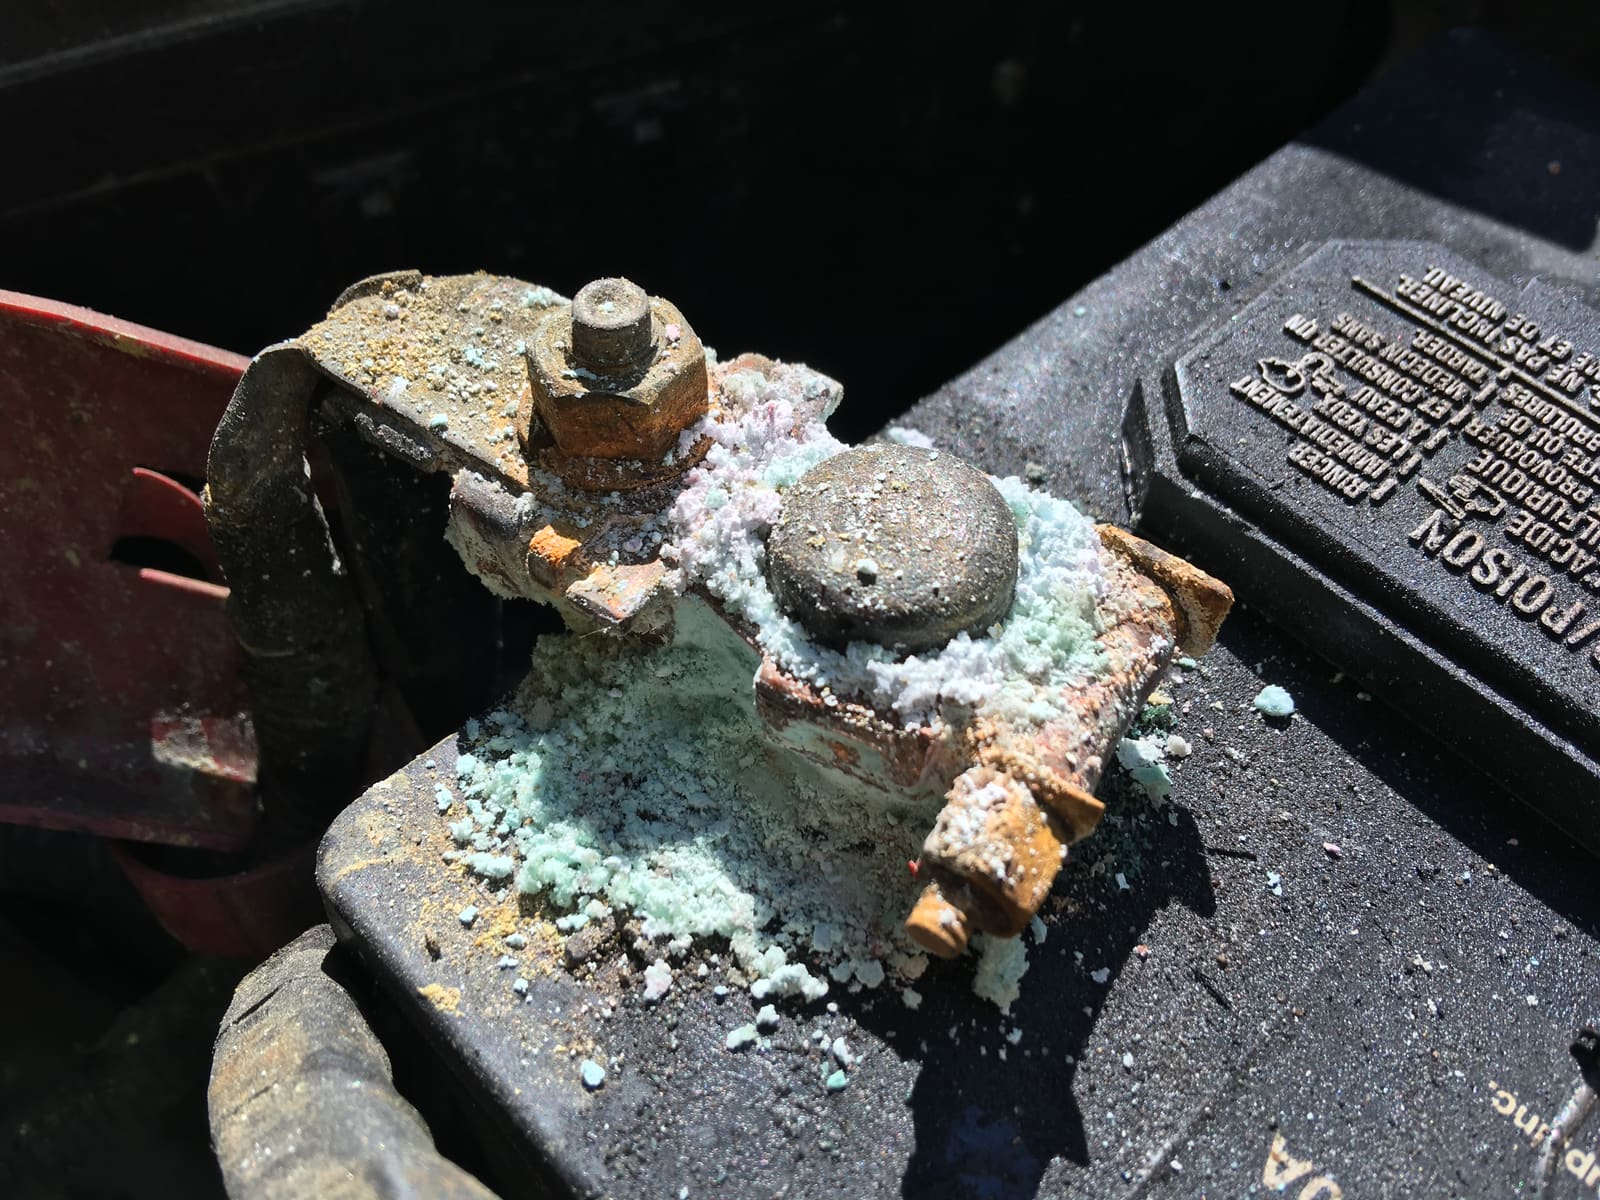
How to Find and Fix Corroded Electrical Connections on a Boat
Track down the green crust and loose terminals behind flickering lights, dead gauges and slow cranking with a simple voltage-drop test, then remake the connection the marine way: tinned wire, a proper crimp, adhesive-lined heat shrink and a protective coating.
Battery Goes Dead While the Boat Sits - How to Find a Parasitic Drain
If your boat battery is flat every time you come back, something may be quietly drawing power while you are away. Learn how to tell a bad battery from a drain, find the circuit with a multimeter and the fuse panel, and fix the usual culprits without disabling your bilge pump.