Sailboat Wheel Steering Cables and Conduit - Service, Tension and Replacement
Keep a sailboat's wheel steering from failing: lubricate the chain, bearings and cables with what the maker specifies, set cable tension, check sheaves, idlers and conduit for wear and chafe, and replace worn cables or conduit before they part. Includes a dockside emergency tiller check.

Time
4 h
Shop would charge
$300-1200
Applies to
All engines · Sailboat
Safety first: Do this work at the dock or on the hard, never underway. Lash the wheel and the rudder before you slack any cable: a rudder swinging free can crush fingers in the quadrant. Never run bare fingers along steering wire; broken strands slice skin. If the steering fails on the water, get the emergency tiller on, slow down, and call TowBoatUS, Sea Tow or the Coast Guard on VHF 16 if you're drifting toward danger.
Owners often ask
- How tight should the steering cables be on my sailboat wheel steering?
- What grease can I use on sailboat steering cables that run inside a conduit?
This guide walks you through it. Still stuck? Ask the AI Mechanic about your engine.
Tools
- Screwdrivers and the small Allen keys or wrenches for the pedestal cover or compass
- Two wrenches sized for the cable tension eyes and nuts
- Flashlight or headlamp and an inspection mirror
- Cotton balls (to find broken wire strands)
- Rags, masking tape and a marker
- Line or bungee to lash the wheel and the quadrant
- Phone camera
- Gloves (broken steering wire cuts skin badly)
Parts & supplies
- Chain lubricant recommended by your steering maker
- Grease the steering maker specifies for needle bearings and conduits (some petroleum greases damage conduit liners)
- Replacement chain-and-wire assembly or cables sized for your system, from the steering maker
- Replacement conduit, cable end fittings, clevis pins and cotter pins as needed
- Rubber rudder-stop bumpers if yours are worn
Before you start
How it works: on most cruising sailboats the wheel turns a sprocket inside the pedestal. A short length of chain runs over that sprocket, and its ends are joined to stainless wire cables. BoatUS describes how the wire then runs around several sheaves (pulleys) to the quadrant or radial drive on top of the rudder post. On some boats, mostly smaller ones, the wire runs inside a plastic-lined conduit instead of over open sheaves. Every bend and contact point is a wear point.
Why it matters: cables rarely fail without warning. They chafe, lose tension, jump a sheave or corrode inside a fitting, and the steering goes slack at the worst moment. The BoatUS author describes having a cable part on a calm day; the boat rounded up into the wind and only the emergency tiller got them home. Practical Sailor opens its inspection article with a boat that ended up on the rocks because a neglected cable parted and the emergency tiller didn't fit.
Who makes your system: look on the pedestal, the quadrant or the idler brackets for a maker name (Edson, Whitlock, Lewmar, Jefa and others). Download that maker's maintenance sheet and parts list. Lubricants and tension methods differ, and the maker's instructions come first.
How often: SpinSheet's steering maintenance article suggests an annual service for typical use, much more often for boats that sail all year in warm salt water. It gives about 10 years as a typical service life for chain, wire and conduit in salt water, longer in fresh water. Typical; confirm with your steering maker.
Steps
At the dock, turn the wheel lock to lock and pay attention. Notchy or gritty feel, a clunk, dead spots, uneven effort from side to side, or more free play than you remember all point to something in this guide. Note it before you take anything apart so you can tell later if it's fixed.
If the steering feels stiff, Edson's troubleshooting advice is to find out where the friction lives before changing parts: disconnect the cables at the quadrant (and the autopilot drive, if fitted) and turn the rudder by hand. A spade rudder should swing easily and a skeg-hung rudder a bit more firmly, but both smoothly. Hard spots at that point mean the rudder bearings, not the cables (see the rudder bearings guide). Then reconnect the autopilot and try again; older hydraulic autopilot rams can add noticeable drag.
Remove the compass or pedestal top cover to reach the chain and sprocket. Open the cockpit lockers or lazarette panels to reach the sheaves, idlers and quadrant. Center the rudder, then lash the wheel (or set the wheel brake) and tie the quadrant or tiller arm so the rudder can't swing while you work. Have a helper below if you can: one person turns the wheel, the other watches.
Turn the battery switches off before you work in the steering compartment. Steering cables often run past battery cables and the engine's starter wiring in the same lockers. An Edson writer describes helping a friend replace an old chain-and-cable set when the steel steering wire touched a cracked spot in a battery cable's insulation: the current was strong enough to weld the two together. While you are in there, look for battery or starter cables resting on or near the steering wire and secure them away from it.
Turn the wheel hard to one side and coat the chain with the chain lubricant your steering maker names, then turn it the other way and do the rest of the chain. SpinSheet ranks Edson's own chain lubricant first, a protective spray such as Boeshield T-9 second, and plain motor oil only as a messy fallback (and not on the wire cables). With the cover off, also grease the steering shaft's needle bearings through their small grease holes, using the grease your maker specifies. While you're there, set the wheel brake and rock the wheel, then push and pull it along the shaft: Edson says the shaft should have essentially no fore-and-aft movement, and that worn or missing snap rings, which are cheap, let the chain run out of line. Roughness or play as the wheel turns points to worn needle bearings. Edson gives them a typical life of about 20 years with good care, and warns that a needle bearing whose plastic cage breaks can jam the wheel.
Down below, run a cotton ball along each cable from the pedestal idler to the quadrant. If it snags, there are broken wire strands and that cable is due for replacement. Look closely where the wire bends around sheaves, where it enters end fittings, and where it's joined to the chain. Rust staining or a cable that looks thinner in one spot are also warnings. Practical Sailor's rule for conduit systems: at the first sign of cracked conduit or corroded wire, replace the whole cable. If the open cables pass the test, dress them with a rag and the lubricant your maker recommends, from the pedestal idler back to the quadrant.
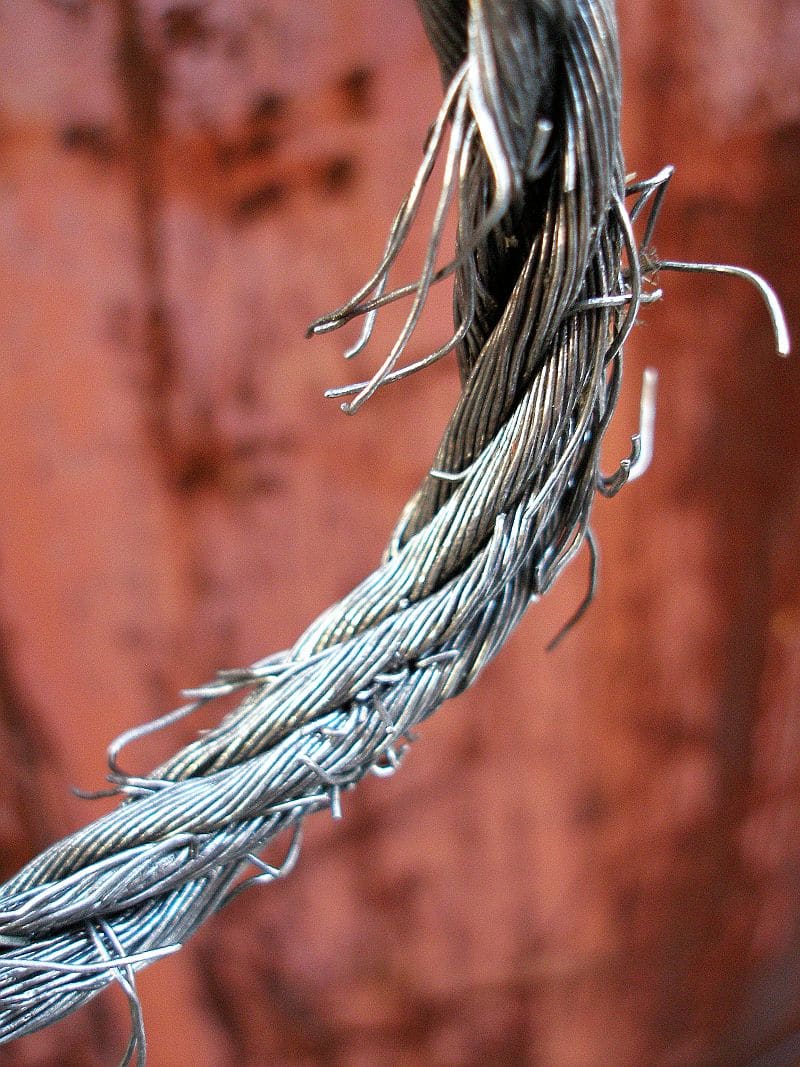
Broken strands look like this on any steel wire rope. A steering cable usually shows just one or two at first, often where it bends around a sheave, which is why the cotton ball test helps. Photo: tanakawho / Wikimedia Commons · CC BY 2.0 Each sheave should spin freely, with the wire running in the middle of its groove, not rubbing the cheeks or the bracket. Practical Sailor says to check sheaves for corrosion and wear and that the right sheave diameter is about 20 times the wire diameter: a sheave that's too small fatigues the wire fast. Look for metal dust under a sheave, a wobbling sheave, worn axle pins, and cotter pins or clevis pins that are rusted or missing. Make sure every bracket is bolted solidly; a bracket that flexes lets the cable go slack under load. Edson adds two checks: replace any bronze sheave pins you find (it stopped using them decades ago), and look for worn sheave cheeks, a sign of low tension or a misaligned cable. It suggests a few drops of light machine oil on the sheave pins.
Follow the cable with a light. Anything it touches besides its sheaves will wear it: bulkhead edges, the engine controls, hoses, wiring, stored gear in the locker. Practical Sailor found a chafed synthetic (Dyneema) steering cable on a brand-new boat where play in the system let it rub a bulkhead. If you have synthetic steering line instead of wire, check it even more often: it doesn't resist chafe as well as wire.
Conduit (cable inside a plastic-lined tube) needs a different approach:
- Grease: SpinSheet's method is to turn the wheel hard over, grease the exposed cable with the maker's synthetic grease, then turn the wheel so the cable pulls grease into the conduit. Use only what your maker specifies. SpinSheet warns that petroleum-based lubricants attack the conduit's plastic lining. Edson's conduit guidance calls for a Teflon-based lubricant only, applied often (its product notes say monthly), with conduit greasers on long runs. Edson's product page says an in-line greaser belongs in an easy-to-reach straight section, as close to the middle of each conduit run as you can manage, so the grease spreads both ways.
- Exits: check for binding or sticking where the cable leaves the conduit, which Practical Sailor singles out as a trouble spot.
- Route: look for cracks, flattened spots and tight bends. Make sure the conduit is clamped where the maker shows, so it can't move and chafe. Edson's layout rules for its pull-pull conduit say to avoid 90-degree bends, use conduit only for slight changes in height, and turn corners with a sheave-type conduit idler instead; a run that breaks those rules will always feel stiff.
- Inspect the wire itself: Practical Sailor recommends pulling the cable out of the conduit for inspection at least once a year, since you can't see corrosion inside the tube.
Have a helper turn the wheel hard over each way while you watch the quadrant or radial drive. SpinSheet's test: the quadrant should hit the rudder stop before the wheel stops turning, on both sides. If the wheel stops first, the chain is either off center on the sprocket or the stops need moving. Check the quadrant clamp bolts are tight on the rudder post and the stop bumpers aren't crushed or missing. The cable and its end fittings should never be what stops the rudder.
If the rudder hits the stop on one side but not the other, the chain is off center. Following SpinSheet's method: slack the cable tension completely at the tension eyes, lift the chain off the sprocket and move it one link toward the side where the stop doesn't engage, then retest. Repeat a link at a time until both stops engage. Check your maker's sheet; some chains have a marked center link.
Too loose and the cable can jump off a sheave or the quadrant; too tight and the steering gets stiff and everything wears faster. Tighten the tension eyes at the quadrant a few turns on one side, then the same on the other, to keep the chain centered. SpinSheet's check: with the wheel hard over, the slack cable should just barely start to droop. Then lock each tension eye with its second nut so it can't back off. If your maker's sheet gives a different tension method, follow the maker. Recheck tension after the first sail and again during long passages, as Practical Sailor recommends.
If a cable has broken strands, corrosion, kinks or is near the end of its service life, replace it, and replace both cables together. In general:
- Order the right parts. Most makers sell matched chain-and-wire assemblies and conduit kits by pedestal model and boat. Give them the boat make and model and measurements of the old cables; don't guess lengths.
- Photograph and label the routing. Note which side each cable runs and which way it wraps each sheave. Tape a label to each cable end.
- Remove the old cables. With the rudder lashed centered, slack the tension eyes, free the cable ends at the quadrant, and lift the chain off the sprocket from above.
- Route the new ones exactly the same way. Drop the chain over the sprocket centered, lead each wire around its sheaves (or through its conduit), and connect the ends at the quadrant using the end fittings the maker supplies and their instructions. BoatUS points to Edson's video showing the whole process.
- Replace pins and small parts like clevis pins, cotter pins and worn rudder-stop bumpers while you're in there. Then set the tension (step 10) and repeat the stop check (step 8).
While the lockers are open, find the emergency tiller and test-fit it on the rudder post. Practical Sailor found that many boats have deck plates that are hard to open, keys nobody can find, and tillers that don't fit well. Make sure the deck plate opens with a tool you always have aboard, the tiller slides on without tools, and it swings far enough to steer without hitting the pedestal. Show your crew where it lives.
Steer lock to lock at the dock, then take a short sail in light air and make sharp turns both ways under power and sail. Listen for clicks, feel for notches, and recheck tension and fittings when you're back. Log the date, what you lubricated and any parts you replaced in BoatMend.
Common mistakes
- Wrong grease in the conduit. Petroleum products can ruin the plastic lining. Use what the maker specifies.
- Cranking the cables tight to cure play. Over-tension makes steering heavy and wears sheaves, bearings and wire. Find the real cause of the play.
- Tightening one tension eye only. It pulls the chain off center and the rudder stops stop working on one side.
- Replacing one cable. If one is worn, the other has seen the same miles.
- Letting the cable act as the rudder stop. Fix or pad the stops so the quadrant hits them first.
- Forgetting the emergency tiller until the day you need it. Test-fit it every season.
- Running a bare hand along the wire. Use a cotton ball or rag.
When to call a pro
- A sheave bracket, idler or quadrant is cracked, loose in a way you can't fix, or bolted to soft or wet structure
- The rudder post, rudder bearings or rudder itself has play (see the rudder guide)
- You can't reach the sheaves or quadrant, or you're not sure how your system's cables terminate
- You're converting from wire to synthetic line, or changing pedestal or quadrant type
- Before an offshore passage, if you want a steering specialist or rigger to go over the whole system
- Any time the steering fails or binds on the water: use the emergency tiller and get help (TowBoatUS, Sea Tow, or USCG on VHF 16)
Tips
- Keep a spare chain-and-wire assembly, cotter pins and clevis pins aboard for longer cruises. See onboard spares.
- Mark the wheel's top spoke when the rudder is centered (a turk's head knot or tape) so you always know where the rudder is.
- Don't pack heavy gear against the steering cables in cockpit lockers; it chafes them and can jam the steering.
- Download your steering maker's inspection checklist and keep it with the boat's papers.
- Looking for Edson parts? The old edsonmarine.com address now goes to Jacobe Marine, whose site (checked October 2026) says the Edson name for sailboat steering is used under license through October 29, 2026, and that Edson Pumps is a separate company. Brand names on new parts may change, so order by your pedestal model, cable size and photos of the old parts, not by name alone.
Official references
We read these to write this guide. Your engine's own manual always wins.
- SpinSheet – Care and Feeding of Your Steering System
- Practical Sailor – Steering Equipment Inspection
- Practical Sailor – Offshore Log, Do You Know Where Your Emergency Tiller Is?
- BoatUS – Sailboat Steering, I Turn The Wheel And Nothing Happens
- Edson (Jacobe Marine) – Product Tech Support, Manuals, Guides and Maintenance Sheets
- Edson (Jacobe Marine) – Trouble Shooting Chain and Cable Sailboat Steering
- Edson (Jacobe Marine) – Pull-Pull Conduit Steering (layout and lubrication guidelines)
- Edson (Jacobe Marine) – Boat Prep Safety Is No Accident
Safety: BoatMend is for information only and does not replace a certified marine technician. You are responsible for your safety and your boat. Read the full disclaimer.
Last updated 2026-10-25
Related guides
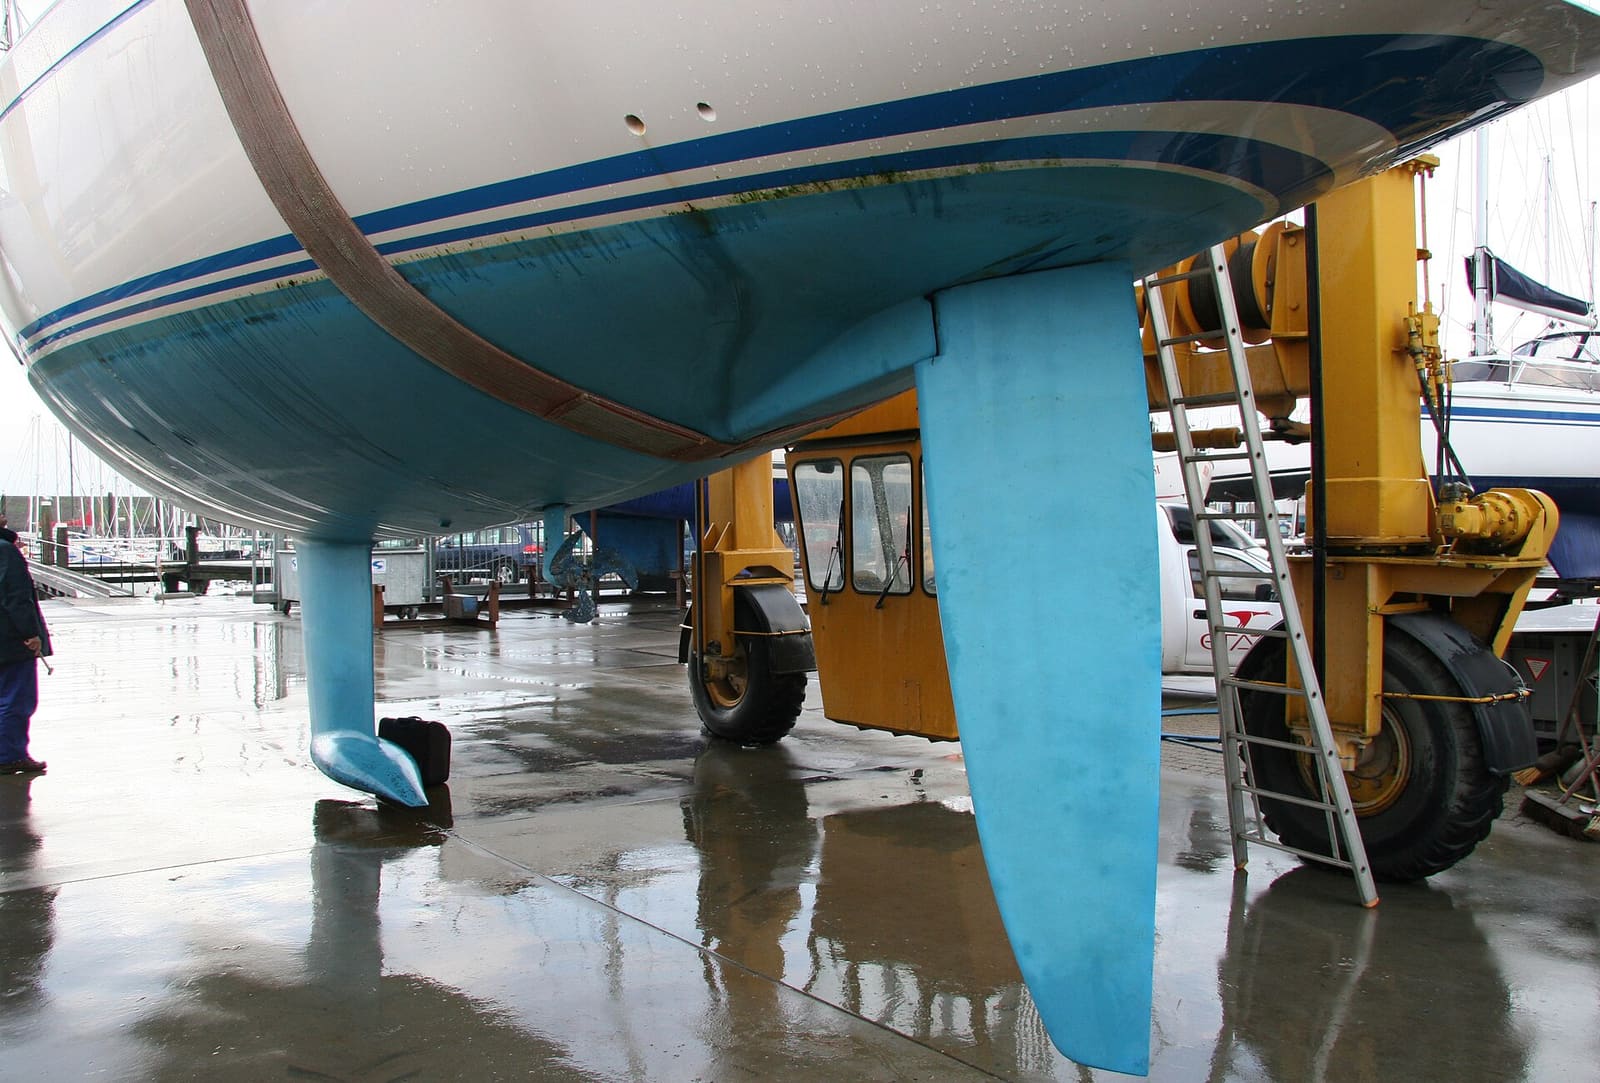
Rudder, Rudder Bearings and Steering Gear Inspection (Sailboats and Inboards)
Check your rudder for play, water inside the blade and stock corrosion, inspect the rudder tube and its seal, and go over cables, sheaves, quadrant and stops so the steering does not fail when you need it. Includes how to find, fit and practice with the emergency tiller.
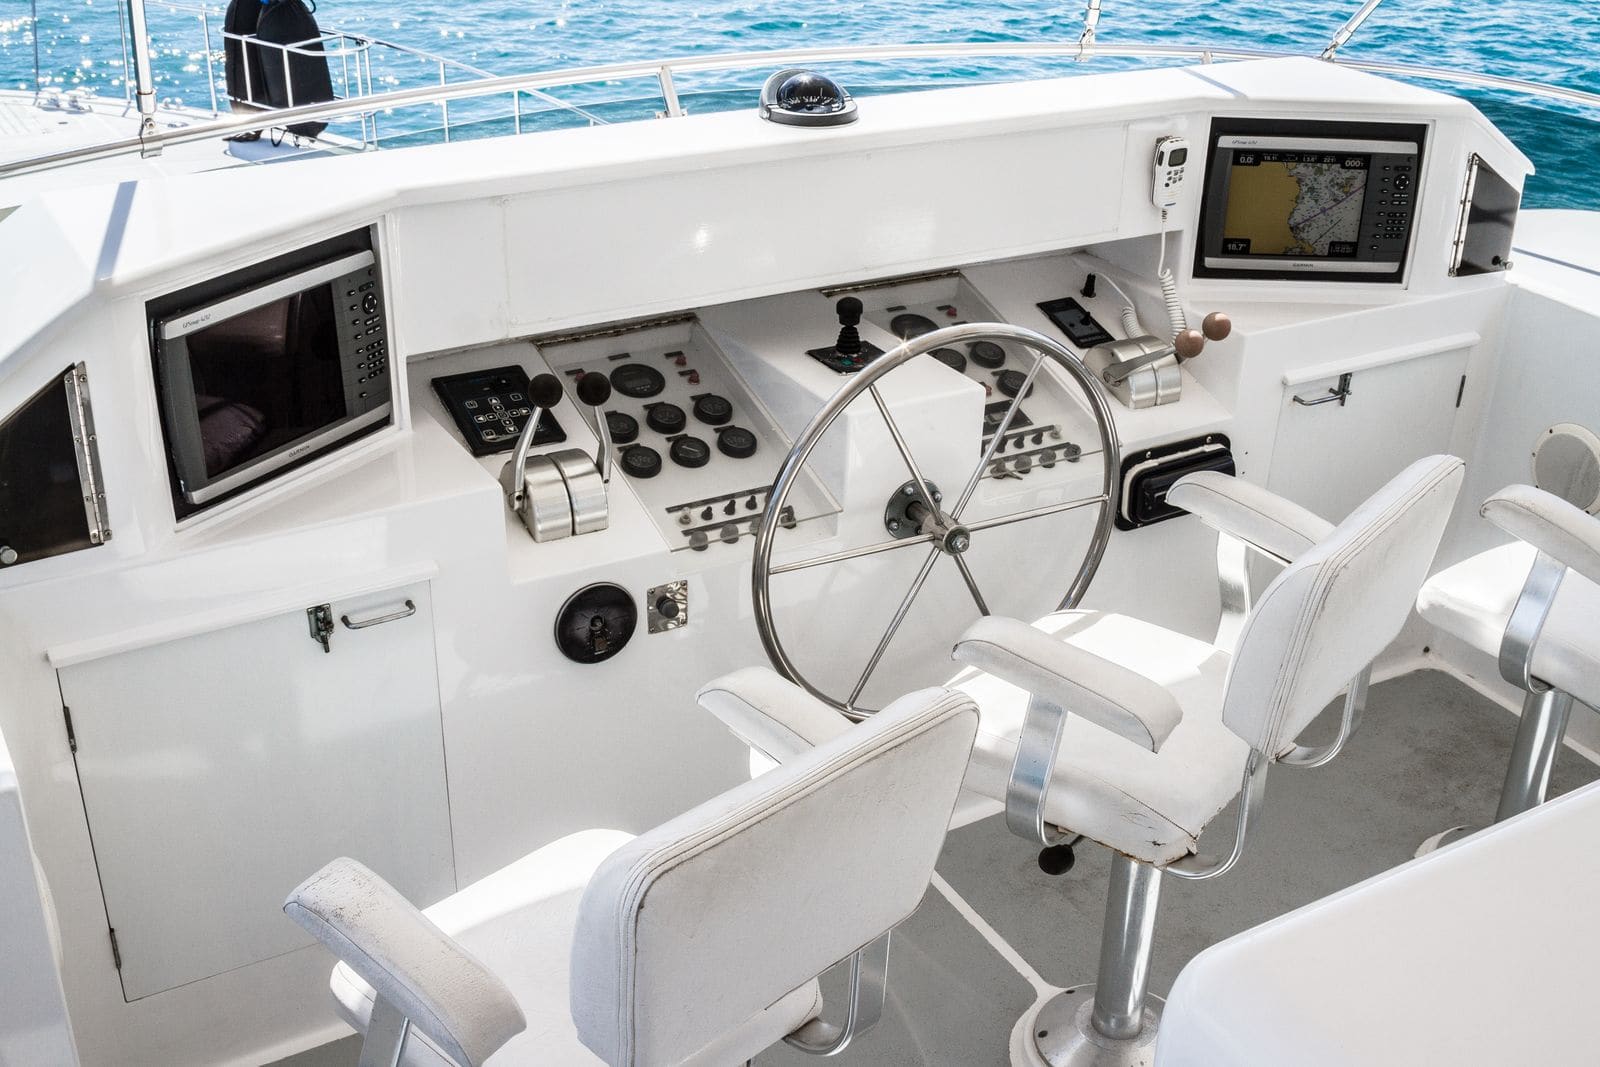
Emergency Steering: What to Do When Your Boat's Steering Fails
A plan for the day the wheel goes slack or locks up - stop safely, find the problem, then steer home with an emergency tiller, twin engines, a drogue or a bridled bucket - plus how to build the gear and practice it before you need it, on outboard, sterndrive and inboard boats.
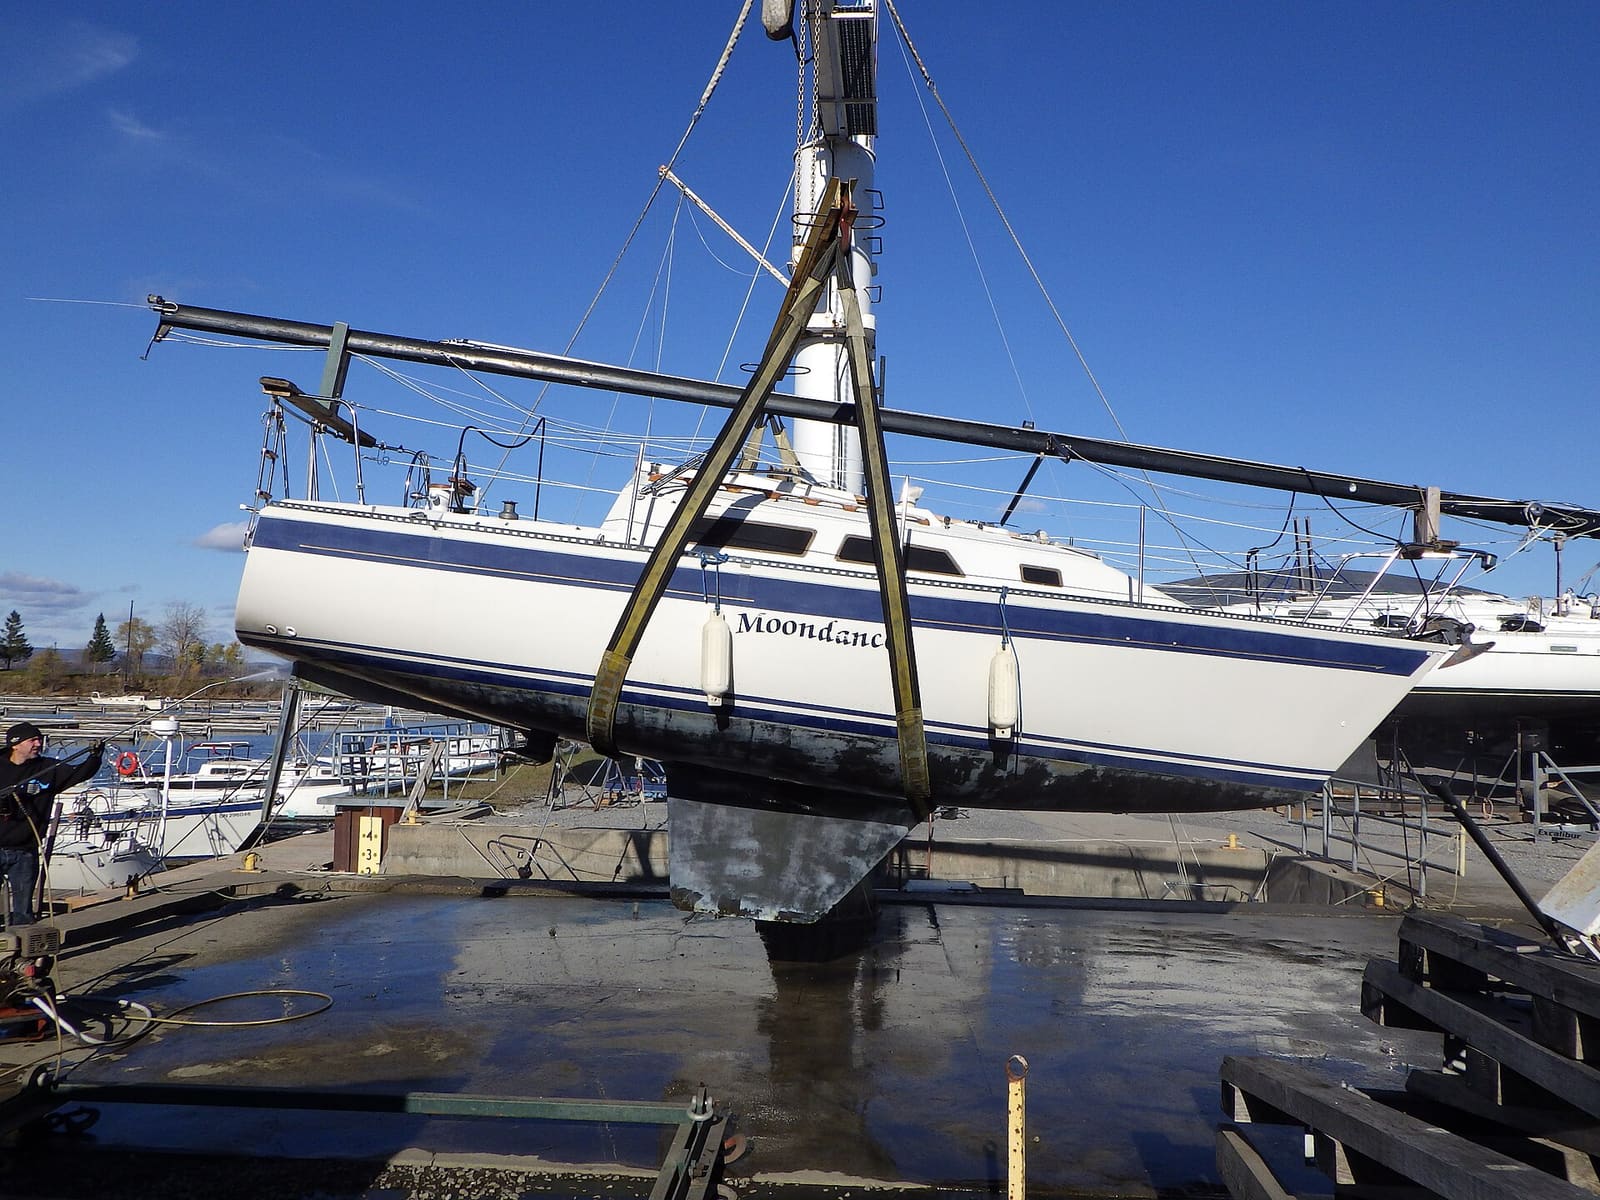
Sailboat Spring Commissioning: Rig, Sails, Bottom, Engine and First Sail
A sailboat-specific spring checklist: inspect the rig before it goes up, bend on the sails, check through-hulls and the bottom, recommission the diesel or saildrive, bring the head and freshwater back, test electronics and safety gear, and shake it all down on a first sail. Each system links to its detailed BoatMend guide.

How to Winterize a Sailboat: Rig, Sails, Engine, Plumbing and Storage
A sailboat-specific winter layup plan, from deciding whether the mast comes down to getting sails, running rigging and canvas off, protecting the diesel or saildrive, plumbing and head, and leaving the boat well supported, covered and ventilated. Each engine and water job links to its detailed BoatMend guide.

How to Inspect Your Sailboat's Standing Rigging
A step-by-step owner's inspection of the wires, fittings, turnbuckles, pins, chainplates and mast that hold your rig up, plus how to decide when it is time for a rigger and new rigging. Includes what insurers commonly expect for older rigs.
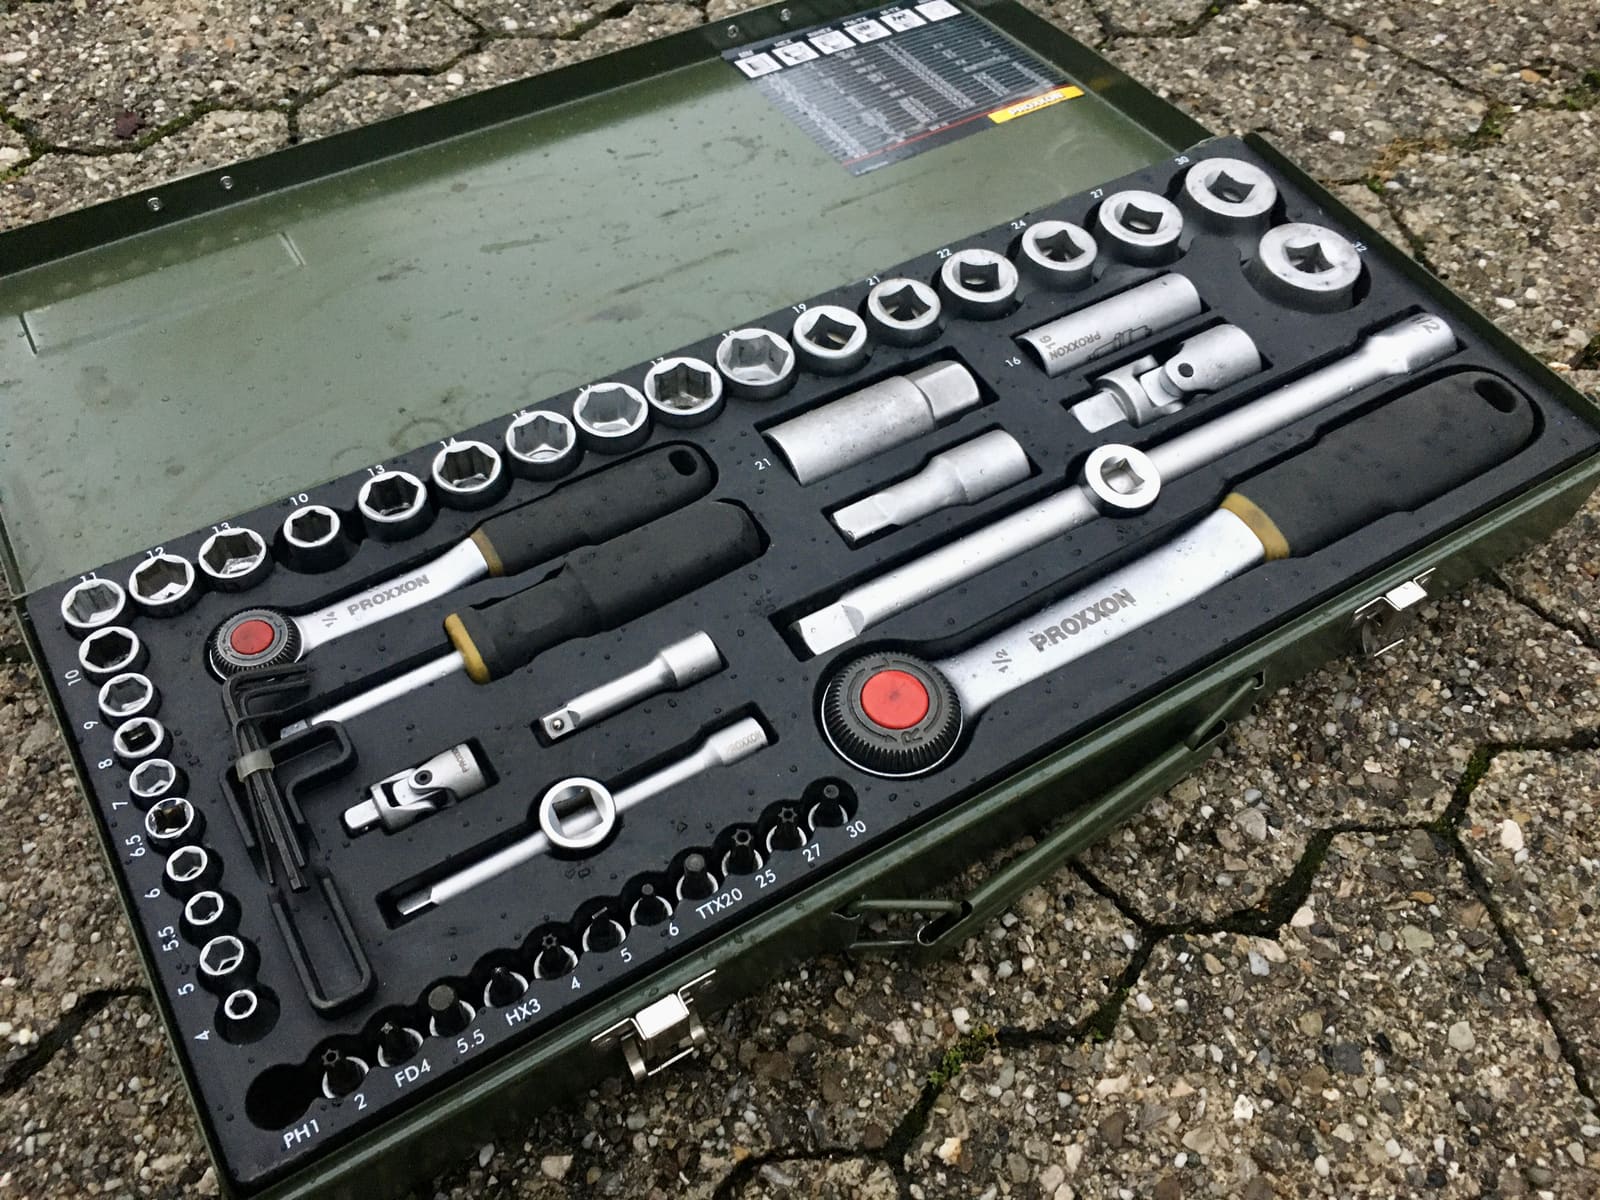
Onboard Tool Kit and Spare Parts: What to Carry on a Day Boat or a Cruiser
Build a tool kit and spares box that fits your boat and how far you go. A blown fuse, a clogged fuel filter or a dinged prop shouldn't end the day or turn into an expensive tow.
How to Inspect a Used Boat Before You Buy
A step-by-step checklist for looking over a used boat, from paperwork and the hull ID number to the transom, engine, compression test, sea trial and trailer. Know what to check yourself, what the red flags mean, and when to pay a marine surveyor.