Power Trim Only Goes Up or Only Down: Relays, Switches and Wiring
When your outboard or sterndrive trims one way but not the other, the cause is usually electrical: a relay, a switch, a corroded plug or a wire. Learn how the up and down circuits work, how to swap-test the relays, how to tell the helm switch from the cowl switch, and how to tell an electrical fault from a hydraulic one.

Time
1 h
Shop would charge
$150-600
Applies to
Outboard, Sterndrive (I/O)
Safety first: Keep hands, feet and tools out from between the engine and the transom whenever anyone can touch the trim switch; a trimming engine can crush fingers. Never work under a raised engine held only by the trim rams: use the tilt lock or a proper engine support. The trim motor draws high current, so turn the battery switch off before you unplug or connect anything, keep sparks away from fuel vapors, and ventilate the area. If the trim motor keeps running after you let go of the switch, turn the battery switch off immediately.
Owners often ask
- My trim goes down but not up. I replaced the up relay and it still doesn't work. What now?
- The trim works from the switch on the engine but not from the button on the throttle. What's wrong?
This guide walks you through it. Still stuck? Ask the AI Mechanic about your engine.
Tools
- Digital multimeter or a 12-volt test light
- A helper (to press the trim switch while you listen and measure)
- Flashlight
- Screwdrivers and small wrenches or sockets
- Electrical contact cleaner and a small brush
- Short fused jumper wire with insulated clips (for the direct motor test)
- Phone camera (to photograph wiring before you unplug anything)
- Engine support or the tilt lock, and wheel chocks if on a trailer
Parts & supplies
- Replacement trim relay(s) with the same part number as the originals (only if testing points to them)
- Spare fuse of the rating your trim circuit uses
- Dielectric grease or a corrosion-protection spray for connectors
Before you start
How electric trim works. Most outboards and sterndrives use an electric-hydraulic trim system: a small 12-volt motor drives a hydraulic pump that pushes fluid to the trim and tilt rams. BoatUS describes the motor as a reversing type, usually with two power wires: power on the blue wire raises the engine and power on the green wire lowers it ("blue sky, green grass"). Older systems may have a third, black ground wire.
The trim switch on the throttle handle doesn't power the motor directly. It sends a small signal to one of two relays (also called solenoids): one for up and one for down. The relay then switches the heavy current to the motor.
Why one direction fails. On many systems the two relays work as a team. When you press "up," the up relay sends battery power to the blue wire, and the motor's return path runs back through the resting (off) contacts of the down relay. So a burned contact inside the down relay can stop the engine from going up. That's why owners replace one relay, see no change, and conclude the relay wasn't the problem. Test both. Some engines use a single relay module or a solenoid block instead; the logic is similar, but follow your manual's wiring diagram.
What the symptom usually points to:
- Nothing in one direction, no click: switch, fuse, wiring to that relay, or the relay coil.
- Click, but the motor doesn't run in that direction: relay contacts, the other relay's resting contacts, a connection, or the motor.
- Works from the cowl switch but not the helm: the helm switch or its wiring.
- Motor runs both ways but the engine doesn't move, drifts down or won't hold trim: hydraulic, not electrical (step 11).
- Motor keeps running after you release the switch: a stuck relay or shorted switch (step 12).
Steps
Support the engine with the tilt lock or an engine support if it's up, chock the trailer, and keep everyone clear of the transom. Then press each switch in each direction and write down what you see and hear: does the motor hum, does a relay click, does the engine move, and does it behave the same from every switch?
BoatUS's first check is the simplest: make sure the battery is fully charged and the battery switch is on. A weak battery can still click a relay but not turn the trim motor under load, especially trimming up with the boat on the trailer. Check that the trim motor's power feed (often from the starting battery or the engine's starter terminal) is tight and clean.
Many trim systems have a fuse or breaker for the switch circuit, and some have a large one for the motor feed. Look near the battery, at the helm and on the engine harness. Mercury's general rule applies: replace a blown fuse with the correct size and test, and if it blows again, have the dealer find the short. Carry spares.
Most outboards, and many sterndrives, have a second trim switch on the engine cowl or bracket (sometimes labeled for trailering). BoatUS points out that if trim works normally from the engine switch, the trim system itself is fine and the problem is in the helm switch or its wiring.
- Works from the cowl, not from the helm: look at the switch in the throttle handle, the wiring through the control box and the harness plug. Worn switches and broken wires inside the control handle are common on older boats.
- Fails the same way from both switches: the problem is downstream, at the relays, wiring or motor. Keep going.
On some sterndrives there's also a trim limit (or trailer) switch that restricts trim-up beyond a certain point while running. If "up" stops partway but the trailer button still lifts the drive, ask your dealer about the limit switch and trim sender.
Have a helper press up, then down, while you listen and hold a finger on each relay. BoatUS: if you hear nothing, the problem is typically the switch, the relay, or the wires between them (or a fuse). If you hear a click, the switch side is working and the problem is in the heavy-current side: relay contacts, connections or the motor.
On outboards the relays are usually under the cowl, often near the starter or in a plastic relay box. On sterndrives they're often on or near the trim pump in the engine compartment. Your owner's or service manual shows where.
Turn the battery switch off. Photograph the wiring, then unplug the relays and the trim motor's quick-disconnect plug. BoatUS lists failed relays and corrosion at connections, relay sockets and quick-disconnect plugs as some of the most common causes of trim failure.
Look for green or white crust, burned or melted plastic, and loose or pushed-back pins. Clean with electrical contact cleaner and a small brush, let dry, apply a thin film of dielectric grease if your manual allows, and reconnect firmly. Yamaha suggests wiggling wires and connections to find loose ones; corrosion inside the insulation isn't always visible from outside.
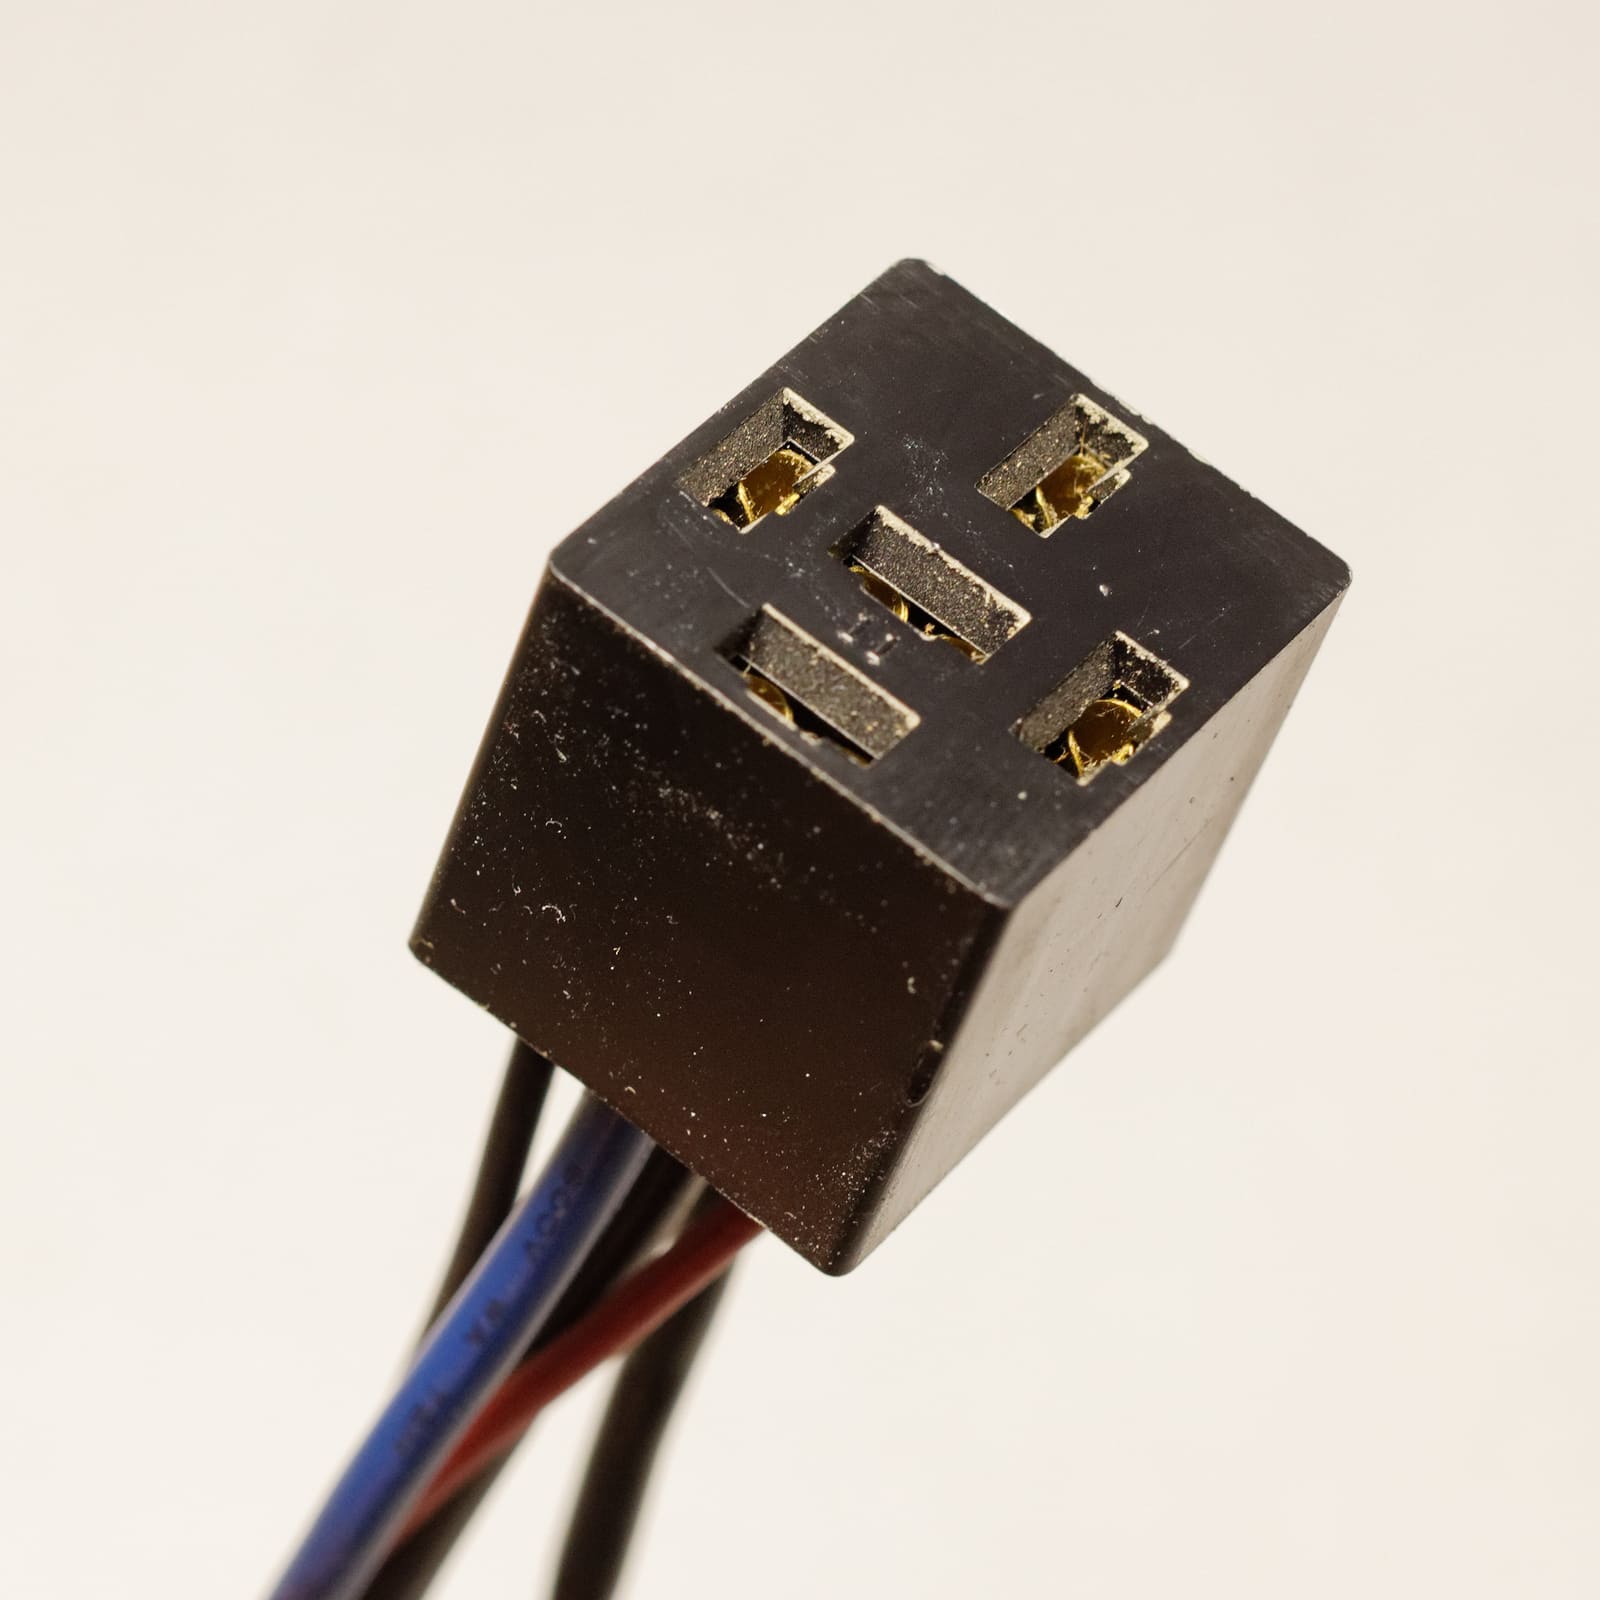
A typical plug-in relay socket. Corrosion on these terminals is a very common reason trim works one way only. Photo: Retired electrician / Wikimedia Commons · CC0 If your up and down relays are identical plug-in units with the same part number, swap them and test again:
- The fault changes direction (now it goes down but not up, instead of the other way round): you've found a bad relay. Replace it with the same part. Many owners replace both, since they've had the same years of heat and moisture.
- The fault stays exactly the same: the relays are probably fine. Look at the switch, the wiring and the motor.
Never substitute a relay that only looks similar. Contact layouts and ratings differ, and the wrong one can burn out or leave the motor running.
If you're comfortable with a multimeter, you can confirm the switch side. With the relay unplugged and the battery switch on, have a helper press the trim switch in the failing direction while you measure between the relay's coil signal terminal in the socket and a good ground. Your wiring diagram shows which terminal that is.
- About battery voltage only while the switch is pressed: the switch and its wiring are good.
- Nothing: the problem is upstream, in the switch, fuse, harness plug or wire.
If you're not sure which terminal is which, skip this step and use the direct motor test below, or let a technician do it.
This is the BoatUS method for proving whether the motor works:
- Turn the battery switch off. Unplug the motor's blue and green wires at the quick-disconnect plug (or disconnect them from the relays).
- Make sure the area is well ventilated with no fuel vapors.
- Using a fused jumper, apply 12 volts directly to the correct motor wire: blue to raise if the engine is down, green to lower if it's up. How the motor gets its ground varies: through the motor housing, through a separate black wire on older motors, or (on some reversing motors) through the other colored wire, which then has to be connected to ground for the test. Check your service manual's motor test before you connect anything.
- Turn the battery switch on only for the test, keep everyone clear, and touch the jumper briefly.
Motor runs: the motor is good and the problem is power not reaching it (relay, connection or wire). Motor doesn't run: the problem is the motor, its plug or its ground. A trim motor that's taken on water is often corroded inside and usually gets replaced.
A motor that runs slowly, groans or works only when you tap it often has a poor ground or a corroded heavy connection rather than a bad motor. Follow the ground from the motor or pump to the engine block or battery negative, and the heavy feed from the battery or starter to the relays. Clean to bare metal and tighten. Yamaha's guidance is to clean connections down to bright metal on both sides, then protect them with a corrosion spray.
BoatUS: if the trim motor works fine but the engine won't raise or lower, leaks, settles down when raised or won't stay trimmed, the problem is likely the hydraulic pump or valve body. Check these, in order:
- The manual release (tilt relief) valve. If it's even partly open, the engine won't go up, or drifts down. Close it as your manual describes.
- Fluid level. Yamaha says to check the fluid and top up with the specified trim fluid if the engine won't hold its tilt. A low level means a leak somewhere, since hydraulic fluid doesn't evaporate (see the trim fluid guide). Mercury's quick tip for its outboards has you tilt the engine all the way up to relieve pressure and engage the tilt lock before opening the reservoir; a little top-up now and then is normal, but an engine that keeps needing fluid, or shows signs of a leak, belongs with the dealer.
- Leaks at the rams, hoses or fittings (see the trim hose and cylinder leaks guide).
- A motor that runs freely but the pump doesn't build pressure usually means internal pump or valve trouble, which is a shop job.
If the trim keeps running after you let go of the switch, turn the battery switch off right away. The usual cause is a relay whose contacts have welded together, or a helm switch that has shorted. Running against the end stops can burn out the motor or damage the hydraulics. Swap or replace the suspect relay before using the trim again, and check the helm switch for water inside.
Reconnect everything, turn the battery switch on, and run the trim fully up and down from every switch, listening for normal relay clicks and smooth motor sound. Then:
- Spray connectors with a corrosion protectant and keep relay boxes closed and dry.
- Yamaha recommends rinsing the trim unit after each trip, greasing the tops of the trim rams, and storing the engine with the rams retracted (engine supported on the tilt lock or an engine support) so the chrome stays protected by fluid.
- Write down which relay you replaced and when in your BoatMend maintenance log.
Common mistakes
- Replacing the trim motor before checking the battery, fuses, relays and connectors.
- Replacing only the relay for the direction that fails, when the other relay's resting contacts are the real problem.
- Swapping in a relay with a different part number because it fits the socket.
- Testing trim with someone's hand near the engine bracket.
- Jumping the motor without turning the battery switch off first, or with fuel vapors in the area.
- Leaving the manual release valve partly open and chasing an "electrical" problem.
- Ignoring a trim that keeps running after the switch is released.
- Wrapping corroded connectors in electrical tape instead of cleaning or replacing them.
When to call a pro
- A fuse or breaker that blows again after replacement
- The motor doesn't run on the direct test, or runs but the engine won't move (pump, valve or internal hydraulic problems)
- Damaged wiring inside the control box or a helm switch that needs replacing and you're not comfortable opening the control
- Sterndrive trim limit switch, trim sender or trim pump issues
- Burned or melted wires, connectors or relay sockets: the circuit has been overheating
- Hydraulic leaks you can't trace, or rams that are pitted (they need replacing along with the seals)
Tips
- Keep a spare trim relay (the right part number) in your toolbox; it's small and can save a trip.
- Learn where your cowl or bracket trim switch is. It's your backup if the helm switch fails on the water.
- If trim works only after the motor has been sitting a while, or only on some days, suspect corrosion and moisture before parts.
- If relays keep dying every season or two, don't just keep buying them: find out why they're getting wet. Check that the relay box cover and grommets seal, that the box isn't sitting where spray or bilge water reaches it, and ask your dealer whether a sealed version of the correct relay exists for your engine.
- Photograph the relay box with its labels when everything works, so you can put it back exactly the same.
Official references
We read these to write this guide. Your engine's own manual always wins.
- BoatUS Magazine – Troubleshooting Tilt and Trim Systems
- Yamaha Outboards – Maintenance Matters, Power Trim and Tilt
- Yamaha Outboards – Maintenance Matters, Electrical System
- Mercury Marine – Quick Tip, How to Check Your Outboard Power Trim Fluid
- Mercury Marine – Owner FAQs (fuse or fuseable link first)
Safety: BoatMend is for information only and does not replace a certified marine technician. You are responsible for your safety and your boat. Read the full disclaimer.
Last updated 2026-10-24
Related guides

How to Check and Top Up Power Trim and Tilt Fluid
Check and top up the hydraulic fluid in your power trim and tilt unit, then work through the simple checks when the motor won't go up, won't go down or slowly sinks. Most trim problems are a dead battery, a bad relay, low fluid or a release valve left open, and you can find those yourself.

Trim Leaks: When the Motor or Drive Won't Stay Up
Track down why your outboard or sterndrive slowly sinks, trails down on the trailer or leaks trim fluid. Work from the free checks (release valve, fluid level) to hoses, ram seals and internal leaks, and learn when a rebuild or a new cylinder makes more sense.
How to Find and Fix Corroded Electrical Connections on a Boat
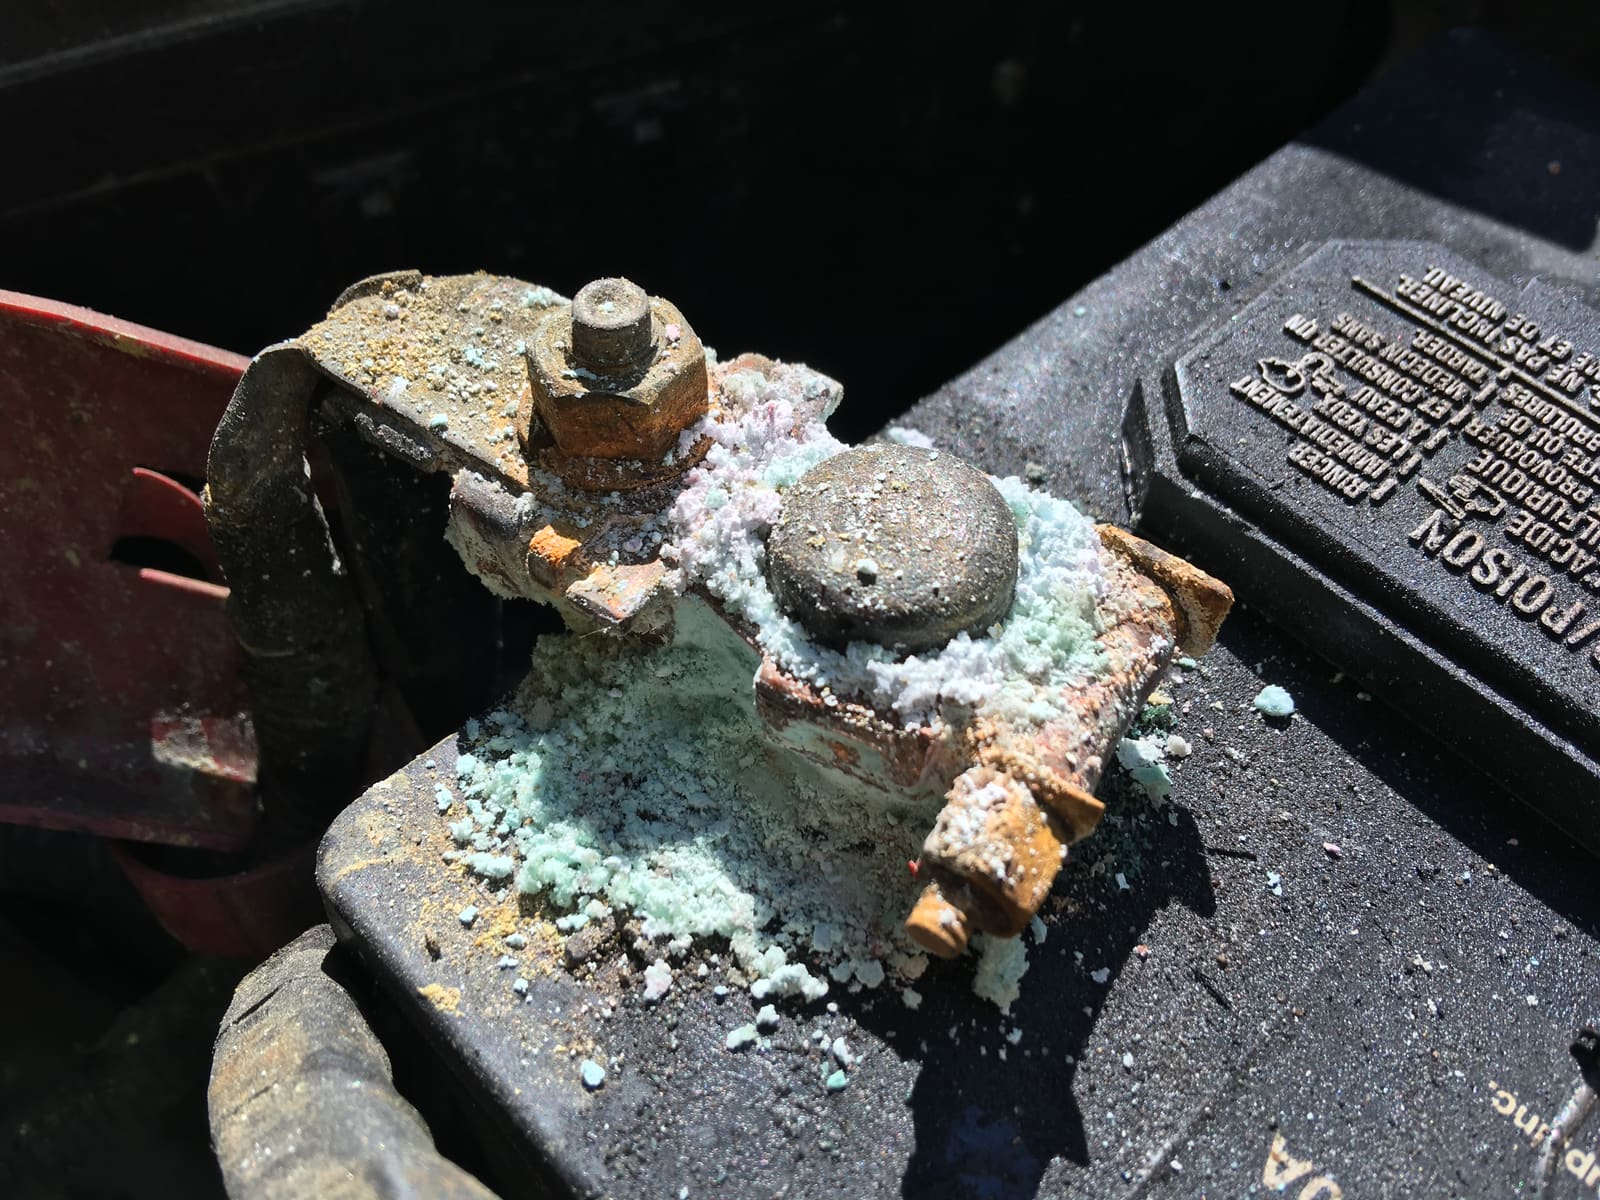
Track down the green crust and loose terminals behind flickering lights, dead gauges and slow cranking with a simple voltage-drop test, then remake the connection the marine way: tinned wire, a proper crimp, adhesive-lined heat shrink and a protective coating.
Marine Battery Care: Test, Charge and Store for Winter
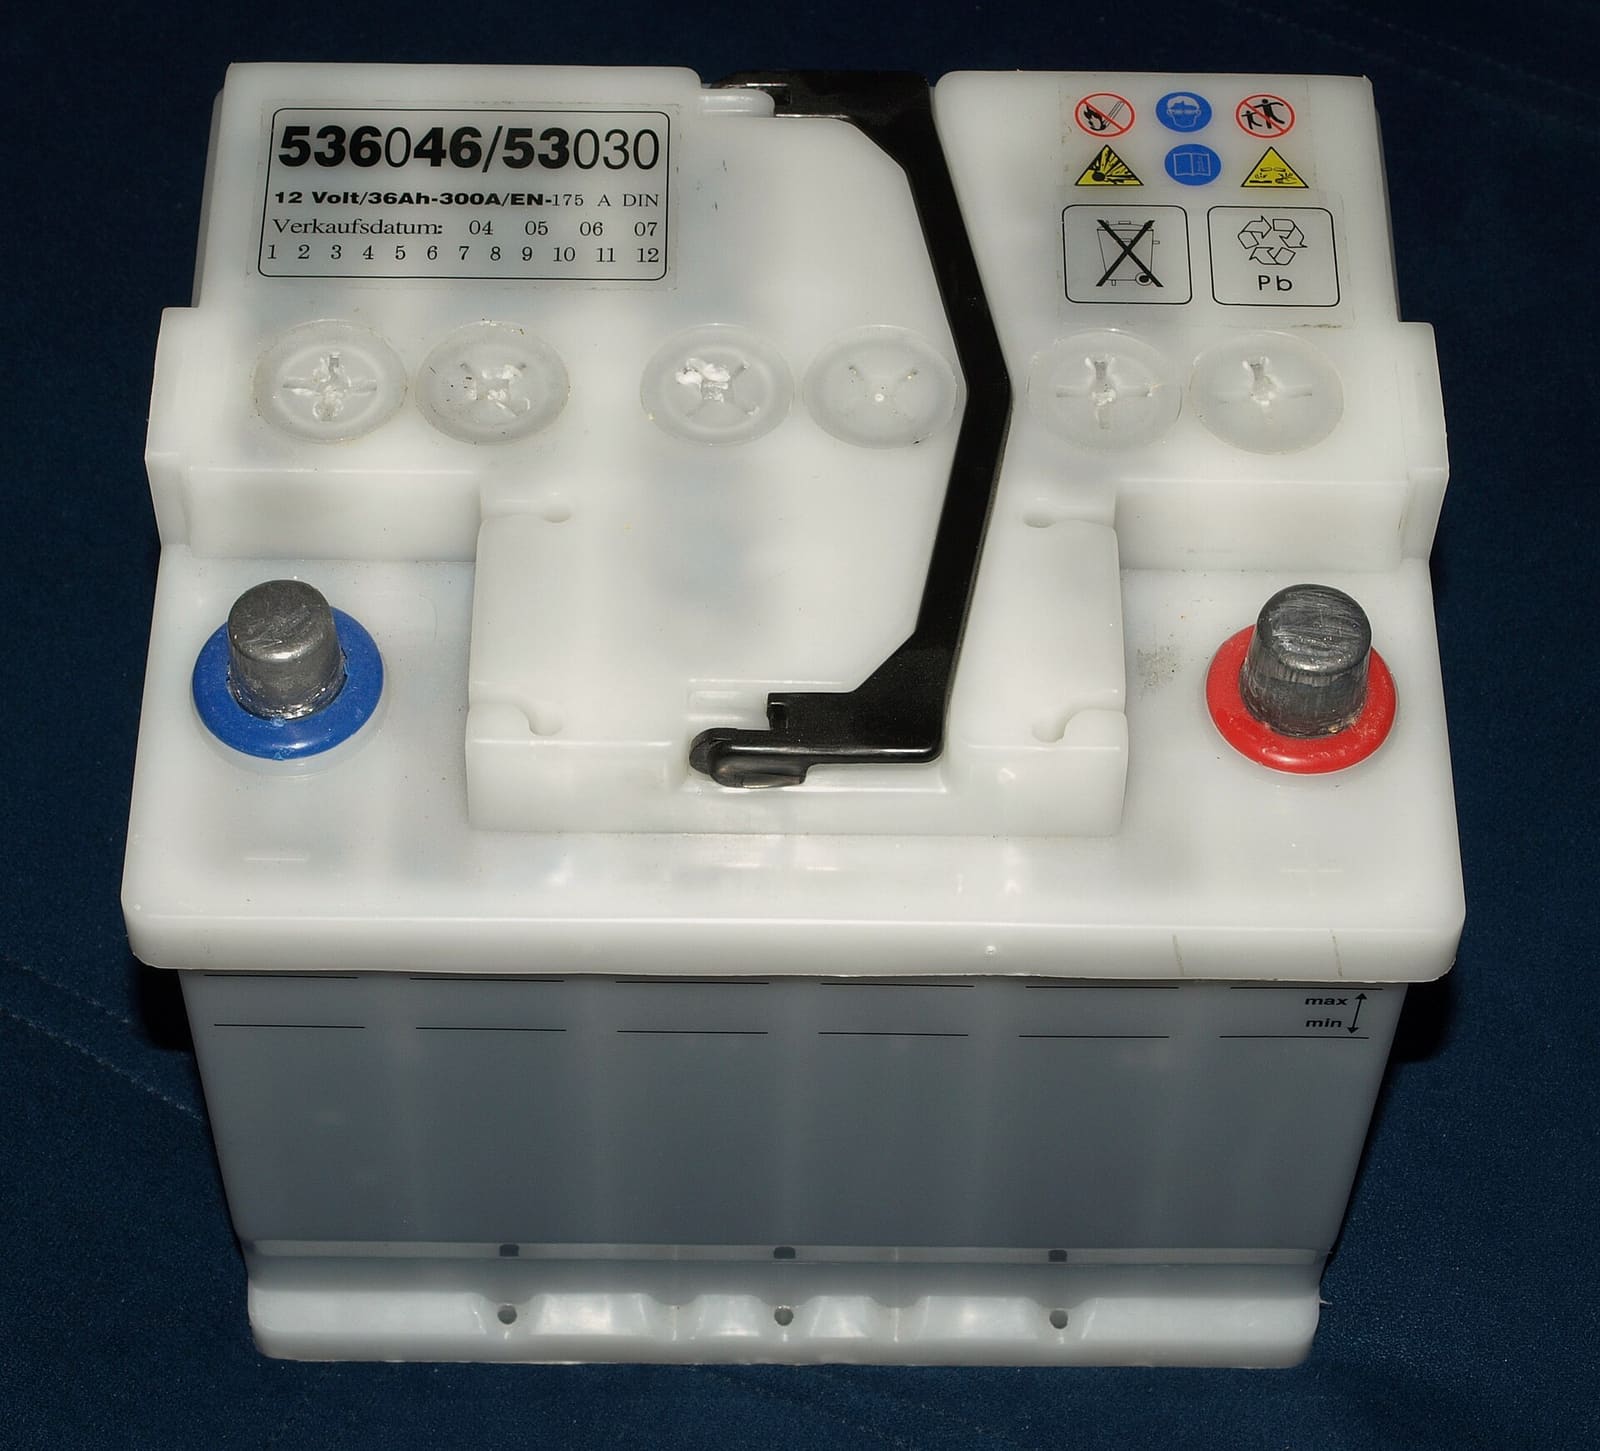
Check your boat battery's health, charge it the right way for its type (flooded, AGM or lithium), and store it so it is ready in spring. Most "boat won't start" calls start with a neglected battery.
How to Use a 1-2-Both Battery Switch and Run Two Batteries
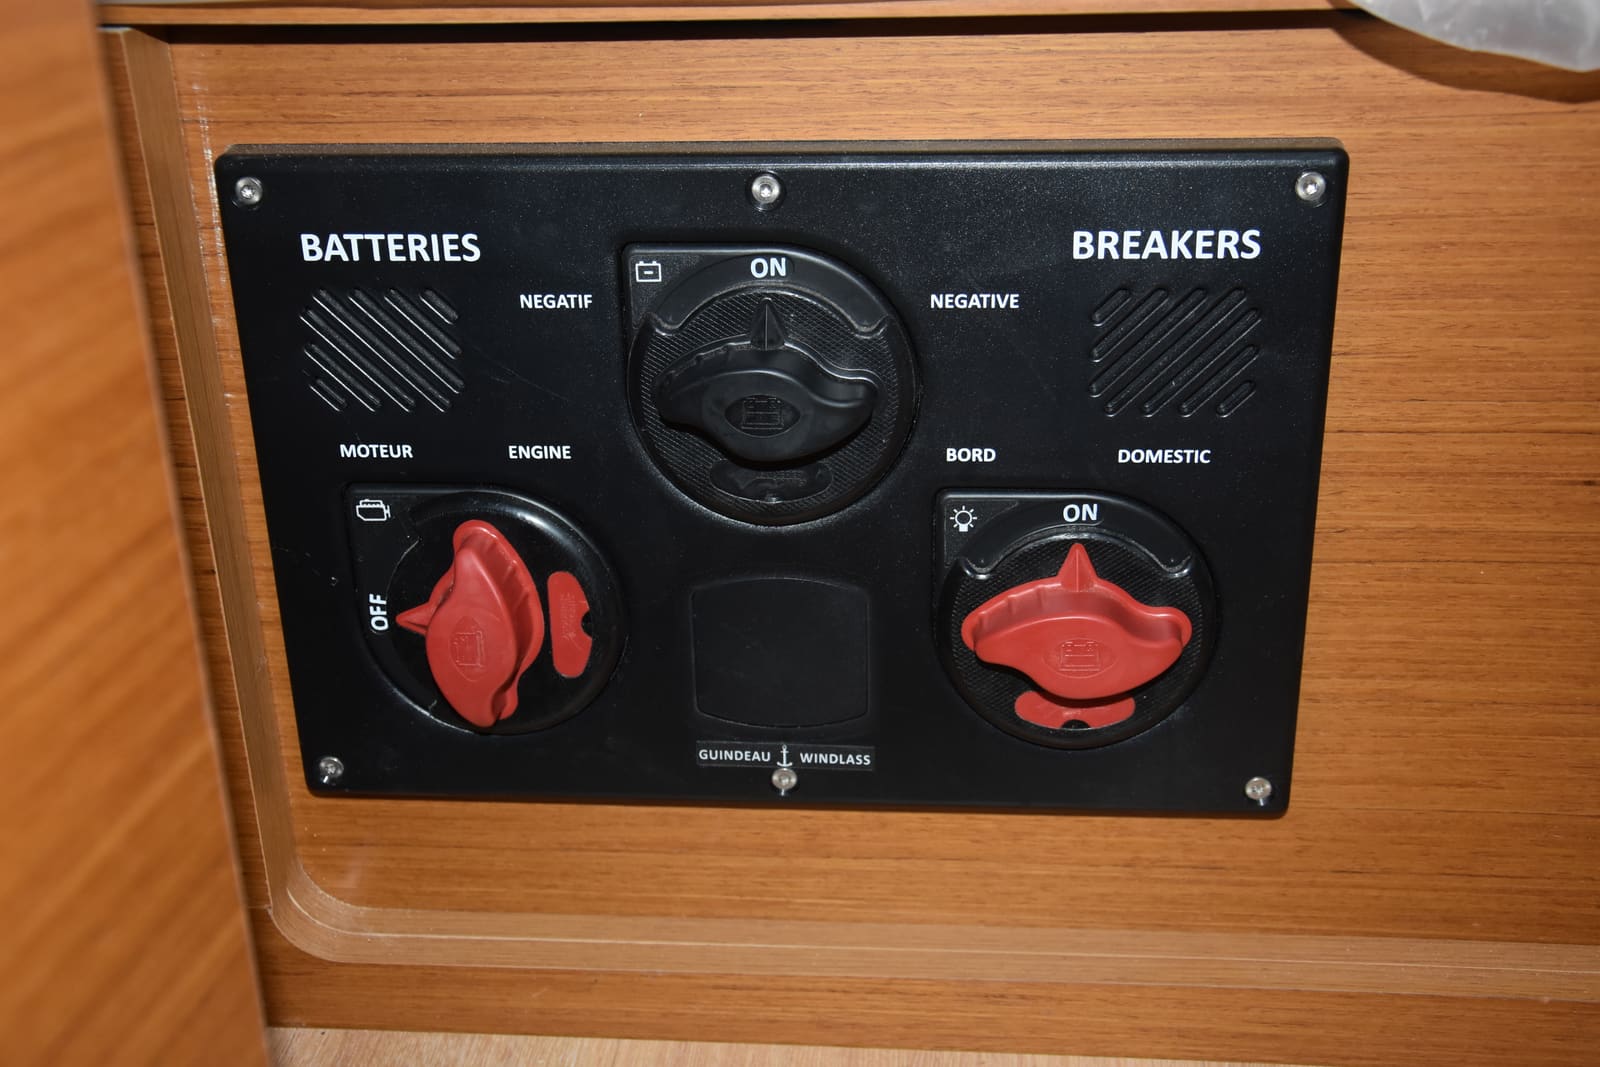
Learn what the 1, 2, Both and Off positions really do, a simple routine that keeps one battery ready to start the engine, how to check that both batteries are charging, and when an automatic charging relay makes life easier. Rewiring high-current cables is a job for a marine electrician.
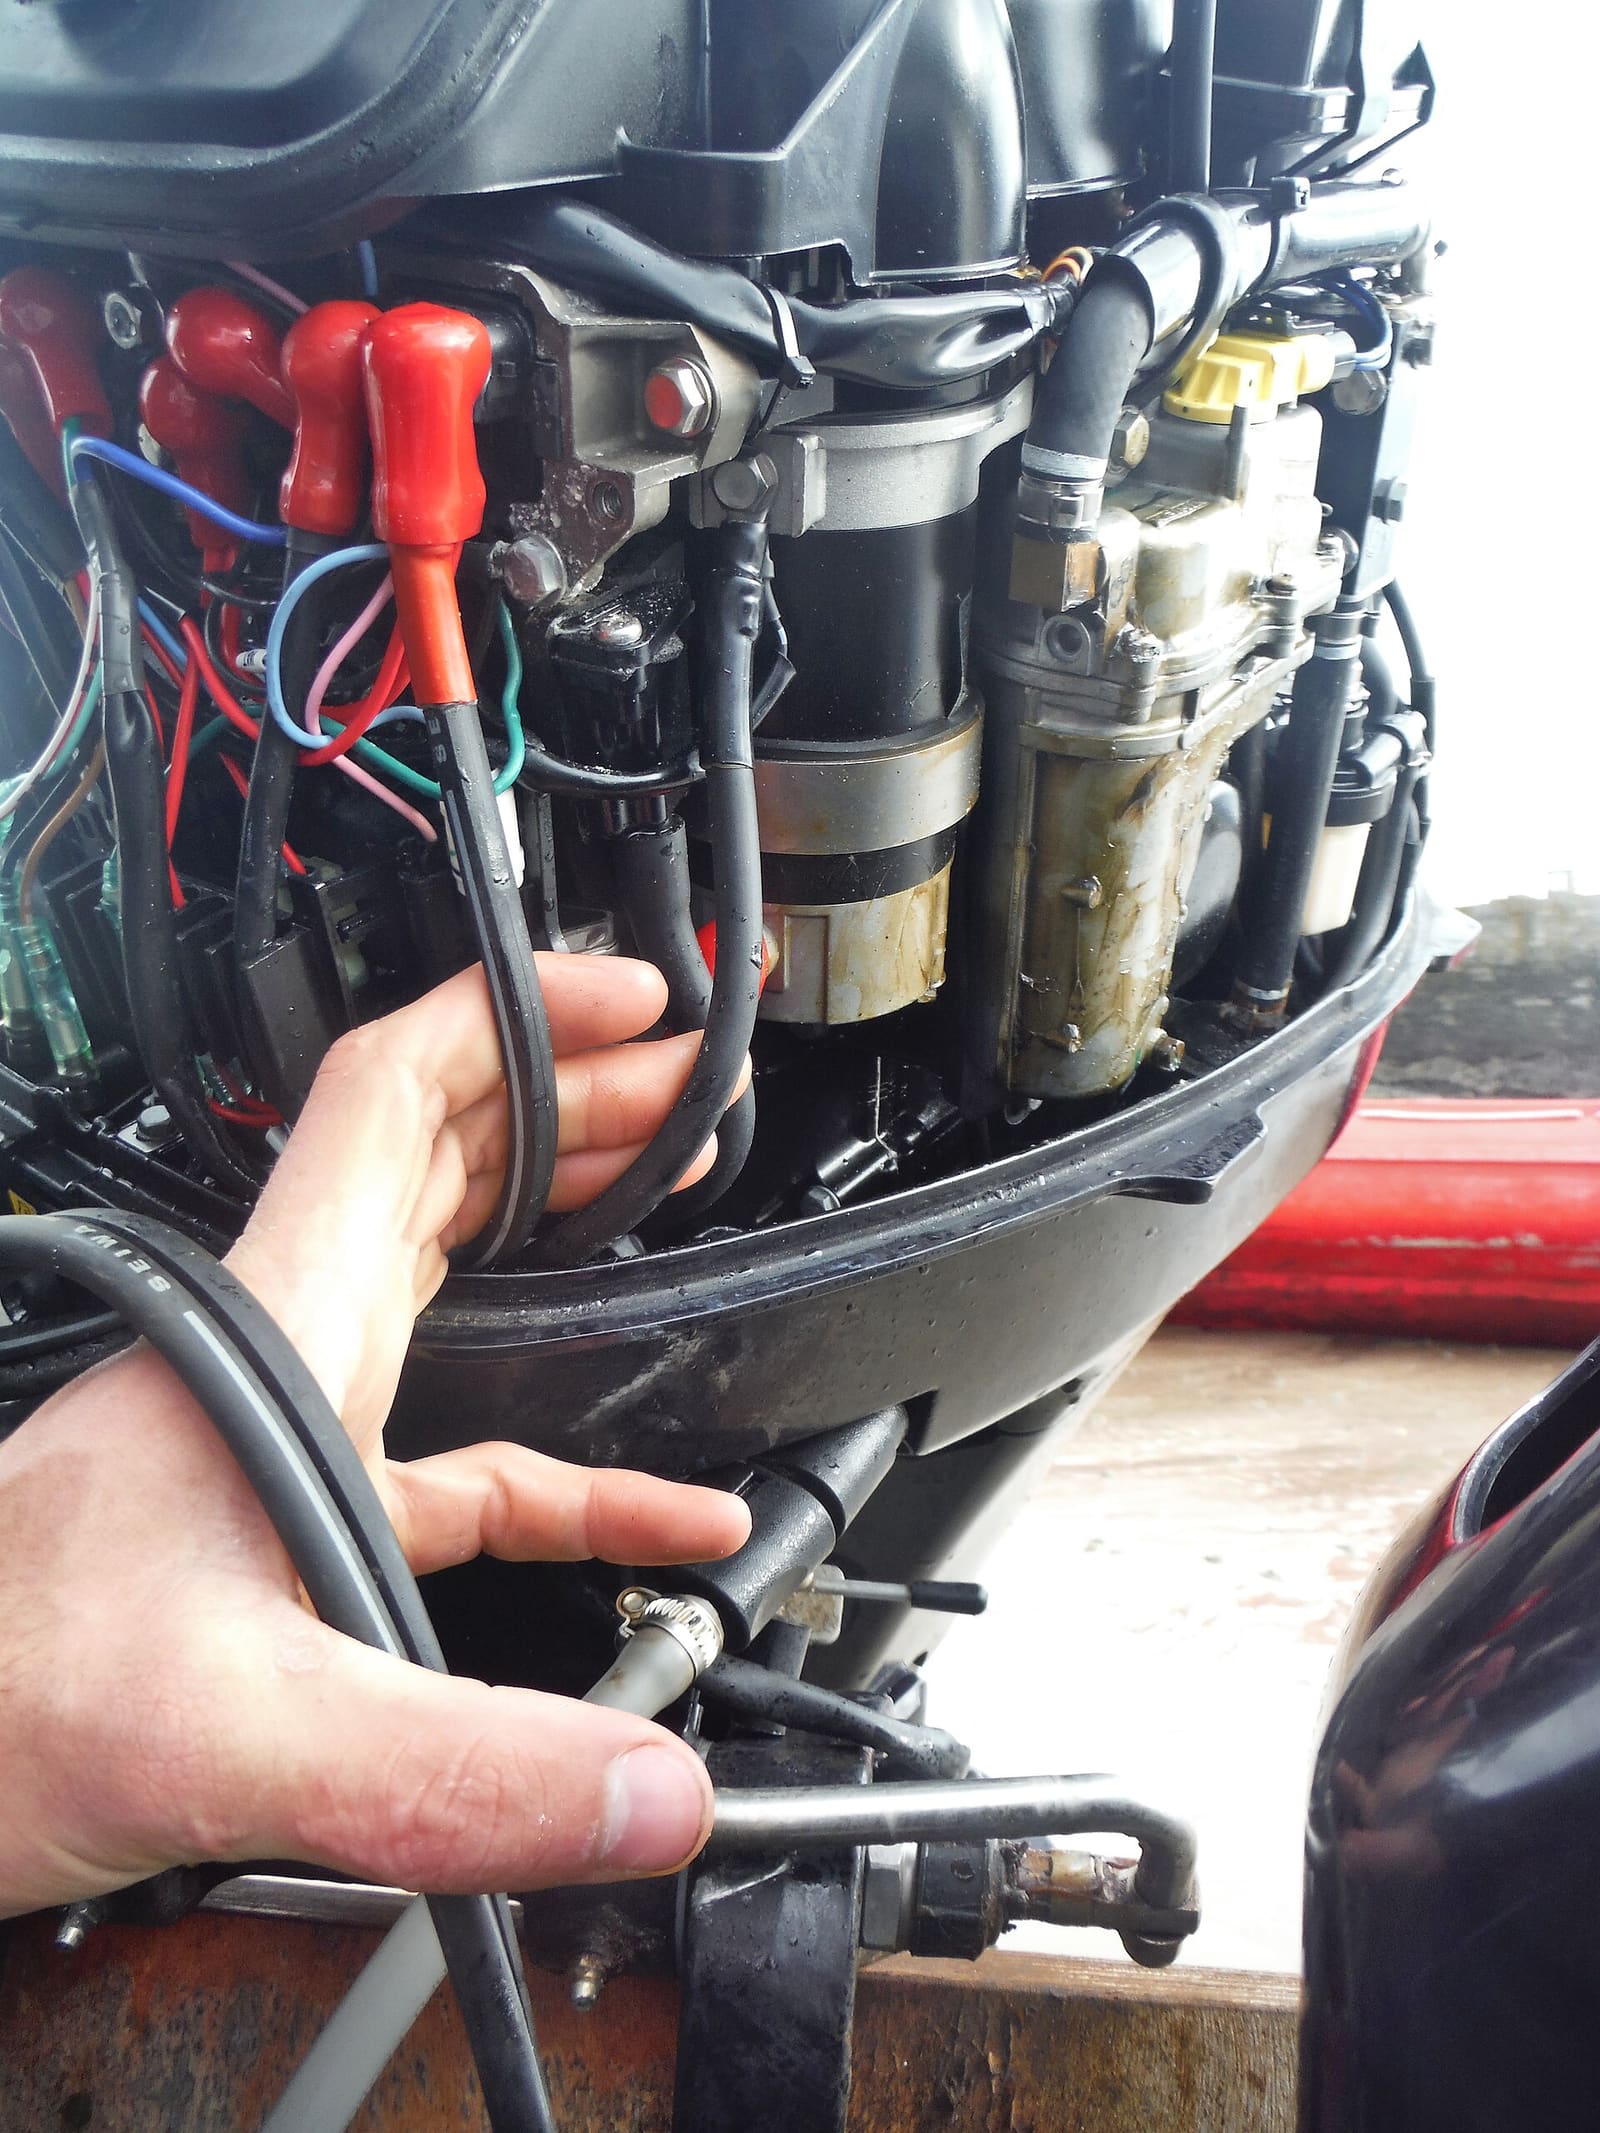
Engine Clicks but Won't Crank - Testing the Battery, Cables, Neutral Switch, Solenoid and Starter
A click (or nothing) when you turn the key is usually a power delivery problem, not a dead engine. Work from the battery and cables through the neutral switch, start relay and solenoid to the starter motor using simple voltage-drop tests, and learn how to jump-start safely when gasoline vapor may be around.
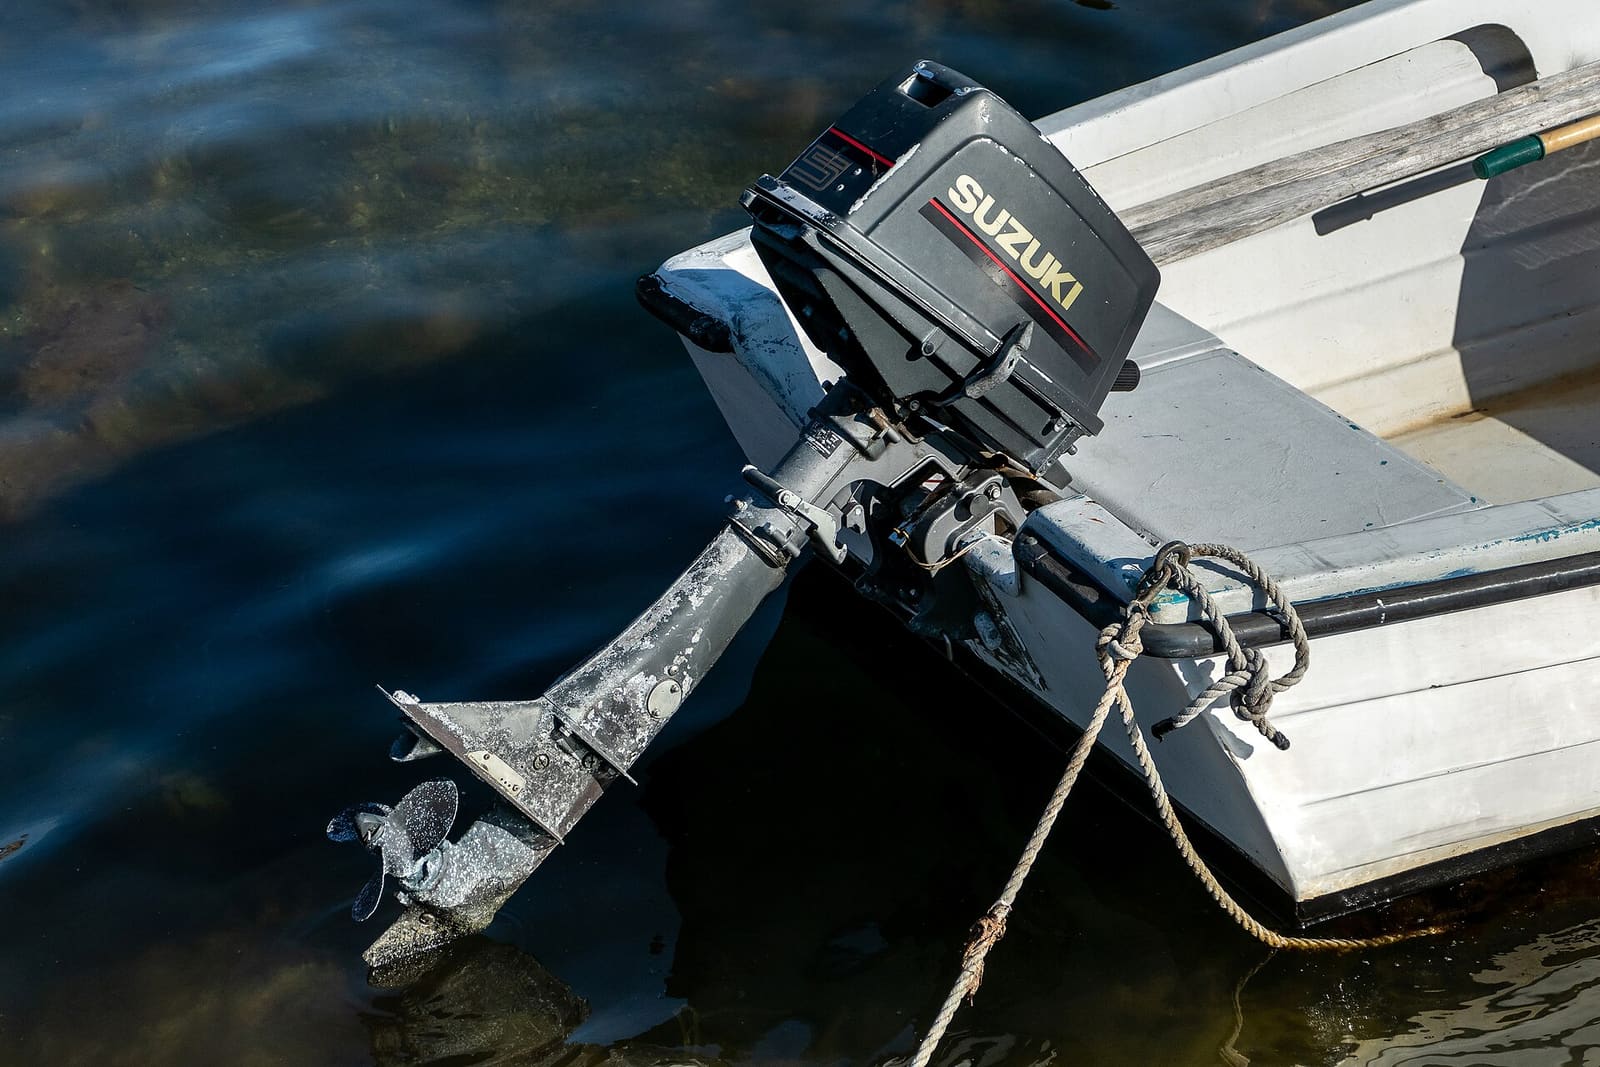
How to Grease Your Outboard's Lubrication Points
Grease the swivel bracket, tilt tube, steering and shift linkages, trim rams and prop shaft splines on your outboard. Grease keeps salt and water out of the moving joints. A 30-minute job once or twice a season prevents seized steering, stuck props and corroded brackets.
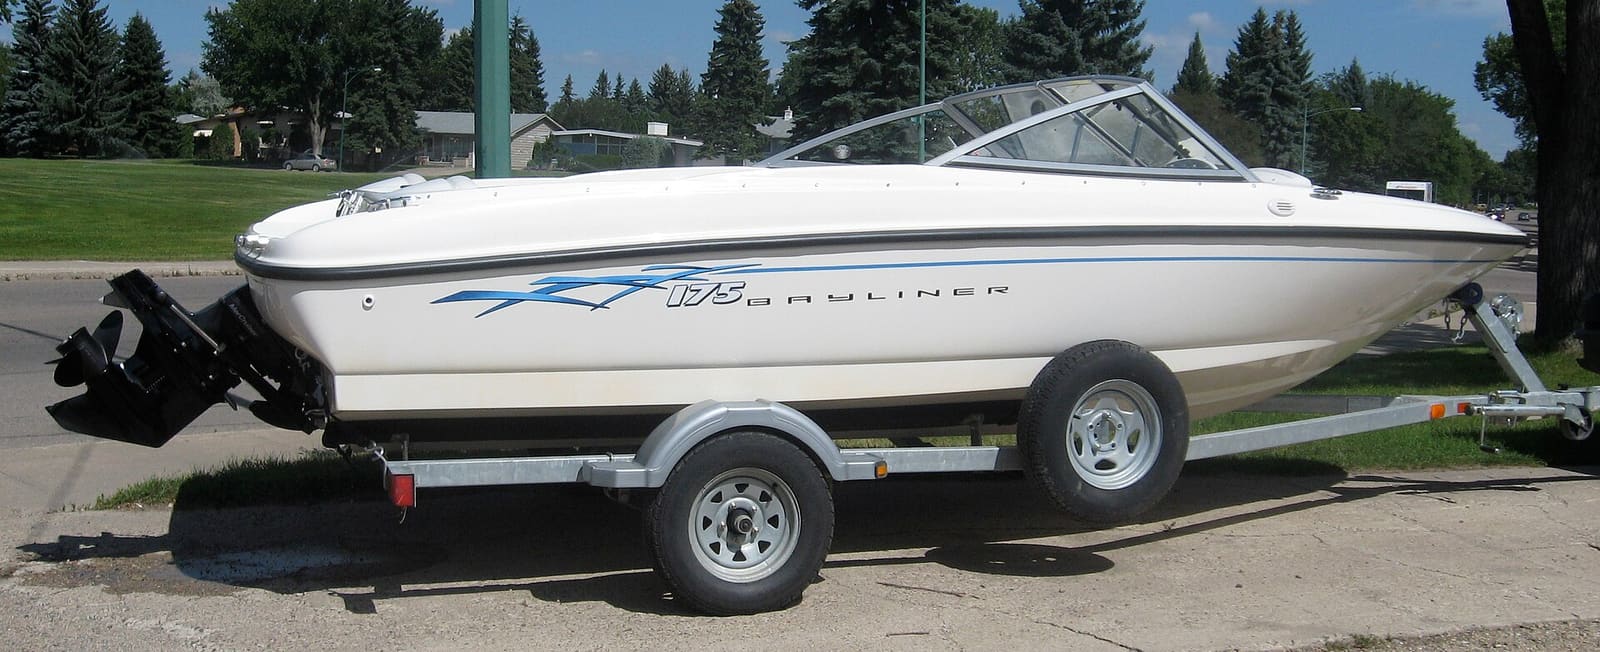
How to Inspect Sterndrive Bellows, Gimbal Bearing, U-Joints and Shift Cable
Learn to spot a cracked sterndrive bellows before it lets water into the boat, and to recognize the warning signs of a worn gimbal bearing, U-joints and shift cable. A failed bellows is one of the top reasons boats sink at the dock, and a 20-minute inspection can catch it.