Make Your Own Boat Wiring Diagram
Trace your boat's 12-volt circuits one wire at a time, label them so the labels last, and draw a simple diagram you keep aboard. It takes a few weekends, but it turns every future electrical problem or upgrade into a faster, cheaper job.
Time
8 h
Shop would charge
$150-600
Applies to
All engines
Safety first: Map the 12-volt DC system yourself; leave tracing inside the AC (120/240-volt) panel and wiring to an ABYC-certified marine electrician. Before you start, unplug shore power, turn off the inverter and generator, and disconnect the battery positive cables, and still treat every exposed terminal as live. On older boats a black wire can be an AC hot, not a DC negative. Never work in a bilge or engine room with fuel smell: stop, ventilate and find the leak first.
Owners often ask
- My older boat has no wiring diagram and half the breaker labels are wrong. How do I figure out what each wire does?
This guide walks you through it. Still stuck? Ask the AI Mechanic about your engine.
Tools
- Digital multimeter with test leads
- Bright headlamp or flashlight
- Inspection mirror
- Camera or phone
- Clipboard, large paper or graph paper, sharp pencil and eraser (or a free drawing app)
- Diagonal cutters for cable ties
- A helper (makes tracing much faster)
Parts & supplies
- Wire labels made for wiring, or good white/yellow vinyl electrical tape and a fine permanent marker
- Replacement cable ties
- Waterproof bag or tube to store the diagram aboard
Before you start
Why bother. BoatUS points out that the older the boat, the more likely it has no wiring diagram, or one that's worse than none because previous owners changed things. Without a map, every electrical problem starts with an hour of guessing, and that's an hour you pay a technician for. With one, you can find a dead circuit quickly, add a stereo or a fish finder without overloading a breaker, and hand a pro exactly what they need. It also forces you to look at every wire, which is how you find the chafed, overheated or corroded spots that BoatUS's claim files link to electrical fires.
Set expectations. This is a project for several weekends, not an afternoon. Do the DC system first (one source, two wires per device, low voltage) and add the AC side later with a pro.
Know the color code, but don't trust it. Most US builders follow the ABYC DC color code: red for positive feeds, black or yellow for negatives, dark blue for lights, purple for ignition and instrument power, orange for accessories, brown/yellow stripe for the bilge blower, green for bonding. The full table is in our 12-volt wiring basics guide. Boating Magazine notes that the equipment itself usually comes with plain red and black leads that join the boat's colored wires. And on older or modified boats, BoatUS warns: make no assumptions; trace every wire.
Steps
Walk the boat and list every device that uses power: lights, pumps, blower, horn, electronics, stereo, outlets, windlass, trim, chargers. Put each on a DC list (runs from the batteries with no inverter) or an AC list (needs shore power, generator or inverter). This list becomes the checklist for your diagram.
On large paper (or in a free drawing app such as diagrams.net or LibreOffice Draw), draw the batteries, battery switch, main fuse or breaker, the DC panel or fuse block, and the engine. Use simple boxes and labels. Don't worry about formal electrical symbols; clarity matters more. Leave plenty of room, because you'll redraw it at least once.
Unplug shore power, switch off and disconnect the inverter, disable the generator, and remove the positive cables from the batteries. BoatUS recommends this even though you're mapping DC, because it also kills the AC side if you mix up the two. Cover the battery terminals.
Start at the batteries and follow the thick cables: to the battery switch, to the starter, to the main fuse and on to the DC panel or busbar. These are the "trunk lines." Note each wire's color and size (the gauge is usually printed on the insulation, like "10 AWG"; a smaller number is a thicker wire). Draw them on the sketch.
At the panel, write down every breaker or fuse label and its rating. Then trace each output wire to its device. BoatUS warns that breakers are often reassigned during old upgrades, and previous owners splice into wires to power add-ons. The label says what it used to do; the wire tells you what it does now.
When a wire disappears into a conduit or behind a liner:
- Look for the same color coming out the other end.
- Have a helper watch the far end while you gently tug or seesaw the wire.
- Cut cable ties as needed to separate bundles, and replace them when done. Use an inspection mirror and photos for tight spots.
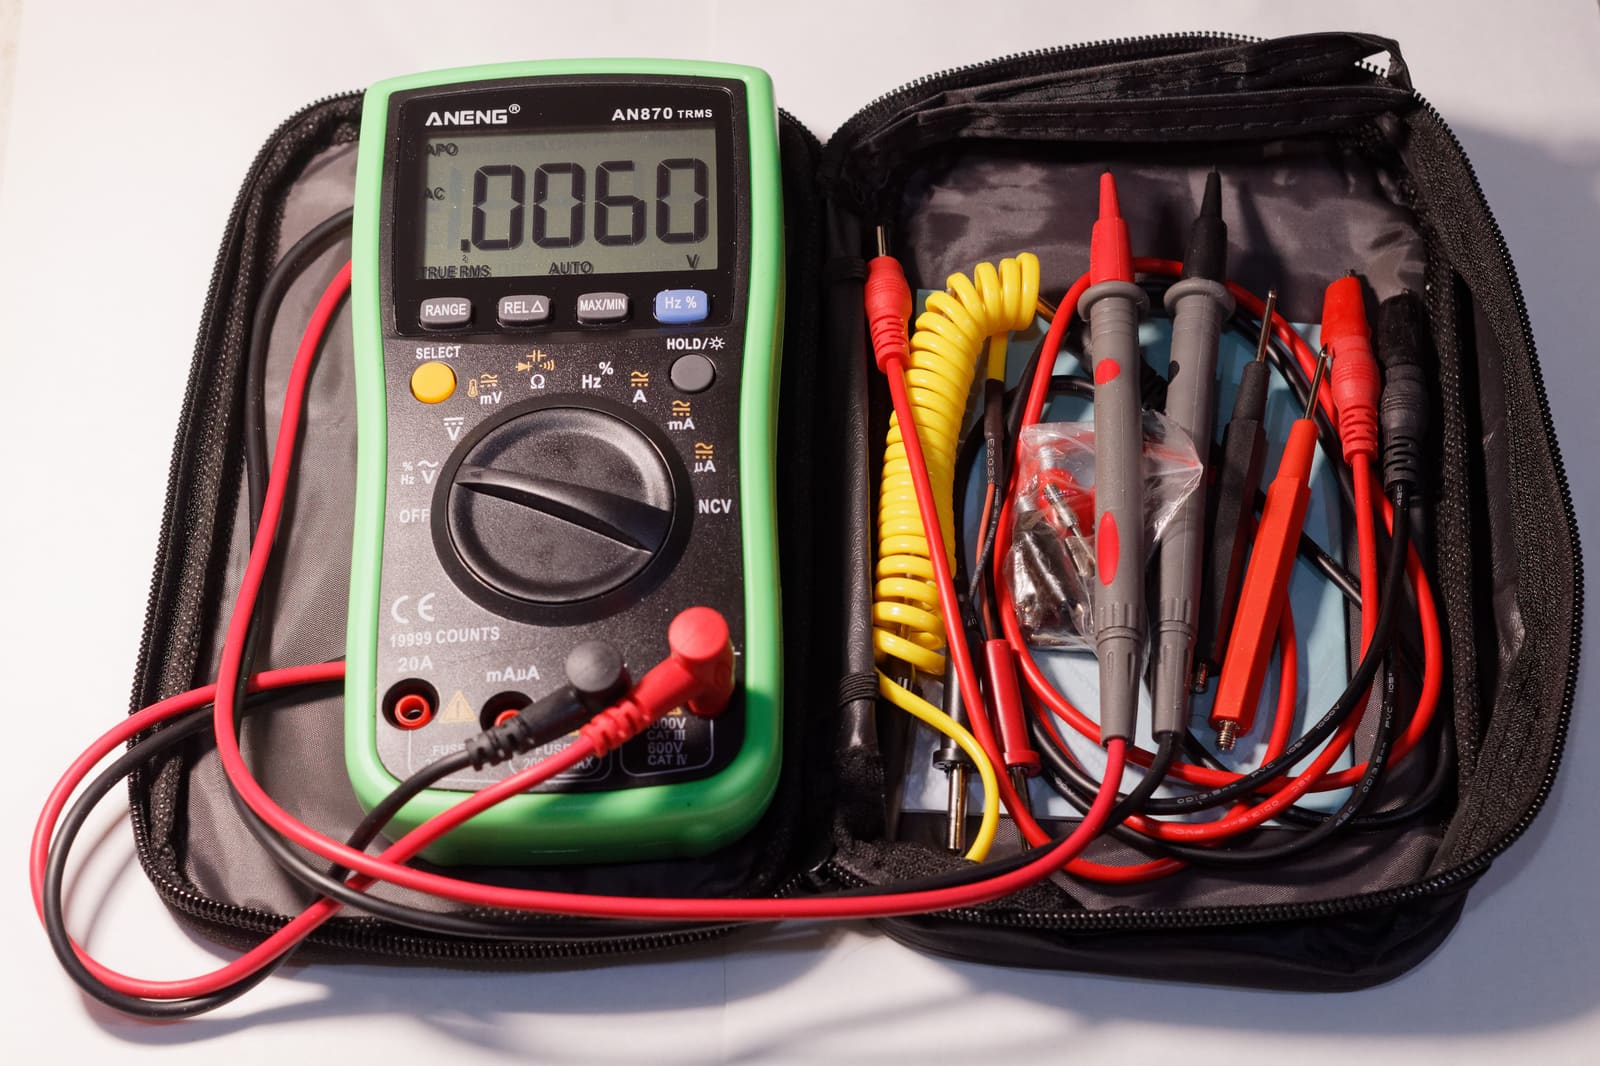
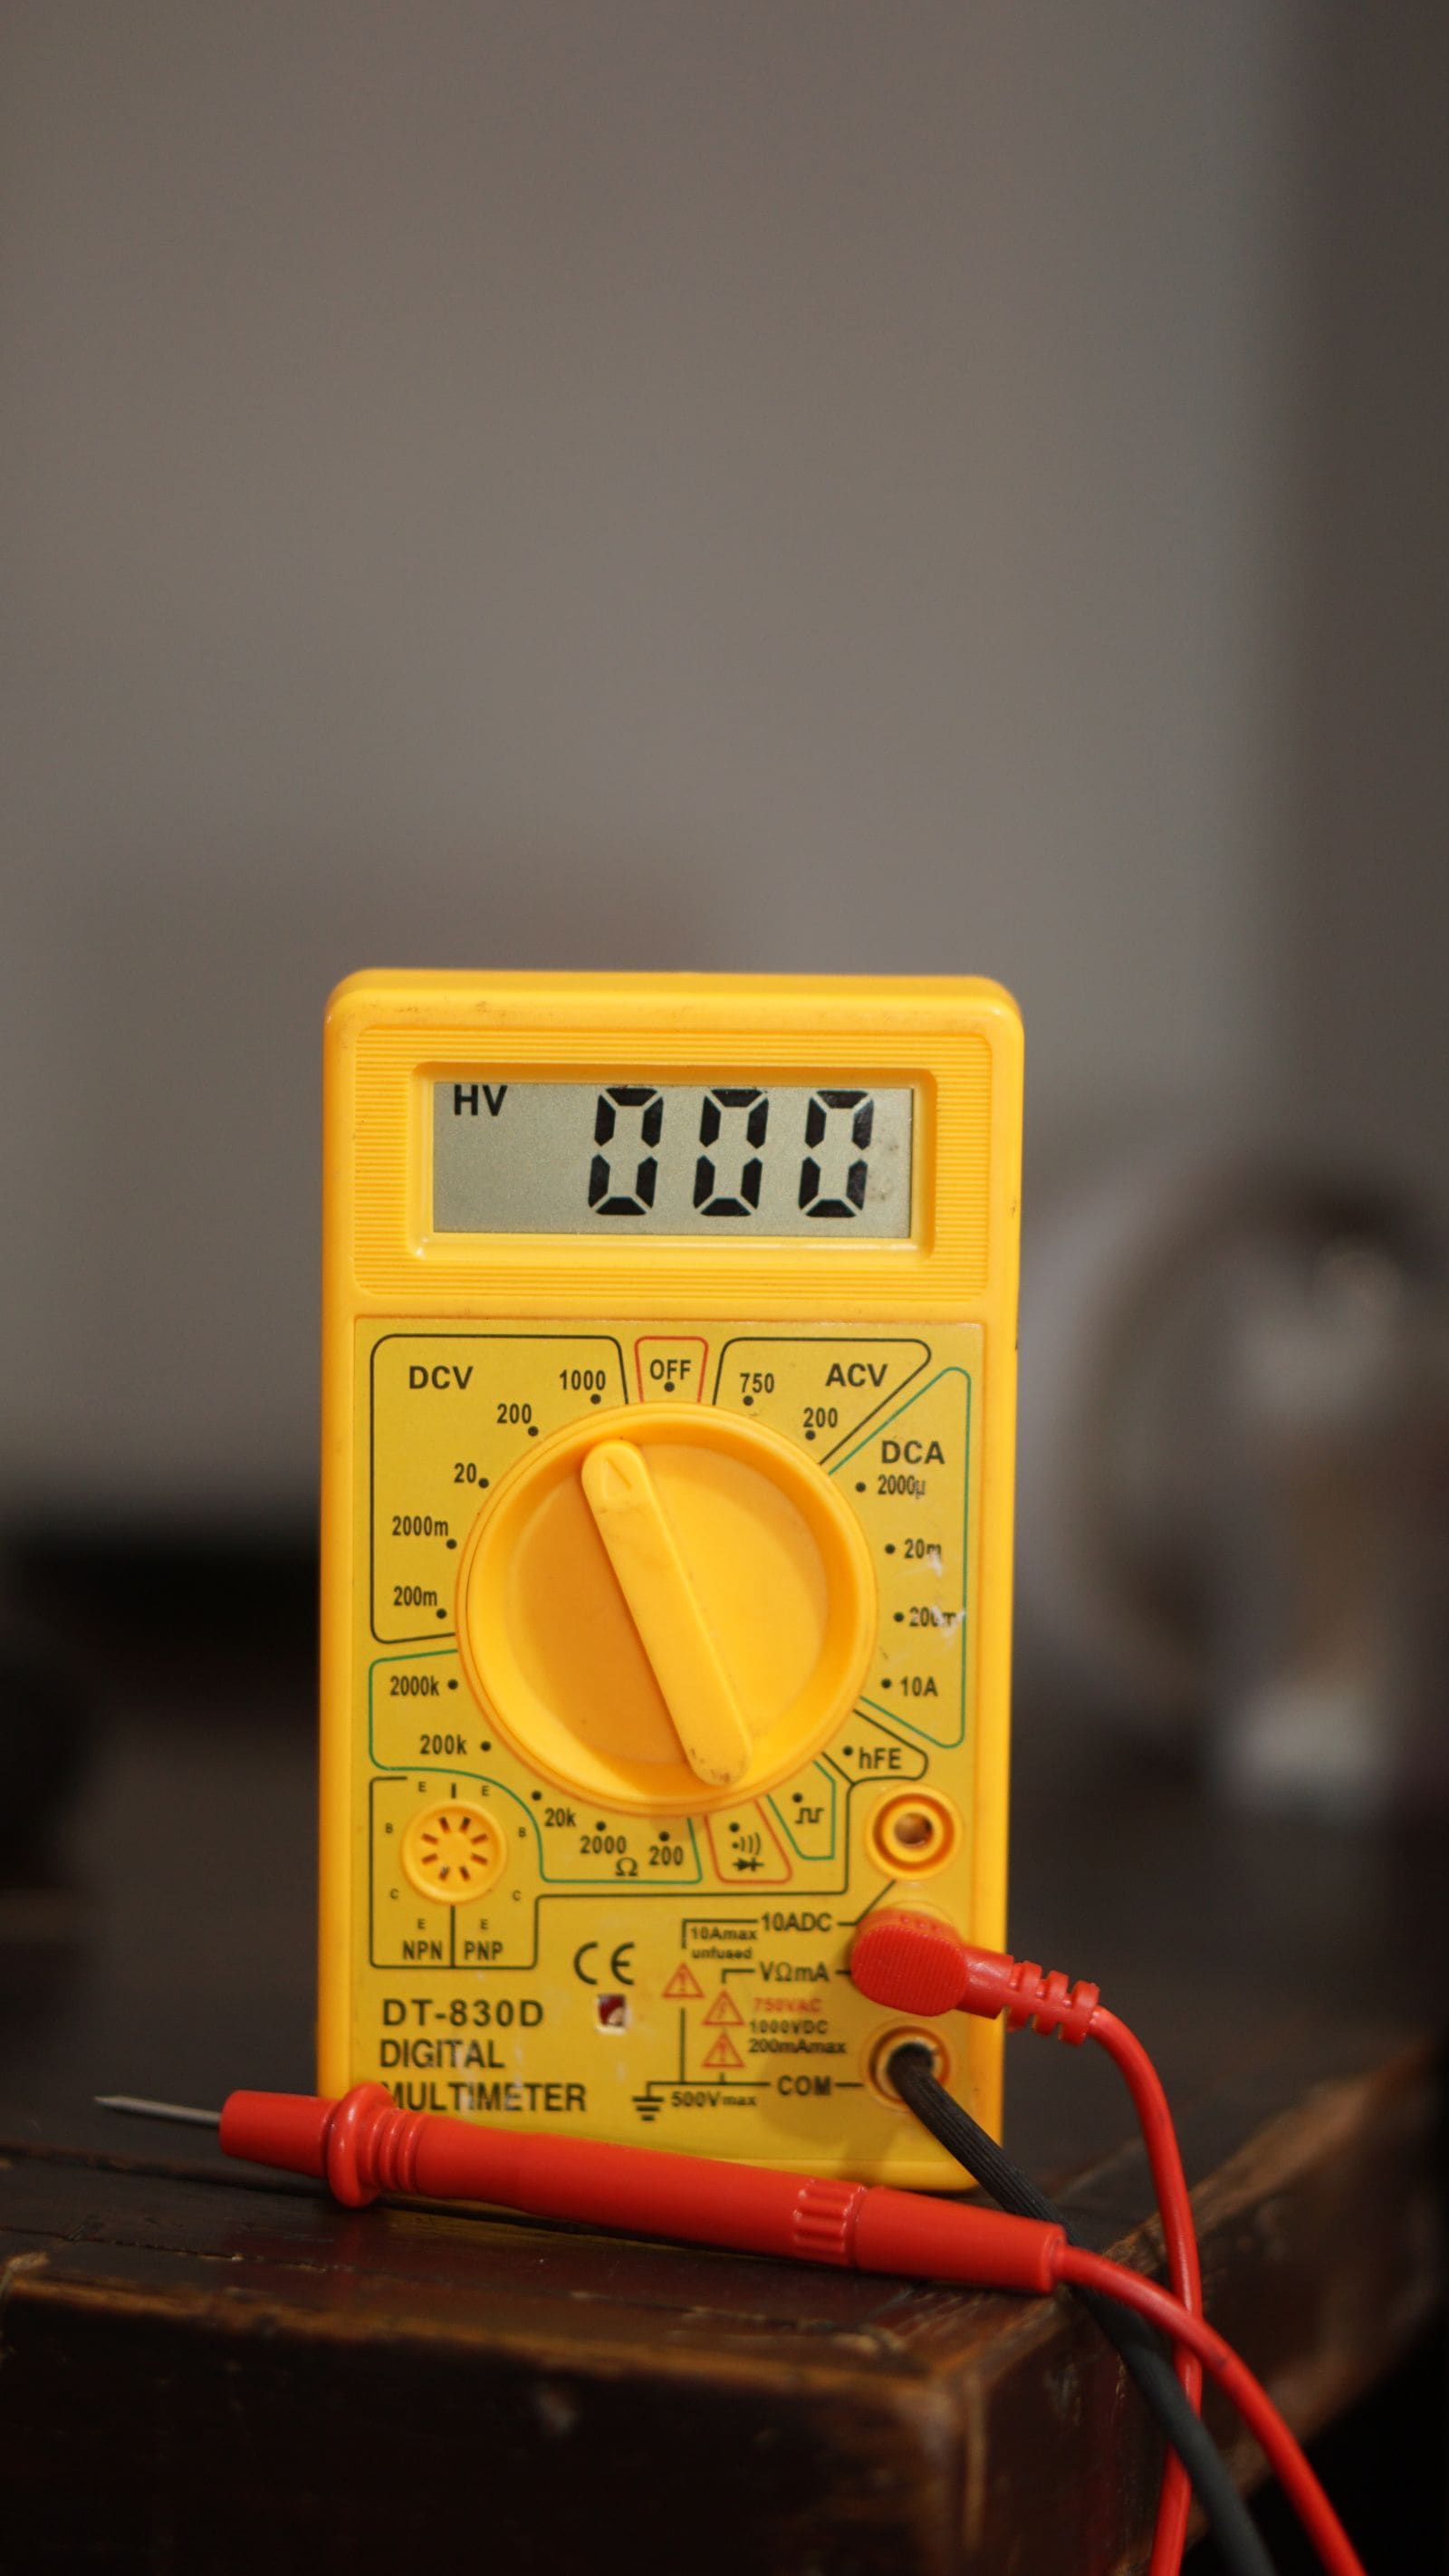
Photo: Retired electrician / Wikimedia Commons · CC0 With all power off, set the multimeter to continuity or ohms and touch one probe to each end of the suspected wire. A beep or near-zero ohms suggests it's the same wire. BoatUS cautions about "ghost continuity": shared grounds or connected equipment can make two different wires look connected. Disconnect the wire at one end to confirm, and physically trace it whenever possible.
For long bundles, an inexpensive tone generator and probe (sold for tracing house and network wiring) can help: clip the tone sender to one end of a de-energized wire and run the probe along the bundle until it "sings." Use it only on wires you've confirmed are disconnected from the batteries and shore power, and still confirm with the meter.
Wrap a label all the way around each wire so it sticks to itself; BoatUS found that flat office-printer labels fall off in the damp, oily boat environment. Use labels made for wire, or white or yellow vinyl tape and a fine permanent marker. Label both ends and at junctions along long runs. Give each wire a short number and put the same number on the diagram, with a key on the side, so the drawing stays uncluttered.
As you trace, look for chafed insulation, brown or blackened insulation, bumps in the insulation (corrosion or heat inside), a burnt smell, green corroded terminals, twist-on connectors or solid house wire. Mark each on the diagram with a red circle and make a fix list. BoatUS's fire claims analysis lists loose or corroded connections and chafed wiring as common causes of DC fires, so treat this list seriously.
If you find a part you don't recognize (a diode, shunt, relay or solenoid), photograph it and look it up before moving on; knowing what it does will help you troubleshoot later. For abandoned wires, confirm they're truly dead, then either remove them or label both ends "DEAD" and seal the ends. If you pull one out, BoatUS suggests leaving a nylon messenger line in its place for future wire runs.
Redraw the DC system neatly: batteries and switch at one side, panel in the middle, each circuit as a line to its device, with breaker rating, wire color, wire size and label number. Group circuits by area (helm, cabin, engine room) if that's easier to read. Mark negative wires and busbars too; many problems are on the negative side.
Draw the AC system on a separate sheet, or clearly separated on the same one: shore inlet, main breaker or ELCI, galvanic isolator, panel, outlets and AC appliances, generator and inverter. If it's complex, BoatUS suggests paying an ABYC-certified technician for an hour or two to walk you through it. Don't open AC boxes yourself.
Put a copy aboard in a waterproof bag (or rolled in a capped PVC tube for a big sheet) near the panel, keep a copy at home, and photograph it into your BoatMend notes. Every time you change wiring, update the diagram the same day.
Common mistakes
- Trusting breaker labels or wire colors on an older boat without tracing the wire.
- Assuming a black wire is a DC negative. On some older boats it's an AC hot.
- Working with the batteries still connected, then shorting a hot wire against the engine.
- Cutting cable ties to trace wires and never replacing them, so wires sag and chafe.
- Relying on a continuity beep alone and getting fooled by ghost continuity.
- Using paper labels or masking tape that falls into the bilge within a season.
- Forgetting that a fishing boat with a 24-volt or 36-volt trolling motor bank has batteries wired in series. A wire that reads about 24 volts or more belongs to that bank; draw it separately and never tie it into the 12-volt panel.
When to call a pro
- Anything inside the AC panel, shore power inlet, inverter or generator wiring
- Melted, scorched or bubbled insulation, or a burnt smell you can't trace
- Wiring that's a tangle of splices you can't safely sort out
- Battery cables or main fuses that get hot, or terminals that are badly corroded
- Before adding high-current equipment (windlass, inverter, trolling motor, big amplifier)
Tips
- Photograph every terminal strip and the back of the panel before you disconnect anything.
- Do one circuit per session and finish it completely, including the drawing. Half-traced circuits are easy to forget.
- Note the date and the boat's hours on the diagram so you know how current it is.
- Use the diagram to plan new gear: count free breakers and check whether the circuit's wire size suits the new load.
- If the finished map shows single breakers feeding two or three unrelated add-ons (common on older boats, as one Practical Sailor owner found behind his original panel), that's your cue to plan a panel upgrade with a pro. Owners who redo the panel often group circuits by job (navigation, cabin, pumps) and give critical gear like the VHF its own breaker.
- Painting the inside of a dark wiring compartment white, as that same owner did, makes labels and wire colors much easier to read with a flashlight.
- When you sell the boat, a clear diagram is a selling point; buyers and surveyors notice.
Official references
We read these to write this guide. Your engine's own manual always wins.
Safety: BoatMend is for information only and does not replace a certified marine technician. You are responsible for your safety and your boat. Read the full disclaimer.
Last updated 2026-10-25
Related guides

12-Volt Boat Wiring Basics: Circuits, Color Codes, Fuses and Wire Size
Learn how your boat's 12-volt system is laid out, what the ABYC wire colors mean, how fuses and breakers protect the wiring, why voltage drop and tinned wire matter, and how to read a wiring diagram, so you can troubleshoot smarter and know which jobs belong to a marine electrician.

Fuse Keeps Blowing? How to Troubleshoot a Boat Fuse Block or Breaker Panel
Work through a blown fuse or tripping breaker the safe way: confirm it, tell a short from an overload, isolate the device or wire at fault, replace a worn breaker or panel switch with the same rating, and label every circuit, without ever fitting a bigger fuse.
How to Find and Fix Corroded Electrical Connections on a Boat
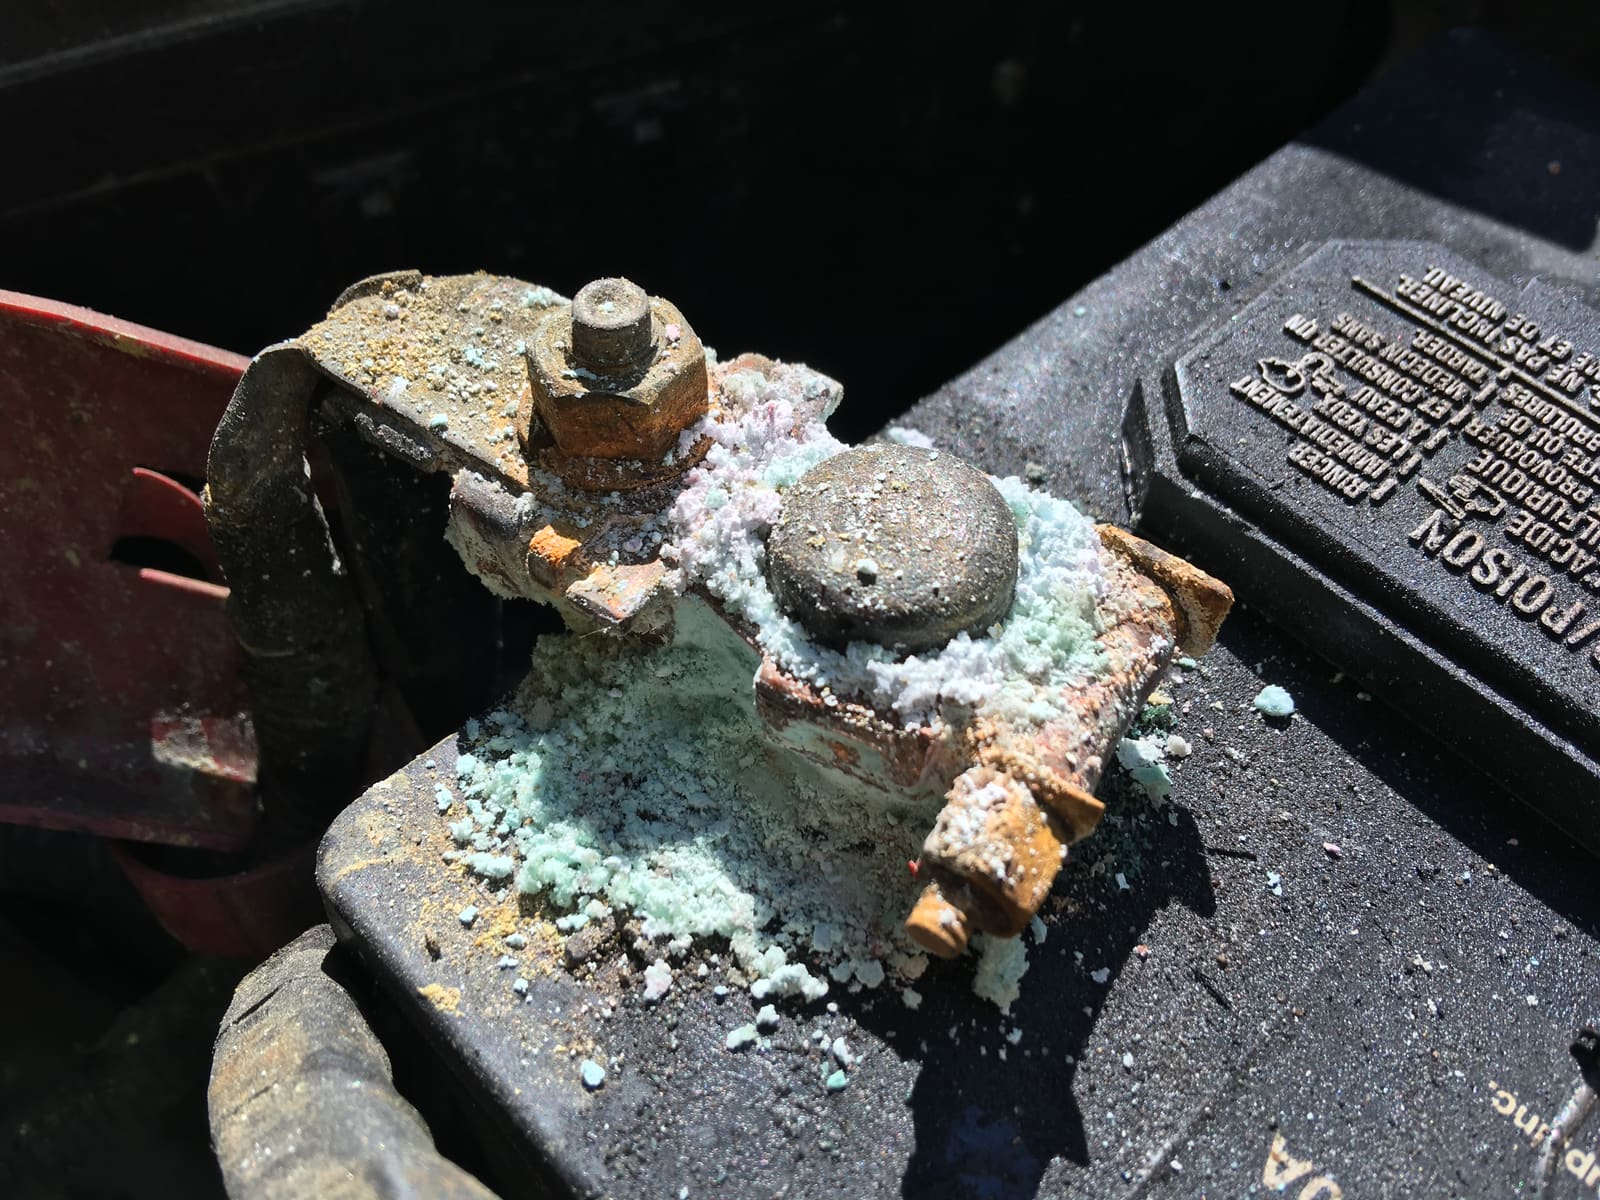
Track down the green crust and loose terminals behind flickering lights, dead gauges and slow cranking with a simple voltage-drop test, then remake the connection the marine way: tinned wire, a proper crimp, adhesive-lined heat shrink and a protective coating.
How to Run New Wires Through a Boat (Chase Tubes, Pull Lines and Deck Penetrations)
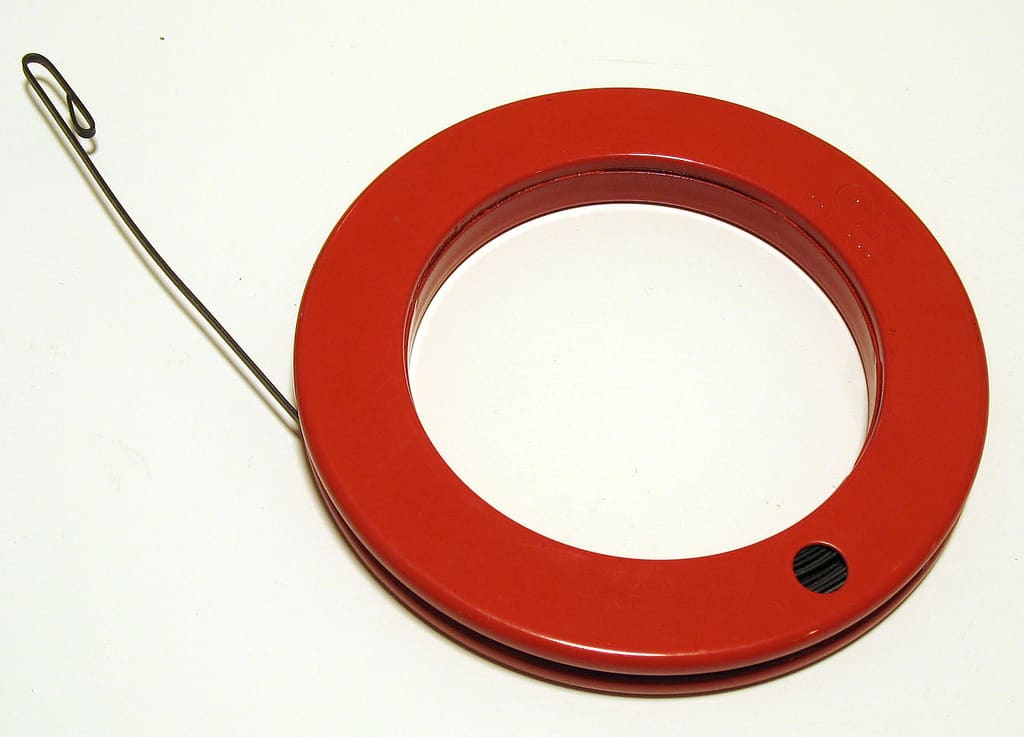
Get a new transducer cable, light or power wire from the stern to the helm or up through the deck without a fight: use the chase tube and a fish tape or pull string, protect the wire from chafe and heat, support it every 18 inches, seal every penetration and label both ends.
Battery Goes Dead While the Boat Sits - How to Find a Parasitic Drain
If your boat battery is flat every time you come back, something may be quietly drawing power while you are away. Learn how to tell a bad battery from a drain, find the circuit with a multimeter and the fuse panel, and fix the usual culprits without disabling your bilge pump.
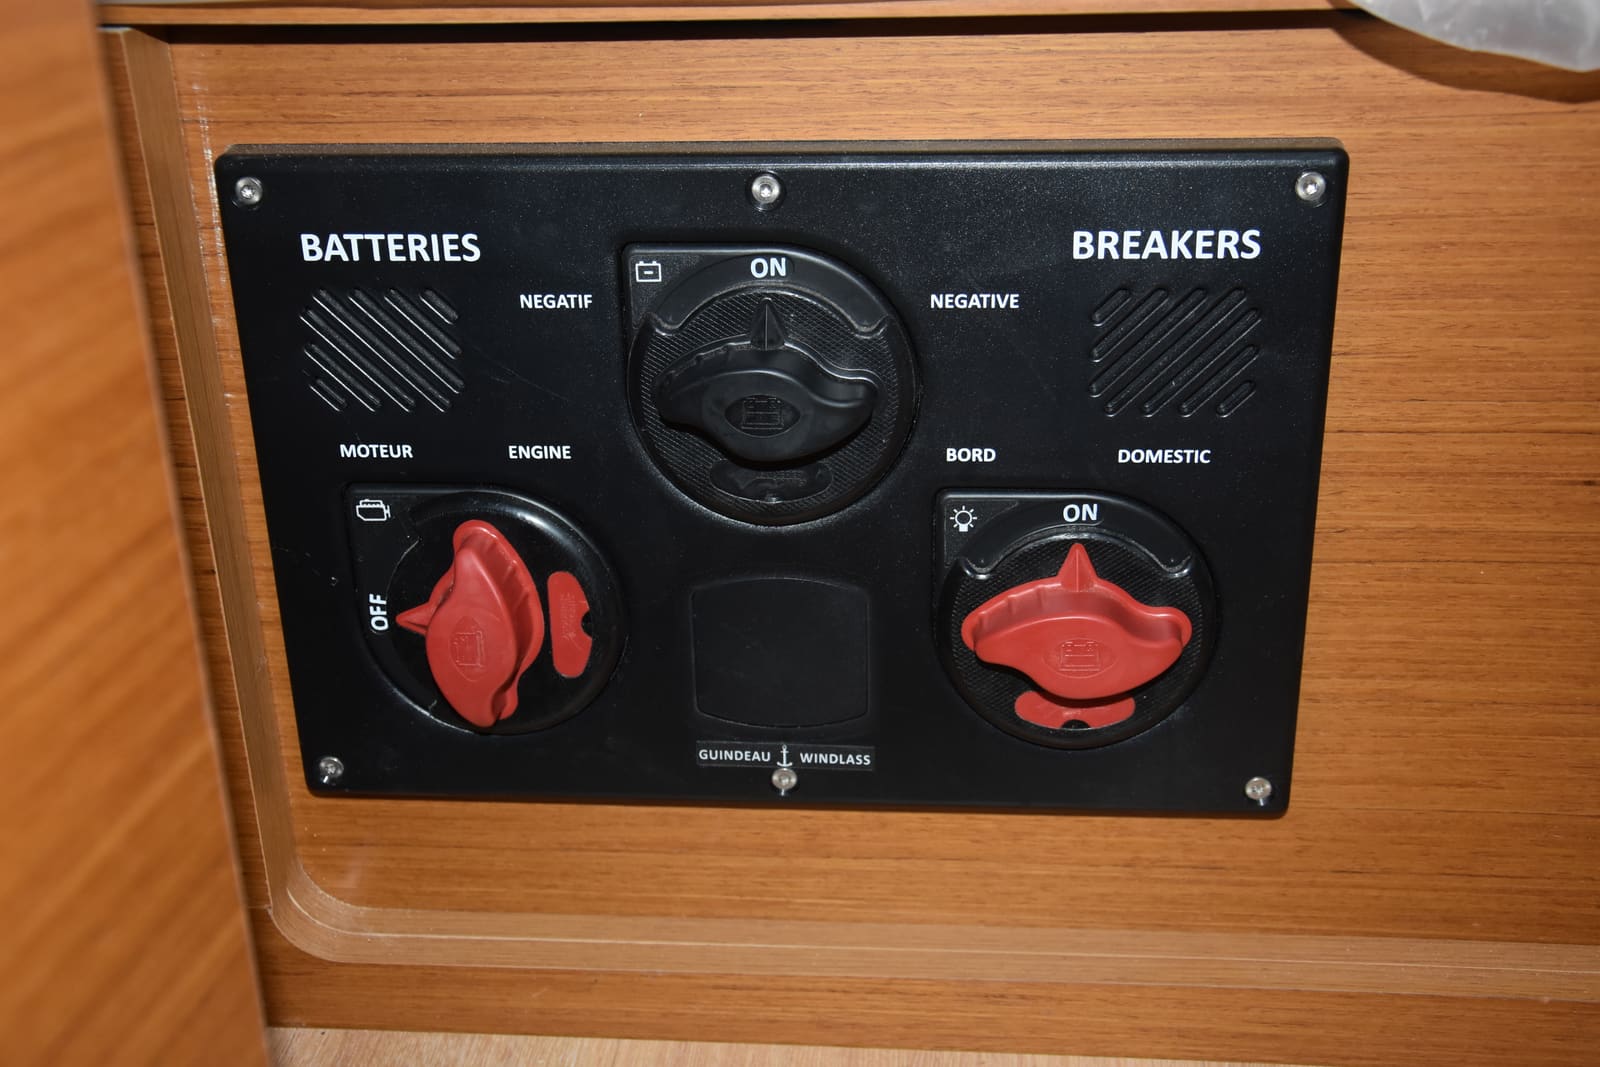
How to Use a 1-2-Both Battery Switch and Run Two Batteries
Learn what the 1, 2, Both and Off positions really do, a simple routine that keeps one battery ready to start the engine, how to check that both batteries are charging, and when an automatic charging relay makes life easier. Rewiring high-current cables is a job for a marine electrician.

How to Wire a Bilge Pump Correctly (Automatic Float, Panel Switch and Fuse)
Wire your bilge pump so the automatic float works even with the battery switch off, the helm switch gives you a manual override, and every circuit has the right fuse, wire size and connections kept above the bilge water. A pump that is wired wrong can leave the boat unprotected exactly when nobody is aboard.
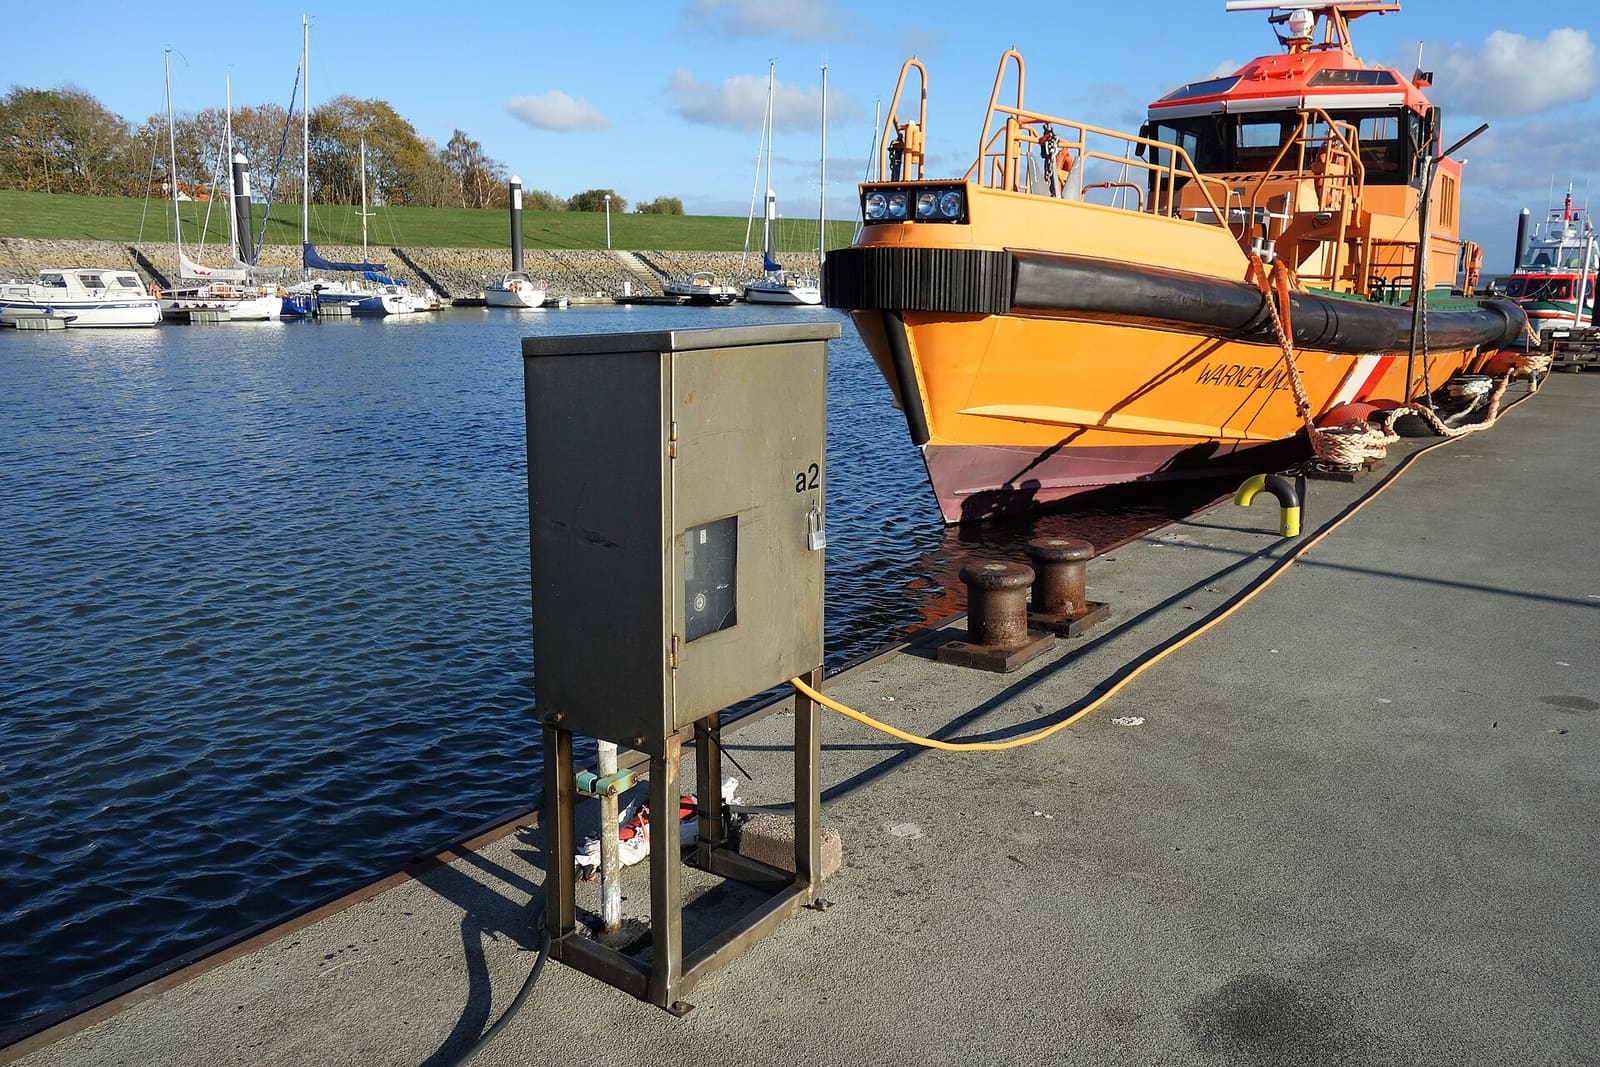
Shore Power Safety: Cords, Inlets, Burned Plugs and Electric Shock Drowning
An owner's inspection routine for your shore power cord, plugs, boat inlet, galvanic isolator and ground-fault protection, plus the right way to plug in and the facts about Electric Shock Drowning. This guide is for looking and testing only; any electrical repair belongs to an ABYC-certified marine electrician.