How to Spot and Prevent Corrosion on an Aluminum Boat
Aluminum hulls and pontoon tubes are tough, but they lose almost every fight with other metals. Learn the warning signs of galvanic and stray current corrosion, keep copper and loose metal away from the hull, choose the right anodes, touch up paint with the proper primer and know when a repair needs a welder.
Time
2 h
Shop would charge
$100-3000
Applies to
All engines · Fishing boat, Pontoon
Safety first: Never cut or disconnect the green grounding wire in your boat's shore power system to stop corrosion. BoatUS warns that this leaves anyone in the water near the boat at serious risk of electric shock drowning. Stay out of the water around docks and boats that use AC power. A hull with holes or thin, crumbling metal can leak or fail: do not launch it until it has been repaired. Welding must be done by a pro, with fuel and fuel vapors well away from the work.
Owners often ask
- My aluminum boat has white powder and little pits on the hull. Is that corrosion and what causes it?
- Can I use regular copper bottom paint on an aluminum boat or pontoon?
This guide walks you through it. Still stuck? Ask the AI Mechanic about your engine.
Tools
- Flashlight and inspection mirror
- Plastic scraper and nylon or abrasive (non-steel) pads
- Sandpaper in medium and fine grits
- Screwdrivers and wrenches for fittings and anodes
- Multimeter
- Garden hose and soft brush
Parts & supplies
- Anodes in the alloy your engine and boat makers specify
- Primer made for aluminum and a compatible topcoat (from the same paint system)
- Wax and grease remover or the solvent the paint maker specifies
- Nylon or plastic isolating washers and a marine bedding compound
- 300-series stainless fasteners to replace corroded ones
Before you start
Why aluminum is vulnerable. On its own, aluminum holds up well: in air it grows a thin, tight oxide skin that protects it. The trouble starts when it is electrically connected to almost any other metal in water. In BoatUS's galvanic series, aluminum sits near the bottom, below stainless steel, bronze, brass, copper and mild steel, and above only zinc and magnesium. The metal lower on the list dissolves to protect the one above it, and salt water speeds it all up.
Three ways it happens:
- Galvanic corrosion: two different metals touch (or are connected by a wire) in water. The aluminum gives itself up. This includes a neighbor's boat connected to yours through the shore power ground wire.
- Stray current corrosion: DC current from your own batteries leaks into the water through a bad wire or connection. BoatUS calls it less common but swift: it can ruin underwater metal in days.
- Trapped moisture: wet carpet, wood, dirt or salt held against aluminum in a crevice keeps it permanently damp and corrodes it from the outside in.
When to check. Each spring and fall, every time the boat comes out of salt or brackish water, and any time anodes vanish unusually fast.
Steps
- White, powdery or crusty deposits that build up and come back after cleaning
- Pitting: small craters or pinholes in the metal, often with white powder around them
- Paint that bubbles, blisters or lifts around fittings, fasteners, seams or anodes
- Weeping or pinhole leaks in the hull or a pontoon tube
- Anodes that disappear in weeks, or anodes that never wear at all
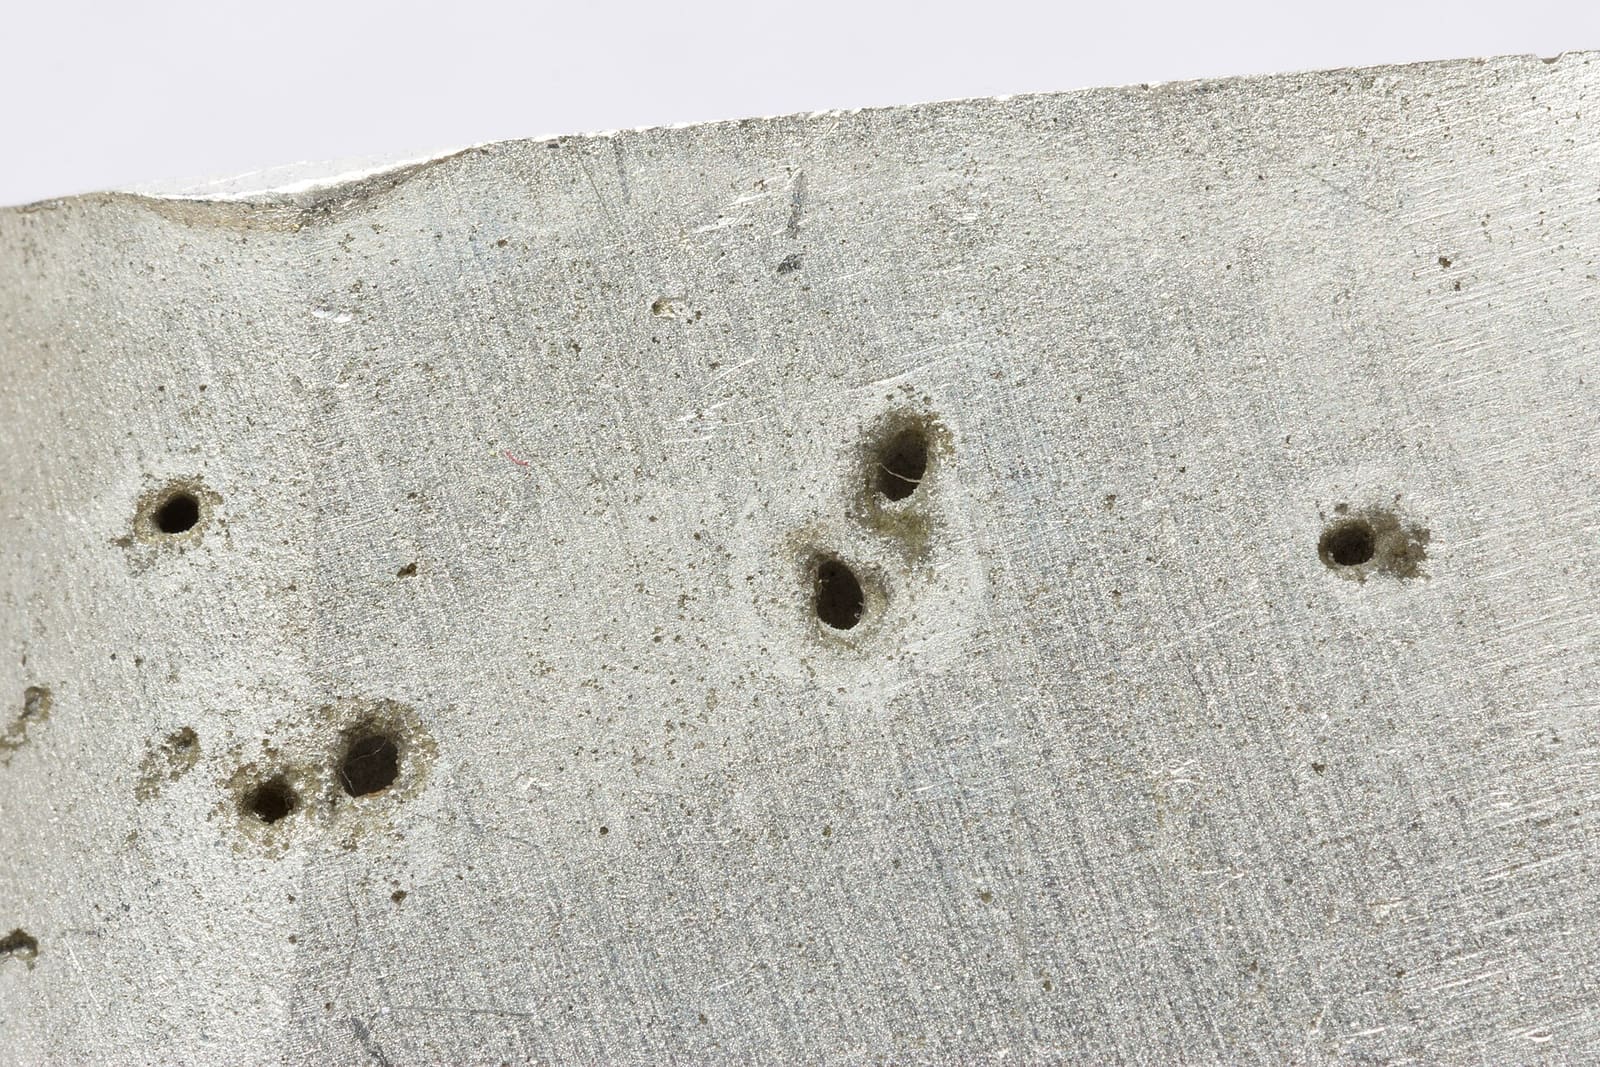
Pitting corrosion: small, deep holes that can go right through thin hull plate. Photo: Carlos Delgado / Wikimedia Commons · CC BY-SA 4.0 With the boat on the trailer or lift, go over the bottom and sides with a flashlight. Look hardest at:
- Through-hull fittings for livewells, bilge pump outlets and drains
- Transducer and trolling motor mounts, ladders and any bolted-on bracket
- Rivet lines, the keel, chines and the transom around the motor brackets
- Spots where carpeted bunks or rollers rest against the hull
- On pontoons, the tube brackets, nose cones and weld seams
Mark anything suspicious and photograph it, so you can tell next time whether it has grown.
Lift hatches and floor panels where you can. Look in the bilge, under the fuel tank, behind livewells and under wet carpet or plywood. Boating Magazine notes that fuel tanks should not sit on moisture-absorbing material like carpet, and that water should drain off them. Anything that stays wet against aluminum is a corrosion spot in the making.
Boating Magazine's list of corrosion prevention tips includes keeping hooks, sinkers, bottle caps, coins and other metal debris out of the bilge. A lead sinker or a copper penny sitting in salty bilge water against an aluminum hull can eat a pit right through it. Vacuum or sponge the bilge clean and dry.
Most fasteners and fittings on an aluminum boat are stainless steel, which is more noble than aluminum. Boating Magazine recommends 300-series stainless isolated from the hull with plastic or nylon washers or pads, and bedded with a marine bedding compound to keep water out. It also advises against graphite-based lubricants on aluminum boats and against brass fittings screwed straight into aluminum, such as on fuel tanks. When you add accessories, follow the same rules. Mercury's owner FAQ adds that whenever you add stainless steel underwater, such as a stainless propeller or trim tabs, it is a good idea to have the corrosion protection checked again to make sure it is still adequate.
Copper is one of aluminum's worst enemies.
- Bottom paint: International Yacht Paint (Interlux) says antifouling for aluminum should not contain cuprous oxide, because its high copper content causes corrosion. Use only an antifouling made and labeled for aluminum, over the correct primer system. See our bottom paint guide.
- If a previous owner used the wrong paint, the usual fix is to strip it back to bare aluminum and start over with the right system. That is a big job; get advice from the paint maker or a yard first.
- Copper wire and fittings: keep them from touching the hull, and seal any connections in the bilge.
Anodes are the metal you want to dissolve. Your outboard or sterndrive has its own; some aluminum boats and pontoons also have hull or tube anodes.
- Fresh water: magnesium is the common choice. Martyr, an anode maker, says magnesium has the highest driving voltage for fresh water but is not suitable for salt water because it corrodes too quickly. Many engine makers also approve aluminum anodes in fresh water.
- Brackish and salt water: aluminum alloy anodes (or zinc in salt water). Never leave magnesium on a boat that stays in salt or brackish water.
- Always follow your engine and boat makers' instructions for which alloy to use, and do not mix alloys unless they say it is OK. Martyr explains why: if magnesium sits on the same boat as zinc or aluminum anodes, the magnesium does all the work and wears away fast while the others look new and protect nothing.
- A zinc anode that never wears is not a good sign in fresh or brackish water. Martyr notes zinc can grow a hard surface film there and stop working while still looking intact.
Replace anodes when about half gone, keep the mounting surface bare and clean so they make good contact, and never paint them. Boating Magazine notes that aluminum can be damaged by too much protection as well: softening or blistering bottom paint near anodes is an early warning. See our anodes guide for details.
- Keep all DC wiring, connections and battery cables up out of the bilge water. BoatUS describes boats sunk in days because a battery cable was left dangling in the bilge.
- Seal any connection that has to be low in a weatherproof junction box or heat-shrink.
- Use a marine battery charger, not an automotive one; Boating Magazine specifically warns against automotive chargers on aluminum boats.
- If anodes are eaten in a few weeks, or new pitting appears quickly, have a marine electrician or ABYC-certified corrosion technician test the boat. They use a reference electrode and meter to measure the hull's protection level.
Shore power connects your boat's underwater metals to every other boat on the same dock through the green ground wire. BoatUS recommends a galvanic isolator, which blocks small galvanic currents while still letting dangerous fault current flow to ground; an isolation transformer is a more expensive option that is often used on larger and aluminum boats. Have the shore power system and dock wiring checked by a qualified marine electrician. A boat lift with a shore-powered motor deserves the same check.
Boating Magazine recommends washing an aluminum boat down with fresh water after every use to remove salt. Flush the bilge, rinse under the floor where you can and around fittings and brackets, pull the drain plug on the trailer so water can run out, and let carpet and storage dry before you cover the boat.
Boating Magazine advises repairing paint chips that expose bare aluminum as soon as possible, using only primers and coatings made for aluminum. The general process:
- Wash the area and remove wax and grease with the cleaner the paint maker specifies.
- Scuff the bare spot and the paint edge with sandpaper or a non-metal abrasive pad. Avoid steel wool and steel wire brushes, which can leave steel particles behind.
- Owners often ask how to get white corrosion out of the bottom of pits. Use a stainless or nylon brush kept only for aluminum, and stay away from strong caustic (lye or sodium hydroxide) cleaners and strong acids, which attack aluminum themselves. If a pit is deep enough that you cannot reach clean metal, have a welder look at it instead of filling it with paint.
- Wipe clean, then apply the aluminum primer the paint maker calls for, within the time window on the label.
- Topcoat with a paint from the same system.
Always follow the product label for temperature, humidity, thinning and recoat times. Below the waterline, use the full primer and antifouling system the maker specifies for aluminum.
- Pinholes or pits that go through the metal: a temporary epoxy patch made for aluminum can get you home, but the proper repair is welding or a welded patch plate by an aluminum welding shop.
- Cracks at the transom, keel, brackets, tube welds or around fittings need welding.
- Large areas of thin, crumbling metal may need a new section of plate or a new pontoon tube.
- Leaking rivets on a riveted hull are a different repair; see our rivet leak guide.
Welding a hull or tube is not a DIY job. Tanks and tubes must be drained, dried and vented, fuel and fuel tanks removed from the area, and the shop should be experienced with marine aluminum alloys. If the boat is under warranty, call the dealer first.
Write down anode replacement dates and how worn the old ones were, plus any pits or paint damage you found. Anodes wearing much faster or slower than last season is one of the best early warnings that something has changed.
Common mistakes
- Painting an aluminum boat with ordinary copper-based (cuprous oxide) bottom paint.
- Painting over anodes, or leaving them on until they are completely gone.
- Using magnesium anodes on a boat kept in salt water, or zinc on a boat that only sees fresh water.
- Screwing stainless or brass fittings straight into aluminum with no isolation or bedding.
- Leaving sinkers, hooks and coins in the bilge.
- Covering the boat while carpet and bunks are still soaked.
- Cutting the shore power ground wire to stop corrosion, which creates a deadly shock hazard.
- Smearing sealant over a corrosion pinhole and forgetting about it.
When to call a pro
- Holes, cracks or thin, flaking metal anywhere on the hull, transom or pontoon tubes
- Anodes eaten in weeks, or rapid new pitting: possible stray current, needs testing by a marine electrician
- Any shore power, galvanic isolator or isolation transformer work
- Stripping old copper bottom paint or applying a full underwater paint system
- Any welding on the hull or tubes
- The boat is still under the builder's warranty: contact the dealer before repairing
Tips
- Keep a spare set of the right anodes and the bolts for them in your truck or garage.
- When you add electronics, run the wiring high and use tinned marine wire and sealed connectors from the start.
- On a lift or trailer, check that the boat does not rest on bare steel or wet carpet at one spot for months.
- Buying a used aluminum boat? Look closely at the anodes, the bottom around fittings and the bilge. They tell you a lot about how it was kept.
Official references
We read these to write this guide. Your engine's own manual always wins.
- BoatUS Magazine – The Current Scoop On Galvanic Corrosion
- BoatUS Magazine – Avoid Electric Shock Drowning
- Boating Magazine – Protecting Aluminum Boats From Salt Water Corrosion
- International Yacht Paint (Interlux) – What Type of Antifouling Should I Use on Aluminium?
- Martyr Anodes – Understanding Alloy Specifications
- Mercury Marine – Owner FAQs (corrosion, stainless accessories)
- Martyr Anodes – Marine Anodes Explained
Safety: BoatMend is for information only and does not replace a certified marine technician. You are responsible for your safety and your boat. Read the full disclaimer.
Last updated 2026-10-24
Related guides
How to Inspect and Replace Sacrificial Anodes (Zincs)
Check the anodes on your outboard, sterndrive or inboard running gear, replace them when they are half gone, and choose the right metal for the water you boat in. Fresh anodes are cheap insurance against expensive corrosion damage to your lower unit, drive and prop.
How to Find and Fix Leaking Rivets on an Aluminum Boat
Almost every older riveted aluminum boat weeps a little water. Learn how to find the leaking rivets, tighten the ones that are loose, seal the rest with a flexible epoxy, replace the bad ones the right way, and know when a crack or corrosion needs a welder.
How to Find a Leak When Water Gets Into a Pontoon Tube
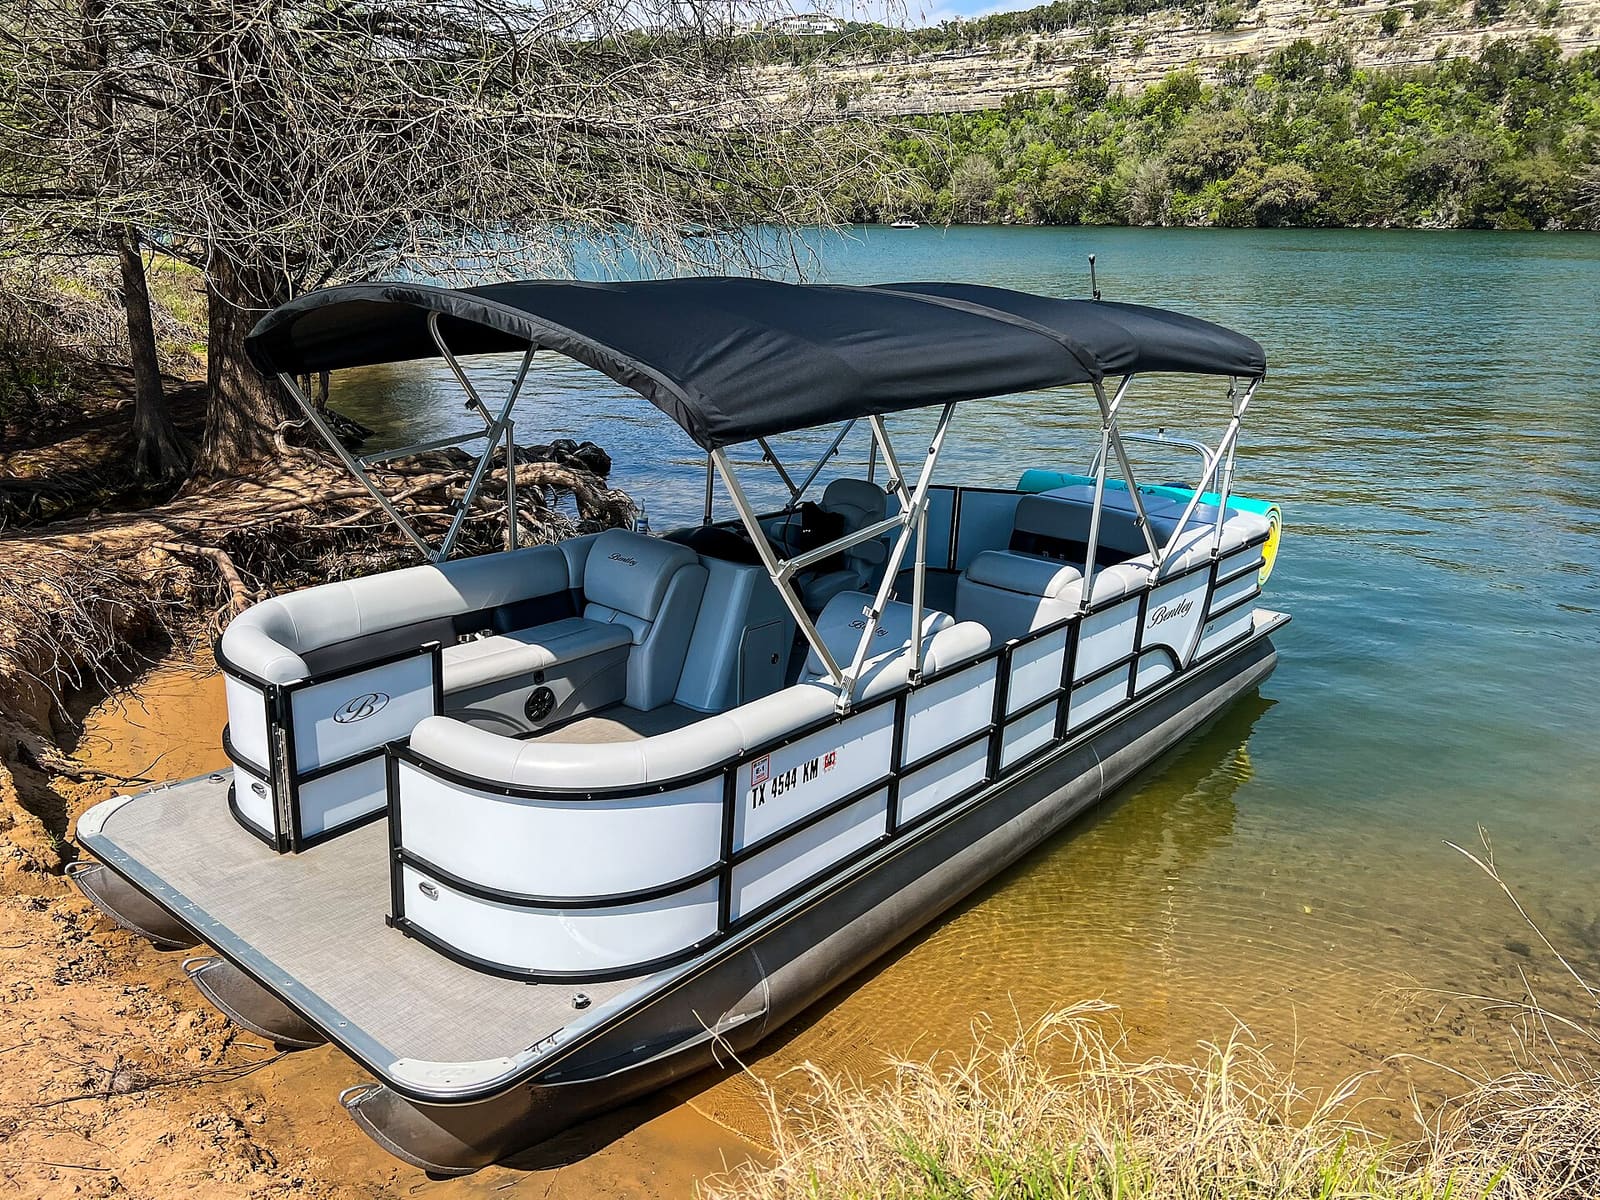
A pontoon that sits low on one side, lists or sloshes when you rock it probably has water in a tube. Learn how to confirm it, drain it, track down the pinhole or cracked weld, and choose between a temporary patch and a proper weld repair.
Shore Power Safety: Cords, Inlets, Burned Plugs and Electric Shock Drowning
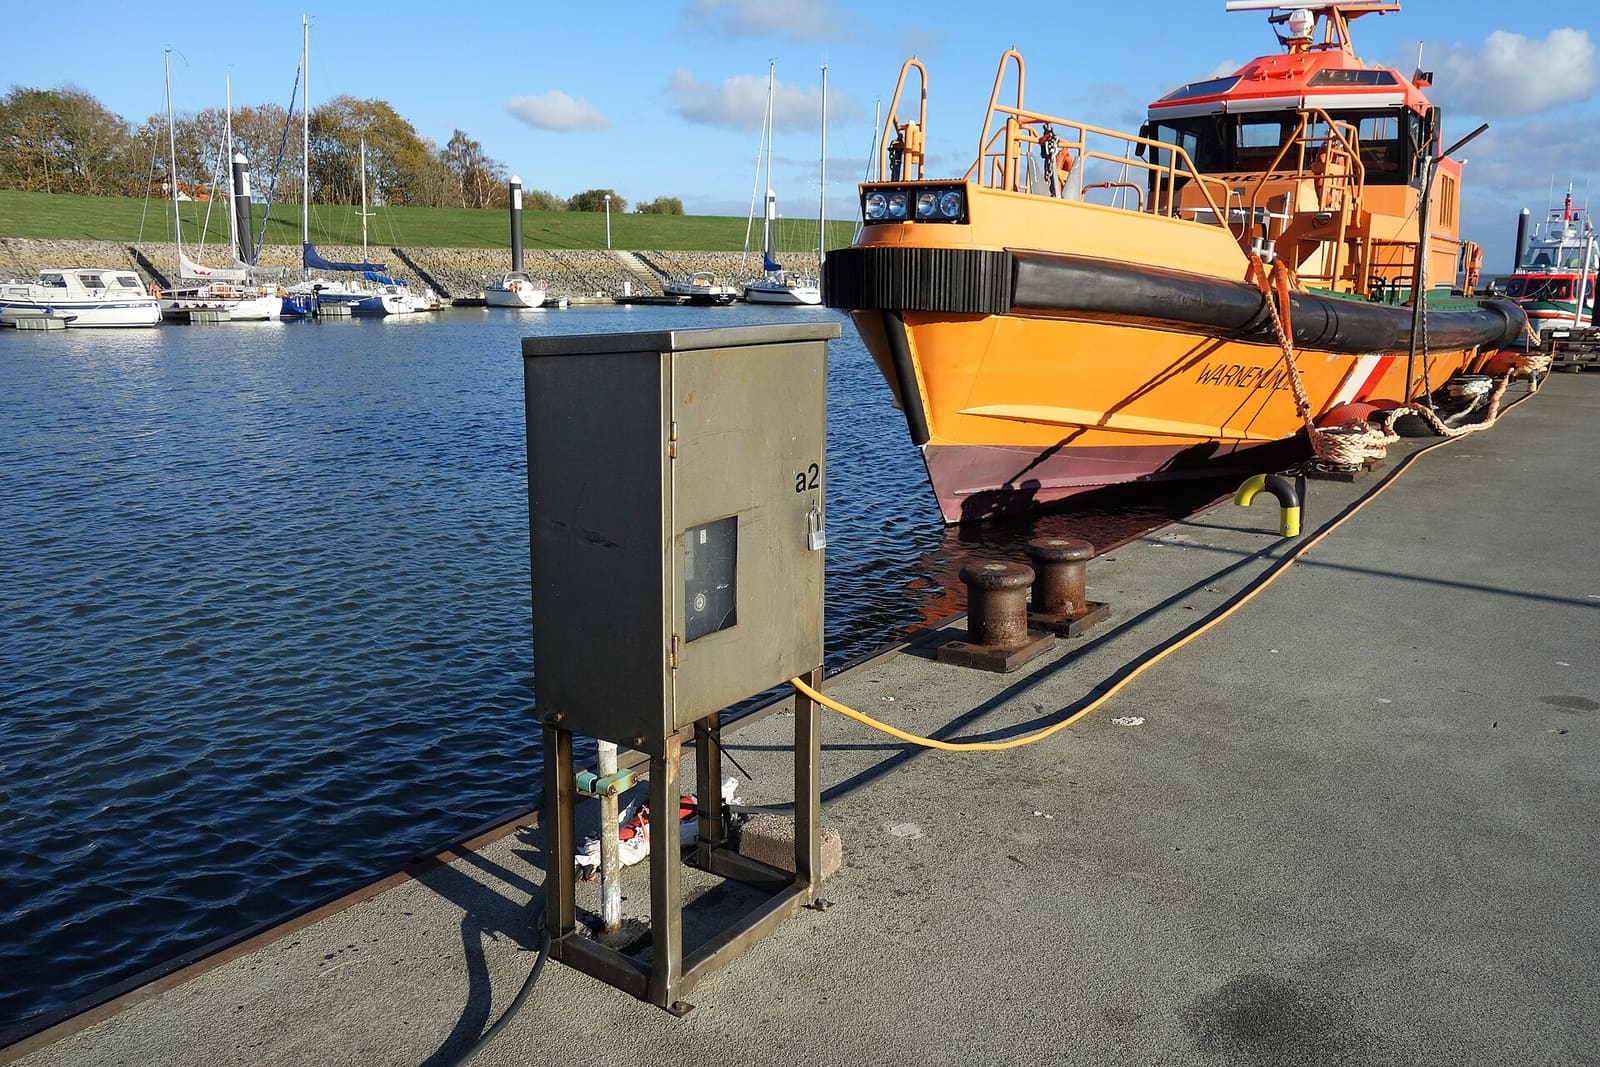
An owner's inspection routine for your shore power cord, plugs, boat inlet, galvanic isolator and ground-fault protection, plus the right way to plug in and the facts about Electric Shock Drowning. This guide is for looking and testing only; any electrical repair belongs to an ABYC-certified marine electrician.
How to Find and Fix Corroded Electrical Connections on a Boat
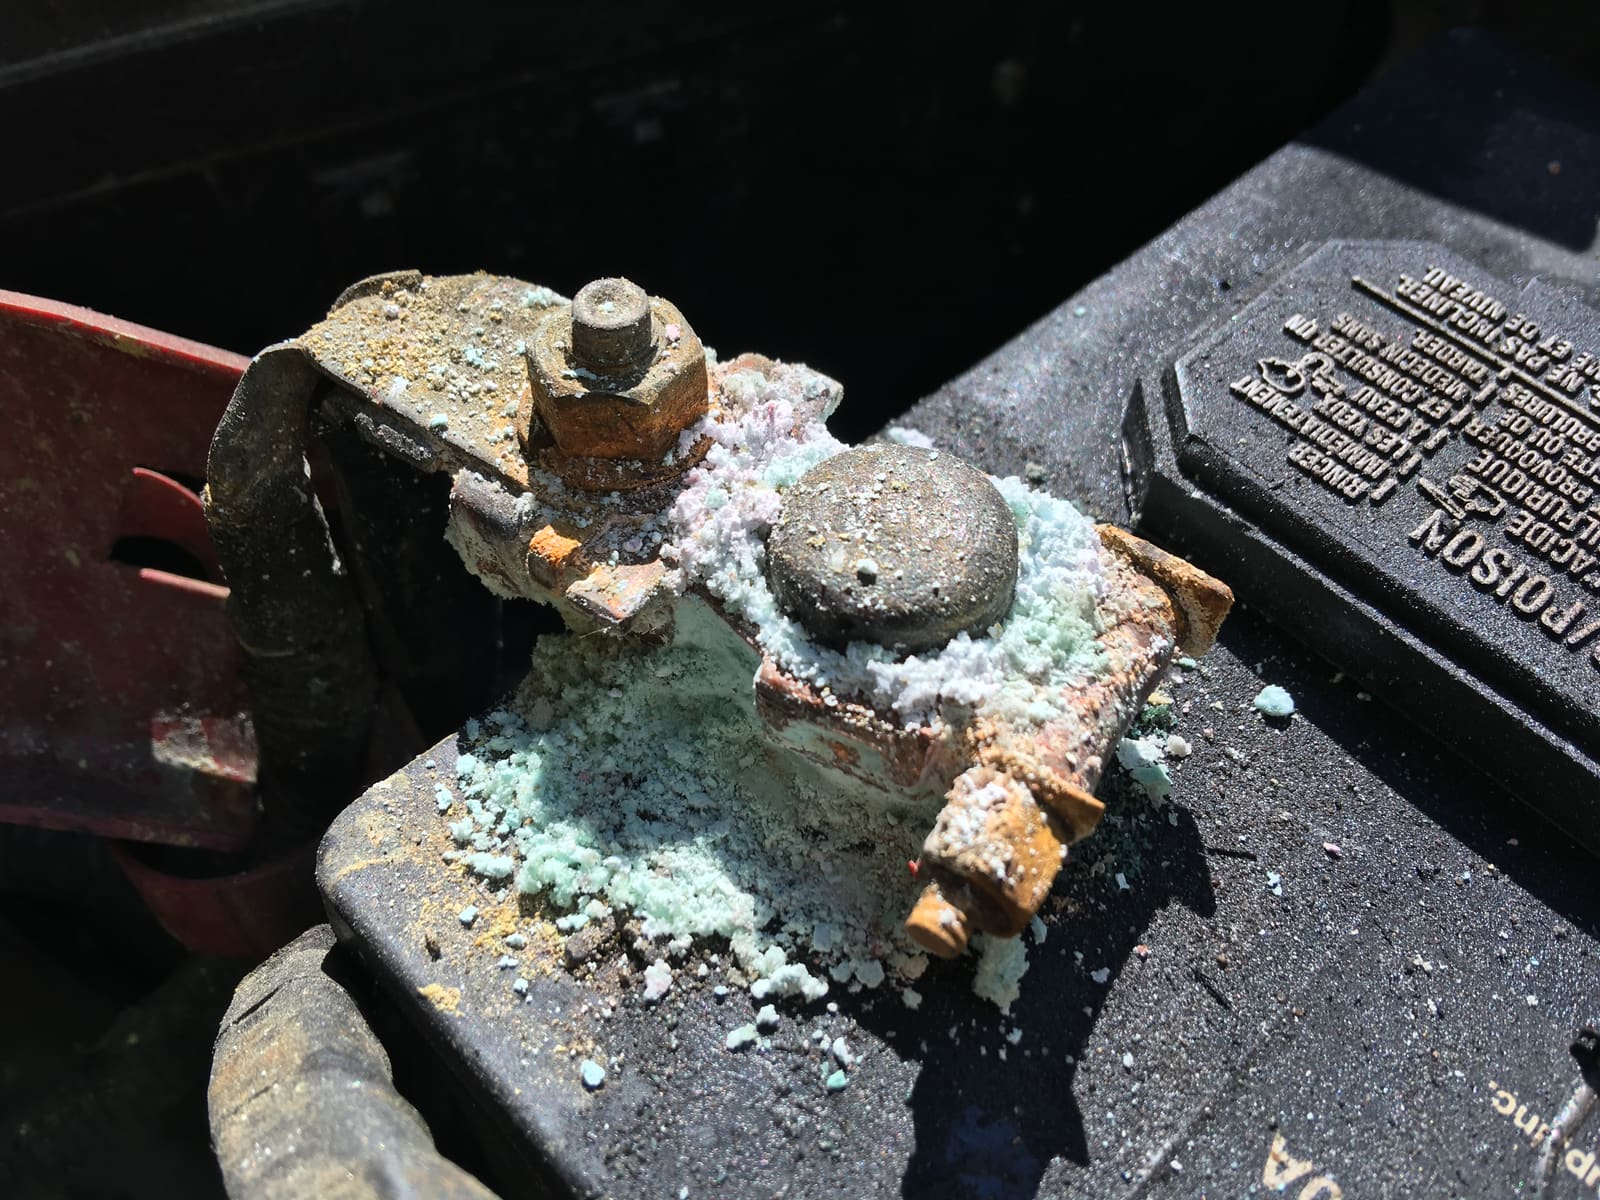
Track down the green crust and loose terminals behind flickering lights, dead gauges and slow cranking with a simple voltage-drop test, then remake the connection the marine way: tinned wire, a proper crimp, adhesive-lined heat shrink and a protective coating.

Bottom Paint (Antifouling): Do You Need It, Which Type, and How to Repaint
Learn whether your boat needs antifouling bottom paint, how ablative and hard paints differ, and how to prep and roll on a fresh coat safely, without poisoning yourself or the water and without ruining an aluminum hull.
Saltwater Outboard Care: The After-Every-Trip and Monthly Routine
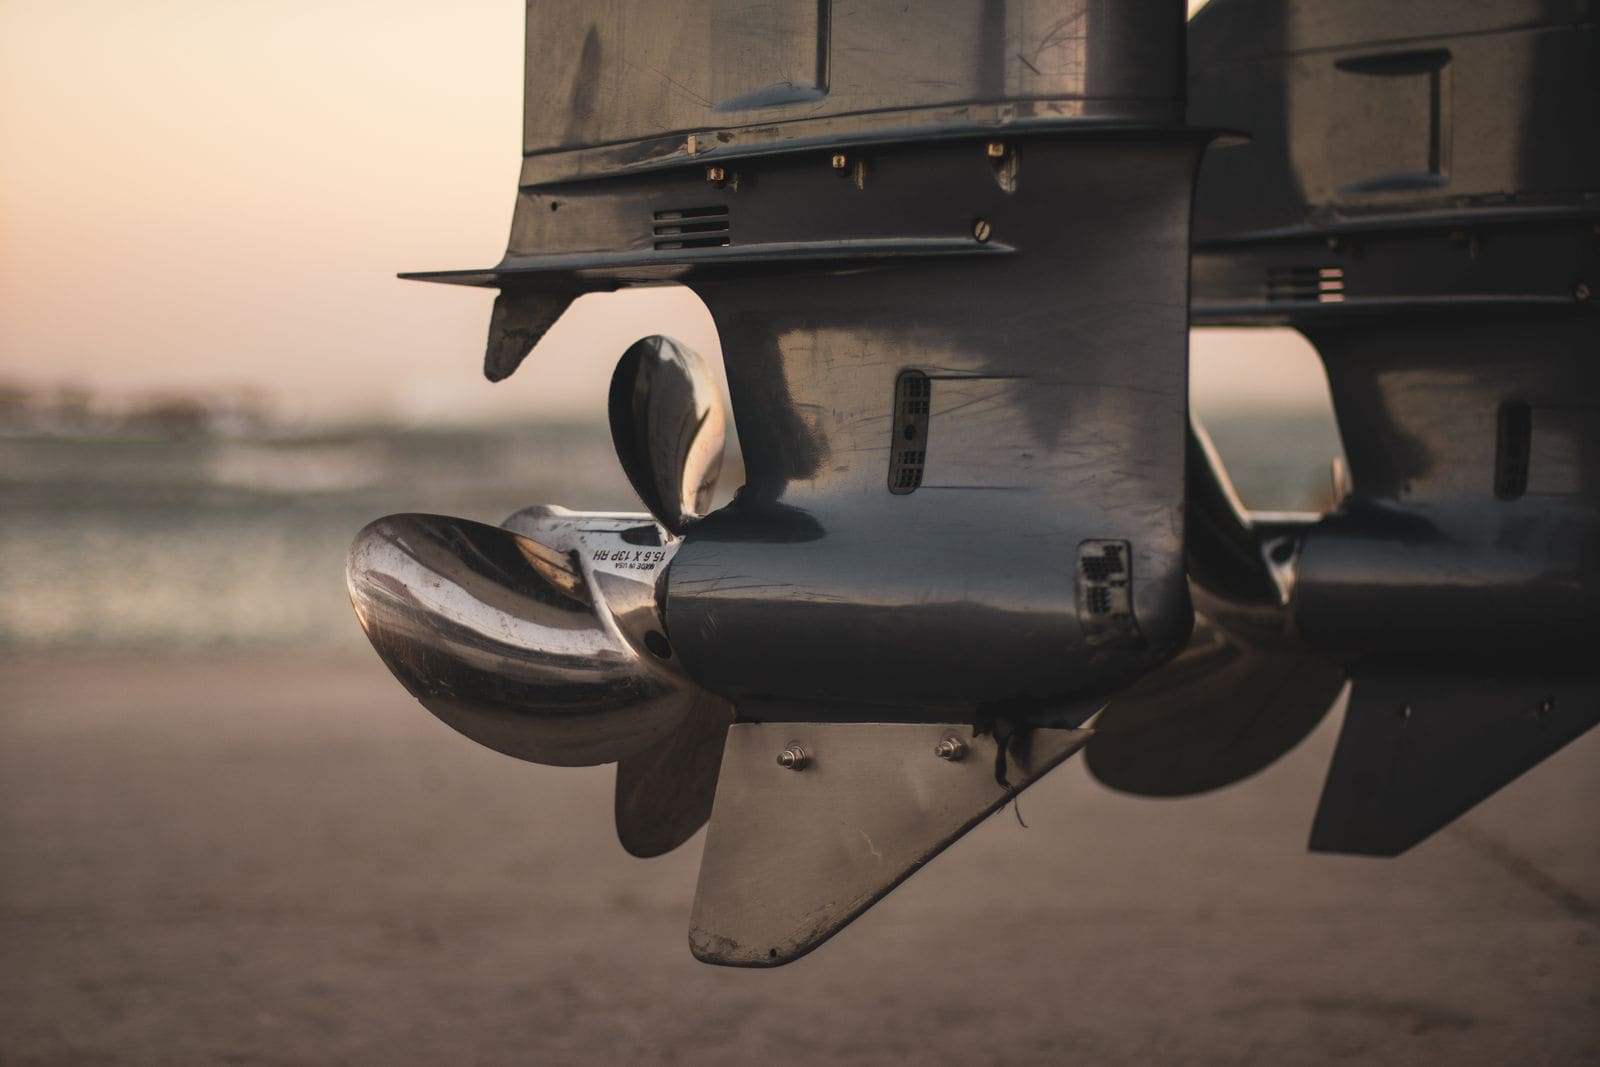
A simple routine that keeps salt from eating your outboard, built from Honda, Yamaha, Mercury and Suzuki advice. It covers flushing after every trip, washing, where to spray anticorrosion (and where never to), monthly greasing, anodes, and tilting up or storing out of the water.
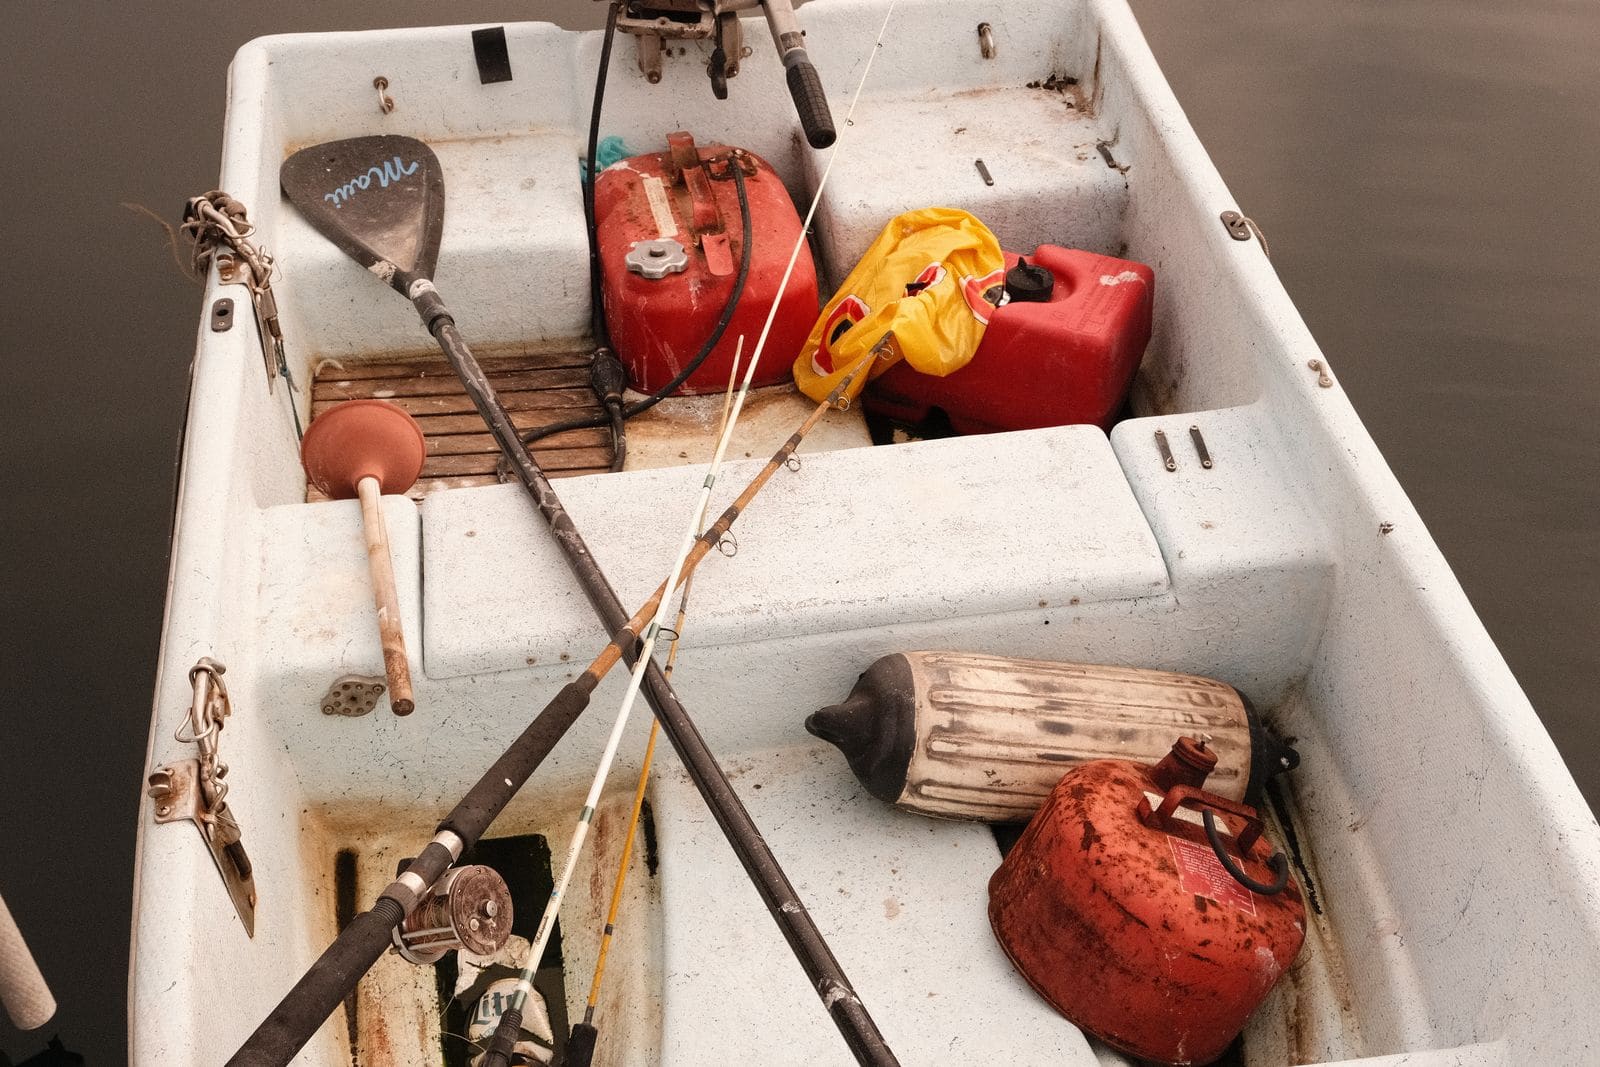
How to Inspect Your Boat's Fuel Tank, Fill, Vent and Hoses
A leaking gas tank is one of the most dangerous problems a boat can have, and it usually starts out of sight. Learn how to inspect portable and built-in tanks, spot aluminum tanks corroding from below, know the ethanol risk for old fiberglass tanks, and check the fill, vent, hoses, clamps and sender, plus why tank replacement is a job for a pro.
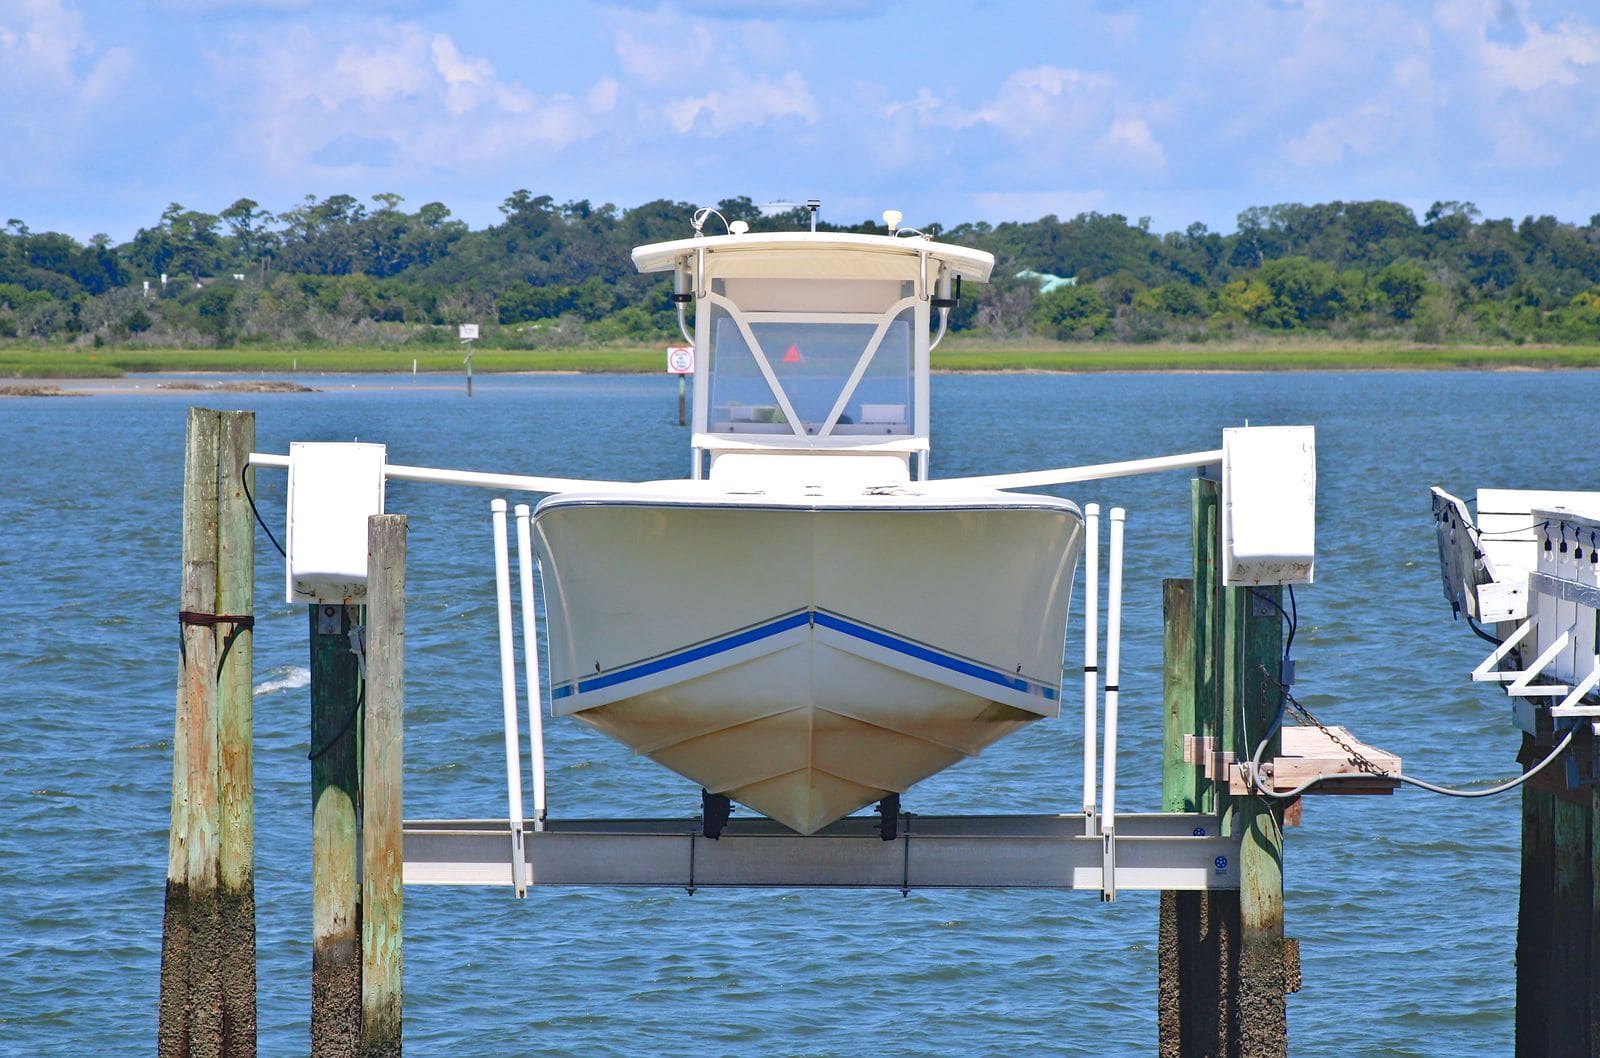
How to Inspect and Maintain a Boat Lift (Cables, Pulleys, Motor, Bunks and Storm Prep)
Inspect the cables, pulleys, motor, wiring and bunks on your boat lift, center the boat correctly, and prepare the lift and boat for storms and winter. Cable failures and overloading from rainwater or snow are the most common ways lifts drop boats.
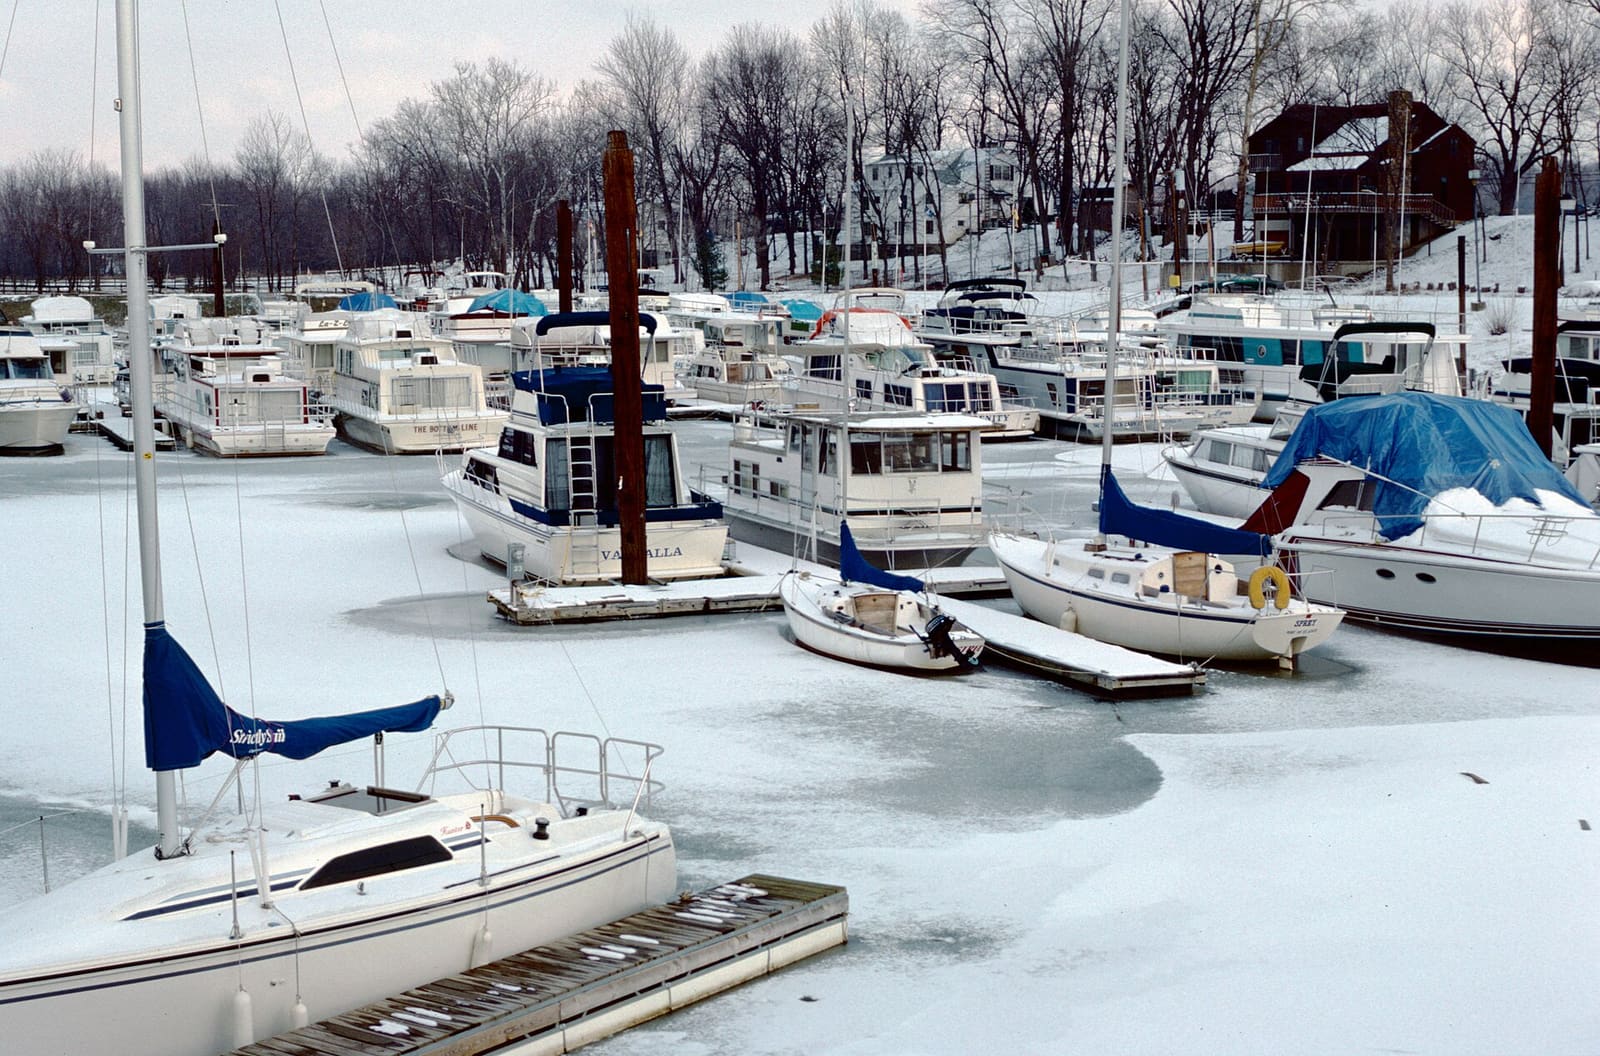
How to Keep Your Boat in the Water Over Winter (De-Icers, Covers and Checks)
Wintering afloat can be safe if you still winterize every water system, keep the bilge pump and batteries working, use a de-icer correctly on a GFCI-protected circuit, respect the shock and thin-ice risks, and visit the boat regularly.