Diesel Heat Exchanger Service: Zincs, End Caps, Tube Cleaning and Pressure Testing
Your diesel's heat exchanger moves engine heat into the seawater, and it slowly fills with scale, broken zinc pencils and impeller pieces. Learn how to check the zincs, open the end caps, clean the tubes safely, and when to have the core removed, descaled and pressure-tested by a shop.
Time
2 h 30 min
Shop would charge
$300-1200
Applies to
Marine diesel
Safety first: Work only on a cold engine; a hot cooling system is under pressure and can spray scalding coolant. Close the raw-water seacock before opening anything on the raw-water side, and do not leave the boat with the seacock open and a hose or end cap off, or it can sink at the dock. Coolant is toxic to people and pets; catch it, clean up spills and dispose of it properly. If water is coming in that you cannot stop, call Sea Tow / TowBoatUS, or the Coast Guard on VHF 16 (911 in an emergency).
Owners often ask
- I found old impeller pieces in my heat exchanger. How do I clean it out?
This guide walks you through it. Still stuck? Ask the AI Mechanic about your engine.
Tools
- Wrenches and sockets for the end caps and zinc plugs (check whether your engine is metric or SAE)
- Wire brush and plastic scraper
- Bright flashlight
- Garden hose with a nozzle
- Soft copper wire (insulated is best) or a wooden dowel that fits loosely in the tubes
- Bucket, oil-absorbent pads and rags
- Infrared thermometer (optional, for before-and-after checks)
- Nitrile gloves and safety glasses
Parts & supplies
- Zinc pencil anodes for the heat exchanger (and any other coolers) to your engine's part number
- New end cap gaskets or O-rings (have them on hand before you open anything)
- Thread sealant for the zinc plugs if your manual calls for it
- Coolant of the type in your manual, in case you lose some
Before you start
How it works: most marine diesels are freshwater (closed) cooled. Coolant circulates through the engine and through a heat exchanger, a shell with a bundle of small tubes inside. Seawater pumped by the raw-water pump flows through the tubes and carries the heat away, then goes out with the exhaust. 48° North compares it to a car radiator. Larger engines may also have separate coolers for oil, the transmission, fuel or charge air, all in the same raw-water circuit.
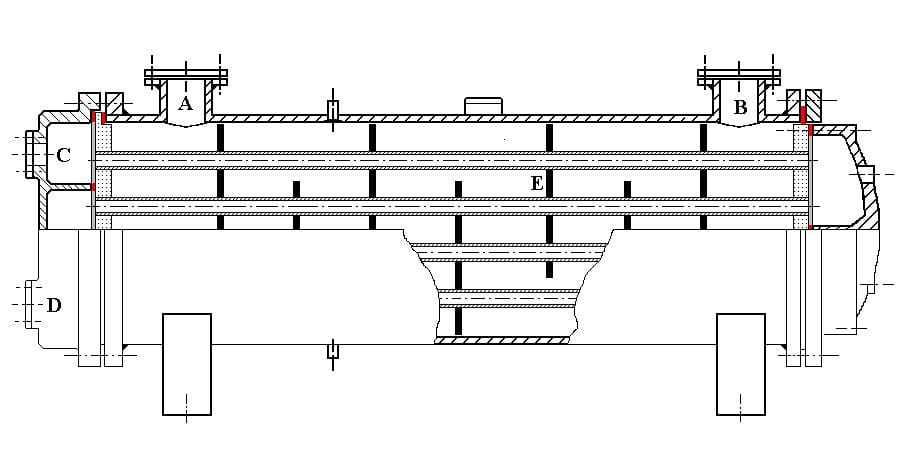
What goes wrong:
- Zinc pencils wear out and break up. The copper and bronze inside need protection from galvanic corrosion. Cruising World explains that worn zinc pencils often break off in chunks that pile up in the end chamber and block tubes.
- Impeller pieces lodge in the inlet. Westerbeke notes that broken bits of a failed raw-water pump impeller commonly end up in the end of the heat exchanger. Cruising World says it finds old impeller pieces in nearly every exchanger it opens.
- Scale and growth build up. Even one blocked tube reduces cooling, says 48° North, and Yachting points out that scale builds up even when the boat just sits.
- Internal leaks. A corroded or cracked tube can let coolant and seawater mix.
What you can do vs. a shop: checking zincs and opening the end caps to clean out debris is a reasonable DIY job for an owner with moderate skills. Removing the exchanger, pulling the tube bundle, acid-descaling and pressure-testing it is usually shop work. PassageMaker quotes a mechanic who takes heat exchangers off every three years and sends them to a specialty shop; Yachting's sources clean and test the seawater side every two years. Your engine's manual has the official schedule.
Plan ahead: order zincs and end cap gaskets before you start. Cruising World notes gaskets often tear and cannot be reused. Read your manual for where the zincs and drain points are and whether removing an end cap drains coolant on your model.
Steps
Before you take anything apart, with the engine warmed up at cruising rpm, use an infrared thermometer on the hoses where coolant enters and leaves the heat exchanger. A mechanic quoted by PassageMaker expects roughly a 25°F drop across a healthy exchanger and says only about 10°F means it is not moving enough heat (or raw-water flow is low). Write your numbers down; they are useful for comparison after cleaning. This is a rule of thumb, not a factory spec.
Shut down and let the engine cool completely. Turn off the battery switch. Close the raw-water seacock. Put pads and a bucket under the exchanger.
Find the zinc plug or plugs on the exchanger (and on other coolers, if fitted). Unscrew each one. BoatUS says if the zinc is only lightly corroded you can scrape it bright and reuse it, but if it is heavily eaten away or gone, replace it, and check at least once a year. Cruising World suggests checking monthly at first to learn how fast your zincs wear in your water, then setting your interval. Never paint zincs or plugs.
If the plug comes out with little or no zinc left on it, the rest broke off inside. Plan to open the end cap and fish out the pieces.
Remove the end cap on the raw-water inlet side first (where the hose from the raw-water pump connects), then the other end if your exchanger has two removable caps. Expect some seawater to drain. Note how each cap and gasket sits so it goes back the same way. Westerbeke points out the end caps are made to come off for exactly this cleaning.
Remove everything you find: zinc chunks, eelgrass, shell, scale flakes and rubber. Look closely at the rubber. If you find impeller pieces, inspect the raw-water pump impeller (see the diesel impeller guide), even if the pieces look old. Count the missing blades and keep looking until you have found all of them, including in the hose between the pump and the exchanger.
Shine a bright light through from one end and look from the other. You should see light through every tube. Look for:
- blocked tubes (no light)
- white or brown scale lining the tubes
- green corrosion, pitting or thin spots on the tube ends and the plate they pass through
- cracks, erosion or heavy corrosion inside the end caps themselves
Try a strong shot of water from a garden hose first. If a tube is still blocked, push a soft copper wire or wooden dowel through it gently. Cruising World stresses caution: never use steel wire or anything that could scratch or puncture the thin tubes, and never force anything. A punctured tube mixes coolant and seawater and can ruin the exchanger.
If the tubes are lined with scale, rodding will not fix it. You have two options:
- Chemical descaling on the boat: circulate a marine descaler through the raw-water side following the product's and your engine maker's instructions (see the cooling system descaling guide).
- Off-engine service: remove the exchanger and take it to a radiator or heat-exchanger shop for cleaning and pressure testing, which mechanics quoted by Power & Motoryacht and Yachting recommend on a regular schedule.
Pulling the tube bundle out of the shell, cleaning the coolant side and pressure-testing the core is usually a shop job. Have it done:
- on your maker's or mechanic's schedule (often every two to three years in salt water)
- if temperatures stay high after you have cleaned the end chambers and checked the impeller and strainer
- if the coolant level drops with no outside leak, or the coolant looks cloudy or contaminated
PassageMaker's mechanic says small leaks can often be soldered, but about one in ten coolers he sends out fails testing, especially when service has been put off. A shop pressure test is the only reliable way to know a core is sound.
Clean the mating surfaces. Fit new gaskets or O-rings, line up the caps the way they came off, and tighten the bolts evenly a little at a time. Cruising World warns not to overtighten: many end caps are cone-shaped and crack if the bolts are pulled too tight. Use the torque in your manual if it lists one. Reinstall the zincs, using thread sealant only if your manual says to.
If you lost coolant, top up with the type in your manual and bleed air from the system the way your manual describes (see the closed cooling coolant guide). Air pockets can cause overheating.
Open the raw-water seacock. Start the engine and confirm cooling water comes out with the exhaust right away. Check every end cap, zinc plug and hose for drips. Run it up to temperature and repeat your infrared readings from step 1. Check the coolant level again after it cools.
Record the date, engine hours, zinc condition and what you removed from the exchanger in BoatMend. Set your next zinc check and the next off-engine service date.
Common mistakes
- Never checking the zinc pencils, or replacing the zinc without looking for the broken-off pieces inside.
- Replacing a failed impeller and not finding the missing blades, which then block the exchanger.
- Rodding tubes with a steel rod, drill bit or coat hanger and puncturing them.
- Reusing torn end cap gaskets, or overtightening the caps and cracking them.
- Opening the raw-water side with the seacock open.
- Forgetting the other coolers (oil, transmission, fuel, charge air) that share the same raw-water circuit. Yachting notes debris at their inlets can restrict flow through the whole engine.
- Trusting the plastic overflow bottle for coolant level. PassageMaker suggests checking at the heat exchanger cap with the engine cold.
When to call a pro
- Tubes are badly scaled, corroded or pitted, or the end caps are cracked
- You suspect an internal leak (coolant loss with no outside leak, or cloudy, contaminated coolant)
- The engine still runs hot after you cleaned the exchanger, impeller and strainer
- The exchanger must come off the engine, the bundle needs pulling, or it needs a pressure test
- Bolts are seized or snap, or the end caps will not come off without force
Tips
- Keep spare zincs and end cap gaskets on board; they are small and save a trip.
- Check the exchanger zincs when you change the impeller; they are usually nearby.
- If your engine heats a water heater or cabin heater, remember those have heat exchangers too and can affect cooling.
- PassageMaker's mechanic suggests a field trick for a suspected blockage on a trip: with the raw-water seacock closed, disconnect the hose at the pump outlet, then back-flush the exchanger with a garden hose from the outlet side into a bucket to see what comes out. Reconnect everything before you open the seacock.
- The best overall check of the raw-water side is flow, not looks. Westerbeke says a stream that looks healthy can still be short of the flow the engine needs, and that a mechanic can measure the seawater output (usually at the wet exhaust elbow) against the flow rate specified for your engine at a given rpm.
- Don't forget the generator. A diesel genset has its own heat exchanger, zincs, strainer and impeller. Cummins Onan suggests doing those services about a week before a big trip, since local service centers can have a wait, and checking the hose clamps (especially on the exhaust) at the same time.
Official references
We read these to write this guide. Your engine's own manual always wins.
- BoatUS – Heat Exchangers (zinc pencil tip)
- Cruising World – Engine Cooling System Maintenance
- PassageMaker – Marine Diesel Maintenance: Prevent Engine & Generator Heat
- 48° North – Diesel Deep Dive: Quirks of the Engine Cooling System
- Westerbeke – Troubleshooting FAQ
- Yachting – Cooling System Tips
- Power & Motoryacht – How to Maintain Your Boat's Cooling System
- Cummins – Onan Marine Generator Maintenance
Safety: BoatMend is for information only and does not replace a certified marine technician. You are responsible for your safety and your boat. Read the full disclaimer.
Last updated 2026-10-25
Related guides
How to Check and Change Coolant in a Closed Cooling System
Check, test and change the coolant in a freshwater-cooled (closed cooling) inboard, sterndrive or diesel, and learn the heat exchanger basics that keep it working. Old coolant quietly eats hoses, pumps and engine passages, and many boats go a decade without a change.
Salt and Scale in Raw-Water Cooling: Flushing Habits, Descaling and When It's a Shop Job
Learn how salt and scale slowly narrow your engine's cooling passages, how to spot the warning signs (a temperature that creeps up over seasons, a weak telltale, thermostats sticking), the flushing habits that prevent it, which descaling products and methods engine makers accept, what never to pour through an engine, and when to hand the job to a shop.
How to Inspect and Replace Sacrificial Anodes (Zincs)
Check the anodes on your outboard, sterndrive or inboard running gear, replace them when they are half gone, and choose the right metal for the water you boat in. Fresh anodes are cheap insurance against expensive corrosion damage to your lower unit, drive and prop.
How to Clean the Raw-Water Strainer and Replace the Impeller on a Marine Diesel
Clean the sea strainer and swap the rubber impeller in the raw-water pump of a Yanmar, Volvo Penta, Westerbeke, Beta or similar inboard diesel. A worn impeller is one of the most common reasons a diesel overheats, and this job takes about an hour with basic tools.
How to Inspect and Clean a Raw-Water (Sea) Strainer
The sea strainer is the cheap screen that keeps weeds, shells and plastic out of your engine, generator and A/C pumps. Learn how to clean it safely with the seacock closed, reseal the lid so it can't suck air, spot a cracked bowl before it floods the boat, and winterize it.
Engine Overheating - Troubleshooting Guide
Work through the most likely causes of a hot engine or overheat alarm, from a blocked water intake to a worn impeller or stuck thermostat. Acting fast and in the right order can save your engine and often gets you home without a tow.
Diesel Aftercooler (Charge-Air Cooler) Care: Why It Needs Service and Warning Signs
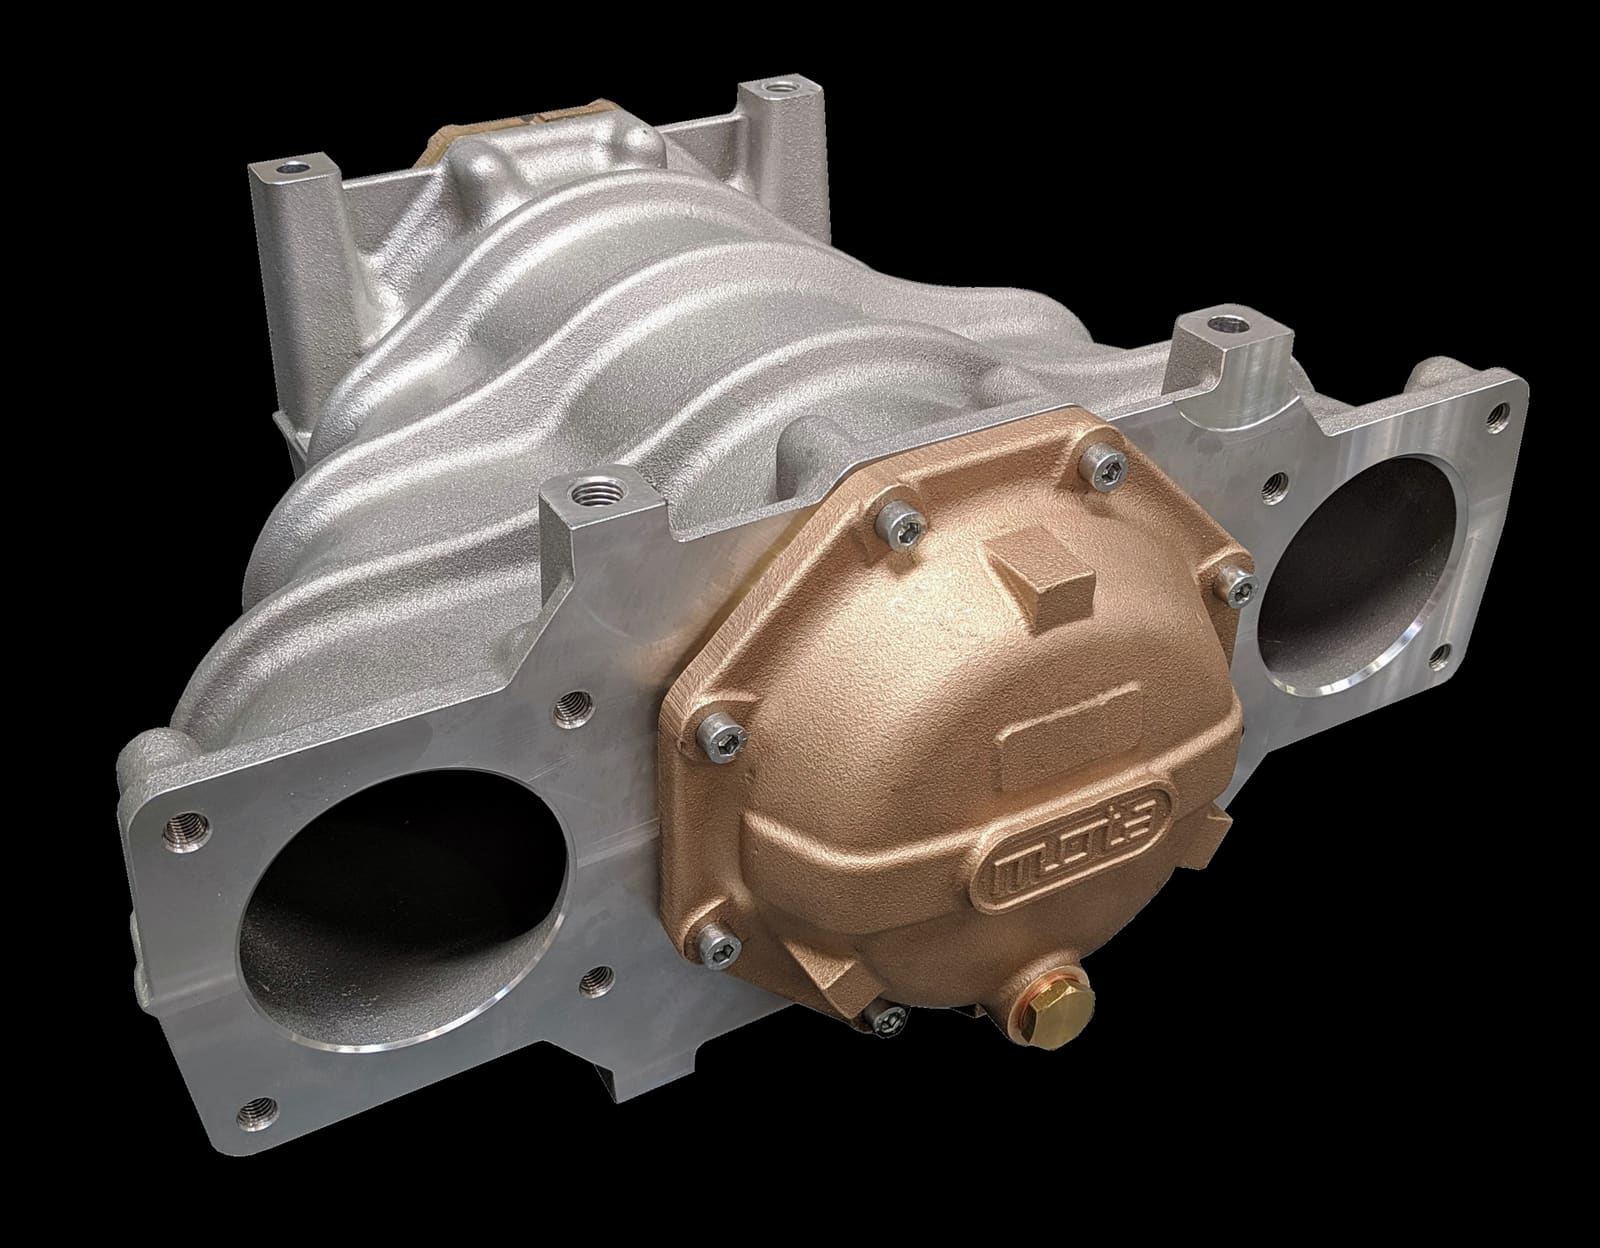
Many turbo diesels cool their intake air in an aftercooler with raw seawater running through it. If that cooler corrodes through, seawater can reach the cylinders and wreck the engine. Learn how to tell which type you have, the warning signs, the owner checks, and why the periodic removal and cleaning is a job for a pro.
How to Winterize a Marine Diesel Inboard (Sailboat or Trawler)
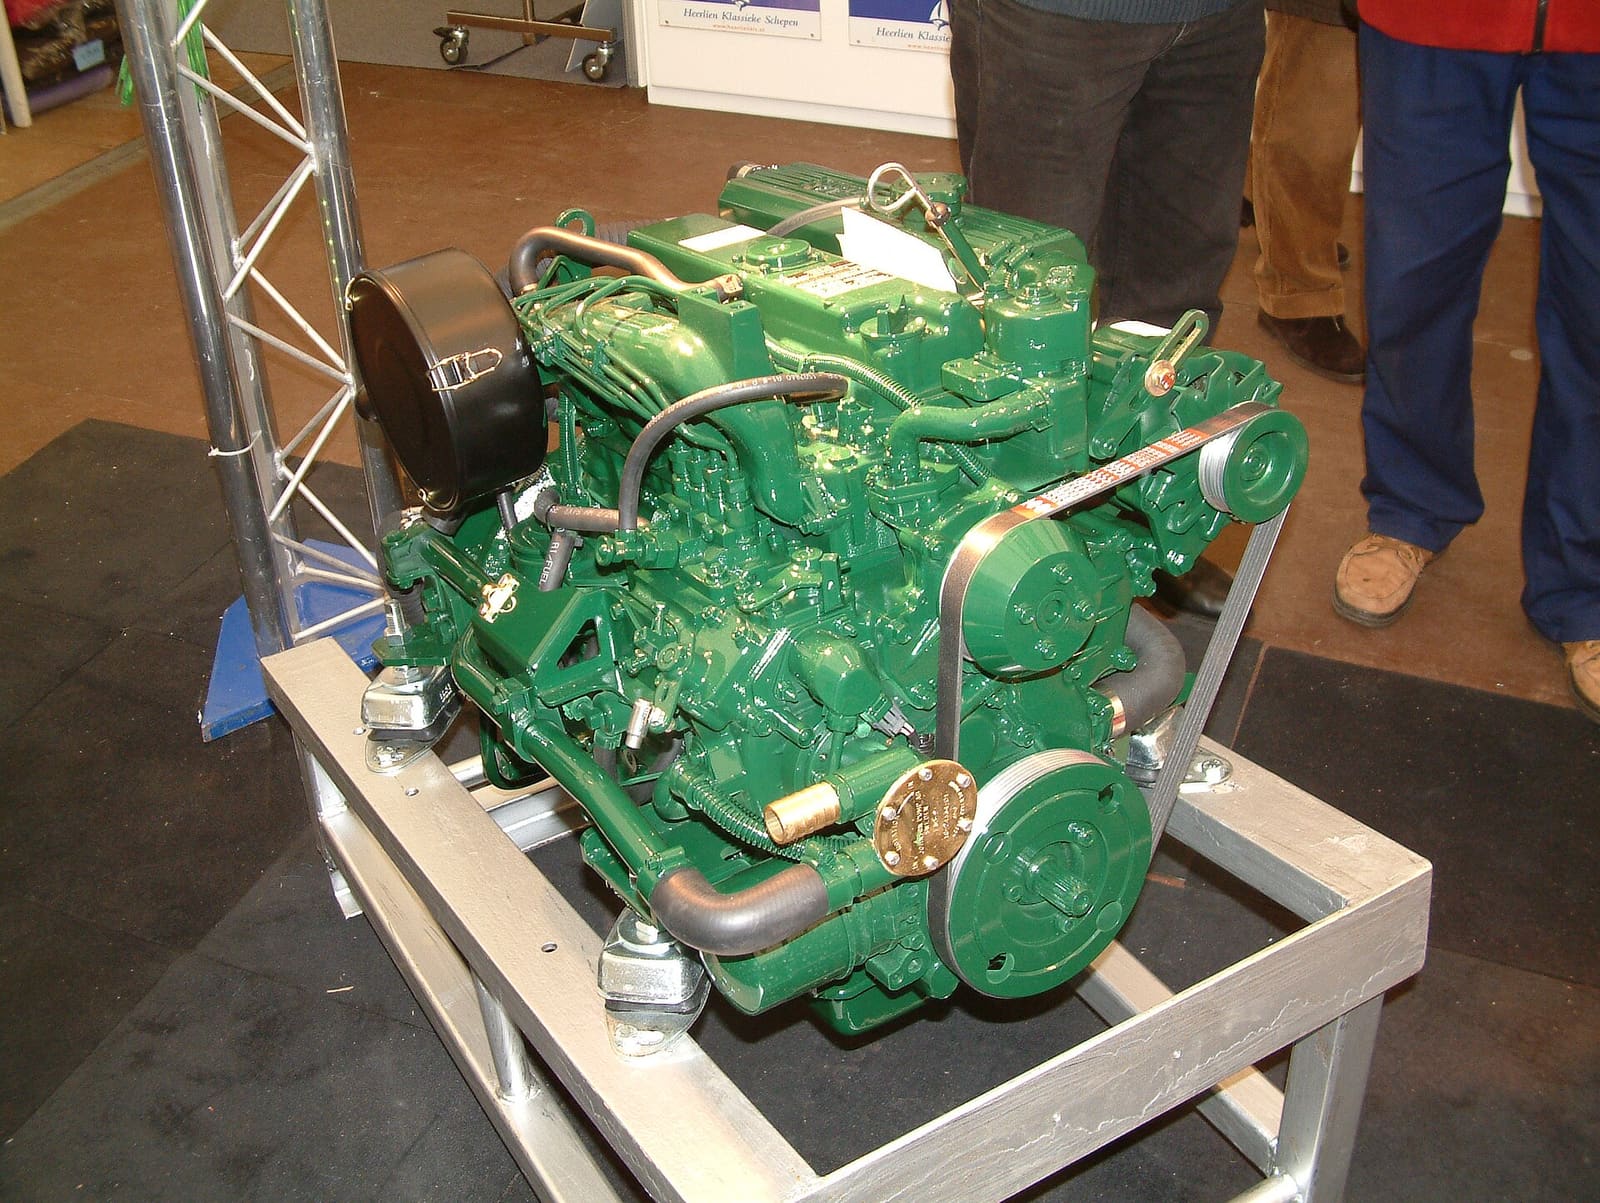
Lay up a marine diesel for winter the way the engine makers describe it, covering fresh oil, a full and treated fuel tank, antifreeze through the raw-water side, the impeller out, the coolant checked, openings plugged and the battery cared for. Freeze damage to a diesel's raw-water circuit is one of the most expensive and most avoidable winter repairs.