How to Fill Old Screw Holes in Fiberglass Decks and Hulls
Close up the holes left by removed cleats, rod holders, electronics and trim so water can't reach the deck core. Covers simple epoxy fills, the overdrill-fill-redrill method for cored decks, a gelcoat finish, and why holes below the waterline are a haul-out job.
Time
2 h
Shop would charge
$100-400
Applies to
All engines
Safety first: Never open up, drill or fill a hole below the waterline while the boat is in the water; that work is done hauled out. If a hole below the waterline is leaking, plug it with a tapered wooden plug or a rag, run the bilge pump, head in, and call TowBoatUS / Sea Tow, or USCG on VHF 16 or 911 if you can't keep up. Epoxy can cause skin allergies that build up with each exposure, so always wear gloves and avoid skin contact. Wear eye protection when drilling and a dust mask when sanding.
Owners often ask
- What should I fill old screw holes in my deck with after removing hardware?
- There is an old transducer hole below the waterline. Can I just fill it with epoxy?
- The screws holding a bracket have pulled out of my fiberglass deck. How do I repair the holes so screws hold again?
This guide walks you through it. Still stuck? Ask the AI Mechanic about your engine.
Tools
- Drill with sharp bits slightly larger than the old holes
- Countersink bit
- A bent nail or a hex key that fits your drill chuck (for clearing core)
- Shop vacuum
- Plastic syringes or a squeeze bottle, mixing cups and sticks
- Masking tape (and duct tape for the underside of through-holes)
- Plastic spreader or putty knife, sanding block, 80 to 600 grit paper
- Heat gun or hair dryer for drying
- Nitrile gloves, safety glasses and a dust mask
Parts & supplies
- Marine epoxy resin with a slow hardener
- High-density or colloidal silica filler (for strong fills)
- Small strips of light fiberglass cloth (if a screw will go back in the same hole)
- Gelcoat repair kit or touch-up paint matched to your boat
- Acetone or the cleaner your epoxy maker recommends
Before you start
Why bother? An empty hole, or a screw hole with no sealant, lets rain and spray into the deck. BoatUS (Don Casey) explains that most decks have a wood core, and once water reaches it, rot follows; repairing a saturated core can cost more than the boat is worth. A few minutes with epoxy now is cheap insurance.
Sort your holes into four kinds:
- Solid fiberglass above the waterline (many hull sides, transoms of small boats, molded parts): a simple epoxy fill.
- Cored deck or cockpit (you'll see wood, balsa or foam inside the hole): overdrill, seal the core, fill and redrill if you'll reuse it.
- Below the waterline (old transducers, drains, fittings): a haul-out job, usually for a pro (step 12).
- Aluminum boats: different method; see /guides/aluminum-boat-hardware.
Think about the future. If you'll mount something in the same place, you can fill and redrill instead of making new holes. If you won't, fill and finish it flush.
Weather: epoxy cures slowly in the cold. Work in dry weather within the temperature range on your epoxy label, and plan for the cure time before sanding.
Steps
Back out screws, remove bolts, and drill out rivets. Scrape away old sealant around the hole with a plastic scraper. If the old hardware was set in a strong polyurethane adhesive, see /guides/deck-hardware-rebedding for how to free it without tearing the gelcoat.
Shine a light into the hole. Bare fiberglass all the way through means solid laminate. Wood, balsa or foam between two skins means a cored deck. Poke the core with a small pick: dark, mushy or wet core, or water that weeps out, means water has already gotten in. Press and tap the deck around the hole with a plastic mallet; a dull, dead sound or a soft feel suggests a wider wet area (see /guides/deck-core-moisture).
Never fill over damp core: the epoxy won't bond and the water stays trapped. Practical Sailor suggests warming the area with a hair dryer until no more moisture comes out. Small, slightly damp spots can be dried this way over a day or two. If the core is rotten or the wet area is bigger than a small patch around the hole, stop and plan a proper core repair or call a pro.
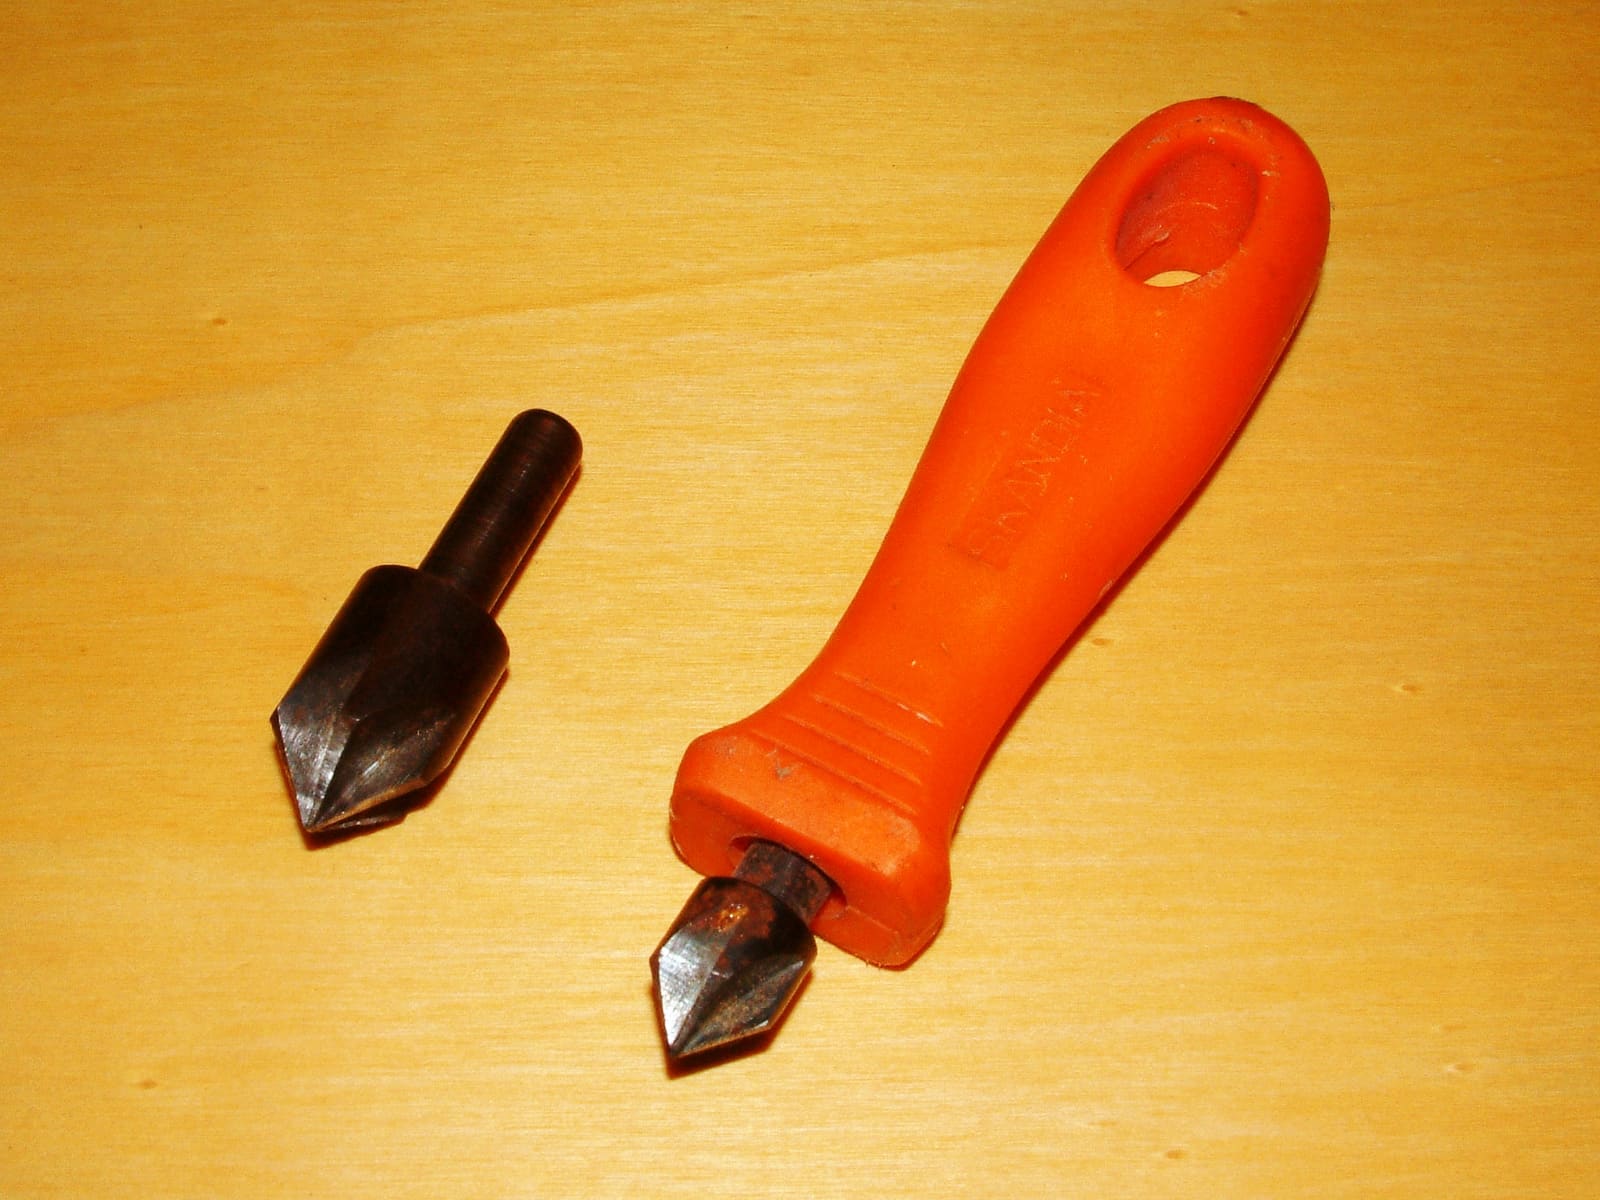
Epoxyworks describes the basic prep: drill the hole slightly larger than before to expose fresh, clean material, then chamfer the top edge with a countersink, and the underside too if you can reach it. The chamfer helps keep the repair from showing through the finish, and a chamfer on both sides locks the plug in place. Clean with acetone and let it dry. Surfaces must be clean, dry and sanded for epoxy to grip. Practical Boat Owner stresses that this oversize drilling is the quickest, surest way to get rid of old sealant inside the hole: any sealant left behind stops the epoxy from bonding to that spot.
For a cored deck, BoatUS describes the overdrill method: drill the hole oversize, then chuck a bent nail into the drill and spin it inside the hole to dig out the core about 1/4 inch around the hole under the top skin. Vacuum out the debris. This leaves a cavity that the epoxy turns into a solid, sealed plug, so later fasteners never touch the wood. Practical Boat Owner points out a second benefit: the solid plug stops the deck sandwich from being crushed when you tighten bolts through it later. An Allen (hex) key in the drill works the same way on balsa; foam core is tougher and may need a small chisel.
If the hole goes all the way through and you can reach the underside, cover it with duct tape so the epoxy can't run out. On a blind hole you can't reach behind, Epoxyworks suggests pushing a small epoxy-wetted plug of absorbent material to the back first so the fill doesn't run through.
Practical Sailor's tests found fast hardeners and five-minute epoxies build up heat in a hole this size and cure full of bubbles, making a weak plug. Use a slow hardener and mix exactly as the label says. They also advise filling when the temperature is steady or falling: on a warming day, air expanding out of the core bubbles up through the fill.
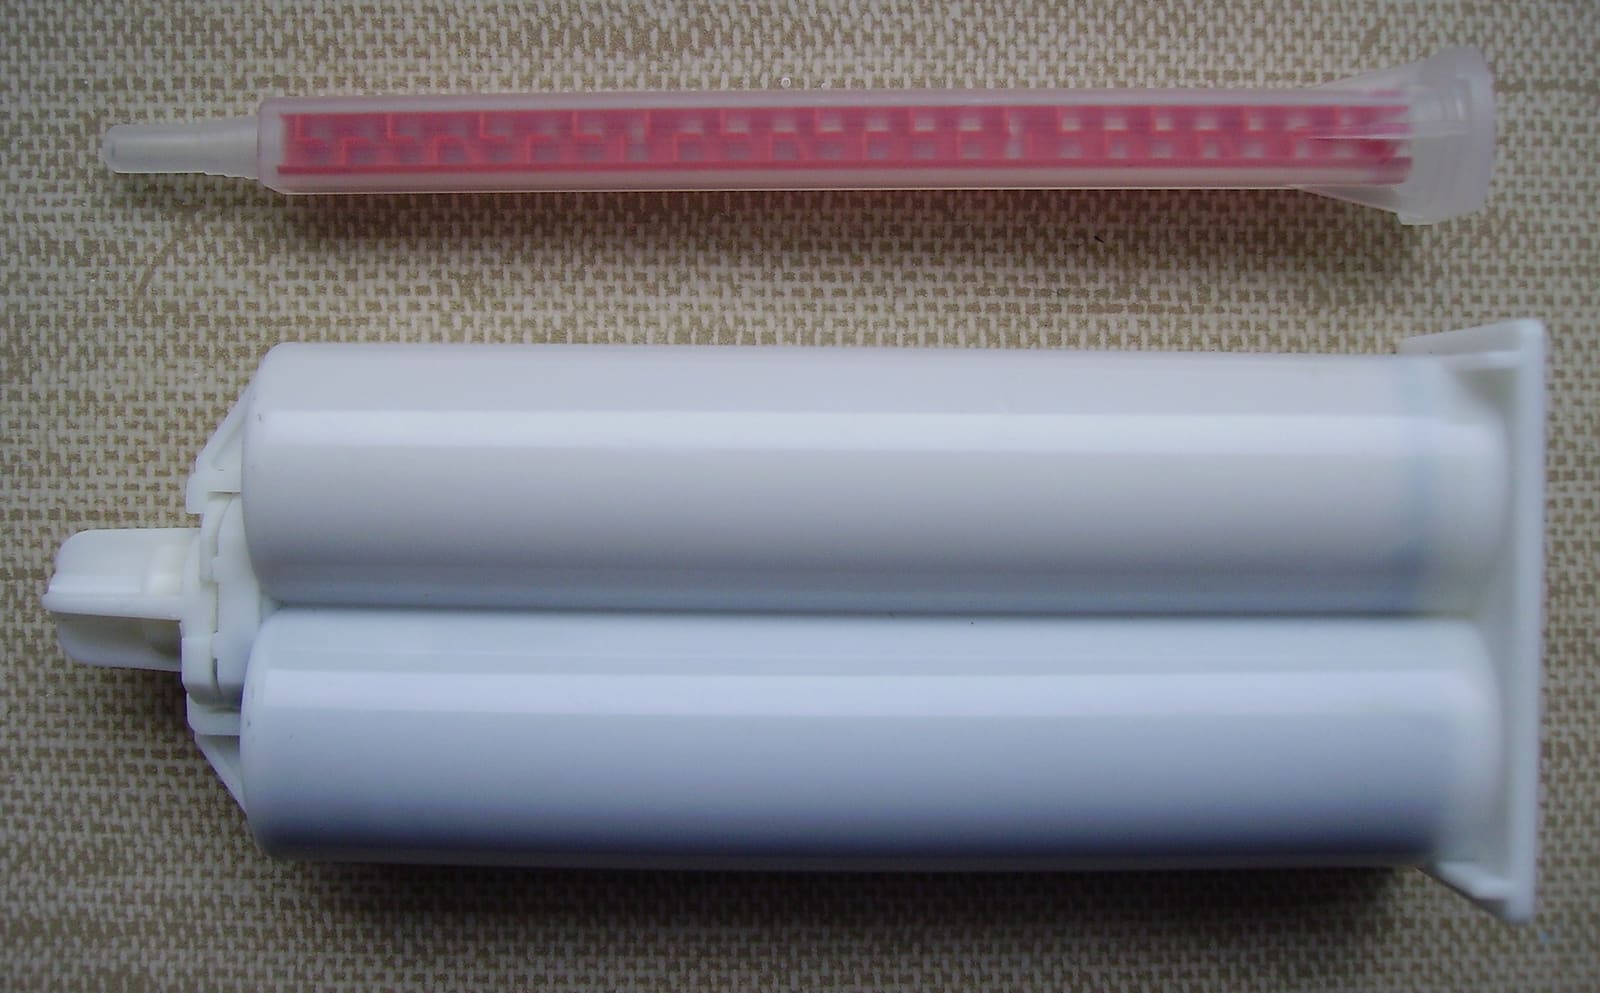
Photo: Cjp24 / Wikimedia Commons · CC BY-SA 3.0 Fill the hole with unthickened epoxy first so it soaks into the exposed core and the fiberglass edges. BoatUS describes letting it sit a minute or two to saturate the core, then puncturing the tape and draining the excess back into the cup. On vertical surfaces, inject it with a syringe instead.
- Simple fill you won't drill again: thicken epoxy with high-density filler or colloidal silica to a peanut-butter or mayonnaise consistency (stiffer on vertical surfaces) and fill the hole. Epoxyworks recommends injecting from the bottom of a blind hole with a syringe, because pushing filler in from the top with a knife traps an air bubble at the bottom.
- A screw will go back into this spot: Practical Sailor's tests found that fillers create tiny air bubbles that weaken threads, while plain epoxy, or plain epoxy packed with small strips of light fiberglass cloth, held screw threads far better. Fill with plain epoxy, push strips of cloth in with a blunt stick, work out the bubbles and top it off. Micro-balloons are for fairing, not strength.
- Fill level: for a gelcoat finish, stop the epoxy a little below the surface to leave room for gelcoat (step 11). For a painted finish, overfill slightly and sand flush later.
Let the epoxy cure fully, as long as the label says for the temperature. If you're mounting hardware again, BoatUS says to redrill the mounting holes through the cured epoxy and then bed the hardware with sealant as usual (see /guides/deck-hardware-rebedding). Drill the correct pilot size so screws don't bind or crack the plug. For anything that takes real load, a through-bolt with a backing plate is better than a screw (see /guides/mounting-accessories-through-bolt).
Wash the cured epoxy with water to remove the waxy film (amine blush) some epoxies leave, then sand it lightly. Epoxyworks reports that polyester gelcoat holds well over properly prepared, fully cured epoxy above the waterline. Apply color-matched gelcoat paste slightly proud of the surface, let it cure, then wet-sand flush with progressively finer paper and polish (see /guides/gelcoat-repair). For a good color match, Practical Boat Owner suggests first sanding and polishing a small patch of the deck next to the hole, so you match the true color of the molding rather than faded, chalky gelcoat. It also notes that even pros can spend an hour getting a match right, so if a shop ever does gelcoat work on your boat, ask them to mix a little extra for you to keep. Don't leave bare epoxy exposed: Practical Sailor warns it breaks down in sunlight within months.
An old transducer, drain or through-hull hole below the waterline has the whole weight of the water pushing on it. Epoxyworks rates hole repairs by hole size, laminate thickness and the consequences of failure, and advises erring on the conservative side. Larger or thinner-skinned holes need the edges ground to a long, gentle bevel and new fiberglass layers built up to the original thickness, not just a plug. BoatUS notes that leaks at fittings bolted through the hull generally mean hauling the boat for a proper repair. Unless the hole is tiny and you have glass-repair experience, have a yard or fiberglass shop do it while the boat is out, and never launch until the repair has fully cured.
After the first heavy rain and the first hard wash-down, look at the repairs from below where you can. A well-done fill stays dry and invisible. Note each filled hole, its location and what you used in your BoatMend log so a future owner or surveyor knows the core was sealed.
Common mistakes
- Squirting sealant into the hole and calling it done. Sealant isn't a filler; it shrinks, peels and lets water reach the core.
- Filling over wet or rotten core. The plug looks fine while the core keeps rotting underneath.
- Using five-minute epoxy or household fillers. Fast epoxies bubble and weaken; fillers not made for marine use don't hold up to water.
- Pushing filler in from the top and trapping air at the bottom of the hole.
- Drilling new holes right next to old ones and weakening the deck. Fill the old ones and plan the new spots.
- Leaving bare epoxy in the sun without gelcoat or paint.
- Trying a below-waterline repair with the boat afloat. Haul out first.
When to call a pro
- Any hole below the waterline, especially larger ones like old transducer or through-hull holes
- The core around the hole is wet, soft or rotten beyond a small spot, or the deck sounds dull over a wide area
- Cracks radiate from the old hardware location, or the deck flexes when you step near it
- Many holes in one area (old rail or tower mounts) that may need a structural repair rather than separate plugs
- You want a show-quality, color-matched gelcoat finish on a dark or faded hull
Tips
- Tape a sheet of paper over the area and mark every hole you fill; it helps when you later mount new gear.
- Practice a gelcoat fill on a hidden spot or a scrap of fiberglass to learn how much the color shifts as it cures.
- On vertical surfaces, a piece of masking tape over the filled hole keeps runny epoxy in place while it cures.
- When you remove hardware for good, fill the holes the same week; small holes get forgotten until the core is wet.
Official references
We read these to write this guide. Your engine's own manual always wins.
- BoatUS – Bedding Deck Hardware (Don Casey), cored construction steps
- Epoxyworks – Repairing Machined Holes in Fiberglass
- Practical Sailor – A Stronger Screwhole Repair
- Practical Sailor – Boat Clinic, Minor Repair to Cored Decks
- Epoxyworks – Polyester Gelcoat Over Epoxy
- BoatUS – How To Find And Fix A Boat Leak
- Practical Boat Owner – How to Attach Deck Fittings Securely (filling redundant bolt holes, color matching)
Safety: BoatMend is for information only and does not replace a certified marine technician. You are responsible for your safety and your boat. Read the full disclaimer.
Last updated 2026-10-26
Related guides
How to Find and Fix Leaking Deck Hardware (Rebedding Cleats, Stanchions and Tracks)
Track down the cleat, stanchion base or track that is dripping into the cabin, then remove it, seal the deck core and bed it again with the right sealant so the leak stops for years instead of weeks. Catching it early protects the deck core from rot.

How to Repair Small Gelcoat Chips and Scratches
Fill and blend small chips, dings and scratches in your boat's gelcoat with a repair kit so they stop letting water into the fiberglass and look close to new. Also learn to spot damage that is structural and needs a pro.
Mounting Hardware Where You Can't Reach Behind: Blind Fasteners
Learn how to mount light accessories on a boat when you can't get a hand behind the panel, using blind rivets, rivet nuts, well nuts, toggle anchors and bonded studs, when to cut an inspection port instead, and what must never be held by a blind fastener.
How to Find Soft Spots and Wet Core in a Fiberglass Deck
Tap, press and meter your deck to find wet or rotting core before it spreads, track down the leaking hardware that let the water in, and decide whether a small DIY injection repair will do or the deck needs a pro to recore it.

How to Mount Rod Holders, Fish Finders, Cleats and Antennas Without Causing Leaks
Add accessories to your boat the right way, with through-bolts, backing plates, sealed core and proper wire pass-throughs, so every new hole stays dry and strong. Also learn where you should never drill.
How to Find and Seal Hull-to-Deck Joint Leaks
Track down water that sneaks in where the deck meets the hull, prove it with a careful hose test, and reseal the joint with or without pulling the rub rail. Fixing it early protects lockers, wiring and the deck core.