How to Find and Seal Hull-to-Deck Joint Leaks
Track down water that sneaks in where the deck meets the hull, prove it with a careful hose test, and reseal the joint with or without pulling the rub rail. Fixing it early protects lockers, wiring and the deck core.
Time
4 h
Shop would charge
$300-2000
Applies to
All engines · Bowrider / runabout, Center console, Fishing boat, Cabin cruiser, Sailboat, Yacht
Safety first: A hull-to-deck joint leak is usually rain or spray, not a sinking threat, but a joint that opens up after a hard hit can let in a lot of water when the boat rolls or heels. If water is coming in faster than your bilge pump can handle, head for the dock, put on life jackets, and call TowBoatUS / Sea Tow, or USCG on VHF 16 or 911. On land, work from a stable platform, not a wobbly ladder against a boat on stands. Keep heat guns away from solvents and fuel vapors.
Owners often ask
- My cabin carpet gets wet along the sides after rain, but the hatches seem fine. How do I find a hull-to-deck joint leak?
- Can I just run a bead of sealant along the outside of my rub rail to stop a leak?
- My rub rail is coming loose and the hull seems to be separating from the deck cap. Is that dangerous, and how is it fixed?
This guide walks you through it. Still stuck? Ask the AI Mechanic about your engine.
Tools
- Garden hose with a gentle nozzle, and a helper
- Paper towels, flashlight and a small inspection mirror
- Masking tape and a marker
- Screwdrivers and nut drivers for the rub rail and its insert
- Plastic scrapers and a sharp utility knife
- Heat gun (low setting) for stiff vinyl rail
- Caulking gun, nitrile gloves and safety glasses
Parts & supplies
- Marine sealant suited to the joint (polyurethane, polysulfide or hybrid; not silicone)
- The solvent or surface cleaner your sealant maker recommends
- Stainless screws to replace any rusted rail screws
- Epoxy for filling stripped or wallowed screw holes (if needed)
Before you start
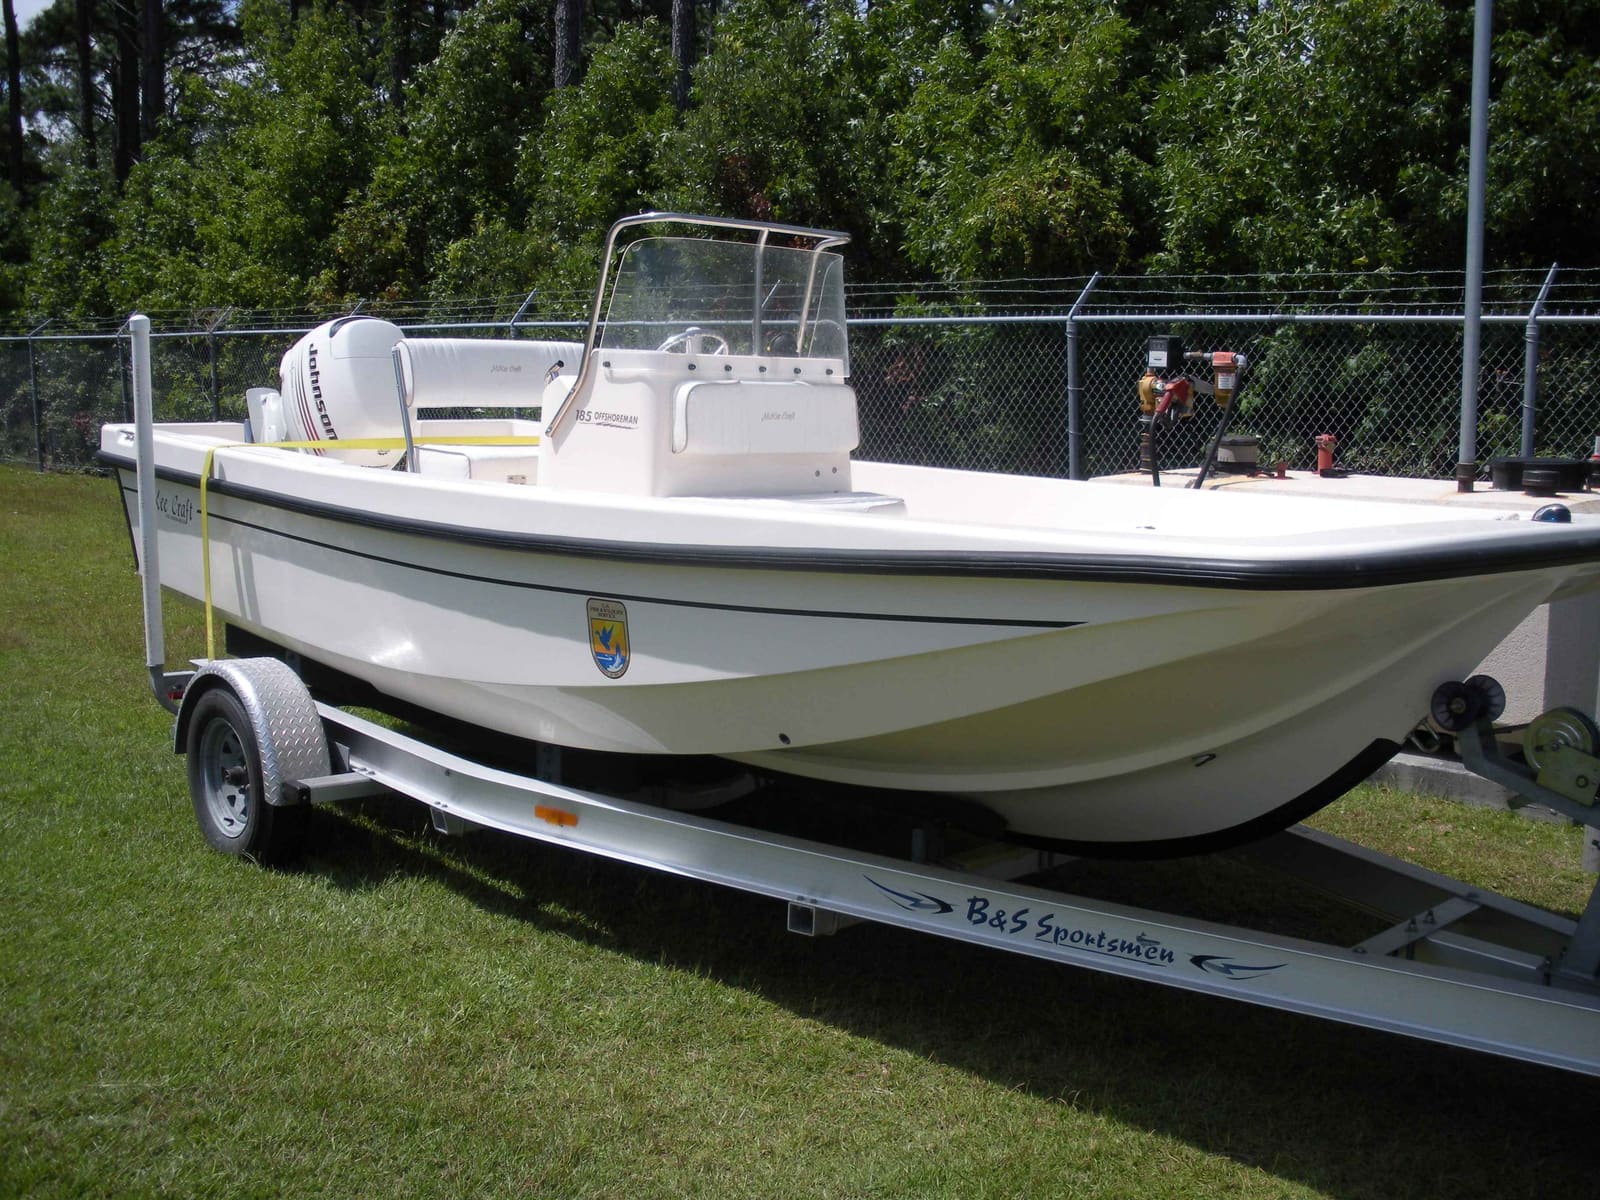
What the joint is: most fiberglass boats are molded in two big pieces, the hull and the deck, then joined around the edge. The seam is sealed with a bedding sealant or adhesive and held with through-bolts, screws or rivets. On many powerboats a rub rail covers it; on sailboats it may sit under a toerail or cap rail. Good Old Boat lists three common layouts: an outward flange (the seam sticks out and the rub rail covers it), an inward flange (the seam is inside the boat, common on sailboats) and a "shoebox" joint where the deck slips over the hull like a lid.
Watch for an "H" channel joint. Some older boats join the hull and deck with an aluminum channel shaped like an "H", with the hull edge in the bottom slot and the deck edge in the top, usually held with pop rivets. A Lake Expo boating column warns: never pull that channel off. The hull and deck were put together in a building jig, and once the channel comes off, neither piece holds its shape well enough to go back together. On this joint you work on the rivets and the outside seams only (steps 4 to 6), and call a pro for anything more.
Why it leaks: SAIL puts it simply: every deck-joint leak happens because the seal has let go of one surface or of a fastener. Rivets stretch, self-tapping screws loosen in fiberglass, old sealant dries out, and a hit against a piling can flex the joint and break the seal.
Signs it's the joint: water stains or drips along the top of the hull inside lockers, under the gunwale or behind cabin trim; wet carpet or headliner at the sides of the boat; rust streaks from screws inside; water in the bilge after rain or a wet ride, but not at the dock in dry weather.
Rule out the easy ones first. PBO's advice is to check every other leak source before blaming the joint, because the joint is the hardest one to reseal. Hatches, portlights, rod holders, cleats, stanchion bases, rail bases and wiring glands near the edge of the deck all leak into the same places. See /guides/hatch-portlight-leaks and /guides/deck-hardware-rebedding.
Steps
Dip a finger in the leak water. Fresh water points to rain or washdowns; salt water points to spray or a submerged rail. Note when it shows up: after rain at the dock, only after a rough run, or only when a sailboat heels on one tack. BoatUS notes that many leaks only appear while the boat is underway and "working", so write down the conditions each time. Log it in BoatMend so you can spot the pattern.
Pump and sponge the bilge dry and wipe the inside of the hull along the sheer with paper towels. Strips of paper towel or masking tape stuck along the inside of the joint make wet spots easy to see. Remember that water can run a long way along a liner before it drips, so the drip point is often not the entry point. Mark each wet spot on tape with the date.
With a helper inside watching with a flashlight, run a gentle stream of water (not a jet) on one short stretch of the joint for several minutes. Start low and aft of the wet spot and move forward and up in small steps. If you start high, water runs down and you can't tell which spot leaked. Test nearby fittings separately: rail stanchions, cleats and rod holders that pass through the joint are very common culprits. Mark the exact stretch that leaks.
Look at the joint from inside where you can reach it, often in lockers, under side panels or behind cabin ceilings. Note the fastener type: through-bolts with nuts, screws, or pop rivets. SAIL warns that rivets and self-tapping screws in fiberglass are the usual troublemakers, because they loosen with flexing. Look for loose nuts, rusty screws, cracked filler, and a visible gap. Photograph what you find. If a few pop rivets are loose, the Lake Expo column suggests carefully drilling them out one at a time and replacing them with closed-end (sealed) rivets dabbed in sealant, because an open-end rivet has a hollow center that is a leak path of its own. Tight rivets can just have their heads sealed. Many loose rivets along a long stretch is a pro job (see "When to call a pro").
Push on the rail along the leaking stretch. Movement, a crunch or a gap means loose fasteners or failed sealant underneath. Look for cracked gelcoat around the joint and for screws in the rail insert that are loose or rusting. Florida Sportfishing points out that the rub rail sits right over a structural joint, so after any hard hit the joint underneath needs checking, not just the rail.
If the rail is tight and the leak is small and local, start here:
- Remove the insert over the leaking stretch and check the rail screws. Snug loose ones; replace rusted ones one at a time with a dab of sealant on each.
- Reseal the rail ends, splices and any screw at the transom corners.
- Clean the rail edges and run a neat bead of UV-resistant marine sealant along the top and bottom edges where the rail meets the hull, as Florida Sportfishing suggests, if your rail maker allows it.
Then hose test again. Be realistic: Good Old Boat warns that smearing paste over a thin crack rarely fixes a joint leak for long. If it comes back, go to step 7.
Follow /guides/rub-rail-replacement for removing the insert, end caps and rail screws. Work in sections. On some boats the rail screws also clamp the hull to the deck, so don't take off the whole rail at once, and never leave the joint open in the rain or on the water. Warm stiff vinyl gently with a heat gun kept moving so it bends instead of cracking.
Scrape out loose, cracked or peeling sealant with plastic scrapers and a knife, without gouging the gelcoat. Silicone must come out completely: very little sticks to it. Clean the area with the solvent your new sealant maker names and let it dry fully. Now look hard at the seam. If the joint moves when you push on it, has large gaps, cracks in the laminate, or soft, wet fiberglass around the fasteners, stop here and have a pro look before you seal anything.
Practical Sailor describes polyurethane as builders' preferred sealant for hull-to-deck joints, and polysulfide as a flexible sealant that stretches with a working boat and can be used above and below the waterline. Keep these points in mind (and see /guides/marine-sealants-guide):
- Strong polyurethane adhesives (5200 type) bond almost permanently. That's fine for the joint seam, but BoatUS (Don Casey) notes they make later removal very hard. Many owners use a medium-strength sealant under the rub rail so it can come off again.
- Polysulfide or hybrid (polyether) sealants stay flexible and are easier to remove later. Check the label for compatibility with plastics if your rail is vinyl.
- Never use silicone on the joint: it doesn't hold well on a working seam and leaves a film that stops other sealants from sticking. Check your boat builder's recommendation if you can get it.
Mask both sides of the seam. Push sealant deep into the gap, not just on top of it, and tool it smooth with a gloved finger or a plastic spreader. Seal any joint screws or bolt heads you removed, one at a time. If old screw holes are stripped or oversized, fill them before you re-drill (see /guides/filling-old-screw-holes). Let the sealant set as the label says before covering it.
Refit the rail and insert as shown in /guides/rub-rail-replacement. Put sealant on each screw, snug them evenly, and set your drill clutch low so screws stop flush instead of cracking the gelcoat. Keep insert seams offset from rail seams. On a through-bolted joint, once the sealant has cured, don't turn a bolt head to tighten it: twisting the fastener in cured sealant breaks the seal you just made. Tighten from the nut side, or leave it alone (Lake Expo; BoatUS's Don Casey gives the same advice for deck hardware).
After the full cure time on the sealant label, repeat the hose test on the same stretch with your helper inside. Then check the inside after the next heavy rain and the next rough ride. Note the date, sealant used and results in your BoatMend log.
Long-term joint leaks soak plywood trim, carpet, wiring and the edges of cored decks. Tap the deck near the leak with a plastic mallet: a dull thud or soft feel can mean wet core. Look for rust on wiring terminals and mold behind panels. Wet core and rotten trim are bigger jobs than the leak itself, so it pays to find them now.
Common mistakes
- Blaming the joint first. Hatches, portlights and hardware through the edge of the deck leak far more often and are easier to fix.
- Hose testing from the top down, so you never learn where water actually got in.
- Smearing sealant over the outside of a crack and calling it fixed.
- Using silicone, which fails on a moving joint and contaminates the surface for any later repair.
- Pulling the whole rub rail at once on a boat where its screws help hold the deck to the hull.
- Ignoring a joint after a hard hit because the rail looks fine.
- Removing an aluminum "H" channel to get at the seam. The hull and deck may never line up again.
When to call a pro
- The joint flexes, gaps open when you push, or you see cracks in the laminate after removing the rail
- The joint is fastened with failing rivets or screws along a long stretch and needs re-fastening or through-bolting
- The leak is on the inside of the joint (inward flange or shoebox) and you can't reach it without removing liners or cabinetry
- You find soft, wet deck core or rotten wood near the leak
- After a collision with a dock, piling or another boat: have the joint inspected before the next trip
- Water comes in fast underway: get to shore, and call TowBoatUS / Sea Tow, or USCG on VHF 16 or 911 if you can't keep up
Tips
- Do this work on a warm, dry stretch of days; sealant cures better and vinyl rail is easier to handle.
- Take photos and measurements before you remove anything, so the rail goes back exactly where it was.
- A bilge pump cycle counter or high-water alarm makes slow leaks obvious long before the carpet gets wet.
- If you're shopping for a used boat, look inside lockers along the sheer for water stains; Good Old Boat suggests checking the hull-to-deck joint as part of any inspection.
Official references
We read these to write this guide. Your engine's own manual always wins.
- Good Old Boat – The Hull-to-Deck Joint
- SAIL – What Is the Best Method for Securing the Hull (sealing the hull to the deck)
- Practical Boat Owner – How to Trace Tricky Boat Leaks
- Florida Sportfishing – Rub Rail Repair
- BoatUS – How To Find And Fix A Boat Leak
- BoatUS – Bedding Deck Hardware (Don Casey)
- Practical Sailor – Stop That Leak! (sealant types)
- Lake Expo – Sealing the Hull/Deck Joint (joint types, "H" channel joints, rivets)
Safety: BoatMend is for information only and does not replace a certified marine technician. You are responsible for your safety and your boat. Read the full disclaimer.
Last updated 2026-10-26
Related guides

How to Repair or Replace Your Boat's Rub Rail
Replace a torn rub rail insert or the whole rail, reseal the hull-to-deck joint and its fasteners while the rail is off, and stop the deck-joint leaks that often hide behind a worn rail.
Marine Sealants Explained: 5200, 4200, 4000UV, Polysulfide, Silicone and Butyl Tape
Pick the right sealant before you bed a cleat, a through-hull, a window or a transducer. The wrong goo either leaks in a year or glues a part on so hard you damage the boat getting it off.

How to Fix Leaking Hatches and Portlights
Find out whether a leaking deck hatch or portlight is failing at the gasket, the lens or the frame, then fix it with the right seal or sealant. Learn when crazed or cracked acrylic needs a new lens and what never to put on plastic windows.
How to Find and Fix Leaking Deck Hardware (Rebedding Cleats, Stanchions and Tracks)
Track down the cleat, stanchion base or track that is dripping into the cabin, then remove it, seal the deck core and bed it again with the right sealant so the leak stops for years instead of weeks. Catching it early protects the deck core from rot.
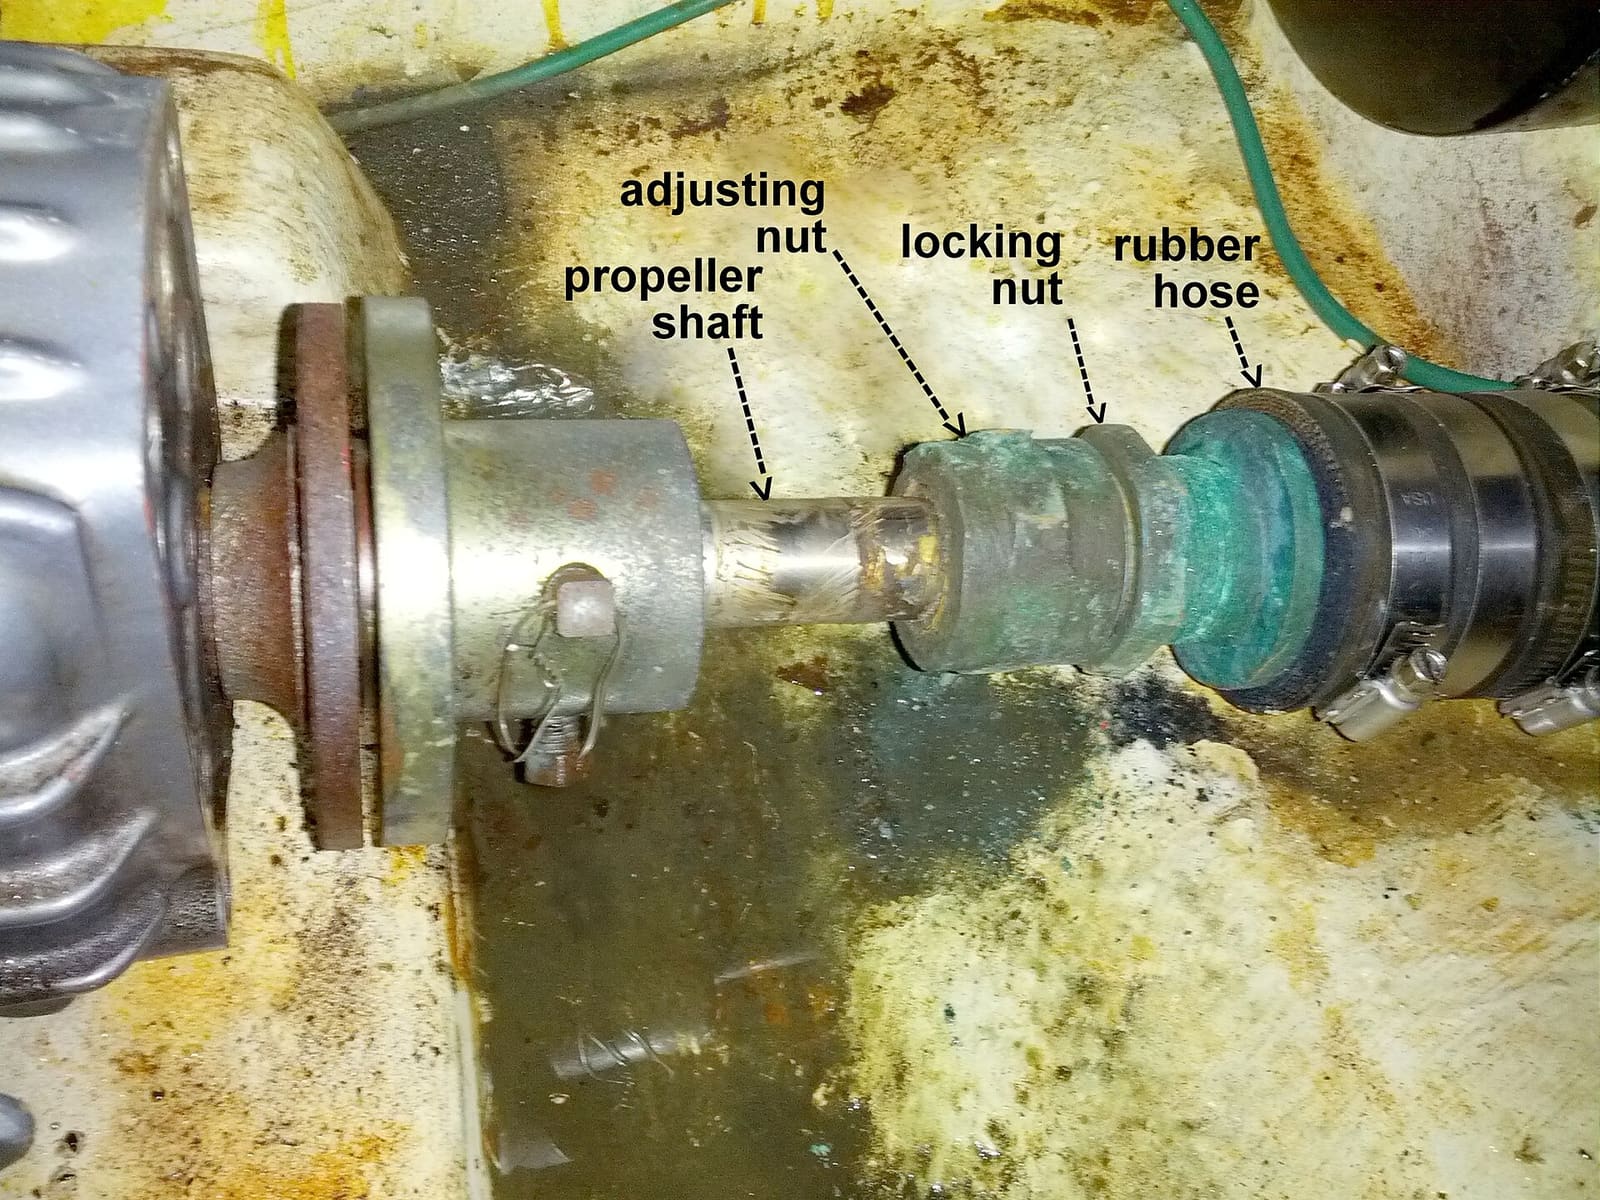
Where Is the Water in My Bilge Coming From? A Step-by-Step Leak Finder
Track down the source of water in your bilge, from the cheapest clues (when it appears, salt or fresh) to the usual suspects: rain and deck drains, the freshwater system, AC condensate, the shaft seal, raw-water hoses and through-hulls. Fix the leak instead of relying on the bilge pump.

Stress and Spider Cracks in Fiberglass, Cosmetic or Structural?
Learn what causes spider, stress and hairline cracks in your boat's gelcoat, how to tell cosmetic crazing from a structural problem with a simple tap and flex check, and when a gelcoat repair is enough or a pro is needed.