Stress and Spider Cracks in Fiberglass, Cosmetic or Structural?
Learn what causes spider, stress and hairline cracks in your boat's gelcoat, how to tell cosmetic crazing from a structural problem with a simple tap and flex check, and when a gelcoat repair is enough or a pro is needed.

Time
2 h
Shop would charge
$300-3000
Applies to
All engines
Safety first: Wear a dust mask, glasses and gloves when grinding or sanding fiberglass and gelcoat, and keep acetone away from flames. Cracks below the waterline that weep water, cracks in the transom around the engine mount, or a deck or hull that flexes or feels soft are not cosmetic: keep the boat out of the water or off heavy use until a pro has looked. If cracks appear suddenly after a grounding or collision and the boat is taking on water, call USCG on VHF 16 or 911.
Owners often ask
- I have spider cracks in my gelcoat. Are they just cosmetic or a sign of something structural?
- Why do gelcoat cracks keep coming back around my cleats and rail stanchions?
This guide walks you through it. Still stuck? Ask the AI Mechanic about your engine.
Tools
- Bright flashlight and a magnifying glass
- Phone camera and a ruler for scale
- Plastic mallet, or the plastic handle of a screwdriver, for tap testing
- Painter's tape and a marker
- Rotary tool with a small pointed burr (for opening cracks, if repairing)
- Sandpaper (80 grit for prep, finer for finishing) and a sanding block
- Nitrile gloves, safety glasses and a dust mask
Parts & supplies
- Gelcoat repair kit matched to your boat's color, or epoxy and filler for deeper cracks
- Acetone or the cleaner your repair product recommends
- Release film or plastic wrap to seal gelcoat from air while it cures
- Larger backing plates or bracing if hardware loads caused the cracks
Before you start
What you're looking at: gelcoat is a thin, hard, colored resin skin over the fiberglass laminate. Epoxyworks (from the makers of WEST SYSTEM) explains that gelcoat shrinks as it cures and stretches very little, so it's brittle, especially where the factory sprayed it on thicker than intended, such as inside corners. It cracks long before the laminate underneath does. The real question is whether the crack stops at the gelcoat or reflects something happening below.
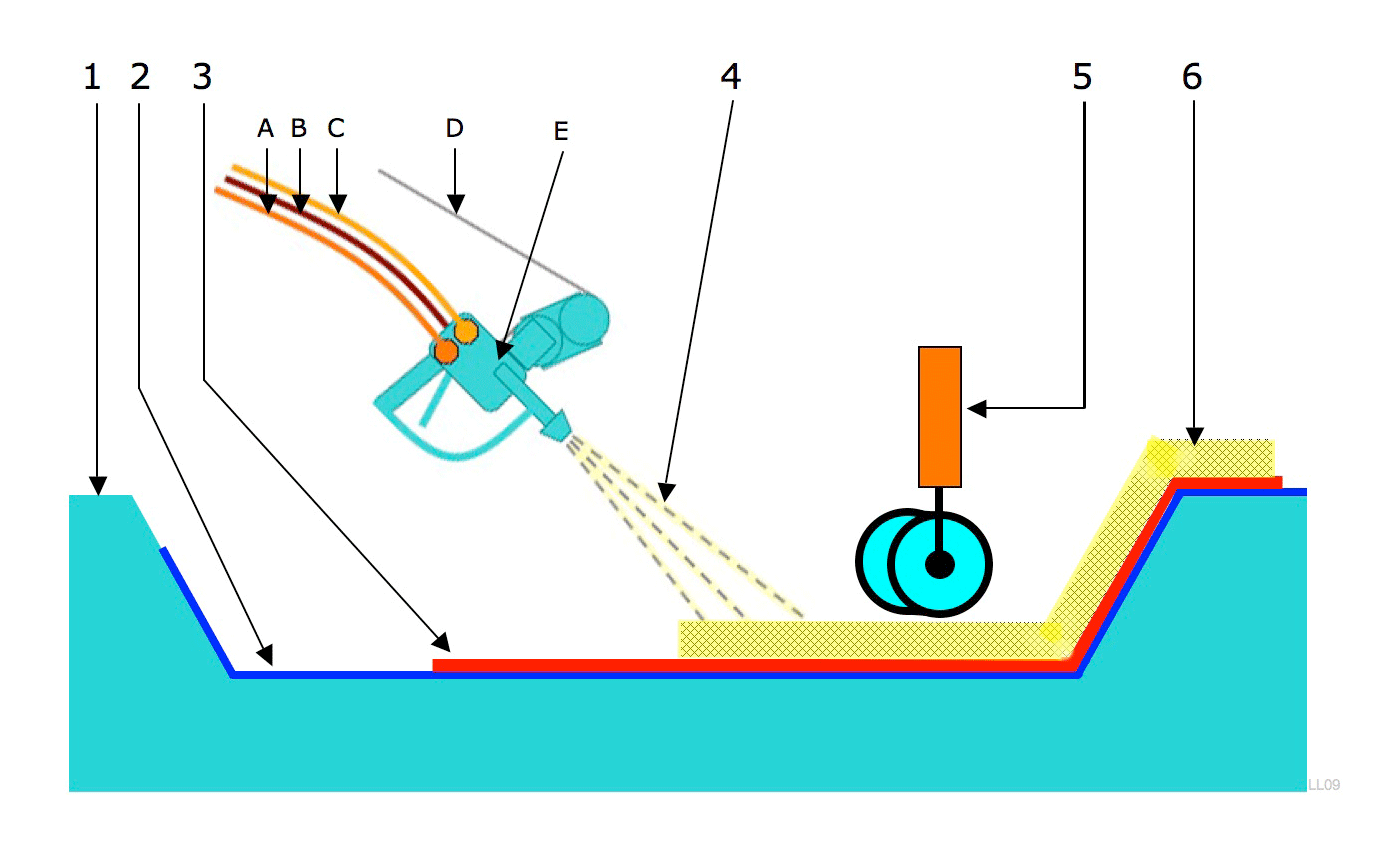
Common crack types:
- Single hairline cracks in corners of the cockpit, cabin or seat backs, often where gelcoat built up thick. Usually cosmetic.
- Cracks radiating from a screw or fitting. Epoxyworks notes self-tapping screws can crack gelcoat by pushing on it with their threads. Often around canvas snaps, cup holders and small hardware.
- Starburst or spider cracks from a point: an impact (a dropped anchor, a hard dock hit) or a loaded fitting like a cleat, stanchion or rail base.
- Parallel or concentrated groups of cracks running the same way, for example where the cabin top meets the deck or over a bulkhead. Epoxyworks says this points to a more serious, high-flex area.
- Random crazing over a wide area, like a shattered car window. Often from temperature cycling, age or gelcoat that was too thick.
Why fixing the cause matters: Power & Motoryacht's advice is to work out why the cracks formed (a flexing stanchion base, a vibrating radius, a spongy area) and stiffen the area first; otherwise new cracks tend to appear soon after the repair.
Steps
Wash the area and let it dry. Under a bright light, mark each crack group with tape and photograph it with a ruler for scale. Dirt and mildew often make old cracks look darker and worse than they are; Practical Sailor notes hairline cracks are far less of a threat than ones you can slide a knife blade into.
Write down what's near each crack: hardware, a corner, a seat, the transom, the hull-to-deck joint, the engine mount, a bulkhead. Location tells you more than size. Cracks at loaded hardware, structural joints or the transom need more care than cracks in a cockpit corner.
Brown or rust-colored stains in or around cracks, water weeping out after rain or washing, or rust streaks from fasteners all suggest water is getting past the gelcoat and maybe into a core. Check the inside surface too, from lockers or the bilge.
Tap the area every inch or so with a plastic mallet or a screwdriver handle, then tap a known-good area nearby to compare. Solid laminate gives a sharp, crisp sound. A dull thud or dead sound can mean delamination, a void or a wet core. Mark any dull areas with tape. This is a rough screen, not a diagnosis.
Press firmly on the area with your hand, or stand next to deck cracks while a helper steps on and off. Watch the cracks closely. If they open and close, or the surface visibly gives, the panel is flexing. Push and pull loaded hardware such as cleats and stanchions; movement means the fitting or its backing needs work.
- Likely cosmetic: fine hairlines only in the gelcoat, solid sound when tapped, no flex, no staining, not at a structural point.
- Hardware stress: cracks radiating from a fitting that moves, or that was installed with screws and no backing. Fix the mounting, then the gelcoat.
- Structural or core issue: dull sound, soft or flexing panel, water weeping, cracks you can see go into the glass fibers, or cracks at the transom, stringers, hull-to-deck joint or engine mounts. Stop here and get a surveyor or fiberglass repairer.
For hardware cracks, rebed the fitting and add or upsize a backing plate. BoatUS points out that a proper backing plate spreads the load over many times the area of a washer. For screw-hole cracks, Epoxyworks recommends drilling a proper pilot hole and countersinking through the gelcoat so the screw threads don't press on it. For flexing panels, the repair usually means adding fiberglass or structure from behind, which is often a pro job.
For cosmetic cracks you've decided to repair, open the full length of each crack with a rotary tool and a pointed burr, down through the gelcoat to the fiberglass. Power & Motoryacht suggests high speed and several light passes, like tracing with a pencil, so the bit doesn't skip. Stop at the end of each crack; leaving a crack tip in place lets it keep growing.
Scuff inside the V with folded coarse sandpaper (Epoxyworks uses 80 grit), vacuum the dust, and wipe with acetone or the cleaner your repair product calls for.
For shallow grooves, fill with color-matched gelcoat paste and cover it with release film or plastic wrap so it cures fully. For deeper grooves, Epoxyworks fills with epoxy thickened with a filler, washes off the cured epoxy's waxy blush with water, sands, and then applies color-matched gelcoat over it. Follow the product instructions exactly for mixing and cure times.
Once cured, block-sand the repairs flush, working through finer grits, then compound and polish to blend the gloss. If dozens of cracks cover a deck, a full refinish or paint job is usually cleaner-looking than hundreds of small patches.
Photograph the repaired area with the date and recheck it each season. Epoxyworks notes that some boats stay crack-free for years after a proper repair. If cracks return in the same place, the cause wasn't fixed: that's your signal to get the structure checked.
Common mistakes
- Painting over or "creeping" thin repair liquid into cracks without opening them. Power & Motoryacht tested popular hairline fixes and found they don't replace a proper repair.
- Rolling epoxy or paint over crazed gelcoat. Epoxyworks says the cracks come back; cracked gelcoat has to be removed first.
- Fixing the gelcoat but not the flex or the loose cleat that caused it.
- Panicking about every hairline. Most corner cracks are cosmetic; check before spending big.
- Ignoring cracks near the transom, stringers or engine mounts, which can signal serious structural trouble.
- Leaving gelcoat open to air while it cures, so the surface stays tacky.
When to call a pro
- Dull tap sounds, soft or spongy areas, or panels that flex
- Cracks at the transom, engine mounts, stringers, keel, hull-to-deck joint or chainplates
- Water weeping from cracks, or stains that suggest a wet core
- Cracks that go into the glass fibers or that you can catch a blade in
- Cracks that keep returning after repair
- Any cracking after a grounding, collision or hard trailer incident
- Buying a used boat with widespread cracking: get a marine survey
Tips
- Fix cracks near hardware before they let water into the core; that's where cheap repairs turn expensive.
- When adding new hardware, drill a pilot hole and countersink the gelcoat first so screws don't start new cracks.
- Keep a photo log of every crack you decide to leave alone, so you can tell if it grows.
- On an older boat with wide crazing that's cosmetic, Practical Sailor's view is that leaving it for now is reasonable if it isn't an eyesore and doesn't go through the gelcoat.
- Hairline "wipe-in" fillers: for very fine, stable cosmetic cracks on flat areas, a Practical Sailor test reported by Scuttlebutt found one thin hairline filler still looked good after six months, as long as the crack was cleaned out with a fine needle first and not widened. Treat it as a cosmetic cover-up only: it works poorly in corners and on non-skid, and it is not the V-groove repair above, which is what you want for cracks that keep growing.
Official references
We read these to write this guide. Your engine's own manual always wins.
- Epoxyworks (WEST SYSTEM) – Repairing Gelcoat Stress Cracks
- Power & Motoryacht – Filling in the Gaps, Fiberglass Crack Repair
- Practical Sailor – PS Advisor (deck crazing)
- BoatUS – The Critical World of Backing Plates
- Scuttlebutt Sailing News – Tips from the Boatyard, Gelcoat Cracks (Practical Sailor report)
Safety: BoatMend is for information only and does not replace a certified marine technician. You are responsible for your safety and your boat. Read the full disclaimer.
Last updated 2026-10-25
Related guides
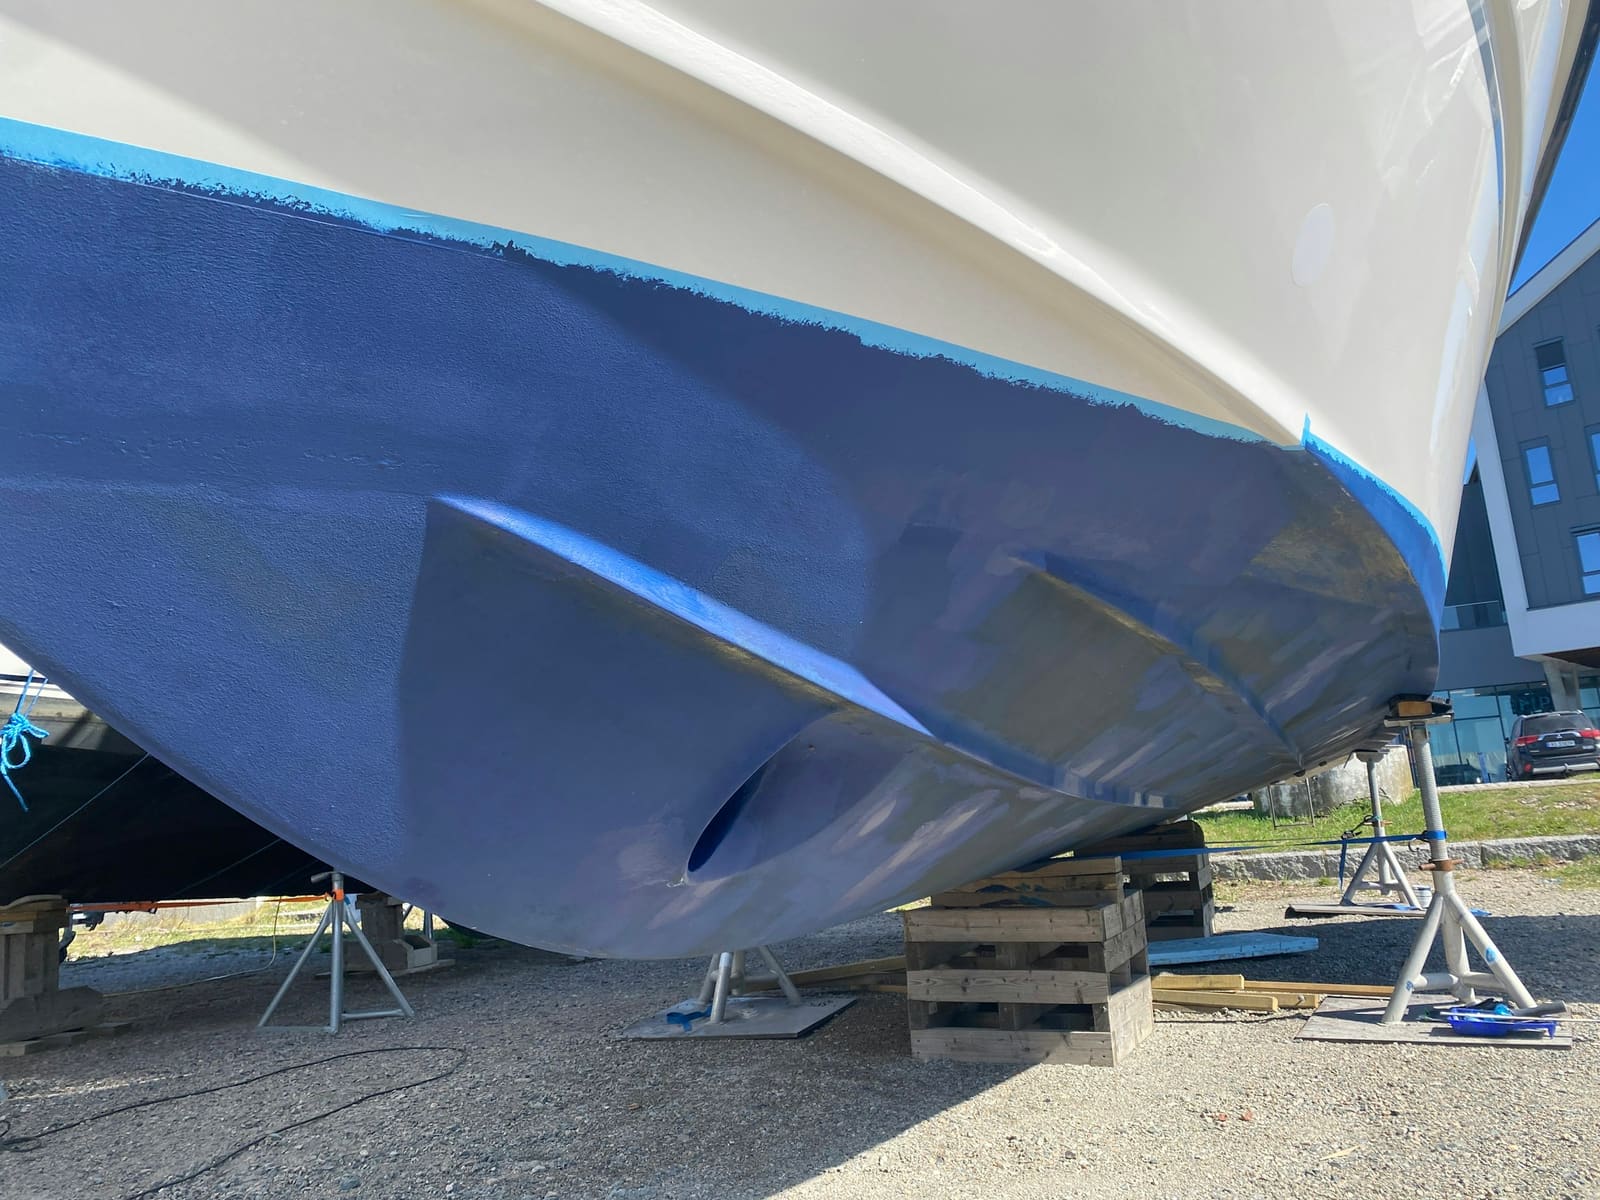
How to Repair Small Gelcoat Chips and Scratches
Fill and blend small chips, dings and scratches in your boat's gelcoat with a repair kit so they stop letting water into the fiberglass and look close to new. Also learn to spot damage that is structural and needs a pro.
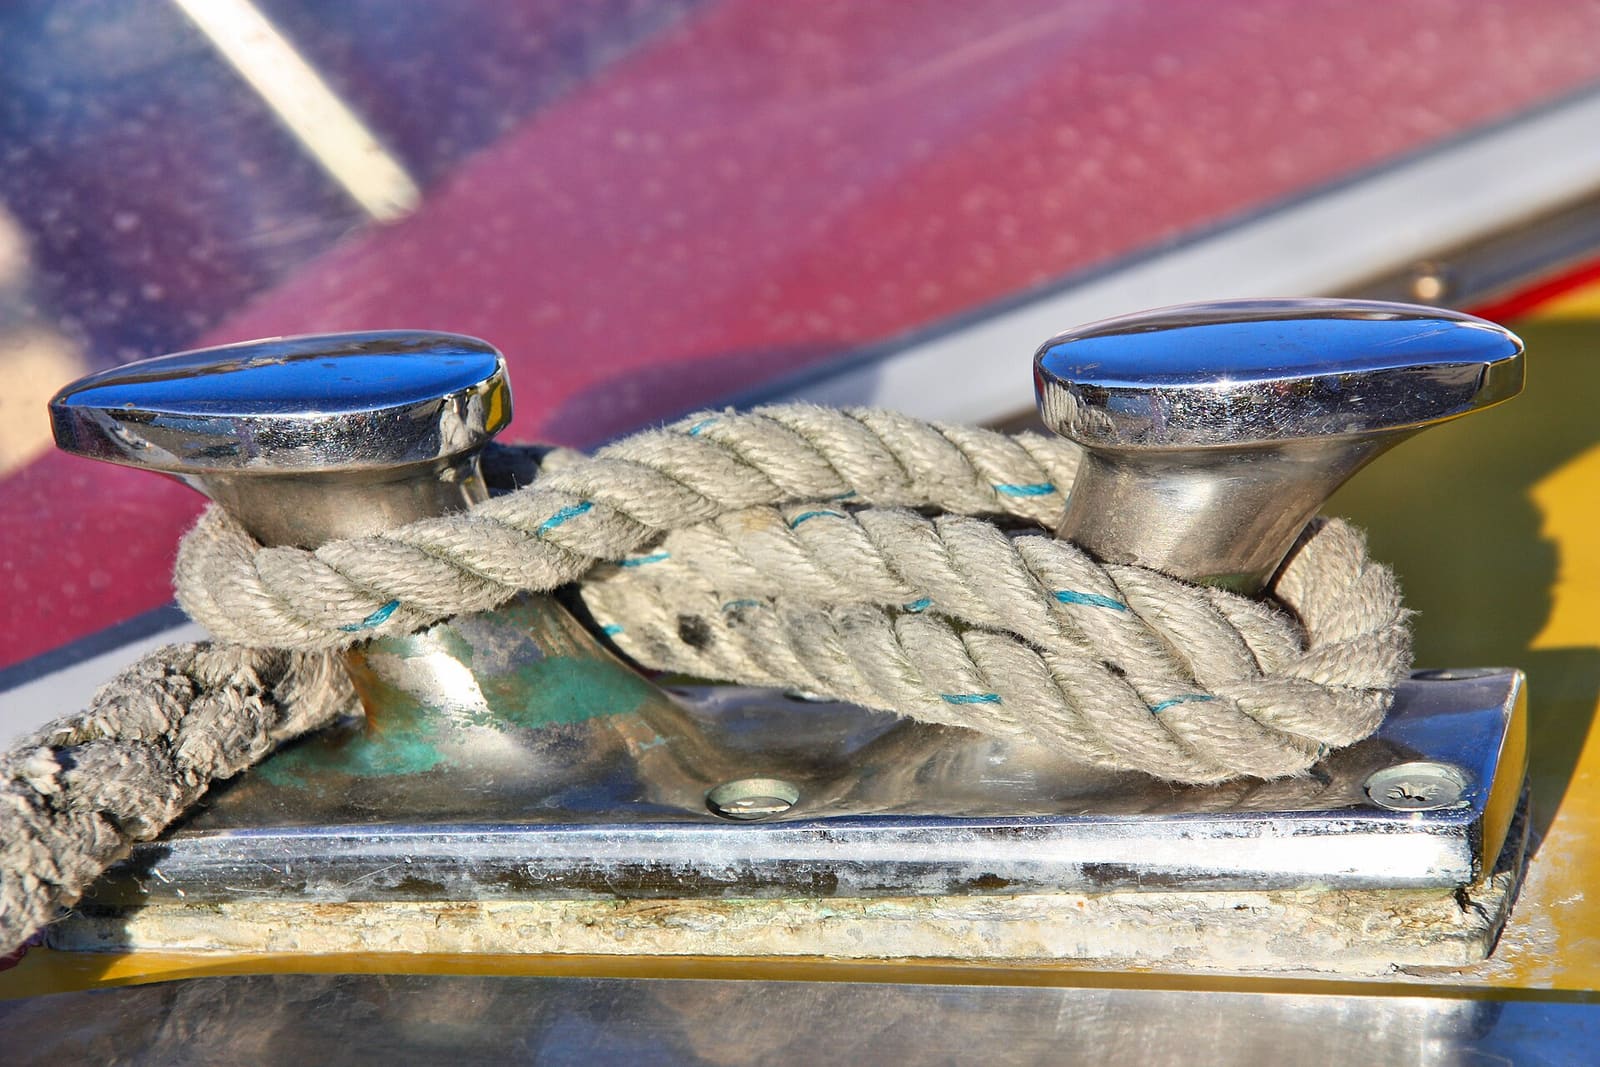
How to Find and Fix Leaking Deck Hardware (Rebedding Cleats, Stanchions and Tracks)
Track down the cleat, stanchion base or track that is dripping into the cabin, then remove it, seal the deck core and bed it again with the right sealant so the leak stops for years instead of weeks. Catching it early protects the deck core from rot.

How to Check a Boat for Transom and Stringer Rot
Many older fiberglass boats have wood inside the transom, stringers and deck, and water that gets in slowly rots it. Learn the tap test, the flex test, how to read a moisture meter and the other warning signs, and why a rotten transom or stringer is a structural job for a pro, not a weekend patch.

Hull Blisters (Osmosis): How to Tell Cosmetic Pimples From Serious Pox
Learn what osmotic blisters are, how to inspect a fiberglass bottom at haul-out, which blisters you can fix yourself with epoxy, what moisture meter readings can and can't tell you, and when to hire an independent surveyor.

How to Inspect a Used Boat Before You Buy
A step-by-step checklist for looking over a used boat, from paperwork and the hull ID number to the transom, engine, compression test, sea trial and trailer. Know what to check yourself, what the red flags mean, and when to pay a marine surveyor.

How to Mount Rod Holders, Fish Finders, Cleats and Antennas Without Causing Leaks
Add accessories to your boat the right way, with through-bolts, backing plates, sealed core and proper wire pass-throughs, so every new hole stays dry and strong. Also learn where you should never drill.