How to Winterize (and Recommission) Your Boat's Freshwater System
Protect the tank, pump, water heater, faucets and showers from freeze damage with non-toxic antifreeze, then flush and sanitize everything in the spring so the water is clean again. A cracked pump or split fitting is a common, avoidable winter repair bill.

Time
1 h 30 min
Shop would charge
$150-350
Applies to
All engines · Cabin cruiser, Sailboat, Yacht, Pontoon, Center console
Safety first: Use only non-toxic propylene glycol antifreeze in drinking-water plumbing. Never use automotive (ethylene glycol) coolant: it is poisonous and cannot be reliably flushed out. If your water heater has an electric element, switch off and tag its breaker before you drain it, because the element burns out in seconds if it is powered while empty. If the heater also runs on propane, follow the propane guide and stop if you smell gas.
Owners often ask
- Do I need to bypass the water heater when I put pink antifreeze in the boat's water lines?
- How do I get the antifreeze taste out of my boat's water tank and lines in the spring?
This guide walks you through it. Still stuck? Ask the AI Mechanic about your engine.
Tools
- Screwdrivers and nut drivers
- Bucket, rags and a large sponge or small wet/dry vacuum
- Funnel
- Short length of hose (to feed the pump from a jug)
- Flashlight or headlamp
- Masking tape and a marker (for warning tags)
Parts & supplies
- Non-toxic propylene glycol RV/marine antifreeze (several gallons; more if you skip the heater bypass)
- Water heater bypass hose or valve kit (if your boat has none)
- Pump winterizing kit or inlet adapter (optional)
- Plain unscented household bleach (for spring sanitizing)
- Replacement water filter cartridge (spring)
Before you start
Do this before the first hard freeze, ideally on the same day you winterize the engine. It applies to any boat with a pressurized freshwater system: a tank, an electric pump, faucets, a shower or transom shower, and often a water heater.
Make a quick map first. Find the tank (or tanks), the pump and its inlet strainer, the accumulator (a small tank near the pump on many boats), any water filter, the water heater, and every outlet: galley and head sinks, showers, the cockpit or transom shower, a freshwater washdown, an ice maker and the dockside "city water" inlet. Missing one outlet is the most common way plumbing gets cracked.
Two ways to protect the lines:
- Antifreeze (the standard method). Drain, then pump antifreeze through until it comes out of every outlet. BoatUS points out that draining alone is not enough, because water stays in low spots and freezes.
- Blowing out with air. Some owners push the water out with low-pressure, regulated compressed air. It uses less antifreeze and avoids the taste in spring, but water can stay in the pump, accumulator, strainer and low loops. If you blow out, still put antifreeze in the pump and any trap you cannot drain. On a very simple system, Discover Boating notes draining can be enough as long as no water remains anywhere.
Read the label. Use full-strength propylene glycol antifreeze rated well below the coldest temperature you expect. Avoid cheap blends with alcohol (labeled "combustible"); Xylem warns they can swell rubber pump parts. Do not add water to it.
Steps
Turn off the dockside water at the shore spigot, then drain and stow the hose. Switch off the water pump breaker. Switch off the water heater breaker and put a piece of tape on it that says "HEATER EMPTY – DO NOT TURN ON."
Turn the pump back on and open the faucets until the tank runs dry and the pump starts sputtering. Then turn the pump off right away; do not let it run dry for long. If the tank has a drain or an inspection port, use it. The pump pickup sits above the bottom of the tank, so sponge or vacuum out the last bit.
Let the heater cool if it was on. Open its drain plug or disconnect a hose and let it empty into the bilge or a bucket. Then set the bypass valves, or disconnect the inlet and outlet hoses and join them with a short bypass hose. This keeps antifreeze out of the heater tank, which would otherwise swallow gallons of it. If the heater is also warmed by the engine's cooling system, that side is protected when you winterize the engine.
Remove the pump's inlet strainer bowl, clean it and drain it. Discover Boating notes that water does not flow through the accumulator, so pumping antifreeze through the lines puts almost none into it: disconnect it and drain it, shaking it empty if needed. Take out any filter cartridge and empty the housing. Do not pump antifreeze through a carbon filter; plan to replace the cartridge in spring.
Two common setups:
- Feed the pump directly: disconnect the hose on the pump's inlet side (or open the valve of a pump winterizing kit) and put a short hose from the pump into an antifreeze jug. This keeps antifreeze out of the tank.
- Pour it into the tank: with the tank empty, pour in a few gallons of antifreeze as BoatUS describes, then let the pump draw it. You will need more antifreeze this way.
Turn the pump on. Start at the outlet farthest from the pump. Open the cold side until antifreeze comes out, then the hot side (with the heater bypassed, the hot lines still need it). Close it and move one outlet closer each time. Keep an eye on the jug and swap jugs before it runs dry so you do not suck air.
The first color you see is antifreeze mixed with leftover water. Keep the outlet open until it runs the full, strong color of the product in the jug. Xylem lists "stopping as soon as you see pink" as one of the most common winterizing mistakes.
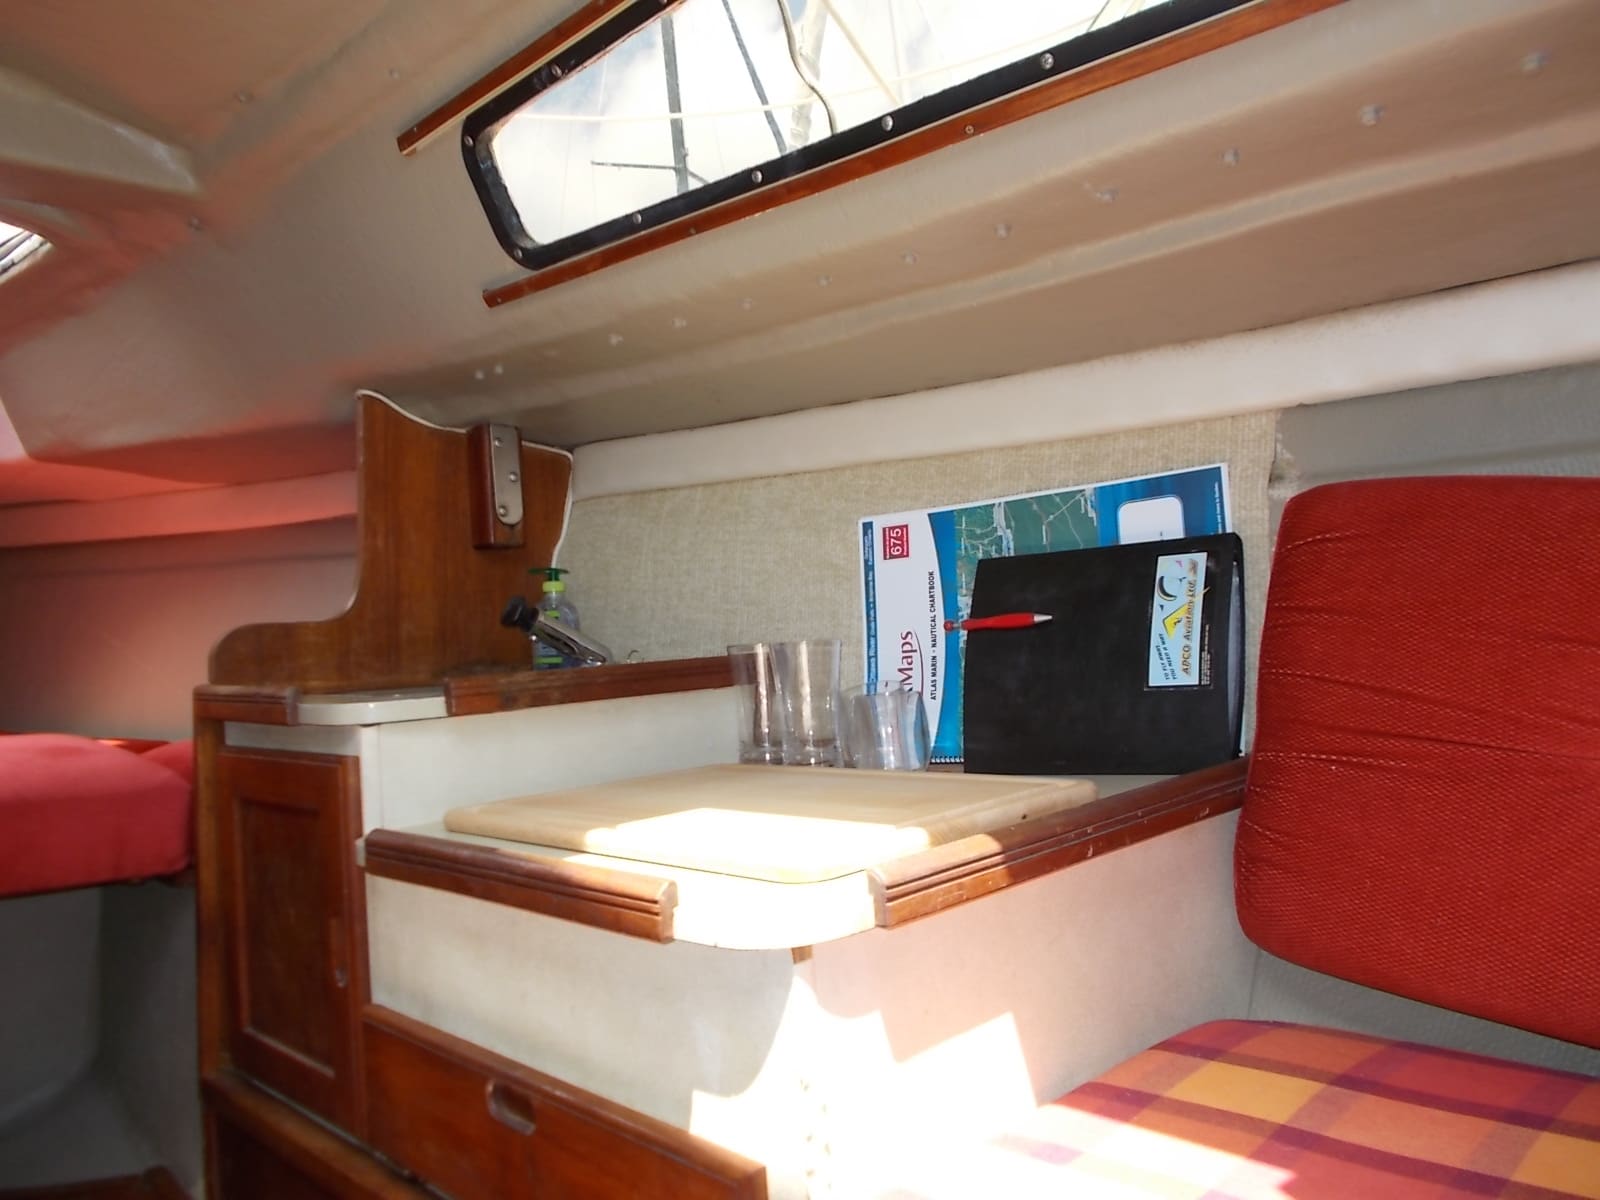
Even a small galley has a faucet and a sink drain. Run antifreeze until it comes out full strength at every faucet, hot and cold. Photo: Ahunt / Wikimedia Commons · CC0 1.0 Run antifreeze through the shower heads (hold the wand in the drain), the cockpit or transom shower, any freshwater washdown and a freshwater-flush toilet. For an ice maker or a water-using appliance, follow its manual. The dockside city-water inlet usually has a check valve and a short line that can hold water: check your system's instructions for how to clear it.
If the boat stays in the water, pour a little antifreeze into each sink drain and close the drain seacocks. If the boat is on the hard, BoatUS suggests opening the seacocks so they drain completely, then closing all but the cockpit seacock. Empty the shower sump box and its pump; a pump never leaves the sump fully dry, so sponge it out. The head and holding tank are covered in the marine head guide.
Turn the pump breaker off. Leave the heater bypass in place. Put a tag at the helm or electrical panel listing what you did: "Freshwater winterized, heater bypassed and empty, filter removed." Write the date in BoatMend so you know what to undo in the spring.
Reinstall the strainer bowl and accumulator connections. Fill the tank with clean water. Leave the heater bypassed for now and run every outlet, hot and cold, until the water comes out clear with no color or sweet taste. Propylene glycol is non-toxic, but you still want it gone. Where you can, catch the first strong pink rinse in a bucket instead of sending gallons through the sink drains at the dock, and dispose of it the way your marina and local rules require; Xylem asks owners to follow local regulations for any antifreeze disposal.
Close the heater drain, remove the bypass (or set the valves back to normal), then open a hot faucet and run the pump until the heater fills and water flows steadily with no air spurts. Only then remove the tag and switch the heater breaker back on. Powering an empty electric heater ruins the element.
Bleach is the usual choice. Use plain, unscented household bleach in the amount your boat builder or water-system maker specifies. A widely published RV and marine method is about 1/4 cup per 15 gallons of tank capacity, mixed into a gallon of water first, with about 4 hours of contact time (typical; confirm in your manual). Pour it in, top the tank up, run every outlet until you smell chlorine, then let it sit. Drain, refill and flush until the chlorine smell is gone. Install a new filter cartridge after sanitizing, not before.
With every faucet closed, the pump should run until it reaches pressure and then stay off. If it cycles on and off by itself, there is a leak or a bad check valve. Look under the pump, at the heater fittings, behind sinks and under the shower. A crack found now costs a fitting; found in July it can cost a soaked cabin.
Common mistakes
- Using automotive antifreeze, or alcohol-based "RV antifreeze" that can swell rubber pump parts.
- Diluting antifreeze with water, or stopping as soon as the first pale pink shows up.
- Forgetting the accumulator, the filter housing, the transom shower or the dockside city-water inlet.
- Filling the water heater with antifreeze because nobody set the bypass.
- Turning the water heater breaker on in spring before the heater is full of water, and burning out the element.
- Running the pump dry for minutes at a time while waiting for a jug to arrive.
- Leaving antifreeze in a carbon filter, then wondering why the water tastes odd all summer.
- Switching the pump on in spring with the tank still empty or a valve still closed. Xylem warns that running a pump dry, or against a closed valve, can damage its diaphragm or impeller; fill the tank and open the valves first.
When to call a pro
- The water heater leaks, its relief valve drips constantly, or its tank or fittings look corroded
- The pump housing, strainer bowl or a plastic fitting is cracked from a past freeze
- The heater runs on propane, or you smell gas anywhere aboard (stop and call a qualified technician)
- You need to work on the heater's 120-volt wiring or the shore power system
- The boat has a watermaker, ice maker or a complex multi-tank system you are not sure how to protect
- You find water in the bilge in spring and cannot trace where it comes from
Tips
- Buy a couple more gallons of antifreeze than you think you need. BoatUS and Xylem both warn that people run out halfway.
- Label the heater bypass valves "NORMAL" and "WINTER" with a marker. It makes spring much easier.
- Take a phone photo of the pump area before you disconnect anything.
- Ask your insurer whether freeze damage is covered. BoatUS notes many policies exclude it unless you add it.
Official references
We read these to write this guide. Your engine's own manual always wins.
Safety: BoatMend is for information only and does not replace a certified marine technician. You are responsible for your safety and your boat. Read the full disclaimer.
Last updated 2026-10-23
Related guides
Spring Commissioning - Getting Your Boat Ready for the Season
Wake your boat up after storage with a step-by-step check of the battery, fuel system, engine, drive and safety gear. Catching a cracked hose or dead battery in the driveway beats a tow on opening weekend, and saves a typical shop commissioning fee.
How to Winterize a Sterndrive (MerCruiser, Volvo Penta and Similar)
Get the water out of your sterndrive engine, protect it with antifreeze, and service the drive before storage. A cracked block or manifold from one missed drain plug can cost thousands, and doing it yourself saves a shop bill of several hundred dollars.
How to Winterize an Outboard Engine
Protect your outboard from freeze damage, stale fuel and internal corrosion over the off-season. Most owners can do it in an afternoon with basic tools, compared with a shop bill that often runs several hundred dollars.
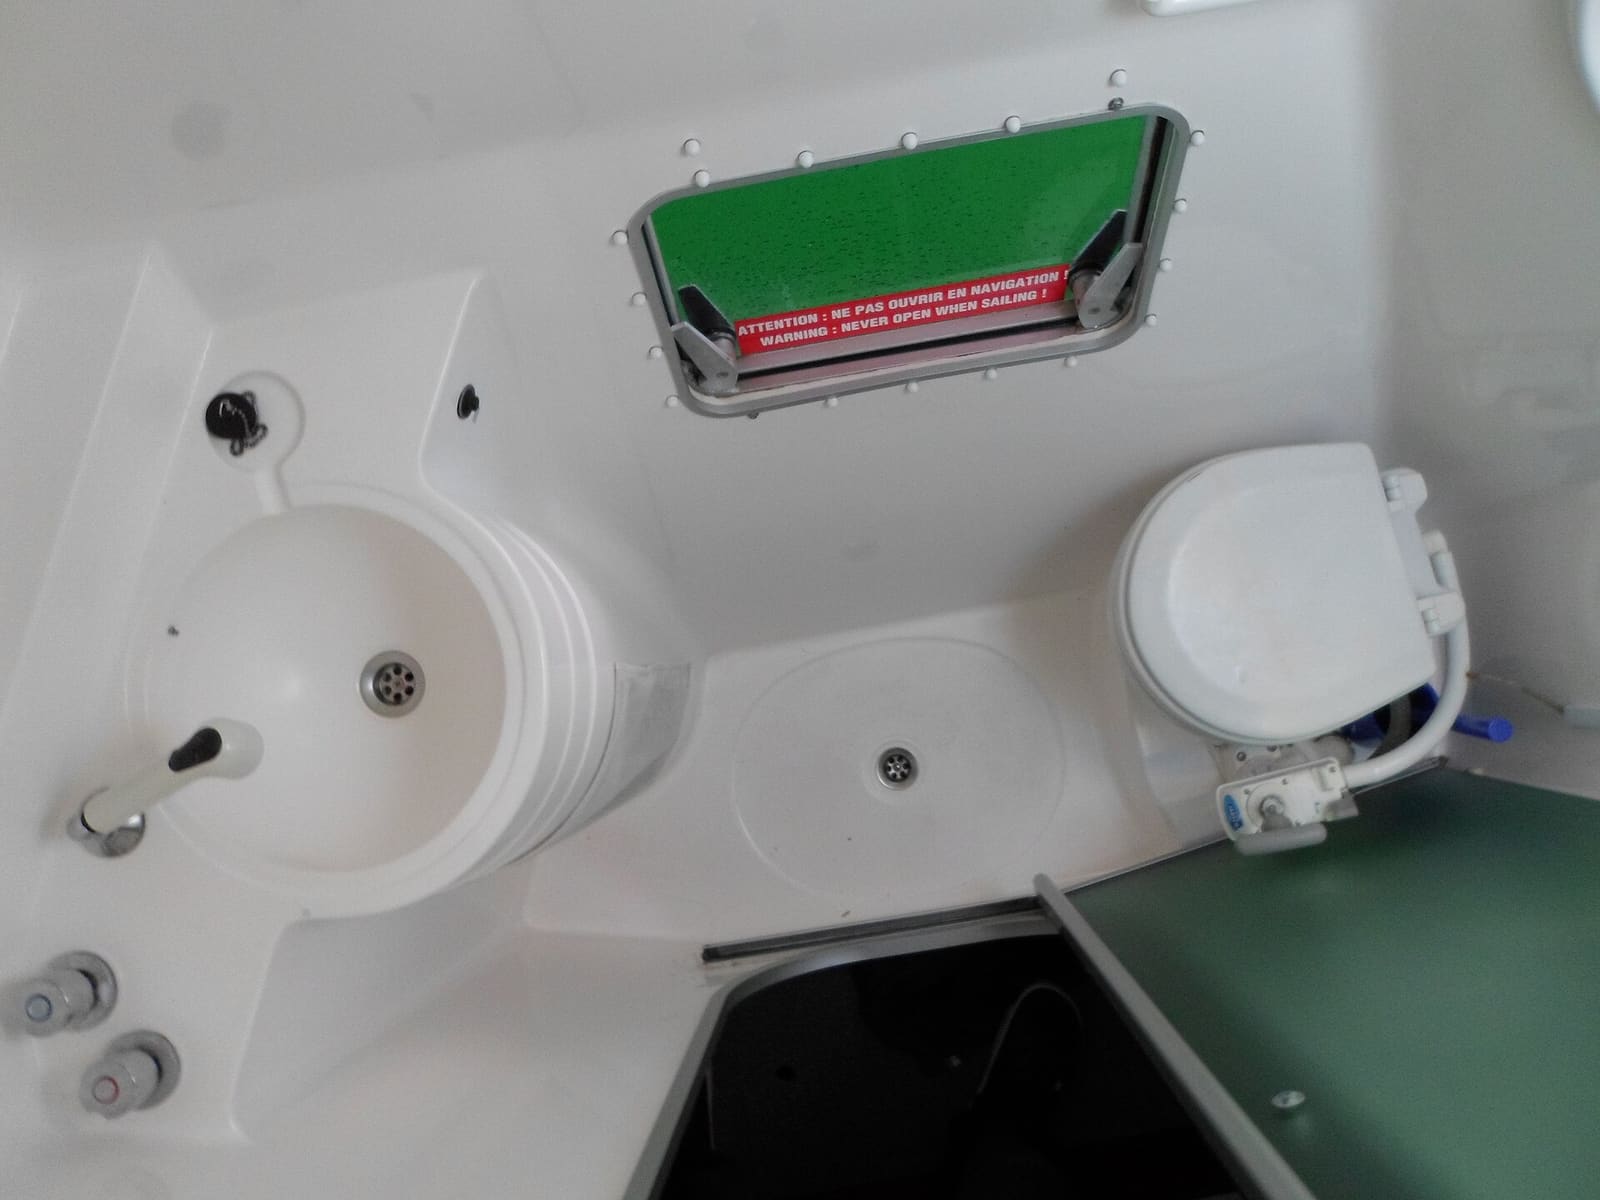
Marine Head and Holding Tank Care: Odors, Clogs, Pump-Outs and Winterizing
Keep your boat's toilet and holding tank working and odor-free, clear common clogs, pump out the right way, and winterize the system. Also covers the Y-valve and the federal no-discharge rules every owner with a head needs to follow.
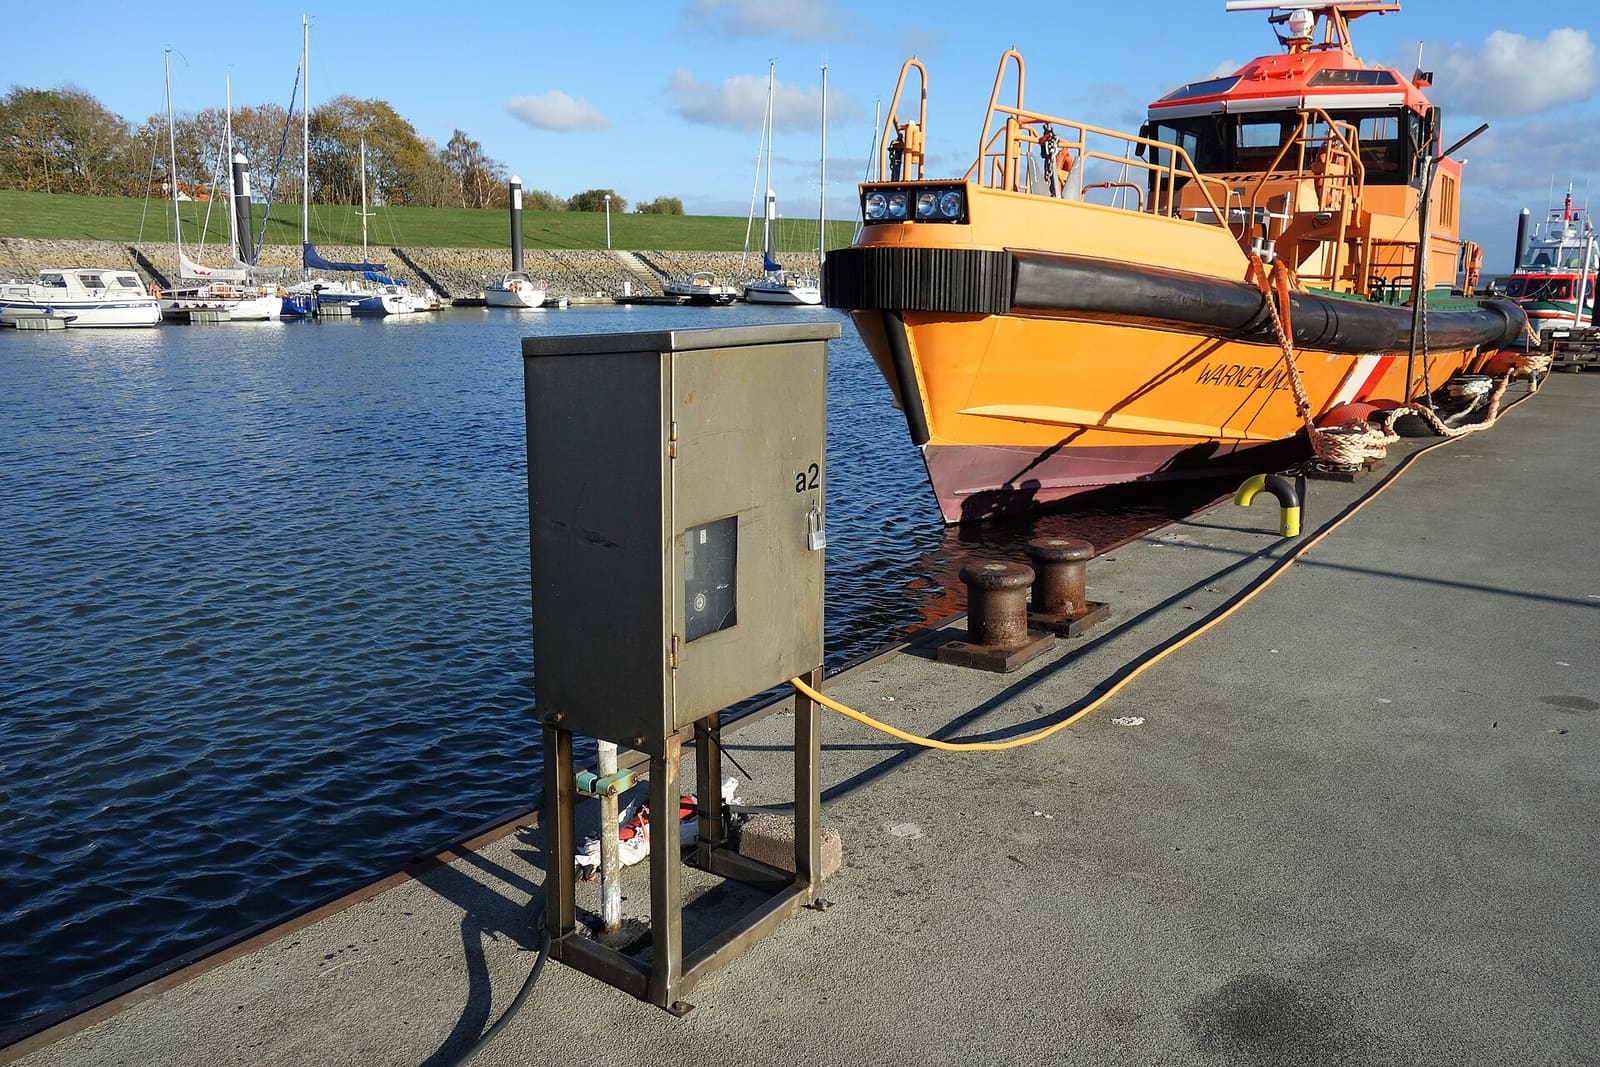
Shore Power Safety: Cords, Inlets, Burned Plugs and Electric Shock Drowning
An owner's inspection routine for your shore power cord, plugs, boat inlet, galvanic isolator and ground-fault protection, plus the right way to plug in and the facts about Electric Shock Drowning. This guide is for looking and testing only; any electrical repair belongs to an ABYC-certified marine electrician.
Livewell, Baitwell and Washdown Pumps - Clean, Troubleshoot and Winterize
Find out why a livewell or washdown pump runs but moves no water, from a closed valve or clogged pickup to an airlock, then clean the system and winterize both sides of every pump so nothing cracks over the winter.
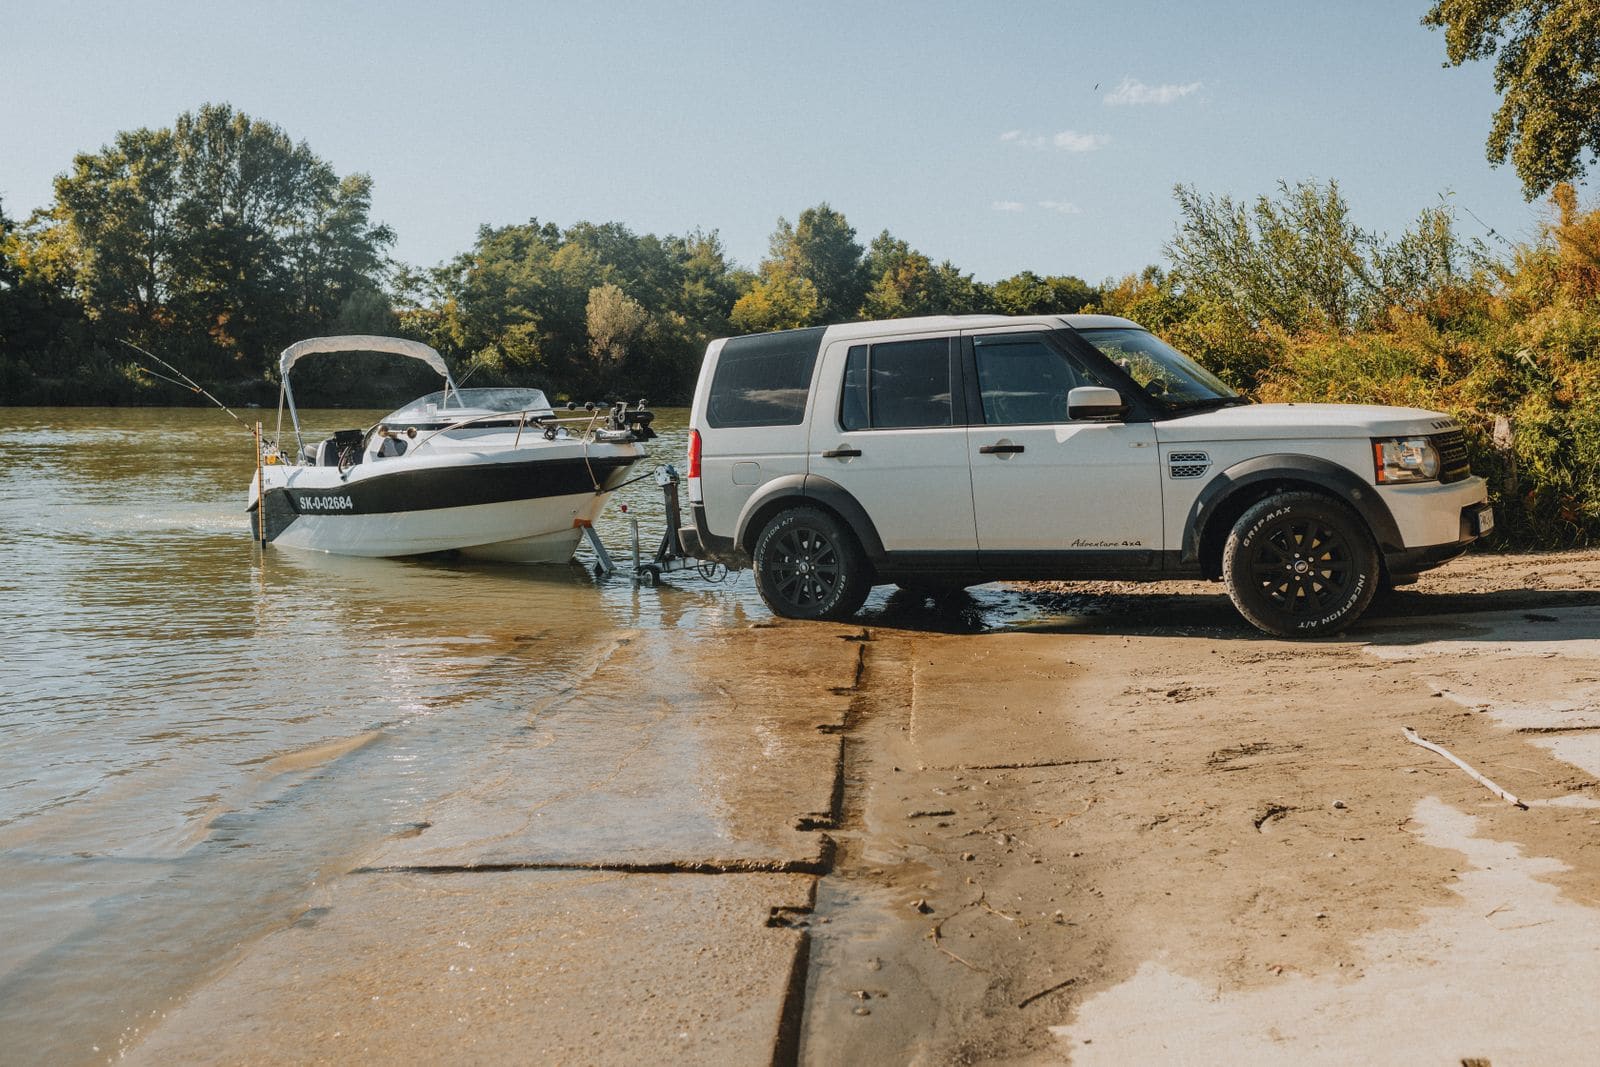
Launch Day and Haul-Out Checklist for Trailer Boats
A step-by-step checklist for getting your boat off the trailer and back on again safely and quickly, from the drain plug and tie-downs to the blower and ramp etiquette. Following it in order prevents the classic mistakes that sink boats and back up the ramp.