How to Inspect and Replace Boat Fuel Fill and Vent Hoses
Old fill and vent hoses crack, go soft and leak gasoline into the bilge, often where you can't see them. Learn the signs of aging, which USCG hose types (A1, A2, B1, B2) belong on fill and vent lines, why fill hoses need two clamps at each end, how to check the vent fitting, flame arrester and anti-spill devices, and how a careful replacement is done.
Time
3 h
Shop would charge
$250-700
Applies to
Sterndrive (I/O), Gas inboard, Outboard, Jet boat
Safety first: This is gasoline work in a space where vapor collects. If you smell gas or see fuel in the bilge, stop: don't touch any switch, get everyone off the boat, and call a marine technician (on the water: shut down, life jackets on, call the USCG on VHF 16 or dial 911). Do this job only with the boat out of service, the battery switch off, hatches open, no smoking or flames, no work lights or tools that can spark near the fumes, and an extinguisher in reach. If you have not worked on fuel systems before, have a qualified marine technician replace the hoses; use this guide to know what a good job looks like.
Fuel smell, water coming in, CO alarm or smoke? Stop, get everyone in life jackets and call USCG on VHF 16 or 911. For a tow: Sea Tow or TowBoatUS.
Owners often ask
- I smell gas every time I fill up. Could it be the fill hose?
- What kind of hose do I need for the fuel fill and vent lines, and how many clamps?
This guide walks you through it. Still stuck? Ask the AI Mechanic about your engine.
Tools
- Flashlight and inspection mirror
- Nut driver or screwdriver for hose clamps
- Sharp utility knife or hose cutter
- Multimeter (to check the fill bonding wire)
- Absorbent pads and an approved gasoline container
- Clean, dry rags
- Fire extinguisher within reach
Parts & supplies
- Fill hose of the correct inside diameter, marked USCG Type A1 or A2 (as specified for your boat)
- Vent hose of the correct inside diameter, marked USCG Type A1 or A2 (or the type your boat builder specifies)
- Stainless steel screw-type hose clamps, at least 1/2 inch wide, two for each end of the fill hose
- Stainless hose clamps for the vent hose
- Fill cap O-ring and vent fitting (if worn)
Before you start
A built-in gas tank has three hose connections:
- Fill hose: the large hose from the deck fill (where you put the nozzle) down to the tank.
- Vent hose: a small hose from the tank to a vent fitting on the side of the hull. It lets air out while you fill and lets air in as the engine draws fuel.
- Fuel supply hose: from the tank to the engine. That one is covered in the fuel line replacement guide.
Fill and vent hoses are easy to forget because they hide behind panels. BoatUS surveyors report finding fill-hose clamps "reduced to a rusty paste" and hoses so cracked they could be pulled apart by hand, and note that the generally accepted practice is to replace rubber fuel hoses older than about 10 years, whatever they look like.
Federal fuel-system rules (33 CFR 183, Subpart J) apply to boats with built-in gasoline engines; outboard-powered boats with built-in tanks follow the same good practice. Your boat builder's parts list is the best guide to the exact hose type and size.
Steps
Plan to inspect or replace the hoses if you notice:
- A gas smell after fueling that lingers, or fuel stains below the deck fill.
- Fuel spitting back out of the fill, or "burping" from the vent, more than it used to (a kinked, sagging or blocked vent hose can cause this).
- Hoses that are hard and cracked, or soft, swollen and sticky. Ethanol fuel tends to make old hose soft.
- Rusty clamps, or only one clamp at a fill hose end.
- Hoses with no USCG marking, or with a date that shows they are more than 10 years old.
- An engine that won't start right after fueling. BoatUS explains that a leaking fill hose can flood the bilge with vapor so rich it can't ignite inside the engine, until fresh air mixes in and a spark sets it off. If that happens, stop and check for a spill before cranking again.
Open the access panels around the deck fill and the tank. Follow the fill hose from the deck fitting to the tank, and the vent hose from the tank to the hull vent fitting. Take photos of the routing, clamp positions and any devices in the vent line before you change anything. Wipe each hose with a dry rag and sniff the rag: BoatUS notes a fuel smell on the rag means the hose is breaking down.
Every USCG-rated fuel hose is printed by the maker. The letters mean:
- A hoses pass a fire test; B hoses do not.
- 1 hoses are rated to hold liquid fuel all the time with low permeation (no more than 100 g of fuel loss per square meter in 24 hours); 2 hoses are rated for vapor or occasional fuel, with permeation up to 300 g. Per 33 CFR 183.558, fill and vent lines must be Type A1 or A2, or B1/B2 only where a cut hose would drain very little fuel (no more than 5 ounces in 2.5 minutes) with the boat floating and the tank full. You usually can't confirm that test yourself, so buying A-rated hose is the simple, safe choice. Never use automotive heater hose, garden hose or unmarked hose.
- Match the inside diameter of the old hose and the fittings exactly. The rules limit how much bigger a hose can be than its fitting, so a "close enough" size won't seal.
- Buy hose marked for fill or vent use as appropriate, made for use with clamps.
- Fill hose clamps: 33 CFR 183.564 requires each fill hose connection to be held by two adjacent metal hose clamps (or a swaged sleeve), with bands at least 1/2 inch wide, that don't rely on spring tension alone. Screw-type stainless clamps meet that; spring clamps don't.
- Vent hose clamps: corrosion resistant, placed beyond the bead or over the barbs of the fitting, and not spring-only.
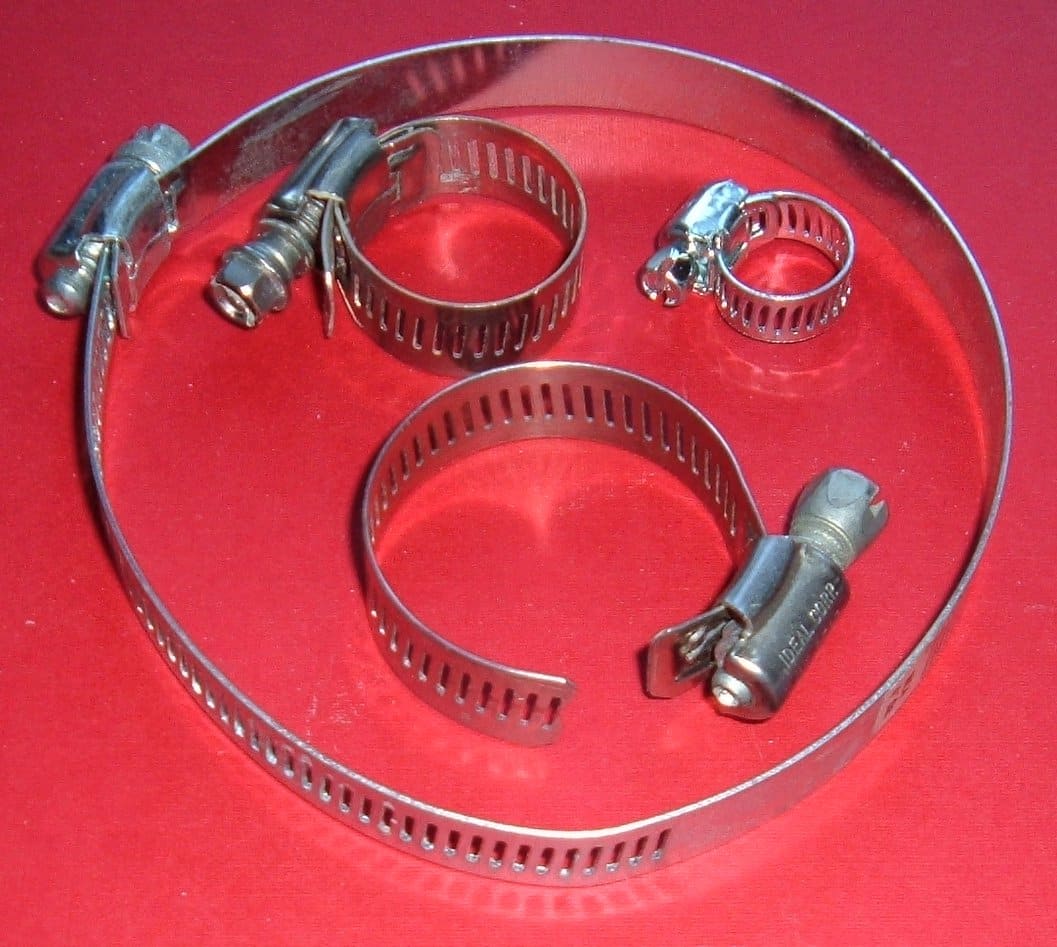
Screw-band clamps like these are the usual choice. For the fill hose, use bands at least 1/2 inch wide, two at each end; narrow ones are for small hoses. Photo: ArnoldReinhold / Wikimedia Commons · CC BY-SA 3.0 - On boats built since mid-2011 or later with EPA-certified fuel systems (see step 9 for the dates), ask the boat builder for replacement parts that match the original low-emission design.
- Do the job ashore or at a slip where fuel work is allowed, in good ventilation.
- Plan around the fuel level: the fill hose should be empty of fuel. Never work on it right after topping off.
- Turn the battery switch off. Open every hatch and run nothing electrical in the space.
- Put absorbent pads under each connection and keep an approved container handy.
- Have a helper and an extinguisher nearby.
Loosen the clamps. If a hose is stuck, slit it lengthwise with a knife over the fitting instead of twisting or prying, which can crack a plastic tank fitting or bend a metal spud. Wipe up any drips at once and put soaked rags in a closed metal container outside the boat.
- Check the tank spud and the deck fill pipe for cracks, corrosion or damaged barbs. A damaged tank fitting is a technician job.
- Replace a dry or cracked fill cap O-ring; it keeps rain and washdown water out of your fuel.
- Look for the bonding (ground) wire on a metal deck fill. Rubber hose doesn't conduct, so the wire carries static to ground while you fuel. Federal rules require metal fill and tank parts in contact with fuel to be grounded with less than 100 ohms of resistance; with the battery off, a multimeter between the fill fitting and the boat's bonding system should read close to zero. Reconnect the wire before you finish.
33 CFR 183.520 requires each tank vent to have a cleanable flame arrester, usually a fine screen inside the hull fitting, and to keep overflowing fuel from coming back into the boat.
- Clear paint, wax, salt, mud daubers and spider webs from the screen. A blocked vent can slow fueling, cause spit-back, or starve the engine.
- Replace a fitting whose screen is corroded or missing.
- The vent fitting should sit where overflow runs down the outside of the hull, not into the cockpit.
- Vents and fills also let water in. BoatUS notes a hull-side vent can be pushed under by heavy seas, deep heeling or a following sea (some owners fit an aft-facing clamshell cover over it), and a deck fill that sits in a recess collects rain and washdown water around the cap; some makers sell a spacer that raises the fill so water runs off. Side-deck fills on sailboats are a common source of water in the fuel.
EPA rules limit fuel vapor escaping from built-in gasoline tanks, and they phased in over several years (40 CFR 1045.112, 1045.625 and 1060.105):
- Fuel hoses with low permeation: boats built on or after January 1, 2009 (primer bulbs from January 1, 2011).
- Vent vapor control (the "diurnal" rule that led to carbon canisters) on installed tanks: boats produced on or after July 31, 2011. But a transition program let builders leave up to half of their boats without it until July 31, 2012, and small builders up to 1,200 boats until July 31, 2013. Those boats carry a label saying they are exempt from diurnal standards under 40 CFR 1045.625.
- Tank permeation on installed tanks (other than PWC): the 2012 model year.
That's why BoatUS describes the new systems as arriving by model year 2013 (July 1, 2012): in practice most new boats had them by then, while the legal start for many was July 31, 2011. If you're not sure what your boat has, look for the EPA emission control label and a canister in the vent line, or ask the builder with your hull identification number. Many boats do this with a carbon canister in the vent line plus a valve or separator that keeps liquid fuel from reaching the canister during filling. Do not remove, bypass or "simplify" these parts; replace them with the builder's parts. BoatUS explains that valves on the tank are calibrated to send fuel up the fill neck so the pump nozzle clicks off at the right level, protecting the canister from liquid fuel. The system has no owner-serviceable parts, and it can be overwhelmed by repeated "topping off" or by a very slow fill from a jerry can, which can push liquid fuel where it was never meant to go. Stop at the first click-off.
On older boats, you can add an in-line vent spill preventer (a fuel/air separator or surge valve in the vent hose). Practical Sailor found in-line traps, which stop fuel before it leaves the vent, work better than devices that try to catch fuel outside the hull. Mount them exactly as the instructions say (usually vertical).
No device replaces careful fueling: fill slowly near the top and stop before fuel comes out of the vent (see the refueling safety guide).
- Cut the hose square to the same length as the old one. Too short pulls on fittings; too long sags.
- Fill hose: give it a steady downhill run from the deck fill to the tank. Don Casey (BoatUS) points out that any dip where fuel can stand speeds up hose deterioration.
- Push the hose fully over each fitting, past the bead or barbs.
- Fill hose: fit two clamps at each end, both over the hose and the fitting, not hanging off the end of the hose.
- Vent hose: run it with a steady rise and no low sag where fuel or water can sit. Avoid kinks and tight bends.
- Protect hoses where they pass sharp edges, and support long runs. Keep them away from exhaust parts.
- Tighten clamps firmly and evenly, without cutting into the hose.
Before the boat goes back in service, fuel at the dock with the access panels open and a helper watching the connections from below. Add fuel slowly. Look and sniff at every joint; wipe each one with a dry rag. Any wetness or smell means stop, clean up and fix it before using the boat. Check the clamps again after the first few outings, because new hose settles.
Write the date, hose type and markings in your boat log, and keep the receipt. It answers the "how old are the hoses?" question for you, a surveyor and the next owner.
Common mistakes
- Using one clamp on fill hose ends, or narrow spring clamps.
- Buying unmarked or automotive hose because it "looks the same".
- Choosing a hose slightly too large for the fitting.
- Forgetting to reconnect the bonding wire at a metal deck fill.
- Letting the vent hose sag into a loop that traps fuel and water.
- Removing the carbon canister or its liquid trap on a newer boat.
- Painting over the vent fitting, or never cleaning the flame screen.
- Ignoring a gas smell after fueling because it "always does that".
When to call a pro
- Any gas smell that comes back, fuel in the bilge, or a wet tank fitting: stop using the boat.
- Damaged tank spuds, tank fittings, or a deck fill pipe that's cracked or corroded.
- Hoses you can't reach without removing deck panels, tanks or engines.
- EPA canisters, valves or anti-spill parts that need replacing on a newer boat.
- If you are not fully comfortable working around gasoline: a qualified marine technician should do the whole job.
- On the water with a fuel leak: shut down, life jackets on, call the USCG on VHF 16 or 911.
Tips
- Photograph the hose printing during each spring inspection; you will notice when it starts to fade and crack.
- Replace the fill cap O-ring every few seasons; it is cheap insurance against water in the fuel.
- If your boat has a gasoline vapor detector, test it after any fuel system work.
- Make sure the deck fill cap is clearly marked GAS (or DIESEL). BoatUS insurance gets claims every year from fuel pumped into a rod holder or a water tank fill.
Official references
We read these to write this guide. Your engine's own manual always wins.
- eCFR – 33 CFR 183.540, Hoses – Standards and Markings
- eCFR – 33 CFR 183.558, Hoses and Connections
- eCFR – 33 CFR 183.564, Fuel Tank Fill System
- eCFR – 33 CFR 183.520, Fuel Tank Vent Systems
- eCFR – 33 CFR 183.532 and 183.560, Hose Clamps
- eCFR – 40 CFR 1060.105, Diurnal Requirements (EPA evaporative rules for boat fuel tanks)
- eCFR – 40 CFR 1045.112, Evaporative Emission Standards (marine)
- eCFR – 40 CFR 1045.625, Diurnal Transition Program (exempt boats built July 31, 2011 to July 31, 2013)
- US EPA – Regulations for Emissions from Marine Spark-Ignition Engines (exhaust and evaporative standards)
- BoatUS – How To Stop Water From Entering Your Boat Fuel (fill cap, vent, sender)
- BoatUS – Fuel System Maintenance (Don Casey; fill hose run and vent location)
- BoatUS – Dangerous Gases Aboard
- BoatUS – Marine Exhaust and Fuel Hoses
- BoatUS – Electronic Detectors for Your Boat (leaking fill hose after fueling)
- Practical Sailor – Taking the Spill Out of Fill-ups
- BoatUS – Boat Fuel Systems (EPA low-emission fill and vent systems)
- BoatUS – Preventing Fuel Spills
Safety: BoatMend is for information only and does not replace a certified marine technician. You are responsible for your safety and your boat. Read the full disclaimer.
Last updated 2026-10-25
Related guides
How to Inspect Your Boat's Fuel Tank, Fill, Vent and Hoses
A leaking gas tank is one of the most dangerous problems a boat can have, and it usually starts out of sight. Learn how to inspect portable and built-in tanks, spot aluminum tanks corroding from below, know the ethanol risk for old fiberglass tanks, and check the fill, vent, hoses, clamps and sender, plus why tank replacement is a job for a pro.
How to Replace an Outboard Fuel Line and Primer Bulb
A cracked hose or a stiff primer bulb can leak gasoline, starve your engine or shed rubber into the fuel. Learn how to choose Coast Guard-rated fuel hose, the right connectors for your engine brand and good stainless clamps, install the bulb pointing the right way, leak-test the job and get rid of the old parts safely.
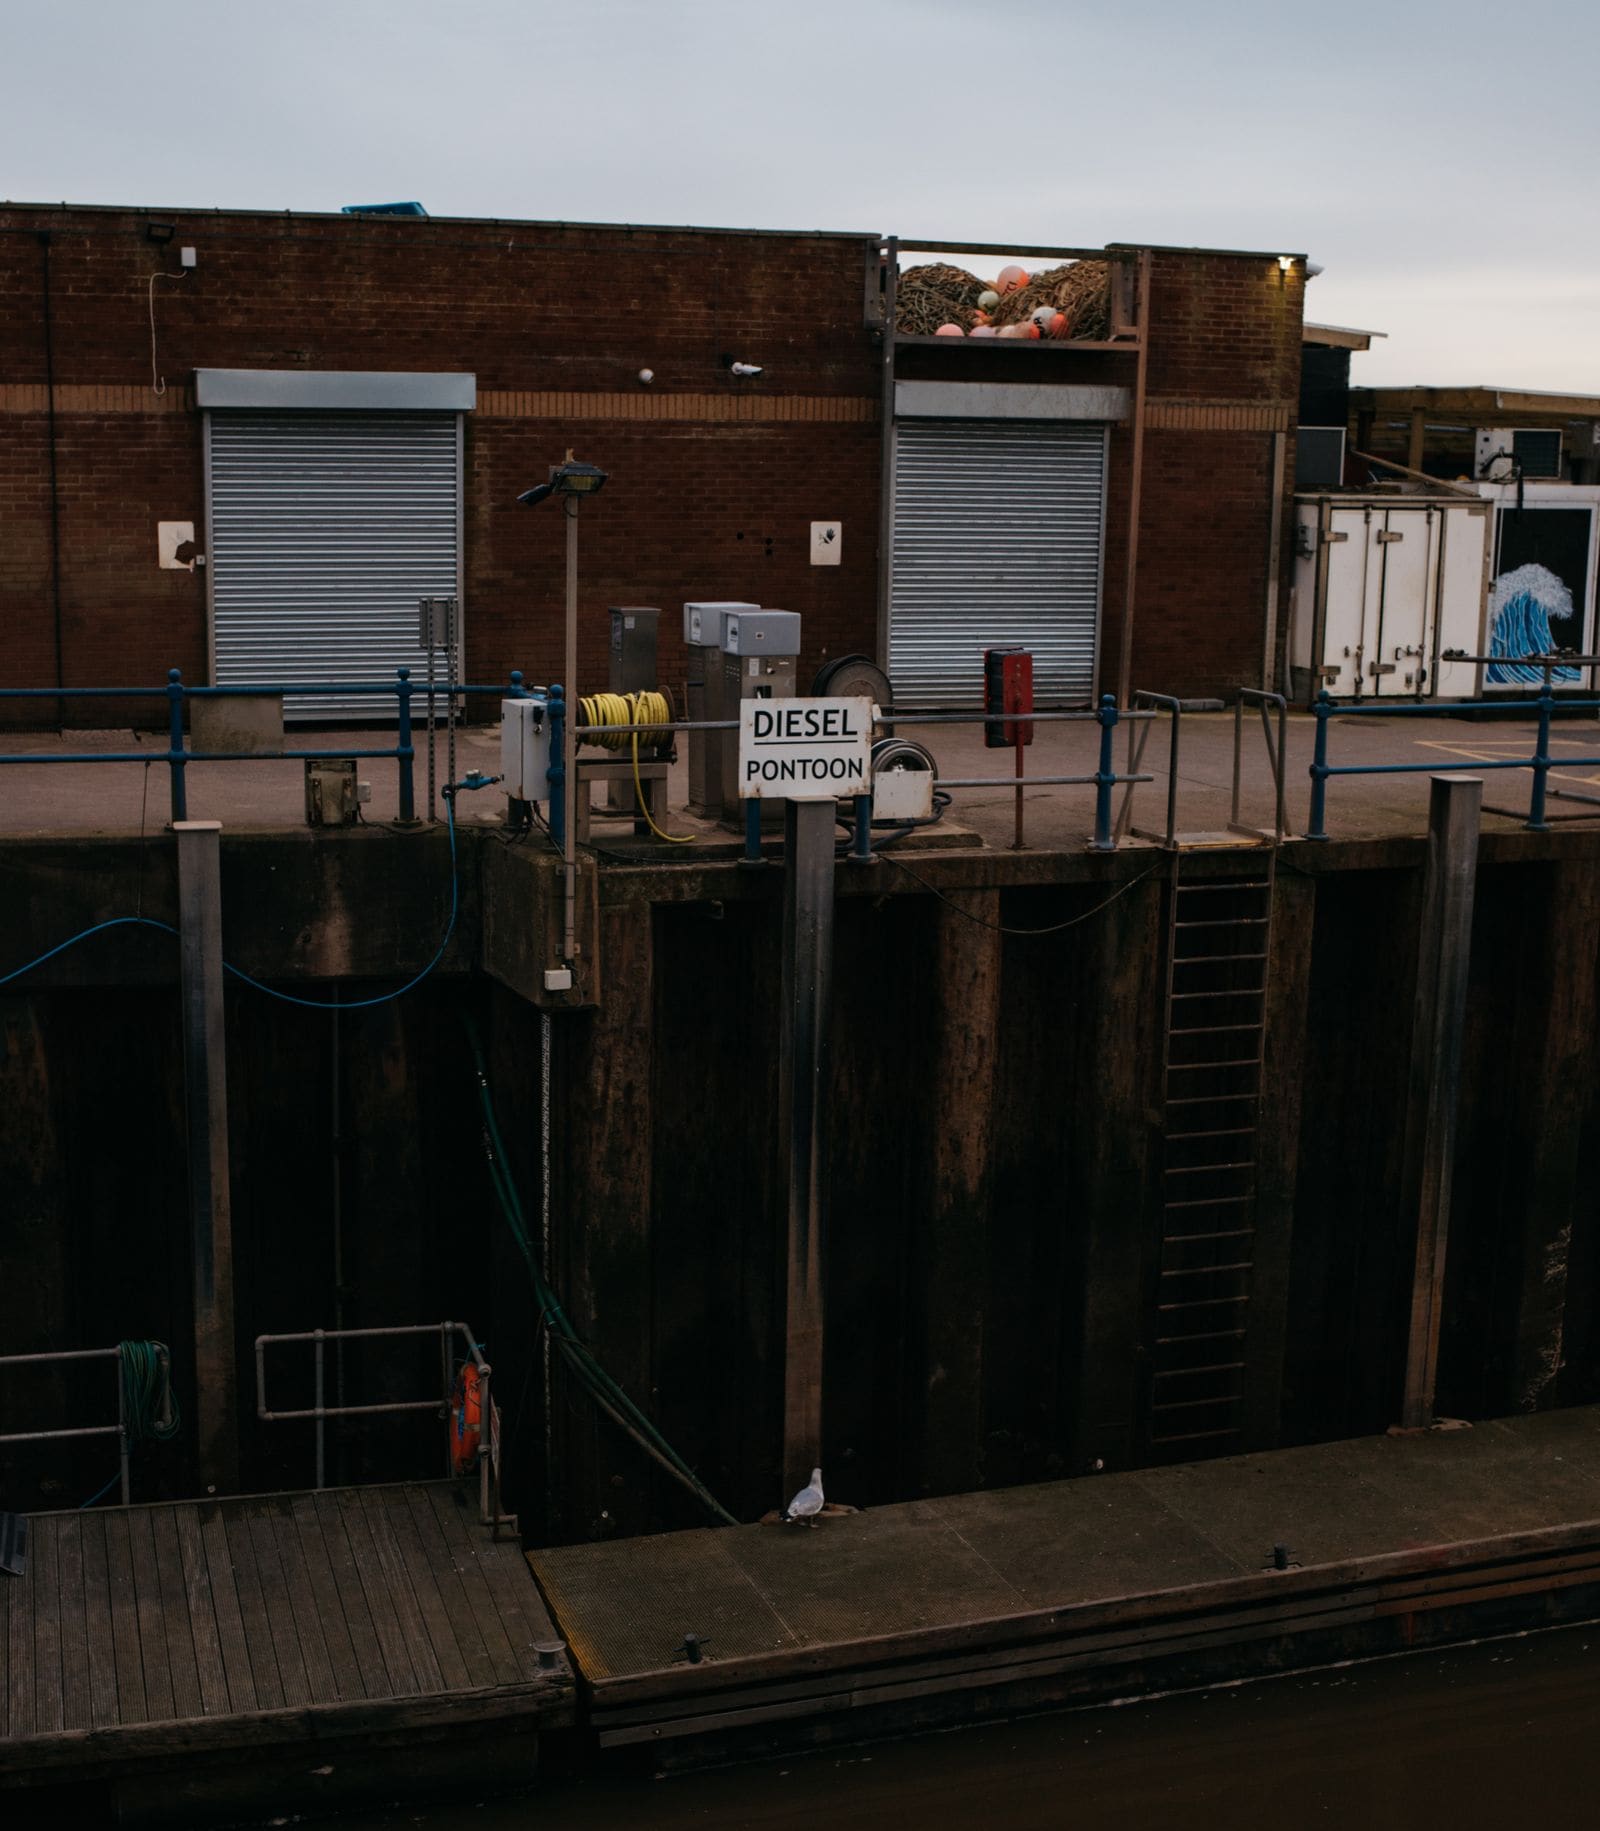
Fuel Smell on Board: What to Do and How to Find the Source
A gasoline smell on a boat is a fire and explosion warning. Learn what to do in the first minutes, the most common sources (fill and vent hoses, tank fittings, fuel lines, carburetors and injectors, overfilling), how to look safely, and when to stop and call a pro.
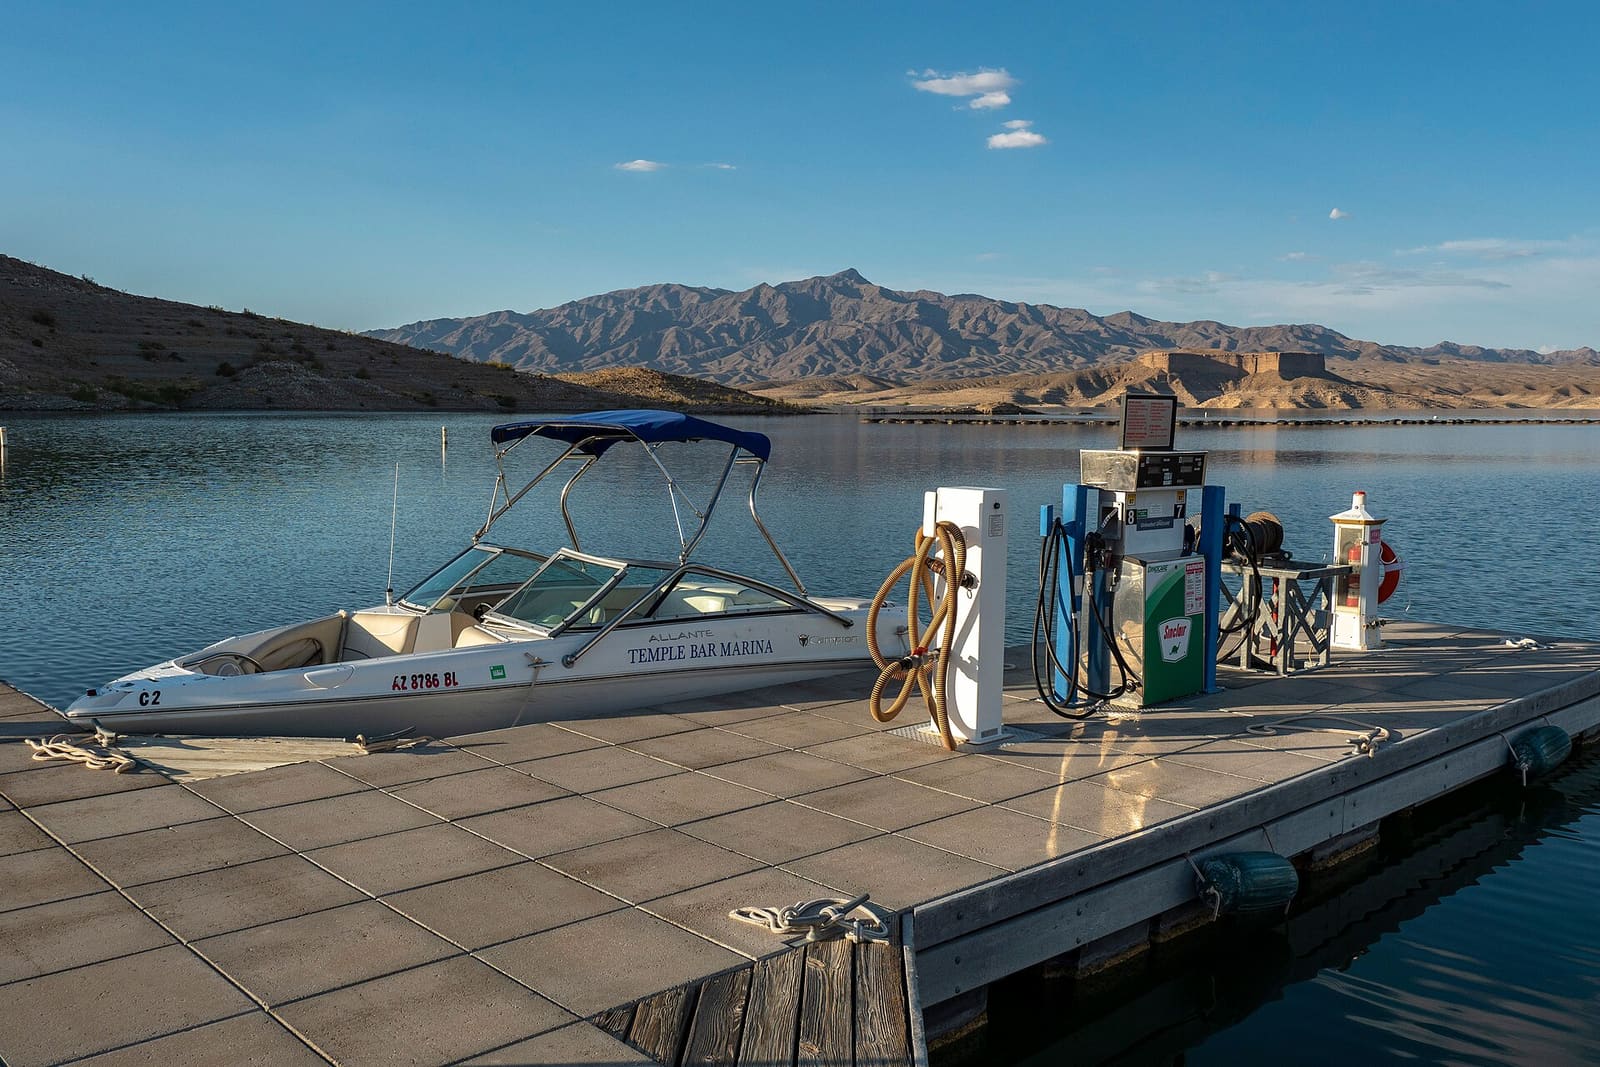
How to Refuel a Boat Safely (Gas Dock, Gas Station and Portable Tanks)
A step-by-step fueling routine that keeps gasoline vapor out of your bilge and fuel out of the water: shut everything down, close up, keep the nozzle in contact, stop short of full, ventilate, run the blower and sniff before you start. Includes portable tanks, personal watercraft and what to do about a spill.
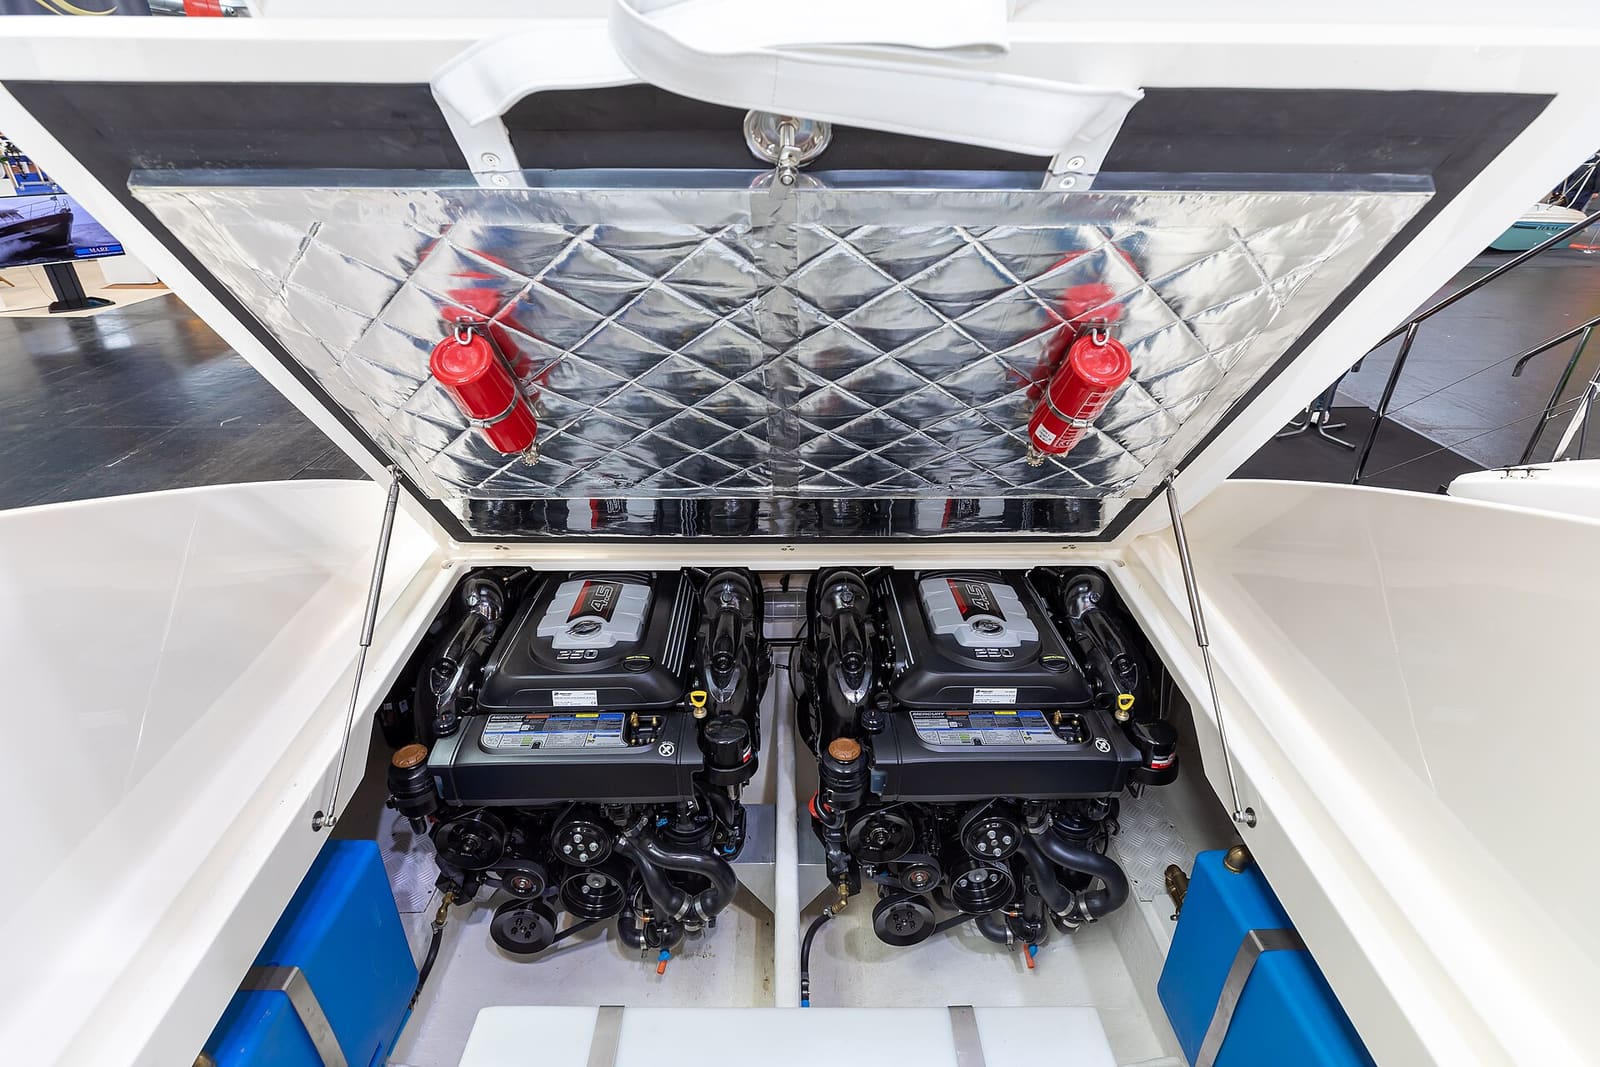
Bilge Blower and Engine Compartment Ventilation on Gas Inboards and Sterndrives
Learn why gas boats have a "run the blower 4 minutes" label, how to check that the blower and vent ducts actually move air out of the engine compartment, and how to replace a blower safely with an ignition-protected marine unit.
How to Check and Test a Gasoline Vapor (Fume) Detector
A gasoline vapor detector sniffs the bilge all the time and sounds an alarm long before fumes can explode. Learn how these detectors work, where the sensor belongs, how to test the system the way its maker says, what causes false alarms, what to do when it goes off, and why it never replaces the blower and your own sniff test.
Ethanol (E10) Fuel Care: Stabilizer, Phase Separation, Fuel Lines and Tank Vents
Keep E10 gasoline from damaging your boat engine. Learn how to use stabilizer, test for water and phase separation, and inspect the fuel lines, primer bulb, anti-siphon valve and tank vent. Most fuel-related breakdowns start with one of these.