Hull Potential Survey: Checking Corrosion Protection with a Reference Electrode
A silver/silver-chloride reference electrode and an ordinary multimeter show whether your underwater metals are really protected by their anodes, whether every fitting is bonded, and whether shore power or the slip is upsetting things. Learn how to take the readings, what under- and over-protection mean in plain terms, and when to call a marine electrician or corrosion specialist.
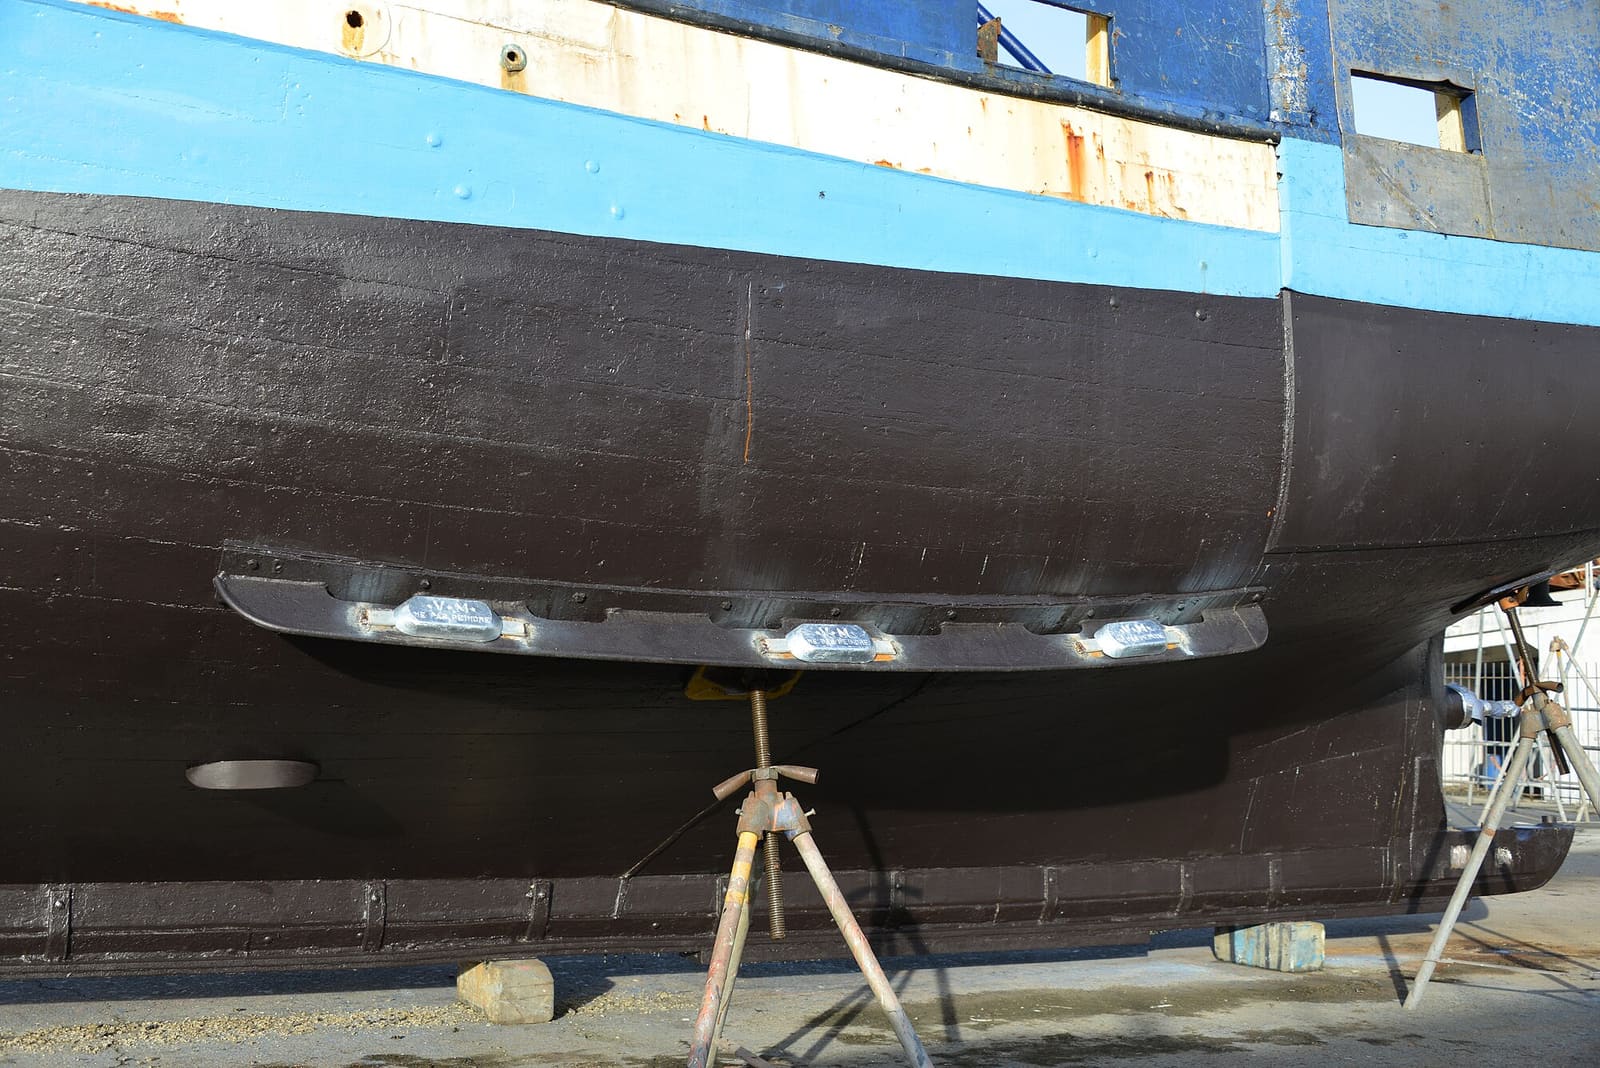
Time
1 h
Shop would charge
$150-500
Applies to
Gas inboard, Sterndrive (I/O), Outboard, Marine diesel
Safety first: This survey is done with the boat afloat, from the deck or dock, and with shore power unplugged for most of it. Never get in the water to place the electrode or look at anodes near a boat or dock where AC power is in use: BoatUS and the Electric Shock Drowning Prevention Association both say never swim near docks or boats using electricity. Keep the meter and leads dry and don't open the boat's AC wiring. If any reading or symptom suggests stray current (fast anode loss, a tingle from a ladder or rail, the ELCI or pedestal tripping), stop, unplug, and call an ABYC-certified marine electrician.
Owners often ask
- How do I check my boat's corrosion protection with a reference electrode?
- My zincs last forever. Is that good or a sign they are not working?
- What reading on a reference electrode means my boat has too much zinc?
This guide walks you through it. Still stuck? Ask the AI Mechanic about your engine.
Tools
- Silver/silver-chloride (Ag/AgCl) marine reference electrode with a long lead
- Digital multimeter that reads DC millivolts
- Long test lead or extension with an alligator clip
- Scotch-Brite pad or similar for a clean contact point
- Notebook or the BoatMend log
- Mask and fins or a diver, only if you want to look at the anodes in the water
Parts & supplies
- None for the survey; anodes, bonding repairs or a galvanic isolator only after you know what the readings say
Before you start
What you're measuring: every metal in seawater has its own natural voltage, measured in thousandths of a volt (millivolts, mV) against a standard reference. Steve D'Antonio, an ABYC-certified corrosion and electrical master technician writing for BoatTEST, explains that sacrificial anodes protect underwater metals by pulling them to a more negative voltage. A reference electrode in the water plus a multimeter lets you read that voltage directly, so you can see whether the metal is protected instead of guessing from how fast the zincs wear.
Why bother: anodes that disappear fast, or anodes that seem to last forever, both mean something. D'Antonio points out that anodes that never wear are usually not working at all. A survey tells you whether you have too little protection, too much, a fitting that isn't bonded, or a shore power problem.
What you need:
- A silver/silver-chloride (Ag/AgCl) marine reference electrode, the standard for salt and brackish water. D'Antonio notes zinc reference electrodes are used in fresh water, and their readings are on a different scale, so a chart written for Ag/AgCl doesn't apply to a zinc electrode.
- A digital multimeter that reads DC millivolts. Quality matters for the electrode: D'Antonio warns that very cheap ones may not be accurate.
Related guides: bonding system (what the bonding wires do), sacrificial anodes (inspecting and replacing them), and galvanic isolator test (the shore power side).
Steps
D'Antonio's method: boat afloat in calm water, shore power unplugged (not just switched off), and no onboard equipment running. He explains why unplugging matters: the cord's green ground wire stays connected to the dock even with the breaker off, and that connection is what you'll test separately in Step 9. Fresh anodes need a little time in the water to settle, so don't survey the day of launch.
On a bonded boat, all underwater metals are wired together and to the anodes. Find a clean point on that circuit inside the boat: a bonding bus, a terminal or a bolt on the bonding strap. D'Antonio suggests cleaning it with a Scotch-Brite pad if it's dirty. He also notes the engine's negative terminal or bus is generally accepted as the reference point for the grounding and bonding system. If your boat isn't bonded, you'll measure each metal separately (Step 7).
Set the meter to DC volts (millivolts if it has that range). D'Antonio's hookup:
- Reference electrode lead to the meter's negative (COM) socket.
- Positive lead to the clean bonding point (or the metal you're testing).
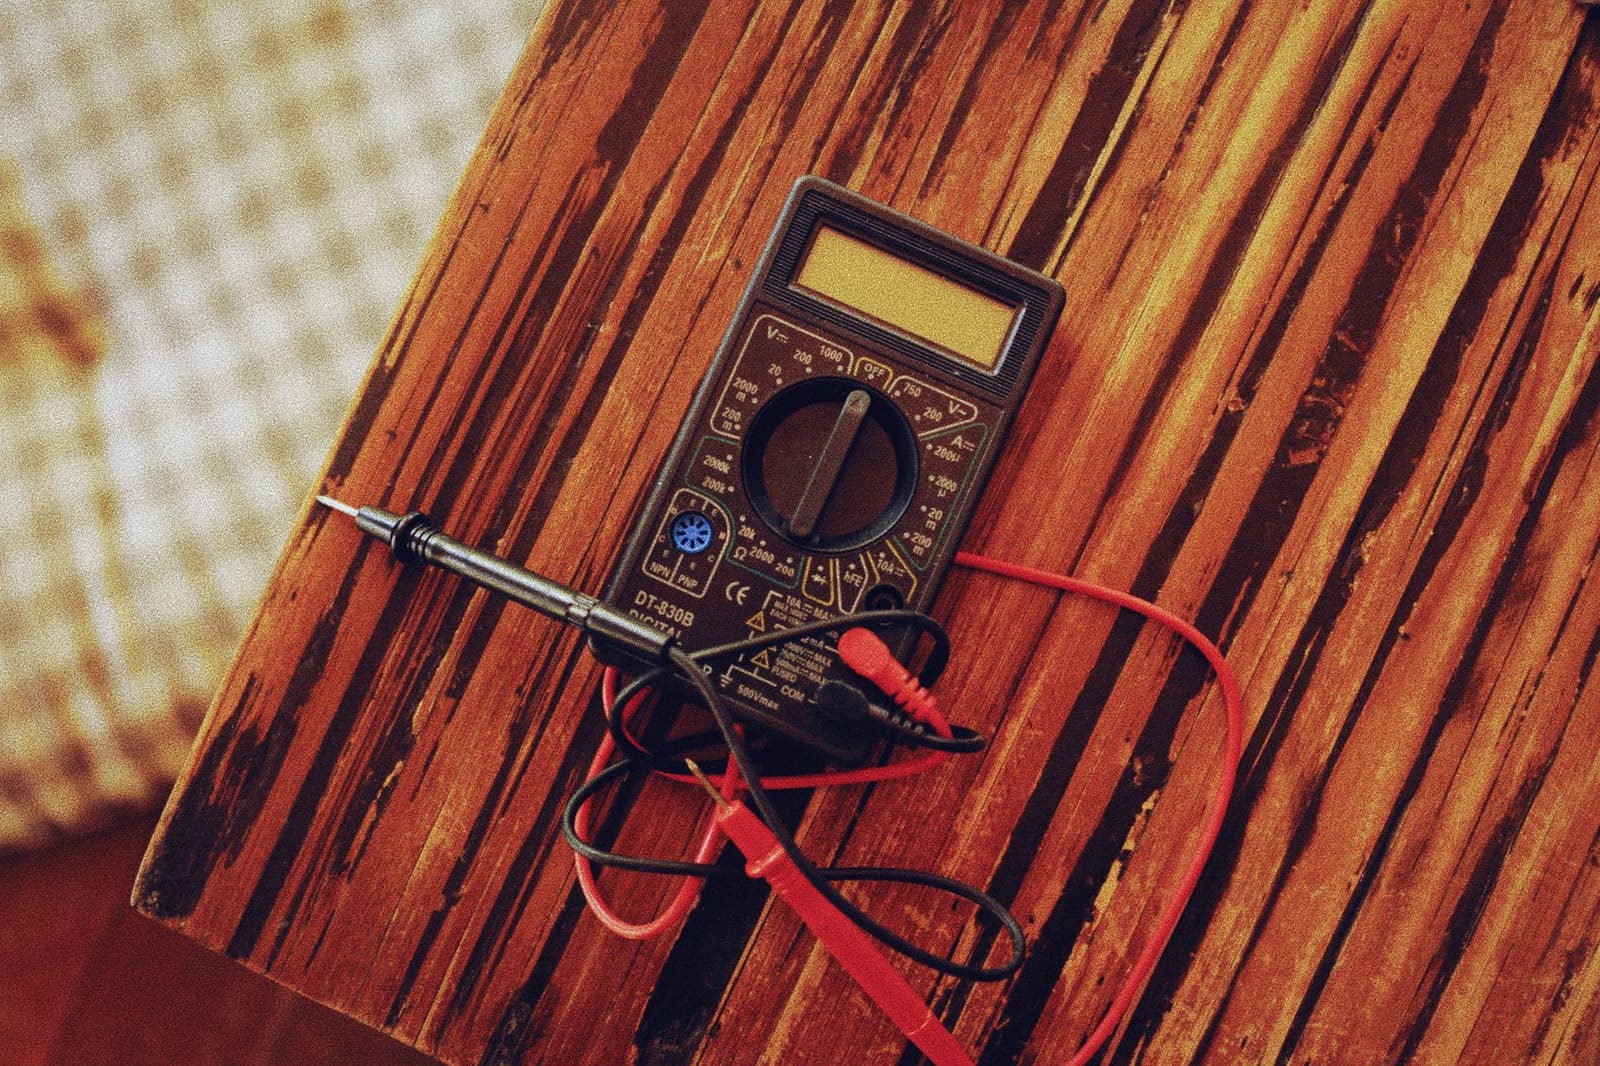
An ordinary digital multimeter set to DC millivolts is all the meter this survey needs; the reference electrode is the special part. Photo: Alexey Demidov / Pexels · Pexels License With that hookup, a protected metal reads as a negative number. Some articles connect the leads the other way round (Power & Motoryacht's does), and then the same readings show as positive. It's the size of the number that matters; just use the same hookup every time and write it down.
Lower the electrode over the side about two feet below the surface, near the middle of the boat, without letting it touch the hull, the anodes or the dock (D'Antonio's guidance). You may need a long lead; he suggests at least 20 feet of marine-grade wire. Give the reading a few seconds to steady.
Write down the number. Here are the seawater ranges D'Antonio gives (Ag/AgCl electrode, electrode on the meter's negative), with what other published sources say alongside:
Boat and metals Protected range (D'Antonio, BoatTEST) Other sources Fiberglass hull, common underwater metals, no aluminum about -750 to -1,100 mV (he notes this is more conservative than the ABYC standard) Practical Sailor has seen recommendations from about -750 to -900 mV, and notes the U.S. Navy designs its systems for about -850 mV Aluminum (hull, outdrive, outboard gearcase) at least about -950 mV, and never more negative than -1,100 mV BoatTEST's summary of the ABYC standard also treats readings beyond -1,100 mV as excessive protection Wooden hull, metals other than aluminum a much narrower, less negative band; he gives about -550 to -600 mV Practical Sailor gives the same lower band, about -500 to -600 mV Steel hull about -850 to -1,100 mV Practical Sailor stresses careful regulation on steel, where overprotection lifts paint For reference, D'Antonio gives these approximate unprotected (resting) voltages: silicon bronze about -260 to -290 mV, aluminum alloys about -760 to -1,000 mV, and 316 stainless in still water about -430 to -550 mV. He explains that to be protected, a metal has to be driven at least 200 mV more negative than its resting voltage. BoatTEST's summary of ABYC standard E-2 states the same two anchors: a minimum negative shift of 200 mV from the least noble protected metal, and a reading beyond -1,100 mV as a sign of excessive protection. It also notes that zinc itself sits at roughly -1,050 mV, and that pushing hull potential that far reduces how well antifouling paint works.
The sources agree on the shape (at least 200 mV of shift, nothing beyond about -1,100 mV, a lower band for wood) but not on the exact lower limit for fiberglass boats, so treat the numbers as guides, not pass/fail lines. Your engine or drive maker, or the full ABYC E-2 standard, may state slightly different numbers, and the maker's figures win for their equipment (for example, an outdrive with an active protection system). A reading that is borderline, or that changes a lot between surveys, is worth a professional's look.
In plain terms:
- Under-protected (number too small, closer to zero): the anodes aren't doing enough. Usual causes are worn-out anodes, too few or too small anodes, the wrong anode metal for the water (zinc works poorly in fresh or brackish water, D'Antonio notes), poor contact between anode and metal, or a broken bonding wire. Expect pitting, dezincified bronze and eaten aluminum over time.
- Protected (inside the range): the system is working. Record the number as your baseline.
- Over-protected (number too large, beyond the range): too much anode or a misadjusted active system. On fiberglass boats, Practical Sailor and D'Antonio say this mostly damages paint around the fittings (bottom paint lifting or a growth-covered "halo" around bronze fittings). It's a real problem for aluminum, which is attacked by the alkaline conditions overprotection creates, and for wooden hulls, where the alkali softens the wood around bonded fittings. Practical Sailor notes that on wooden boats the fix is usually to limit bonding and anodes to the shaft and propeller area.
D'Antonio recommends testing every underwater metal separately even on a bonded boat, because any big difference points to a bonding fault. Move the positive lead (with an extension) to each seacock, strainer, shaft, rudder stock and strut you can reach from inside, keeping the electrode in the same place:
- Bonded fittings should read very close to your Step 5 number. Power & Motoryacht's writer got readings close to his base number at each fitting, and says the exact voltage matters less than spotting an obvious odd one out.
- A fitting that reads far less negative isn't connected to the bonding system, or has a bad connection. On an unbonded boat, a metal with no anode reads its resting voltage.
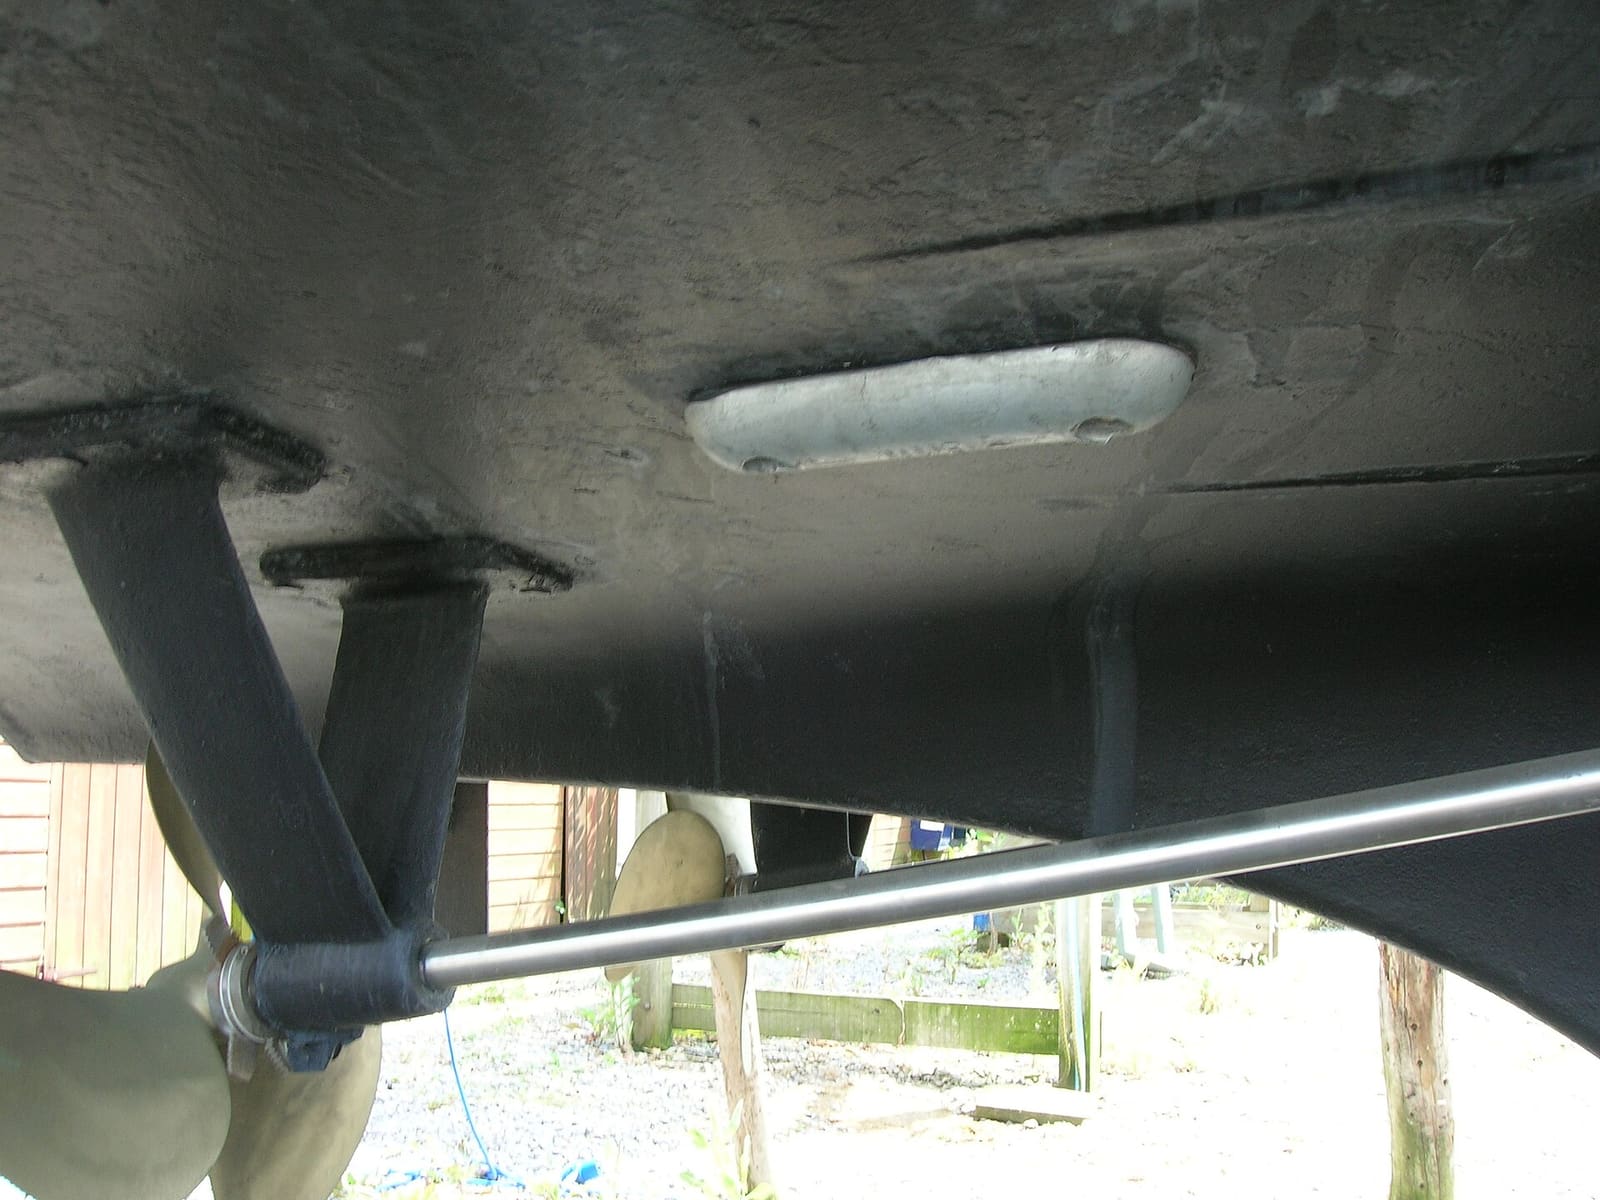
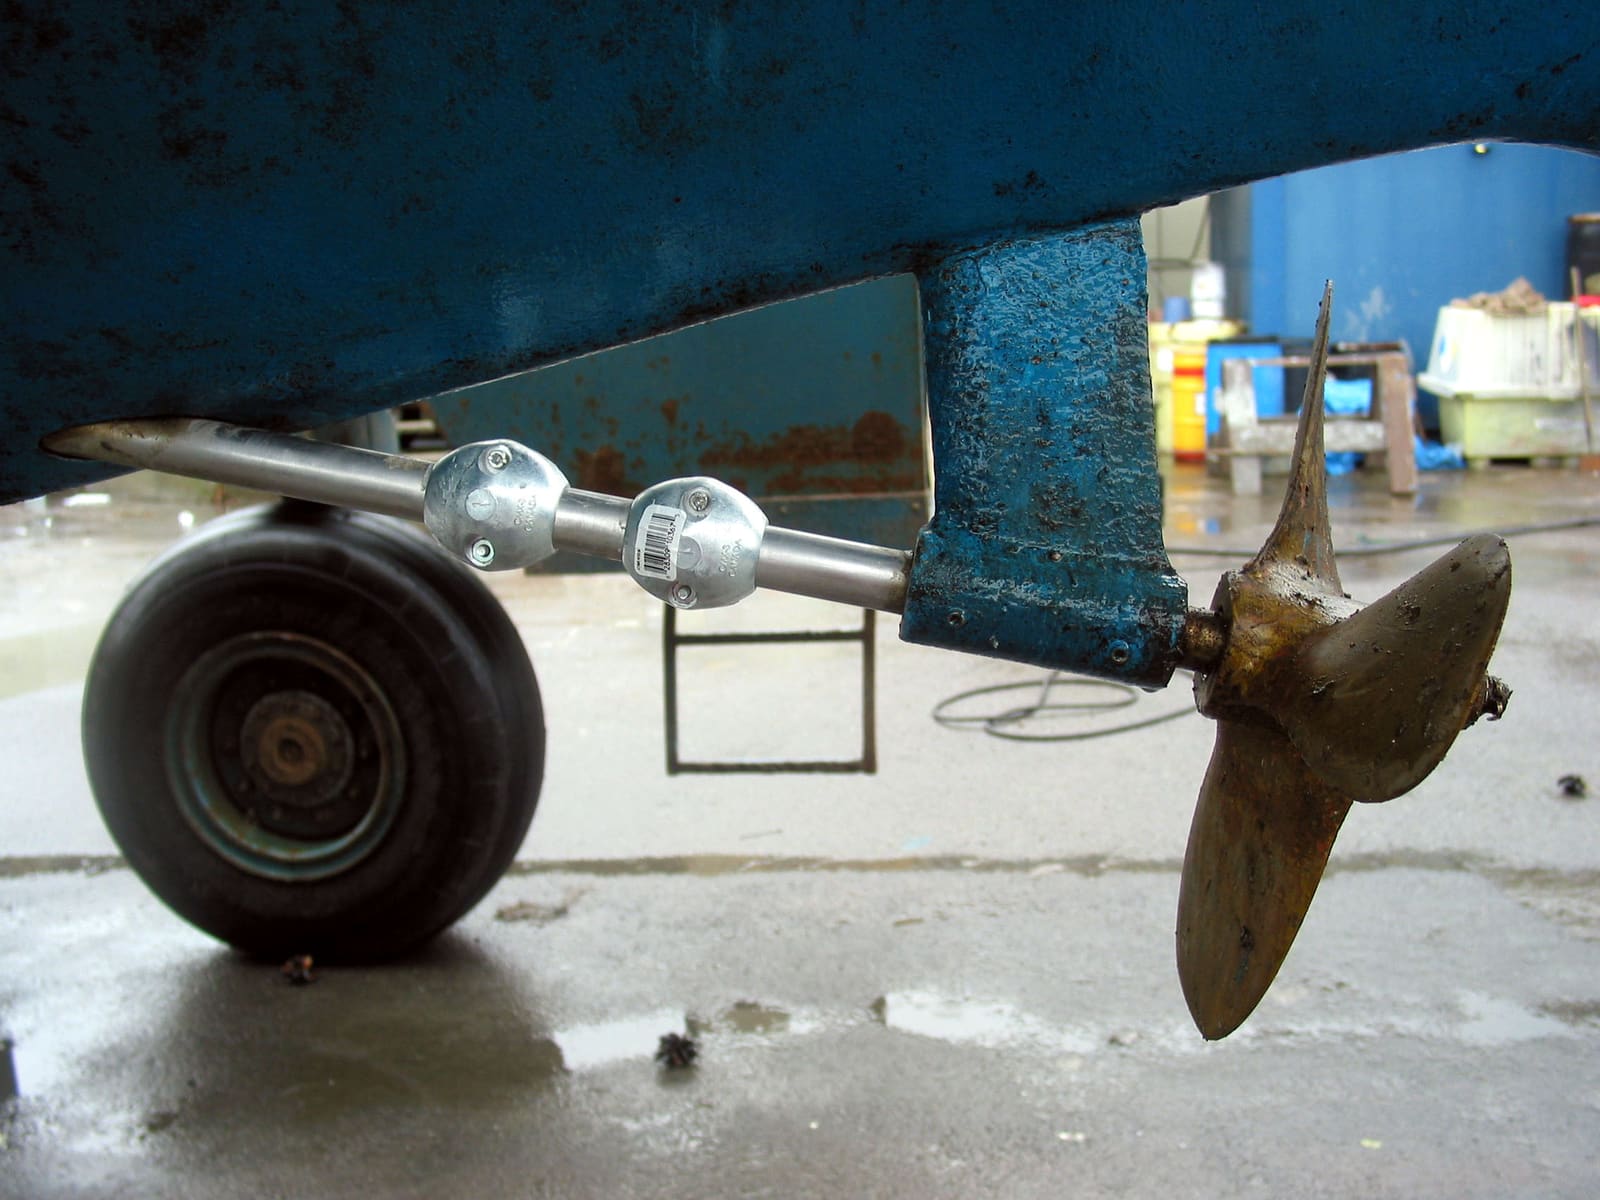
- Propeller and shaft: D'Antonio notes the shaft connects to the bonding system only through the transmission's oil, a poor conductor, and shaft brushes rarely make a good enough connection, so the prop and shaft often need their own shaft anode and their own reading.
With the electrode still in place and the positive lead on the bonding point, switch the boat's DC circuits on one at a time (bilge pumps, electronics, lights) and watch the meter. A reading that jumps noticeably when one circuit comes on can mean that circuit is leaking current into the bonding system or the water. Write down which circuit and the change, switch it off, and have a marine electrician trace it. Don't open wiring to chase it yourself.
Now the shore power check, from D'Antonio's procedure: with all readings taken, plug the shore cord in at the pedestal and the boat but leave the power off, then read again at the same bonding point. If the reading changes by more than a few millivolts, the boat is not isolated from the dock's ground, which means it needs a galvanic isolator, or the one it has isn't working or is installed wrong. See the galvanic isolator test. An isolation transformer is the other option for some boats (isolation transformer basics).
Also watch for signs of trouble from the marina or neighboring boats: readings that drift or swing over a few minutes without you changing anything, or anodes that suddenly wear much faster after a new neighbor arrives. Power & Motoryacht warns that stray current from your boat, another boat or the marina's power system can destroy anodes and underwater metals in weeks. That's a job for a professional with the right gear; tell the marina too.
- Under-protected: replace worn anodes, add or relocate anodes as the boat or engine maker specifies, clean and tighten anode mounting points, and repair bonding faults (see sacrificial anodes and bonding system). Use one anode metal suited to your water throughout; BoatUS warns that mixing anode types means one protects the other instead of your fittings.
- Over-protected: don't add more anodes. Remove extras the maker doesn't require, or have an active system checked. On aluminum or wood, get professional advice before changing anything.
- Shore power change in Step 9: have the galvanic isolator tested or installed.
- A fitting that isn't bonded: have it bonded properly, or ask whether it should be isolated instead (some non-metallic or isolated fittings are designed that way).
After any change, give the anodes a few days and survey again.
Survey at launch (after the anodes settle), mid-season and before haul-out, and any time you add underwater metal, change anodes or move slips. Note each reading, the date, where the electrode was, whether shore power was connected, and water type (salt, brackish, fresh) in BoatMend. Trends tell you more than any single number.
Common mistakes
- Testing with the shore cord plugged in "but switched off" for the main readings. The ground wire is still connected to the dock.
- Comparing readings from a zinc reference electrode with a chart made for silver/silver-chloride.
- Letting the electrode touch the hull or anode, or hang right next to an anode.
- Adding more and more zincs to an aluminum outdrive or wooden hull that is already over-protected.
- Assuming the propeller and shaft are protected because the hull fittings are.
- Trusting how the anodes look instead of measuring: anodes that never wear may not be working.
- Swimming near the boat to look at anodes while shore power is connected anywhere on the dock.
When to call a pro
- Readings that are well outside the range and you can't find a simple cause (worn or missing anode, loose bonding wire)
- Any sign of stray current: very fast anode loss, readings that swing on their own, or a change when one circuit is switched on
- The reading changes when the shore cord is plugged in (galvanic isolator or shore power fault)
- Aluminum hulls, aluminum outdrives with active protection systems, and wooden boats with protection questions
- Pitting, pink or crumbling bronze, or soft wood around fittings
- ABYC offers corrosion certification for technicians; ask for an ABYC-certified marine electrician or corrosion technician
Tips
- Keep the electrode clean and stored as its maker recommends; some can be re-chlorided.
- Mark the spot where you hang the electrode so every survey is comparable.
- Do the survey once before you buy a used boat if the seller allows it; it says a lot about how the boat was kept.
- A dive service can check anodes in the water between surveys, but only when shore power on the dock is safe or switched off.
Official references
We read these to write this guide. Your engine's own manual always wins.
- BoatTEST (Steve D'Antonio) – Corrosion Testing
- BoatTEST (Steve D'Antonio) – Reference Cell Testing: Know Thy Corrosion Protection Level
- Power & Motoryacht – Confirming Continuity
- Power & Motoryacht – Confirming Continuity (page 2)
- BoatTEST – ABYC Standards Outline Corrosion Protection
- Practical Sailor – Can You Have Too Many Zincs?
- BoatUS – The Current Scoop on Galvanic Corrosion
- BoatUS – Avoid Electric Shock Drowning
- Electric Shock Drowning Prevention Association – Preventing ESD
Safety: BoatMend is for information only and does not replace a certified marine technician. You are responsible for your safety and your boat. Read the full disclaimer.
Last updated 2026-10-26
Related guides
Galvanic Isolator: Why Shore-Powered Boats Need One and How to Tell If It's Working
A galvanic isolator (or an isolation transformer on bigger boats) keeps stray DC current from the marina's ground wire from eating your anodes, drive and running gear, without cutting the safety ground. Learn what it does, the owner-level checks you can do, what failure looks like, and why the actual meter test is usually a job for a marine electrician.
Boat Bonding System Explained: How to Inspect Bonding Wires, Through-Hulls and Anodes
Understand what the green bonding wires on your boat do, how they tie through-hulls, running gear, tanks and engines to your anodes and DC negative, how to inspect and test the connections yourself, and which corrosion warning signs mean it's time for an ABYC-certified technician.
How to Inspect and Replace Sacrificial Anodes (Zincs)
Check the anodes on your outboard, sterndrive or inboard running gear, replace them when they are half gone, and choose the right metal for the water you boat in. Fresh anodes are cheap insurance against expensive corrosion damage to your lower unit, drive and prop.
Shore Power Safety: Cords, Inlets, Burned Plugs and Electric Shock Drowning
An owner's inspection routine for your shore power cord, plugs, boat inlet, galvanic isolator and ground-fault protection, plus the right way to plug in and the facts about Electric Shock Drowning. This guide is for looking and testing only; any electrical repair belongs to an ABYC-certified marine electrician.
Isolation Transformer vs. Galvanic Isolator: Which Does Your Boat Need?
Understand how a galvanic isolator and an isolation transformer each protect a boat on shore power, when the heavier, pricier transformer is worth it (stray-current marinas, aluminum boats, liveaboards), and what to ask the ABYC-certified electrician who installs it.
How to Spot and Prevent Corrosion on an Aluminum Boat
Aluminum hulls and pontoon tubes are tough, but they lose almost every fight with other metals. Learn the warning signs of galvanic and stray current corrosion, keep copper and loose metal away from the hull, choose the right anodes, touch up paint with the proper primer and know when a repair needs a welder.

Sterndrive Corrosion: Paint Blisters, Anodes, MerCathode and Galvanic Isolators
Learn to spot the early signs of corrosion on an aluminum sterndrive, check the anodes and the MerCathode or Volvo Penta ACP system, and understand when a galvanic isolator or a hull potential test is needed. Caught early, corrosion costs a few anodes; caught late, it can cost the whole drive.
Moving Your Boat From Fresh to Salt Water (or Back): Anodes, Flushing, Corrosion, Bottom Paint and Trailer Upgrades
What to change when a lake boat moves to the coast, or a saltwater boat moves inland: switching anode material, a flush-after-every-trip routine, raw-water and closed cooling parts that wear faster in salt, bottom paint that suits your hull and drive, marine-grade hardware, and trailer upgrades that survive salt dunks. Built from BoatUS, Mercury, Yamaha and Boating Magazine advice.
How to Inspect and Exercise Seacocks, Through-Hulls and Hose Clamps
Check every hole in your hull below the waterline, work each seacock open and closed, and inspect the hoses and clamps attached to them. A single failed fitting or hose is one of the most common reasons boats sink at the dock.