Shore Power Inlet and Cord Upgrades: Burned Plugs, Better Connectors and Safe Adapters
Why shore power plugs and boat inlets overheat and burn, how to spot an inlet that needs replacing, what newer connector designs offer, and how to choose, size and care for cords and adapters. You inspect and buy the right cord; an ABYC-certified marine electrician replaces the inlet and its wiring.
Time
45 min
Shop would charge
$300-800
Applies to
All engines
Safety first: Shore power is 120/240-volt AC and can kill you. This guide covers inspecting, choosing cords and planning an upgrade. Do not open or rewire the boat's inlet or AC panel yourself: hire an ABYC-certified marine electrician. Before touching any plug or inlet, turn off the boat's main shore power breaker and the pedestal breaker. If a plug, cord or inlet is smoking, melted or too hot to touch, don't pull it: shut off the pedestal breaker, keep people back, and call the marina; if there is fire, get everyone off the boat and call 911.
Fuel smell, water coming in, CO alarm or smoke? Stop, get everyone in life jackets and call USCG on VHF 16 or 911. For a tow: Sea Tow or TowBoatUS.
Owners often ask
- One slot on my shore power cord is slightly melted and the matching prong on the boat inlet is discolored. Can I just replace the cord?
- Is it OK to plug my 30 amp boat into a 50 amp pedestal with an adapter for the whole season?
This guide walks you through it. Still stuck? Ask the AI Mechanic about your engine.
Tools
- Flashlight
- Clean, dry rag
- Soft brush (nylon or brass) for cleaning plug blades
- Camera or phone for photos
Parts & supplies
- Marine shore power cord of the same amp rating as your boat's inlet (30 A or 50 A)
- Replacement inlet or upgraded inlet-and-connector kit, chosen with your electrician
- Replacement locking rings and weather caps as needed
Before you start
Why inlets burn. BoatUS has reported that more than half of boat fires start in the electrical system, and the shore power inlet is one of the main sources on the AC side. The chain of events is simple:
- Corrosion on the plug blades and inlet contacts shrinks the area where metal actually touches. Less contact area means more resistance, and resistance makes heat.
- Arcing: pulling or pushing a plug while current is flowing makes a tiny spark that pits the contacts, which adds resistance and more heat next time.
- Heavy loads like air conditioning, water heaters, space heaters and battery chargers run for hours, so a weak connection gets hot and stays hot.
- Eventually the heat melts insulation, causes a short and can ignite nearby material.
The hidden spot. BoatUS's analysis of insurance claims pinpointed the back of the inlet, where the boat's wiring attaches to the terminals, as a high-risk area on boats more than about 10 years old. Those terminals see water, vibration and corrosion, often next to things that burn easily. BoatUS recommends pulling the inlet out to inspect those connections at least every five years, replacing it if there is any corrosion, and replacing an original inlet on an older boat.
Know your ratings. Most US boats have a 30 A, 125 V inlet (three prongs) or a 50 A, 125/250 V inlet (four prongs). Your cord must match the inlet's rating and type, not just "fit".
Steps
Turn off the boat's main shore power breaker, then the pedestal breaker. Unplug at the pedestal first, then at the boat. Always reverse that order to connect: plug in at the boat, then the pedestal, then switch on the pedestal and finally the boat. Never connect or disconnect with power on; that is exactly what creates arcing damage.
With the cord unplugged, look closely at the blades and the face of each end:
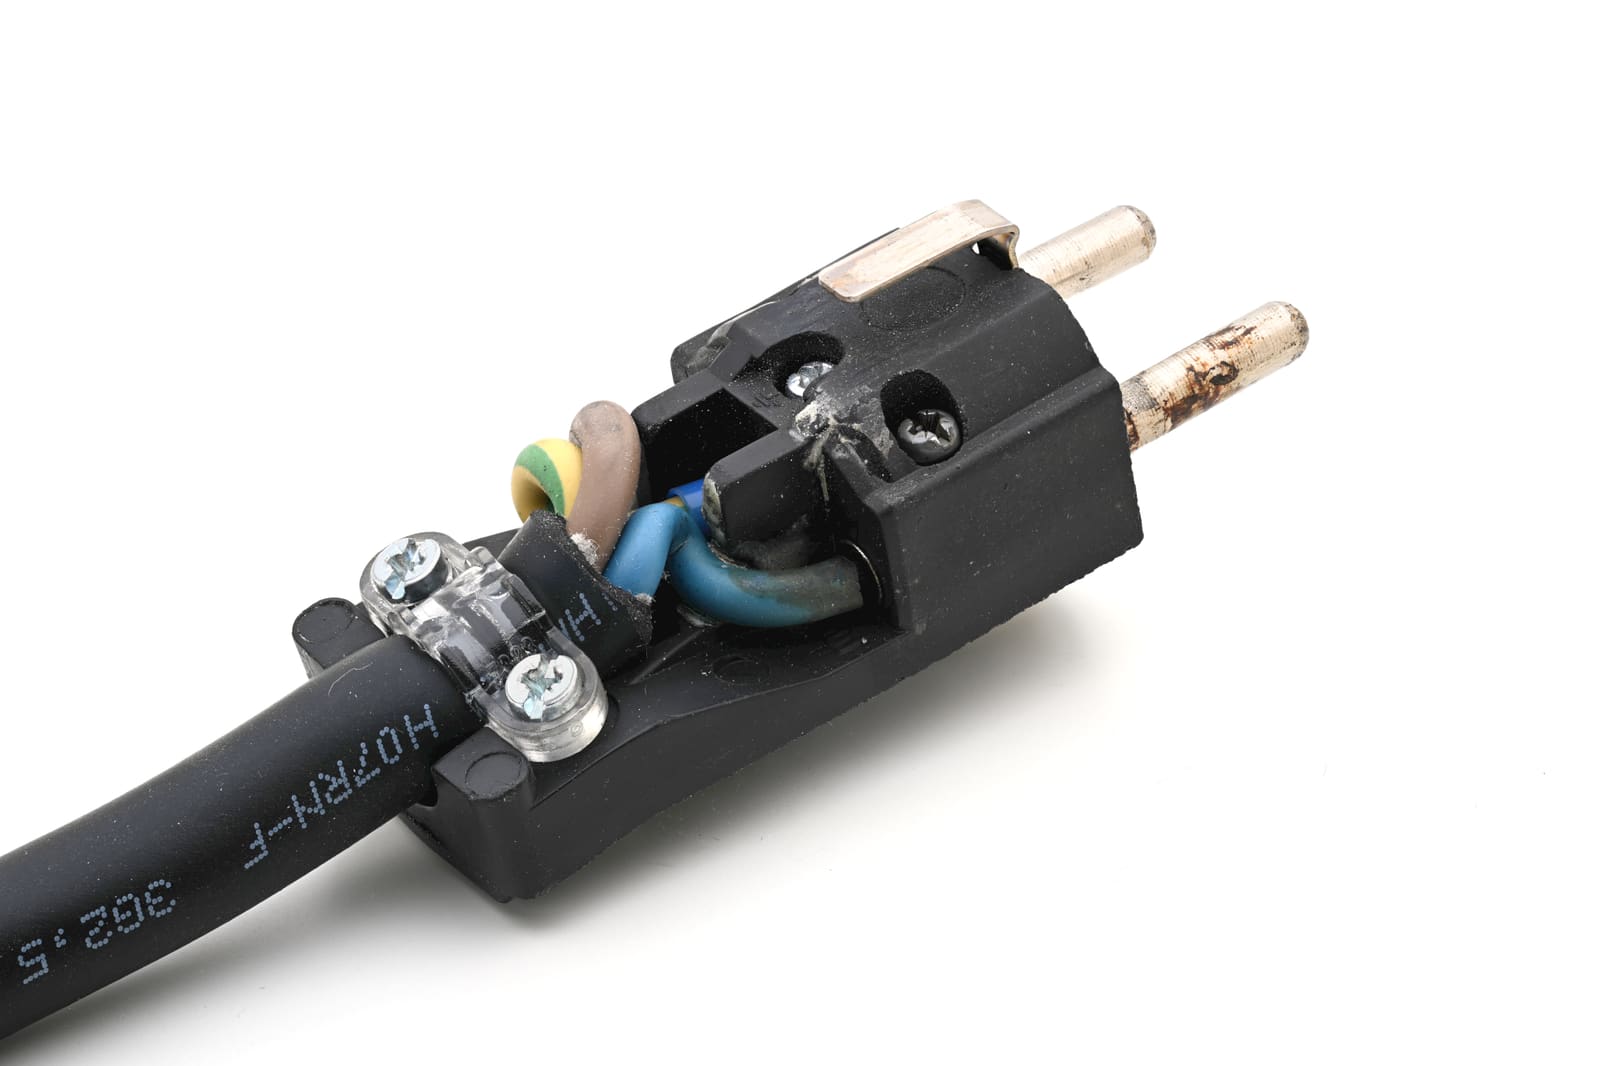
- Brown, black or bluish discoloration, or a melted, blistered face
- Pitted, burned or green corroded blades
- A cracked housing or a missing or broken locking ring
BoatUS's rule: any discoloration means the connection has been hot. Replace the cord, and assume whatever it was plugged into is damaged too. Plugging a new cord into a burned inlet or pedestal outlet just burns the new cord.
How often? Practical Sailor's surveyor suggests looking at the plug ends every time you disconnect (before you get underway, for example), or at least monthly, because damage you can see on the face is usually worse behind it. Also pay attention to the feel when you plug in: a plug that goes in loose and doesn't lock firmly probably isn't making good electrical contact either. If the pedestal outlet is the loose or worn one, use a different outlet and tell the marina.
Remove the weather cap and look at the contacts with a flashlight. Look for the same burn marks and corrosion, cracks, a loose or wobbly mounting, gaps in the sealant around it, and a missing or broken cap. Gently try to move the inlet; it should be firm.
Some inlets are visible from inside a locker. With power off at both ends, look (don't touch) for discolored or melted wire insulation, green corrosion, water stains or a burnt smell. Any of those is a stop-using-shore-power finding until an electrician has replaced the inlet and checked the wiring.
After the boat has been on shore power for an hour or so with normal loads running, lightly touch the cord ends and the inlet with the back of your hand. BoatUS's guidance: warm may be OK, but more than that is a fire waiting to happen. If one end is noticeably hotter than the other, the hot end is where the bad connection is.
Have an electrician replace the inlet if it is original on a boat about 10 years old or more, shows any corrosion or heat, or is loose or cracked. While it is out, ask them to inspect and, if needed, replace the terminals and wiring behind it. This is also the moment to consider an upgraded design (next step) since the labor is about the same.
A common owner question is whether swapping a 30 A inlet for a 50 A one gives the boat more power. It doesn't on its own: the wiring, main breaker and panel behind the inlet set the boat's capacity. Moving up a service size is a redesign of the AC system, not an inlet swap, so plan it with the electrician.
Newer designs aim at the two root causes, poor contact and water:
- Straight-blade inlet and connector kits (SmartPlug-style). BoatUS described straight blades with more contact area, two separate seals, a snap-in lock you can feel and hear, and a thermal cutoff that shuts the connection off if it gets too hot. The maker says its design gives many times the contact area of a twist-lock. It replaces the boat's inlet and the cord's boat end; you can often keep using a standard plug at the pedestal.
- Sealed twist-lock cords with indicator lights. BoatUS also described a cord with a clamp-style lock that seals the connection and LEDs that show when power is on, as a reminder to switch off before unplugging.
BoatUS noted one caution about thermal cutoffs: the power can come back on by itself once the connector cools, which could surprise someone working on the AC system. Always shut off breakers before any AC work.
Two practical points from Practical Sailor's test of the SmartPlug retrofit kit: the new inlet is designed to fit the opening and screw holes of the old twist-lock inlet with little or no modification, and the dock end of your cord stays a standard twist-lock plug, because pedestals still use twist-lock outlets. Practical Sailor has also looked at separate inlet heat monitors that sound an alarm and cut shore power when the inlet overheats; they mount in the wiring between the inlet and the main panel, and the one it tested was not ignition protected, so it couldn't go in a gasoline engine compartment. Whatever you choose, an electrician should install it.
- Match the cord to the boat's inlet rating: a 30 A cord for a 30 A inlet, a 50 A cord for a 50 A inlet.
- Use a marine shore power cord with molded, sealed ends and locking rings. Never a household extension cord.
- Buy a length that reaches comfortably with a little slack for tide and movement, without big piles of extra cord on the dock.
- Replace any cord with cuts, crushed spots, tape repairs or stiff, heat-damaged areas. Don't splice a shore power cord.
Practical Sailor explains the risks clearly:
- Stepping up (a 50 A boat on a 30 A outlet) mostly limits how much you can run, and it puts the plugs closer to their limit, so they must be clean, sealed and watched.
- Stepping down (a 30 A cord on a 50 A outlet, or a 15 A cord on a 30 A outlet) is riskier: the pedestal breaker is sized for the bigger outlet and won't protect the smaller cord from overheating if it is damaged. ABYC and the NEC allow step-down adapters only for temporary use with tools and accessories.
- Most adapters have no weatherproofing where they join. Keep the joint off the dock and out of rain, or better, use a properly rated cord for the pedestal you have.
- Reverse Y-adapters (two outlets feeding one boat) are a common cause of ELCI and marina ground-fault trips, according to Panbo. Use only listed marine adapters and ask the marina if you're unsure.
- Never use a "cheater" adapter that drops the ground pin, and never stack adapters.
Practical Sailor suggests rinsing male plug blades with fresh water now and then to remove salt, drying them well, and keeping female ends capped when not in use. Replace broken locking rings; they keep the plug tight and help seal out water. Always put the inlet's weather cap back on when the cord is unplugged.
Don't let the cord hang from its plug or pull on the inlet. Form a drip loop so water runs off before it reaches the connection, keep the cord out of the water, and route it where it won't be crushed by a gangway or chafed by a piling.
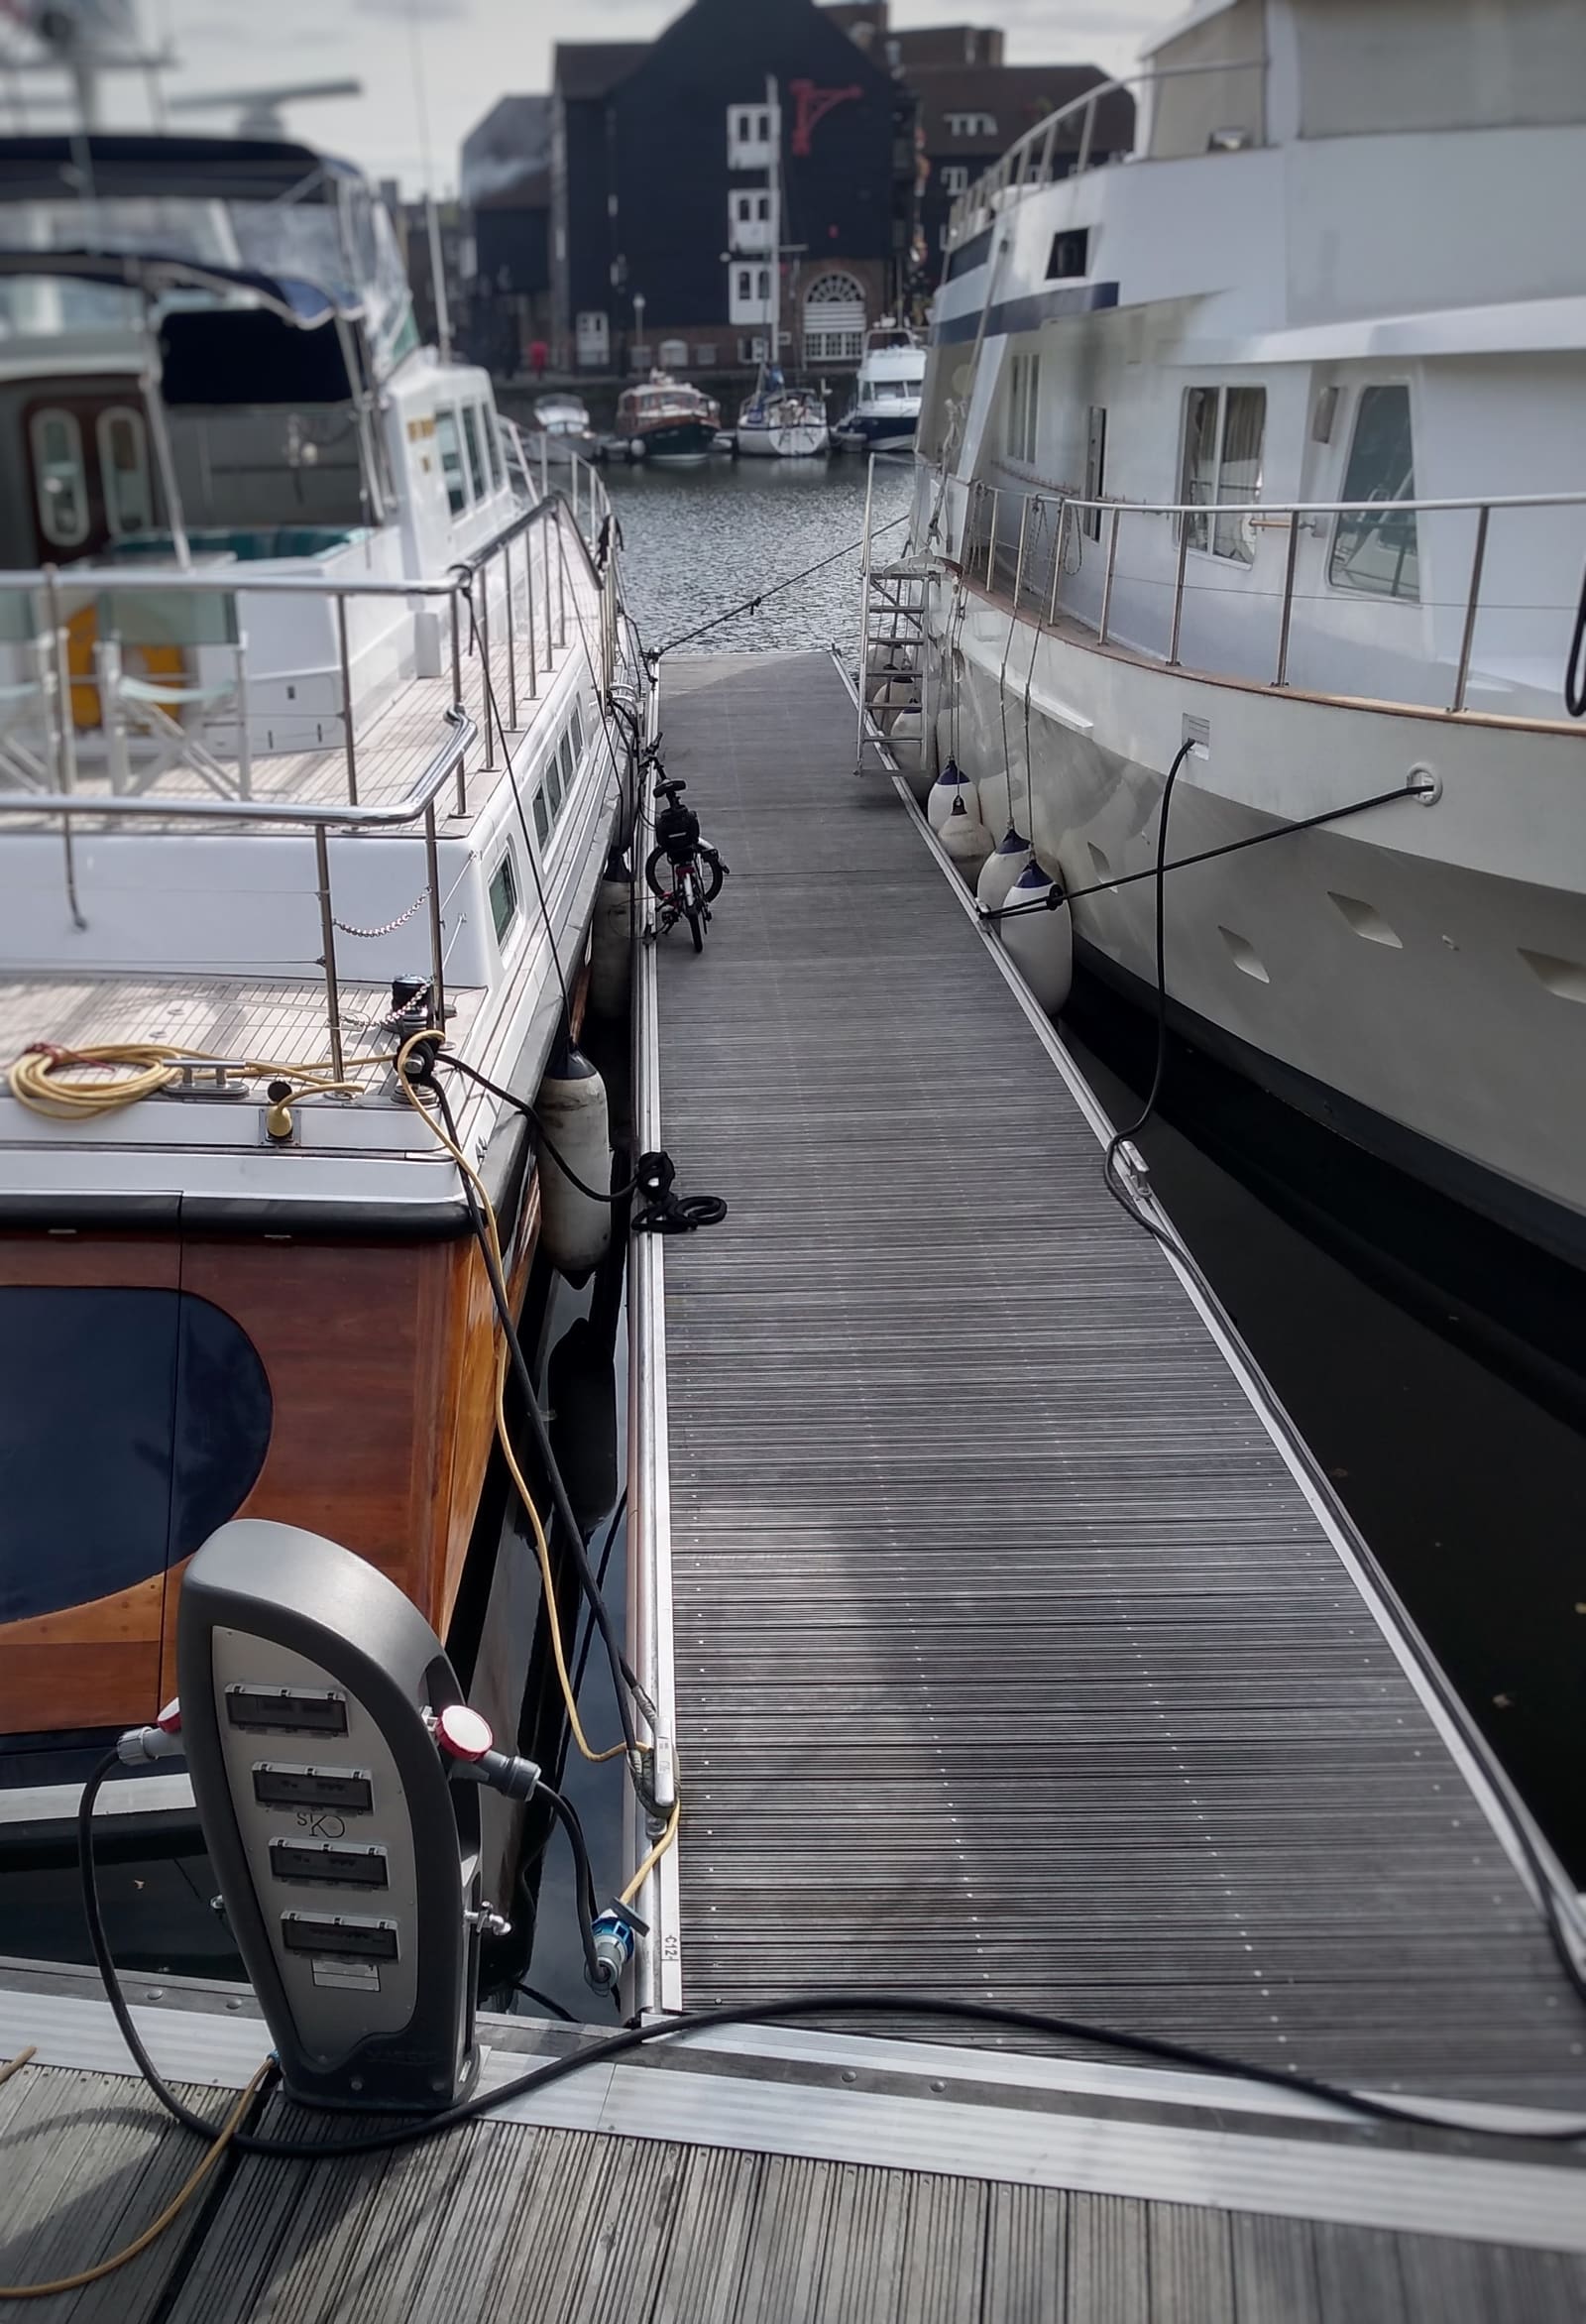
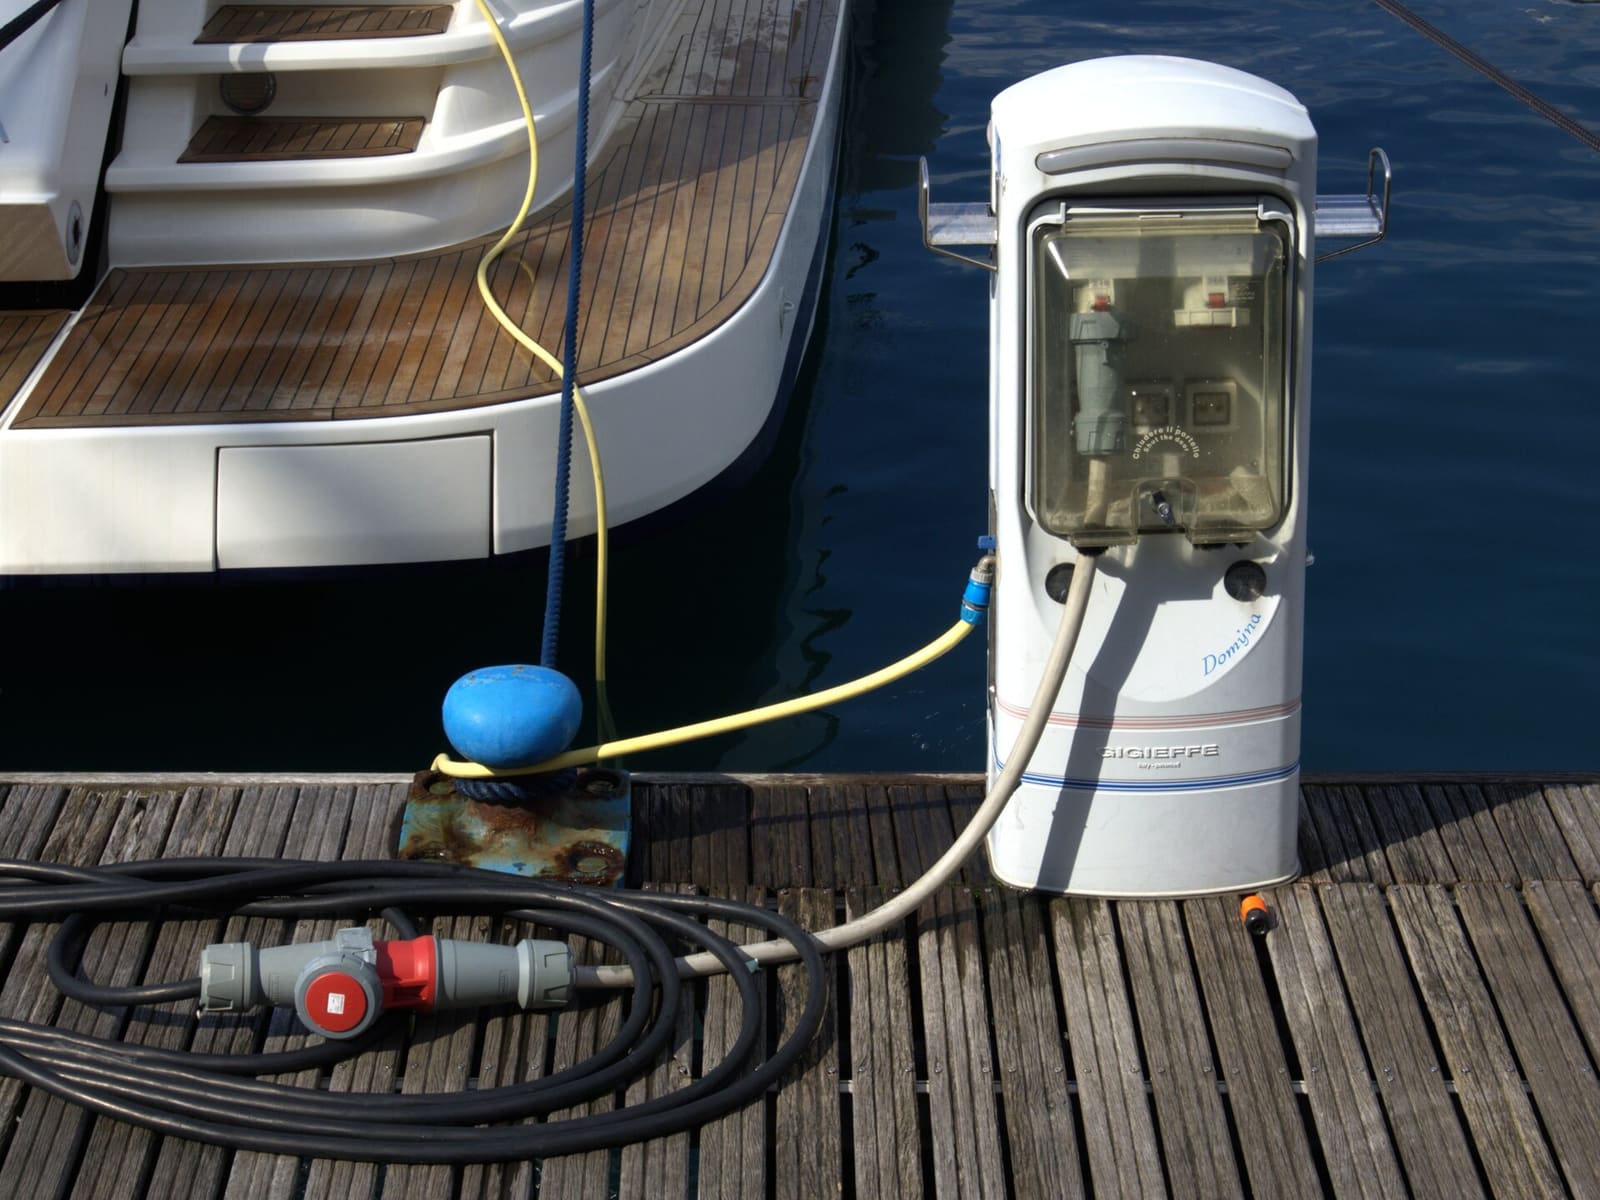
Leave a little slack and route cords where they won't be stepped on or pulled tight. This UK marina uses different plugs from US boats, but the idea is the same. Photo: Back_ache / Wikimedia Commons · CC BY-SA 4.0 Note the inlet type, its install date, cord replacement dates and any heat findings in BoatMend. Check cord ends and the inlet every time you plug in, do a heat check at the start of each season and after adding a big load, and have the back of the inlet inspected about every five years.
Common mistakes
- Replacing a burned cord and plugging it right back into the same burned inlet or pedestal outlet.
- Plugging or unplugging with the breakers on, which arcs and pits the contacts.
- Running a 30 A boat on a 50 A pedestal through a cheap step-down adapter left out in the rain.
- Using a household extension cord to run a space heater or charger aboard.
- Coating a corroded inlet with grease and calling it fixed. Corrosion behind the inlet is where the fires start.
- Rewiring an inlet yourself. A loose terminal screw behind the inlet is exactly the problem you're trying to prevent.
When to call a pro
- Any burned, melted or discolored inlet, cord end or pedestal outlet
- An inlet that is hot under load, loose, cracked or original on an older boat
- Replacing an inlet, installing an upgraded inlet kit, or adding a second inlet (ABYC-certified marine electrician)
- An ELCI, GFCI or pedestal breaker that trips when you connect
- Any burnt smell near the inlet or AC panel
Tips
- Keep a spare marine cord of the right rating aboard so you're never tempted to use a damaged one.
- Turn off big AC loads (air conditioning, water heater, heater) before you switch off breakers and unplug. It builds a good habit.
- If your slip only has a smaller outlet than your boat's inlet, talk to the marina about a properly rated pedestal before relying on adapters long term.
- When the electrician replaces the inlet, ask them to check the ELCI and galvanic isolator at the same visit.
Official references
We read these to write this guide. Your engine's own manual always wins.
- BoatUS – Plugging For Safety (2015)
- BoatUS – Analyzing Electrical Fires on Boats (2018)
- BoatUS – Analyzing Onboard Fire Claims (2021)
- BoatUS – 5 Spring Claims to Avoid (2021)
- Practical Sailor – Ensuring Safe Shorepower
- SmartPlug – Home page (straight-blade inlet and connector system)
- Panbo – GFCI and ELCI breakers can be confounding, but heed their warning
- Practical Sailor – Check Your Shorepower System for Hidden Dangers
- Practical Sailor – SmartPlug, Safer Power (retrofit inlet and connector test)
- Practical Sailor – Shore-Power Boat Fire Protection (inlet heat monitor review)
Safety: BoatMend is for information only and does not replace a certified marine technician. You are responsible for your safety and your boat. Read the full disclaimer.
Last updated 2026-10-25
Related guides
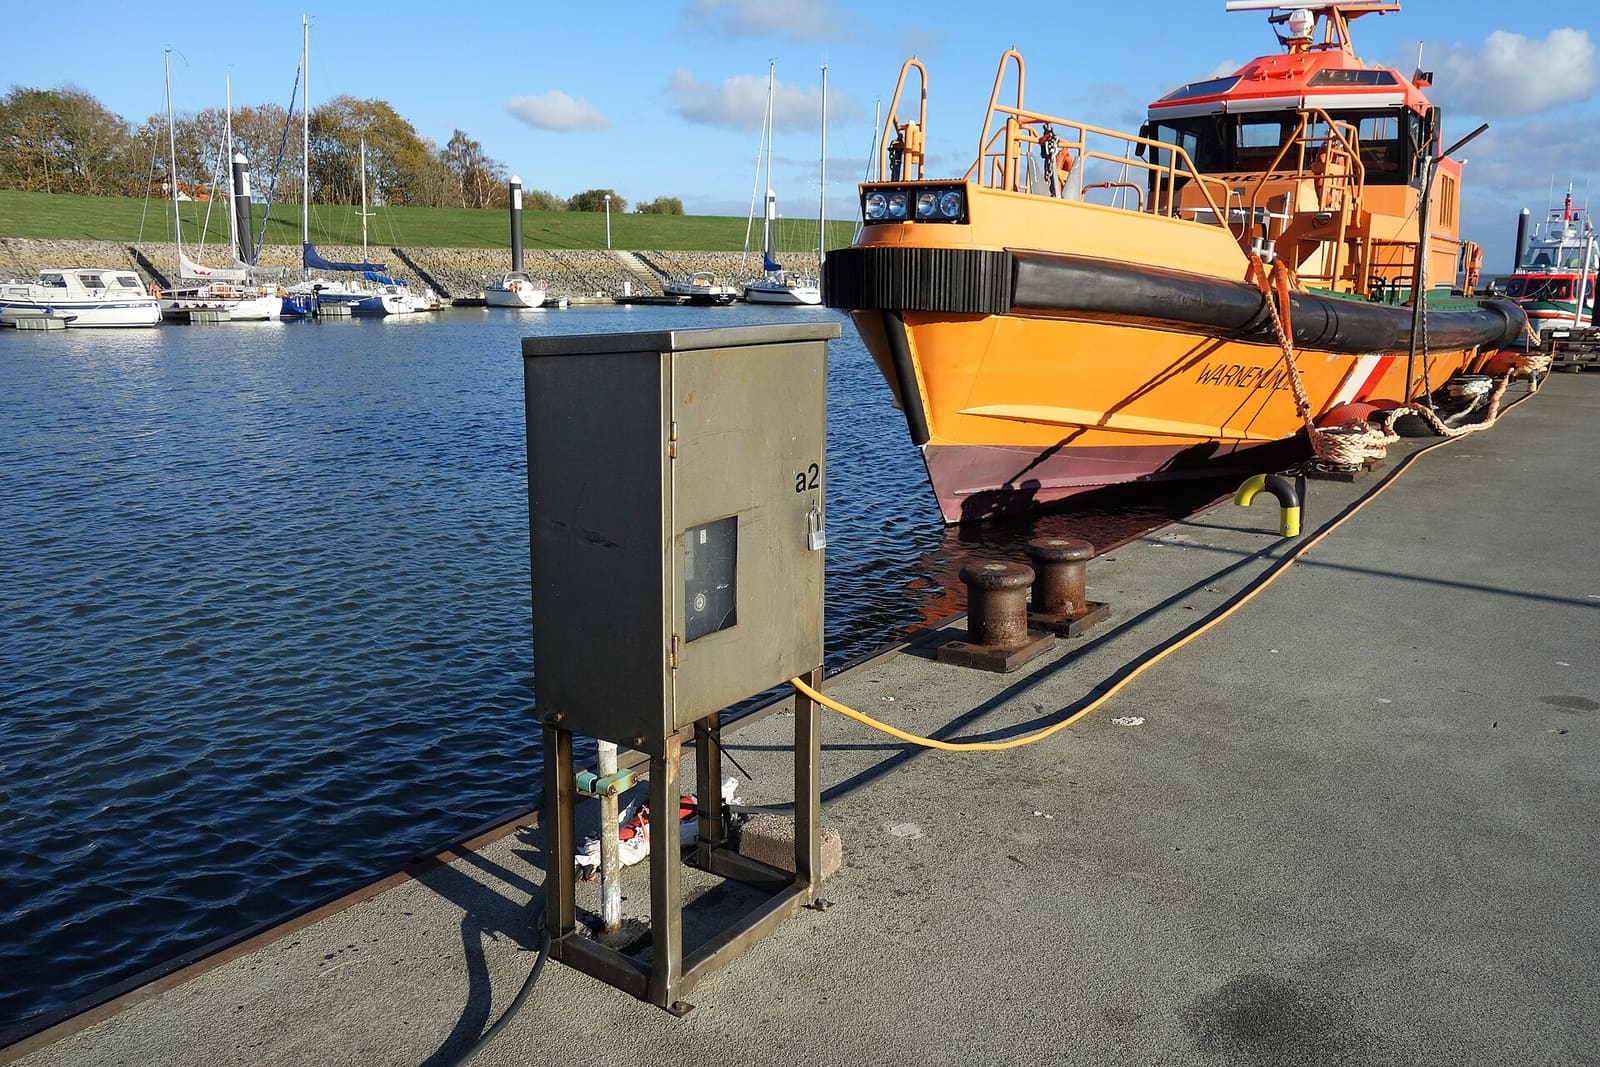
Shore Power Safety: Cords, Inlets, Burned Plugs and Electric Shock Drowning
An owner's inspection routine for your shore power cord, plugs, boat inlet, galvanic isolator and ground-fault protection, plus the right way to plug in and the facts about Electric Shock Drowning. This guide is for looking and testing only; any electrical repair belongs to an ABYC-certified marine electrician.
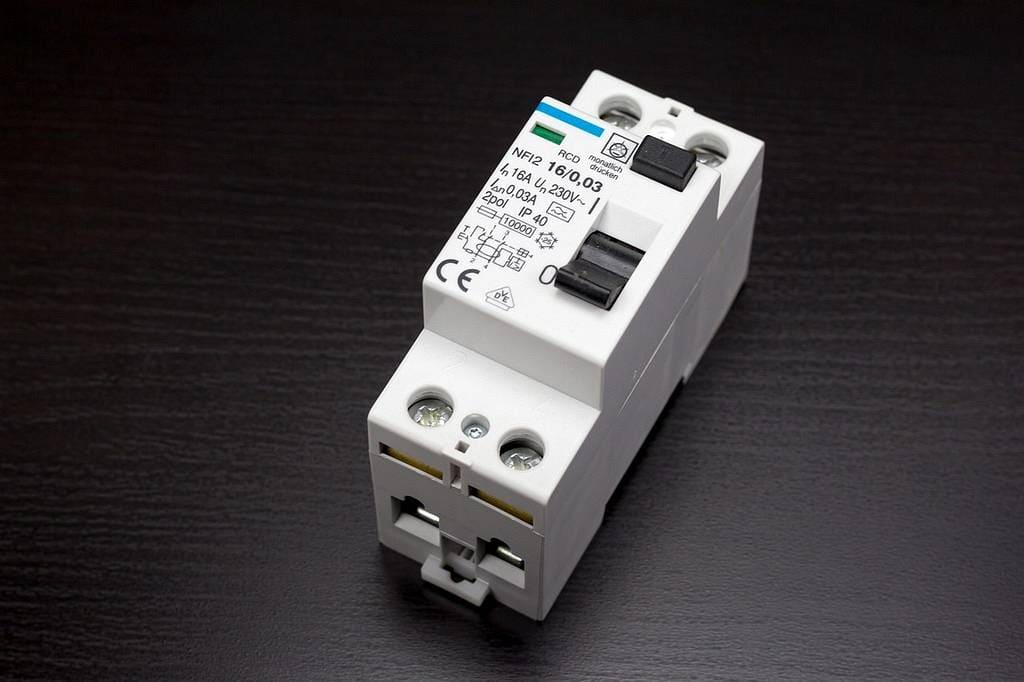
ELCI Retrofit: Adding Whole-Boat Shock Protection to an Older Boat
What an ELCI (equipment leakage circuit interrupter) is, why ABYC now requires one on new boats with shore power, what a retrofit involves and costs, and what to do when one trips. You plan, test and troubleshoot; an ABYC-certified marine electrician does the wiring.
Galvanic Isolator: Why Shore-Powered Boats Need One and How to Tell If It's Working
A galvanic isolator (or an isolation transformer on bigger boats) keeps stray DC current from the marina's ground wire from eating your anodes, drive and running gear, without cutting the safety ground. Learn what it does, the owner-level checks you can do, what failure looks like, and why the actual meter test is usually a job for a marine electrician.

Electrical Safety at Your Private Dock or Boat Lift: GFCI, Shock Drowning and Annual Checks
Lights, outlets, lift motors and de-icers at a home dock put household current right next to the water, and a hidden fault can kill a swimmer without any warning. Learn the owner checks you can do safely, the protection your dock should have, the no-swimming rule, and which jobs must go to a licensed electrician.
How to Find and Fix Corroded Electrical Connections on a Boat
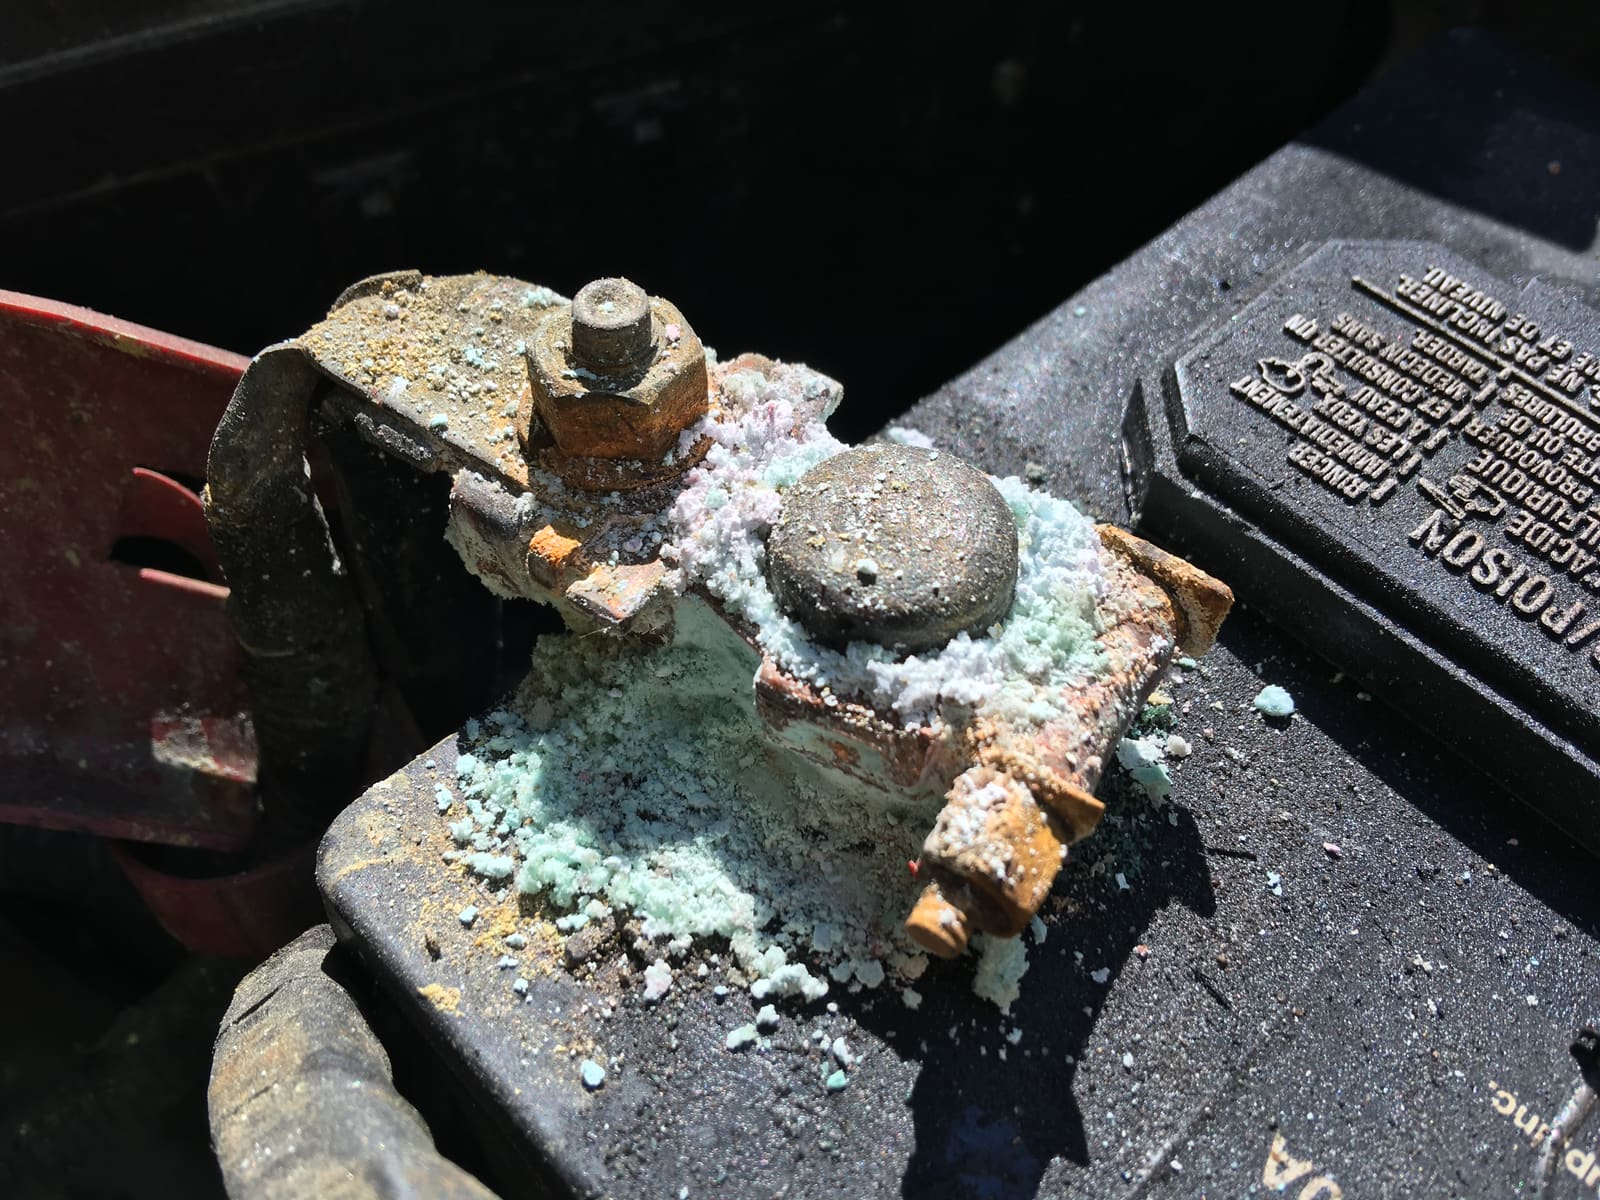
Track down the green crust and loose terminals behind flickering lights, dead gauges and slow cranking with a simple voltage-drop test, then remake the connection the marine way: tinned wire, a proper crimp, adhesive-lined heat shrink and a protective coating.
How to Choose, Install and Maintain an Onboard Battery Charger
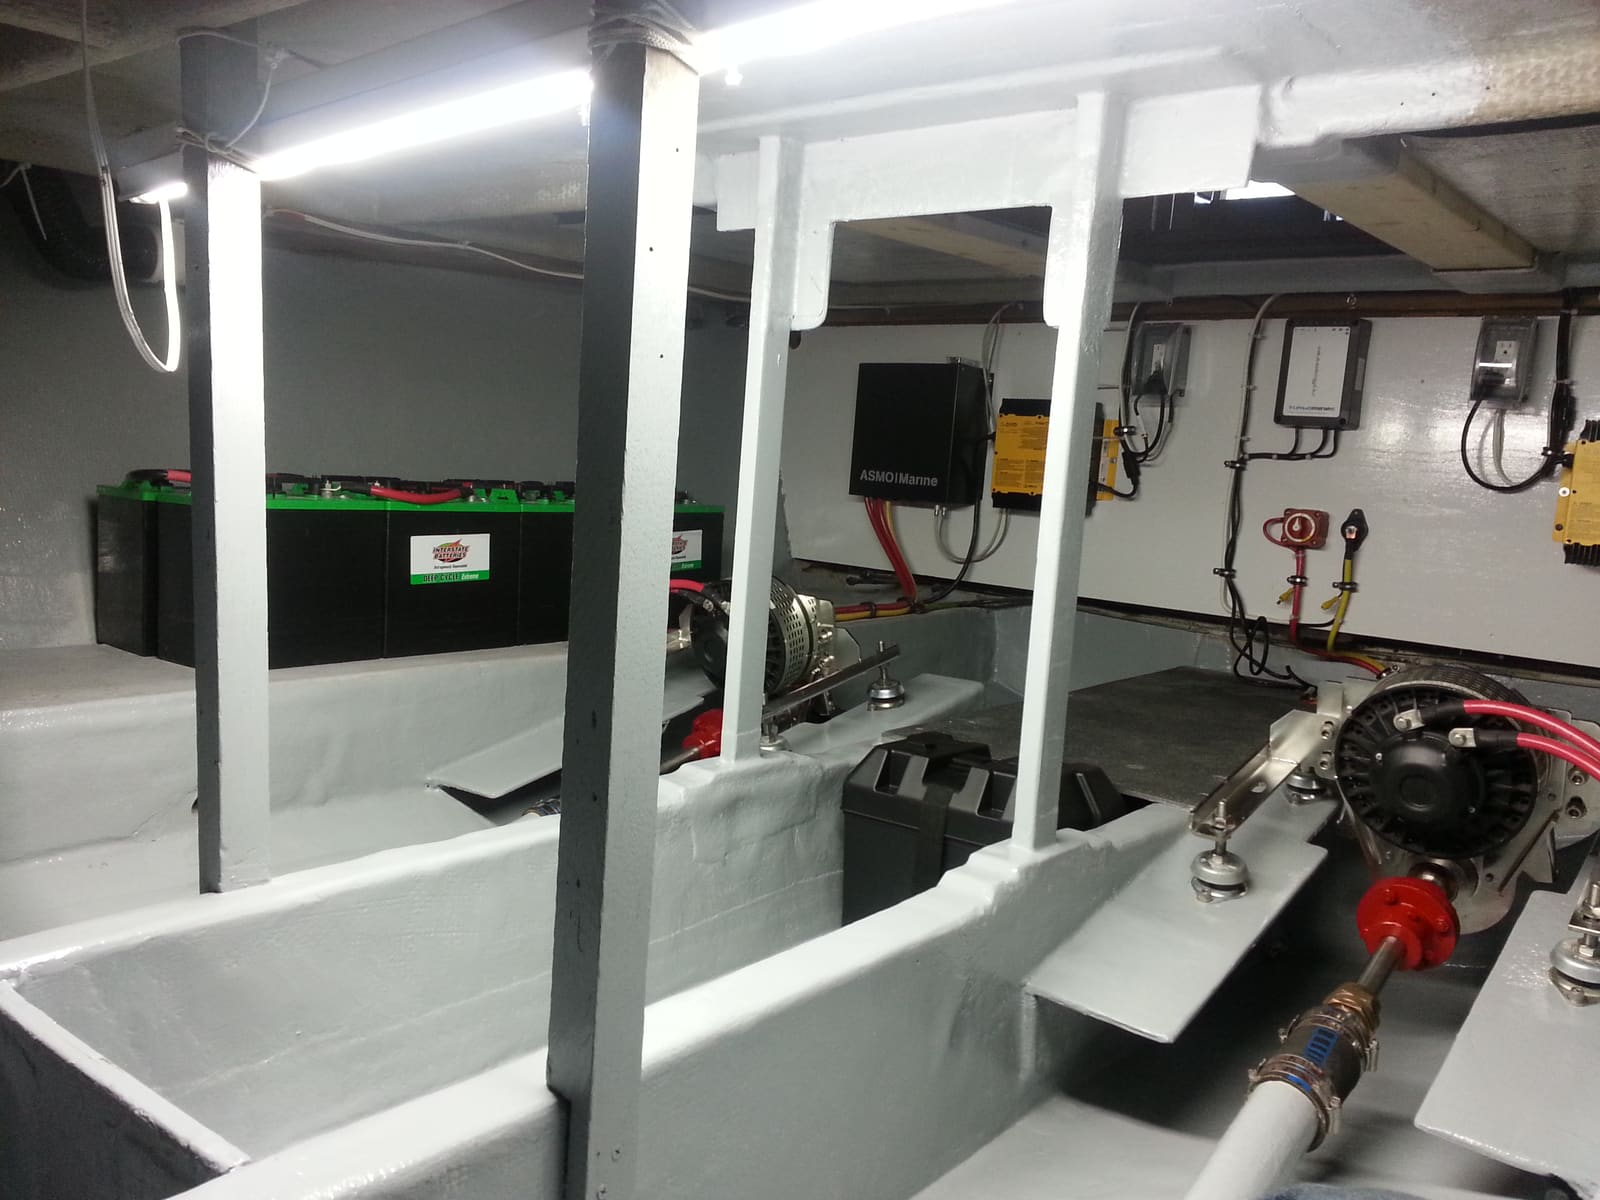
Pick the right marine charger for your batteries (how many banks, how many amps, flooded, AGM or lithium), mount and fuse it safely, set the charge profile, and use it to keep batteries healthy all season and through the winter. The AC (shore power) side is a job for a marine electrician.

How to Keep Your Boat in the Water Over Winter (De-Icers, Covers and Checks)
Wintering afloat can be safe if you still winterize every water system, keep the bilge pump and batteries working, use a de-icer correctly on a GFCI-protected circuit, respect the shock and thin-ice risks, and visit the boat regularly.
Running a Boat Generator at the Right Load: Switching Sequence, Balancing and Avoiding Wet Stacking
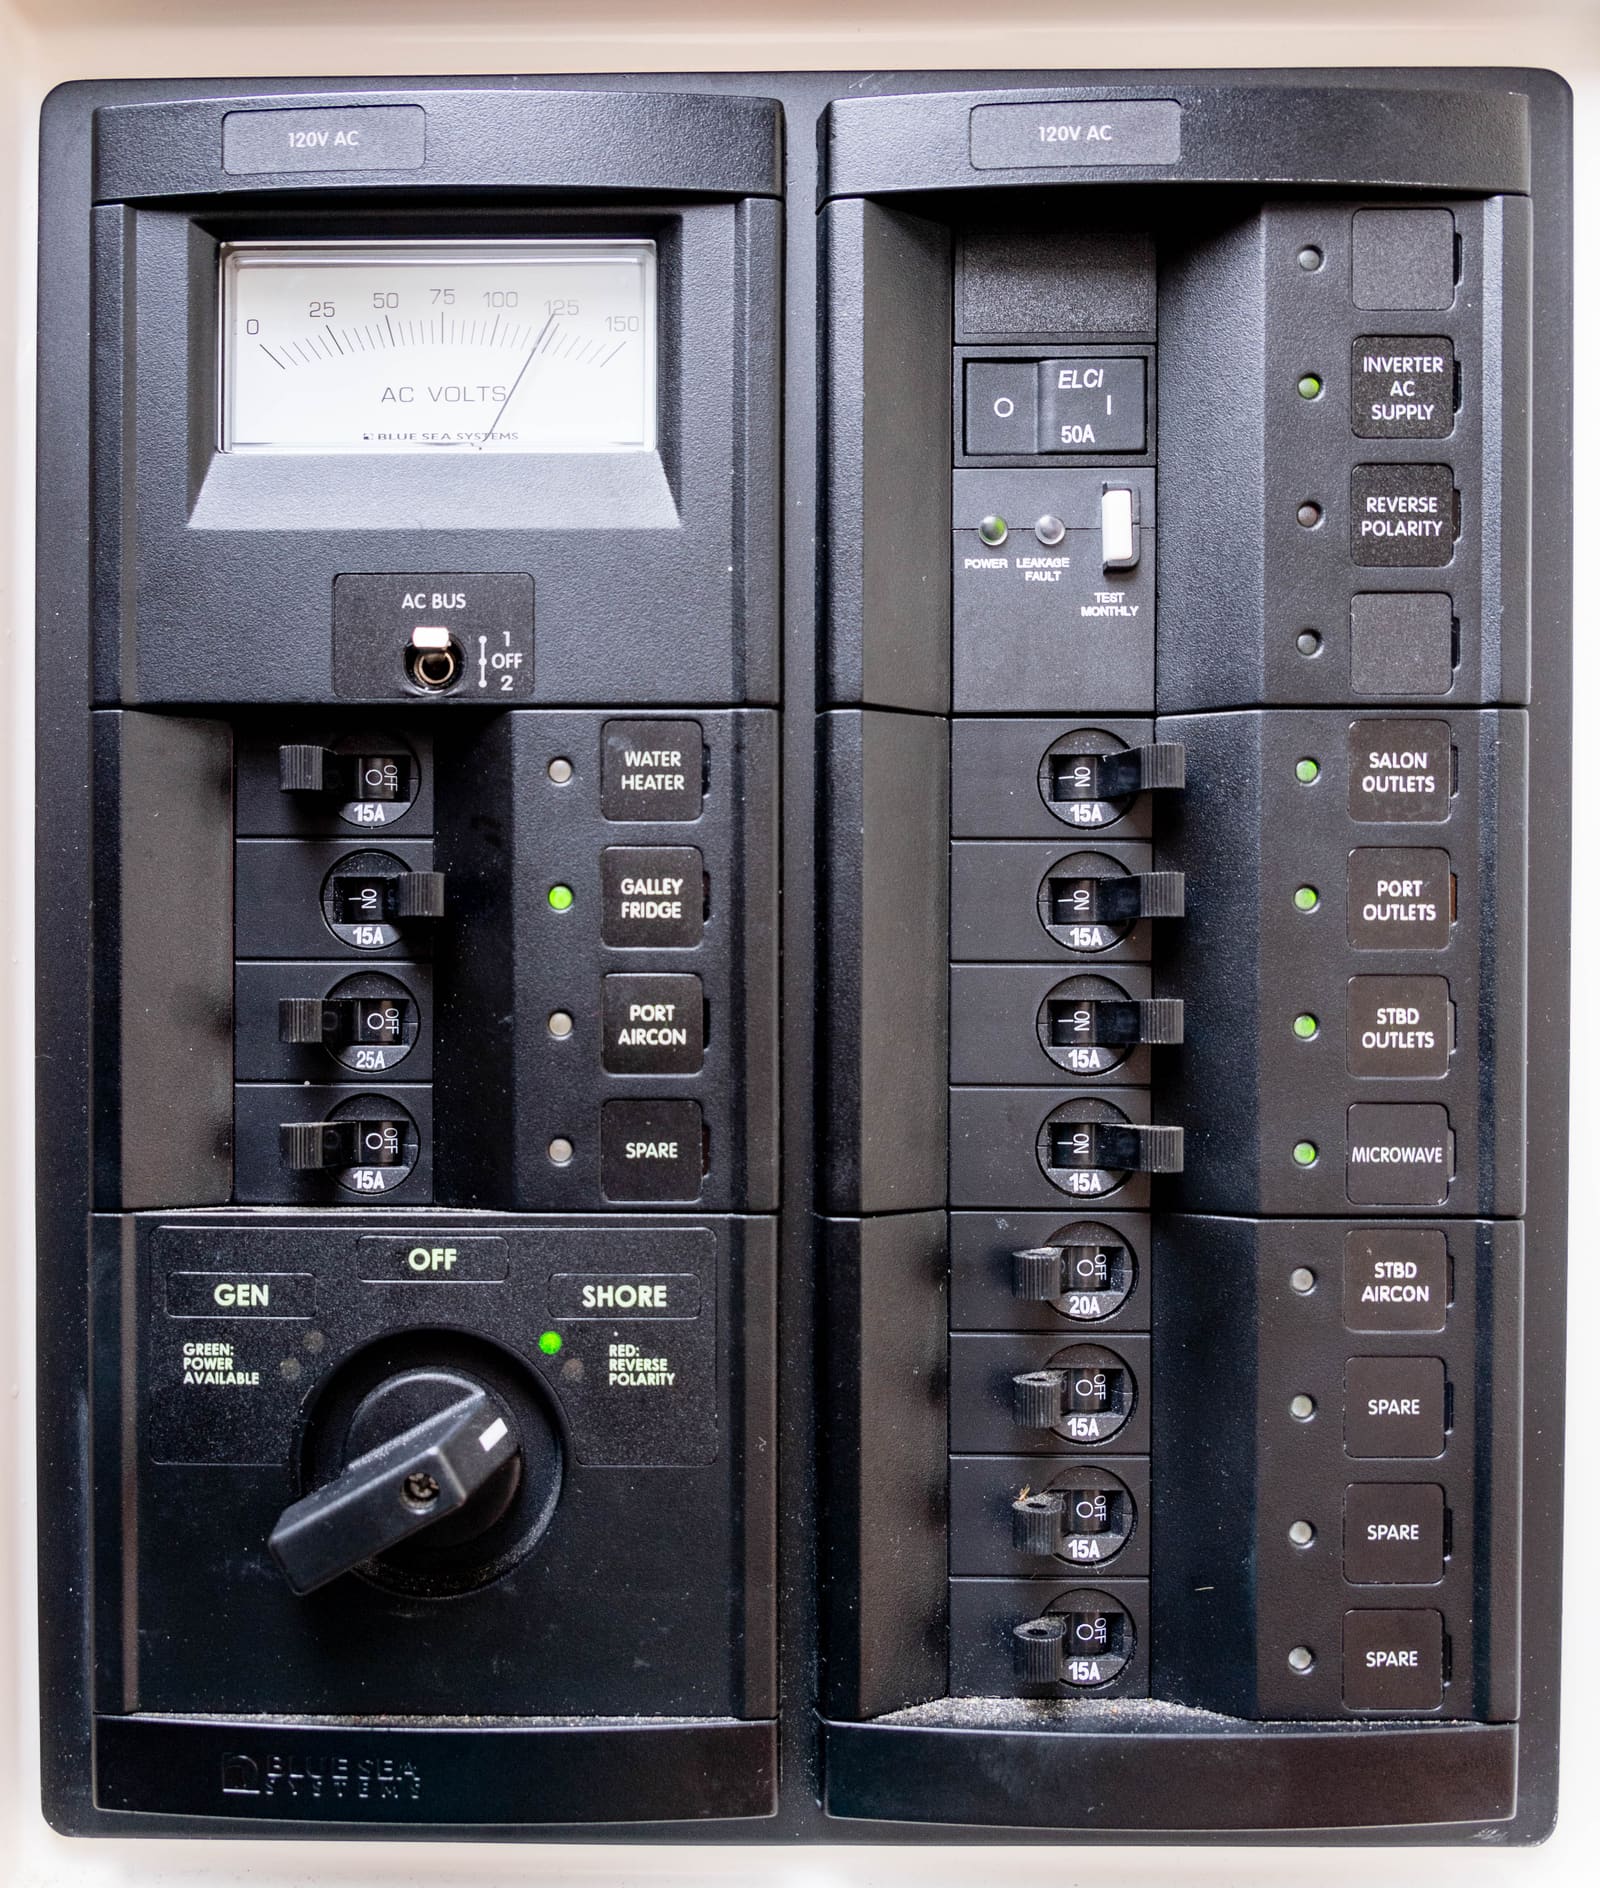
Get more life out of your marine generator by starting and stopping it with the AC loads off, switching sources in the right order, keeping it loaded enough to avoid wet stacking and carbon buildup, and moving small loads to the inverter. Includes a simple monthly exercise routine.