Powering a Big Boat Sound System: Amplifier Draw, an Audio Battery and Charging
Work out how much current your amplifiers really pull, size a dedicated audio battery, keep it charged with an automatic charging relay or isolator, and fuse and wire it so a long day of music never leaves you unable to start the engine.
Time
5 h
Shop would charge
$400-1500
Applies to
All engines · Bowrider / runabout, Pontoon, Center console
Safety first: Amplifier cables carry enough current to melt a wrench and start a fire. Take off rings and watches, turn every battery switch off and disconnect the battery negatives before you start, and never connect a heavy positive cable without a fuse at the battery end. Charging lead-acid batteries give off hydrogen, so keep sparks away from them and give them ventilation. If a cable gets hot, you smell burning insulation or see smoke, switch the batteries off, use your extinguisher if it's safe and call for help (USCG on VHF 16 or 911 in an emergency). Anything touching shore power or an inverter's AC side is a job for a marine electrician.
Fuel smell, water coming in, CO alarm or smoke? Stop, get everyone in life jackets and call USCG on VHF 16 or 911. For a tow: Sea Tow or TowBoatUS.
Owners often ask
- How many batteries do I need to run my tower speakers and amp at the sandbar without killing the start battery?
- Should the amplifier fuse go at the battery or at the amp?
This guide walks you through it. Still stuck? Ask the AI Mechanic about your engine.
Tools
- Digital multimeter (a clamp-on DC amp meter is a bonus)
- Heavy-duty ratcheting crimper for large battery lugs (or have the shop crimp cables)
- Heat gun and adhesive-lined heat-shrink tubing
- Cable cutter sized for heavy cable
- Socket set and nut drivers
- Cushioned cable clamps, chafe guard and cable ties
- Phone camera (photograph the existing wiring first)
Parts & supplies
- Deep-cycle (or lithium marine) battery or batteries for audio, with a secure box or tray and hold-down
- Automatic charging relay (ACR), battery isolator or DC-DC charger suited to your batteries
- Battery switch or breaker for the audio bank
- Sealed marine fuse holder and fuse (MRBF, ANL, MEGA or similar) for each heavy positive cable
- Tinned, stranded marine battery cable in the sizes your amp maker and the wire chart call for
- Tinned copper lugs, insulating boots and a positive and negative bus bar if you have several connections
Before you start
A head unit with built-in speakers' power is a small load. Add tower speakers, a subwoofer and one or two amplifiers and the picture changes: the audio system can become the biggest electrical load on the boat, and at the sandbar with the engine off, every amp-hour comes out of a battery.
This guide is about power: how much the system uses, where that power comes from, how it gets recharged and how it's protected. For mounting the stereo, speakers and the basic wiring, see the marine stereo wiring guide.
The goal is simple and worth repeating: music should never be able to drain the battery that starts the engine. That means the audio system runs from its own battery (or the house bank), and something keeps that battery separate from the start battery when the engine is off.
What to have ready: the installation manual for each amplifier (it gives the fuse rating and the recommended cable size), your engine manual's charging output figure, and a rough plan of where the audio battery will live.
Steps
Look in each amplifier's manual or spec sheet for a current draw figure or a recommended fuse rating. That's the number to plan around, not the big "peak watts" printed on the box.
If you only have a power rating, you can make a ballpark estimate: total RMS watts for all channels, divided by the voltage (about 12.5 to 14 volts on a boat), then divided again by the amplifier's efficiency (well under 100 percent; Class D amps waste less power as heat than older designs). As a rough example, an amp delivering 600 watts RMS at full power could pull somewhere around 50 to 60 amps.
Two things keep real life below that number. Amplifiers only pull full current at full volume with heavy bass, and most music is quieter on average. But plan for the loud days anyway, because that's when cables get hot and batteries go flat.
Don't forget the head unit. As an example, Garmin's specs for one Fusion Apollo stereo list up to 15 A maximum, less than 700 mA when muted and less than 100 mA when switched off. That last figure is the "off" draw that slowly empties a battery left connected for weeks.
Battery capacity is measured in amp-hours (Ah). Multiply your average audio current by the hours you want to play at anchor. For example, 20 amps average for 4 hours is about 80 Ah.
Then allow for how deep the battery can safely be drained. Flooded and AGM lead-acid batteries last much longer if you don't routinely take them below about half charge (typical; check the battery maker's figures), so that 80 Ah day calls for something like a 160 Ah lead-acid bank. Lithium batteries can usually be drained deeper, but they need compatible charging (see step 5).
Mercury's battery guide sums up the split: starting batteries are built for a short, big burst to crank the engine and aren't meant to run accessories for long, while deep-cycle batteries are built to be drained and recharged over and over. Your audio battery should be deep-cycle.
Every amp-hour the stereo uses has to be put back. Sources are the engine's alternator or charging coil, an onboard shore charger and, on some boats, solar.
Find your engine's charging output in its manual. Small and mid-size outboards often produce much less charging current than a big stereo can use, so a bank drained flat at the sandbar may take hours of running to refill, or may never fully recharge on short trips. If your boat lives on a lift or at a dock with power, a multi-bank onboard charger is the easiest way to top up the audio bank between trips (see the onboard battery charger guide). If you're adding a large bank, test your charging system first (see the charging system test guide).
Three common ways to charge two banks from one engine while keeping them apart:
- Automatic charging relay (ACR). A voltage-sensing relay. Blue Sea Systems explains that its ACRs connect the batteries when either one rises to about 13.0 volts for 2 minutes (a sign that something is charging) and separate them when both fall to about 12.75 volts for 30 seconds. With the engine off and the stereo playing, the audio bank is isolated, so the start battery isn't touched. Thresholds vary by model; follow yours.
- Diode battery isolator. Lets charging current flow to each battery but not back out. Blue Sea notes that ACRs are more efficient because isolators make heat and use some of the charging energy; diode isolators also drop some voltage, which can leave batteries undercharged unless the charging system is set up for it.
- DC-DC charger. Feeds the audio bank from the start side at a controlled voltage. Often the right choice for lithium audio batteries; check the battery maker's charging requirements.
A manual "1-2-Both" switch works too, but only if you remember to switch it every time. Forgetting is how start batteries die at the sandbar.
Use a deep-cycle or dual-purpose battery sized from step 2, or a marine lithium battery if your charging setup supports it (see the lithium battery conversion guide). Several batteries can be wired together as one bank; use identical batteries of the same type and age.
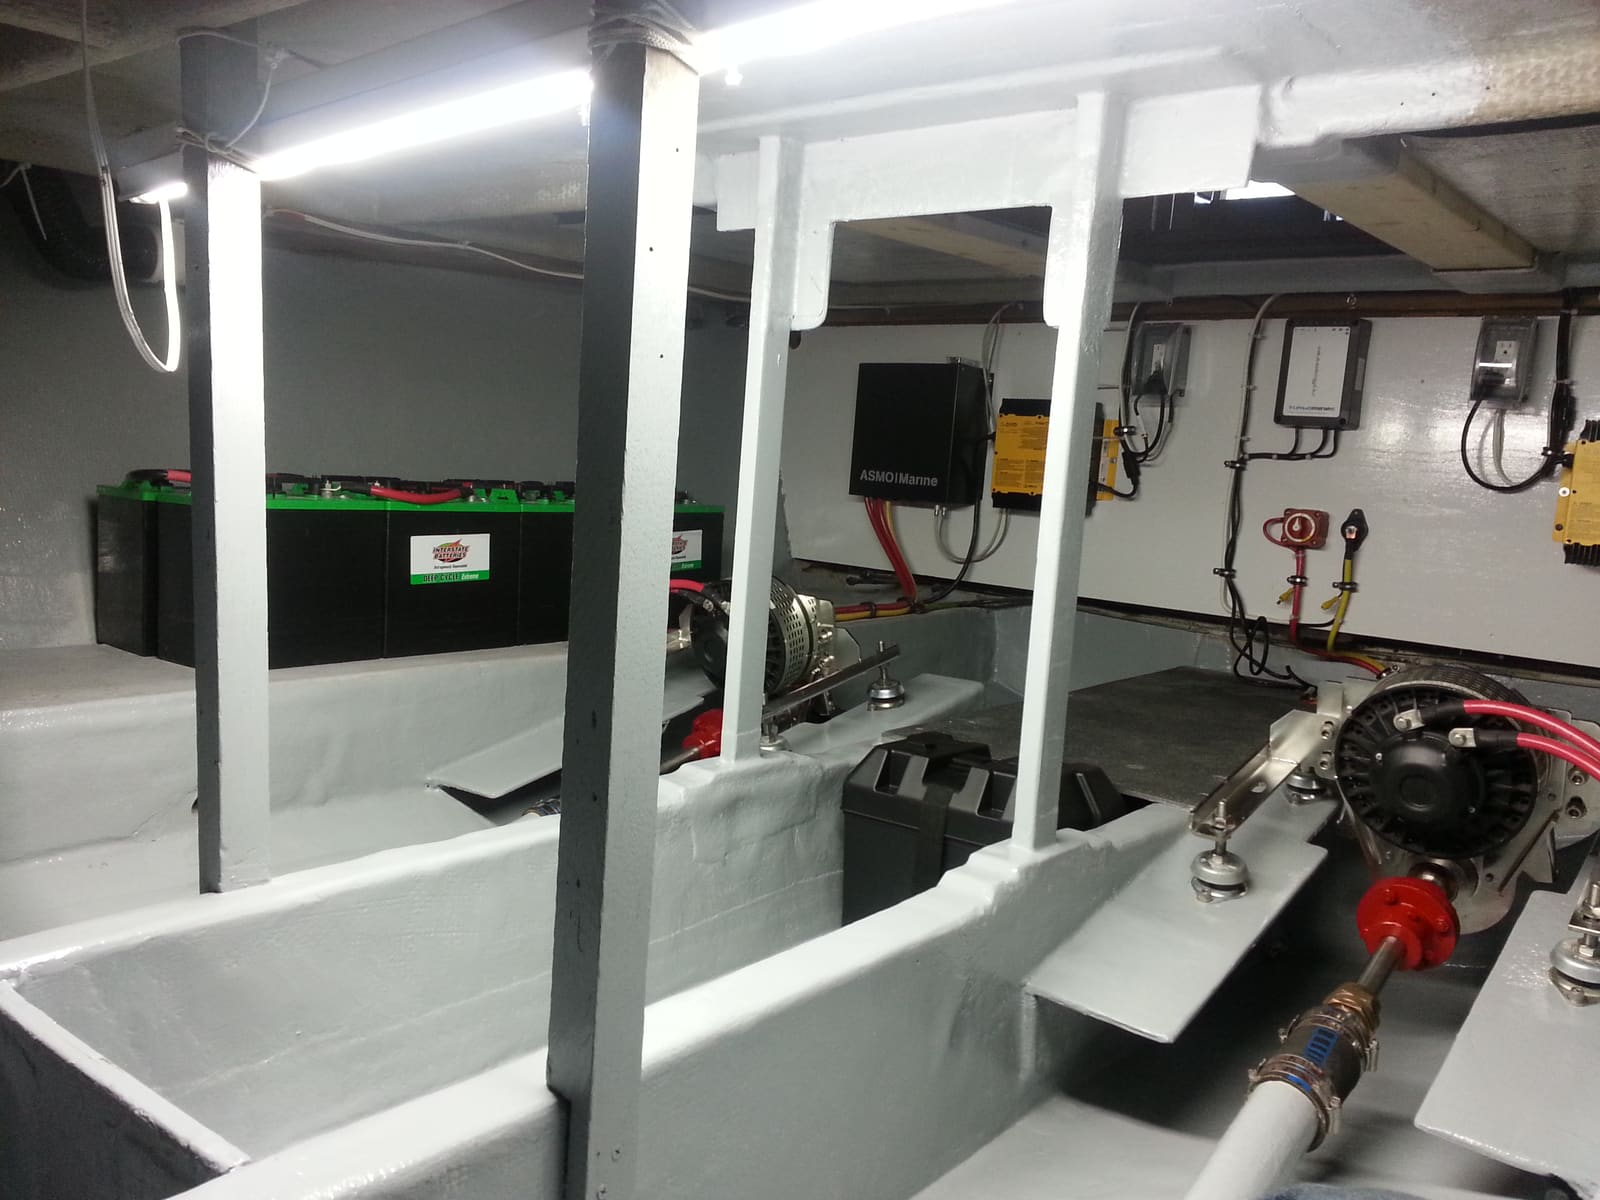
Mount the battery where it's dry, ventilated and accessible, in a box or tray with a hold-down so it can't slide or tip in rough water. Keep it as close to the amplifiers as practical, because shorter heavy cables mean less voltage drop and less copper. Cover every positive terminal with an insulating boot.
The amplifiers need a good home too. BoatUS describes the power amp as a box you rarely touch once installed, so it can go up inside the console or in a dry locker or cabin, but it must stay dry, and it sheds heat when the music is loud. Leave air space around it, keep it out of the bilge and away from spray, and follow the maker's mounting instructions.
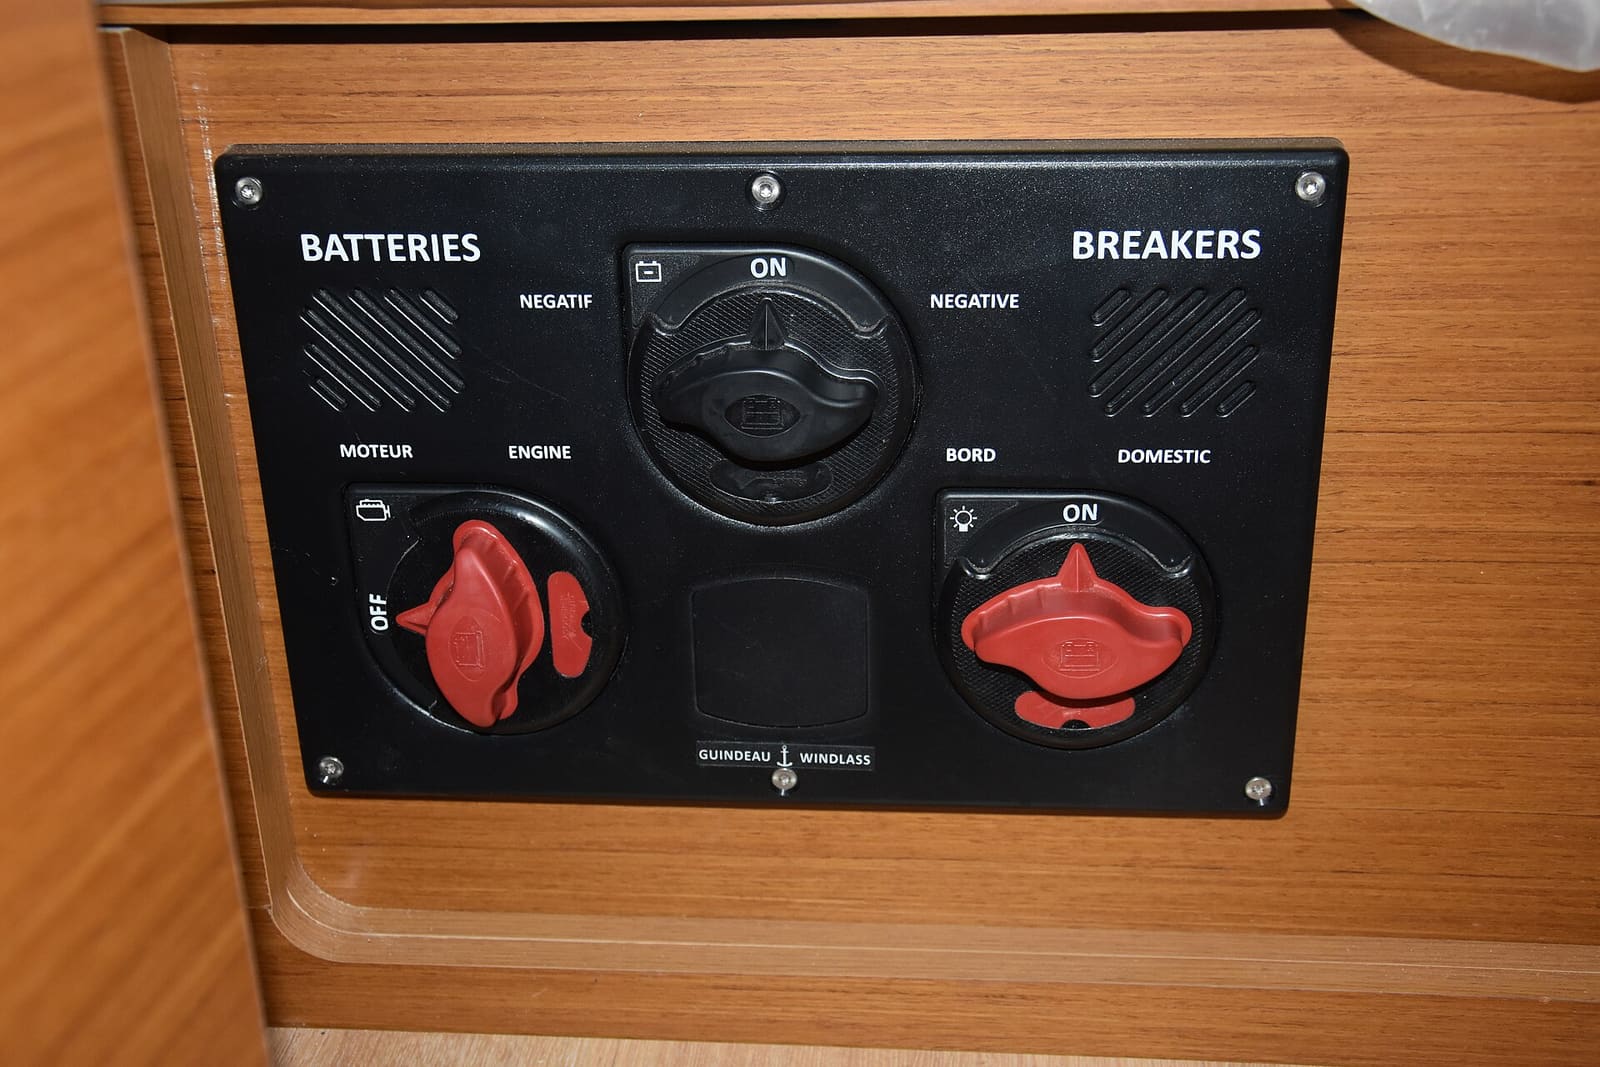
Photo: PaterMcFly / Wikimedia Commons · CC BY 4.0 Put a battery switch or a suitably rated breaker in the audio bank's positive cable so you can kill the amps quickly in an emergency and turn everything off when you leave the boat. Label it clearly ("AUDIO"). Owners who have had an amp start to smoke all say the same thing afterward: they wished they had a switch they could reach without touching a hot battery terminal.
Consider an automatic cutoff too. If the music shares a house battery with the VHF, nav lights or bilge pump, a low-voltage disconnect stops a long sandbar day from draining the battery those need. Blue Sea describes using one of its charging relays this way: the stereo or fridge is wired through the relay, which drops that load when the battery falls to an adjustable set point and reconnects it once the voltage recovers. Ask your installer to set the cutoff where your battery maker says the bank should stop, and never wire the bilge pump or VHF through it. On boats with separate start and house banks, Blue Sea's dual-circuit battery switch is another tidy option: one knob turns both banks on while keeping them isolated, with a "combine" position only for emergency starting.
Federal boat wiring rules (33 CFR 183.455) require a fuse or breaker on each positive wire within 7 inches of the battery or power source, or within 40 inches if the wire runs inside a sheath or enclosure the whole way. That fuse protects the cable: if the cable chafes through and shorts against something, the fuse blows before the cable becomes a heating element.
Blue Sea's guidance is to choose the fuse to protect the wire. If the amplifier maker specifies a fuse that is too big for the wire you planned, use a bigger wire, not a bigger fuse. Use a sealed, marine-rated fuse holder, and put an ignition-protected one in any space where gasoline vapor can collect. Many amp makers also have you leave the fuse out until all connections are finished; then fit it as the last step.
Use the cable size the amplifier maker recommends, and check it against a marine wire chart for your actual run. Blue Sea's wire-size method uses the current and the round-trip length (from the battery to the amp and back) and lets you choose a 3 percent or 10 percent allowable voltage drop. For audio, staying near the lower drop keeps amps from cutting out when the bass hits.
Use tinned, stranded marine cable (Blue Sea notes ABYC-quality marine wire is always stranded and tin-plated), with properly crimped lugs and adhesive-lined heat shrink. Run the amplifier ground back to the battery negative or the main negative bus with cable the same size as the positive. Don't ground amps to a tower, a rail or a random bolt.
The audio battery's negative must connect to the boat's main negative bus (the same ground the start battery and engine use), with a heavy cable. If the negatives aren't joined, the ACR or isolator can't work properly, and audio gear that also connects to the head unit can end up using thin signal wires as a ground path. Follow the wiring diagram that came with your ACR or isolator.
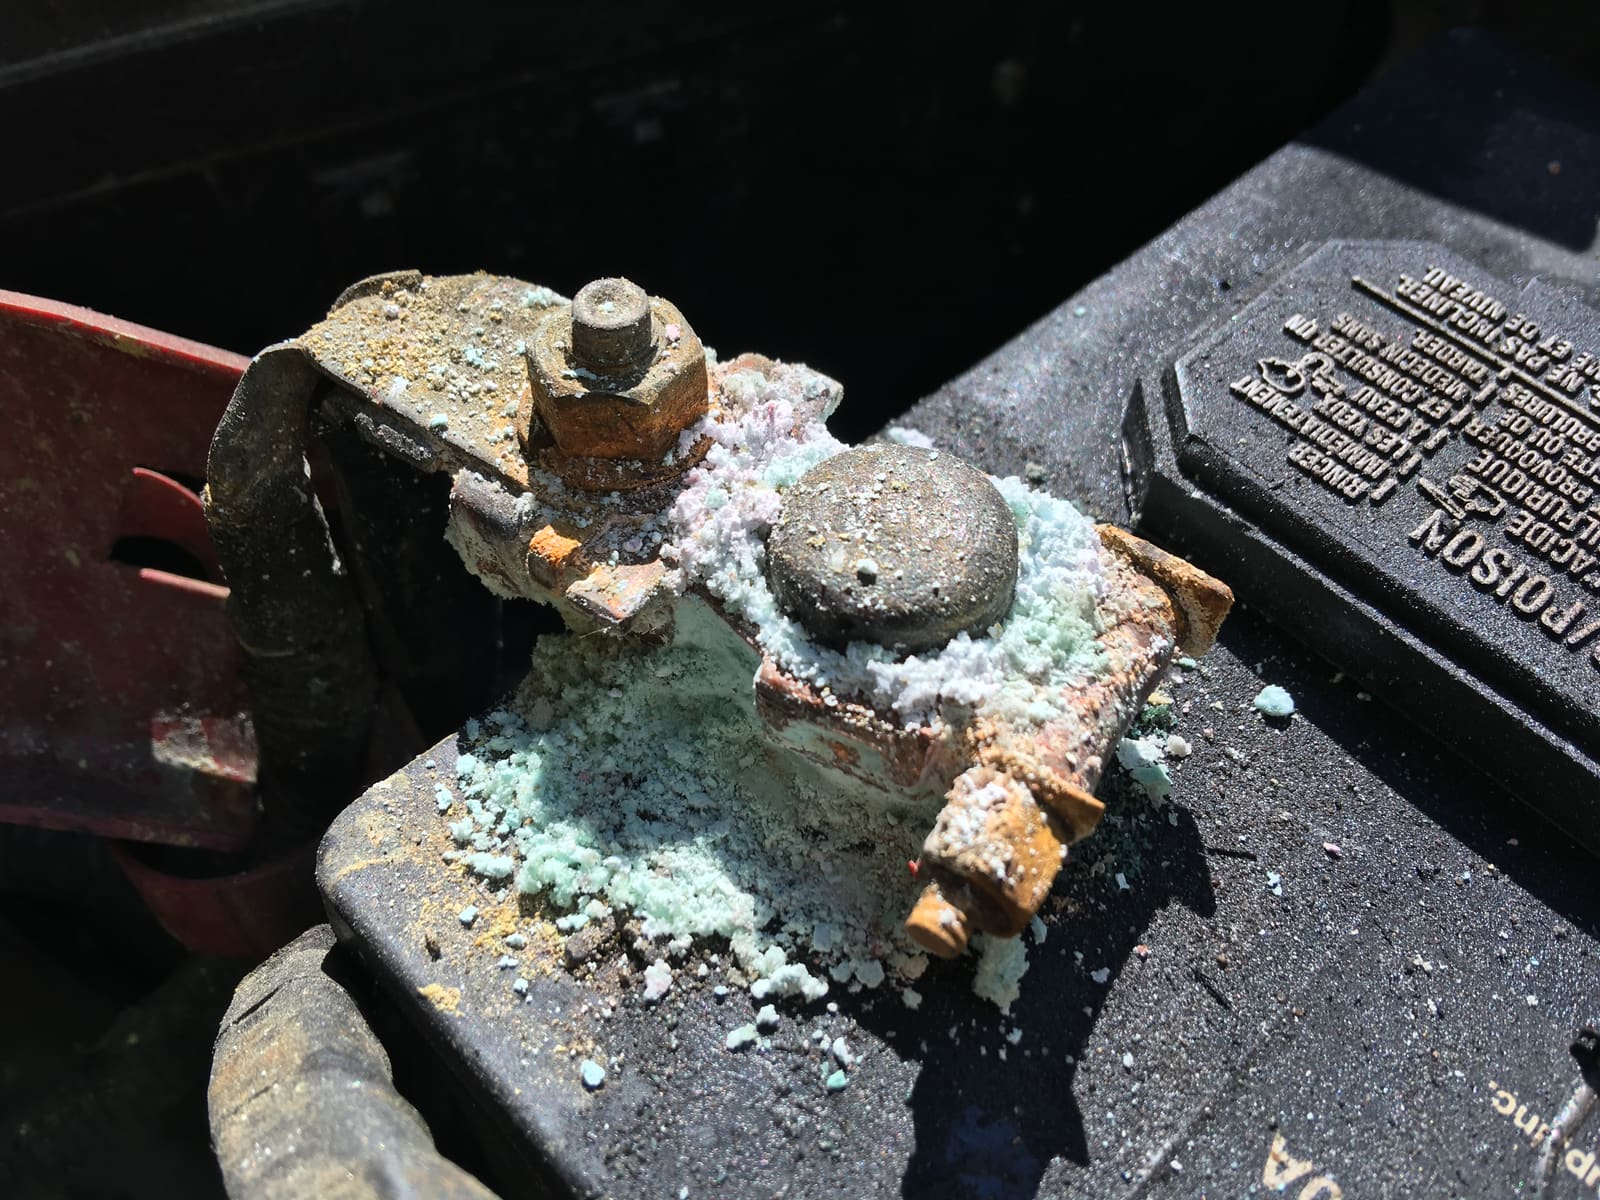
Don't pile more ring terminals onto one battery post. BoatUS points out that stacked terminals may not make full contact and can heat up without ever blowing a fuse. Use a bus bar for multiple connections.
Connect each amplifier's remote turn-on lead to the head unit's remote output, so the amps switch on and off with the stereo. If the head unit's memory wire stays powered, connect it to the audio bank, not the start battery, so its small "off" draw can't flatten the battery that starts the engine. Turn the audio switch off when you leave the boat (see the parasitic battery drain guide if a battery keeps dying).
Reconnect the negatives, then the fuses, and switch on. With the engine off, play music at your usual loud volume and check:
- Voltage at the amplifier's power terminals compared with voltage at the battery. A big difference means a loose connection, a small cable or a poor ground.
- Heat: feel each lug and cable after 10 to 15 minutes. Anything too hot to keep your hand on needs fixing.
- The start battery: its voltage should stay steady while the audio bank does the work.
Then start the engine and confirm the ACR or isolator begins charging the audio bank (its voltage should rise after a short delay).
Check that the battery hold-down is tight and terminals are clean and covered. Look for chafed cables where they pass through bulkheads or up a tower. Keep the audio bank charged during storage, and recheck fuses and lugs whenever you add an amp or speakers.
Common mistakes
- No fuse at the battery on the amp cable, or a fuse placed back at the amplifier only.
- Upsizing the fuse to stop nuisance blows instead of finding the real problem or using a bigger cable.
- Running a big system from the start battery with nothing to keep the two apart.
- Grounding the amp to a tower or rail instead of the battery negative or main negative bus.
- Undersized ground cable (thinner than the positive).
- Mixing battery types or ages in one bank, or adding lithium without checking that the charging system suits it.
- Stacking five ring terminals on one battery post.
- Leaving the audio bank switched on for weeks at the dock.
When to call a pro
- Any system with more than one amplifier, or one that needs a second (or third) battery: an ABYC-certified marine electrician can size the bank, cables and fuses for your boat
- Installing an ACR, isolator or DC-DC charger if you're unsure how it ties into your existing battery switch
- Lithium audio batteries, which need compatible charging and protection
- Batteries or heavy cables near a gasoline engine compartment or fuel tanks
- Cables that get hot, fuses that keep blowing, or voltage that drops badly when the bass hits
- Any AC power, inverter or shore-power work
Tips
- A small voltmeter or battery monitor on the audio bank tells you when to stop the party and start the engine.
- Turning the bass and the subwoofer level down saves a surprising amount of current at high volume.
- Label every heavy cable at both ends and keep a photo of the battery area in BoatMend.
- Carry a spare fuse of each heavy rating on board.
- Sound carries over water: many lakes and marinas have noise rules, and you still need to hear horns and VHF calls.
Official references
We read these to write this guide. Your engine's own manual always wins.
- Blue Sea Systems – Automatic Charging Relay (ACR) Explained
- Blue Sea Systems – Part 1, Choosing the Correct Wire Size for a DC Circuit
- Blue Sea Systems – Part 2, Select a Fuse and Fuse Holder for Your DC Product Installation
- eCFR – 33 CFR 183.455, Overcurrent protection (fuse at the source, 7 and 40 inch rules)
- Mercury Marine – Marine Battery Basics (starting, deep-cycle and dual-purpose batteries)
- Garmin – Fusion Apollo MS-WB670 Owner's Manual, Specifications (current draw on, muted and off)
- BoatUS – Upgrading Your Boat Stereo System (Mark Corke, 2013)
- BoatUS Magazine – Avoiding Boat Electrical Mistakes (stacked battery terminals, insulated positive terminals)
- Blue Sea Systems – Load Shedding Using the CL-Series BatteryLink ACR
- Blue Sea Systems – Switching Solutions for Multiple Battery Banks
Safety: BoatMend is for information only and does not replace a certified marine technician. You are responsible for your safety and your boat. Read the full disclaimer.
Last updated 2026-10-25
Related guides
How to Wire a Marine Stereo, Speakers and Amplifier Safely
Install or fix a boat stereo the way that keeps it working and keeps your battery alive: marine-rated gear, a fused feed from the panel, a solid ground, a plan for the always-on memory wire, UV-proof speakers, and an amplifier fused right at the battery. Plus how to stop the stereo from messing with your VHF and compass.
How to Use a 1-2-Both Battery Switch and Run Two Batteries
Learn what the 1, 2, Both and Off positions really do, a simple routine that keeps one battery ready to start the engine, how to check that both batteries are charging, and when an automatic charging relay makes life easier. Rewiring high-current cables is a job for a marine electrician.
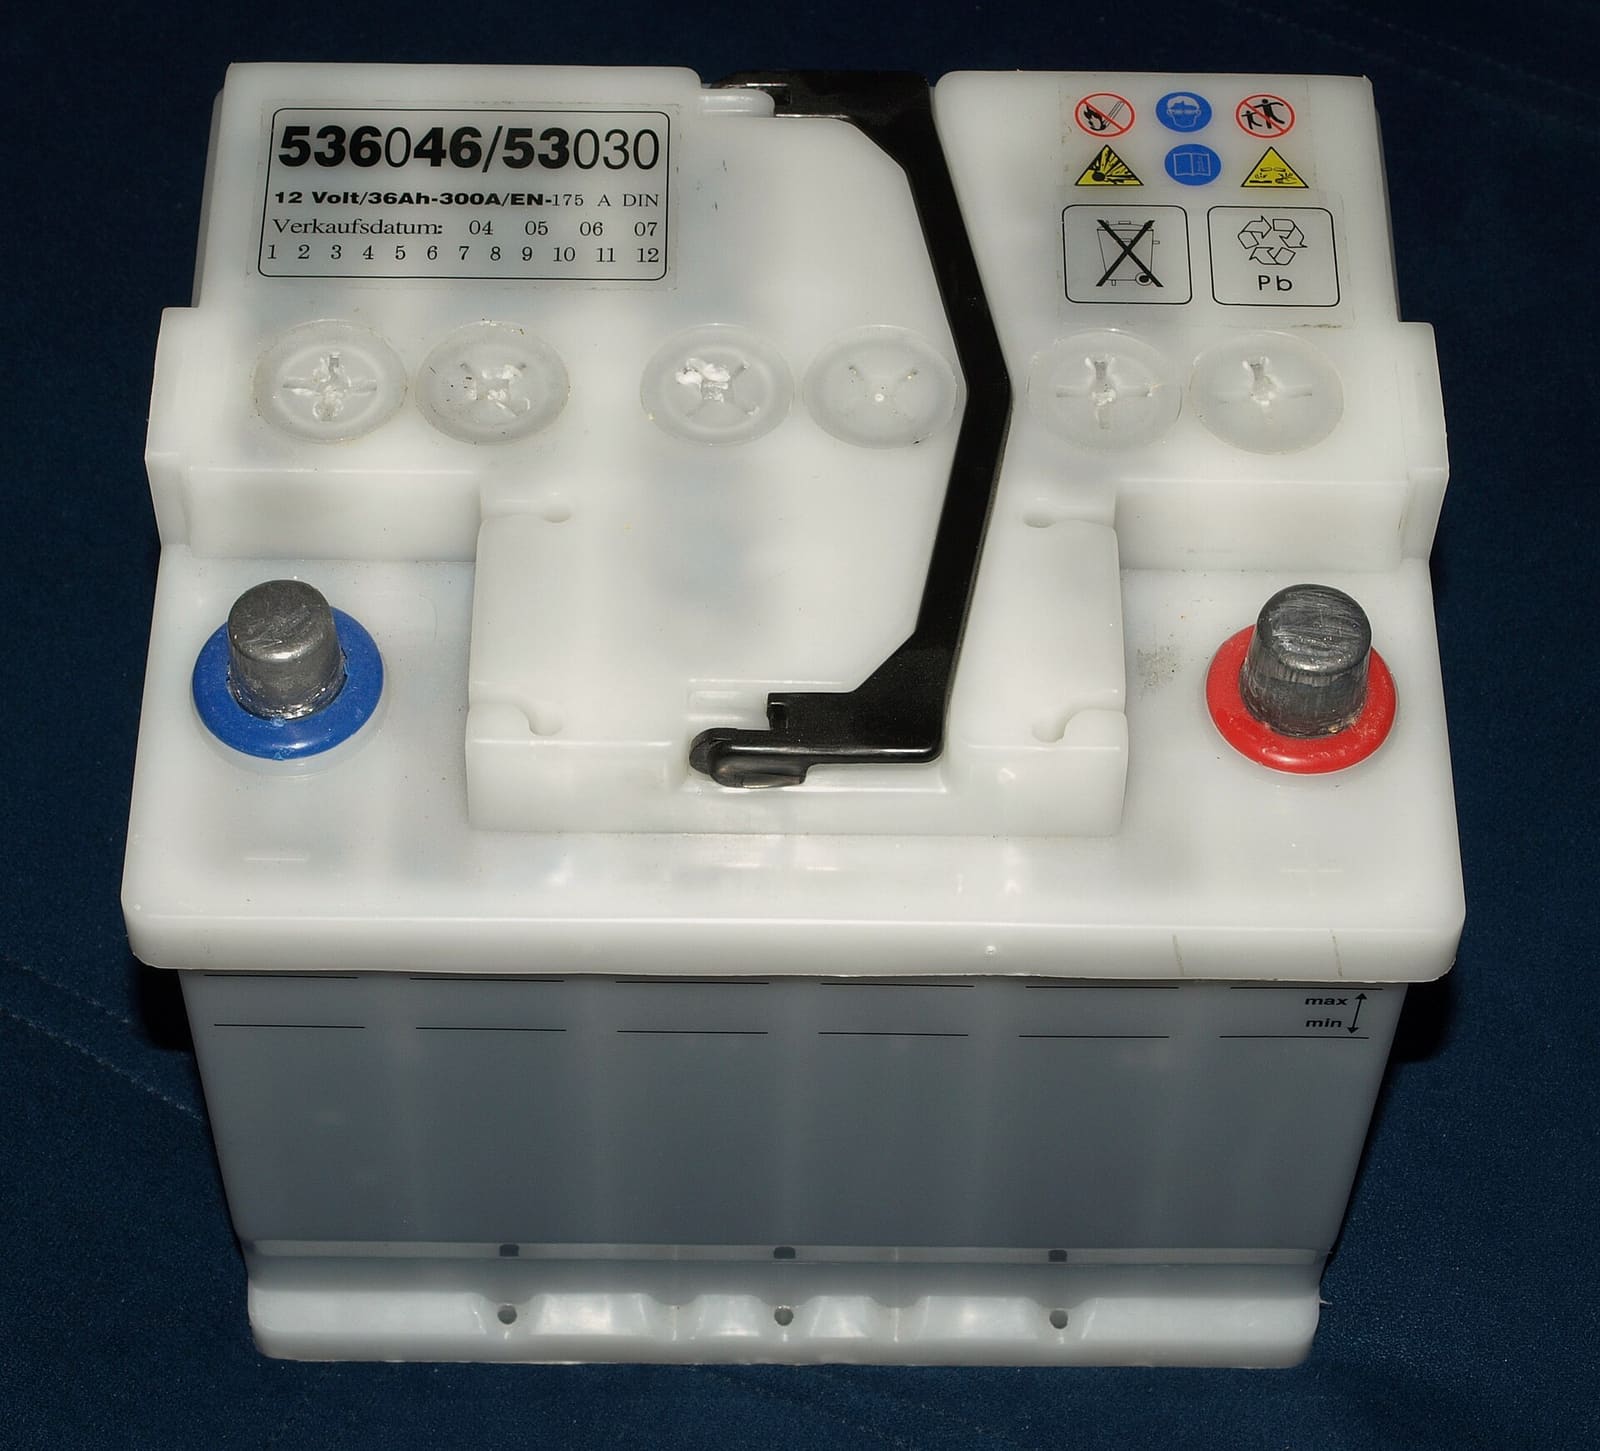
Marine Battery Care: Test, Charge and Store for Winter
Check your boat battery's health, charge it the right way for its type (flooded, AGM or lithium), and store it so it is ready in spring. Most "boat won't start" calls start with a neglected battery.
Is My Engine Charging the Battery? Test the Charging System With a Multimeter
A step-by-step way to find out whether your outboard's stator and rectifier/regulator or your inboard's alternator is really charging the battery, what the voltage readings usually mean, and when the problem is just a dirty connection. Exact test specs come from your engine's service manual.

12-Volt Boat Wiring Basics: Circuits, Color Codes, Fuses and Wire Size
Learn how your boat's 12-volt system is laid out, what the ABYC wire colors mean, how fuses and breakers protect the wiring, why voltage drop and tinned wire matter, and how to read a wiring diagram, so you can troubleshoot smarter and know which jobs belong to a marine electrician.

Fuse Keeps Blowing? How to Troubleshoot a Boat Fuse Block or Breaker Panel
Work through a blown fuse or tripping breaker the safe way: confirm it, tell a short from an overload, isolate the device or wire at fault, replace a worn breaker or panel switch with the same rating, and label every circuit, without ever fitting a bigger fuse.
Battery Goes Dead While the Boat Sits - How to Find a Parasitic Drain
If your boat battery is flat every time you come back, something may be quietly drawing power while you are away. Learn how to tell a bad battery from a drain, find the circuit with a multimeter and the fuse panel, and fix the usual culprits without disabling your bilge pump.
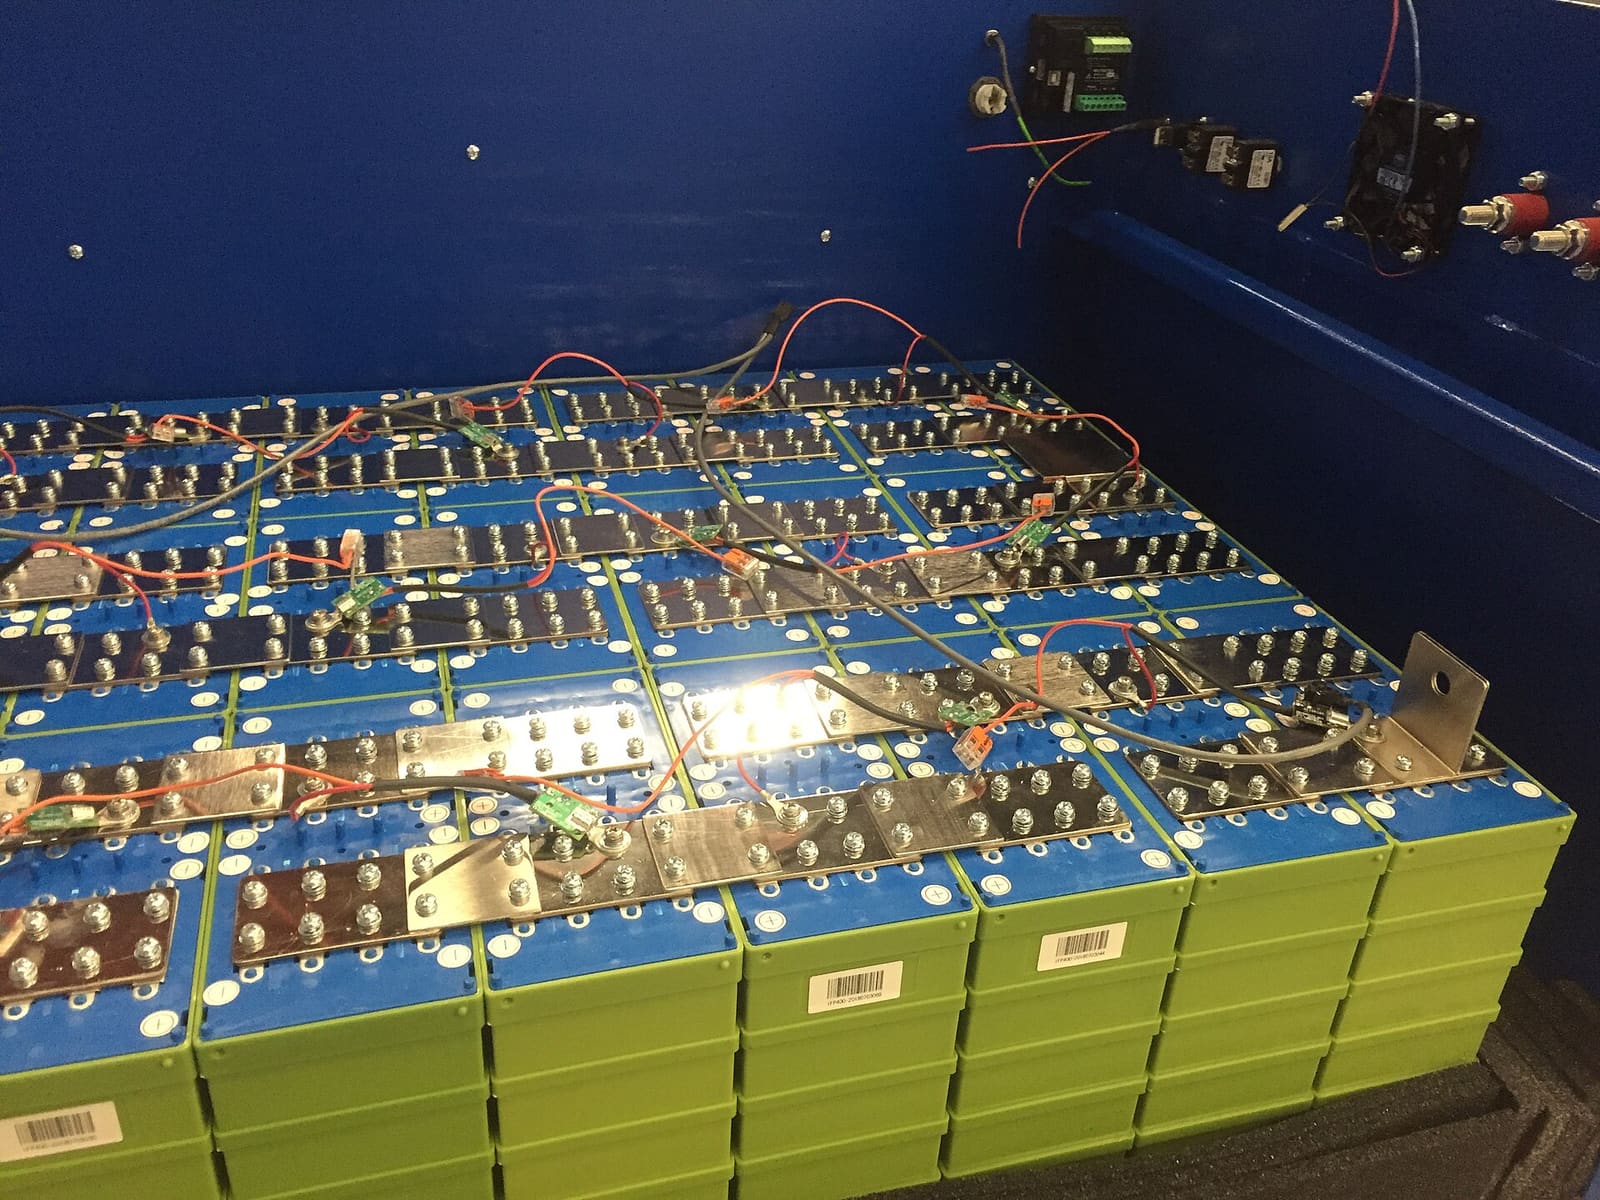
Switching to Lithium (LiFePO4) Boat Batteries: What Changes and When It's Worth It
What really changes when you swap lead-acid for lithium iron phosphate (LiFePO4) batteries on a boat: the battery management system, charger settings, protecting the alternator with a DC-DC charger, not mixing chemistries, cold-weather charging, and which jobs (trolling, house, starting) suit lithium. House-bank conversions should be designed and installed by a qualified marine electrician.
How to Choose, Install and Maintain an Onboard Battery Charger
Pick the right marine charger for your batteries (how many banks, how many amps, flooded, AGM or lithium), mount and fuse it safely, set the charge profile, and use it to keep batteries healthy all season and through the winter. The AC (shore power) side is a job for a marine electrician.
How to Find and Fix Corroded Electrical Connections on a Boat
Track down the green crust and loose terminals behind flickering lights, dead gauges and slow cranking with a simple voltage-drop test, then remake the connection the marine way: tinned wire, a proper crimp, adhesive-lined heat shrink and a protective coating.