Trim Gauge Reads Wrong or Not at All: Testing and Replacing the Trim Sender
When the trim gauge sticks at full up, reads backward or jumps around, the cause is usually the sender at the engine, a corroded wire or a bad ground, not the gauge. Learn how the sender works, how to test the gauge and sender with a meter, how to adjust or calibrate it, and when replacement is a shop job.

Time
1 h 30 min
Shop would charge
$150-600
Applies to
Outboard, Sterndrive (I/O)
Safety first: Never put your hands, arms or head between the engine (or drive) and the transom or boat bracket while anyone can press a trim button. Support a raised outboard with its tilt lock or an engine support before working near the clamp bracket, and take the key out. Work with the engine off. Do jumper tests at the back of the gauge, not at the engine. If a fuse blows again right away or a wire is melted, stop and have it traced.
Owners often ask
- My trim gauge is stuck at full up even when the motor is all the way down. Is it the gauge or the sender?
- I replaced my trim gauge and now it reads backward. What did I do wrong?
This guide walks you through it. Still stuck? Ask the AI Mechanic about your engine.
Tools
- Digital multimeter
- Jumper wire with small alligator clips
- Screwdrivers and a small socket set
- Wire brush or contact cleaner and dielectric grease
- Flashlight or headlamp
- A helper to watch the gauge
- Phone camera (photograph wiring and the sender's position before removing anything)
Parts & supplies
- Replacement trim sender that matches your engine and gauge (only after testing)
- Marine heat-shrink butt connectors or the correct plug terminals
- Replacement gauge only if testing proves it bad
Before you start
The trim gauge shows the angle of the outboard or sterndrive. On an outboard you can at least glance back at the motor; on a sterndrive, as Mercury points out, the drive is hidden under the swim platform, so you rely on the gauge to know where it is. A dead or wrong gauge doesn't stop the trim from working, but it makes trimming guesswork and can leave the drive trimmed too far out.
How it works. A trim sender (sometimes called a trim position sensor) is mounted where the engine pivots: on an outboard, usually on the clamp bracket at the tilt pivot; on a sterndrive, usually on the gimbal ring inside the transom assembly. As the engine tilts, the sender changes its electrical signal, and the gauge turns that into a needle position or a bar graph.
Not all senders are the same. Many analog systems use a variable resistor, but resistance ranges and direction (high at full up or high at full down) differ between makers. Some engines use a digital or voltage-type sender instead: Yamaha, for example, sells separate trim meters for 2-wire and 3-wire senders, and Mercury's Active Trim on MerCruiser engines requires digital trim senders. A gauge and sender must be designed to work together. Your service manual or the gauge maker's instructions give the correct values; don't assume another brand's numbers.
Notice the pattern:
- Pegged at full up (or full down) all the time: often an open circuit (broken wire, unplugged connector, failed sender) or a short to ground.
- Reads backward: mismatched gauge and sender, or wires swapped.
- Jumps around or has dead spots: a worn sender or a loose, corroded connection.
- Reads wrong only at one end: the sender needs adjusting or calibrating.
- Gauge dead along with others: power or ground problem behind the dash (see the gauges and tach troubleshooting guide).
- Needle twitches or pulses, sometimes along with other gauges, while the engine runs: marine electrical engineer John Payne, writing for BoatUS, notes that heavy charging cables bundled with gauge wiring can make meters "twitch." Look for gauge wires tied tightly alongside big battery or alternator cables, and for a loose ground shared by several gauges.
Steps
With the key on, check that the gauge lights up and other gauges work. Set the meter to DC volts and measure between the trim gauge's power terminal and its ground terminal: you should see close to battery voltage. Then move the black probe to a known good ground, like the battery negative. If the reading changes, the gauge's ground is bad; clean and tighten the ground chain behind the dash. Check any fuse that feeds the gauges.
Follow the trim sender wires from the engine toward the dash. On outboards, the sender lead usually joins the engine harness near the clamp bracket or under the cowl; on sterndrives, the wires come through the transom assembly into the engine compartment. Unplug, inspect and reseat each connector. Green corrosion, a pushed-back pin or a wire chafed where it flexes at the pivot are common finds. Clean the pins, add a little dielectric grease and reconnect.
Behind the dash, find the gauge's sender terminal (often marked S or SEND). With the key on:
- Disconnect the sender wire from the gauge. The needle should go to one end of the scale.
- Briefly connect a jumper from the sender terminal to the gauge's ground terminal. The needle should swing to the other end.
On many analog systems, an open circuit reads full up and a grounded sender terminal reads full down, but your gauge may be the reverse. What matters is that the needle moves fully both ways. If it does, the gauge is good and the problem is the sender or the wire to it. If it doesn't move with good power and ground, the gauge is bad.
With the key off, disconnect the sender wire at the gauge and at the sender's connector at the engine. Measure resistance along the wire from end to end: it should be close to zero. A high reading or OL means a broken or corroded wire or connector somewhere in between. Also measure from the wire to ground: there should be no connection (OL). A reading near zero means the wire is shorted to ground, often pinched or chafed through.
For a resistance-type sender, disconnect it at its connector, set the meter to ohms and measure across the sender's wires (or from its signal wire to ground on a single-wire sender, as your manual shows). Have a helper slowly trim the engine from full down to full up while you watch. Stand clear of the pivot area while it moves.
- Resistance changes smoothly across the range and matches your manual's figures: the sender is good.
- No change, or OL the whole way: the sender is bad or its wire is broken inside.
- Jumps, drops out or sticks at points: the sender's internal track is worn or corroded.
Compare the reading at the sender with the reading at the gauge end of the harness. If the sender reads correctly but the gauge end reads quite differently, the problem is in the wiring or a connector between them.
If your engine uses a digital or voltage-type sender, a resistance check doesn't apply; follow the service manual's test or let a dealer read it with diagnostic software.
A gauge that works smoothly but reads backward, or only covers part of the scale, after someone replaced the gauge, sender or engine, is often mismatched. Look up the gauge's part number and confirm it's made for your engine brand and sender type. Gauge makers sell trim gauges for specific engine families for this reason.
On many outboards, the sender's mounting holes are slotted so it can be rotated slightly. To set it, trim the engine fully down, loosen the sender screws just enough to turn it, and have a helper watch the gauge (key on) while you rotate the sender until the needle sits at the bottom of the scale. Tighten the screws, then run the trim full up and down to confirm the needle tracks the full range without binding. Mark the sender's position before you loosen it, in case you need to go back.
Sterndrive senders are adjusted in a similar way with the drive fully down, but they're harder to reach; follow your service manual.
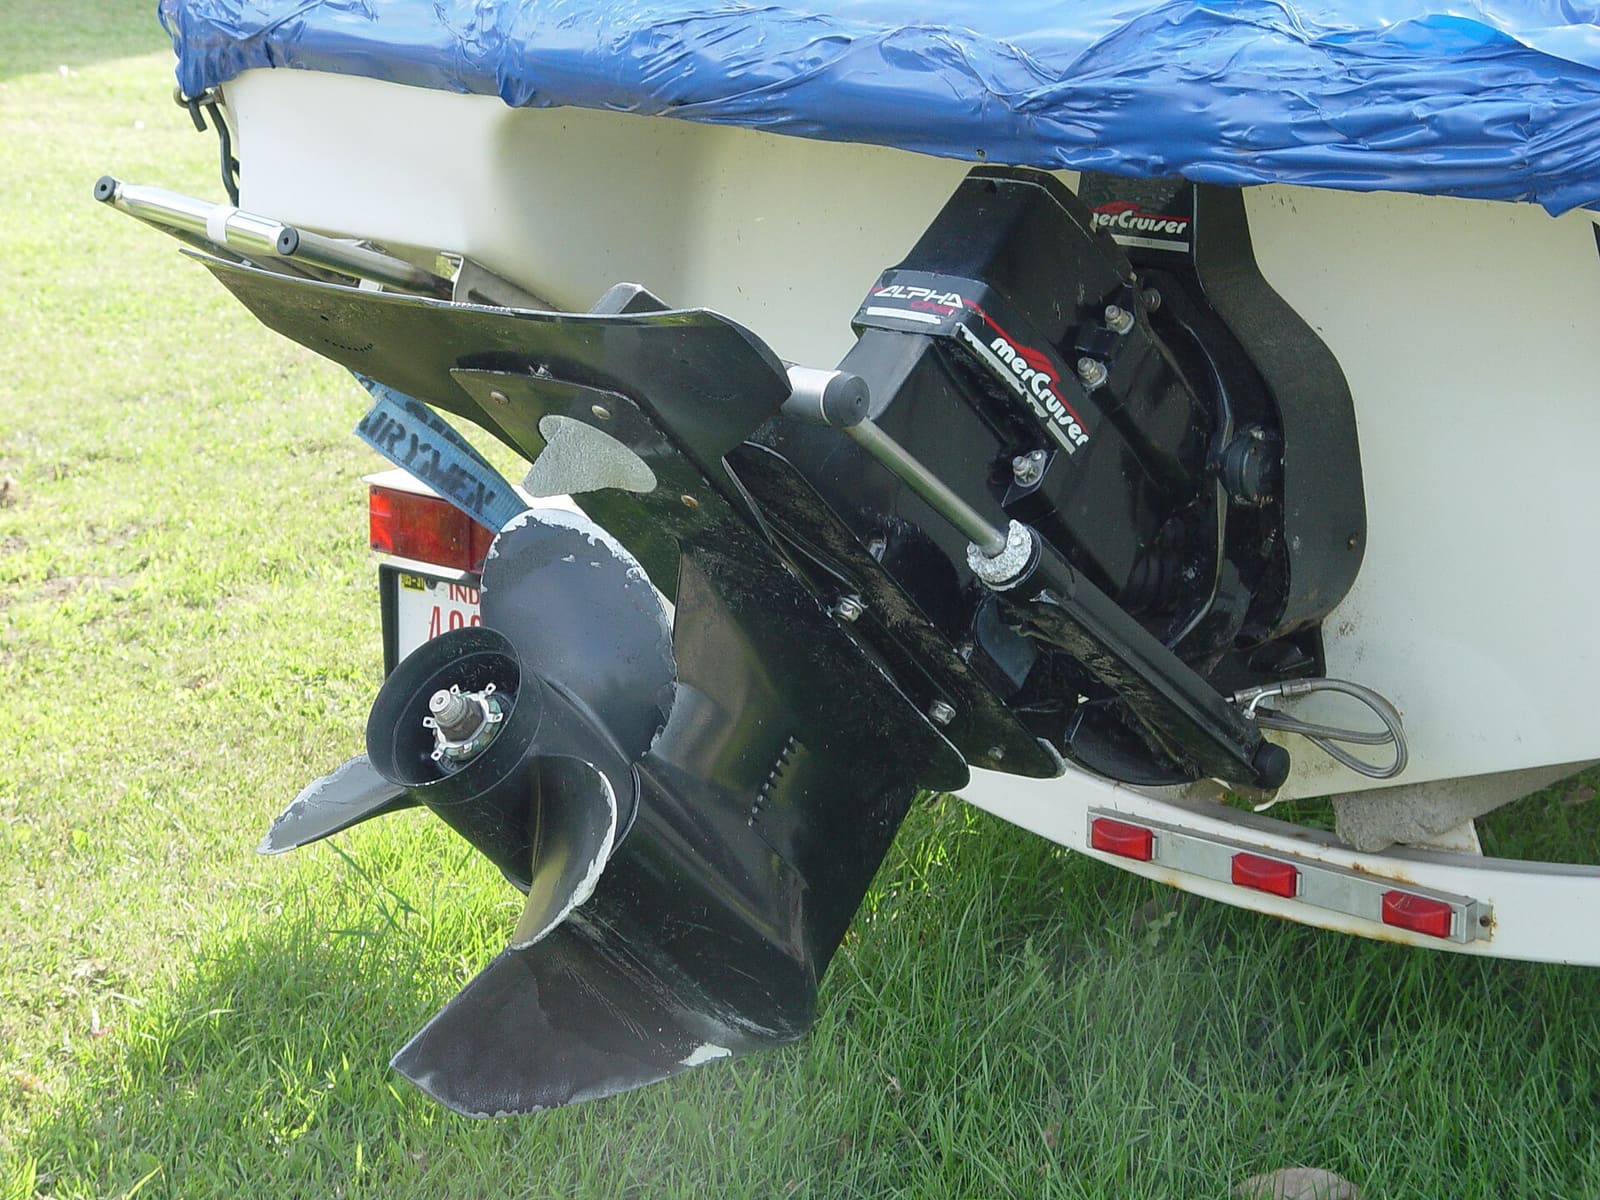
Photo: Mlsguy0037 / Wikimedia Commons · Public domain Digital displays usually have a trim calibration in the setup menu. Yamaha's Command Link tachometer, for example, shows a trim meter alongside RPM, and the gauge manual explains the initial settings. The typical routine is: trim fully down and save, trim to the top of the normal trim range and save, then tilt to the trailer position and save. Wording varies between Mercury SmartCraft, Yamaha Command Link and other displays, so use the gauge's own manual. On twin-engine boats, calibrate each engine.
Do this after replacing a sender, after a dealer reset, or if the display has drifted.
Automatic trim systems depend on the sender too. Mercury describes its Active Trim as trimming the engine out as the boat speeds up and in as it slows or turns, using GPS speed and the engine's trim position (on MerCruiser engines it needs digital trim senders). If a boat with auto trim suddenly trims too far, not far enough or hunts up and down, suspect the trim sender, its calibration or the GPS signal before blaming the hydraulics. You can override auto trim with the trim buttons in the meantime, and the sender and calibration on these systems are a dealer job with diagnostic software.
If testing shows a bad sender, buy one specified for your engine model and gauge type. On most outboards the sender is held to the clamp bracket by a couple of screws, and its lead is routed into the engine harness. Photograph the routing, unplug the old one, fit the new one in the same position and route the lead exactly as the old one went so it can't be pinched when the engine tilts. Then adjust (step 7) or calibrate (step 8).
On many sterndrives the trim sender sits on the gimbal ring next to a trim limit switch. Replacing either one often means removing the drive, so the two are commonly replaced together. Because pulling the drive involves the bellows, the U-joints and alignment, this is a shop job for most owners (see the sterndrive bellows and gimbal guide).
Seal every connection you made with heat-shrink, keep the harness away from moving parts and sharp edges, and coat connector pins with dielectric grease. Rinse the clamp bracket or gimbal area after saltwater use; Yamaha's power trim maintenance advice includes washing the trim unit with mild soap and fresh water after trips.
With the engine running and the boat on plane, trim in and out and watch the gauge follow smoothly. Note where the boat runs best for your load, as Mercury's trim tips suggest experimenting in small steps, so you know the gauge reading that matches it.
Common mistakes
- Replacing the gauge when the sender, a connector or the ground was at fault.
- Using another brand's resistance numbers to judge a sender.
- Buying a "universal" gauge that doesn't match the sender type, then wondering why it reads backward.
- Routing the new sender lead loosely so it gets pinched the first time the engine tilts.
- Working near the clamp bracket with the key in and someone near the trim switch.
- Forgetting to recalibrate a digital gauge after a sender change.
When to call a pro
- Sterndrive sender or trim limit switch replacement that requires pulling the drive
- Digital or voltage-type senders that need diagnostic software
- A trim gauge problem that comes with trim that won't move or won't hold (see the trim relay and trim fluid guides; BoatUS suggests first deciding whether a trim fault is electrical or hydraulic)
- Fuses that blow, melted wiring, or a harness damaged inside the engine
Tips
- Write down the gauge reading where your boat rides best with a normal load; it makes trimming quick.
- If the gauge fails on the water, glance at the outboard's angle or feel the steering and bow attitude; trim in small steps.
- Label the trim sender wire behind the dash when you find it.
- Check the sender lead whenever you grease the outboard's pivot points.
Official references
We read these to write this guide. Your engine's own manual always wins.
- Mercury Marine – How to Trim Your Boat's Sterndrive Efficiently (relying on the trim gauge)
- Mercury Marine – How To Trim Your Outboard for Optimal Performance
- Mercury Marine – Active Trim (MerCruiser engines with digital trim senders)
- Yamaha Outboards – Boat Rigging, Digital and Analog Gauges (trim meters for 2-wire and 3-wire senders)
- Yamaha Outboards – Command Link Digital Gauges Keep You Informed (trim meter on the tach)
- Yamaha Outboards – Maintenance Matters, Power Trim and Tilt
- BoatUS – Troubleshooting Boat Gauges, Instruments And Meters (John Payne)
- BoatUS Magazine – Troubleshooting Tilt and Trim Systems
Safety: BoatMend is for information only and does not replace a certified marine technician. You are responsible for your safety and your boat. Read the full disclaimer.
Last updated 2026-10-25
Related guides
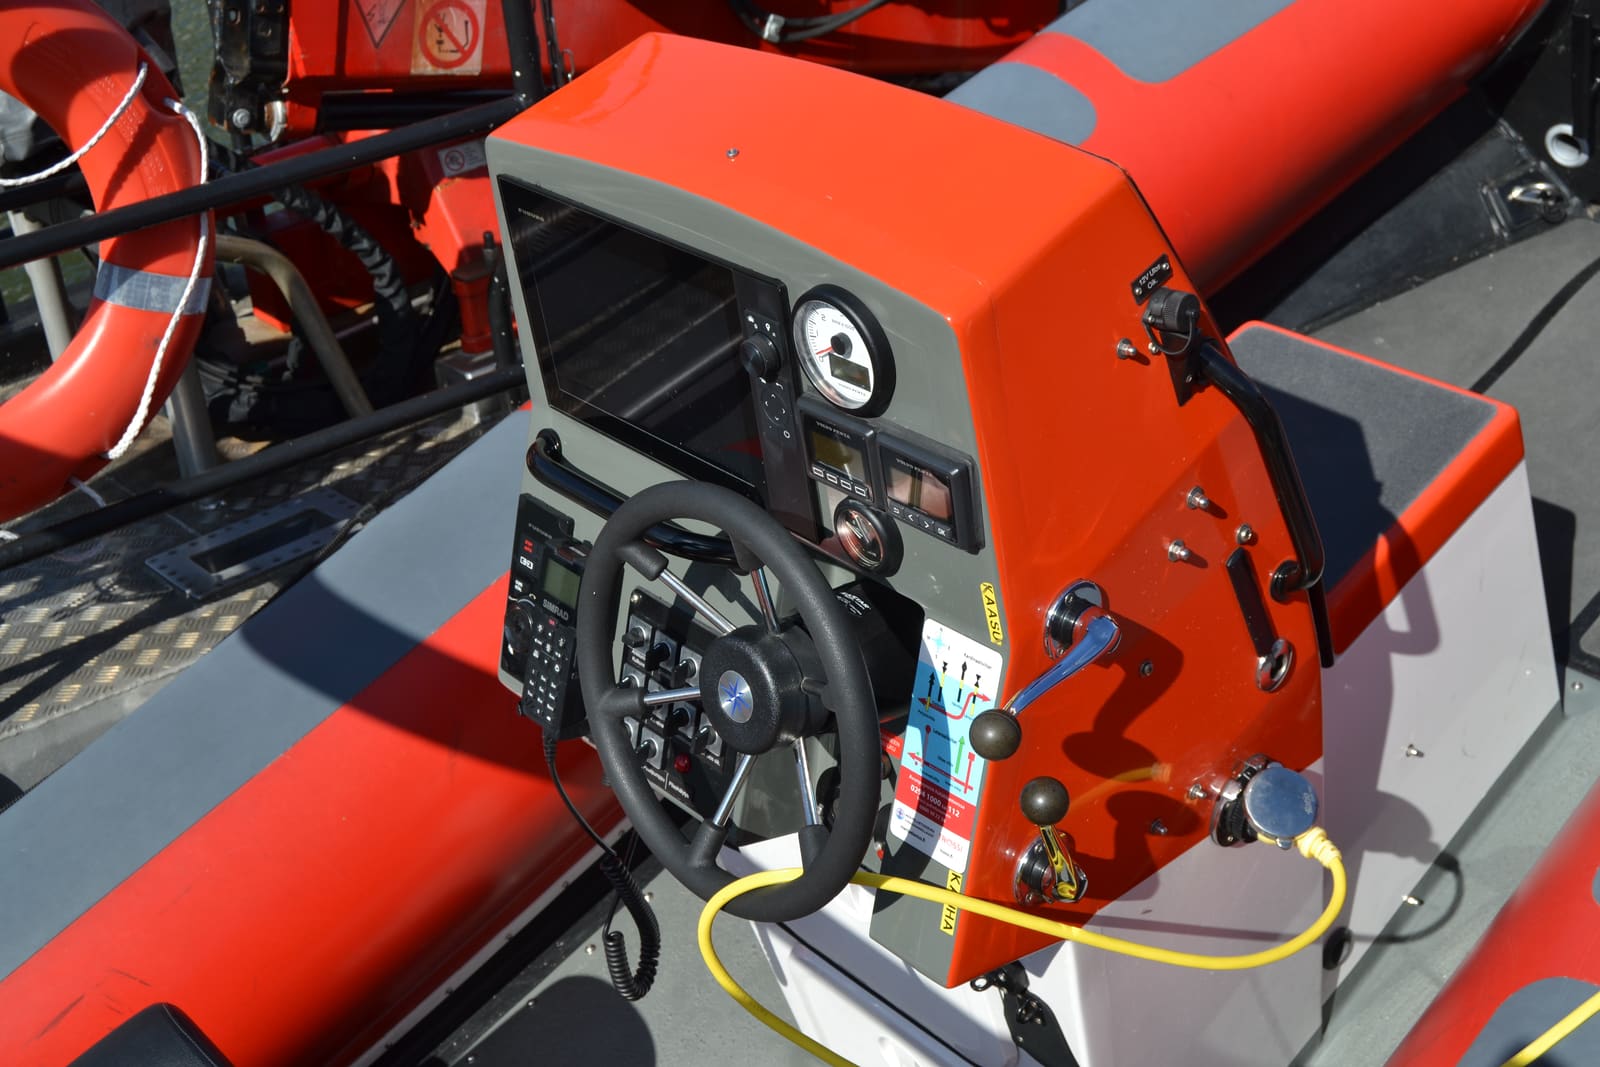
How to Troubleshoot Dash Gauges, a Dead Tachometer or a Wrong Fuel Gauge
Work through dead or wrong dash gauges from the cheapest check to the most involved: fuses and breakers, power and ground, the gauge-versus-sender test, the tachometer's pulse setting and the extra checks for digital network gauges. Most gauge problems turn out to be a bad connection, not a bad gauge.

Power Trim Only Goes Up or Only Down: Relays, Switches and Wiring
When your outboard or sterndrive trims one way but not the other, the cause is usually electrical: a relay, a switch, a corroded plug or a wire. Learn how the up and down circuits work, how to swap-test the relays, how to tell the helm switch from the cowl switch, and how to tell an electrical fault from a hydraulic one.

How to Check and Top Up Power Trim and Tilt Fluid
Check and top up the hydraulic fluid in your power trim and tilt unit, then work through the simple checks when the motor won't go up, won't go down or slowly sinks. Most trim problems are a dead battery, a bad relay, low fluid or a release valve left open, and you can find those yourself.

Trim Leaks: When the Motor or Drive Won't Stay Up
Track down why your outboard or sterndrive slowly sinks, trails down on the trailer or leaks trim fluid. Work from the free checks (release valve, fluid level) to hoses, ram seals and internal leaks, and learn when a rebuild or a new cylinder makes more sense.
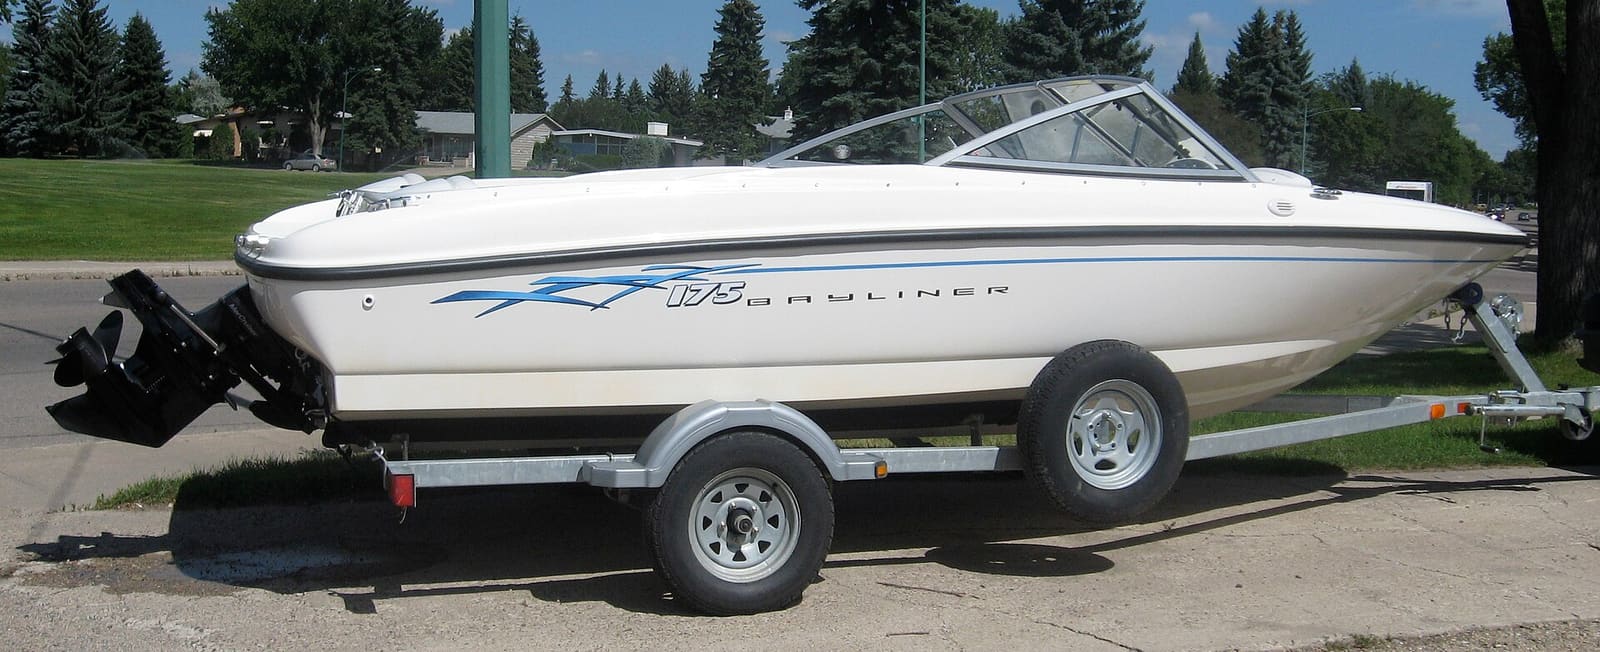
How to Inspect Sterndrive Bellows, Gimbal Bearing, U-Joints and Shift Cable
Learn to spot a cracked sterndrive bellows before it lets water into the boat, and to recognize the warning signs of a worn gimbal bearing, U-joints and shift cable. A failed bellows is one of the top reasons boats sink at the dock, and a 20-minute inspection can catch it.
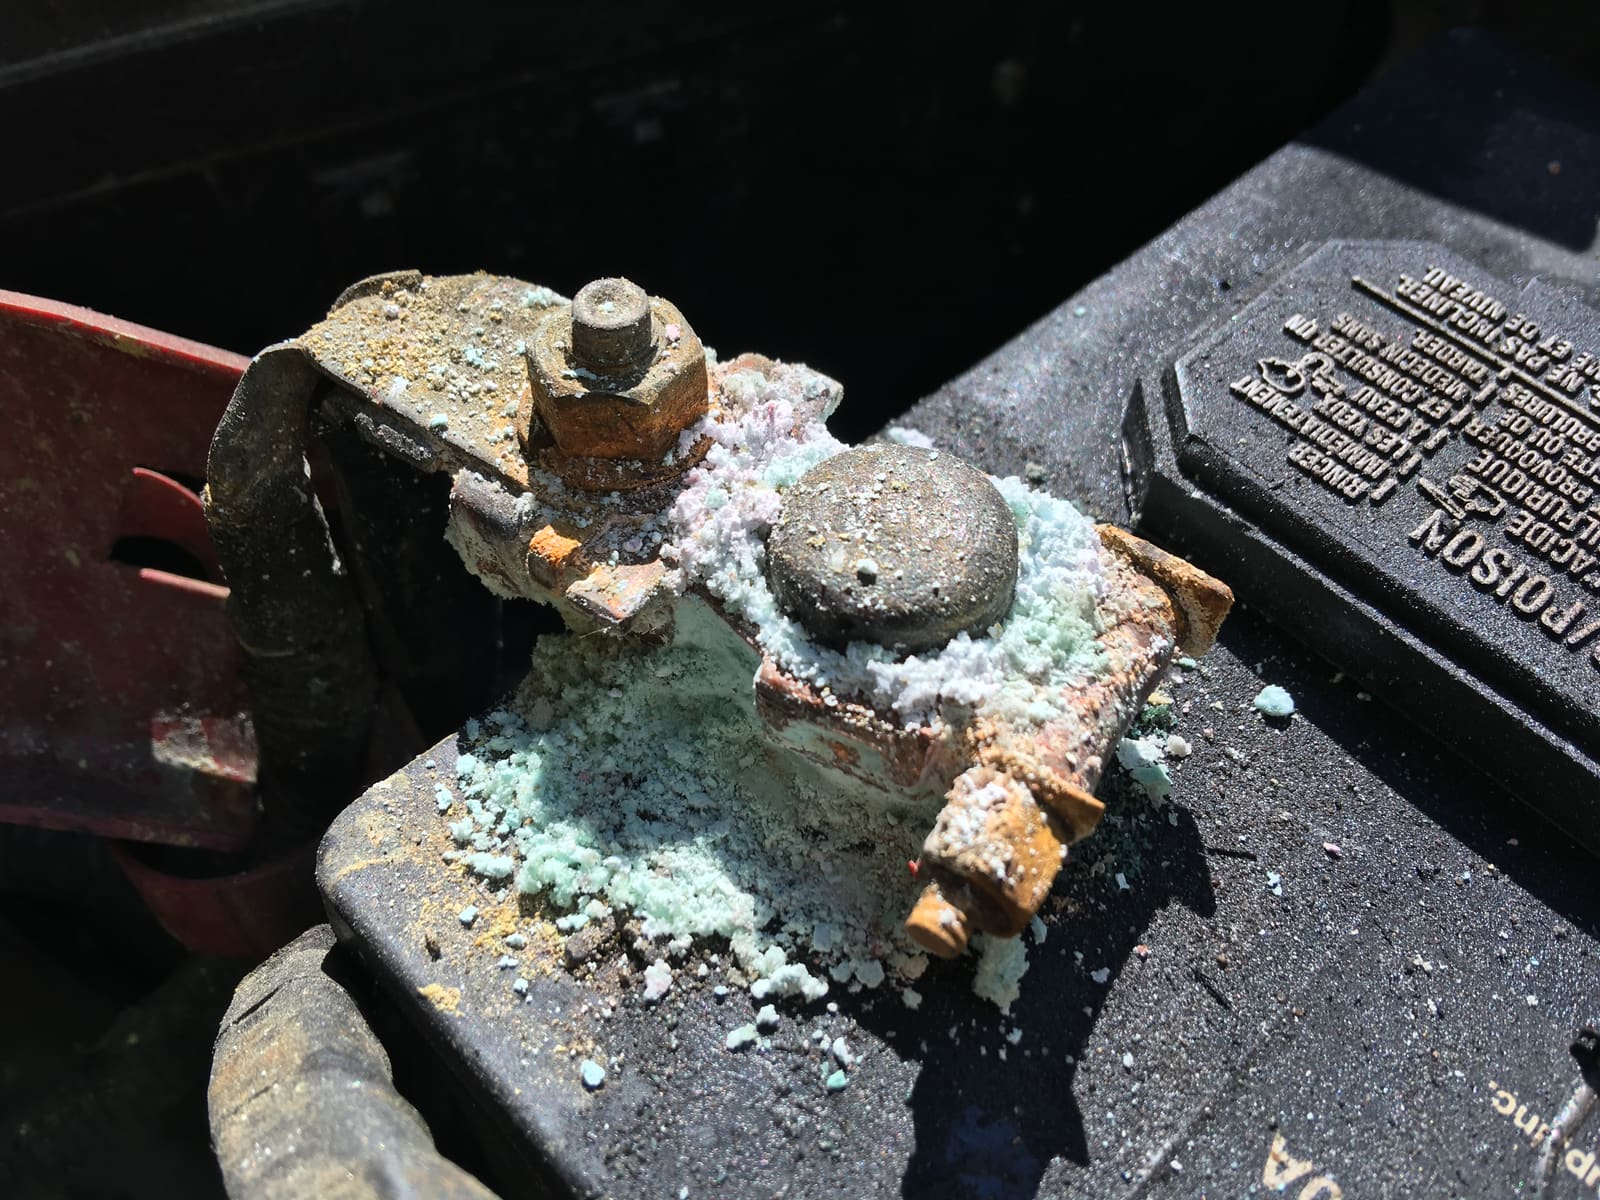
How to Find and Fix Corroded Electrical Connections on a Boat
Track down the green crust and loose terminals behind flickering lights, dead gauges and slow cranking with a simple voltage-drop test, then remake the connection the marine way: tinned wire, a proper crimp, adhesive-lined heat shrink and a protective coating.

How to Grease Your Outboard's Lubrication Points
Grease the swivel bracket, tilt tube, steering and shift linkages, trim rams and prop shaft splines on your outboard. Grease keeps salt and water out of the moving joints. A 30-minute job once or twice a season prevents seized steering, stuck props and corroded brackets.

How to Inspect and Troubleshoot Hydraulic and Electric Trim Tabs
Keep your trim tabs working with a simple seasonal check of the blades, anodes, fluid, lines and wiring, and track down the usual faults when a tab won't move, only one side works, or the tabs stay stuck down.