How to Repair or Repaint Worn and Cracked Non-Skid Decks
Bring back grip where the molded non-skid is chipped, cracked, patched or worn smooth. Choose between a molded patch that copies the original pattern, non-skid paint with grit, or textured gelcoat, fix the cracks and soft spots underneath first, and mask for clean, safe edges.

Time
8 h
Shop would charge
$300-3000
Applies to
All engines
Safety first: Work on deck only with the boat secure and stable, on stands or tied up in calm water, and never near the edge without a lifeline or rail. Sanding gelcoat and paint makes fine dust; wear an N95 mask (or better) and eye protection, and use dust extraction. Many deck paints are flammable and some two-part paints contain isocyanates: read the safety data sheet (SDS), use the respirator it lists, keep flames and sparks away, and never spray two-part paint yourself (see epoxy-safety-sensitization). Until the job is finished and cured, the deck is a slip hazard: keep people off it and plan your exit route before you paint yourself into a corner.
Owners often ask
- My molded non-skid is worn smooth. Should I paint it or glue down pads?
- How do I patch a chip in molded non-skid so the pattern matches?
- Do I have to sand between coats when I mix non-skid grit into my deck paint?
This guide walks you through it. Still stuck? Ask the AI Mechanic about your engine.
Tools
- Mallet or screwdriver handle for tap-testing the deck
- Small rotary tool or router with a shallow bit (for molded patches), or a V-shaped scraper for cracks
- Sanding block and random-orbit sander with dust extraction
- Fine-line and wide masking tape (UV-resistant if it stays on more than a day)
- Short-nap rollers, a good brush, a flour sifter or shaker (for grit)
- Plastic spreaders and mixing cups
- Nitrile gloves, safety glasses, N95 mask and the respirator the paint's SDS calls for
Parts & supplies
- For molded patches: a flexible non-skid mold that fits your pattern, release wax, finishing gelcoat (or epoxy, then paint)
- For painting: non-skid deck paint, or a deck/topside paint plus the maker's non-skid grit or beads, and the primer that system requires
- Solvent wash/de-waxer named by the paint maker
- Filler and gelcoat or epoxy for cracks and gouges
Before you start
Why non-skid wears out: the molded pattern is part of the deck gelcoat. Sun, foot traffic and years of aggressive scrubbing round off the bumps until the deck is slick when wet. Practical Sailor notes that the original molded pattern can't easily be recreated: in most cases new material goes on top of the old.
First, find out what kind of problem you have:
- Dirty or chalky but intact: clean it properly first (see non-skid-deck-cleaning). Many "worn out" decks just need a good cleaning.
- Small chips, gouges or old screw holes in an otherwise good pattern: a molded patch.
- Large areas worn smooth, or lots of old patches: paint with non-skid grit, textured paint, or glue-down pads.
- Cracks: find the cause (flex, hardware loads, impact) before repairing them. See stress-cracks-fiberglass.
- Soft, spongy or wet core: fix that first (see deck-core-moisture). New non-skid over a wet core just hides the problem.
Time and weather: paints and gelcoat need dry weather within the temperature and humidity range on the label, and no dew before they skin over. Plan a stretch of dry days. Many paint jobs on decks take a full weekend or more.
Alternatives that skip paint: glue-down foam traction pads and rubberized non-skid mats cover worn areas quickly. Practical Sailor's mat tests favored good rubberized mats for grip. See non-skid-deck-cleaning for the pros and cons.
Steps
Walk the deck slowly and tap with a mallet or screwdriver handle, especially around stanchions, cleats, hatches and the mast step. A dull thud or a spot that flexes underfoot means delamination or wet core. Look for cracks radiating from hardware and for rust or water stains. Mark everything with tape. Any soft or wet area gets fixed before you touch the non-skid.
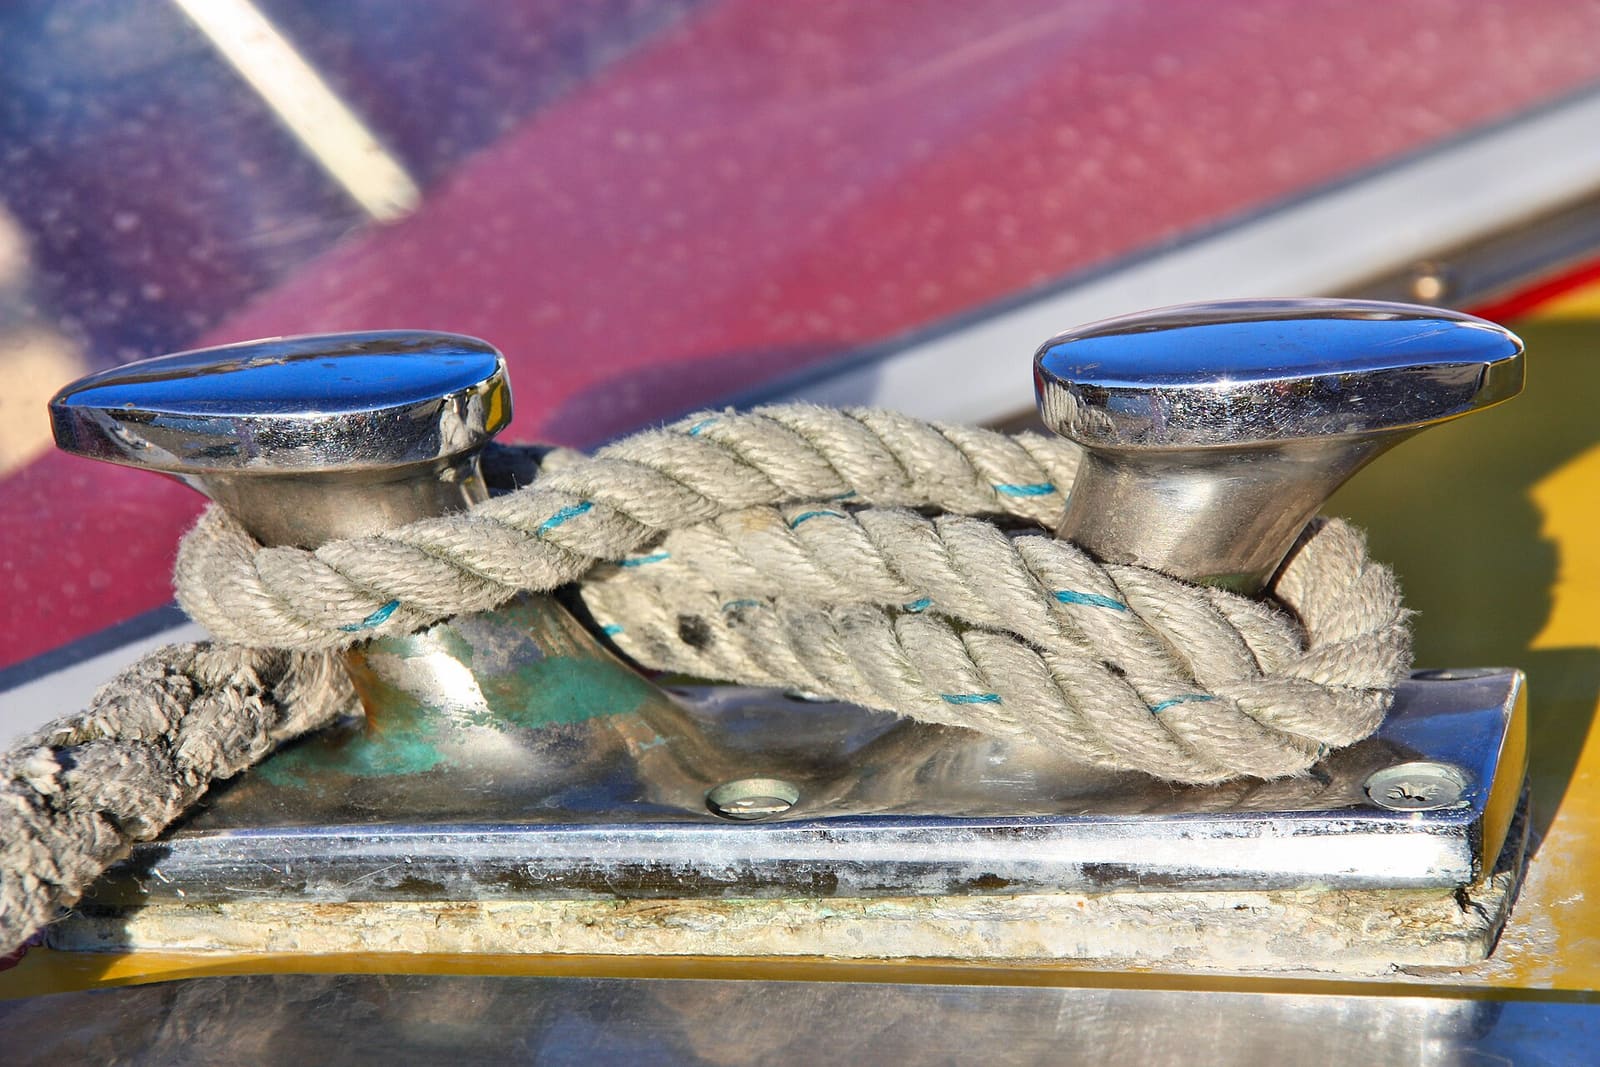
Cracks and soft spots around fittings usually mean water has been getting in. Remove and rebed those fittings (see deck-hardware-rebedding) and fill unused holes properly (see filling-old-screw-holes). Otherwise your new non-skid will crack again in the same spot.
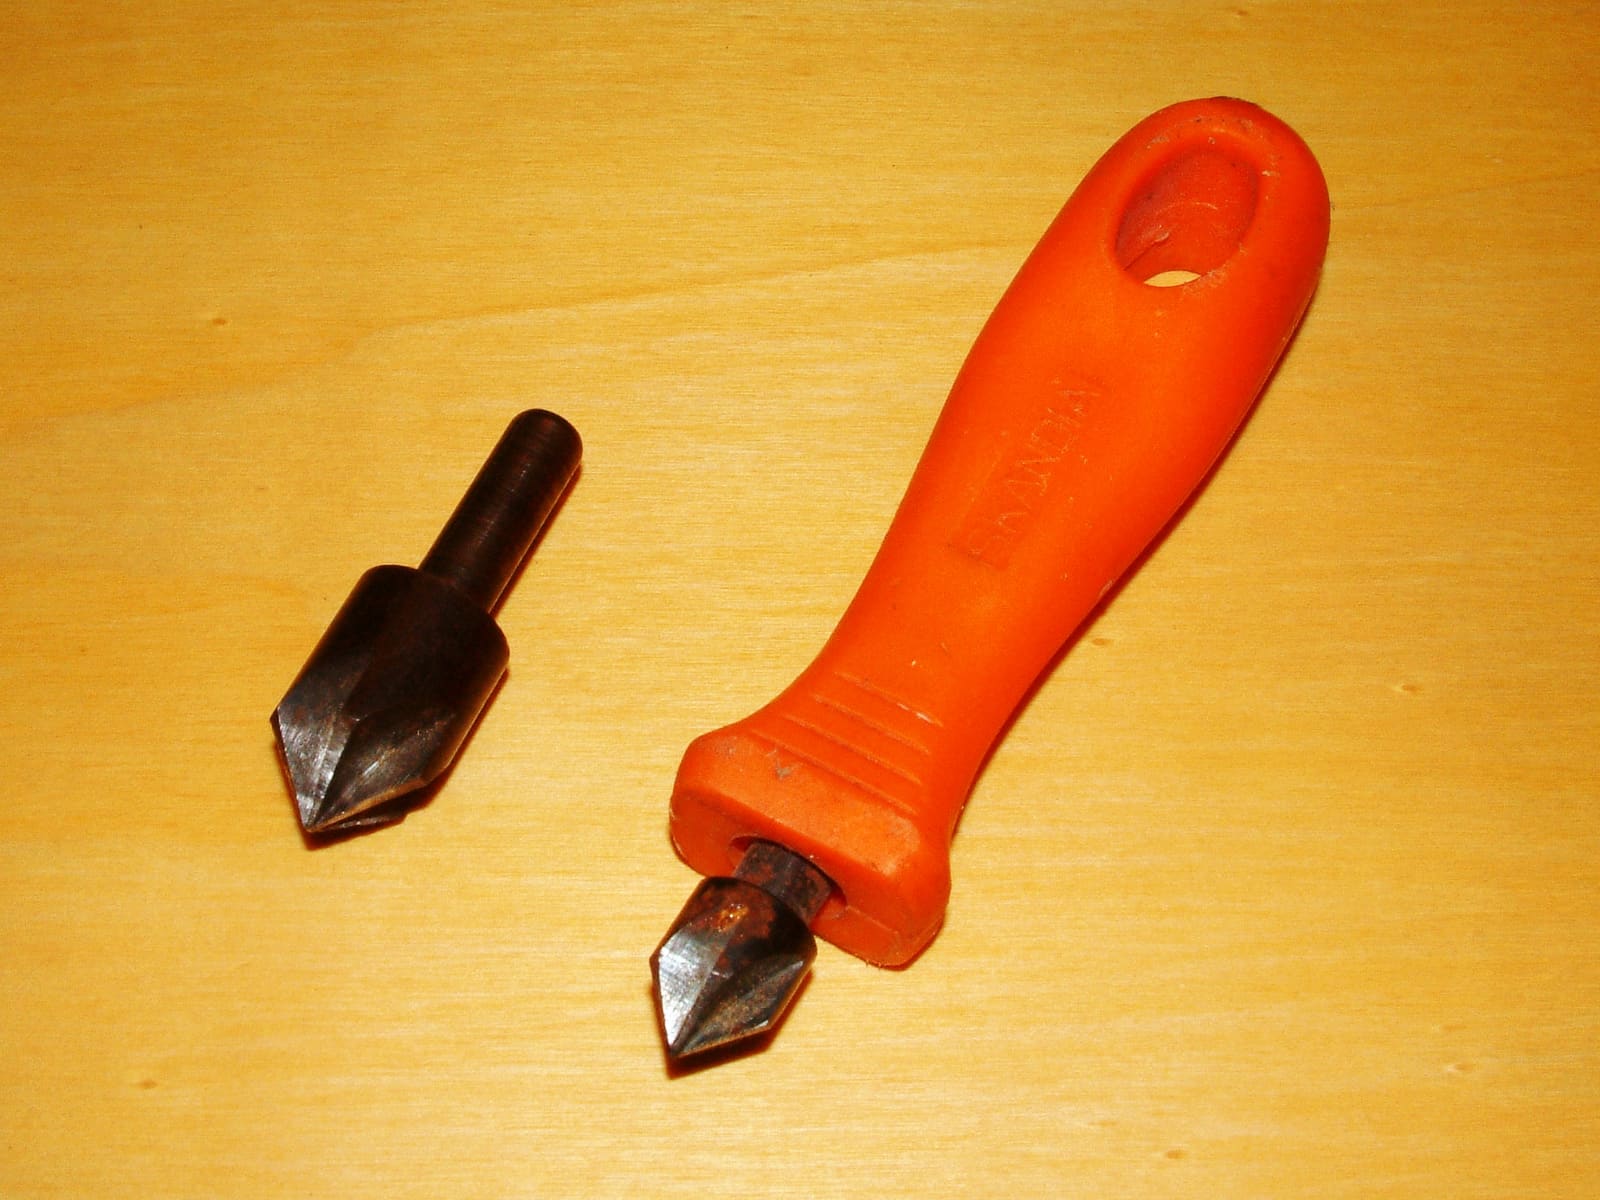
Open each crack with a V-shaped scraper or a small rotary bit so the filler has something to grip, clean it, and fill with gelcoat paste or epoxy filler as described in gelcoat-repair. Long cracks that keep coming back mean the deck is flexing there; that's a job for a fiberglass pro. Sand repairs flush.
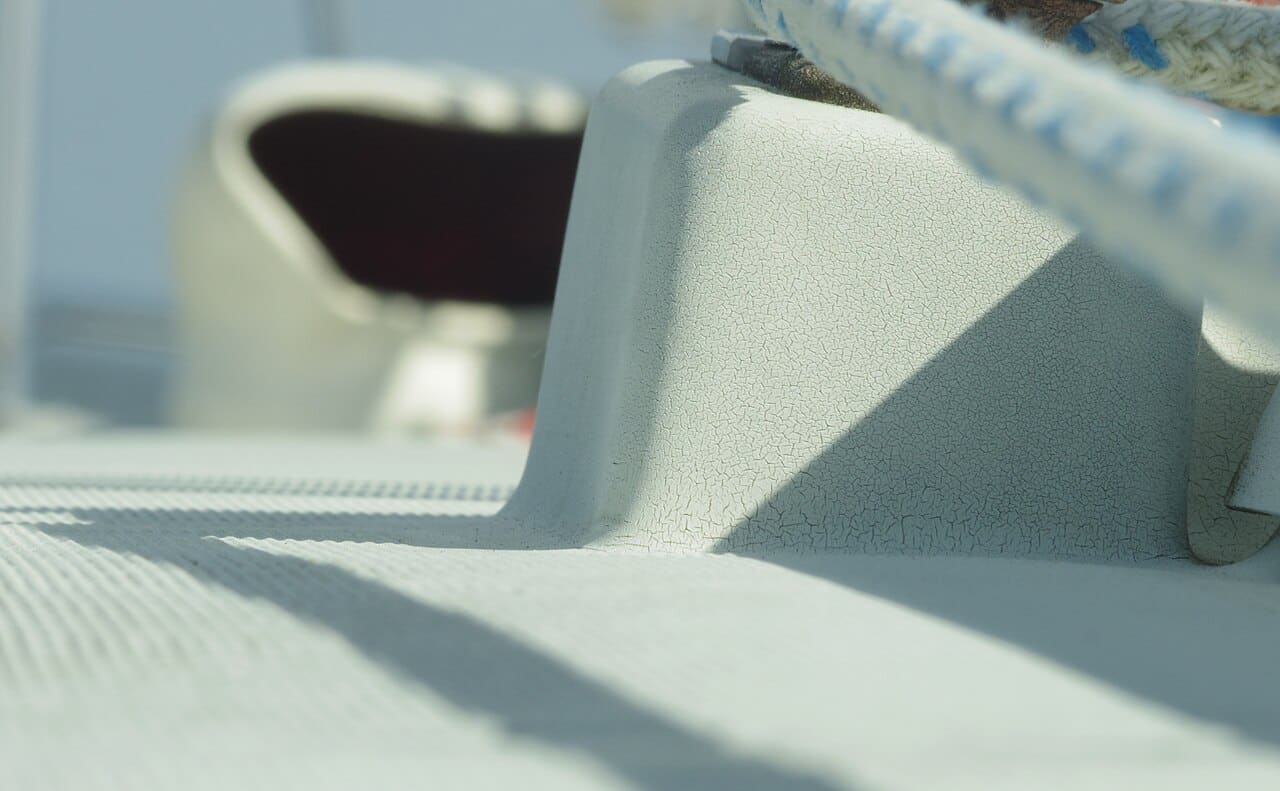
Crazing like this on a molded base often means flex or load from a fitting. Find the cause before you patch the gelcoat or paint the non-skid around it. Photo: WClarke / Wikimedia Commons · CC BY-SA 4.0 - Molded patch: best for small damaged spots in a pattern that's otherwise in good shape and has never been painted.
- Paint with grit: best for large worn areas or decks covered in old patches. Lasts several years, then gets recoated.
- Textured gelcoat: a long-lasting option for bare or heavily repaired decks, used by restorers. It takes more skill and wax-free gelcoat. Good Old Boat warns that polyester gelcoat won't reliably stick to epoxy repairs unless you use a tie-coat made for that purpose.
The steps below cover the first two, which suit most owners.
Flexible non-skid molds are sold in common patterns; you may also be able to make your own mold from an undamaged part of the deck (Practical Sailor described a kit for copying a good section of your own pattern). Epoxyworks says these molds work best when the pattern hasn't been painted and is free of dirt, so clean it thoroughly. Coat the surrounding non-skid with release wax, wiping on and off, and spread it well beyond the repair: gelcoat tends to migrate.
Remove the damaged pattern down only to the depth of the pattern, not deeper. Put the mold on the deck and shift it until it locks into the surrounding pattern. Tape one end and roll the mold back. Pour catalyzed gelcoat matched to your deck color (see gelcoat-color-matching) near the repair. Slowly roll the mold forward, keeping it locked into the pattern, and press it from behind with a stiff spreader to squeeze out the excess. Epoxy can be used instead of gelcoat, but it then needs painting.
Let the gelcoat cure fully before peeling the mold. Brush away the thin film of excess gelcoat around the patch with a stiff brush. Done well, Epoxyworks says, the patch is hard to spot. Wash off the release wax afterward with the cleaner your gelcoat maker recommends; wax left on non-skid is slippery.
For painted non-skid, follow the paint maker's system exactly. A typical sequence: scrub with a non-skid cleaner, rinse and dry; wipe with the maker's solvent wash/de-waxer using clean rags often; sand to scuff the whole area (the pattern's peaks and valleys) and remove anything loose or failing; vacuum; and solvent-wipe again. Old peeling coatings and old pads must come off completely. Wear a mask and use dust extraction.
Most boats have smooth margins around the non-skid areas: along the toe rail, around hatches, fittings and the cabin sides. Mask them with fine-line tape for crisp edges. Keep margins smooth so water can drain and you can clean them. Remove or mask hardware. If tape will stay on in the sun for more than a day, use a UV-resistant tape.
Many non-skid paints need a specific primer over bare gelcoat, sanded fiberglass or repairs. Interlux, for example, lists a primer for its ready-mixed non-skid deck paint. Use what your paint maker specifies; mixing brands of primer and topcoat is a common reason paint peels.
You have three ways to get grip:
- Ready-mixed non-skid deck paint: stir thoroughly (the grit settles) and apply as directed. The grit-to-paint ratio is already right.
- Mix grit into the paint: add the maker's non-skid compound to its deck or topside paint at the ratio on the label, and keep stirring as you work. Practical Sailor found premixing gave a much more even texture than sprinkling. Rolling spread the grit more evenly than brushing; don't overwork the surface or the grit bunches up.
- Broadcast method: roll on a coat, sprinkle grit evenly onto the wet paint with a flour sifter or shaker, let it dry, brush off the loose grit, then roll a second coat to lock it in. Interlux describes this approach (it lets the first coat dry overnight before removing the excess) and says heavy sprinkling doesn't make the deck any less slippery. When the compound is mixed into the paint instead, Interlux says there's no need to sand between coats.
Test your method on a scrap panel first so you can judge texture, color and how rough it feels on bare feet and knees. Coarse grit grips better but scuffs skin; fine grit is gentler but grips less.
Remove masking tape while the last coat is still soft, pulling it back over itself at a low angle, so you get a clean edge instead of a torn one. Check your paint's instructions for timing.
Keep everyone off the deck until the paint has cured per the label, and longer before heavy traffic or putting gear down. Fresh paint can feel dry to the touch long before it's hard enough to resist scuffing.
Walk the deck wet and dry and check that grip is even. Clean the new surface with mild boat soap and a soft-to-medium brush. Never wax or polish non-skid paint or patches. Recoat painted non-skid when wear spots appear, before it's back to bare gelcoat. Log the paint brand, color and grit in your BoatMend boat profile.
Common mistakes
- Painting over soft or wet core. The deck keeps rotting under shiny new paint.
- Fixing cracks without fixing the leaking fitting or the flex that caused them.
- Using sand or random grit from the hardware store. It's very abrasive on skin and doesn't spread evenly. Use the paint maker's compound.
- Sprinkling grit unevenly. Waves of thick and bare grit look bad and grip unevenly. Premix or practice on a panel.
- Skipping the de-waxer. Paint won't stick to wax, silicone or old polish.
- Using a flexible mold on painted non-skid. It won't lock into the pattern, and the patch won't blend.
- Leaving release wax on the deck after a molded patch. It's slick.
- Letting tape cure into the paint. Torn edges and peeling start there.
- Putting gelcoat straight over epoxy repairs without a compatible tie-coat or the maker's guidance.
When to call a pro
- The deck is soft, wet or delaminated over more than a small area, or cracks keep returning
- Cracks run around chainplates, the mast step, stanchion bases or the hull-to-deck joint on a sailboat
- You want a sprayed two-part finish or a full re-gelcoat with a new pattern
- Large decks or flybridges where you can't work safely at the edges
- The boat is under warranty or a high-value boat where a mismatched patch would hurt resale
Tips
- Do one area at a time (foredeck, side decks, cockpit) so the boat stays usable.
- Choose light colors for decks in hot climates: dark non-skid gets very hot underfoot.
- Save a labeled jar of the exact paint and grit mix for touch-ups.
- Ask the builder or an owners club which flexible mold matches your boat's pattern before buying.
- Put a non-skid pad or mat in high-traffic spots, like the boarding area and cockpit step, to slow wear.
Official references
We read these to write this guide. Your engine's own manual always wins.
Safety: BoatMend is for information only and does not replace a certified marine technician. You are responsible for your safety and your boat. Read the full disclaimer.
Last updated 2026-11-06
Related guides
How to Clean, Protect and Restore Non-Skid Decks
Get dirt, fish blood, rust and mildew out of textured non-skid without wearing it away, learn why ordinary wax makes it dangerously slick, and decide when worn non-skid needs a deck paint with grip additive or traction pads instead.
How to Find Soft Spots and Wet Core in a Fiberglass Deck
Tap, press and meter your deck to find wet or rotting core before it spreads, track down the leaking hardware that let the water in, and decide whether a small DIY injection repair will do or the deck needs a pro to recore it.
How to Repair Small Gelcoat Chips and Scratches
Fill and blend small chips, dings and scratches in your boat's gelcoat with a repair kit so they stop letting water into the fiberglass and look close to new. Also learn to spot damage that is structural and needs a pro.

How to Match Gelcoat Color for Small Repairs
Get a chip or screw-hole repair to blend in with your hull instead of standing out as a bright patch. Learn to polish first so you see the real color, find your builder's color code or a matched gelcoat, tint by tiny steps, test cured samples in daylight, and allow for sun fading.

Stress and Spider Cracks in Fiberglass, Cosmetic or Structural?
Learn what causes spider, stress and hairline cracks in your boat's gelcoat, how to tell cosmetic crazing from a structural problem with a simple tap and flex check, and when a gelcoat repair is enough or a pro is needed.
How to Find and Fix Leaking Deck Hardware (Rebedding Cleats, Stanchions and Tracks)
Track down the cleat, stanchion base or track that is dripping into the cabin, then remove it, seal the deck core and bed it again with the right sealant so the leak stops for years instead of weeks. Catching it early protects the deck core from rot.
How to Fill Old Screw Holes in Fiberglass Decks and Hulls
Close up the holes left by removed cleats, rod holders, electronics and trim so water can't reach the deck core. Covers simple epoxy fills, the overdrill-fill-redrill method for cored decks, a gelcoat finish, and why holes below the waterline are a haul-out job.
How to Paint Your Boat's Topsides (Roll and Tip)
When the gelcoat above the waterline is too chalky or crazed to polish back, a one-part or two-part polyurethane paint can bring back the shine. This guide covers choosing the paint, prep, weather windows, roll-and-tip technique and the safety gear two-part paints demand.
Epoxy and Two-Part Paint Safety: How to Avoid Becoming Allergic
Epoxy and isocyanate-cured paints can make you allergic for life, sometimes after many jobs with no problem at all. Learn how sensitization happens, which gloves and clothing to wear, how to get epoxy off skin without solvents, when you need a respirator, and how to handle sanding dust and leftovers safely.