How to Improve Cabin Ventilation with Solar Vents, Dorades and Hatches
Moving air through a closed boat is the cheapest way to stop mold, mildew and musty smells. Learn how much air your cabin needs, where to put intake and exhaust vents, how solar vents and dorade boxes work, and how to add one without letting water in.
Time
3 h
Shop would charge
$250-700
Applies to
All engines · Sailboat, Cabin cruiser, Yacht
Safety first: Before you cut any hole in a deck or cabin top, look and feel underneath for wiring, hoses, fuel and water lines, and headliner fasteners. Wear eye protection and a dust mask when cutting fiberglass. Never place a vent where a wave or the cockpit can flood it, and never cut through the hull side near the waterline. A bilge or engine-room exhaust blower is a separate, required safety system on gasoline boats; this guide is about cabin air, not bilge vapor.
Owners often ask
- Are solar vents worth it to stop mildew in the cabin, and should they be set to intake or exhaust?
This guide walks you through it. Still stuck? Ask the AI Mechanic about your engine.
Tools
- Tape measure and marker
- Drill with bits and a hole saw sized for the vent (or a jigsaw)
- Countersink bit or larger drill bit for clearing core around screw holes
- Screwdrivers
- Plastic putty knife and masking tape
- Flashlight to check for wires and hoses under the deck
Parts & supplies
- Solar vent (Day/Night type with a battery if you want it to run at night)
- Thickened epoxy to seal exposed deck core
- Marine sealant recommended by the vent maker
- Stainless mounting screws (often supplied)
- Insect screens, vent covers or deck plates for closing vents in heavy weather
Before you start
Why air movement matters. BoatUS puts it simply: mold loves a closed boat. A sealed cabin traps moisture from condensation, breathing and cooking, and the temperature swings between water, hull and air keep making more. Swapping inside air for outside air sharply cuts the chance of mold. Ventilation won't fix leaks, though: water coming through portlights, hatches or deck hardware has to be stopped at the source.
How much air you need. A good rule of thumb from BoatUS is to replace all the air in the cabin about once an hour. BoatUS estimates a 30-foot boat holds about 800 cubic feet of air; Practical Sailor puts typical needs for 25- to 40-foot boats at roughly 700 to 1,800 cubic feet per hour. Vents are rated by how much air they move per hour, so you can add up what you have.
The types of vents:
- Hatches and opening ports: great when you're aboard, usually closed when you leave.
- Passive vents (cowl vents, clamshells, louvers, low-profile vents): only move air when there's wind. Practical Sailor measured that wind at deck level in a slip is often under 5 knots, so passive vents alone may do little on still days.
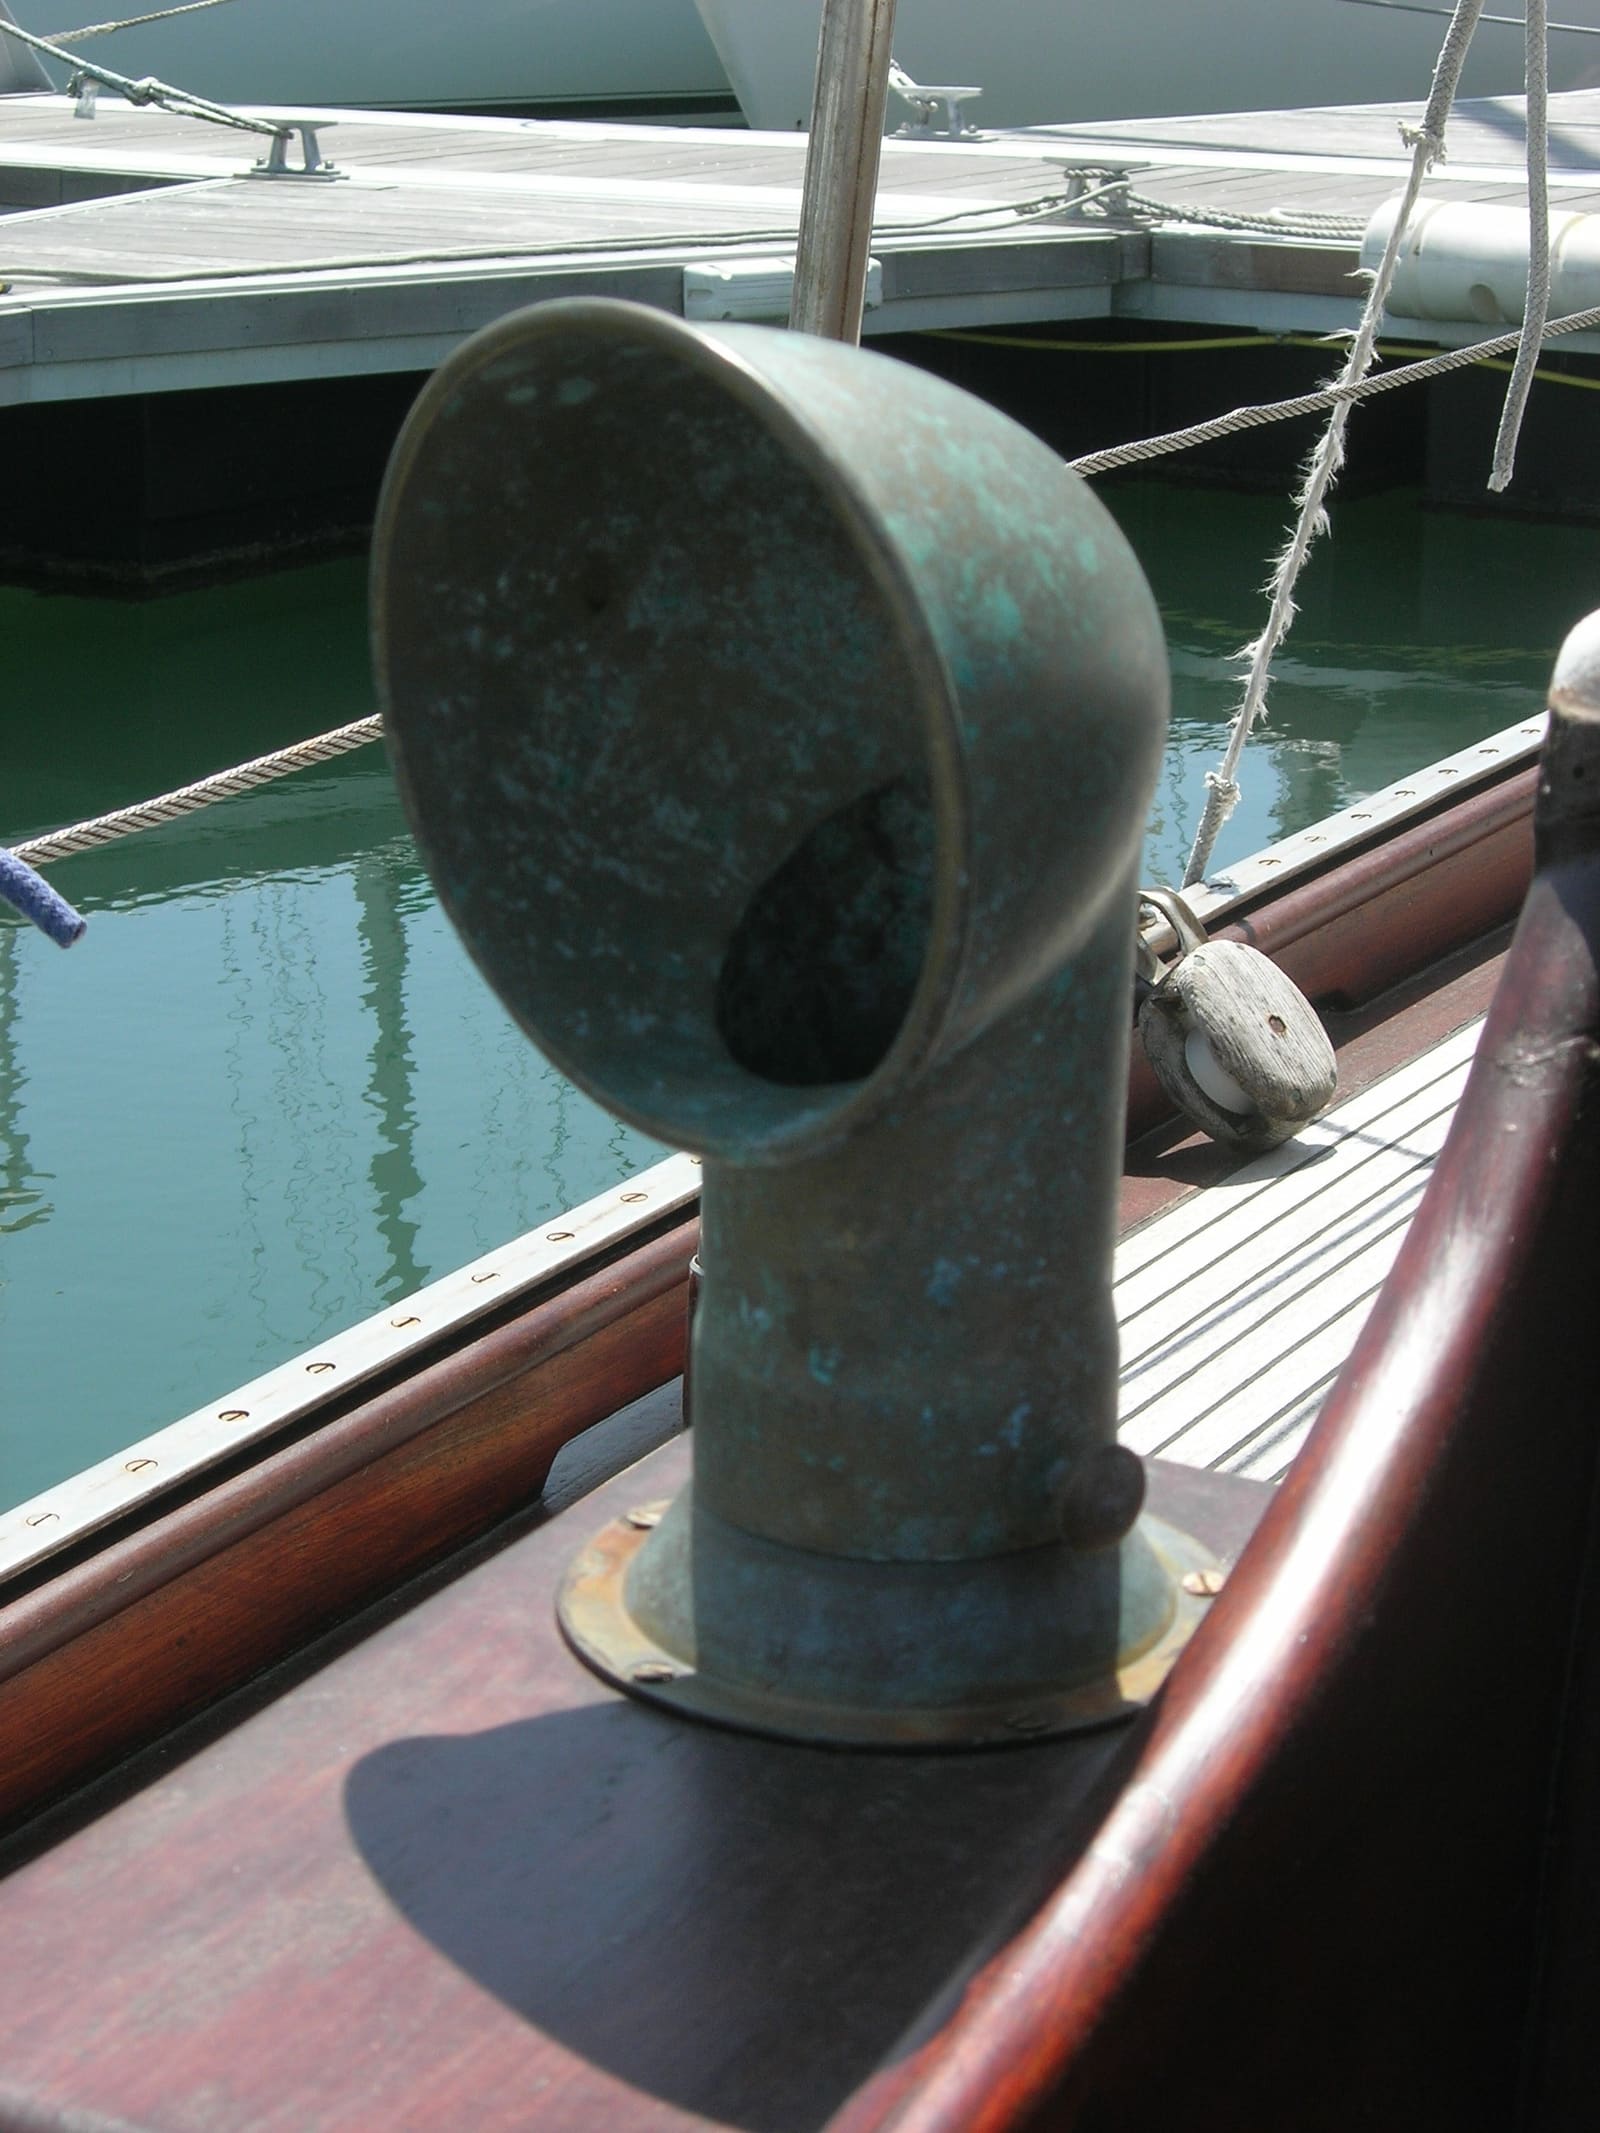
- Dorade boxes: a cowl vent mounted on a box with a baffle that traps rain and spray while letting air through.
- Solar vents: a small fan powered by a solar cell. Day/Night models have a battery that keeps them running after dark, and a switch to set them to pull air in or push it out.
- 12-volt fans: fine when you're aboard, but BoatUS notes they only help if you can count on steady power. For an unattended boat, solar is usually the better choice.
Steps
Look for active leaks: stains under portlights and hatches, wet lockers, drips at chainplates and stanchion bases, clogged cockpit scuppers. Fix those first (see the hatch, portlight and rebedding guides). Then note where you already smell must or see mildew: the head, hanging lockers, under cushions, the bilge. Those are the places that need air.
Roughly multiply length x width x average headroom of each cabin space and add them. Compare that number with what your current vents can move in an hour. If the boat is unattended most of the time, count only the vents that work with no wind and no shore power.
Air has to have a way in and a way out. Practical Sailor stresses that planning for exhaust is just as important as planning intakes, and BoatUS says larger boats typically need two powered vents, one in and one out. A common layout:
- One vent set to exhaust where the air is worst: the head, galley or aft cabin.
- Intake at the other end of the boat: a dorade or cowl facing forward, or a second solar vent set to intake.
- Interior doors, locker doors and floorboard openings left open so air can travel between them.
Practical Sailor found that the exact spot on the cabin top changed everything: a passive vent in a low-pressure area exhausts, and moved a few feet into a high-pressure area it becomes an intake. In turbulent spots, flow can stop entirely. Boats on a mooring usually point into the wind, so forward-facing cowls work well there; boats in a slip may face any direction. That's one reason a powered solar vent, which doesn't depend on the wind, is so popular.
- Size: larger vents move more air. One Day/Night 4-inch model is advertised at about 1,000 cubic feet per hour; smaller 3-inch models move less. Check the rating on the box.
- Battery: a Day/Night style vent with a rechargeable battery keeps working at night.
- Replaceable from above: some newer vents thread into a deck plate and can be removed from outside and the hole capped with a solid plate for storms or winter.
- Fits an existing hole: many replacement vents fit the cutout of older snap-in vents. Measure yours before you cut anything new. In SAIL's example, an old 3-inch clamshell cutout had to be enlarged slightly to fit a solar vent.
- On a flat, unobstructed area of the cabin top or deck that gets sun for most of the day (solar vents) and stays clear of sheets, lines and feet.
- Away from where green water or cockpit spray can sit on it.
- Clear underneath: no wires, hoses, handrail bolts, headliner panels or bulkhead framing in the way. Check from inside with a flashlight before you mark.
- Vents need a reasonably flat surface. If your cabin top has a lot of curve, the vent maker's instructions will say when a shim is needed.
Mark the center, tape the area to protect the gelcoat, and drill a small pilot hole. Check inside that the pilot came through where you expected. Then cut with the hole saw from outside, letting the saw do the work. Clean up any dust inside right away.
Most decks have a core of balsa or foam between two fiberglass skins. If water gets into it, the core rots and the deck goes soft. In SAIL's install, the author coated the cut edge of the hole with thickened epoxy, and drilled the screw holes oversize, filled them with thickened epoxy and redrilled them after it cured. That way water can never touch the core. Let the epoxy cure fully before you mount the vent.
Dry-fit first. Apply the marine sealant the vent maker recommends around the flange and screw holes, set the vent, and tighten the screws evenly until sealant just squeezes out. Don't overtighten plastic flanges. Clean the excess sealant with a plastic putty knife and the solvent the sealant maker recommends. Install the interior trim ring and insect screen.
Charge the vent in sunlight as the instructions say. Set the switch to intake or exhaust as planned. On a still day, close the boat and hold a tissue or a light ribbon near each vent to check air is moving in or out. In SAIL's example, the owner set both solar vents to exhaust and let two cowl vents feed fresh air in.
Dorade boxes work by catching water behind a baffle and letting it drain out through holes at deck level. Good Old Boat points out that water trapped in the corners can cause rot or corrosion, so keep the drain holes clear of dirt, leaves and wax. Check the box's bedding to the deck like any other fitting. In heavy weather or offshore, turn cowls away from the seas, or remove them and fit the deck plate. Practical Sailor measured that a dorade box itself costs some airflow, but often adds flow overall by lifting the cowl above the turbulent air at deck level.
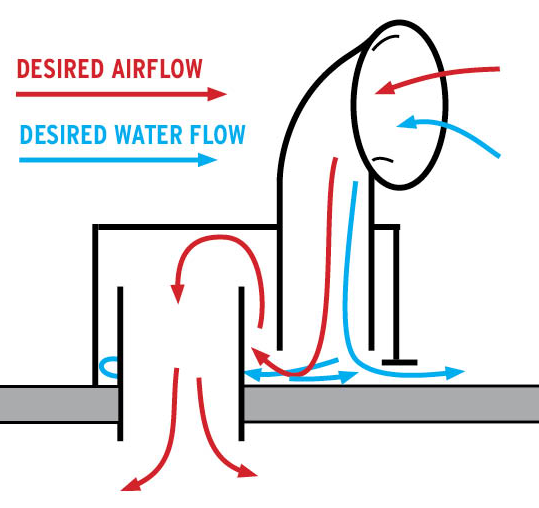
How a dorade box works: air flows down from the cowl, up over the top of the vent pipe and down into the cabin, while rain and spray are trapped in the box and drain out at deck level. Diagram: Aaronx / Wikimedia Commons · CC0 1.0 - Wipe the solar cell clean regularly; dirt, salt and bird droppings cut the charge.
- Batteries wear out. If a Day/Night vent stops running at night, the battery may need replacing; check the maker's instructions.
- Listen for a noisy or stopped fan and clean or replace it.
- Recheck the sealant around the flange each season and reseal if it's cracked.
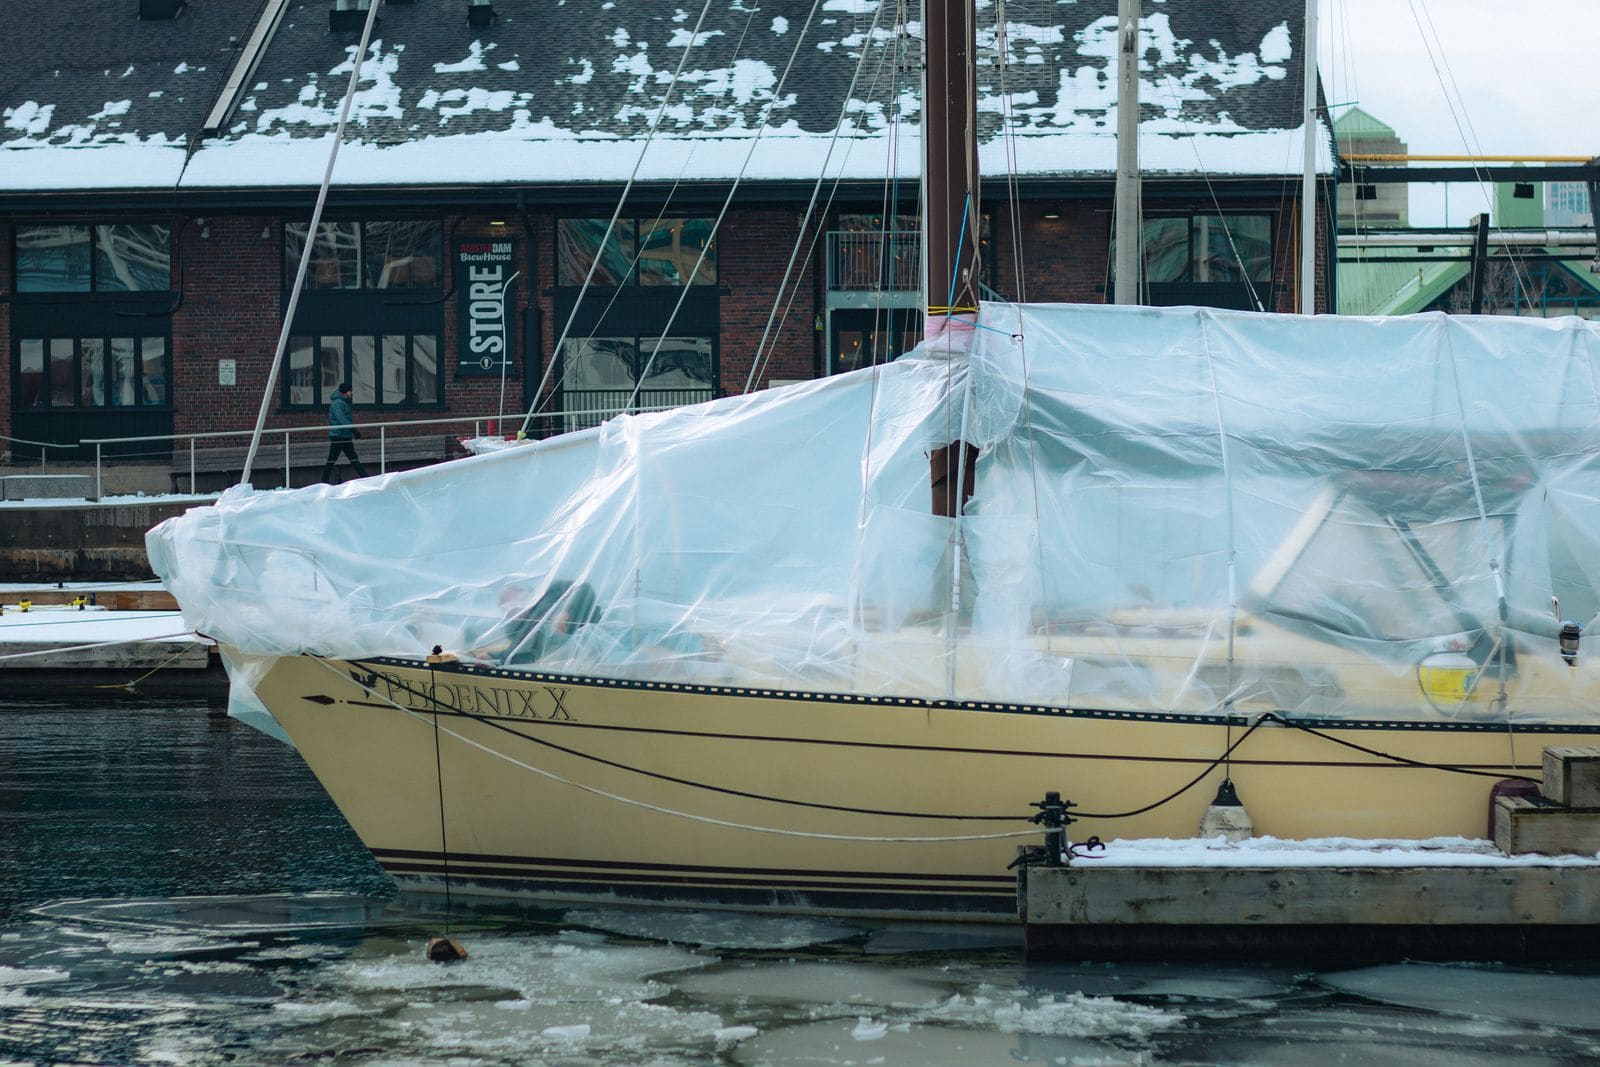
Prop open lockers, lift cushions on edge, and open floorboards over the bilge when you leave (and put a note on the companionway so nobody steps into an open bilge in the dark). BoatUS also suggests taking some gear out of lockers so air can circulate, and using mesh liners under stored gear. Under a winter cover or shrink wrap, make sure the cover has vents too, so the boat's vents have somewhere to exchange air.
Common mistakes
- Relying only on passive vents. On calm days in a slip they may move almost nothing.
- Two intakes and no exhaust (or the reverse). Air needs a path in and a path out.
- Cutting the hole and screwing the vent straight into an unsealed core. Water wicks in and rots the deck around it.
- Closing every interior door and locker when leaving the boat. The vents freshen one room while the hanging locker grows mold.
- Running a household heater to "dry out" the boat. BoatUS warns unattended household heaters and their extension cords set boats on fire every winter.
- Forgetting the dorade drains. Clogged drains let water reach the cabin.
When to call a pro
- You find soft, wet or delaminated deck around an existing vent or hatch: a core repair is needed before you add anything
- The only good spot is on a structural area, near rigging attachments or through a cored deck you don't know how to seal
- You want powered ventilation wired into the boat's 12V system with a new circuit
- Mold keeps coming back despite good ventilation: there may be a hidden leak or a wet core that a surveyor can find with a moisture meter
- The boat is gasoline powered and you're unsure whether your engine-room blower is working: that's a fire and explosion safety issue, not a comfort one
Tips
- Label the intake/exhaust switch setting on the trim ring so guests don't change it.
- In humid climates, combine ventilation with a few moisture-absorbing tubs in closed lockers.
- Write vent locations, sizes and battery replacement dates in your BoatMend boat profile.
- Keep the solid deck plates or vent covers aboard for storms and winter storage.
- Under shrink wrap or a full winter cover, deck vents can't do their job on their own. Mercury's owner FAQ warns that a plastic cover without ventilation traps moisture even in dry weather, leading to rust, corrosion and mold on upholstery. Ask the yard for zip-in vents in the wrap (or add them to your cover) and leave interior lockers and hatches cracked as described in step 13.
Official references
We read these to write this guide. Your engine's own manual always wins.
- BoatUS – Preventing Mold and Mildew
- BoatUS – Moldy Mayhem (2025)
- Practical Sailor – Feeling the Breeze (ventilation tests)
- SAIL Magazine – It's Good to Vent
- Good Old Boat – Dorade Boxes
- West Marine – Marinco 4" Stainless Steel Day/Night Solar Nicro Vent (product description)
- Mercury Marine – Service & Support FAQs (shrink wrap and ventilation)
Safety: BoatMend is for information only and does not replace a certified marine technician. You are responsible for your safety and your boat. Read the full disclaimer.
Last updated 2026-10-25
Related guides
How to Prevent and Remove Mold and Mildew on Your Boat
Stop the musty smell and black spots before they start. Find and fix the water source, keep air moving, control humidity safely, and clean mold off gelcoat, vinyl and cabin surfaces with products that won't damage them.
How to Fix Leaking Hatches and Portlights
Find out whether a leaking deck hatch or portlight is failing at the gasket, the lens or the frame, then fix it with the right seal or sealant. Learn when crazed or cracked acrylic needs a new lens and what never to put on plastic windows.
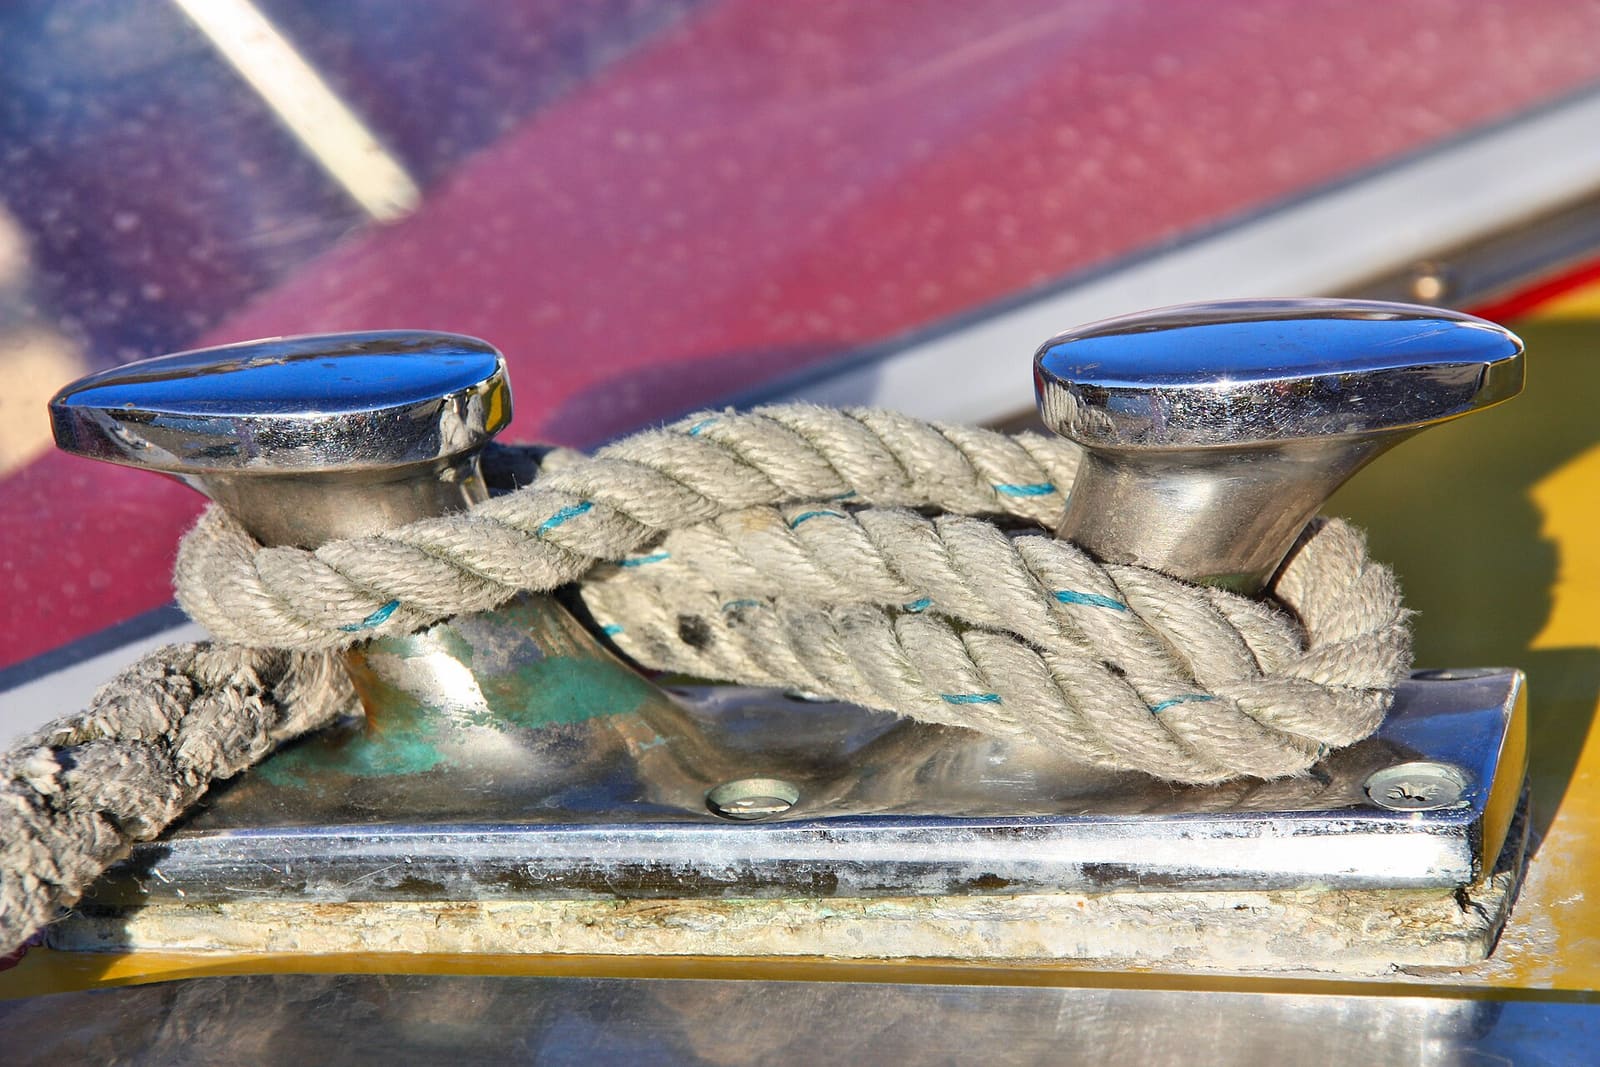
How to Find and Fix Leaking Deck Hardware (Rebedding Cleats, Stanchions and Tracks)
Track down the cleat, stanchion base or track that is dripping into the cabin, then remove it, seal the deck core and bed it again with the right sealant so the leak stops for years instead of weeks. Catching it early protects the deck core from rot.
Marine Sealants Explained: 5200, 4200, 4000UV, Polysulfide, Silicone and Butyl Tape
Pick the right sealant before you bed a cleat, a through-hull, a window or a transducer. The wrong goo either leaks in a year or glues a part on so hard you damage the boat getting it off.

Winter Boat Cover vs Shrink Wrap: Support, Ventilation, Safety and Spring Removal
Choose between a reusable winter cover and shrink wrap, build a support frame that sheds snow, vent it so the boat doesn't mildew, and know the fire risks before you try DIY shrink wrap. Includes spring removal and recycling.
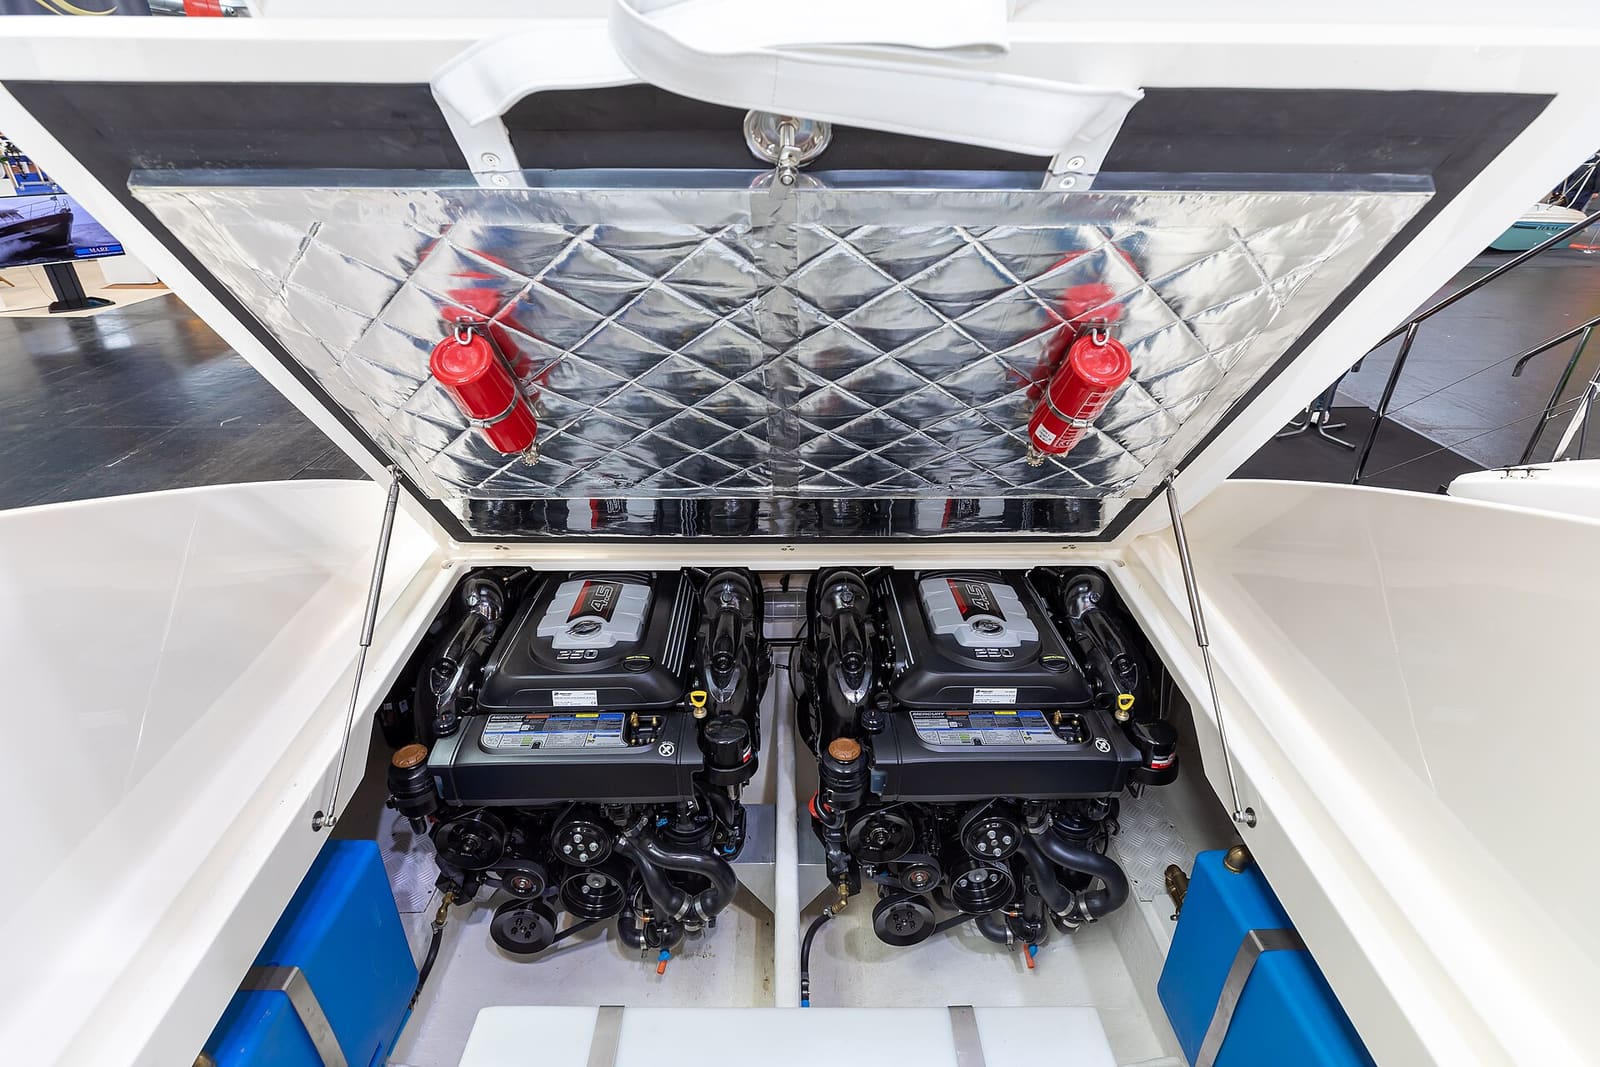
Bilge Blower and Engine Compartment Ventilation on Gas Inboards and Sterndrives
Learn why gas boats have a "run the blower 4 minutes" label, how to check that the blower and vent ducts actually move air out of the engine compartment, and how to replace a blower safely with an ignition-protected marine unit.
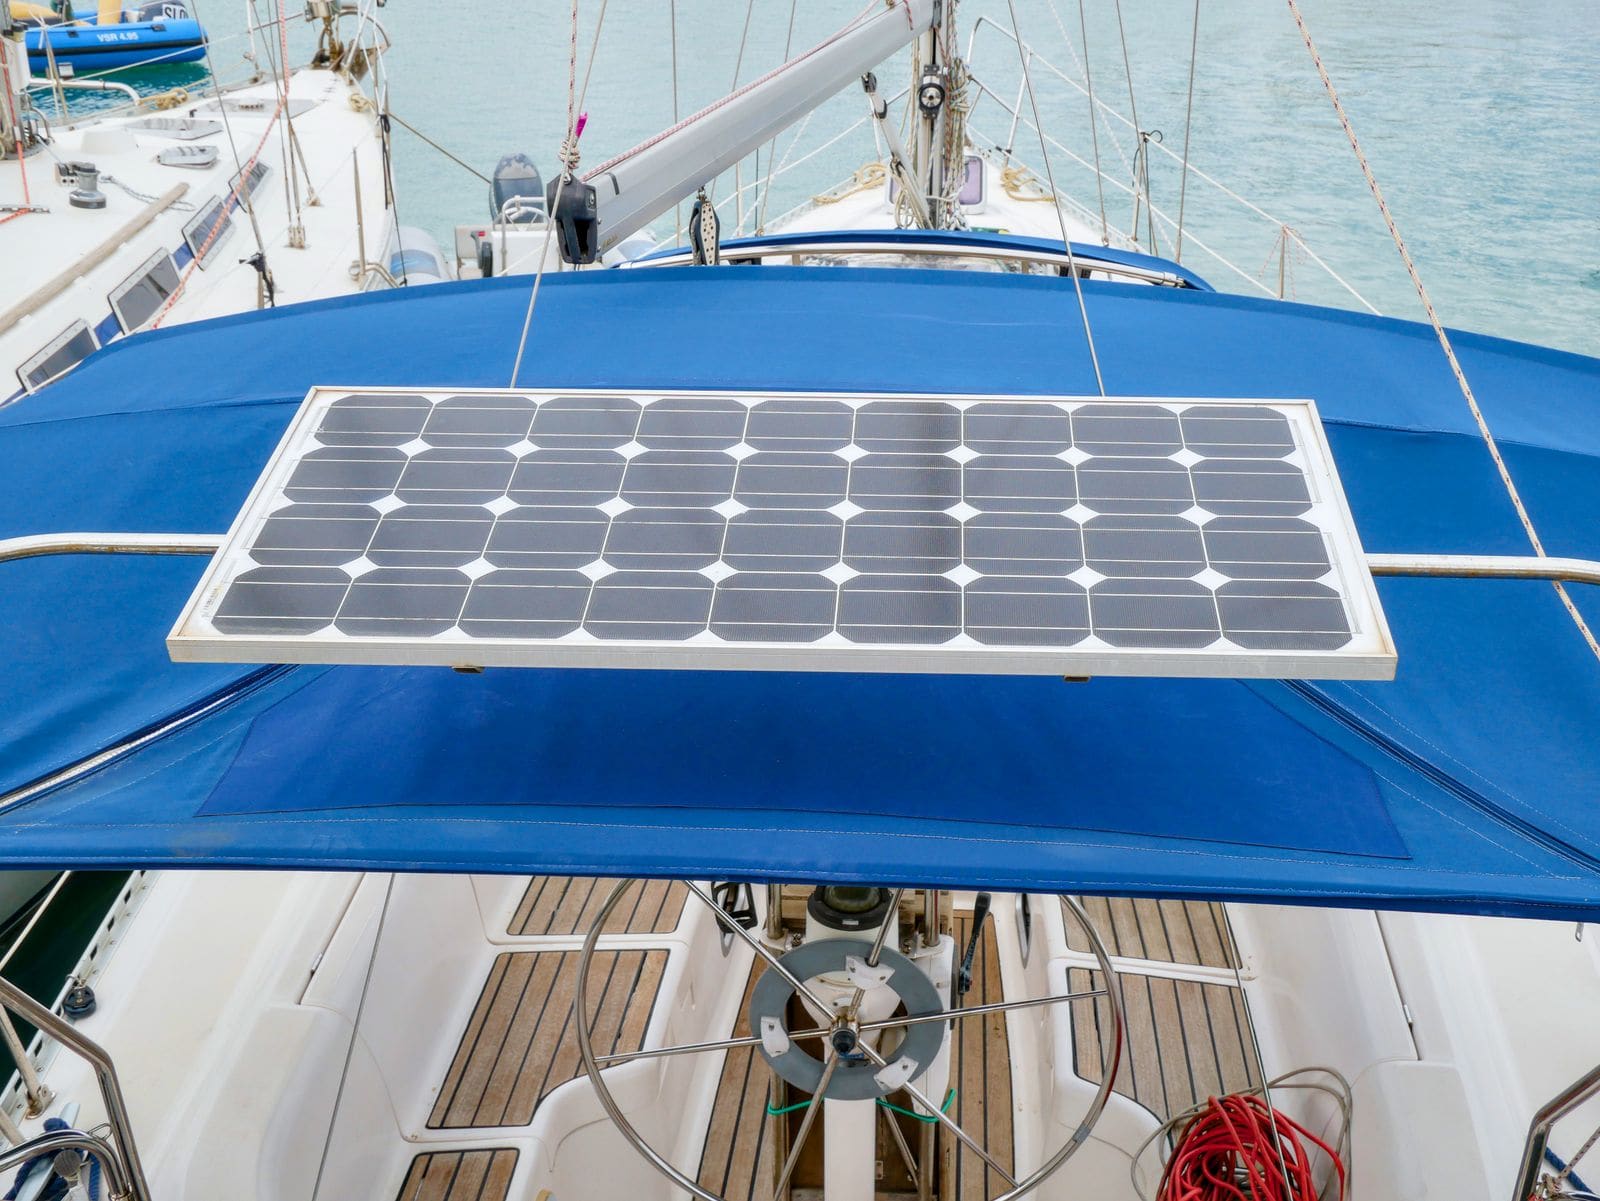
How to Care for Boat Solar Panels, Connectors and the Charge Controller
A boat solar setup is quiet and almost maintenance-free, but salt, shade, loose connectors and a wrong battery setting quietly cut its output or hurt the batteries. Learn the cleaning, inspection and controller checks to do each season, and how to leave the system for winter.
Winter Layup Master Checklist (Step-by-Step, With Links to Each Job)
One ordered checklist for putting any boat away for winter, from booking storage and treating the fuel to winterizing the engine, water systems, head and batteries, then blocking, covering and securing the boat. Each step links to the detailed BoatMend guide for that job.